When you click on links to various merchants on this site and make a purchase, this can result in this site earning a commission. Affiliate programs and affiliations include, but are not limited to, the eBay Partner Network.
NEW 2016 Light White CMS and Garage Full of Mods (It Begins)!
Greetings from SO-FLA,
My wife and I picked up our custom ordered 2016 LW CMS last night at 9:00PM!! I immediately went home and went to town!
I installed:
-Forge DV
-M7 Charge Pipe
-NM Carbon Intake System
-NM Torque Insert
-NM Catback Exhaust System
-HyperWhite LED Turn Signals
-HyperWhite LED Interior Lights
-MINI Logo Courtesy Puddle LEDs
-Carbon Fiber Door Handle Covers
-Smoked Tint for Amber & Red Bumper "Reflectors"
-Carbon Fiber License Plate Frame
-Checkered Cupholder Inserts
-WeatherTech Floormats
-A couple of "S" Badges in engine and on rear hatch(Ordered in Stealth Mode)
-Black Spade Valve Stem Caps
I have stuff left but when 5:00AM rolled around, I decided I should shower for work!!
Items Left to Install:
-Megan Racing Lowering Springs
-WMW 15mm Spacers
-Forge FMIC
-Hella Supertone Horn Kit
-Carbon Fiber Door Pins
-G2 Caliper Paint
-Tint
-Custom Racing Stripes (Front Bumper, Hood, Rear Hatch)
-Manic Stage 2 Tuning
-High Flow Downpipe (Have not decided on Manufacturer)
-NM Rear Sway Bar
-SPC Control Arms/ Camber Kit
and much much more to come!!!!!
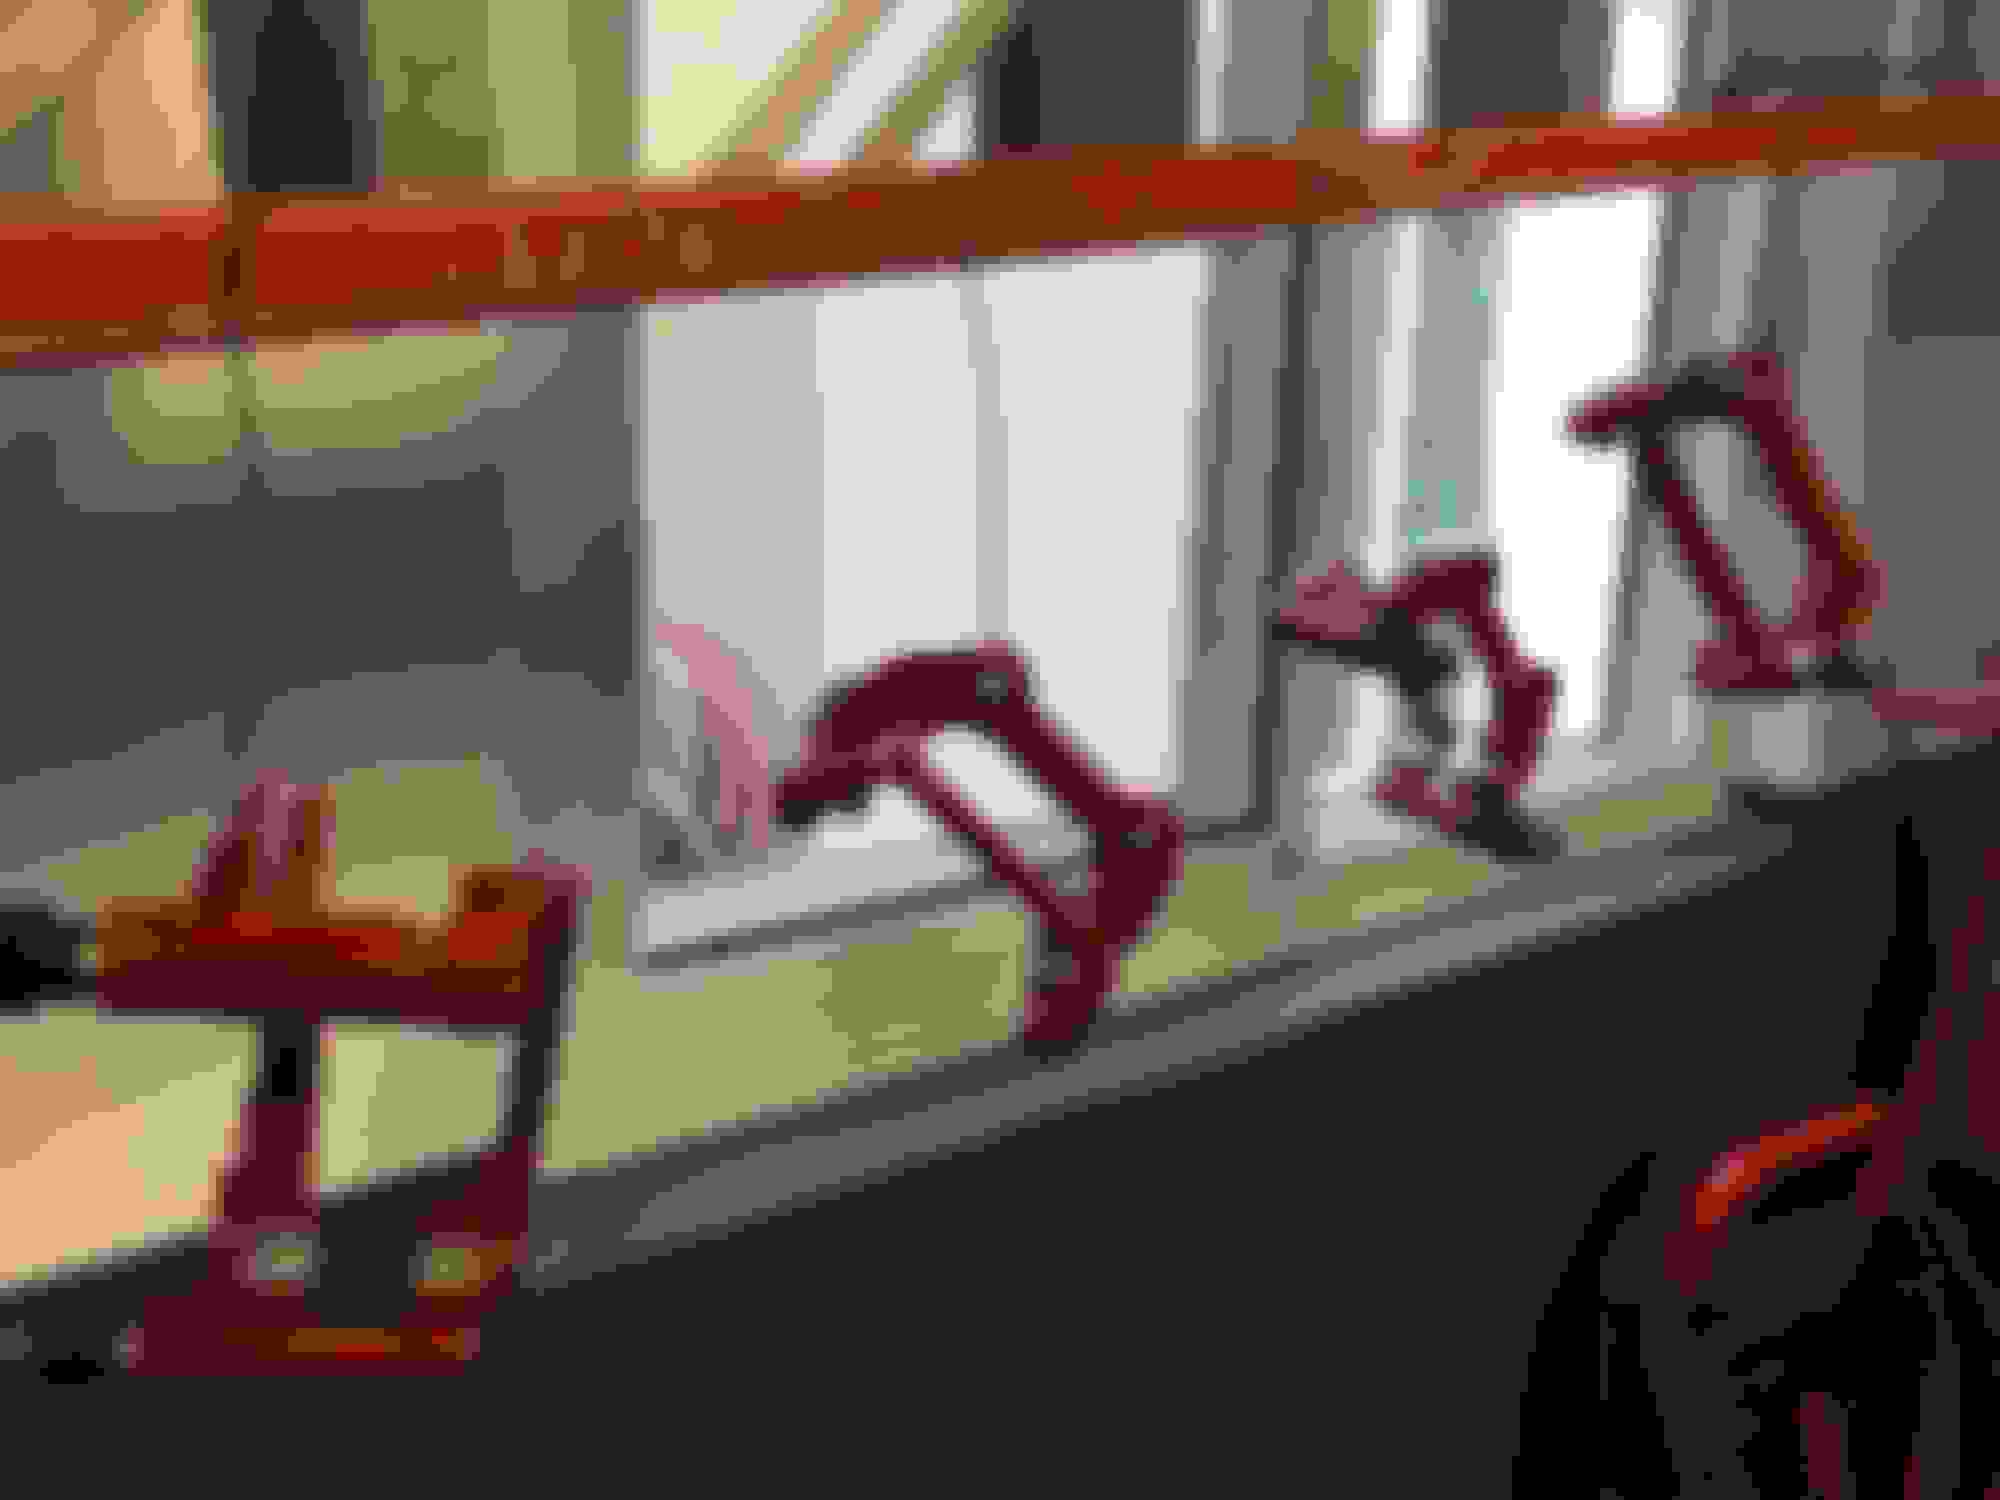
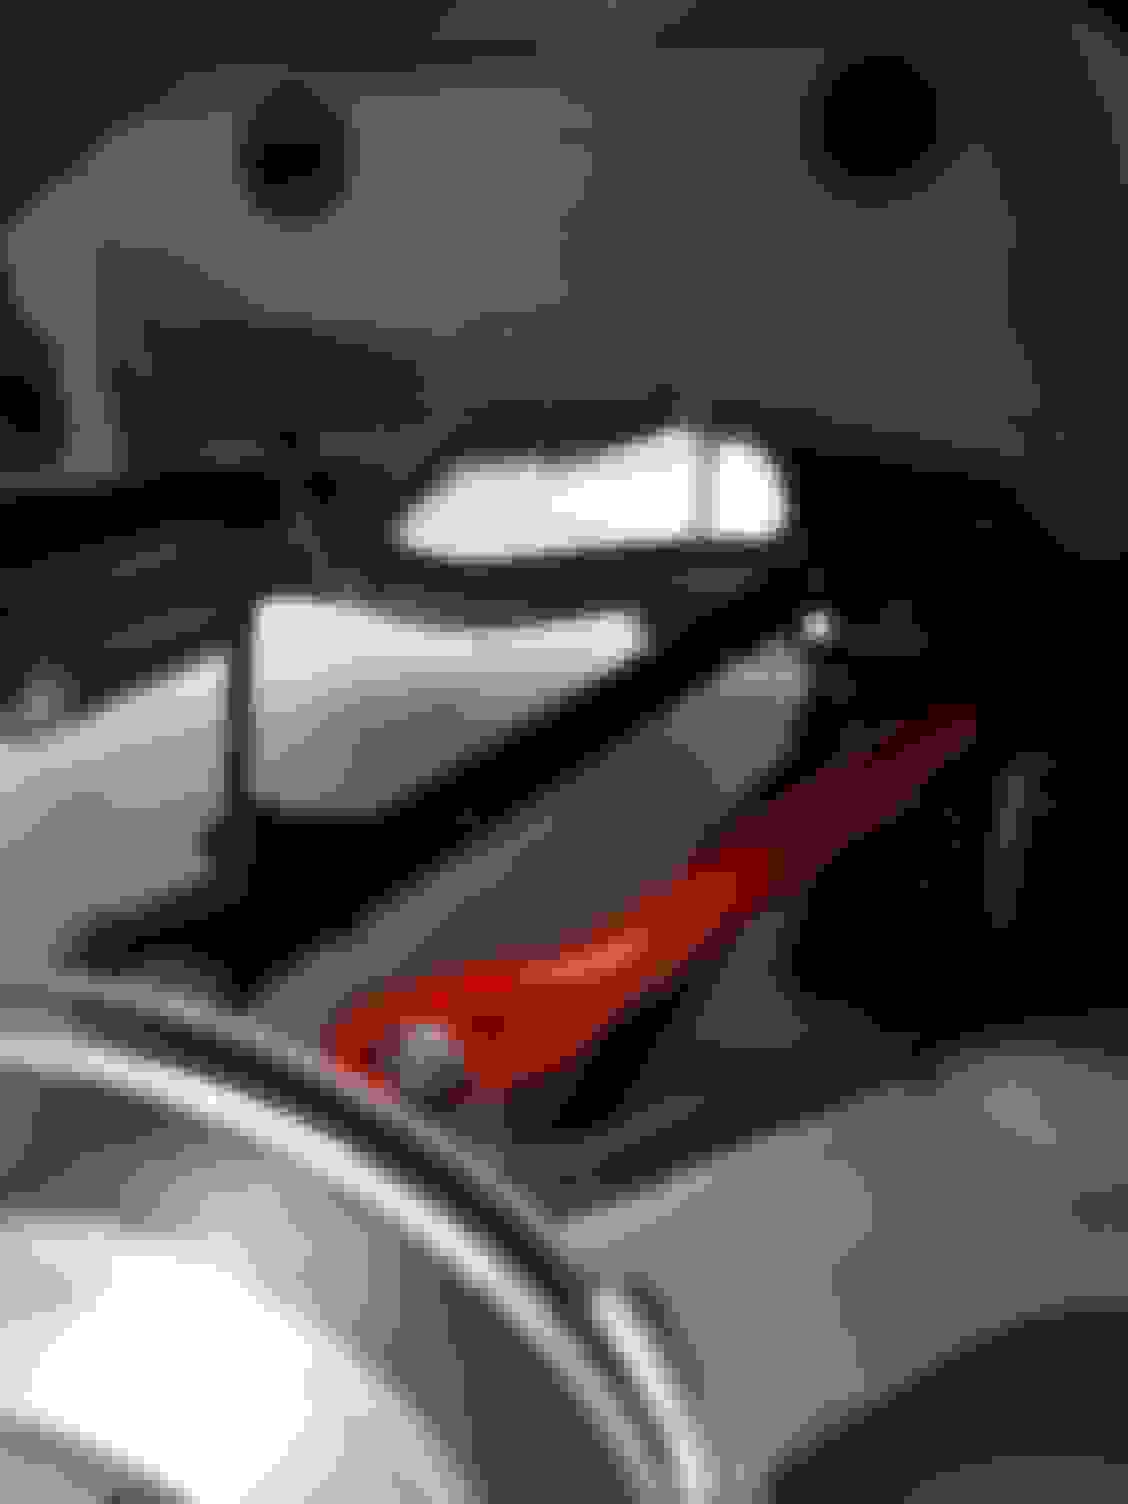
I attached a couple pics of the car at the dealer when we picked it up, and a couple for some of the installed parts!
Drive Safe and Drive Often. Rubber Side Down. Over and Out.
I know....lol....However, I started buying parts as soon as I ordered the car. Thus, the parts were staring at me in the garage for over 2 months while I waited for the car!
I know some say to "feel" the car when it is stock, however, the mod bug within me is strong. Take care, happy motoring!
Thanks! The garage has actually been a mess lately as i just finished some work on my 2009 Toyota X-Runner and most recently, the work on the CM.
Im going to clean up a bit this weekend and I will post a few pics of my layout, maybe it can give you ideas for your own space! Take care and Happy Motoring!
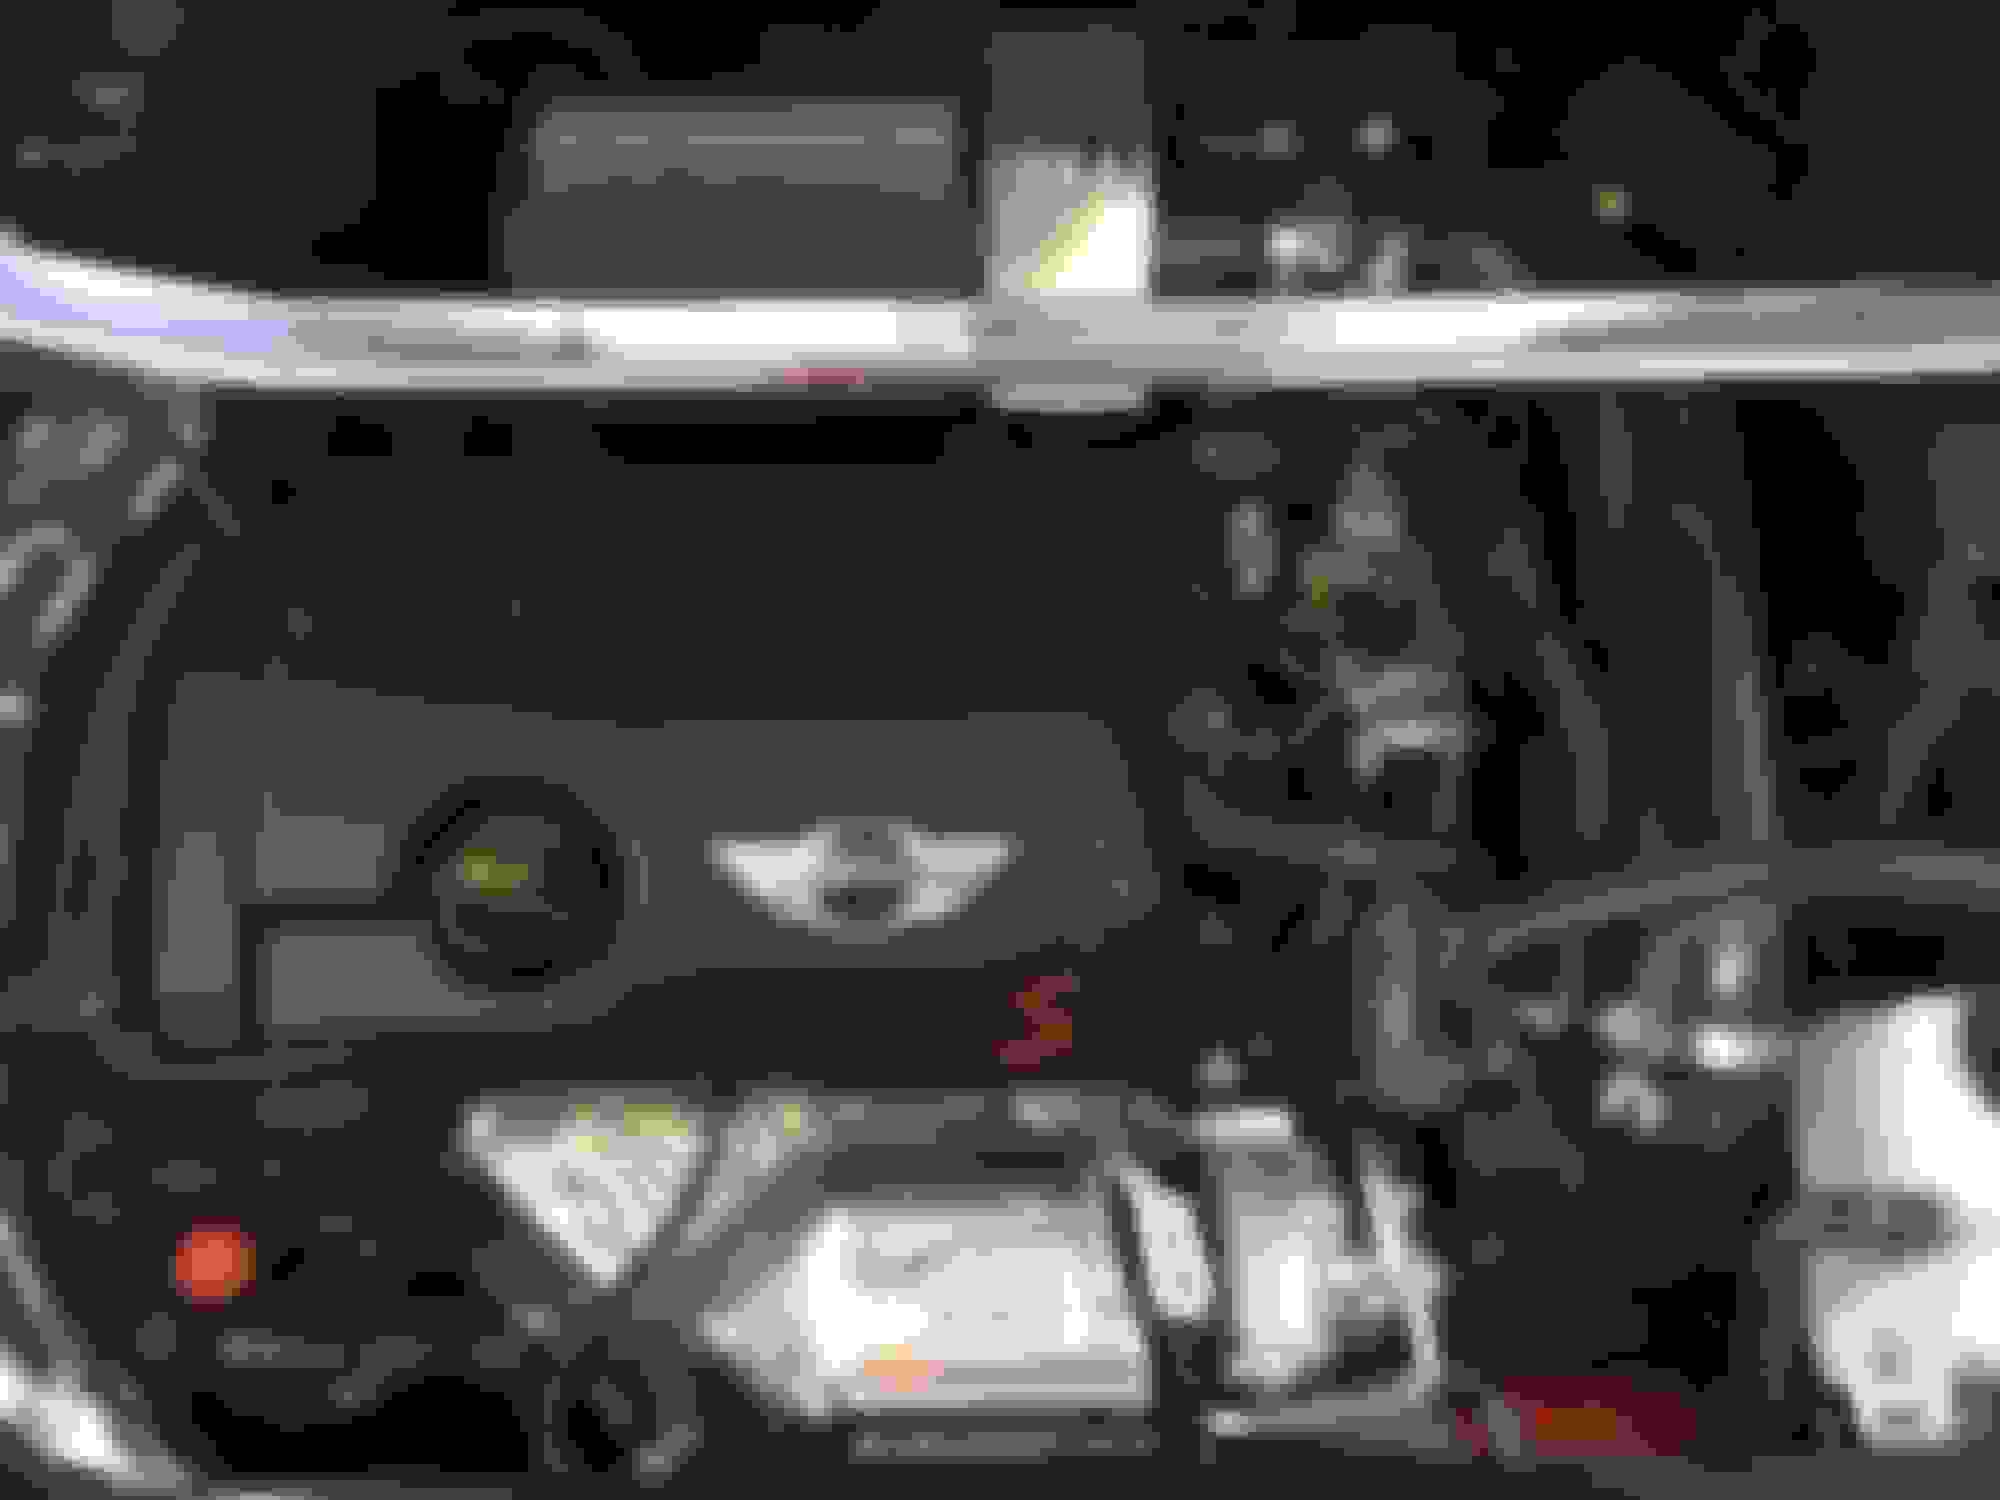
I got around to installing some more items. I installed the JMTC "ICI" Pipe and NM OCC.
The ICI Pipe required quite a bit of "blood,sweat, and tears" as it is a very tight fit, but Arric from JMTC was extremely helpful and walked me through the process over the phone when I would hit a roadblock.
The NM OCC is not really made for the Countryman, thus, the mounting bracket they designed onto it does not work for my 2016 CMS. Thus, I cut off the diagonal portion of the bracket, which I then cut into 2 rectangles, drilled them, drilled the front support beam, and mounted the OCC!!
Have you installed the NM cat back? I would like your opinion on how it sounds compared to the stock exhaust. Your mini looks great! I have the same 2016 Mini but mine is being lifted instead of lowered.
Have you installed the NM cat back? I would like your opinion on how it sounds compared to the stock exhaust. Your mini looks great! I have the same 2016 Mini but mine is being lifted instead of lowered.
Hey Rake,
The NM Engineering Exhaust sounds perfect in my opinion! The OEM exhaust was non-existent and the NM sounds like what OEM should have sounded like to begin with. The tone is slightly deeper than OEM and the volume is slightly louder. It is my wife's car, thus, I wanted something that would not be "drone-y".....this system is perfect for that. Another thing is that it very much accentuates the "Pop & Burble" that you get in sport mode and during engine deceleration. The system's build quality is exceptional and was extremely easy to install. I bought a Gearwrench Chain Cutter on Ebay for like $35, and the install took about 15 minutes. The system lines up perfectly with rubber hangers and the "pipe outlets" in the bumper.
The in-cabin noise is sporty but not overwhelming, we just took a trip to Orlando from South Florida and were very comfortable. In summary, a fantastic system.
I will try to add some videos on youtube of the car in the coming weeks, I will post a link in this thread when I do.
Drive Safe and Drive Often. Rubber Side Down. Over and Out.
I received the Megan Racing Strut Bar in the mail and installed it over the weekend! The install took 10 Minutes and was a breeze. I have to say I am very satisfied with the fit&finish of this strut bar, especially at the $99 Price Point! All of the bolt holes line up perfectly with the strut tower, and the bar easily clear all engine bay parts, including my NM Intake.
I got around to installing the Megan Racing Lowering Springs last night. I also went ahead and installed the VIP Rear Sway Bar and VIP Lower Control Arms, and I also took apart the brakes in order to coat them with G2 Epoxy Caliper Paint.
The strut removal is pretty straightforward. I spent the money on the MetalNerd tool for the top of the strut assembly.......waste of money. Don't get me wrong, the tool is well made, however, its the 6MM Allen that sucks *****. With spring compressed, I attempted to loosen, and the soft allen head stripped out. I ended up doing what I always do....I grab the shock body with Heavy-Duty Rubber Hose wrapped Vice-Grips, and zipped off the top nut with an impact gun. Make the whole thing much easier.
However, the "Strut-Spreader Tool" was magical. I receommend you purchase it for this job. I placed it in the knuckle crack, turned it sideways, then removed the ratchet and left it in there will I removed & replaced the strut assembly. Also, use PB Blaster...a little lube never hurt anybody
Just to save you a few minutes, you don't have to compress the lowering springs in order to close/mount the strut assembly. You can simply put it together and then tighten the top nut.
The rears don't need an impact gun, a 16MM wrench and 6MM Allen will work nicely. You will feel the 16MM nut seat and stop once you have reached the appropriate tightening. Just give it an ol' snugaroo after that...
Got around to installing the VIP Rear Sway Bar. Its a high quality piece and it fit perfectly onto OEM mounting holes. Very easy to do....Once OEM Bar is removed, remove the 2 Rear Subframe Bolts and loosen the 2 Front ones just enough to squeeze the VIP Bar in between.
I also finished up the G2 Caliper Paint, its kind of a pain in the ***(If you do it correctly by taking the brakes apart, cleaning them thoroughly, and applying multiple coats). TIP: Only mix 50% of the Epoxy&Reactor first to the first coat and let the first coat dry for at least 12 hours. Then mix the 2nd half of E&R and apply 2nd coat. Then WAIT 24 Hours to put back together and drive car.
I got around to installing the JCW Front Lip and started with the Forge FMIC. The JCW was pretty straightfoward and the fact that I removed the bumper for the FMIC made it even easier!
TIP: If you are not removing the bumper, try to remove as many fasteners from the wheel well / fender liner so that you can move it out of the way as much as possible. It may seem like more work, but it will pay dividends in the ease of removing the lip etc...
I knew beforehand that the Forge FMIC was designed for euro-spec models, but I think with just a little modification to the front support, it can and will be done. I removed the front support so I could mock up the intercooler and see where they are touching, and subsequently, see where the support will need to be trimmed. Besides the "bottom-inside" of the front support, it seems the intercooler fits perfectly!
I also installed the VIP Lower Control Arms. I have to say I am very impressed with the quality of their products, and Van from VIP is very helpful over the phone. Check out their site.
I will be finishing up this weekend and will post some pics of the trimmed support and the fastener solution I come up with.
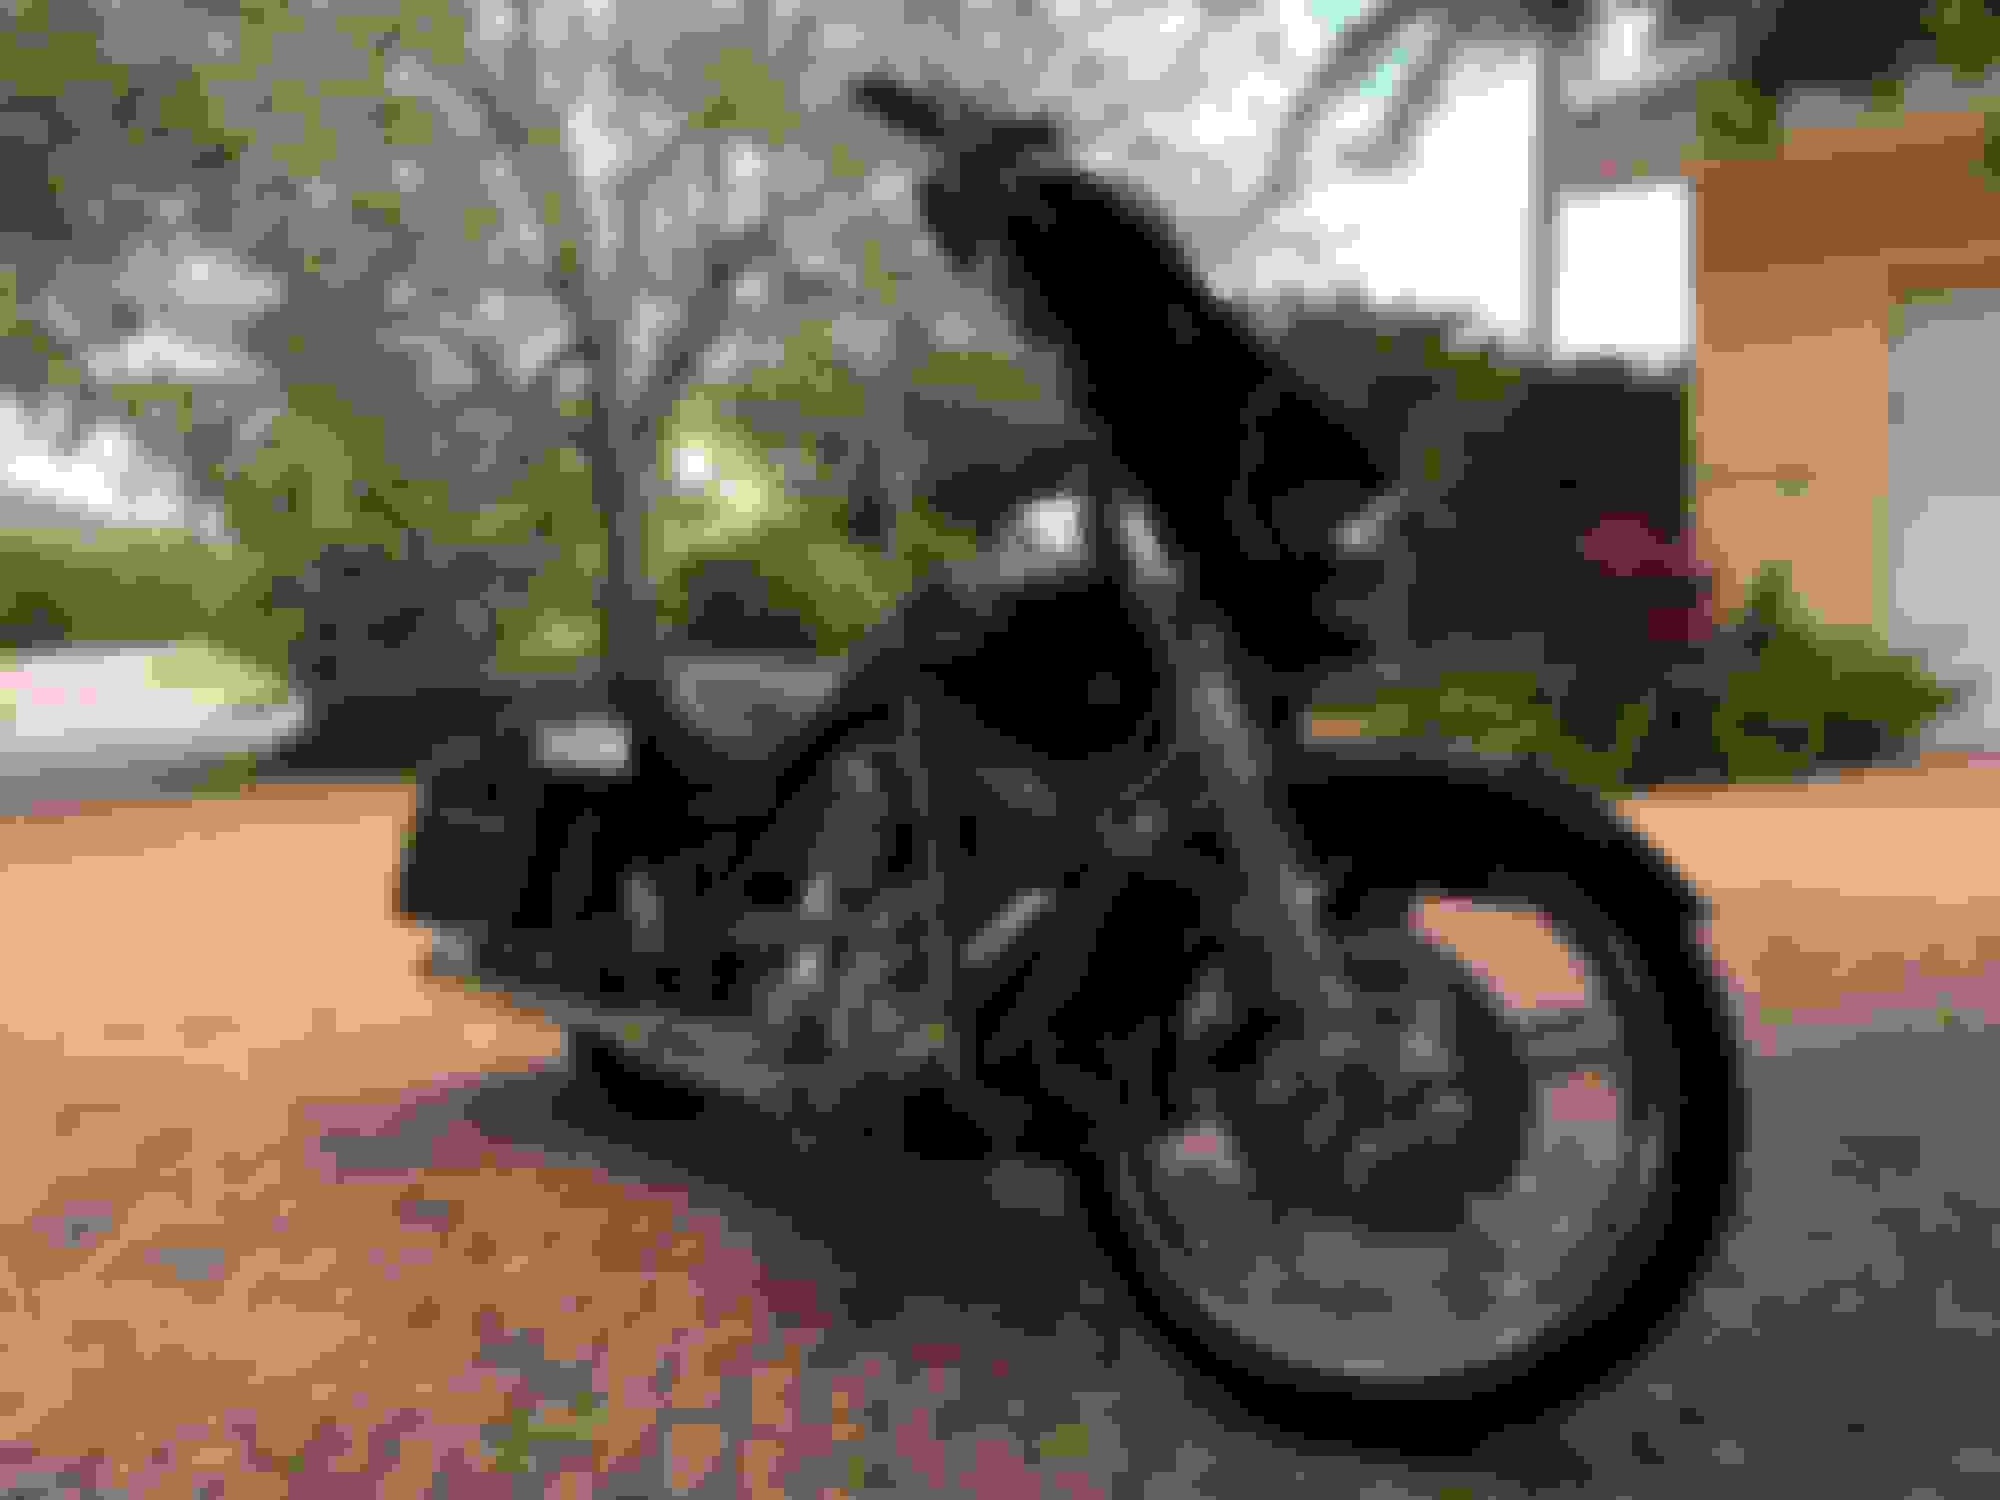
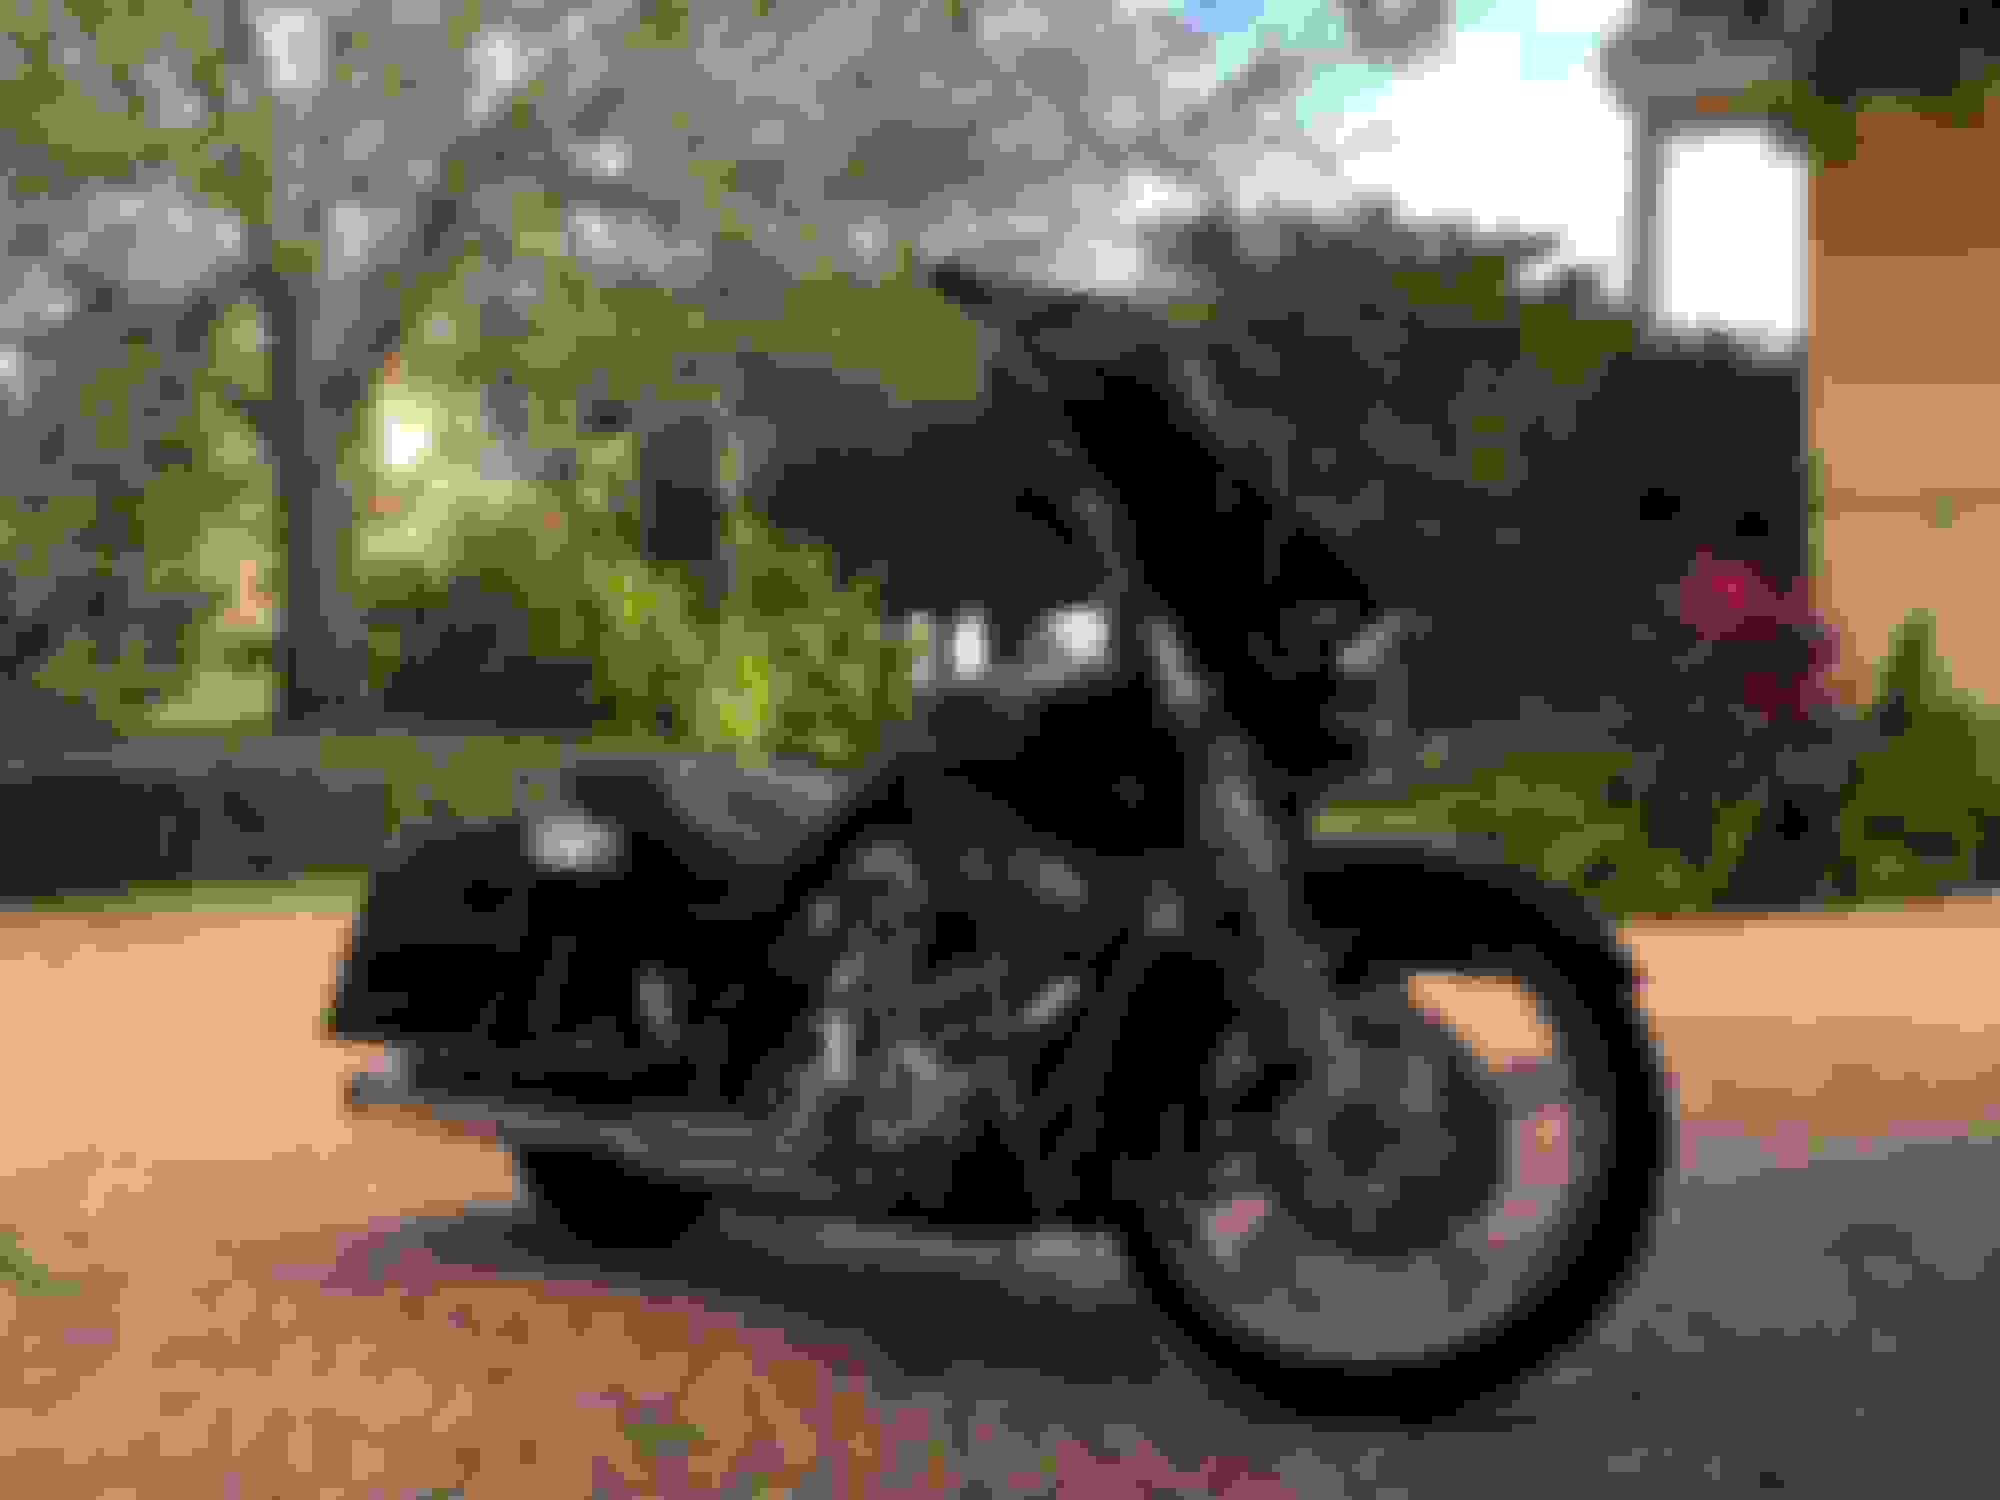
I have also shamelessly added a few more snaps of my 2010 Street Glide after giving her a quick wash.
Drive Safe and Drive Often. Rubber Side Down. Over and Out.

 12-10-2015, 07:07 AM


 I ended up doing what I always do....I grab the shock body with Heavy-Duty Rubber Hose wrapped Vice-Grips, and zipped off the top nut with an impact gun. Make the whole thing much easier.