When you click on links to various merchants on this site and make a purchase, this can result in this site earning a commission. Affiliate programs and affiliations include, but are not limited to, the eBay Partner Network.
By monitoring closely the wear patterns of the tires I came to the conclusion that they can benefit greatly with increase in rear wheel cambers. The front tires do not have excessive outside wear when driven hard at ORP. All these tires have been used in the front and the rear wheels and cross swapped too. The wear biasing to the outside are mostly contributed when the tires were place at the rear wheels.
In the photo below the second tire from the left came off the LR after 3 sessions at PIRs' clock wise circuit. You can see both inside shoulders of the inside tires have very little load because of the near neutral camber settings. I cannot adjust the front as I have IE fixed plates.
these photo was taken after the most recent PIR track day from left to right - LF, LR, RR, RF
One thing I really like driving at ORP is the bi-directional track configurations. As a habit I was cross swapping the wheels after the first day. I would soon realize this is counter productive for two reasons. For one the track wear the outer and inner tires quite evenly because of the large number of hard turns in both CW and CCW. Additionally even if they are not, by running the opposite direction the next day the wears are even out. So the main thing to do is swap the front with the rear after each each day of driving to maximize the tread wear utilization.
I routinely use a rubber mullet to look for suspension joints and brake fasteners that may have worked loose, or just plain worn out. This method saves a lot of time and that is how often rail mechanicals perform inspections. They have inspection hammers of different size and material that are purpose-designed just for inspection. Some have long handle so the worker does not have to bend over when inspecting the track. He can just walk along the track and check the fasteners without bending the back.
I was performing post-track day inspection of the suspensions, brakes and exhaust for loose fasteners, broken or worn parts. The sound of the passenger side inner tie rod end caught my attention. It has that signature loose ball joint kind of sound to it when struck with the mallet. I tried hand twisting the tie rod with my hand but it does not feel loose. It is just a hair easier compared to the one on the driver side. A few more strikes the inner tie rod end sound loose but not the outer end. I thought may be I should have a replacement tie rod on order.
I didn't expect a tie rod to be worn at mere 50,000 miles, so I decided to inspect it more closely again. Here is the video that I took that reveals the cause.
The sound at 2s and 15s sound different. The reason is revealed by the difference in the steering rack mounting supported on the right and the left side. The right side at 36s has vibration isolation while the left side at 40s is rigidly mounted. It turned out my fear is just a false alarm. The difference in sound of the two tie rod end links are due to how the two ends of the steering rack is mounted. When I installed the polyurethane bushing I did wonder why only one side has the vibration mount.
The R56 came with the top of the strut tower mounting holes slotted for the mounting of the strut. This allows for about -0.3 deg more camber. You could do that (slot your mounting holes). Or easier yet: https://www.waymotorworks.com/powerf...0-r52-r53.html
That would give you about -2.5 deg of front camber. My guess is that they move the bottom of the strut outward, so there shouldn’t be a problem with the factory size spring hitting.
I should had posted this video first from last Friday's event. It was the first session going out in cold tires and the track surface was slightly wet from the intermittent drizzle. Ambient was about 52F. Desire sported a this set of worn Nitto NT01s. The front pads were new Raybestos ST-45.
In this session R53 Mini ran with a Red Gulf R, an Audi S3 RS R, a silver S2000 and a blue S2000, a white BMW M4, a red MR2, a white Miata, an orange Miata, a blue Civic Type R, 3 Corvettes, a Porsche Cayman, an orange Viper, and another white BMW M (M3?) car. We were careful not to overdrive and we were pleasantly surprised the amount of grips these tires developed despite the cold and damp conditions. We were also told there is a tree stump inching itself up the tarmac at the beginning of the back straight.
The strangest things is I didn't even notice there were no cones at turns driving all three sessions. I would only notice their absence reviewing the videos after. I actually like driving without these training aids except learning a new track.
We use cones a lot because of the mixed run groups at most of the events I go to and they are used by the novice drivers. It is fun when they take them away in the middle of the day and it is almost like I am lost in the woods without trail markers. Even if I don�t think I am using them, this just points out how much they do get used, if they are there. I wish our groups would remove them more often.
I watch the video and really like your line and smoothness. It looks like a fun track and well suited to the MINI. I would like to point out that at 5:30 the Red VW (I think) passes you. At this point you tightened up your line, hit all of your apexes (that is touched the curbing at each apex). Very nice and quick. At 5:56 you are entering into a quick pair of right hand turn, which you typically single apex on the second right. This is a technique that I use on turn combinations like this. I have found the MINI gets more unsettled if I take a sequence like this as turn-little straight-turn; the car just doesn�t seem comfortable doing this. It seems to like the smoother flow of a single apex.
Just one question. In the next lap at about 7:47 you make a steering correction going into the left hand turn. Could that be from being a touch to early on the turn-in or is it something else? I have seen this in other videos on this turn.
The R56 came with the top of the strut tower mounting holes slotted for the mounting of the strut. This allows for about -0.3 deg more camber. You could do that (slot your mounting holes). Or easier yet: https://www.waymotorworks.com/powerf...0-r52-r53.html
That would give you about -2.5 deg of front camber. My guess is that they move the bottom of the strut outward, so there shouldn�t be a problem with the factory size spring hitting.
I have seen the inner ball joints that Powerflex makes for R53 while shopping for their bushings. Very smart for them to fill the void. That's the ticket if I really want to get more camber with the current springs/shocks.
I unwittingly bought a set of Vorshflag camber plates from Way with the top perch for stock springs. I would only realize later that I am not going to get any measure-able gain over the IE fixed plate so I haven't install them yet. When checked the gap between the spring and the strut tower there is less than the little finger tip of space left. I don't know if Vorshlag plates adds a bit more caster which turns into camber in turns. It is possible IE already done that.
For now I am taking a small step at a time and see how the tires wear.
We use cones a lot because of the mixed run groups at most of the events I go to and they are used by the novice drivers. It is fun when they take them away in the middle of the day and it is almost like I am lost in the woods without trail markers. Even if I don�t think I am using them, this just points out how much they do get used, if they are there. I wish our groups would remove them more often.
I watch the video and really like your line and smoothness. It looks like a fun track and well suited to the MINI. I would like to point out that at 5:30 the Red VW (I think) passes you. At this point you tightened up your line, hit all of your apexes (that is touched the curbing at each apex). Very nice and quick. At 5:56 you are entering into a quick pair of right hand turn, which you typically single apex on the second right. This is a technique that I use on turn combinations like this. I have found the MINI gets more unsettled if I take a sequence like this as turn-little straight-turn; the car just doesn�t seem comfortable doing this. It seems to like the smoother flow of a single apex.
Just one question. In the next lap at about 7:47 you make a steering correction going into the left hand turn. Could that be from being a touch to early on the turn-in or is it something else? I have seen this in other videos on this turn.
Thanks for the remarks and you are very observant to notice the two right hand turns that can be taken with one long sweeping turn. I am still struggling a bit on these two turns for not able to faster thru them. The surface undulate near the first apex may be the reason. These turns are those I prioritize to focus last in improving.
At 5:56 I typically take a different line than most people and apex earlier as there is quite a bit of early track out that most people don't use. Also the surface is off camber towards the right hand side so that is another reason I early apex in that turn. The sudden steering reaction is to counter steer to catch it early because the back end broke loose on me being cold and damp surface and cold tire. I caught the car many times that day and had it been last season I would have spun out many time over.
I have been reading your thread for a while and look forward to maybe meeting you since i am in Seattle also. I have been in the process of building my R53 for some light track and heavy back road spirited driving. The last post about the camber plates has me scratching my head because i developed a "popping" sound while turning the wheel while stationary or at very low speed. I changed to Pss9's, PF front Poly bushings, inner and outer ball joints and also installed a set of used TSW camber plates. I think thats where the noise is coming from but not actually sure yet.
Thanks for the remarks and you are very observant to notice the two right hand turns that can be taken with one long sweeping turn. I am still struggling a bit on these two turns for not able to faster thru them. The surface undulate near the first apex may be the reason. These turns are those I prioritize to focus last in improving.
At 5:56 I typically take a different line than most people and apex earlier as there is quite a bit of early track out that most people don't use. Also the surface is off camber towards the right hand side so that is another reason I early apex in that turn. The sudden steering reaction is to counter steer to catch it early because the back end broke loose on me being cold and damp surface and cold tire. I caught the car many times that day and had it been last season I would have spun out many time over.
That is interesting about that left hand turn. There are many turns like that on many tracks. T6 at WGI is off camber at the track edge at the turn-in. A lot of people don’t know this, but that turn needs to be started a car width away from the track edge.
As for the two close together right turns, it will be worth trying different things. Likely there is no one correct line. More than likely the smoother it feels going through it will be the fastest. BTW - nice catch on the slide.
Originally Posted by Joshua P
I have been reading your thread for a while and look forward to maybe meeting you since i am in Seattle also. I have been in the process of building my R53 for some light track and heavy back road spirited driving. The last post about the camber plates has me scratching my head because i developed a "popping" sound while turning the wheel while stationary or at very low speed. I changed to Pss9's, PF front Poly bushings, inner and outer ball joints and also installed a set of used TSW camber plates. I think thats where the noise is coming from but not actually sure yet.
A MINI with stock size springs can only get about -2 deg of camber, so the Vorslag camberplates won’t do much beyond the IE fixed plates. Like pnwR53S said the ball joints would be a nice if more than -1.2 deg of camber is needed.
We had a bit of popping from the front suspension on our R50. When I replaced the shocks a few months ago I had the shop install new top strut mounts. Popping is gone. It was a bit of a guess, but between the new shocks and mounts it is really smooth now. I would guess the bearings in those camberplates as your culprit (sorry).
Also, a warning - there is no such thing as “light track” use of a MINI...It almost turns into something more...
Last edited by Eddie07S; 05-26-2019 at 02:14 PM.
Reason: Fix typos
I have been reading your thread for a while and look forward to maybe meeting you since i am in Seattle also. I have been in the process of building my R53 for some light track and heavy back road spirited driving. The last post about the camber plates has me scratching my head because i developed a "popping" sound while turning the wheel while stationary or at very low speed. I changed to Pss9's, PF front Poly bushings, inner and outer ball joints and also installed a set of used TSW camber plates. I think thats where the noise is coming from but not actually sure yet.
The thing about CV joints is they can manifest in many different symptoms. If you own your car long enough you should developed a pretty good sense of when something begins to go. When my front CVs started to go I sensed them immediately while braking hard on track. It drove perfectly on highway and on road, except some subtle tremors. I also noted that when I go in and out of my driveway which requires sharp turns and I got gritty steering when I turn at very low speed. I was quite certain it was due to the outer CV joints going and it turns out I was spot on. FWD is very hard on the outer CV joints when you make sharp turns and worst if the suspension also need to travel long excursions at the same time as in my case. My Mini only has 50,000 miles and I am sure negotiating the driveway due to low ride height killed the CVs.
Desire is hot, especially when on track. I spent the afternoon under dealing with calibrating the MTX-L Plus A/F meter recalibration. Boy! Did I feel stupid that I 'd hidden the wideband sensor connector from harm's way. To get to it I had to remove the exhaust pipe, then the heat shields. I then had to almost take the console apart ... that would be another post.
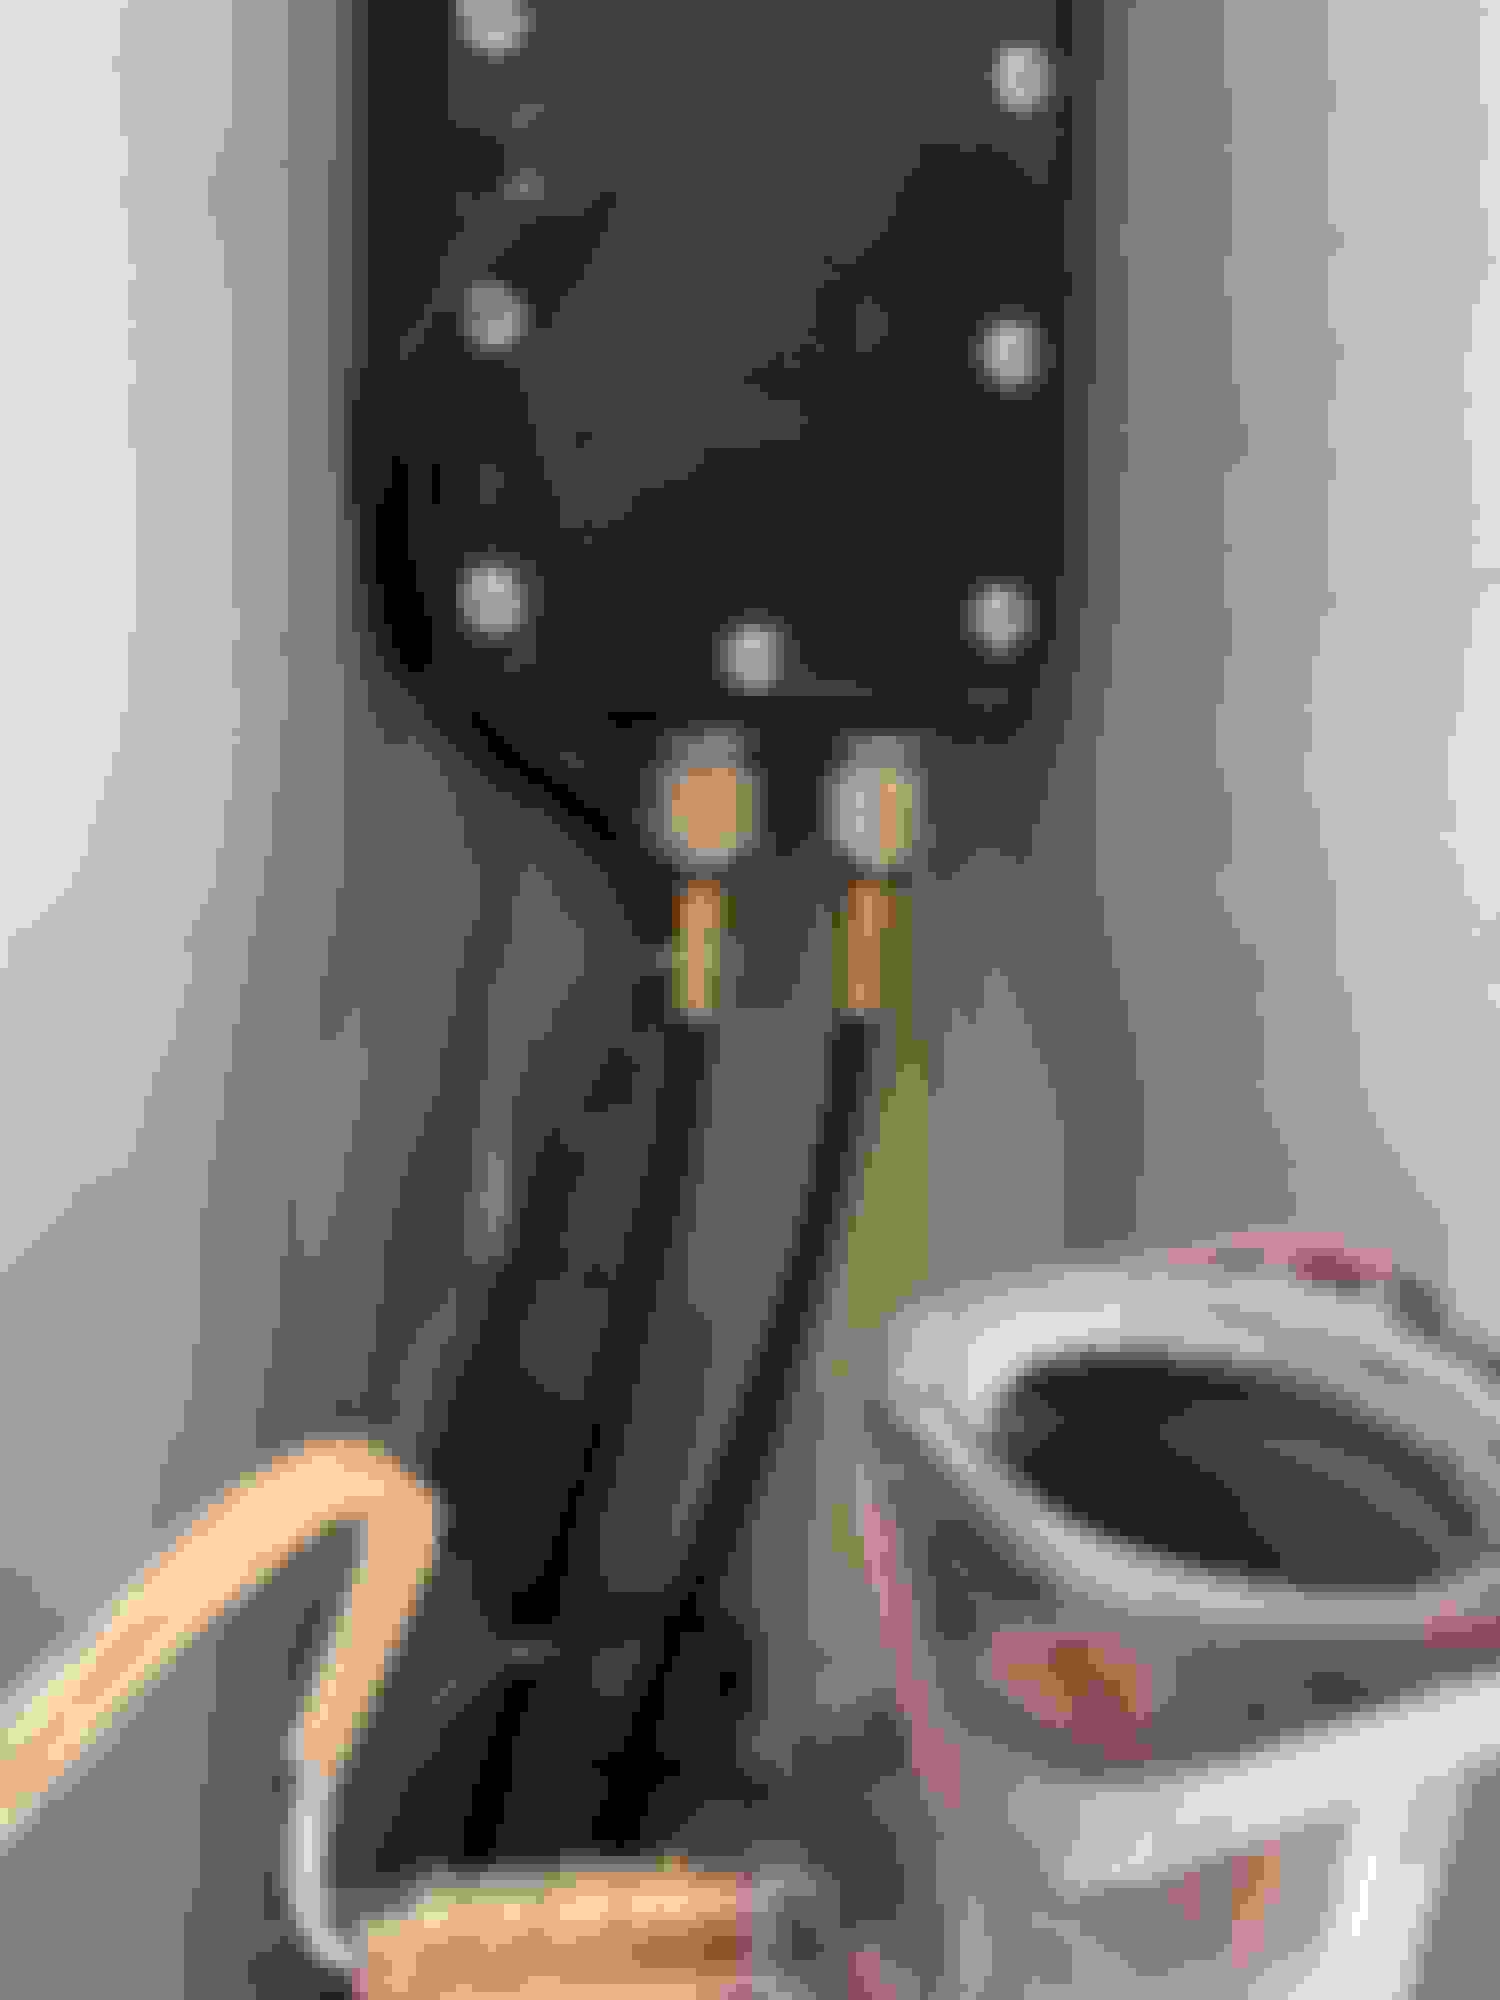
Anyway, I was checking the steering rack for play and I snap this photo. Only when I was reviewing the photos that I notice this horror. The cable and connector for the oil pressure sensor is nowhere to be seen. I noticed last year that the connector was charred by the radiant heat of the header and wrapped it with some fiberglass cloth to protect it. The harness has what look to be high temperature jacket so I thought all would be well. But this photo says otherwise. The whole harness just fu&* off and no where to be seen.
Not a big deal, as I have a mechanical oil pressure gauge, but still WTF? BMW builds junk that can't handle driving on tracks.
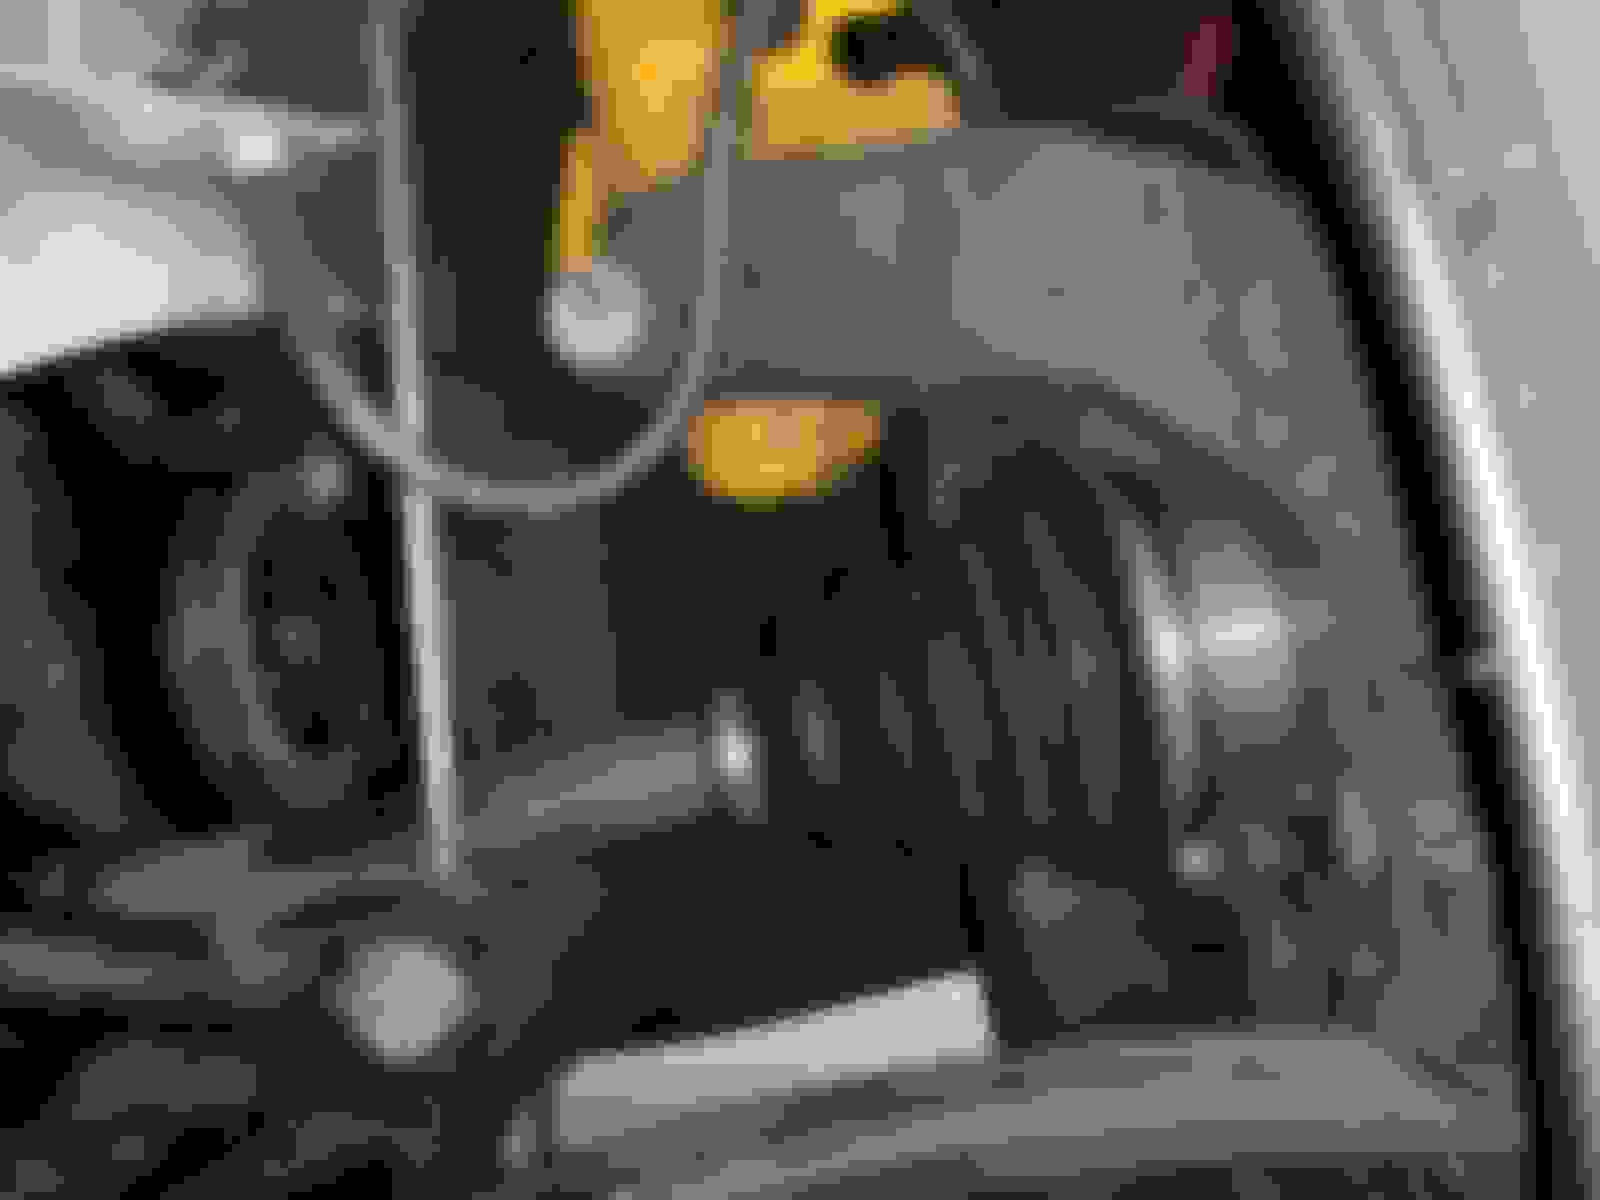
So it turns out I wrongly accused BMW can't build a car that handle track driving. Actually all is well and the oil pressure switch harness has not gone AWOL. The photo suggests it did, but the fact is I did such a good job protecting it that you just can't see it from a casual reconnaissance. To protect the harness from being charbroiled I folded it back and zip-tied it well, then covert the whole assembly with a couple layers of fiberglass cloth functions as heat shield.
this old photo shows it was tidily folded back and tied
The thing is I couldn't reach down from the top with my hand to check it because there is the M7 strut tower reinforcement bar. Neither could I reach up from under.
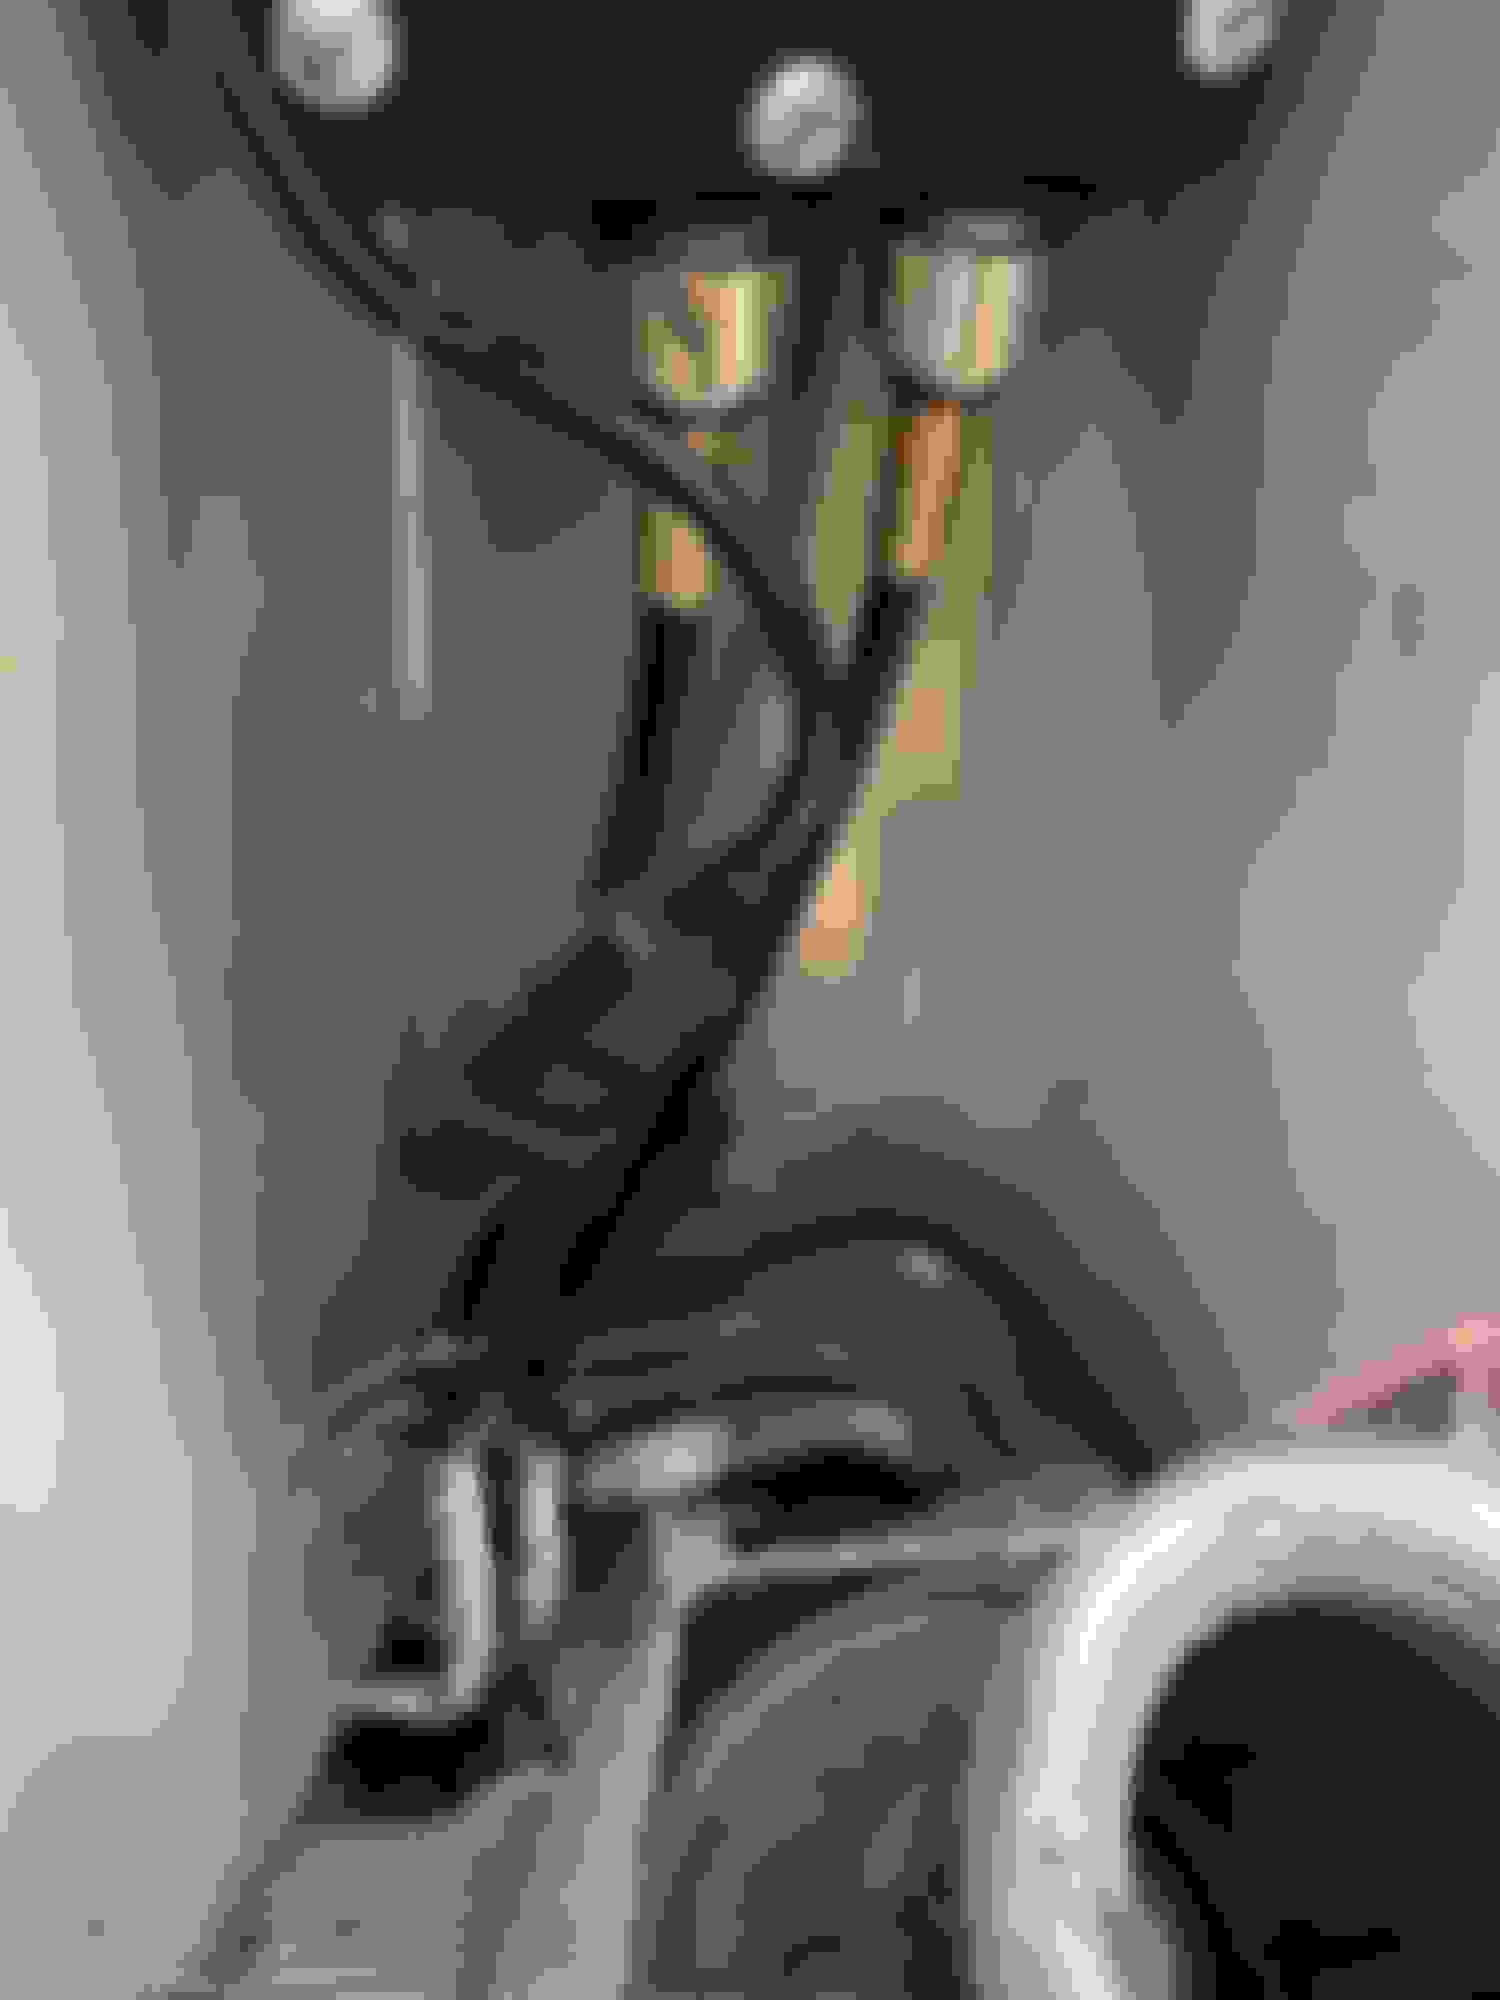
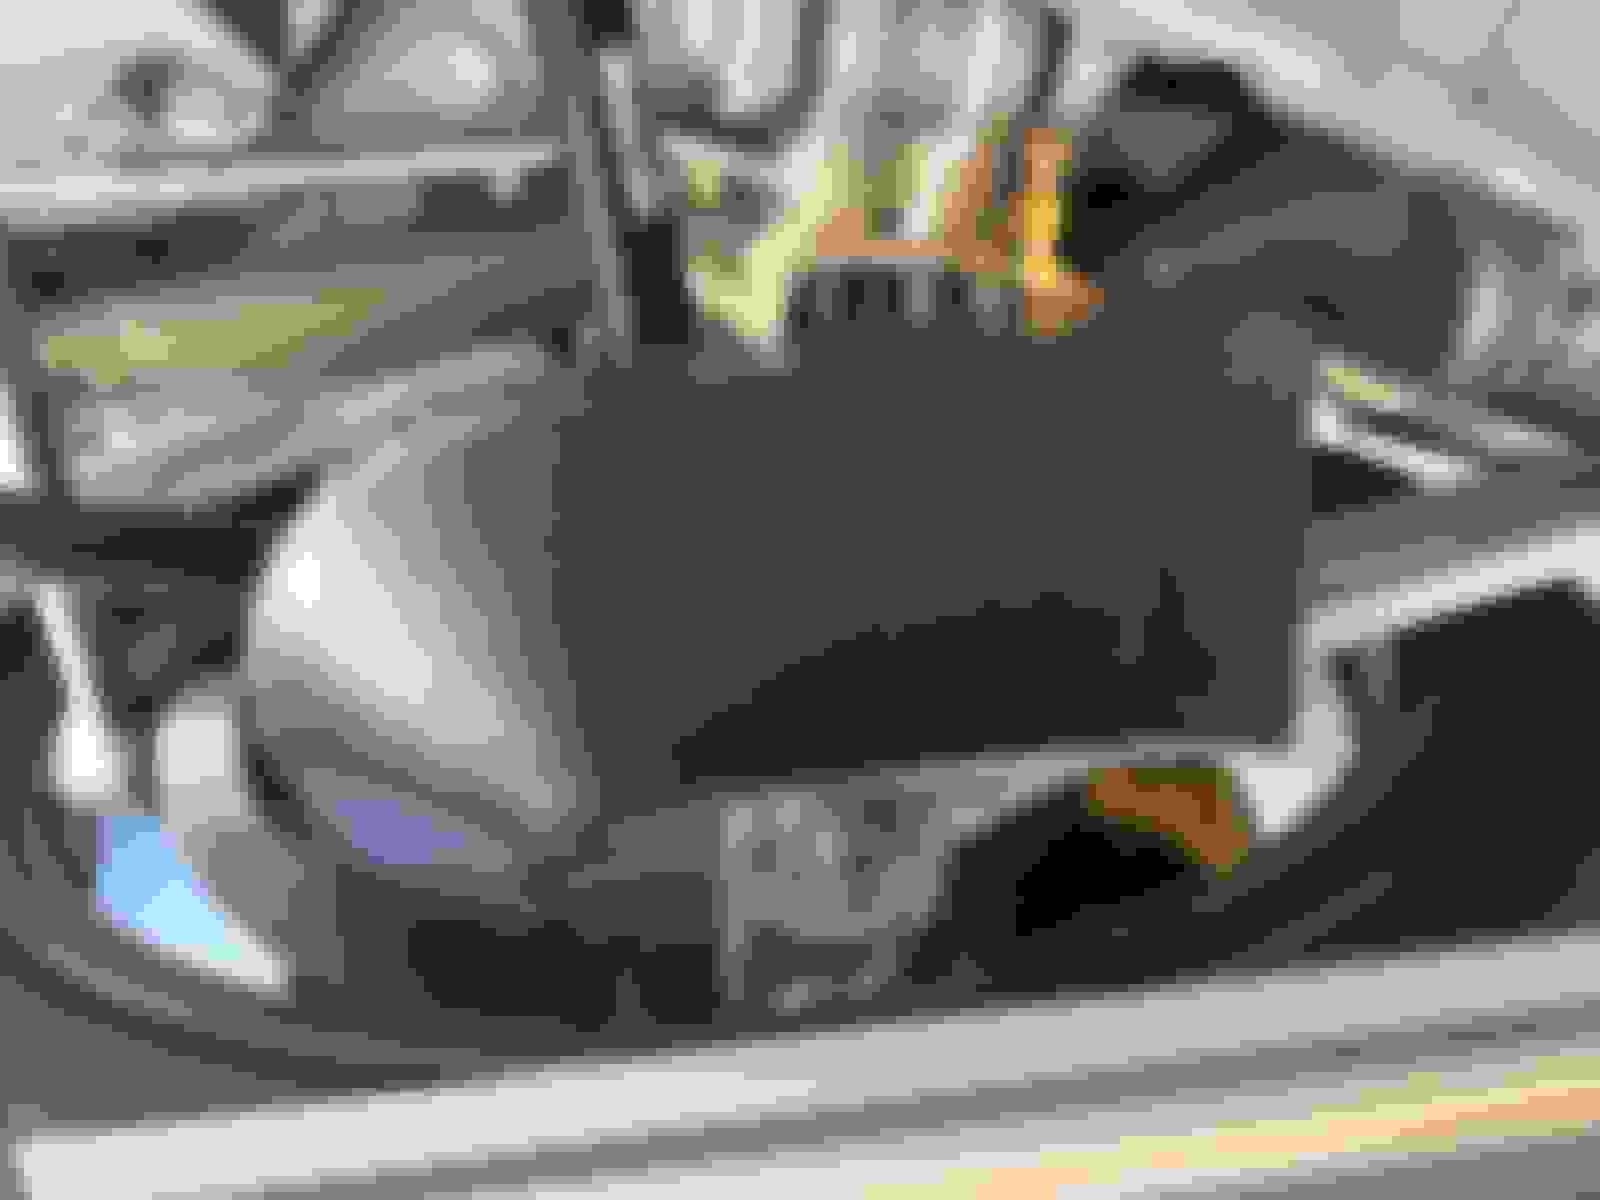
here is a photo that I took from above showing the fiberglass heat shield is doing a fine job protecting the harness and connector; the oil around the oil line for the analog pressure gauge is from oil change, not a leak at the fitting
While having Desire up on the Quickjack I took the opportunity to re-calibrate the MTX-L Plus wideband sensor. It should have been an easy job had I not did such a good job protecting the O2 sensor connector from the elements. What were I thinking?
To my defense the installation was very involving owing to the cable routing through the KoolerWorx joystick cable box. At the time a year down the road seem so distant and I wasn't thinking about re-calibration. I located the wideband sensor connector behind the heat shield as I didn't want a loop of cable and the connectors exposed to the elements under the car. I would live to regret what I did.
to get to the wideband sensor connector the exhaust pipe has to come out then the heat shield
I did such a great job protecting the connectors from the elements; note the cable the exists the "cable box" is slightly melted from the exhaust pipe heat despite the excellent SS heat shield
what I needed to do is pull a few feet of the cable from the cabin through the "cable box"
thankfully I chose the MTX-L Plus model that has the long cable
uncoiling the cable is the easy part, and I was all dreading to having to pull the center console and the dash apart to pull the length of cable through
when I install the gauge and the KoolerWorx the cable is fed under the console base and compressed very tight
Fortunately I was able to pull the additional length of the cable through without the need to tear the center console and the center dash apart. That would have been a 3 hours job.
disconnected the sensor and power up the MTX-L Plus to initiate the calibration
then reconnect the sensor but leave it in free air to carry out the calibration - see video
I re-routed the cable such that the connector is accessible and provided long enough slack that the O2 sensor may be removed and the Lambda gauge re-calibrated again. The connectors are made to be elements proof. I tied up the bundle with cable ties and secure to the front subframe.
I don't know if you've looked into these or not, but I've had brake challenges too, but I like my fog lights. These look like a decent way to have brake cooling and fog lights, though loading/unloading the trailer might be complicated. https://new.minimania.com/part/NMB40...Mini-Cooper--S
Thanks for the link. I am sorry that I missed your post. My preliminary thought of the brake ducting is exactly something similar. Rather than bringing air from the front bumper, to scoop the air from under the lower control arms. I didn't know Minimania already makes/sells a seemingly well made scoop for used with a hose. Seems it is for 2.5" dia hose.
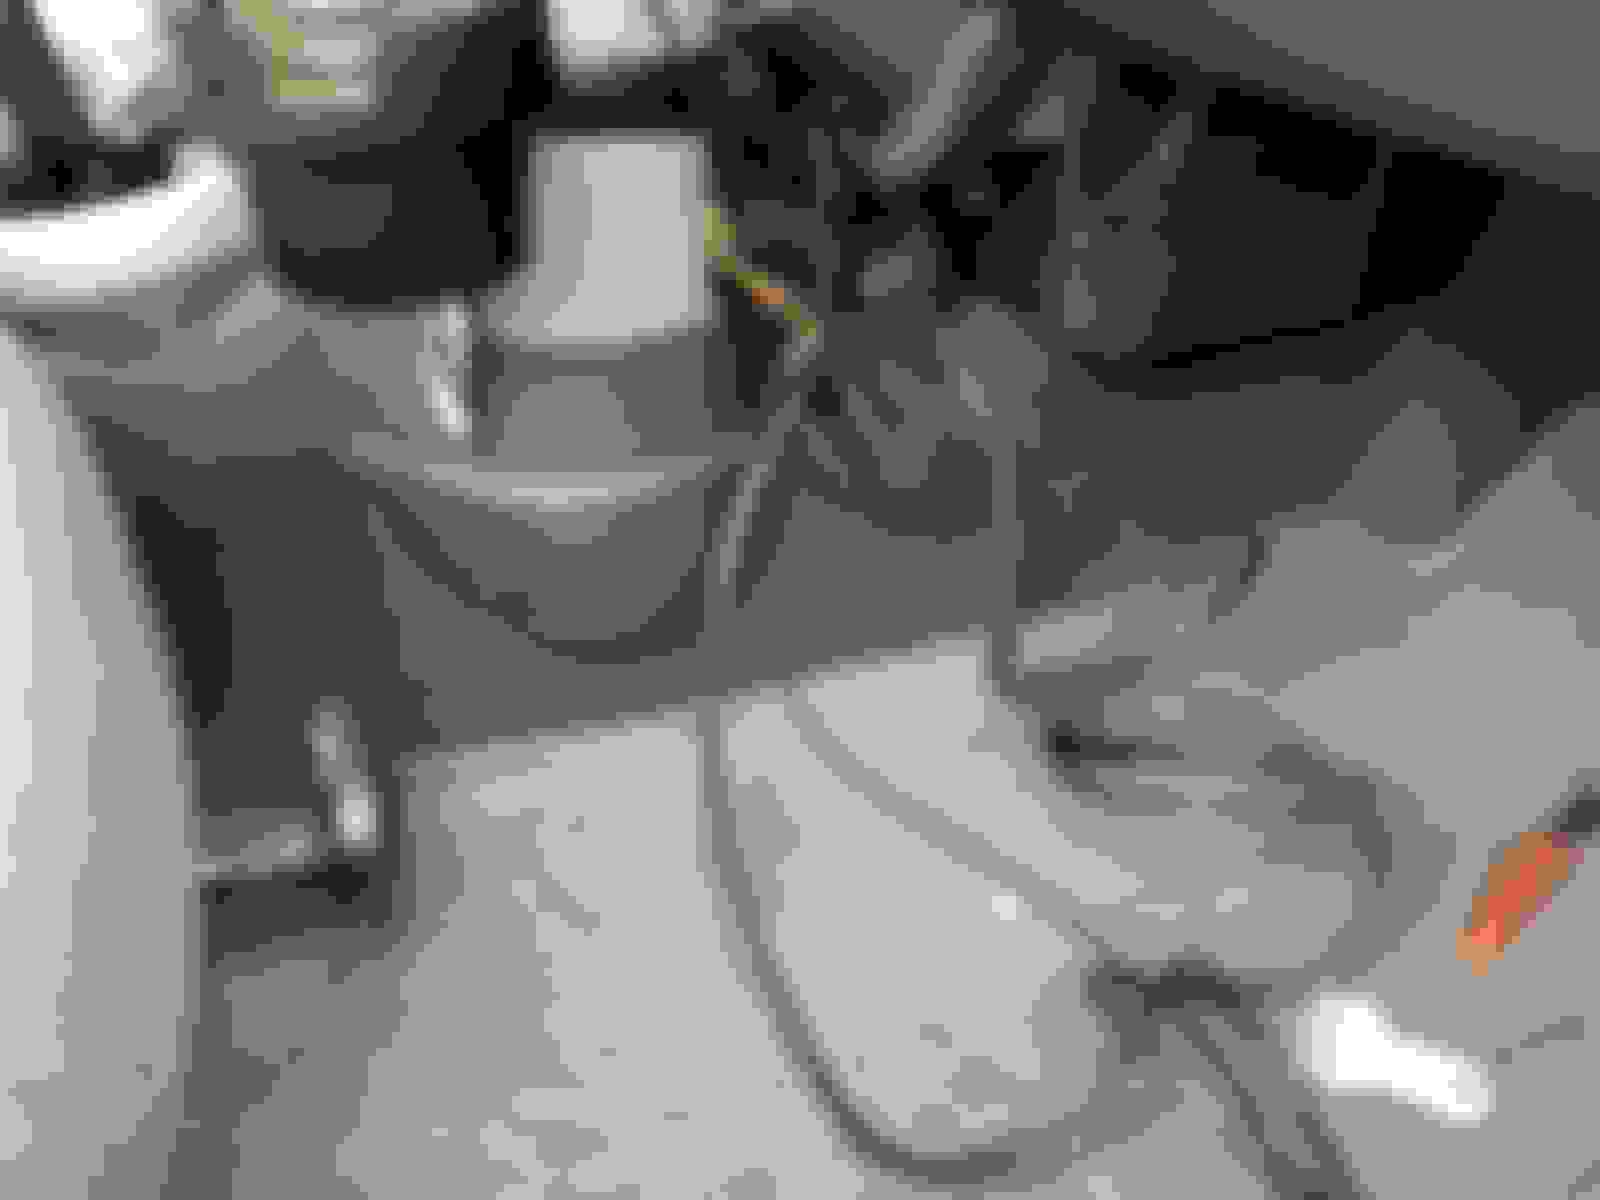
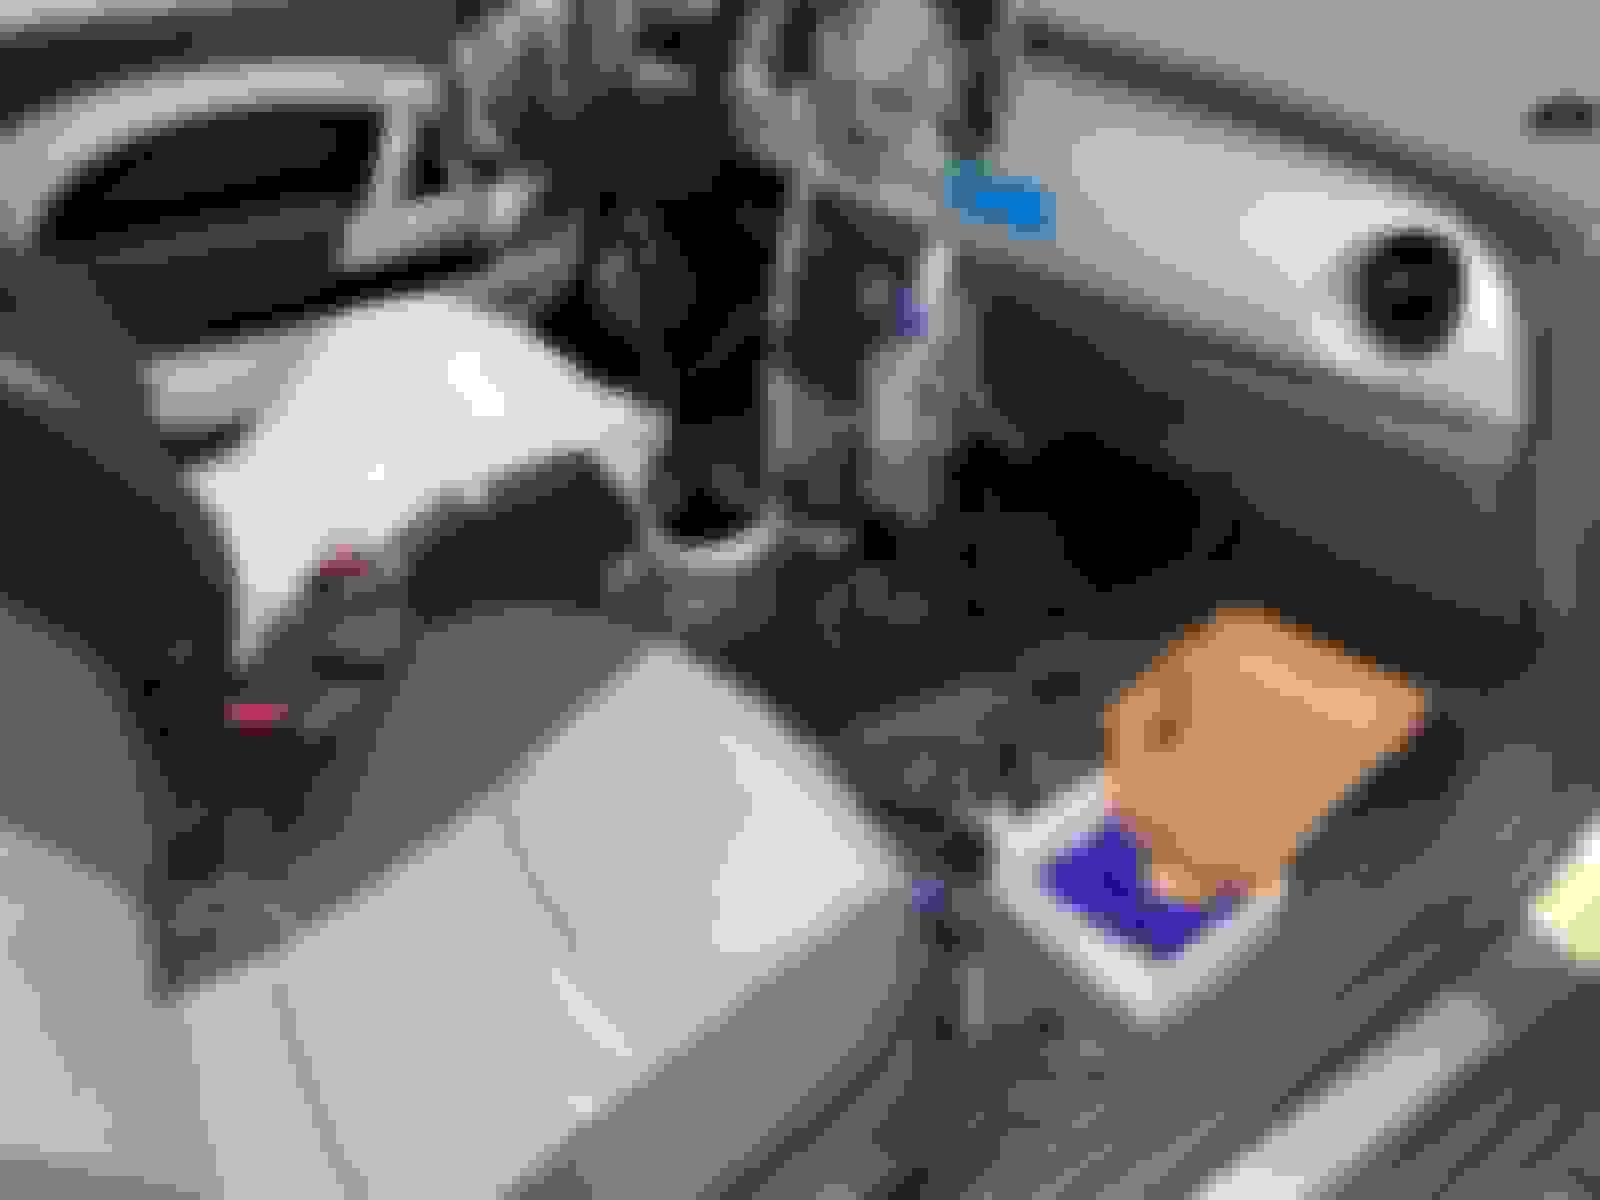
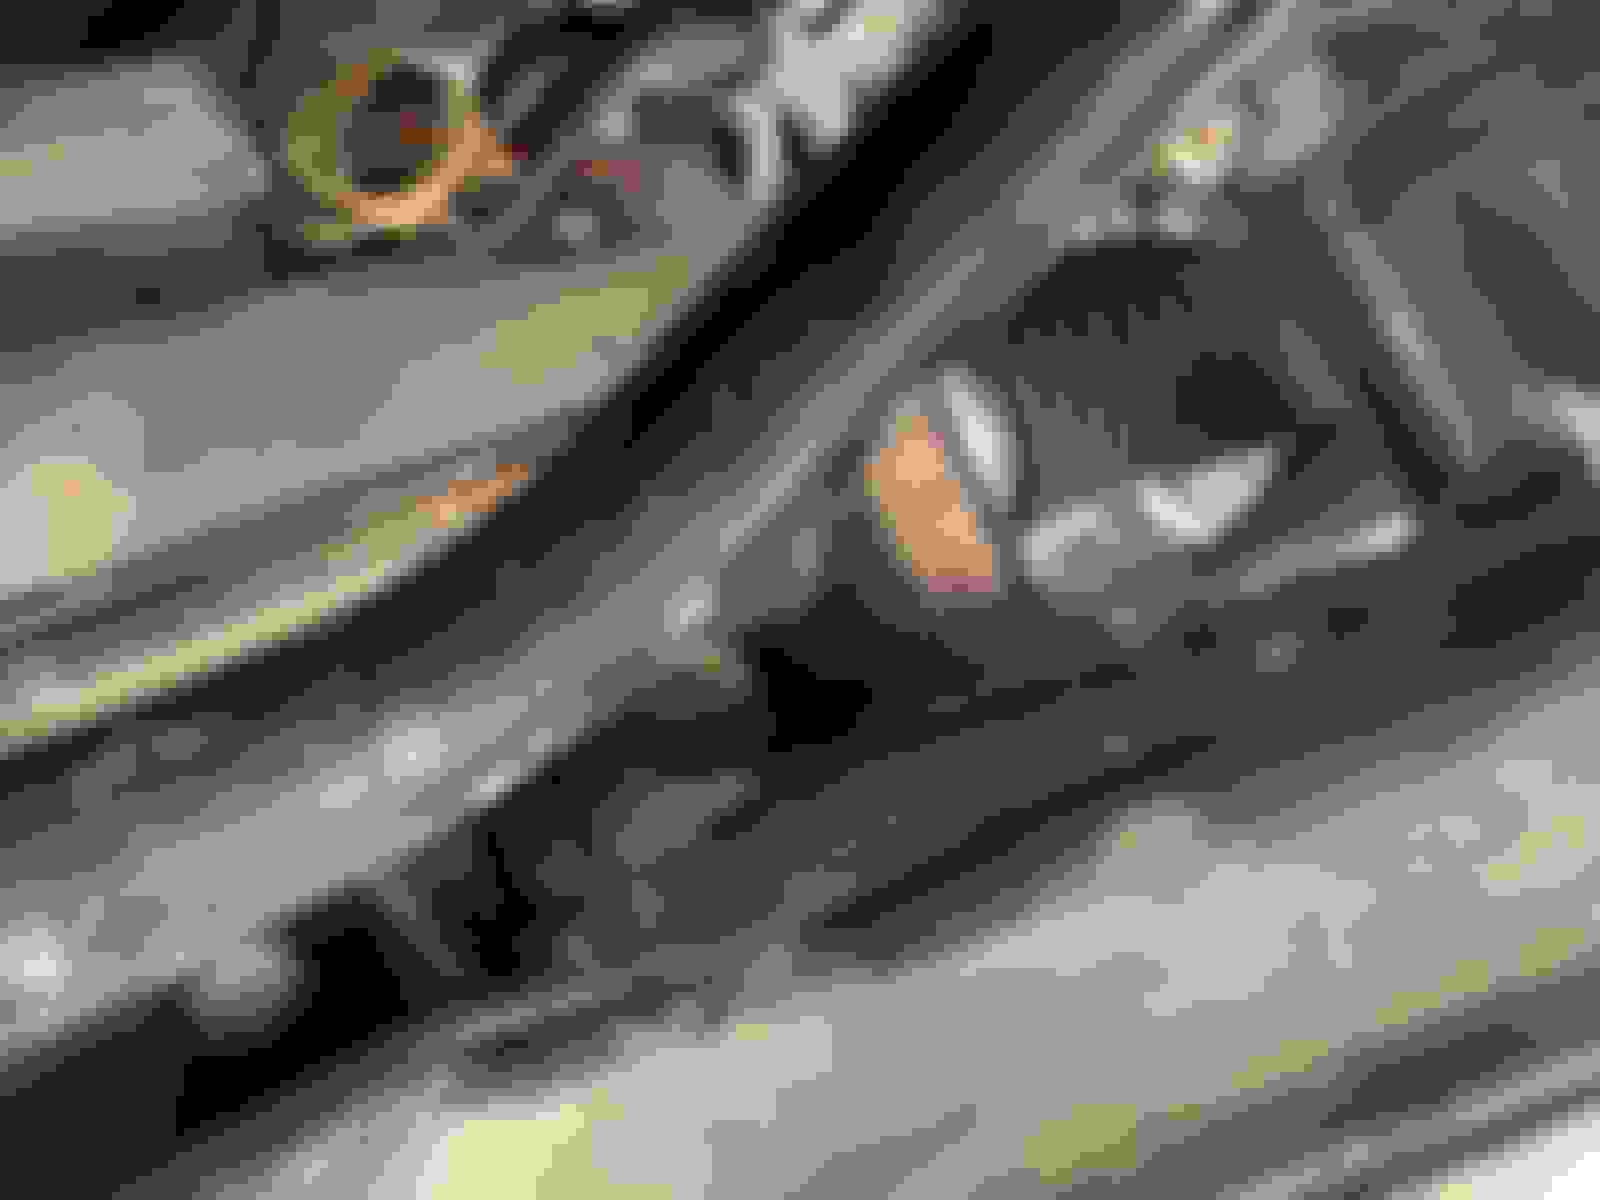
I had taken a bunch of photos with the Mini on the ground to try gauging how much room there is to even bring down a 2.5" - 3.0" hose to the aft side of the lower control arm. I know there isn't much as there is the sway bar drop link and the steering tie rod. These are the best photos that I could take slipping the iPhone between the tire and the wheel well. Out of 10 that I took these two give a good view of the potential viable hose routing.
passenger side
driver side
It seems to me the closer you drop the hose near the wheel the least likely the hose would interferes with the afore mentions stuff. I wanted to put the Mini onto the trailer so I can better check the clearance. Putting Desire onto the trailer I can check the entire steering travel arc and see what hose size it can accommodate. I am hoping for 3" but I would be happy with 2.5". It is possible even 2.5" could be too much in low ambient. The reason is being such a short hose run there likely would be too much air and cause the brake to be too cold. The bracket that I bought has a 3" collar.
I really like what I see with this brake duct scoop at Mini Mania. I was going to first try just jury-rig something to form a preliminary intake scoop but seeing this ready made/available one at Mini Mania I would likely just buy a pair and test. I called Mini Mania and the man was very helpful. I asked the diameter of the outlet and it is indeed 2.5" after he measure one off the shelf. There is only 1 left and I was concern this is NLA. He said they can get more if I just place the order.
Scooping air from under the car can be hit and miss as there can be high and low pressure areas. Seeing what Porsche does with their brake ducts which is also mounted onto the lower control arm very close to the wheel our odd is good that being a good location. BTW, even with this scoop loading on/off trailer shouldn't be much of a problem as it is right center to the front wheel's axis. Before I order the Mini Mania scoop I will first conduct due diligence by checking the hose clearance with the Mini on the trailer. Right now I have too many pans on burners to do that.
This are the ducts on my GT4. The rear is relatively simple and elegant. The front is hard to see and I have not examine it closely. It seems the front get the air from the front bumper inlets which is very different from normal Cayman.
One of the pans on my burners is the paint protection films that I am installing myself onto the Porsche. Only insane person would want to tackle a job like this. It is extremely difficult - well, like doing a good job of attempting your own drywall, concrete floor, or brick laying. Why is this relevant to Desire's braking handicap? It is the plastic thingies that is in the box the model-specific films are cut. They are the end caps for the bulk film but they reuse the container to ship the cut film in.
when I open the box of the film I immediately drawn to the plastic thingies at two ends
My immediate thought was they look like something I can use for jury-rigging the front brake ducts with. The obvious problem is they are far from aerodynamic even in my laymen's eyes.
Actually I am. I have read that time to time. 3D print seems so slow and I would grab the tin snip, hammer, and the welder like Nik Blackhurst. I was ready to build mind with fiberglass laminate if necessary too, but with improvidded low tech made mold.
I haven't seen that post. Bravos for the valiant effort.
When I tested fitted the brackets from AAF I pulled out the stock dust shield and looked to see how it is to modify and it did not appear to lend itself for the re-purpose well.
Only if getting my trailer out is not so involving I would look into the brake duct sooner. This is my most recent change in tack to get the trailer into the spot, as I am tired of trying to back it into position that involves tight turns and negotiating uneven and upslope terrain. Motorized trailer mover would not work well.
this photo show the tight uphill esses the trailer must negotiate When the trailer started to roll downhill, both feet braking is required.
I believe in travel light. Just light enough for the purpose of the mission. Rather than bring a big and accurate tire pressure gauge I bring this plastic one that came with my Suzuki motorcycle from the college days. I only care about the tire pressure to +/- 1 to 2 PSI. This gauge is not that accurate but thankfully there is a plastic adjuster screw that I used to calibrate to match it to my bigger gauge. There is no traceability to NIST.
I like it being tiny and light because I can carry it in one of the baby-serving size cupholders in Desire and not have to worry it being lethal projectile in case of a crash. The advantage of it is there in the car is I can check the pressure anytime I come off the track fast.
Now, in addition to this pressure gauge I bring a pyrometer to monitor tire tread temperature. I rely on the pressure gauge to manage wear across the width of the tire and pyrometer for how I drive, tire compound, track surface and temperature, and most importantly, ambient. At least these are what I am learning.
my plastic toy tire pressure gauge
it is safe to carry in one of the cupholders on track
Desire is a Maniac. She tried to have us both killed in the last session at PIR this past Friday. A little bit of drama at 16:00 begun at turn 10 going in a bit too hot . Oh, and who turned on the cruise control?
I went back to review the video of this session and especially why we had the drama at turns 10 and into 11 @ ~16:00. just before the start of that lap a light drizzle started around 14:47 and you can see the scatter droplets on the windscreen. The track surface just got that much damper and had it been warmer, or just a bit of breeze it would have restored the traction but this afternoon it didn't. I wasn't thinking of the reduction of traction (lesson learnt now) but was trying to maintain and may be improved the lap time. I hugged closer to the wall in the back straight as it is slightly curve to the right. I braked as late as possible towards turn 10 and found the Desire had less grip but thankfully I reacted early enough and did not over correct in each subsequent twitching of her hog tail.
It could had ended badly and that is the fastest but short turn at PIR. We were about 75 mph. Also in the following lap @17:45 the outside curb which I always cut to make the turn for 12 got slippery and upset the turn in.
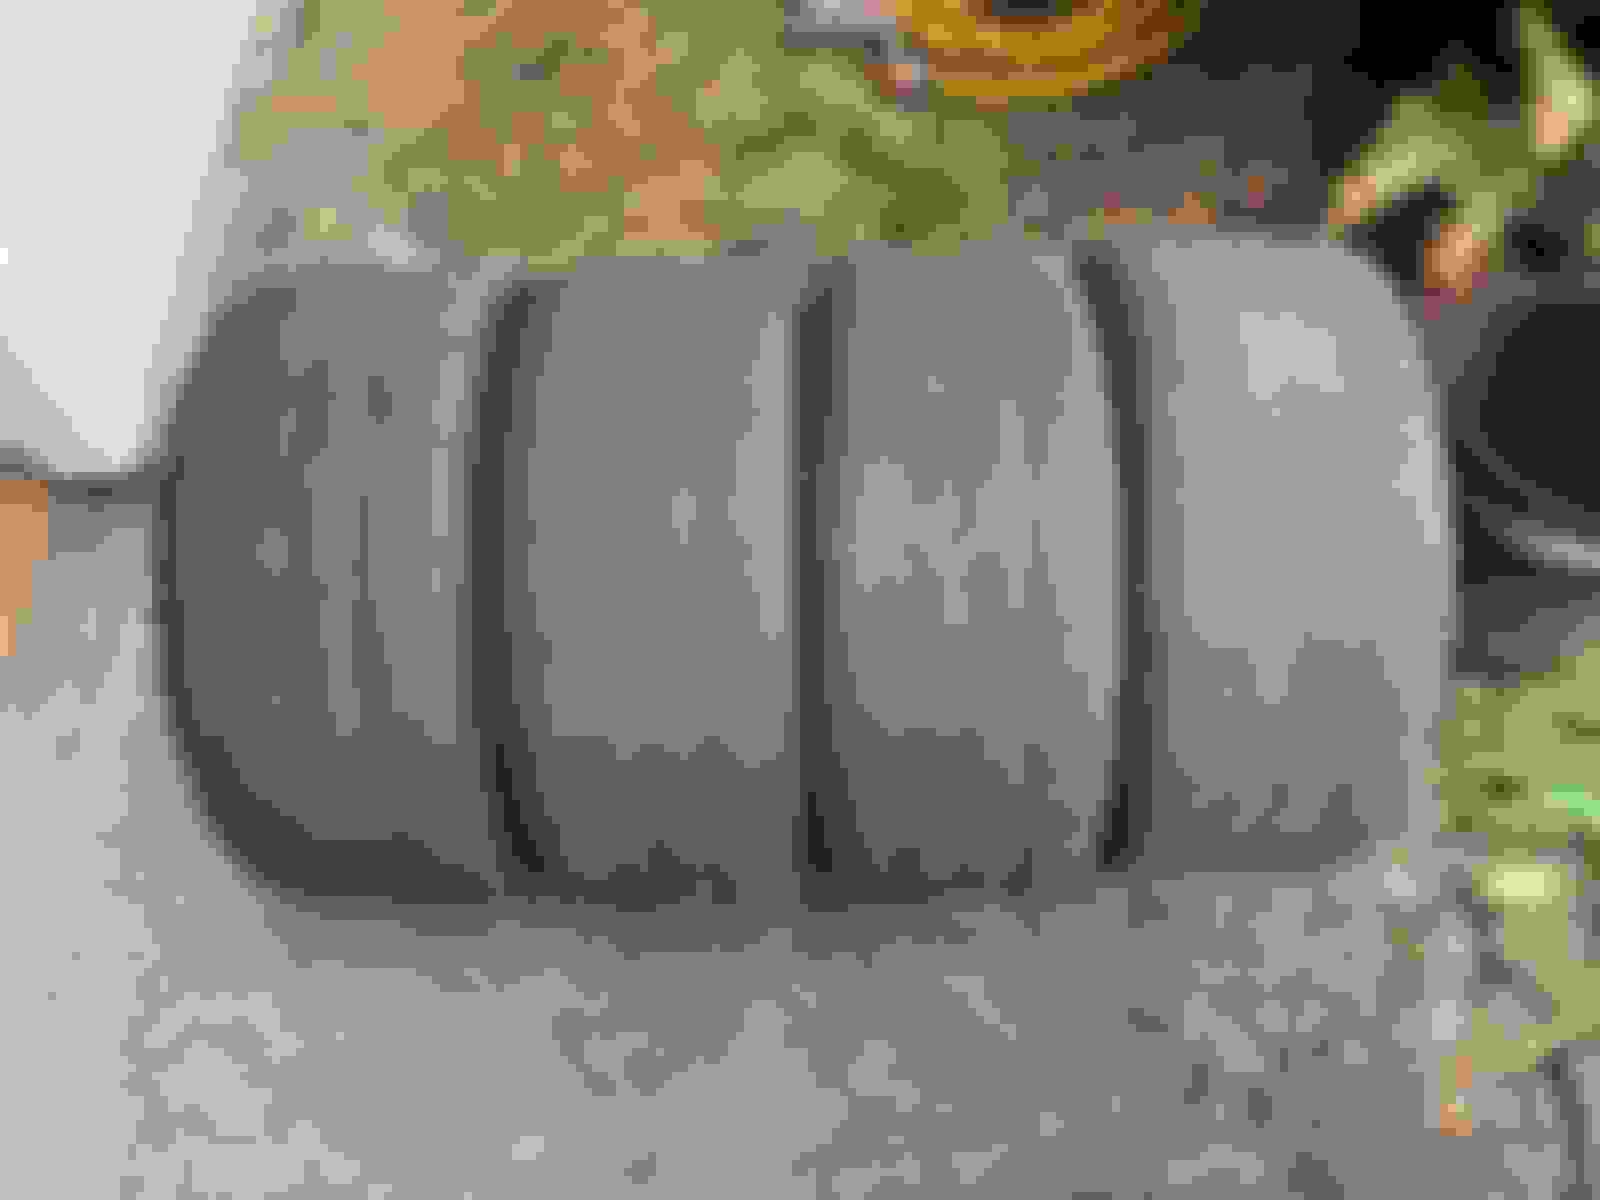
More sh1+ for Desire arrived. Our shipping and receiving has been quite busy of late. I should add that it is mostly receiving so we are running a major trade deficit. And she eats them like cheese cakes.
More sh1+ for Desire arrived. Our shipping and receiving has been quite busy of late. I should add that it is mostly receiving so we are running a major trade deficit. And she eats them like cheese cakes.
What pads are those? Rears? But, what did you go with?

 05-25-2019, 08:07 PM


 Actually all is well and the oil pressure switch harness has not gone AWOL. The photo suggests it did, but the fact is I did such a good job protecting it that you just can't see it from a casual reconnaissance. To protect the harness from being charbroiled I folded it back and zip-tied it well, then covert the whole assembly with a couple layers of fiberglass cloth functions as heat shield.