When you click on links to various merchants on this site and make a purchase, this can result in this site earning a commission. Affiliate programs and affiliations include, but are not limited to, the eBay Partner Network.
Desire the socialite has an important social function to attend later part of the week. Pressure is on to fix Desire's broken communist made DSS axle. It is broken in a sense that it has a defective by manufacturing of the CV boots that cannot withstand speed. The rest of the axle seems to hold up well from track proving. I am sending the axle back once I successfully replace the outer CV on my OE one. It is just a hunch that the inner tripod CV is fine as it does not see the huge angular articulation as the outer one.
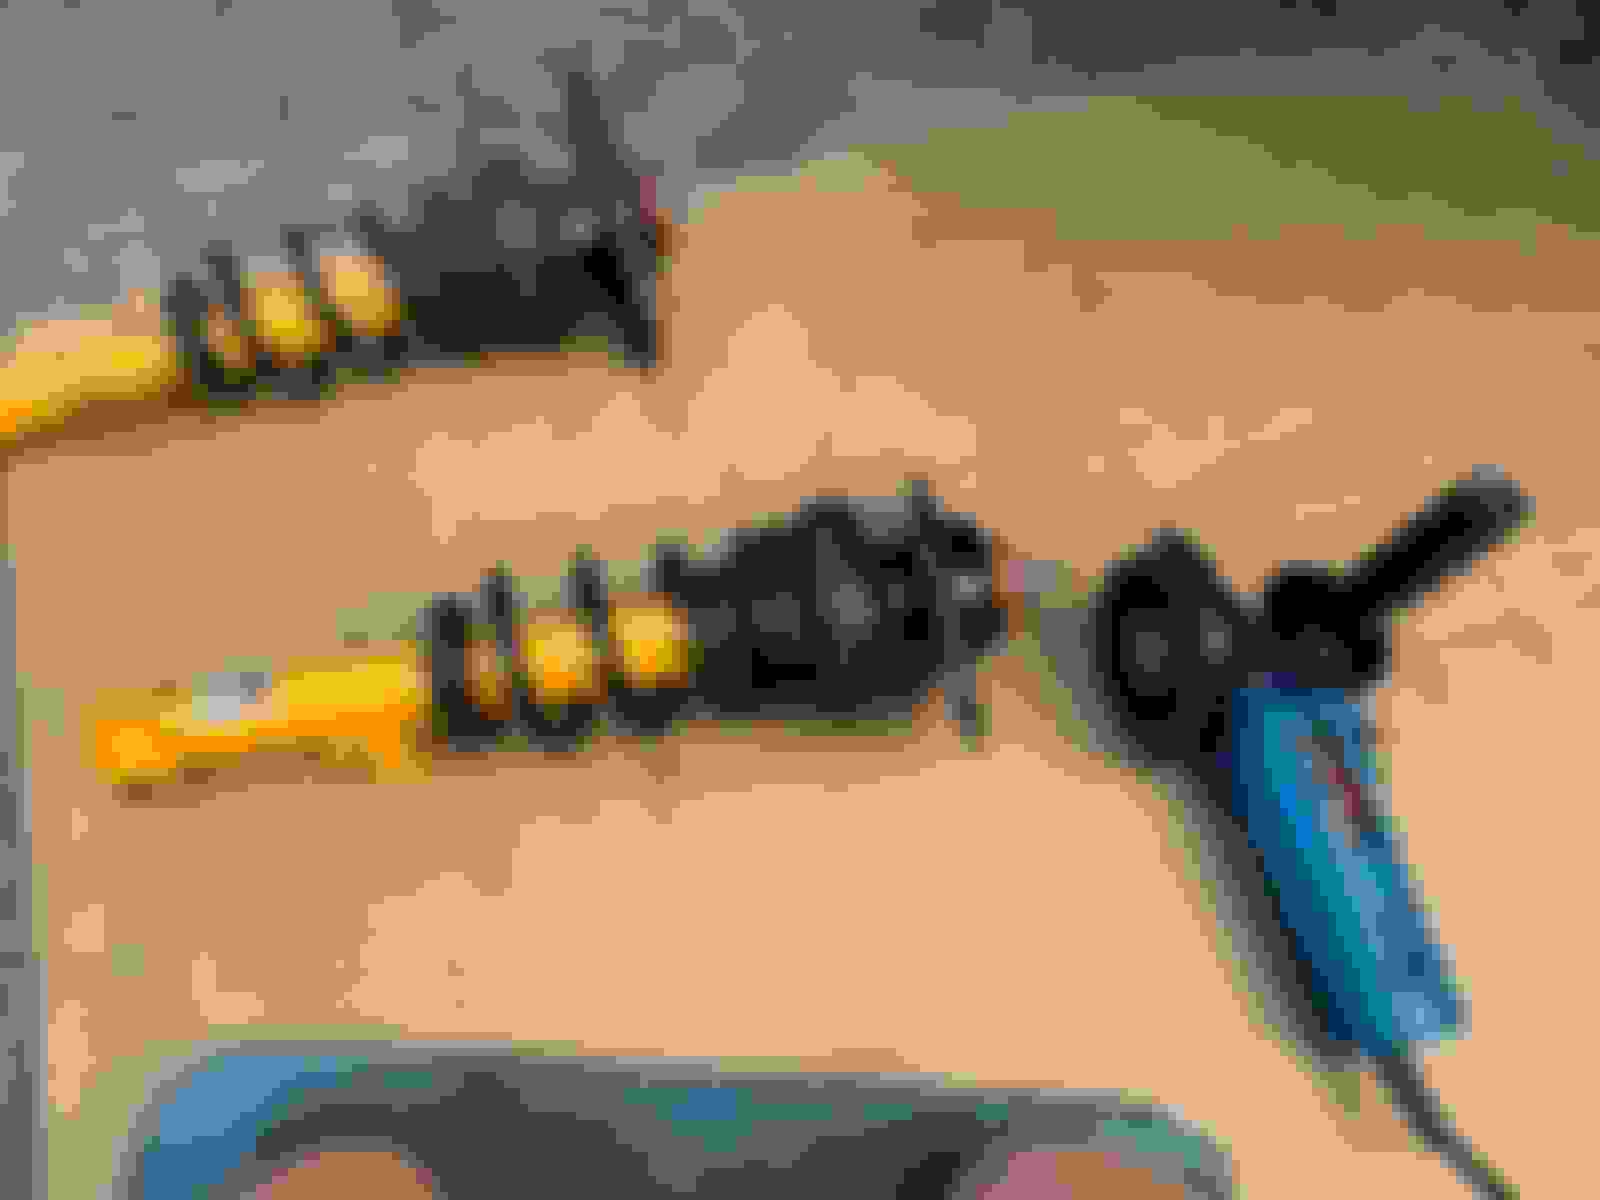
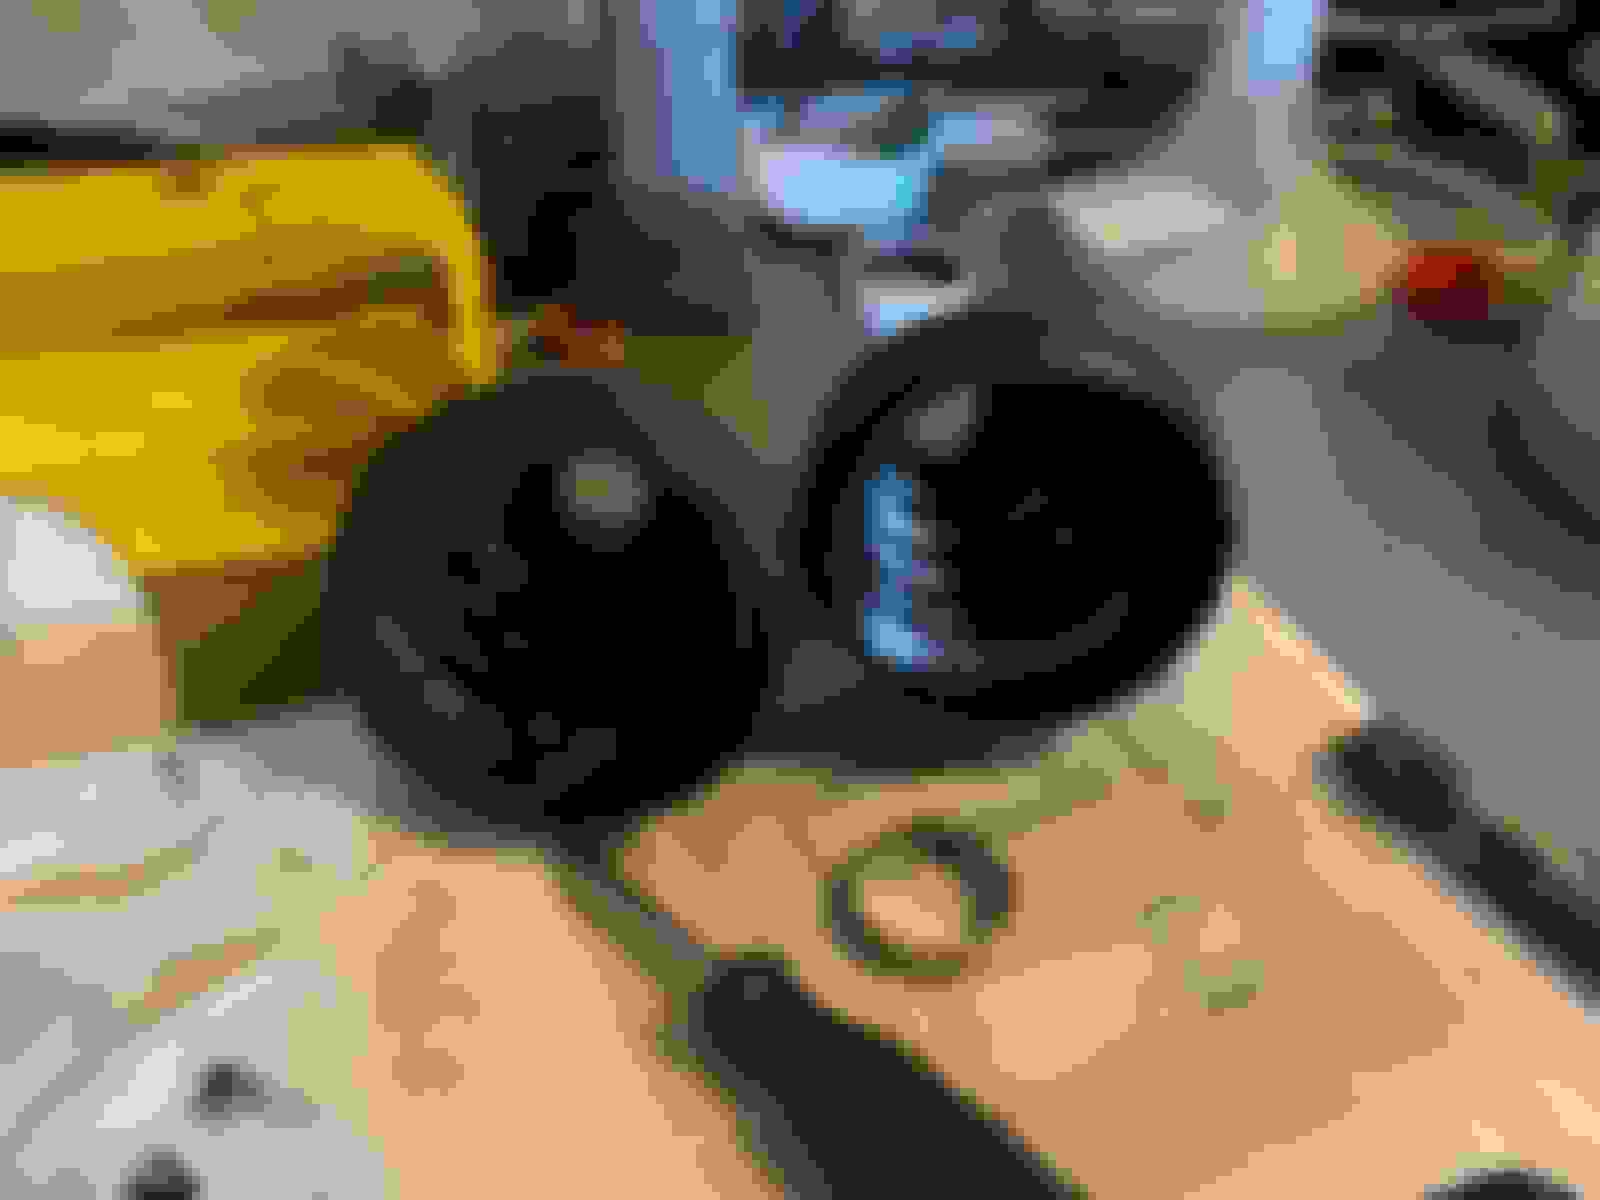
the GKN outer CV service kit arrived; it is made in Italy
what stuck me is how thin is the CV boot and the plastic like material it is now made of; the one on the DSS axle is traditional rubber like material but totally NFG
as there is a chance that I order the wrong CV kit I wasn't going to bed until I verify it against the old
I just grab a caliper and compared the dimensions of a few features; all checked out
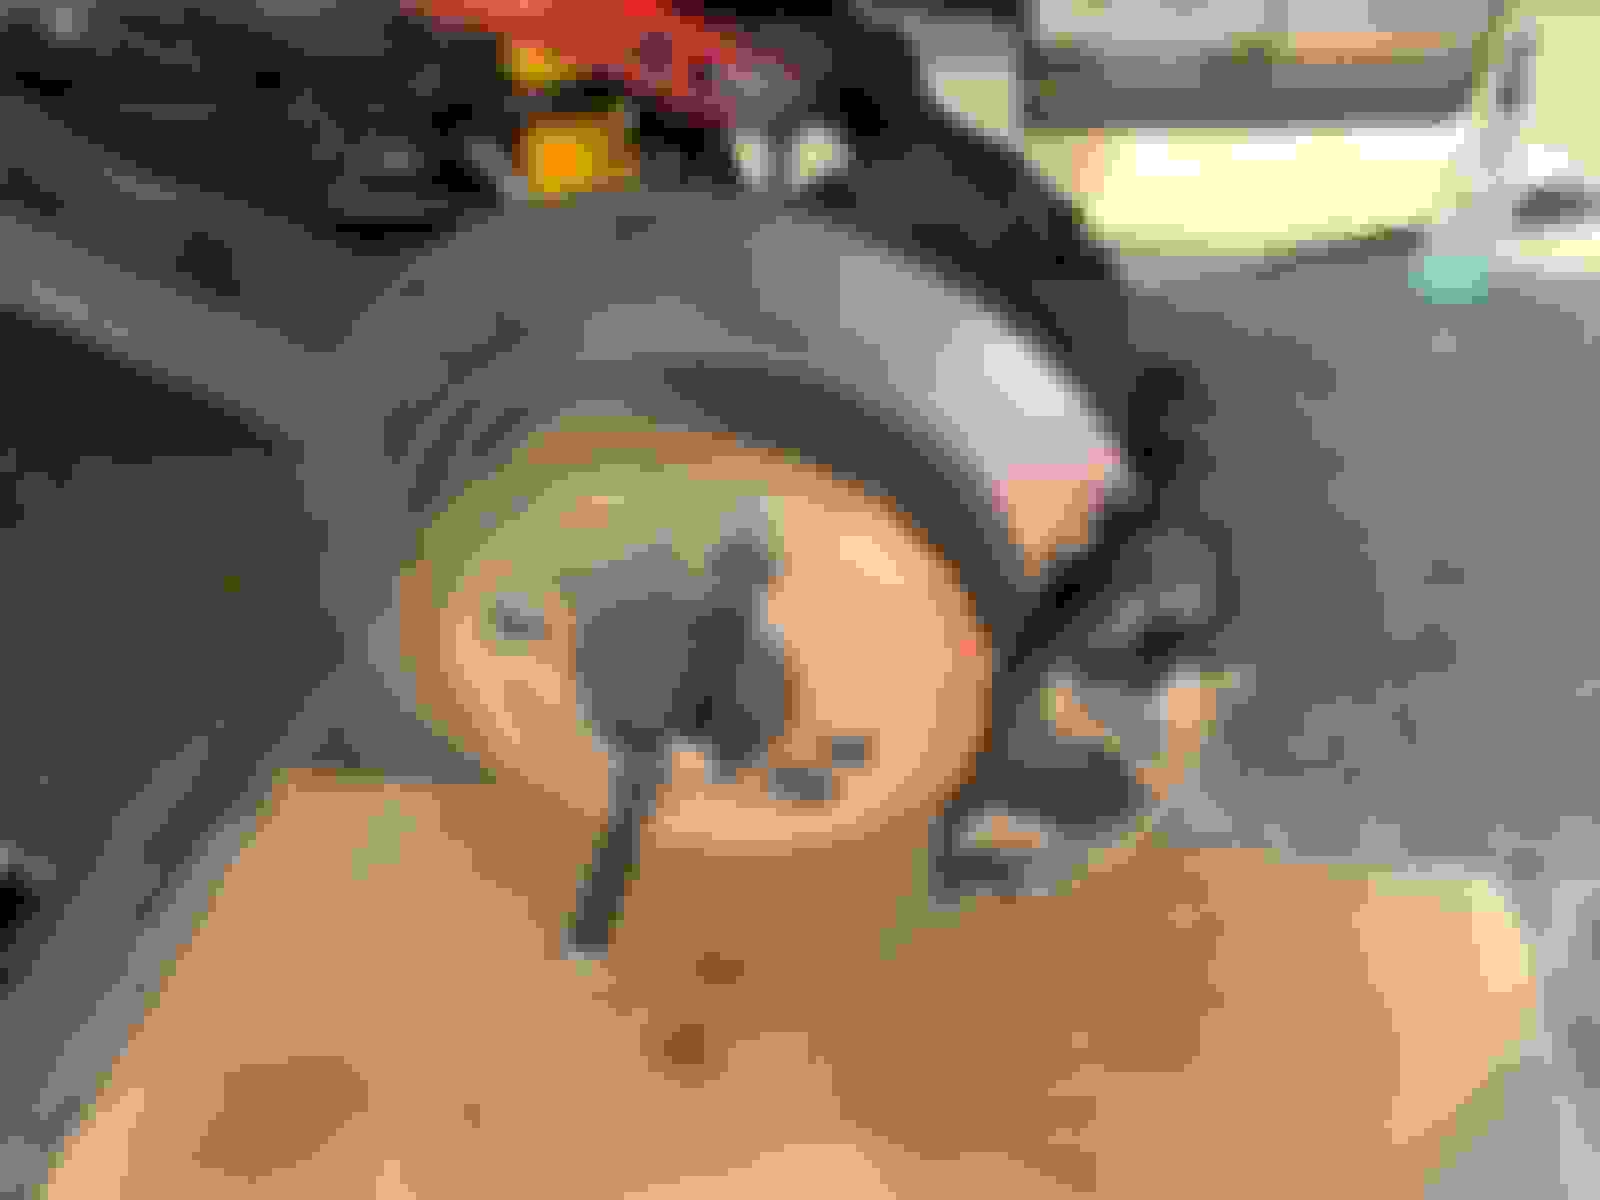
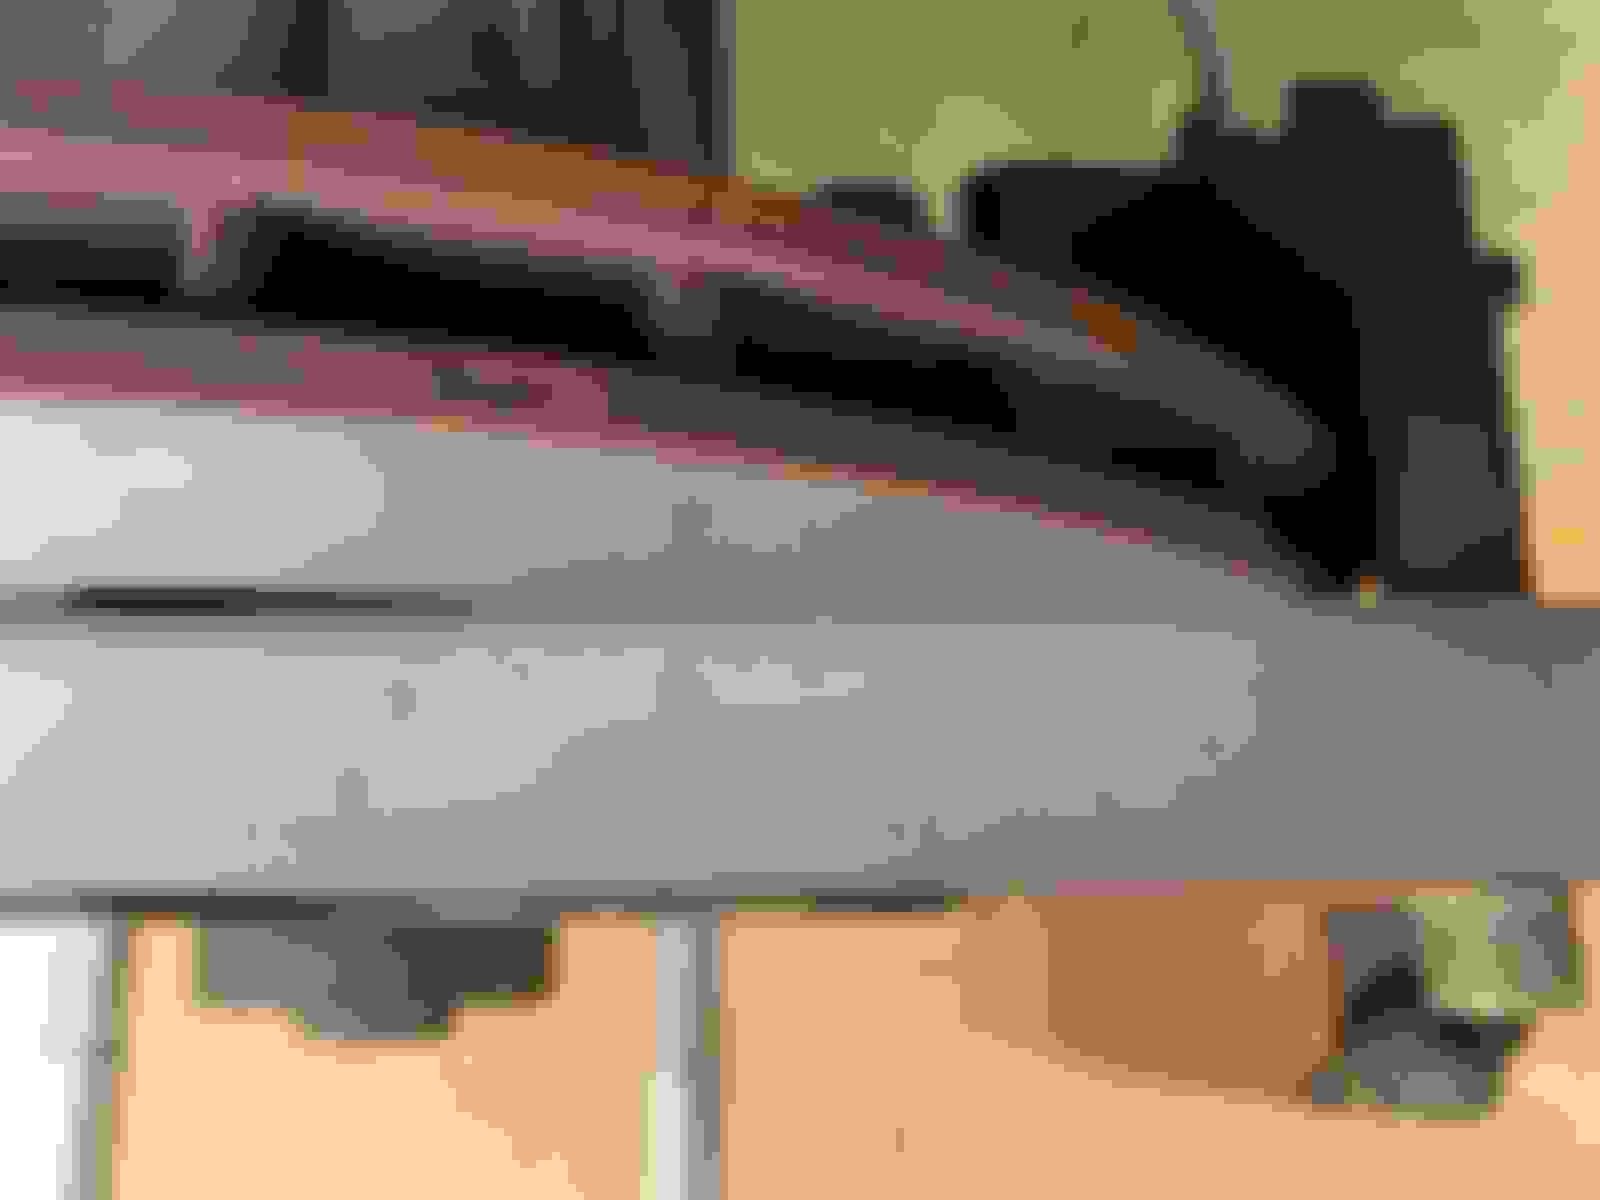
the outer CV hub is retained onto the spline of the axle by mean of a spring ring like how the axle is retained to the differential's spline
I expect replacing the outer CV on the OE axle should not run into complication such as seized spline due to rust. I have a contingency plan which is to use the new boot on the DSS axle.
This is just crazy. We are hit with most unseasonable weather here in July. Desire has a social engagement this Thursday at PIR and the forecast is a wet day! She is far from ready and the guests won't appreciate if she leave axle grease all over the the turns, especially the big bad wolves like the Vettes and Porsches. Our track team's Meistermechaniker needs to get off his butt to have the axle problem sorted, rain or shine.
We also need to send someone to get a new set of Toyo R8888R tires mounted as we can use all the rain channels a set of tires can provide.
Found this in my mail today that is so fitting WRT the photos that I posted.
It is now at $315k and there is still 3 hours to go. Very interesting to observe what make a car "valuable". Love is in the eyes of the beholder and I will add rarity and the minds of the loaded. I will not pay more than $xyzk for this given how it drives in small circuits. I do respect the legacy and the mystics.
The auction is closed and the last bid was $325k so I didn't win because reserve was not met. I am just joking as I would not spend $150k on this. I respect the history and there are infinite number of interesting road racing cars. I needed a break from the misery job of replacing the CV joint.
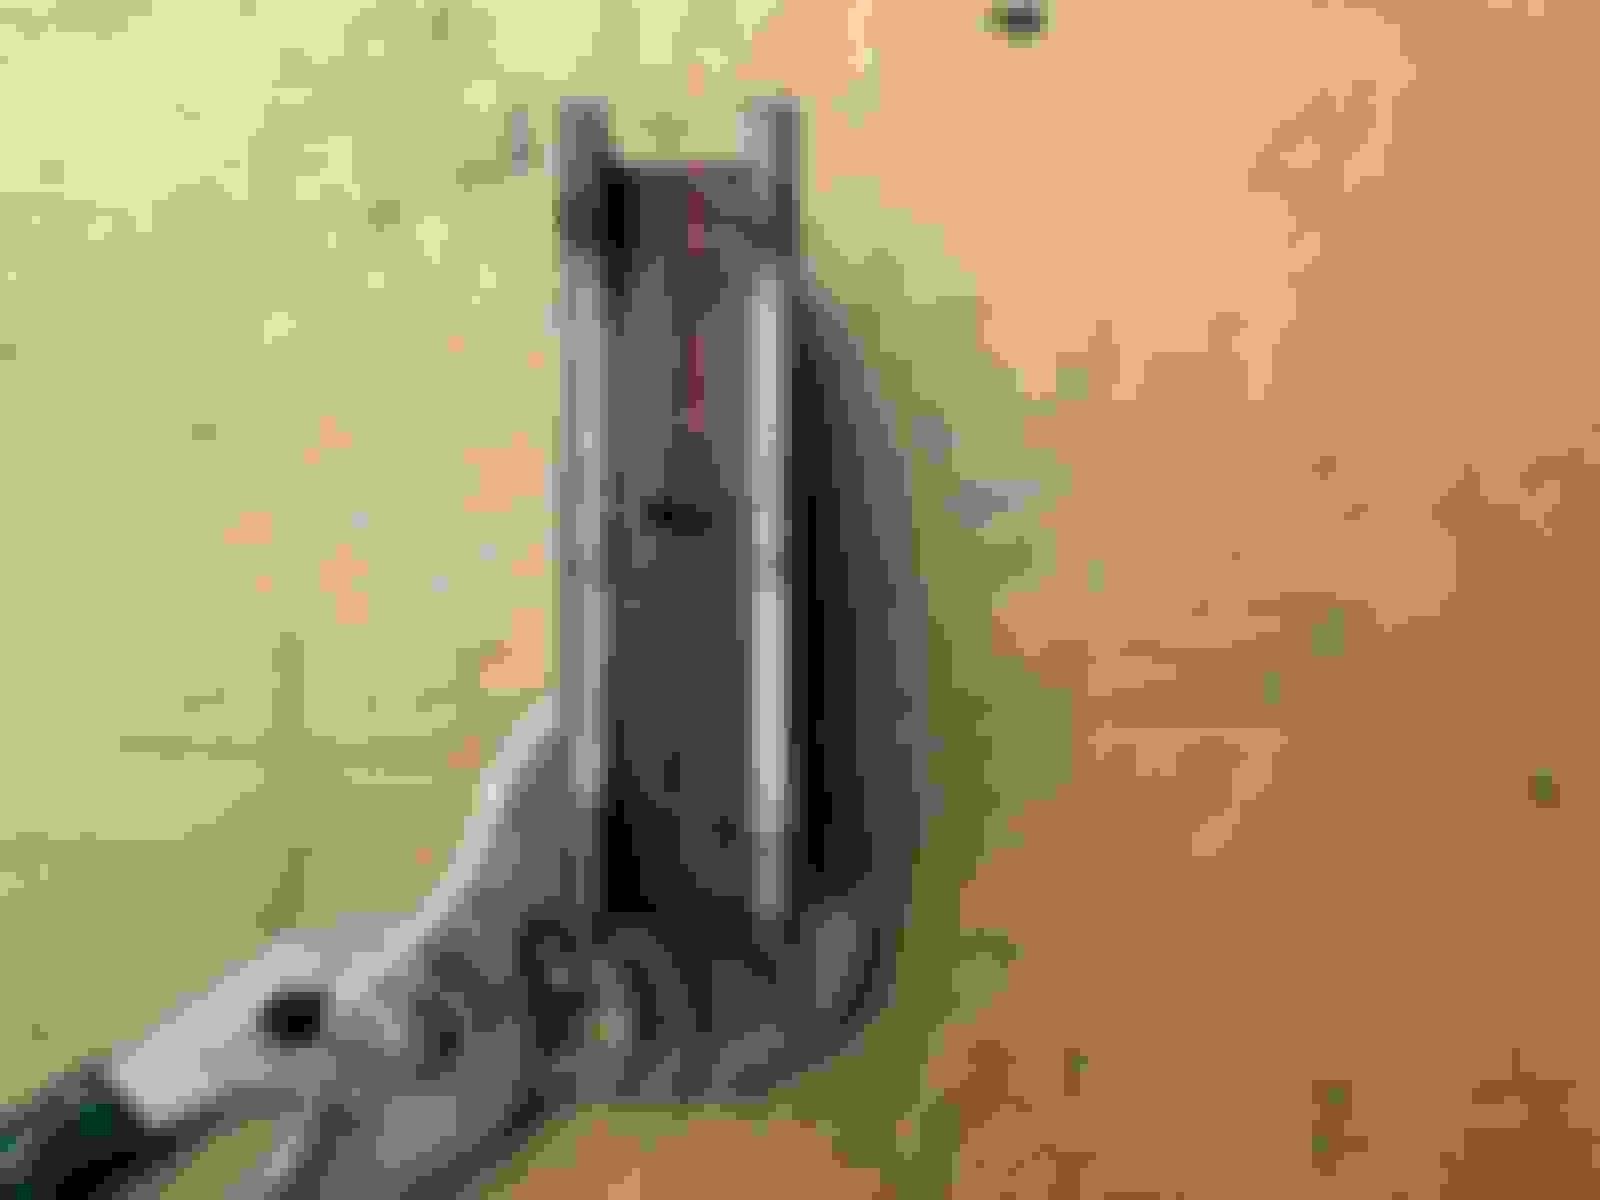
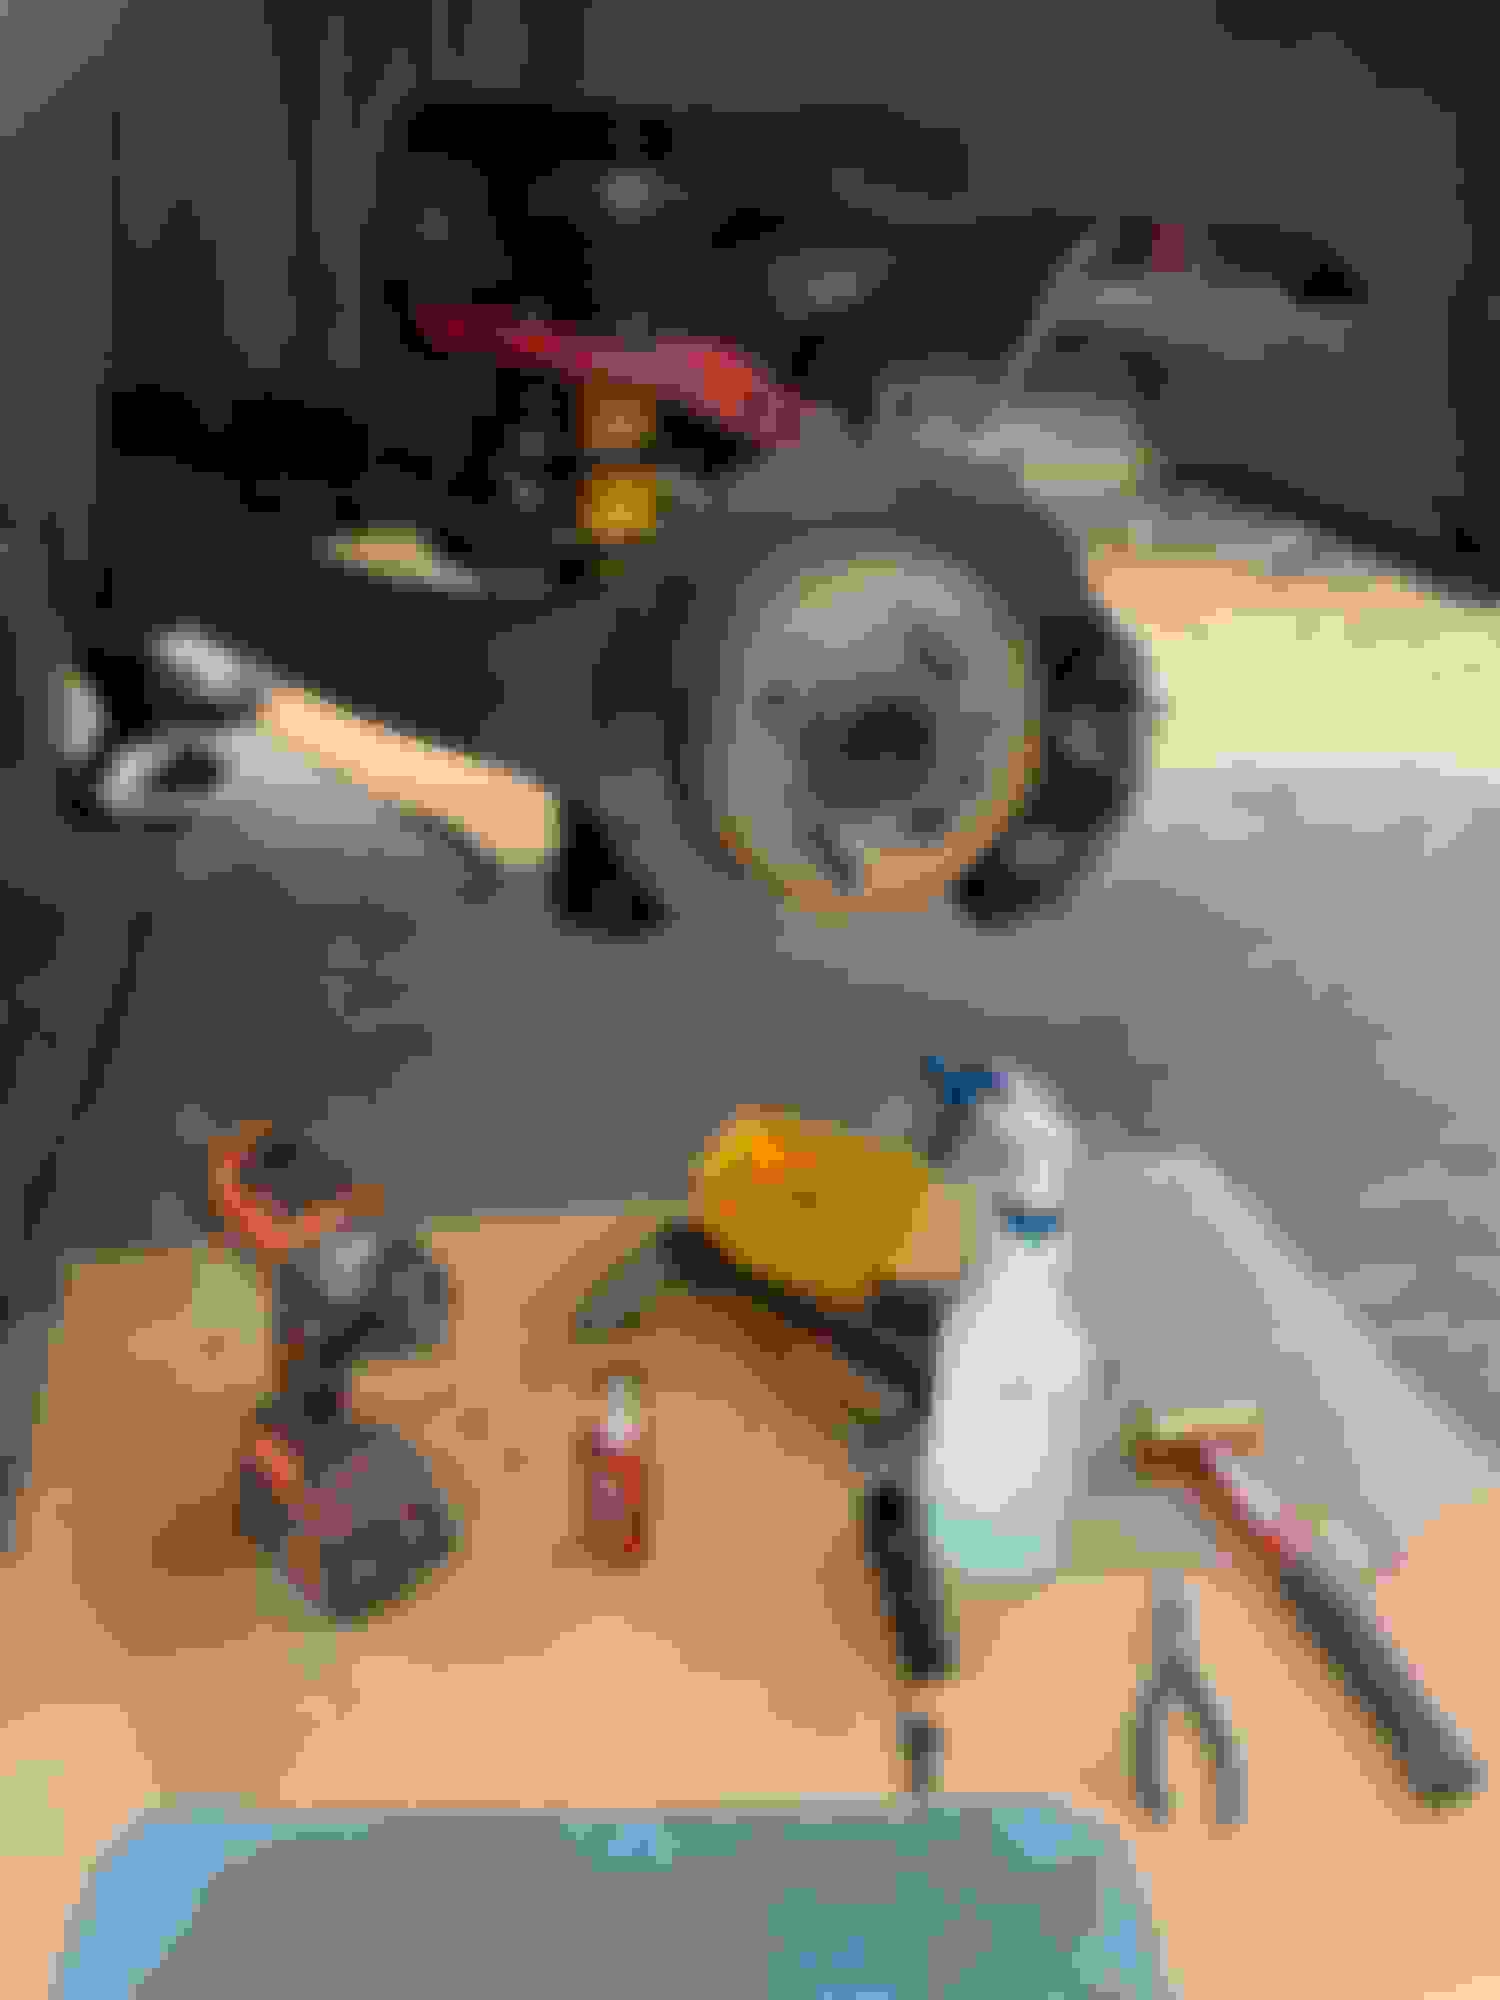
With a bit of care, attention to details, and the right brute force tools I managed to replace the outer CV joint of the OE axle which I think is the cause of the vibration as well as steering shakes.
a vice is a must for working on axle with CV joints
I knew I need a right size drift punch but I never own one so I would just use a cold chisel of the right size as well as a well chosen hammer
I even thought of catching the falling CV joint with this breakfall
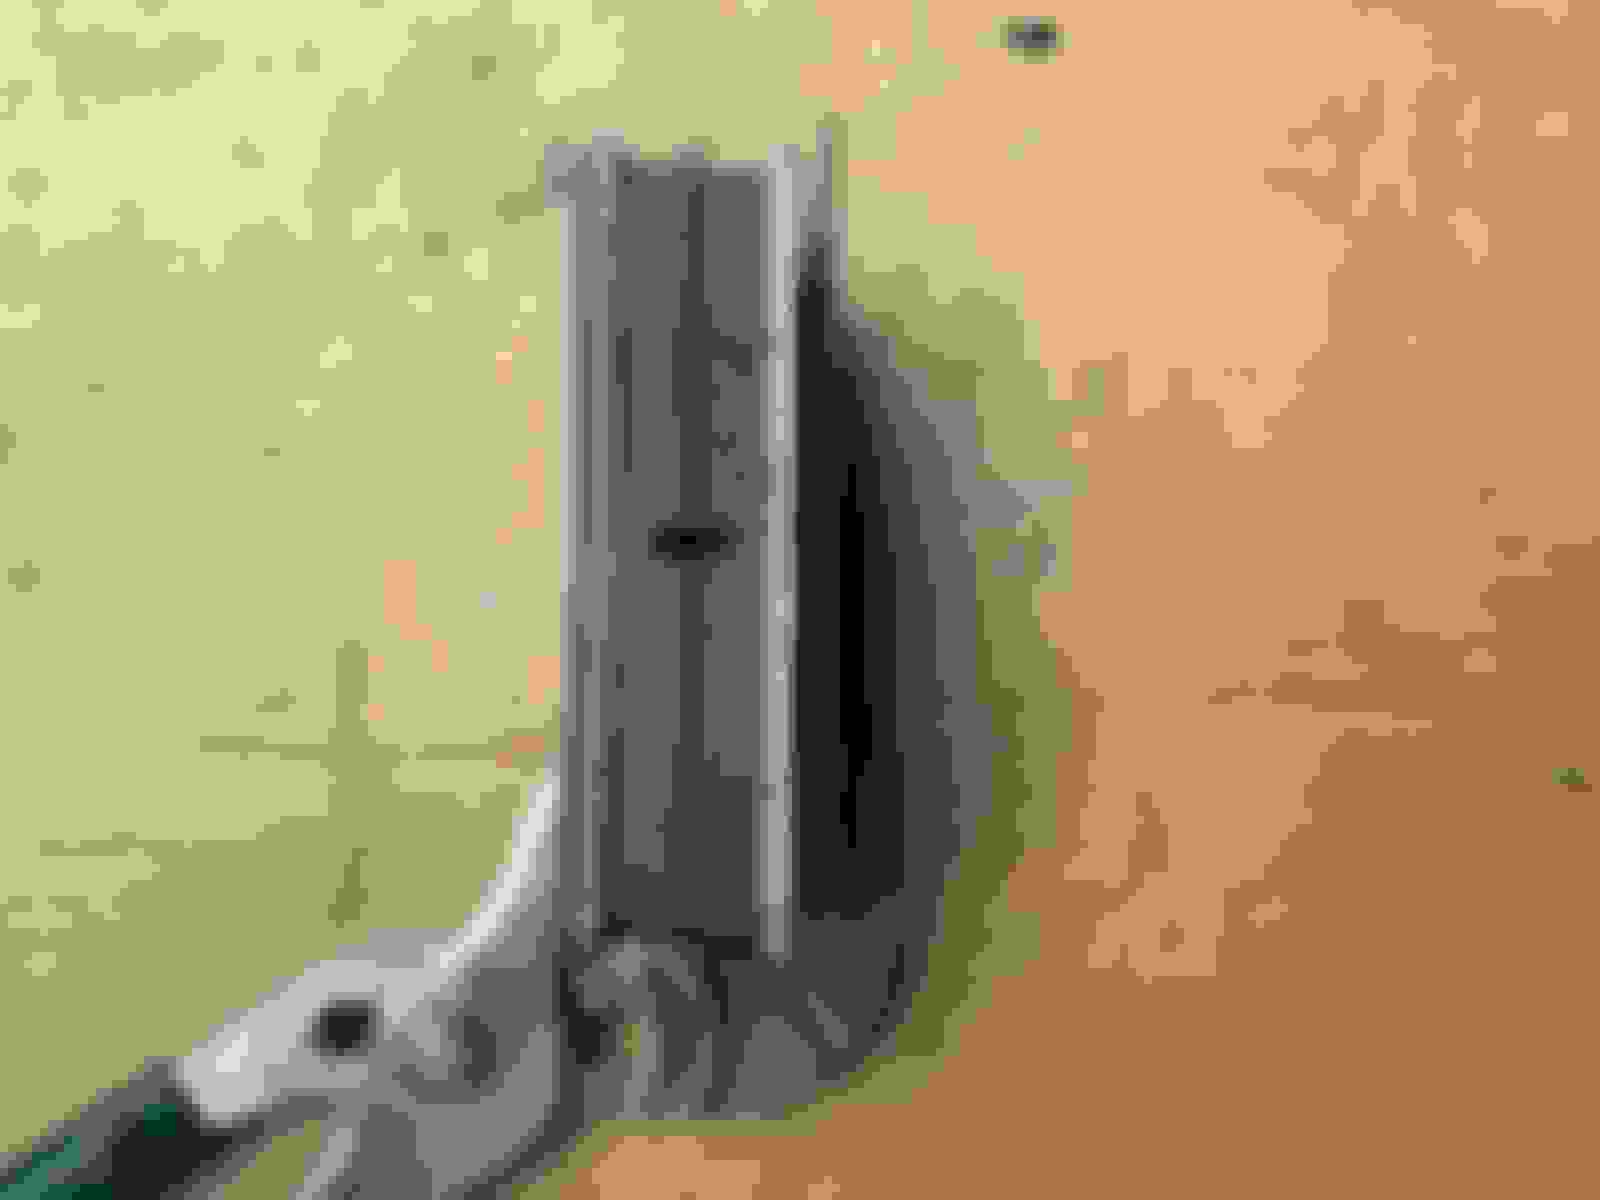
this is the right size hammer and chisel to use to drive the CV joint out by aiming at the center of the CV yoke; it is held onto the axle shaft with a spring ring so you don't need to punch it that hard
the old boot construction is very similar to the new boot that came with the kit
I did all I could to save the old boot and crimp clamps for reuse on the DSS axle that came with sh1+ boots that keep failing
they don't give you much grease so use it wisely
in this orientation filling the CV with grease is easier
make sure the boot and its inner clamp is slipped onto the shaft in the right order
driving the CV center yoke onto the axle requires some finesse and it is hard to tell if you have seated the spring ring properly but some attention to details you can tell; and an proper IPA before lunch makes it that much easier to ease the stress
if you properly slipped the CV onto the axle's spline such that the spring clip snaps into place, you should see the yoke can move in and out by may be 1/16" if you tug and push on the CV joint WRT the axle shaft
you will need a proper bloody clamp crimping tool like this one
I didn't want to over-crimp the clamps
it takes a bit of force to crimp them tight enough and the bench top helps
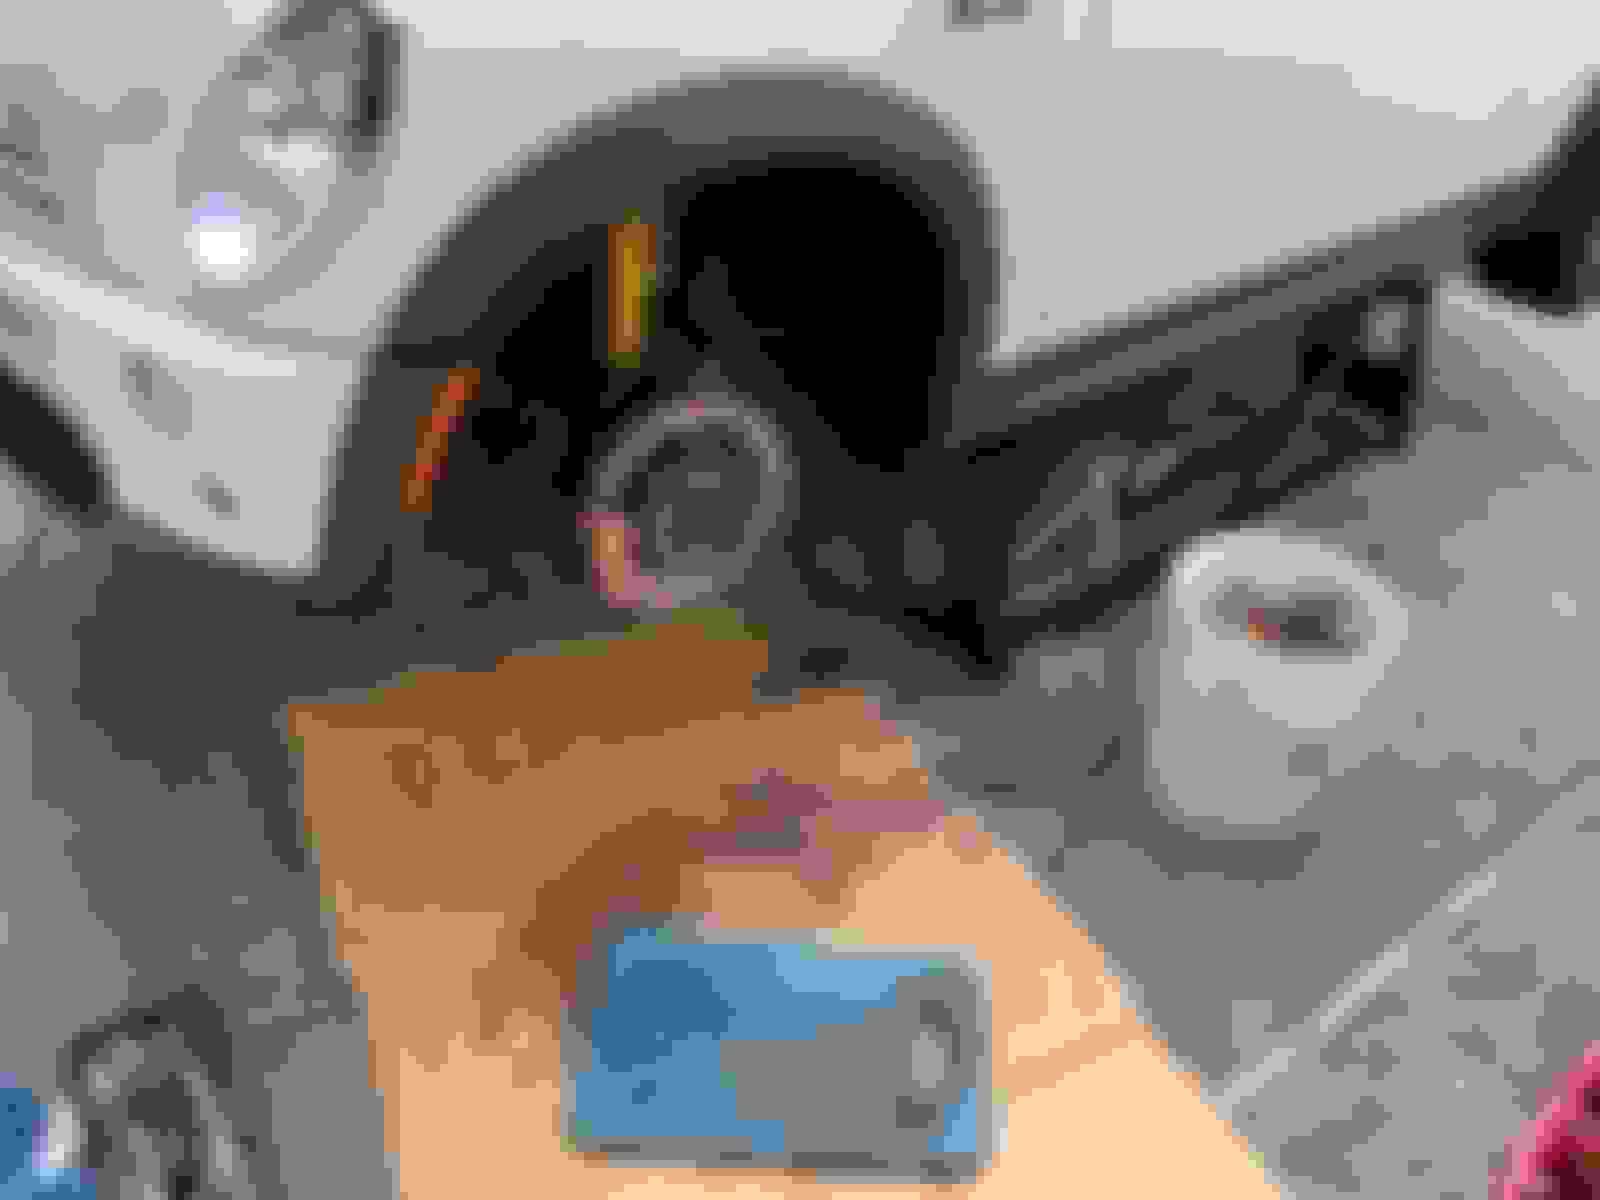
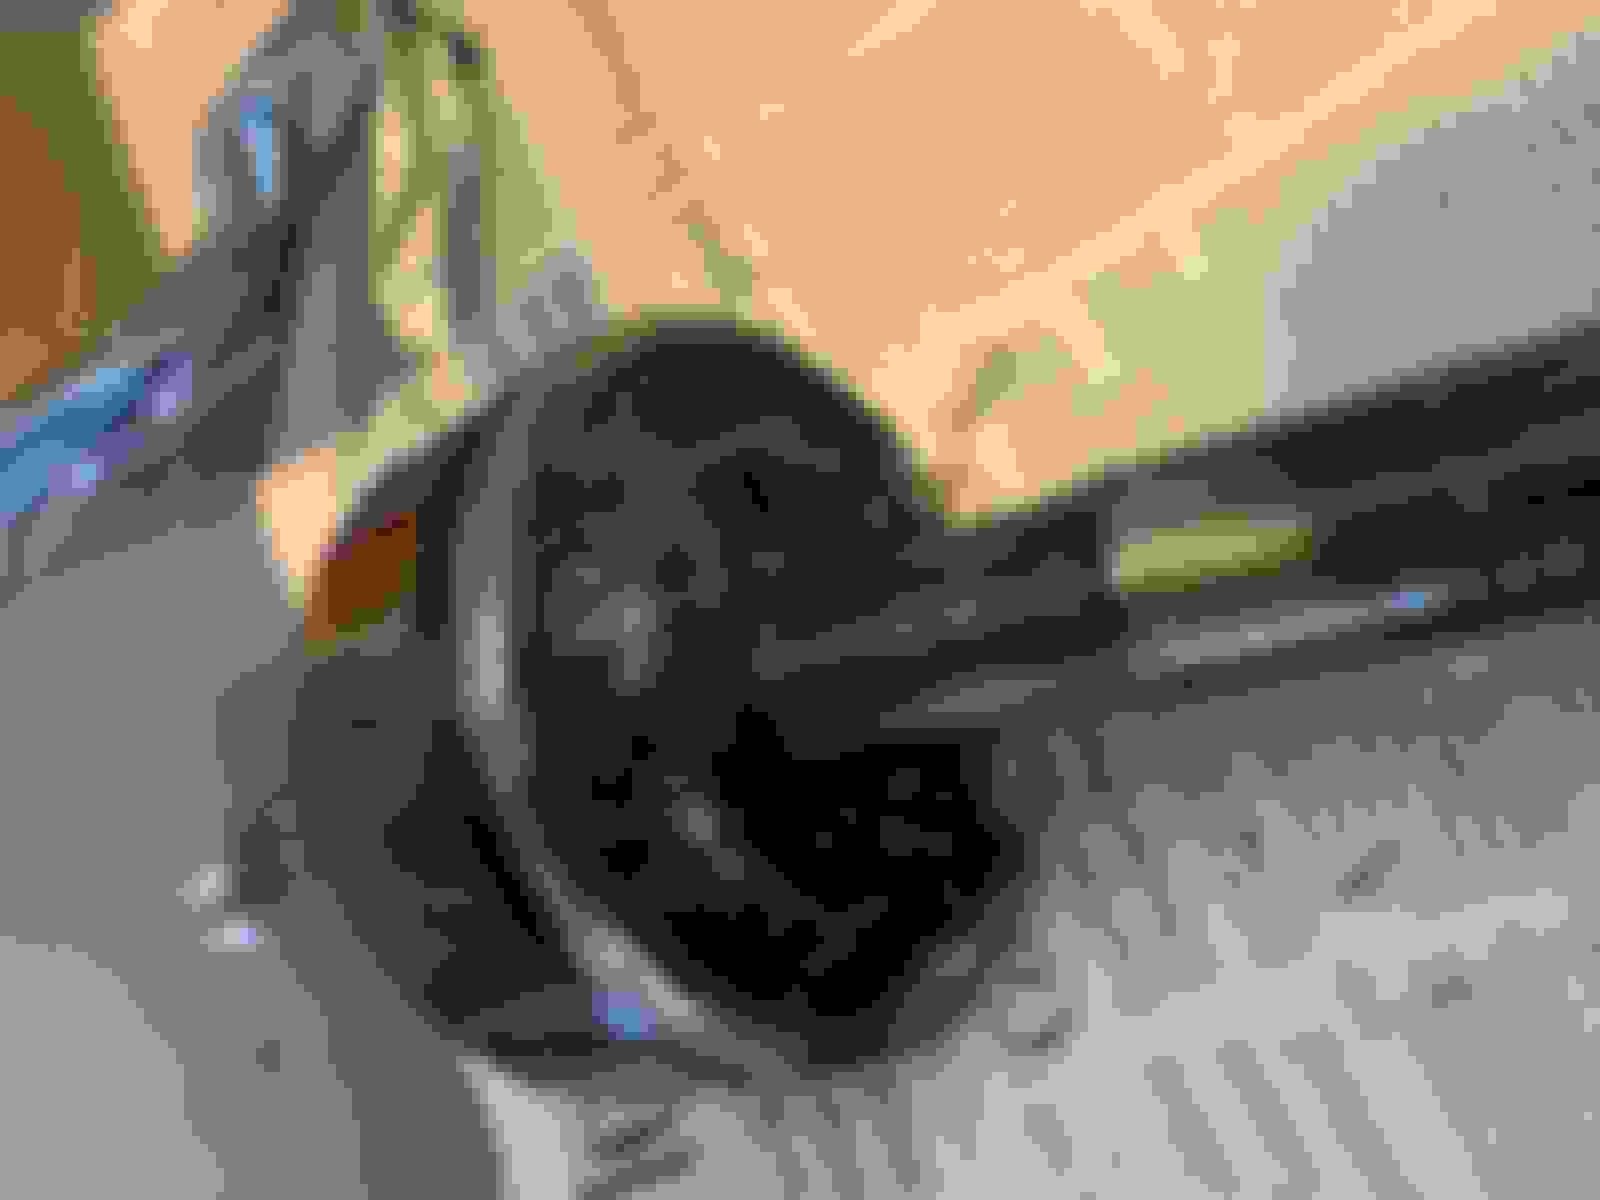
all ready to go onto Desire of this post Hitler axle with post Mussolini outer CV ; one thing that I am quite certain is Desire has yet to have any USSR content
Back in the ‘60s I put together a Revel model of the GT40 Mk IV. It had a working doors and suspension and rubber tires. The hardest part was assembling the spaghetti mess of a header system it had. Loved that car and read everything thing I could find on it. Today it is one of the true classics.
This job isn't that hard. It is just PITA, especially when you already done it twice. Inserting the axle into the differential takes some finesse and I am now like a pro.
the ball pean hammer is the much needed third hand to get the steering knuckle out of the way
the lock nut (center) that came with the GKN service kit is too long so NFG; I decided to reuse the OE one
I used diesel left over from the sh1+ EPA approved fuel jug that you can never pour out into a fuel tank to wash off some of the axle grease in the wheel well and there were a ton of them
torque specs for the fasteners
all assembled and torqued to spec and ready for road test before denting the lock nut for the hub
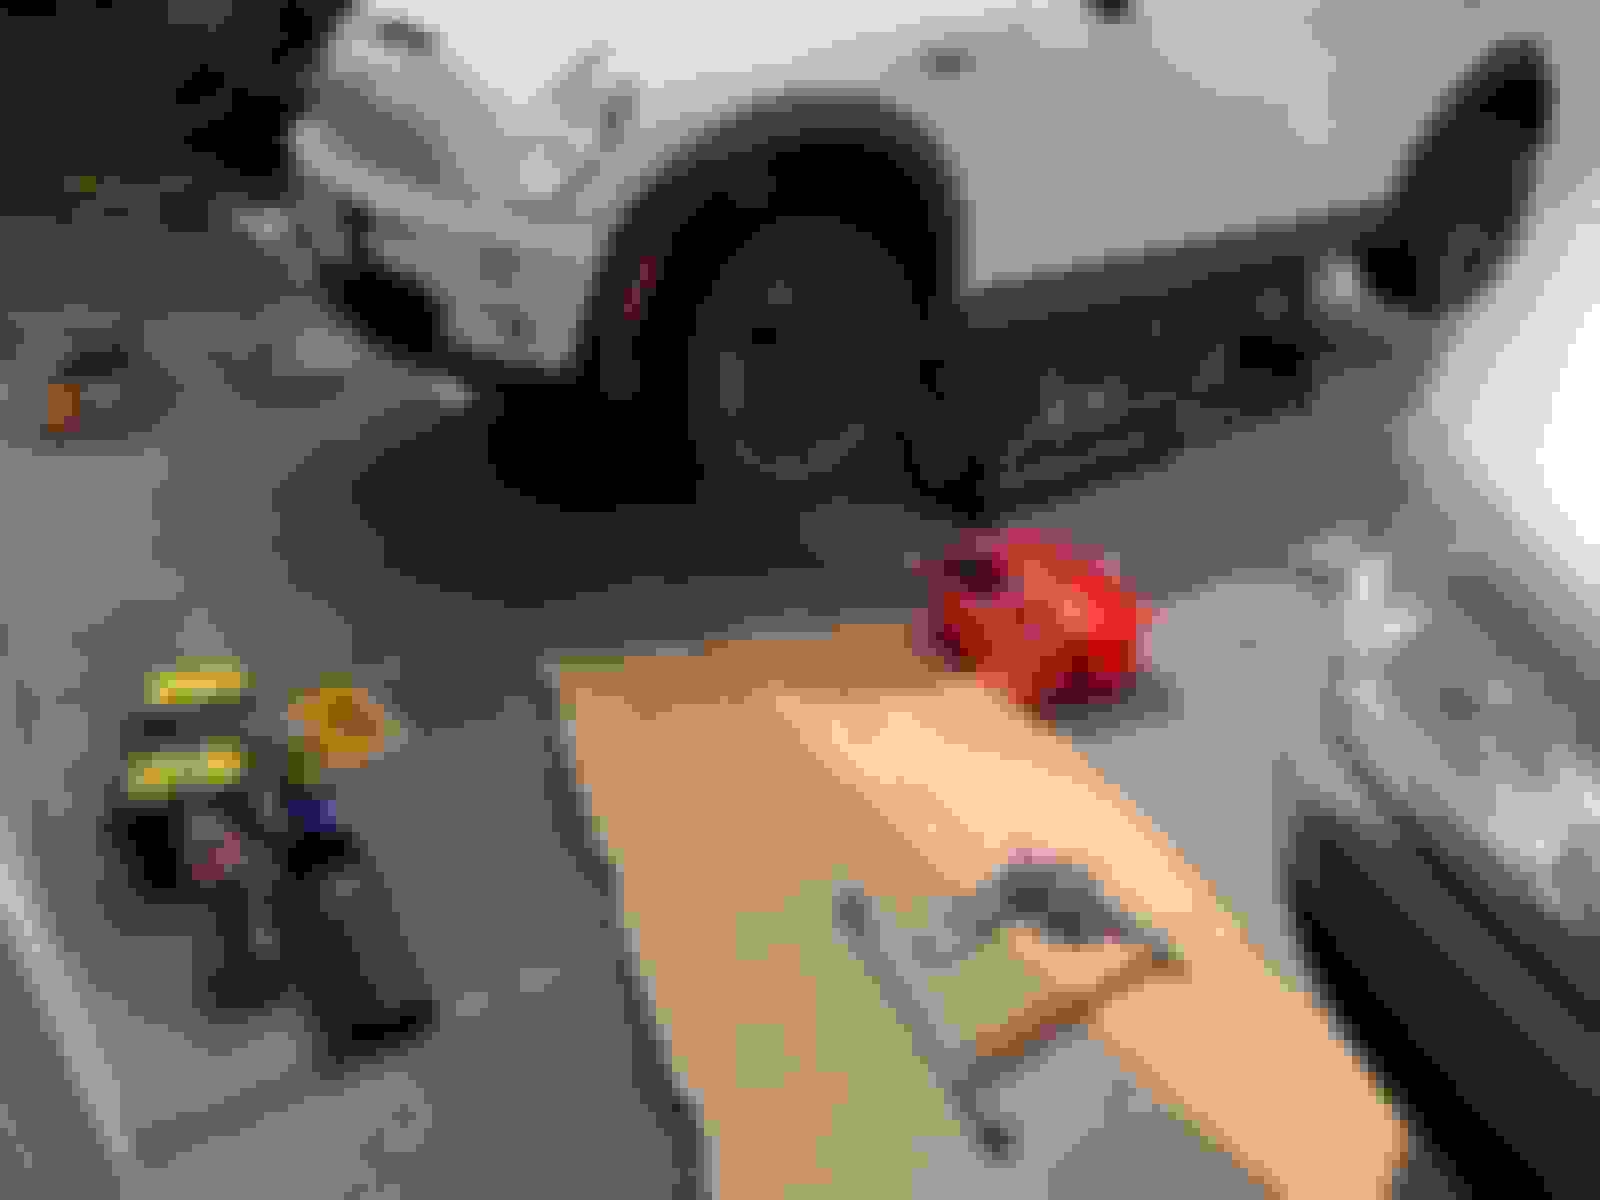
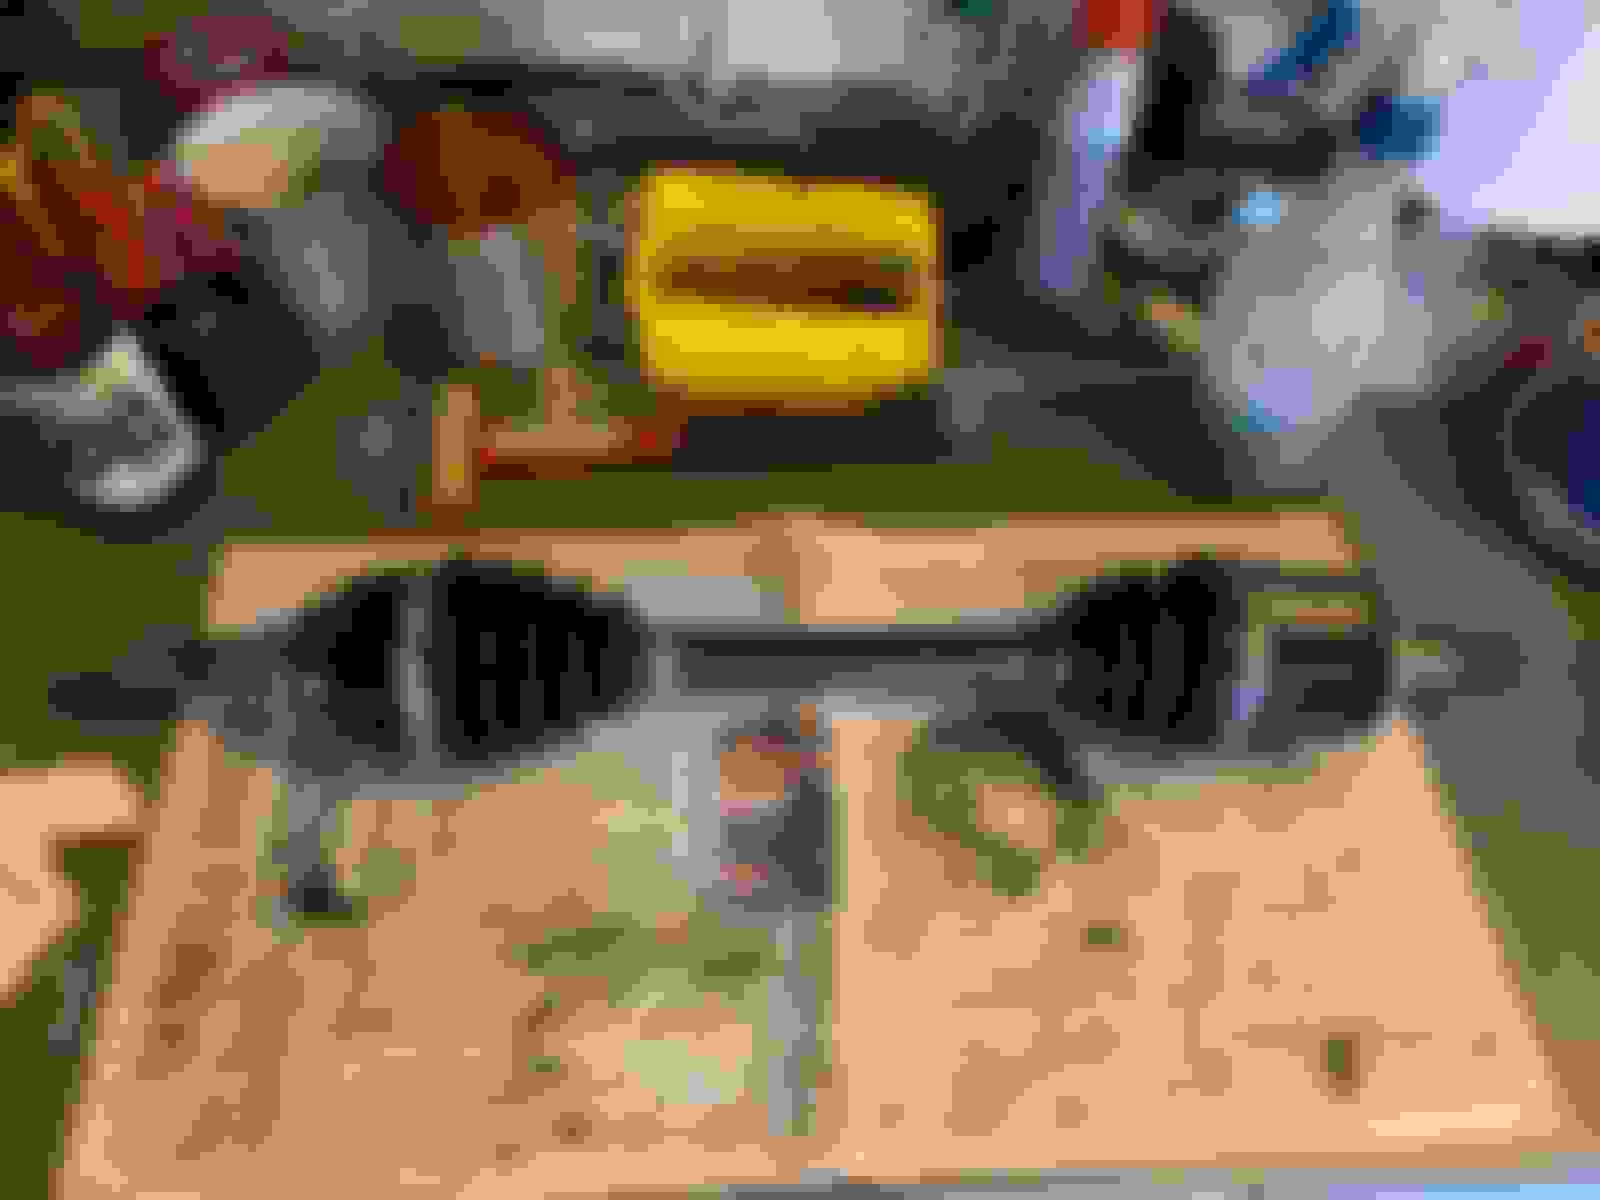
the DSS axle that has the punctured outer CV boot made of crap rubber
As I know how bad the failed CV on the OE axle is (I reckon it is the left outer one), I went for just around the blocks low speed test drive and am satisfied Desire is ready for this Thursday's social function and won't embarrass herself. We might do a highway speed test just to be sure though.
EPA approved sh1+ can; what're wrong with the design? there are many
Even with all this work we are not exactly home free yet. The CV boots on the DSS right axle in time will likely fail just the same. I am going to rebuild that axle also with the GKN CV service kit.
Back in the �60s I put together a Revel model of the GT40 Mk IV. It had a working doors and suspension and rubber tires. The hardest part was assembling the spaghetti mess of a header system it had. Loved that car and read everything thing I could find on it. Today it is one of the true classics.
From what I heard even the middle-ly new GT is a handful to drive on track as it's very tail happy.
The outer CV replacement was a success as a rebuild of the left OE axle so Desire does not need her sidekick as a stand-in for today's social function. We lucked out with the weather. It was supposed to be wet but the forecast looked up yesterday.
forecast for Thurday on Tuesday didn't look promising with rain then slight chance of showers
the forecast really looked up yesterday
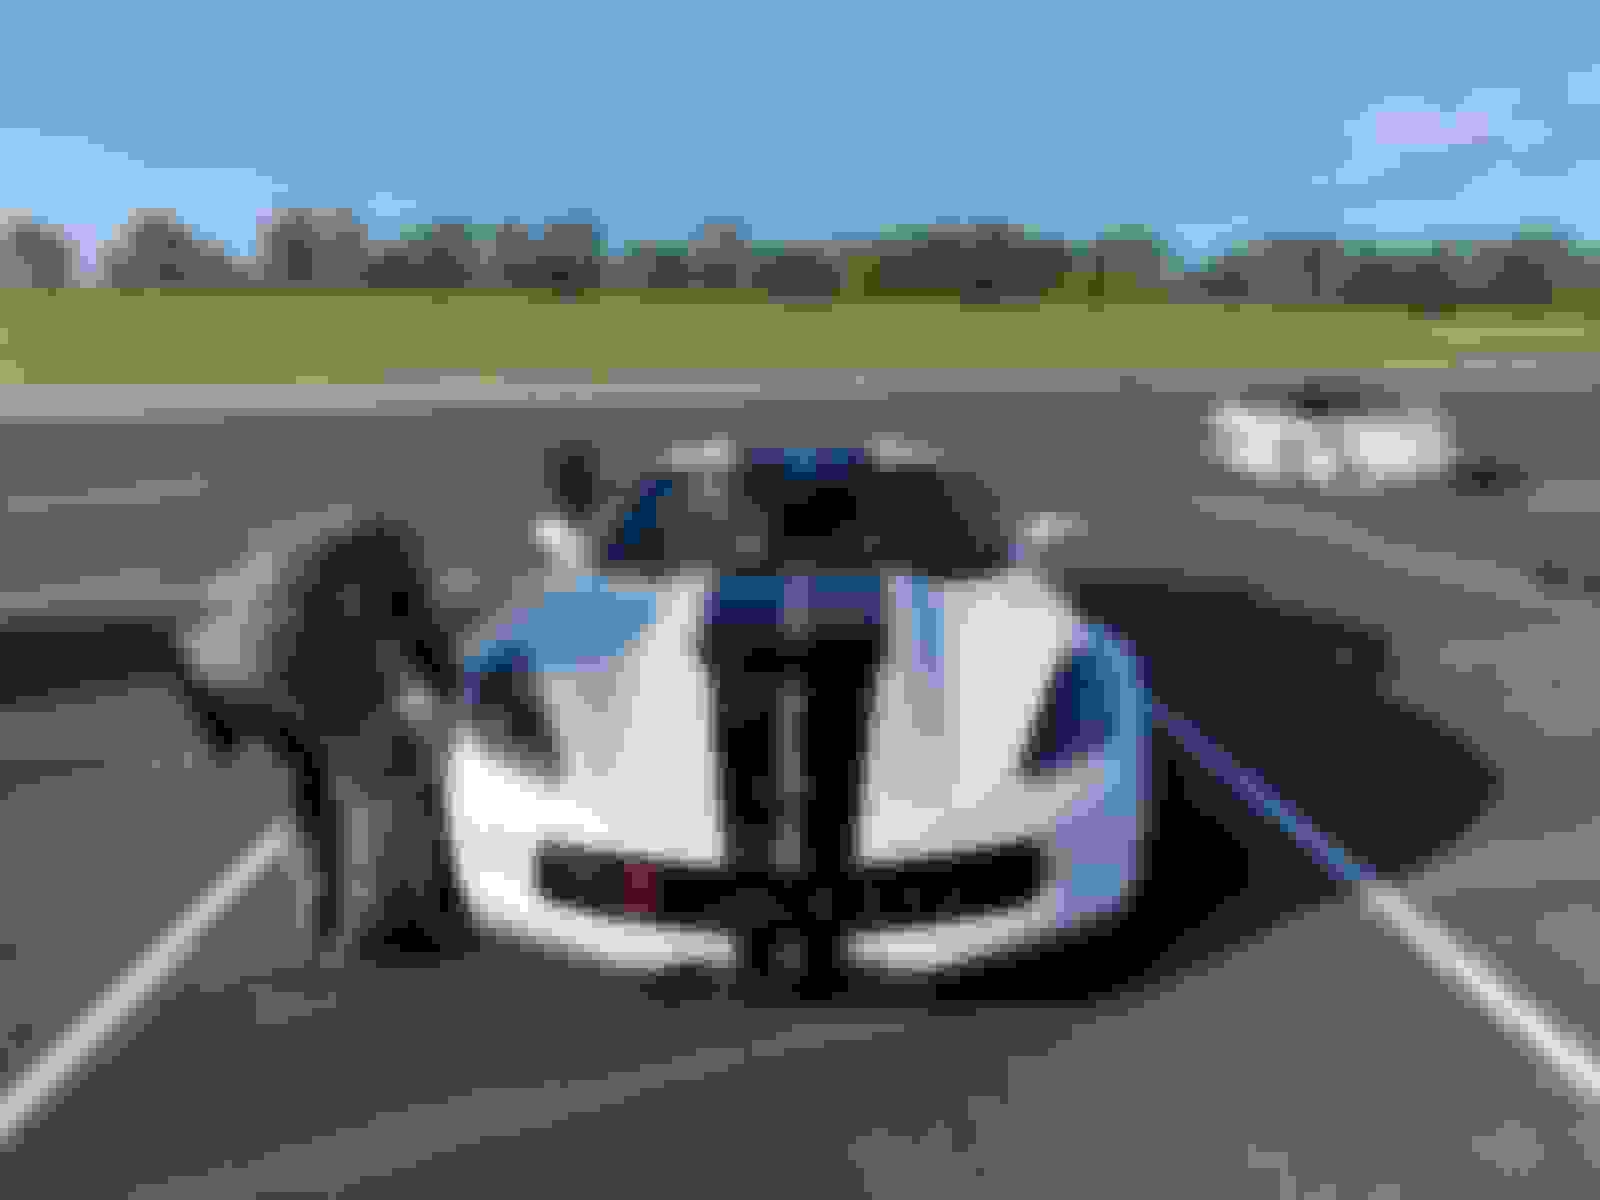
i made a hearty lunch so I can chauffeur Desire around at PIR
Desire looks a million
a lot of acquaintances and track friends; this owner is really nice
Teenagers often need braces. 15 years old Desire is no different. She got her lower brace today.
We have been on the fence about the practicality of a lower brace, but we warmed up to the OMP as it is the least intrusive, and the Red Baron swears by it.
we pay a lot more here than the Brits across the pond for this
these two brackets wasn't this even when I installed the Powerflex but now they are after the countless shakeouts at the tracks
installing the OMP lower brace is super easy; without a doubt OMP design is very competent and the quality and simplicity speak for it
it does not hang down low so you should be fine unless you like flying over speed bumps
The OMP brace is feather light and and very thin wall. I am sure it is made of high quality chrome moly steel. We went to HF after but I will be honest with you that on public road I cannot tell there is any difference. Desire is already very well behave on track braking from triple digits mph.
Oh, before you ask, I have never measured the flexture on Desire. I leave that to real MEs with the right equipment.
Brake, brake, and brake. Brakes have to be the most important thing driving on track beside tires. I inspect the suspension, steering, drivelines, tires, wheels, and brakes after each track event even if it is just a quickie like TNiA. I don't however bleed the brakes that often as long as the fluid didn't boil.
These are what I found after driving 80 miles at PIR which is a clockwise high power car track. In the last event there with TNiA the rear brakes nearly sent Desire into the wall at the end of the back straight because I failed to properly seat the rear brake pads and they were dragging badly so overheated the pads and rotors. I had since corrected them before yesterday's event. The brakes worked flawlessly yesterday.
As I had observed before PIR's clockwise track don't just causes more wear on left side tires but also the left side brakes. I reason the wear would be even left to right on a car without ABS. But with R53 even with ASC always switched off the ABS will strive to prevent wheel lock up under heavy braking and hence allow L/R unequal braking forces that can be quite large as evident by the difference in pads and rotors wears.
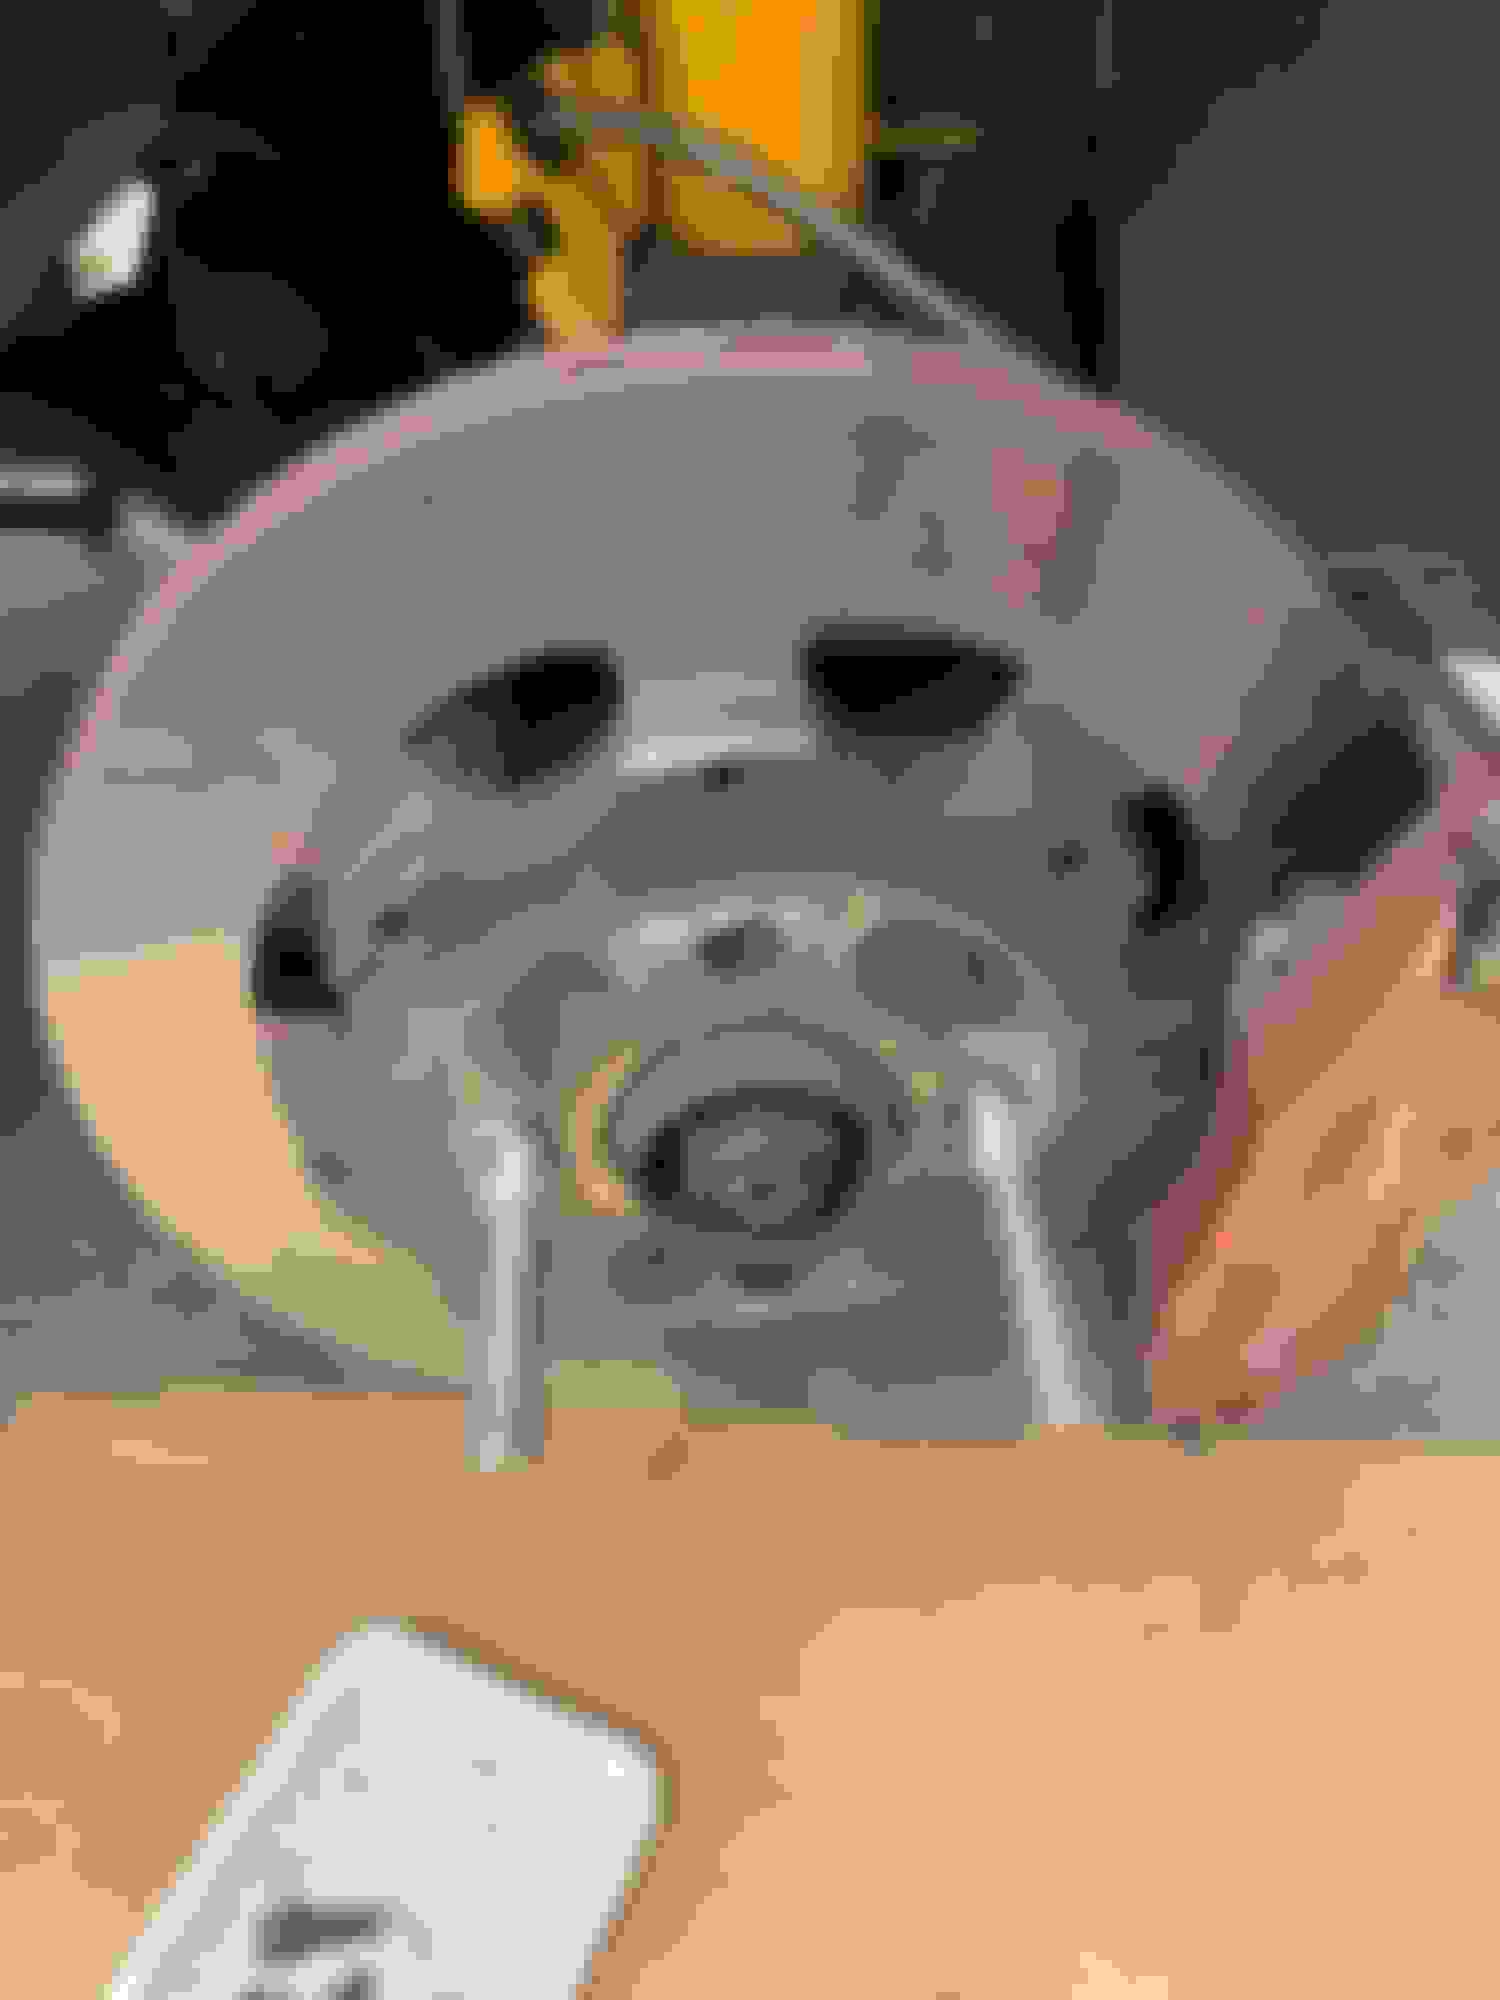
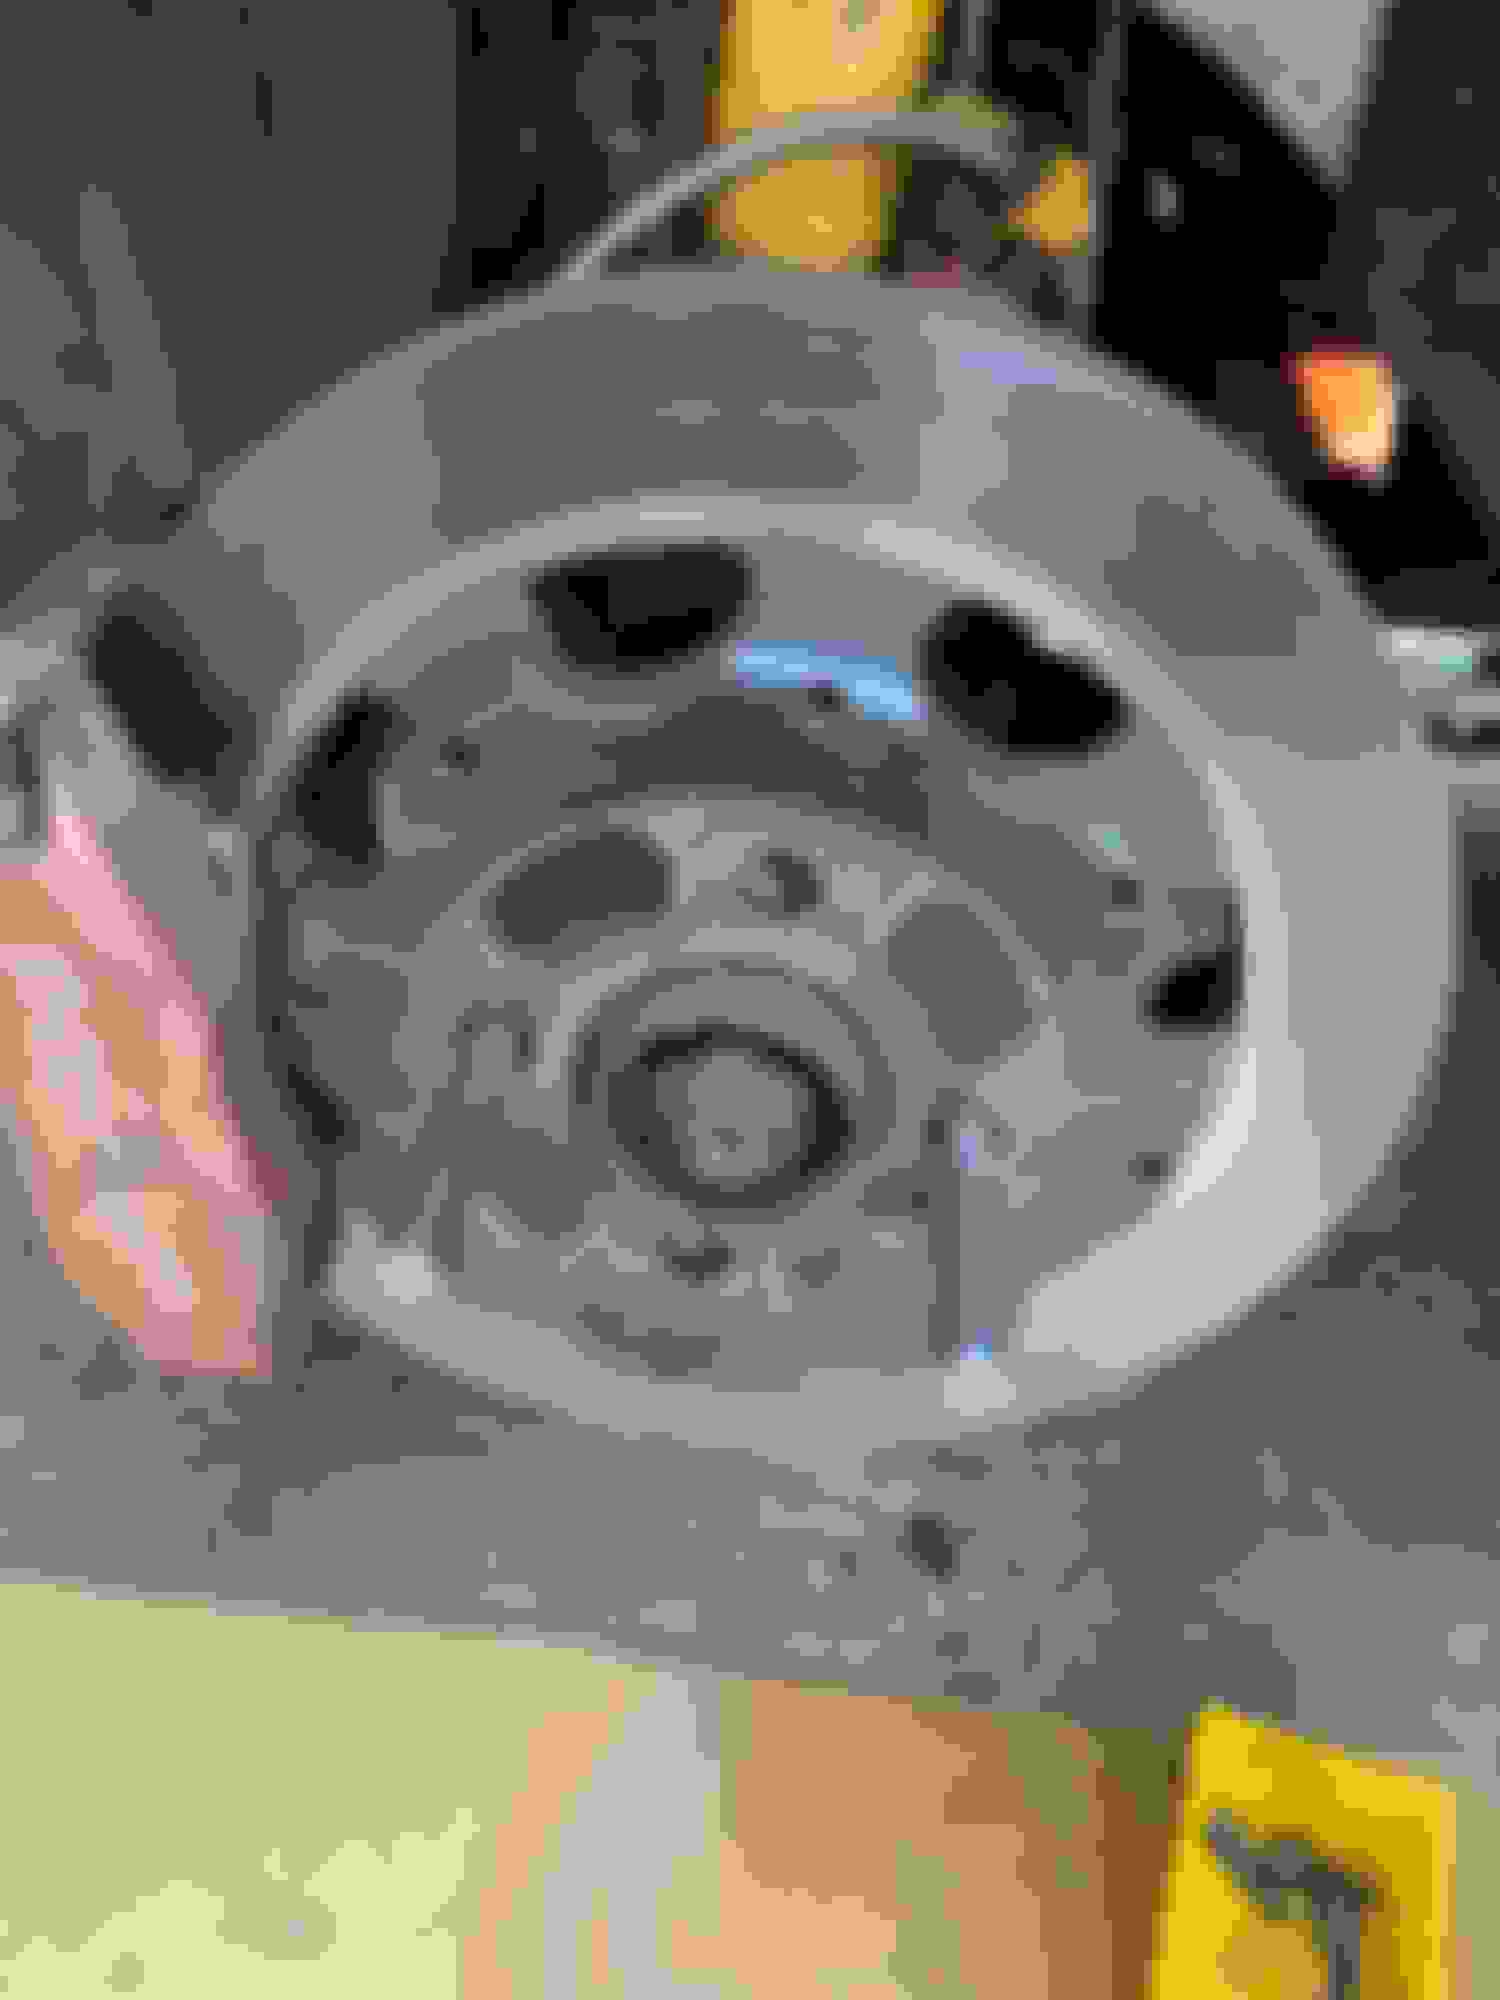
first I inspected the rear brakes for pads and rotors wear, as well as checking for excessive drag
the outer pad looks fine
the inner pad looks fine
the left rear rotor looks fine
the right rear rotor looks fine
The unequal L/R brake wear is not observable for the rear brakes at least under casual visual inspection. Since it would involve major production to remove the pads and check thickness with a caliper I will never bother with the PITA rear floating calipers, but just rely on visual inspection.
the left front caliper; you can clearly see the outer pad is worn down more than the inner pad; additionally the pads are worn more than that on the right front caliper due to PIR's clockwise track
the right front caliper; you can also see the outer pad is worn down more than the inner pad
the left front pads; the outer pad is worn significantly more
the right front pads; the outer pad is worn more due to higher temperature
This set of cheap Wilwood rotors has so far stands up the best compared to the prior 2 sets of curved vanes rotors. I attribute this due to the pads as well as the cool down lap that I now always do. Because of this I am holding off pursuing brake cooling ducts as that is a huge can of worm.
left front rotor; it is one piece casting rather than 2 halves as in the case of curve vane one
no sign of craze on these $35 rotors; the surface is smooth as baby's butt
right front rotor
One thing that is curious about these $35 rotors. the outer surfaces developed a concave wear that is consistent on both left and right rotors.
the red arrows marks the apex of the concave
I am extremely happy with the performance of the Raybestos ST-45 pads. They have been gentle with the rotors as well as holding up very well themselves. I have not find their grip being inadequate and I brake very hard all the time, as well as performing simultaneous braking and throttle to control weight transfer and trail braking.
I am very glad that the brake consumption is under controlled with this current choice of pads and rotors, and the practice of alway performing a cool down lap. I believe uneven rotor cooling coming off red hot off the track is a major cause of crack rotors. By that I am pointing to the rotor surface that is occluded by the calipers and pads will remain very hot while the rest of the rotor cools much faster.
The suspension knocking has been driving our driving talent crazy and he was about to commit himself to the mental asylum. Thankfully our track team's Meistermechaniker is up to the task. Just like G-men he will eventually get his man. Unlike the infamous G agent his expertise is G as gravitational force. In this case his godly mission is to exorcise the evil and elusive suspension knocks that only occur under very subtle road surface undulations.
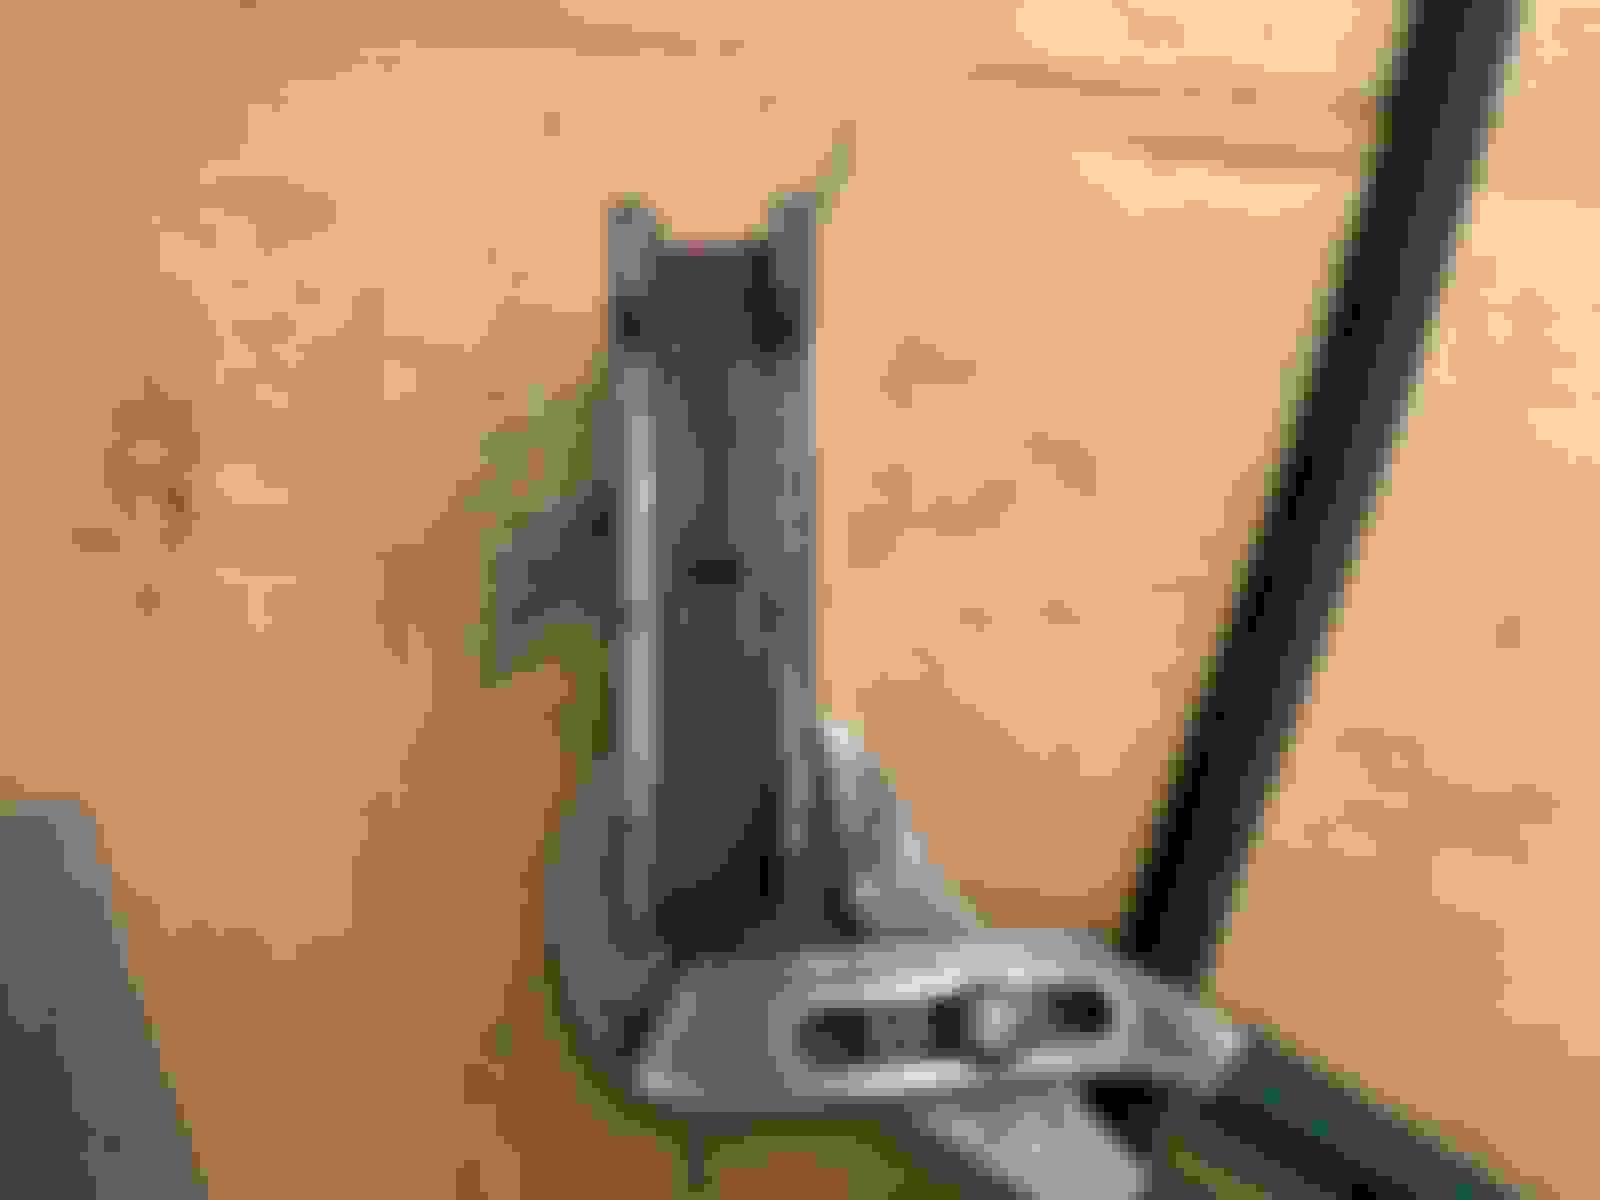
the suspect rebound damping adjuster might come into contact with the chassis but there is no visual clue
same thing on the other side
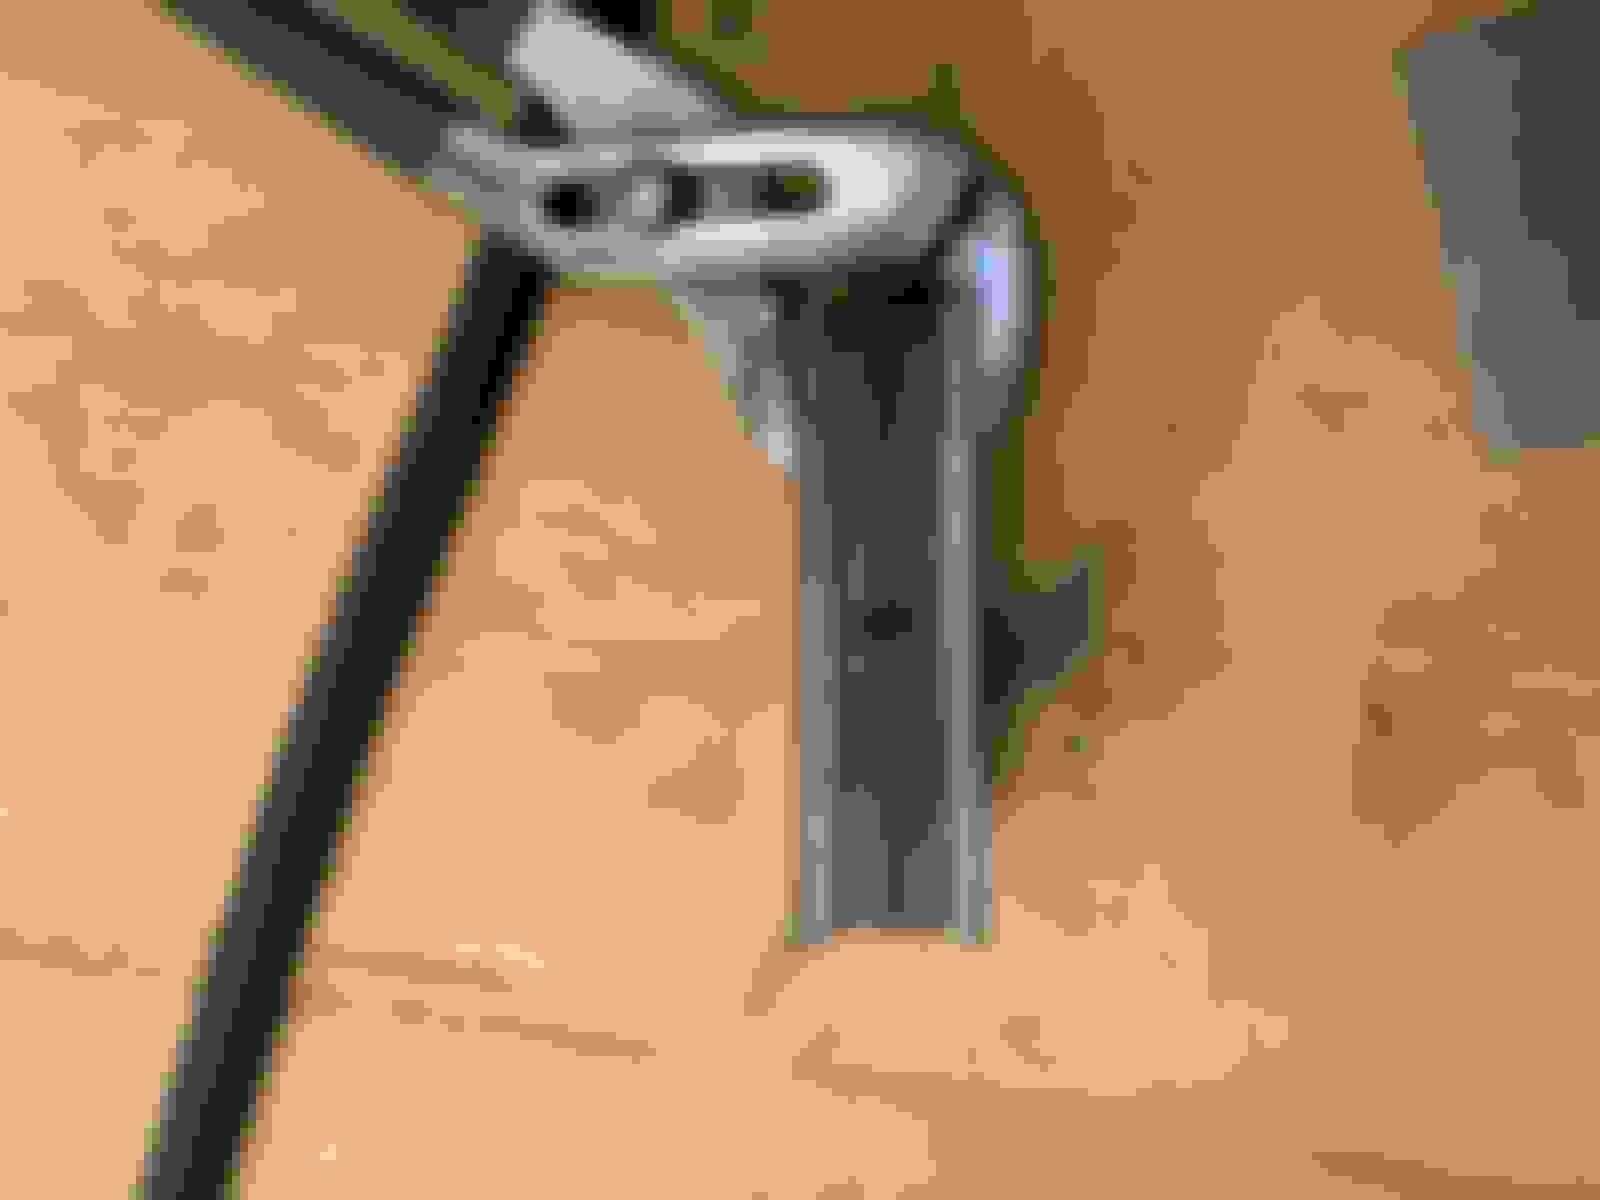
this time our Meistermechaniker paid more attention and he noted the tiny inconspicuous dot
same thing on the other side
What made this so difficult to troubleshoot is the Koni dampers and Swift Sport springs have worked fine for close to 3 years and this knocking only started a month ago. With more careful inspection and finding the tiny fresh bare metal dot in the chassis our Meistermechaniker immediately knew this is the cause of the suspension knock. What also make it so evasive is the knocks tend to happen when the front wheel, rather than the rear wheel goes over a mildly unlevel road surface like expansion joints.
Obviously the compliant material that the damper upper bushings are made of has been compressed over time and has lost some springiness. Instead of loosening the upper perch nut which is not a wise thing to do at this juncture, he wanted the simplest and surest fix. Why not shorten the damper adjuster slightly, he said.
he marked the amount to be shorten
both dampers's adjuster has been marked
he ground off the excess length of the adjuster tabs
a palm sander is used to smooth out the sharp edges
our track team master mechanic does quality work
the "coilovers" are reinstalled and the hydraulic lines and brake pad wear sensors reattached to with the help of soap and water
The proof of the pudding is in a road test. No more annoying suspension knocks. We have that evil spirit exorcised.
Well, I’m glad I replaced those bushings when I installed my Swifts and Konis.
One thing that strikes me is so many DD owners chose to go with stiff engine mounts and yet chose mediocre springs and dampers setups, often fell for the marketing fluffs. The Swifts and Koni Yellow is one of the best and most cost effective handling investments for R53/R52/R50 Mini's. I would not trade them for anything for driving on roads. They are very much in the spirits of these little cars with no bull and not for stance vanity.
I promise not to get started with busy looking wheels that fills the wheel well and weigh a ton.
That�s more or less the conclusion I came to. I didn�t want to lower my car much and didn�t think I would get the same quality for the price with coilovers.
Seeing as how I�m running a set of 15x7 Advanti Storm S2s, I think you�d be preaching to the choir. I really wanted a set of 6ULs, but I wasn�t sure when they would make them in the right width and offset again.
That’s more or less the conclusion I came to. I didn’t want to lower my car much and didn’t think I would get the same quality for the price with coilovers.
Seeing as how I’m running a set of 15x7 Advanti Storm S2s, I think you’d be preaching to the choir. I really wanted a set of 6ULs, but I wasn’t sure when they would make them in the right width and offset again.
I have once looked at 6UL and Team Dynamics. That is until I bought a set of Konig Dial In 15x7. I was so impressed that I look further and hard at their 15x8. It would turned out they have perfect offset for my Mini and I went ahead invested in 3 sets plus one spare. These wheels are all business and nothing fashion about them. Their beauty is all form follows function. They are incredibly strong for their weight, and much cheaper than 6UL and Team Dynamics. Team Dynamics is quite heavy if you ever weigh them. All my 15x8s come in around 12 lb or less. For street their 15x7 is perfect.
Dial In in 15x7 in black
Dial In 15x8 in matt grey; I call these black hole wheels for the spokes outward design to clear BBK
Our track team’s caterer needed to go across town for grocery shopping. Since we exorcized the suspension knocking demon we had only taken Desire for a short drive to Harbor Freight - for you guessed it, more tools for working on Mini. Desire was sporting the newly installed OMP lower front brace from ECS Tuning. It was a short trip and we didn’t feel any perceivable difference with the new brace.
Today we went for a jaunt across town and the newly installed OMP lower brace was totally absent from our minds. We were more in the lookout if the suspension knocks are totally gone. Thankfully it is indeed exorcized.
The shopping trip entails going through many different road surfaces, freeway and streets that we are extremely familiar. What struck us is how composed the ride was in a well sorted Mini way. As we had been plagued with suspension knocks we were still thinking of how peaceful the ride is now. Only upon returning home that I remembered we had the new OMP brace, and that explains for the incremental increase in connectedness with the steering and suspension of the driver. The car felt tighter as a stiffer chassis would give you (like a road racing bicycle sort of feel) is the best way I can describe it. The steering and the response of the car to the input feels a little more precise.
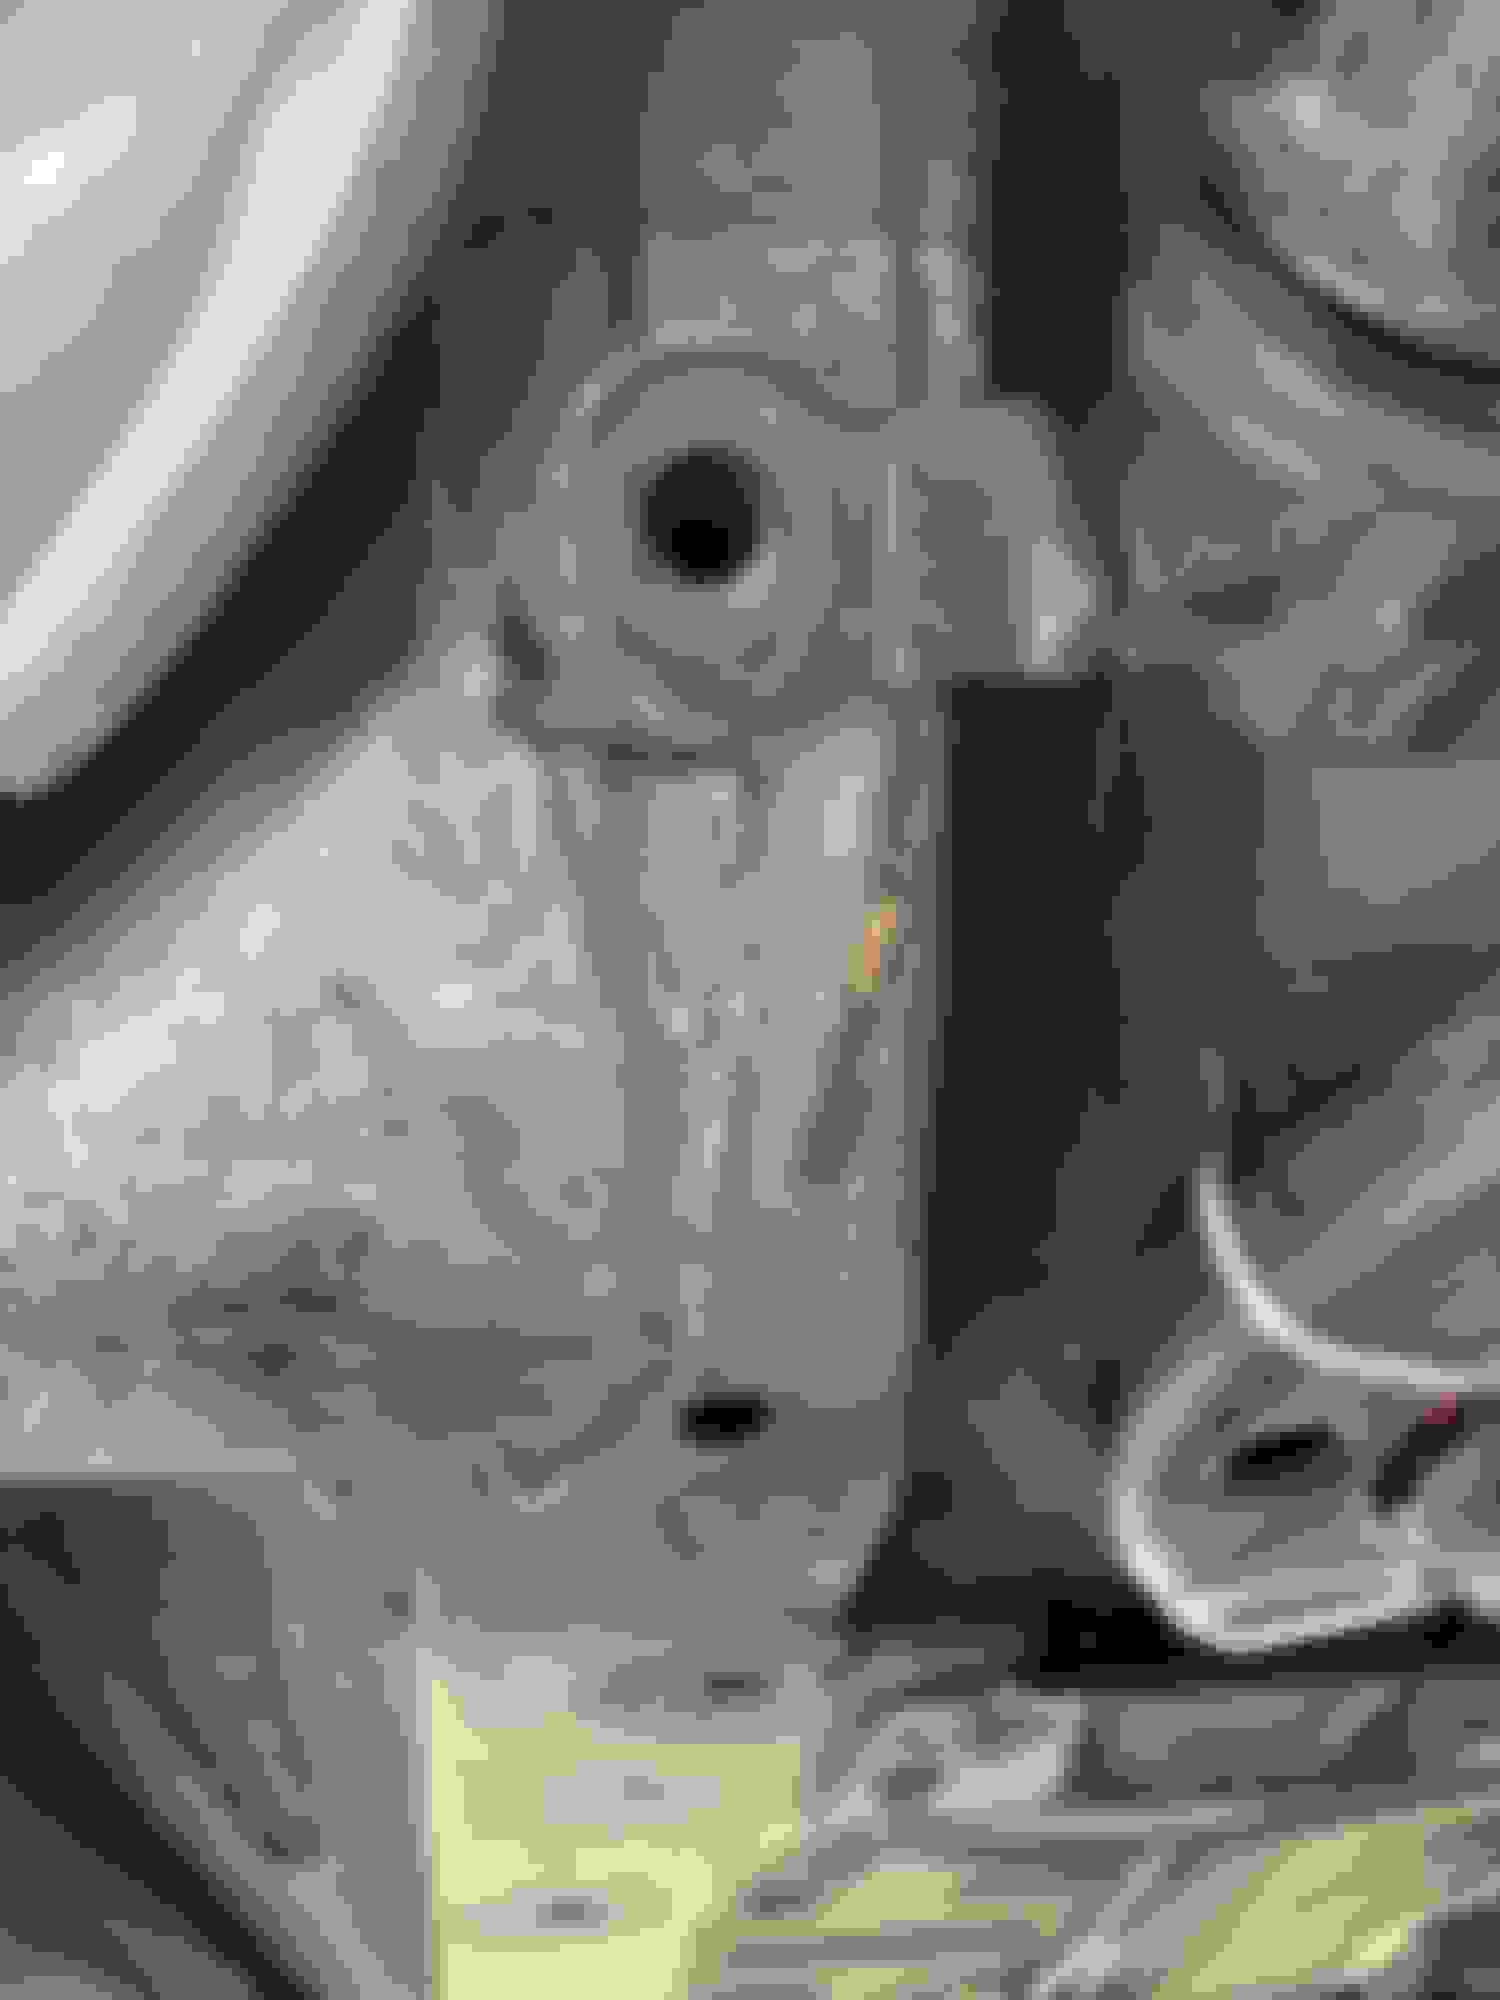
One side effect of the installation of the OMP lower brace is the slight pulling to the left is no longer there. There is an explanation for it, and it is a bit of long story so I would keep it short. Ever since last May I installed the set of Powerflex front control arm race bushings there is a slight but quite noticeable steering pulling to the left. I did all the work myself and I was extremely meticulous in the process. When returning the subframe to the chassis I had a hard time aligning the left side knuckle for the control arm rear bushing to the frame. I had to use a bottle jack to push it up so I can thread in the bolt. This is where the OMP lower brace’s attachment point is as well.
I had thought that the slight pull to the left is due to the tolerance buildup from the fasteners that I disturbed installing the various poly bushings on the subframe. These included the bushing for the steering rack, and for the front sway bar, in addition to the control arm rear bushings. I had lived with the slight pull ever since.
Strangely when I removed the outer bolts of the control arm bushing I was very surprised with the evenness of the hole alignments between the left side and the right side. It wasn’t like that last May when I needed the aid of a bottle jack to raise one side just to be able to thread the bolt. With the disappearance of the steering pull it all make sense to me. The race version of the Powerflex was so stiff, and resistant to rotate and bend it prevented the knuckle from evenly alignment with respect to the one on the opposite side, This slight difference in the knuckle position must cause enough difference in the L/R wheel casters and forth/aft of the contact patch resulting in the slight pulling. A whole season of pounding on race tracks eventually evened out the bushing rest positions of the two sides.
control arm's rear bushing knuckle with he black racing Powerflex poly bushing is extremely stiff and tight in rotation
last May I had to use this bottle jack to help align the outer ear of the right front bracket with the threaded hole
These two photos below show the evenness of the bolt holes WRT to one another after a season of pounding on the track that the stiff race bushings have settled in the natural positions.
When I removed the two bolts to install the OMP brace it gave the opportunity for the two knuckles to return to the natural pristine factory positions. Once the brace is installed and the bolts tighten the proper alignment is restored. This is the sort of things that I find it extremely rewarding in doing everything myself and experience first hand the causalities.
the OMP brace is mounted to the two control arm rear knuckles for the bushings
While I do think there is perceptible improvement to the steering and suspension from the OMP brace, I don’t expect it would change the handling characteristic in altering over or understeering tendencies. I reason it tightens the stiffness of the front end and the biggest benefit is to combat the oscillations of the front strut spread under heavy braking and heavy cornering.
This is one great mystery explained. The black race version of Powerflex can change alignment in a subtle way that I had experienced. Now all end well a year later. I took a calculated chance in going with the racing black bushing and I am very glad I did. It does very little to reduce ride comfort (much less than poly engine mounts) but improve steering feedback, connectedness, response, and most important handling dynamics.
To give you some idea, my Mini has no rattling interior plastic trims even with the race poly bushing nor unwanted haptic "noise" in the steering wheel feedback.

 07-15-2019, 12:21 PM


 ; one thing that I am quite certain is Desire has yet to have any USSR content