

What did you do to your mini today?
#3701
 07-08-2011, 06:20 PM


6th Gear
Join Date: Jun 2010
Location: Vancouver Island, Canada
Posts: 3,334
Likes: 0
Received 4 Likes
on
3 Posts
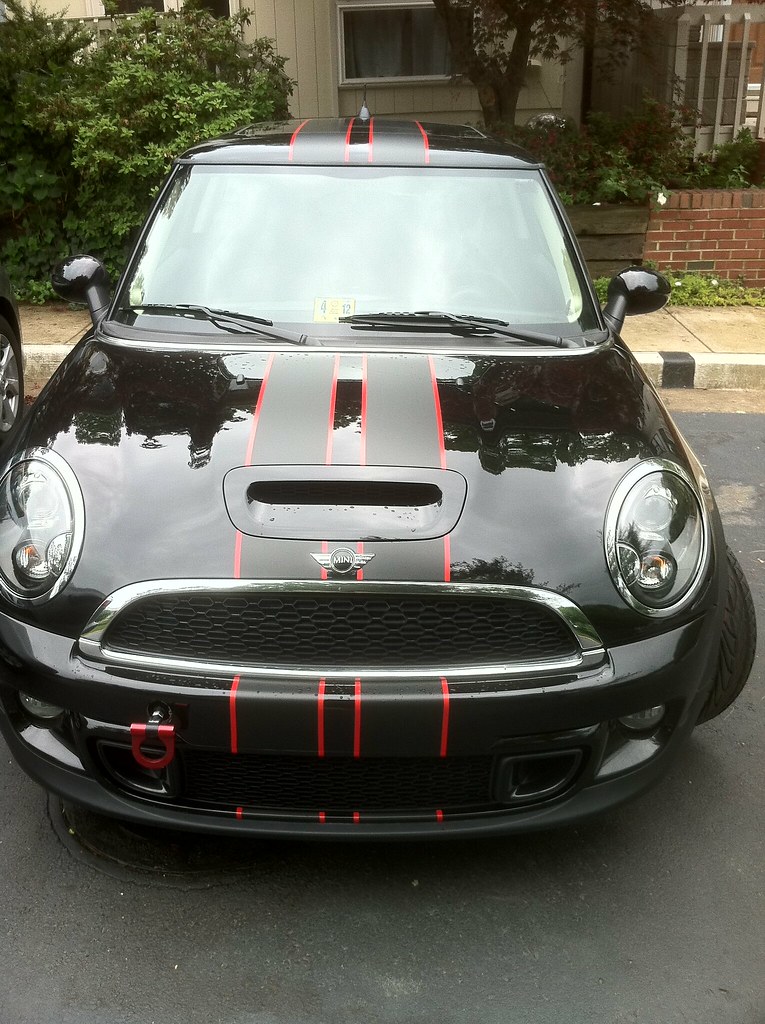
danny, ...that grill is looking much better...nice job. ..the license plate better too!
..I live in a front plate state too....I hate the stupid front plate! I've been motoring without mine for a while..takin' a chance. since the holes were already there...I mounted a couple of studs & just cap them with a couple of nuts I painted black...keep the plate under my seat....my plan: if ever stopped for the lack of front plate...I'm gonna explain how I just recently had to redo my mounting brackets..and wait for it to "dry"..then proceed to slap the plate on...which I can do in @ 20 seconds
..what size/brand tires you have on there? ..they look nice n wide n meaty.
J

They're Yokohama S.Drives, 205/50/16. I really like them, stiff sidewalls and good grip. Great in the rain


#3704
07-08-2011, 07:54 PM

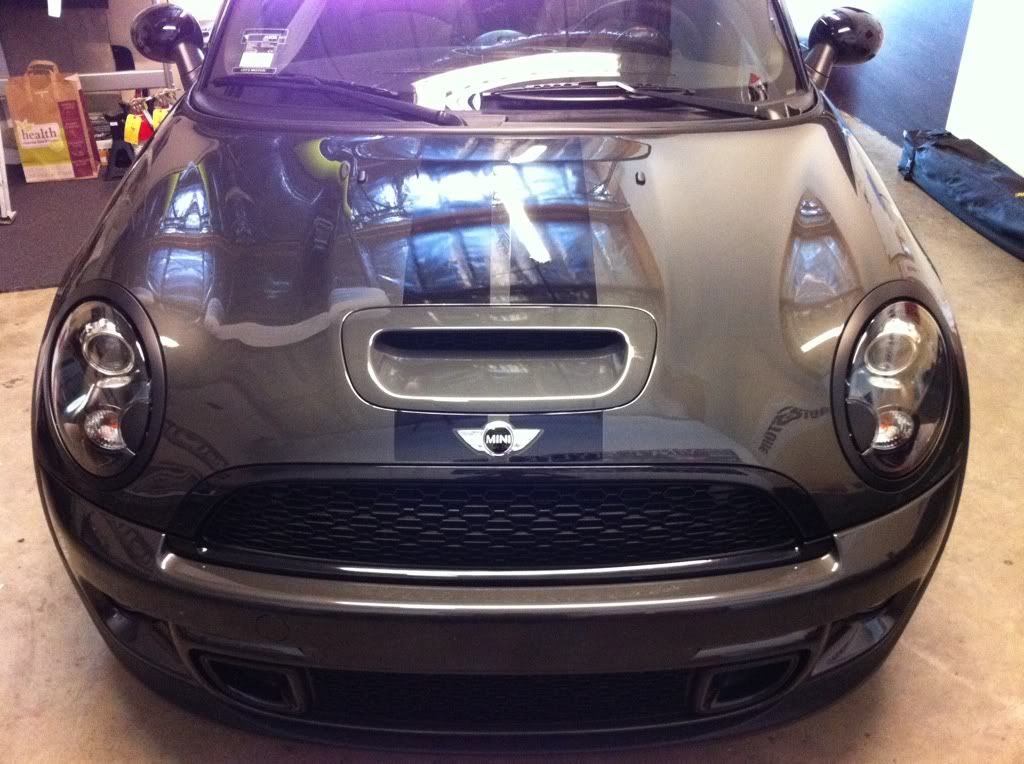
...looks pretty good for the minimal time & $, but its rough texture sometimes picked up lint from my microfiber towels,
..and when washing the car it would get weird water spots/discolored areas if it wasn't dried immediatly!!
...so I recently went ahead and sanded down my light rings & grill surrounds, and painted them with duplicolor black bumper paint!
..sounds weird maybe, ...but this stuff has a nice flat/satin black with smooth texture...looks & feels much better than the p-dip.
..since its for bumpers, its supposed to be somewhat flexible and resistant to chipping and stuff, ...time will tell. ....I'd still like to eventually wrap with vinyl though....
J

#3706
07-08-2011, 11:27 PM


#3708
07-09-2011, 08:48 AM
5th Gear
Join Date: Feb 2010
Location: Bay Area
Posts: 750
Likes: 0
Received 0 Likes
on
0 Posts
#3710
07-09-2011, 04:52 PM
2nd Gear
Join Date: Jan 2011
Location: The Netherlands
Posts: 103
Likes: 0
Received 0 Likes
on
0 Posts
Busy day today..
First I installed the Cravenspeed CAI. Must honestly say: you suck Cravenspeed. The CAI-box is about 1/2 inch to long. At some point I had help from another Mini enthusiast, which I needed for the stupid, stupid designed box.. Had to really force it in between the brake-cylinder and the engine-mount. I'm not a bad mechanic, I know my way around an engine, had to redo the bolting on the whole box, bolt the ECU in with the bolts the exacte opposite of the instructions. And still it wouldn't fit. Took me over three hours, but eventually I won!
Then took off the original R53 exhaust, left the cat, but stripped everything behind it. Bolted on a brand-new fully RVS PlayMini and all rubbers. Went like a charm exept from breaking a bolt whilst removing the old exhaust. Lining the exhaust-tips up was a little work, but we finished the install in about 40-45 minutes.
After that, drove it for about 15 miles to get the engine nice and warm, actually hit 130 in the odometer (No that's not actually legal here either )
Then the fun-part: put it on the dyno for a custom tune. 193HP with 225Nm (166 ft-lb if I'm not mistaken)
So: added lots of whine with the CAI, lots of growl with the PlayMini and some HP's with the tune.
Haven't added a pulley, might do it in the future, but for now this is quite enough
First I installed the Cravenspeed CAI. Must honestly say: you suck Cravenspeed. The CAI-box is about 1/2 inch to long. At some point I had help from another Mini enthusiast, which I needed for the stupid, stupid designed box.. Had to really force it in between the brake-cylinder and the engine-mount. I'm not a bad mechanic, I know my way around an engine, had to redo the bolting on the whole box, bolt the ECU in with the bolts the exacte opposite of the instructions. And still it wouldn't fit. Took me over three hours, but eventually I won!
Then took off the original R53 exhaust, left the cat, but stripped everything behind it. Bolted on a brand-new fully RVS PlayMini and all rubbers. Went like a charm exept from breaking a bolt whilst removing the old exhaust. Lining the exhaust-tips up was a little work, but we finished the install in about 40-45 minutes.
After that, drove it for about 15 miles to get the engine nice and warm, actually hit 130 in the odometer
(No that's not actually legal here either )Then the fun-part: put it on the dyno for a custom tune. 193HP with 225Nm (166 ft-lb if I'm not mistaken)
So: added lots of whine with the CAI, lots of growl with the PlayMini and some HP's with the tune.
Haven't added a pulley, might do it in the future, but for now this is quite enough
#3711
07-09-2011, 05:14 PM

3rd Gear
Join Date: Mar 2011
Location: central,Texas
Posts: 195
Likes: 0
Received 0 Likes
on
0 Posts
Installed a power outlet for my GPS. put it under dash far left on drivers side. I wanted power to my GPS even when motor was shut off. The one that comes on the vehicle as standard does not have power when the motor is shut down.Easy project, just ran wire from battery to power outlet,installed a fuse in line. Ran a ground back to battery and it was ready to go.
#3713
07-09-2011, 05:50 PM

#3714
07-09-2011, 07:05 PM

Installed the the cravenspeed short shift kit and let me just say the instructions SUCK!!! I have done a SSK before and it took about an hour or two but noooooo not today! It took all day. Just very unclear instructions but the end product is awesome. Notchy tight shifting. Wow super cool. Side note the stock shift **** doesn't look very good with the craven speed shift cover. But whatever. Anyways I'll
Post pics later
Post pics later
#3715
07-09-2011, 07:17 PM

Banned

#3716
07-09-2011, 07:26 PM

4th Gear
Join Date: Dec 2010
Location: New York, NY
Posts: 450
Likes: 0
Received 0 Likes
on
0 Posts


#3717
07-09-2011, 08:12 PM
Awesome!! Have a place in Corolla. I have thought of going a little south to Duck, but now that the bridge project that will connect to Corolla has been passed, I will wait it out. I NEED an OBX lobotomy, and soon. Cooler of fizzy oats, shore fishing, and some much needed r&r.


#3720
07-09-2011, 11:07 PM
#3721
07-09-2011, 11:58 PM

2nd Gear
Join Date: Jan 2010
Location: Las Vegas, NV
Posts: 63
Likes: 0
Received 0 Likes
on
0 Posts
Rotated my tires yesterday and while I was at it I cleaned 26,000 miles of brake dust off the inside of the rims. I didn't know they were painted white. I thought they were brake dust black.
Detailed the exterior today. Washed it, clay barred it, 2 coats of wax. Used Groits vinyl and rubber dressing on all the trim. Cleaned and the waxed the wheels and dressed the tires. Cleaned the glass inside and out. And finally vacuumed the interior. Still need to clean the interior but after 2.5 hours I'd had enough. I'll get to the interior tomorrow.
Detailed the exterior today. Washed it, clay barred it, 2 coats of wax. Used Groits vinyl and rubber dressing on all the trim. Cleaned and the waxed the wheels and dressed the tires. Cleaned the glass inside and out. And finally vacuumed the interior. Still need to clean the interior but after 2.5 hours I'd had enough. I'll get to the interior tomorrow.
#3722
07-10-2011, 11:49 AM

#3723
07-10-2011, 12:15 PM
#3724
07-10-2011, 03:55 PM


#3725
07-10-2011, 04:13 PM

1st Gear
Join Date: May 2011
Location: Panama City, FL
Posts: 26
Likes: 0
Received 0 Likes
on
0 Posts
Replaced the air filter - was nasty, not sure how it was breathing!
Replaced the cabin air filter - not as nasty.
Replaced the dipstick with a new OEM from Moss Mini - assume it was the original and after reading so many posts about broken sticks, better safe than sorry.
Very nice service from Moss Mini, thank you!
Replaced the cabin air filter - not as nasty.
Replaced the dipstick with a new OEM from Moss Mini - assume it was the original and after reading so many posts about broken sticks, better safe than sorry.
Very nice service from Moss Mini, thank you!