

What did you do to your mini today?
 11-27-2013, 11:28 PM


I cut up 4 blocks of wood from a Douglas fir 2x4 and tested them on my JCW to see how they would hold up to prevent any damage to the aero skirts. While the back jack point/block held up okay, I was horrified to see the front block get crushed up as I gently lowered the jack on it. I guess I need to find alternatives..sigh. How are some people using plywood to stuff the jack points without damaging them?
Sent from my iPhone using NAMotoring
Sent from my iPhone using NAMotoring
11-28-2013, 12:36 PM
I cut up 4 blocks of wood from a Douglas fir 2x4 and tested them on my JCW to see how they would hold up to prevent any damage to the aero skirts. While the back jack point/block held up okay, I was horrified to see the front block get crushed up as I gently lowered the jack on it. I guess I need to find alternatives..sigh. How are some people using plywood to stuff the jack points without damaging them?
You need to use a very hard wood or a block laminated from layers of plywood, and jackstands with flat pads on top. And you don't want the wood to extend more than a 1/4" or so out of the bottom of the jack point.
Don't take jacking the car up too ligthtly. Imagine one of those wood blocks shearing, and the car shifting just enought to topple off the other stands.
11-28-2013, 01:03 PM

Thr front of the car is significantly heavier than the rear. I dodn't think tha there is any way the relatively soft wood you are using is going to hold up to that. Wood is stronger in compression along the grain. That jackstand you are using is putting all the load on a very small area of the wood, crushing it and causing it to split. There is no way I'd get under the car with that setup. You need to use a very hard wood or a block laminated from layers of plywood, and jackstands with flat pads on top. And you don't want the wood to extend more than a 1/4" or so out of the bottom of the jack point. Don't take jacking the car up too ligthtly. Imagine one of those wood blocks shearing, and the car shifting just enought to topple off the other stands.
11-28-2013, 09:14 PM
11-28-2013, 09:25 PM

6th Gear
Join Date: Feb 2010
Location: North Denver Colorado
Posts: 2,836
Likes: 0
Received 6 Likes
on
6 Posts
12-01-2013, 09:40 PM

Installed Splitter today
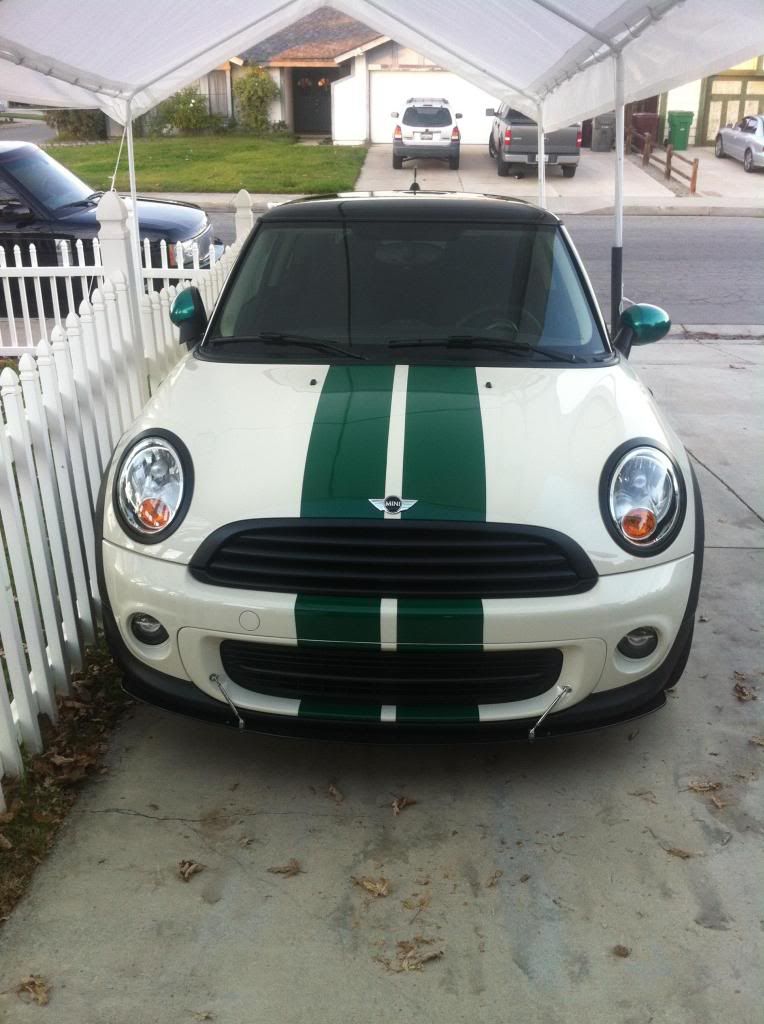
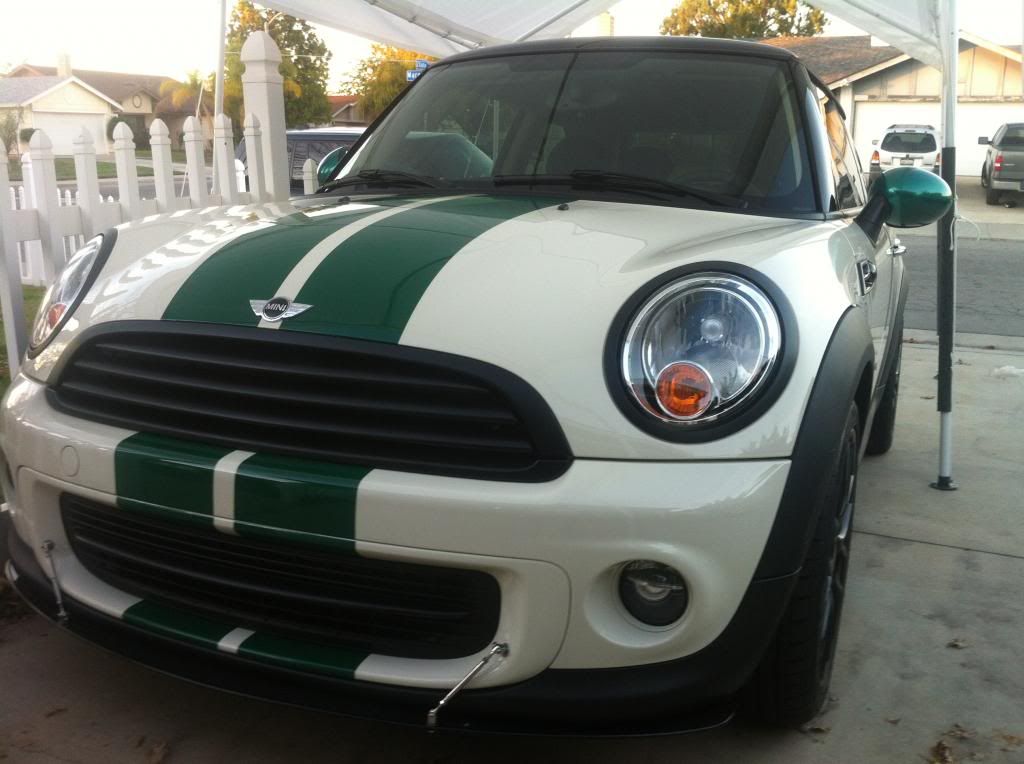
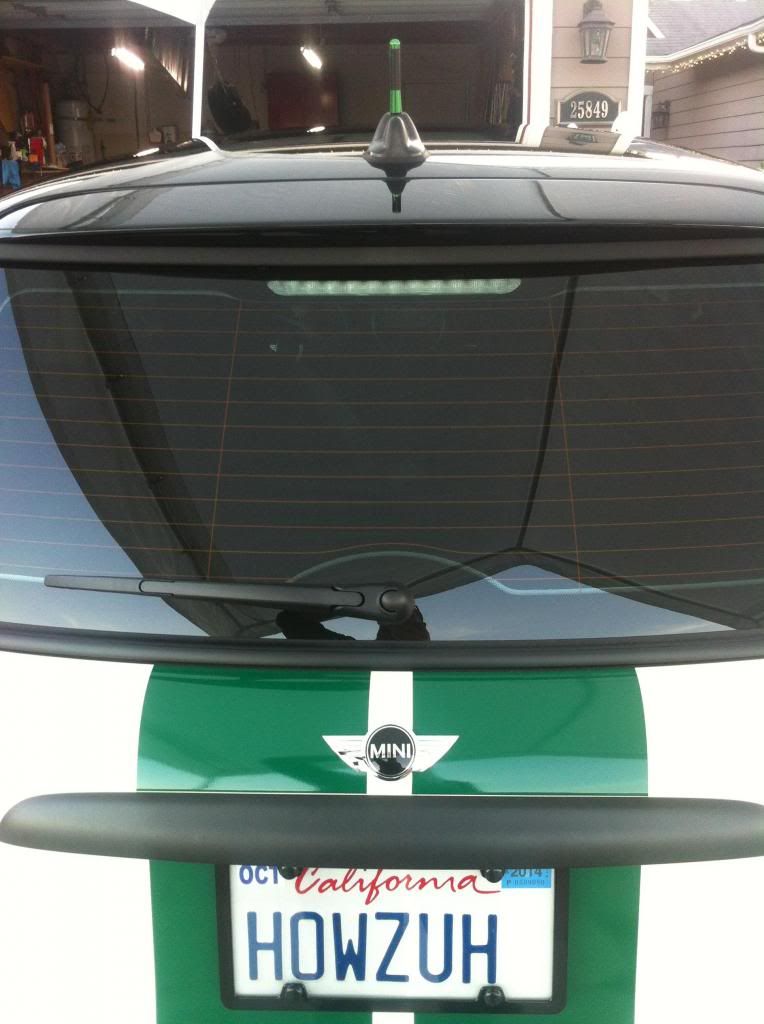
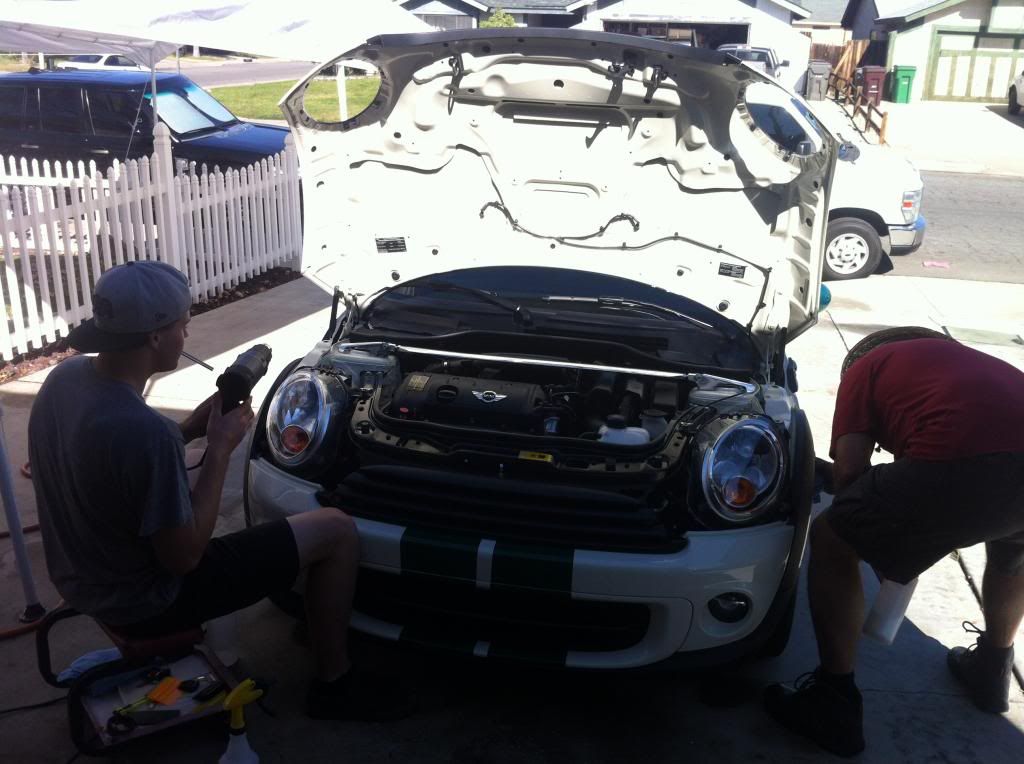
I bought a splitter from someone here on the forum but needed the upgraded install kit from M7. I contacted Bill from M7 Tuning and he sent me the upgraded hardware and was kind enough to send the template for drilling out the splitter itself. The install was MUCH easier with the correct stuff. Thanks Bill!. Here are some pics of the splitter as well as some other mods or upgrades I've done to "Howzuh" over the past couple of months since I bought it new.
Splitter. (it's a Justa so it's obviously just for looks. I'll save you REAL "racers" or GP owners the bother of commenting on this fact.)
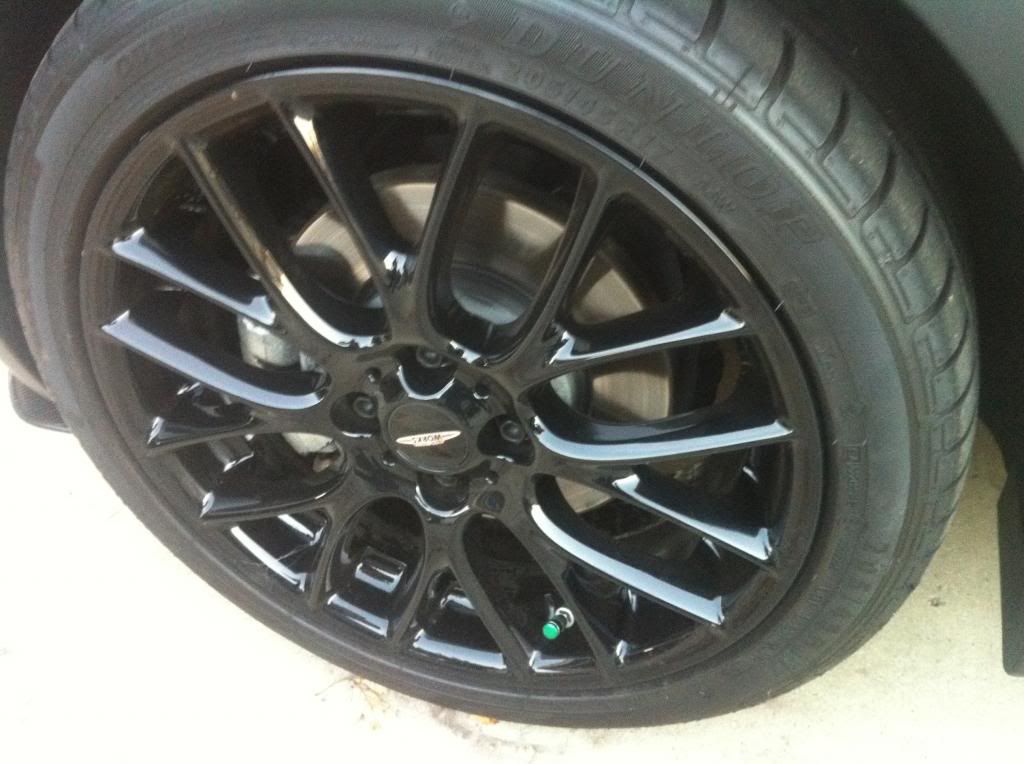
Wheels and tires
Strut brace
K&N Filter
PIAA DRL's
Viper Stripes
tinted windows 15% rear / 35% side
Green anodized antennae
Green anodized valve stem caps
Plastidipped front grill(s)
Plastidipped headlight and tail light trim
Clear bra with headlight protection (impossible to see in the pics - LOL)
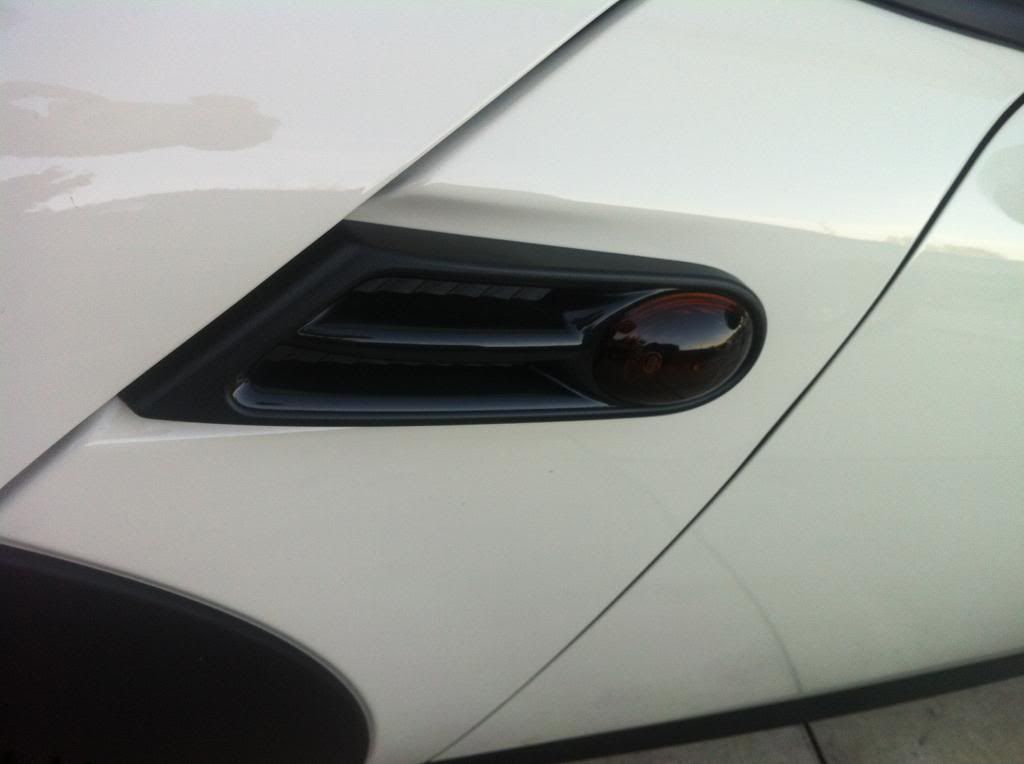
tinted side marker lights
tinted front wheel arch lights


Splitter. (it's a Justa so it's obviously just for looks. I'll save you REAL "racers" or GP owners the bother of commenting on this fact.)
Wheels and tires
Strut brace
K&N Filter
PIAA DRL's
Viper Stripes
tinted windows 15% rear / 35% side
Green anodized antennae
Green anodized valve stem caps
Plastidipped front grill(s)
Plastidipped headlight and tail light trim
Clear bra with headlight protection (impossible to see in the pics - LOL)
tinted side marker lights
tinted front wheel arch lights


 12-02-2013, 12:12 AM
I was looking at the Torin T43004 jack stands, actually. Are those the ones you'd recommend?
Sent from my iPhone using NAMotoring
Last edited by KilmerPT; 12-02-2013 at 12:36 AM.
12-02-2013, 03:44 AM
I bought a splitter from someone here on the forum but needed the upgraded install kit from M7. I contacted Bill from M7 Tuning and he sent me the upgraded hardware and was kind enough to send the template for drilling out the splitter itself. The install was MUCH easier with the correct stuff. Thanks Bill!. Here are some pics of the splitter as well as some other mods or upgrades I've done to "Howzuh" over the past couple of months since I bought it new.
Splitter. (it's a Justa so it's obviously just for looks. I'll save you REAL "racers" or GP owners the bother of commenting on this fact.)
Wheels and tires
Strut brace
K&N Filter
PIAA DRL's
Viper Stripes
tinted windows 15% rear / 35% side
Green anodized antennae
Green anodized valve stem caps
Plastidipped front grill(s)
Plastidipped headlight and tail light trim
Clear bra with headlight protection (impossible to see in the pics - LOL)
tinted side marker lights
tinted front wheel arch lights
How about a side photo?


 12-02-2013, 05:47 AM

I cut up 4 blocks of wood from a Douglas fir 2x4 and tested them on my JCW to see how they would hold up to prevent any damage to the aero skirts. While the back jack point/block held up okay, I was horrified to see the front block get crushed up as I gently lowered the jack on it. I guess I need to find alternatives..sigh. How are some people using plywood to stuff the jack points without damaging them?
Sent from my iPhone using NAMotoring
Sent from my iPhone using NAMotoring
two things you should do when using wood for this:
1. Don't make it as tall. The shorter they will be the better for stability. So look at your geometry and make them just tall enough to fit the pocket with maybe a 1/4" or at most 1/2" to allow for some crushing.
2. I lifting my car to install the GP belly pan recently and I had forgotten to look into how I was going to seat my jack stands. So I did use a piece of wood because I was running out of time.
When you use wood you always want to use the grain of the wood in your advantage. What you did is the worse case scenario. The fibers are at their shortest length so they will part from each-other much more easily. Vertically is not that much better either. What you want to do is use them horizontally with the longest direction possible. Also use a harder wood like oak if you can.
It's alright if the wood crushes some but you don't want it to split!
Anyway, just simple tips

edit:
Oops, didn't look at the replies . . . I guess it was already covered...

Last edited by TG.; 12-02-2013 at 05:52 AM.
12-02-2013, 07:42 AM

5th Gear
12-02-2013, 11:51 AM

 12-02-2013, 12:00 PM

4th Gear
Join Date: Nov 2013
Location: Lincoln, NE
Posts: 330
Likes: 0
Received 0 Likes
on
0 Posts
Nice! what did I do today?. It's stinkin 65 degrees in Nebrasky! Warmest day since I bought her on Halloween Day! Of course, a nice wash and yes: Crazy drive in the country! Ahhh! It gives back more in warmer weather. handles better, accels better, and gas MPG is less! I dread the 15 degree highs we're going to get later this week :(
Looking forward to joining yall for the minis on the dragon next May! I should have some mods by then I hope. Otherwise loving the stock MCS '05. Did a carfax now. Thermostat and all replaced 6 months ago. I got it a month ago. Happy Dance!
Looking forward to joining yall for the minis on the dragon next May! I should have some mods by then I hope. Otherwise loving the stock MCS '05. Did a carfax now. Thermostat and all replaced 6 months ago. I got it a month ago. Happy Dance!
12-02-2013, 12:57 PM


 12-03-2013, 12:40 AM
12-03-2013, 12:45 AM
12-03-2013, 12:40 AM
12-03-2013, 12:45 AM
Kilmer, two things you should do when using wood for this: 1. Don't make it as tall. The shorter they will be the better for stability. So look at your geometry and make them just tall enough to fit the pocket with maybe a 1/4" or at most 1/2" to allow for some crushing. 2. I lifting my car to install the GP belly pan recently and I had forgotten to look into how I was going to seat my jack stands. So I did use a piece of wood because I was running out of time. When you use wood you always want to use the grain of the wood in your advantage. What you did is the worse case scenario. The fibers are at their shortest length so they will part from each-other much more easily. Vertically is not that much better either. What you want to do is use them horizontally with the longest direction possible. Also use a harder wood like oak if you can. It's alright if the wood crushes some but you don't want it to split! Anyway, just simple tips edit: Oops, didn't look at the replies . . . I guess it was already covered...
edit: Oops, didn't look at the replies . . . I guess it was already covered... 
Sent from my iPhone using NAMotoring
12-03-2013, 07:00 AM
5th Gear
I don't but I'll try to get one after sunset to see the light! ECS has a PDF for installing the lights. Unless you already know, the ECS instructions are helpful. I initially put the wrong led in the boot and the map\reading light bulb replacement in the Bentley service manual is nearly worthless. I didn't break anything and they work great! Test each light before you button it up though. I had to turn the bulb around on several locations.
12-03-2013, 07:02 AM
 12-03-2013, 07:06 AM

I use Griot's Spray on car wash.
http://www.griotsgarage.com/product/...ortby=ourPicks
I was wary of it at first, but I won a Griot's car car kit at a MINI club raffle, so It cost me nothing to try it.
I am impressed with the performance of this stuff! When the spray bottle ran out, I bought a gallon of it.
Dave
http://www.griotsgarage.com/product/...ortby=ourPicks
I was wary of it at first, but I won a Griot's car car kit at a MINI club raffle, so It cost me nothing to try it.
I am impressed with the performance of this stuff! When the spray bottle ran out, I bought a gallon of it.
Dave
12-03-2013, 06:17 PM
5th Gear
12-03-2013, 06:52 PM