When you click on links to various merchants on this site and make a purchase, this can result in this site earning a commission. Affiliate programs and affiliations include, but are not limited to, the eBay Partner Network.
General MINI TalkShared experiences, motoring minutes, and other general MINI-related discussion that applies to all MINIs, regardless of model, year or trim.
It was time for the tensioner and belt to go. Tensioner has been in place since 2013 and the belt since 2014.
Tensioner started to make a slight rattle when firing up the motor and sitting at idle. So I swapped the tensioner out and added a new belt. He is running great and its nice and quiet again.
Control arm Bushings Powerflex
Inner/outer tie rod
Swa bar links
Front Konis (so far)
Ireland Engineering plates
Front sway bar bushings
Steering shaft
Power Steering reservoir and hoses
Yesterday I drove my new to me 2018 MINI Cooper S home 430 miles.
I'll take some pics soon. It's moonwalk grey, six speed manual, JCW interior package, HK sound, dynamic dampening, LED headlights, heat seats with a slick roof
I wonder if it's a special build or a dealer stock order? It did come with the window stickers.
Went hiking plus back-road romping over the weekend. Bonus of the hearty little 1.6L turbo is how little fuel it runs through even driven proper brisk. Getting used to pulling into fuel stations and just using the squeegee to clean the windshield rather then fueling up.
Sunday was 5 hours of cleaning and waxing the mini. Today was check all fluids, empty OCC, torque lugs, check tires, pack everything minus my bag of clothes and myself. 4 am departure tomorrow for the Dragon, I need a break from everything for 6 days, work has been rough.
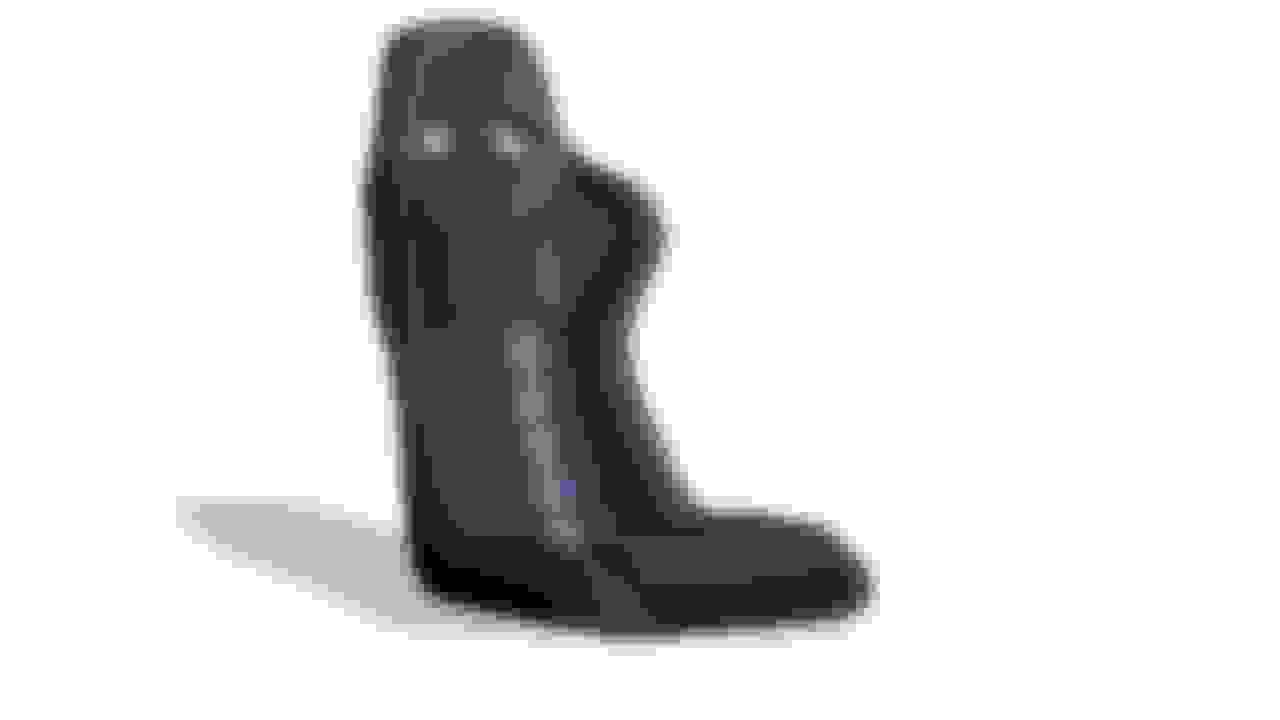
Ordered these (or the in-reality version of this rendering).
Cobra Nogaro's in leather matched to the R53's Panther Black (which is really more of a combination of slate and charcoal and is NOT black). The stripe is the GTI V7 blue tartan. Will be a 4" wide stripe on the back and bottom cushion and will not go through the larger knee-back cushion on the seat butt edge. The perimeter stitching will be blue as will the ladder stitching on either side of the tartan stripe.
If you have been following my seat quest at all, this is the third pair of seats I have ordered for my R53 - the first were a pair of Cobra GT3's - a classic rally design that would have been amazing in the car but were just too damn small - had no support behind my shoulders at all. Great looking seats and SUPER light weight. The second pair was a pair of Braums that I had made bespoke with blue double stitching around the perimeter and seat heaters pre-installed. They did not, however, install the butt heaters, so back they went. I believe they are still on Braums scratch and dent part of their website if anyone is looking. They were comfy, but the second I discovered that they left the butt heaters out, they went back.
Which brings me to these babies. They are YIKES! money, but the restoration of my car that I ordered, tracked on the boat, and have lived with on the east coast, the west coast, and now in the no coast - is a labor of love. And love often has more emotion than sense. Anyhow - they will be about half the weight of the stockers, and will look a hellova lot better.
Woops - AND have my interior chromeline conversion nearly complete. Really changes up the feel of the interior - IMO adds a lot of class. Looks great with the leather accent pieces I have added.
wish you would add a video file of the engine sounds now that you have made the changes. Am changing cold air intakes on mine as first step in improving performance. Not sure which system to go with in the Roadster. As it was the men in my life who had previously handled most things under the hood (I just took the keys and sneaked out for a drive), I really miss that knowledge base. Finding this site has been oh so helpful!
I have some body work to do. I had some lovely individual back into my hood in a grocery store parking lot. Of course no information left behind. So I have to replace the hood, core support, driver side head light, and the sheet metal brace that the hood latches are attached to. So yeah that's gonna be fun.
I have some body work to do. I had some lovely individual back into my hood in a grocery store parking lot. Of course no information left behind. So I have to replace the hood, core support, driver side head light, and the sheet metal brace that the hood latches are attached to. So yeah that's gonna be fun.
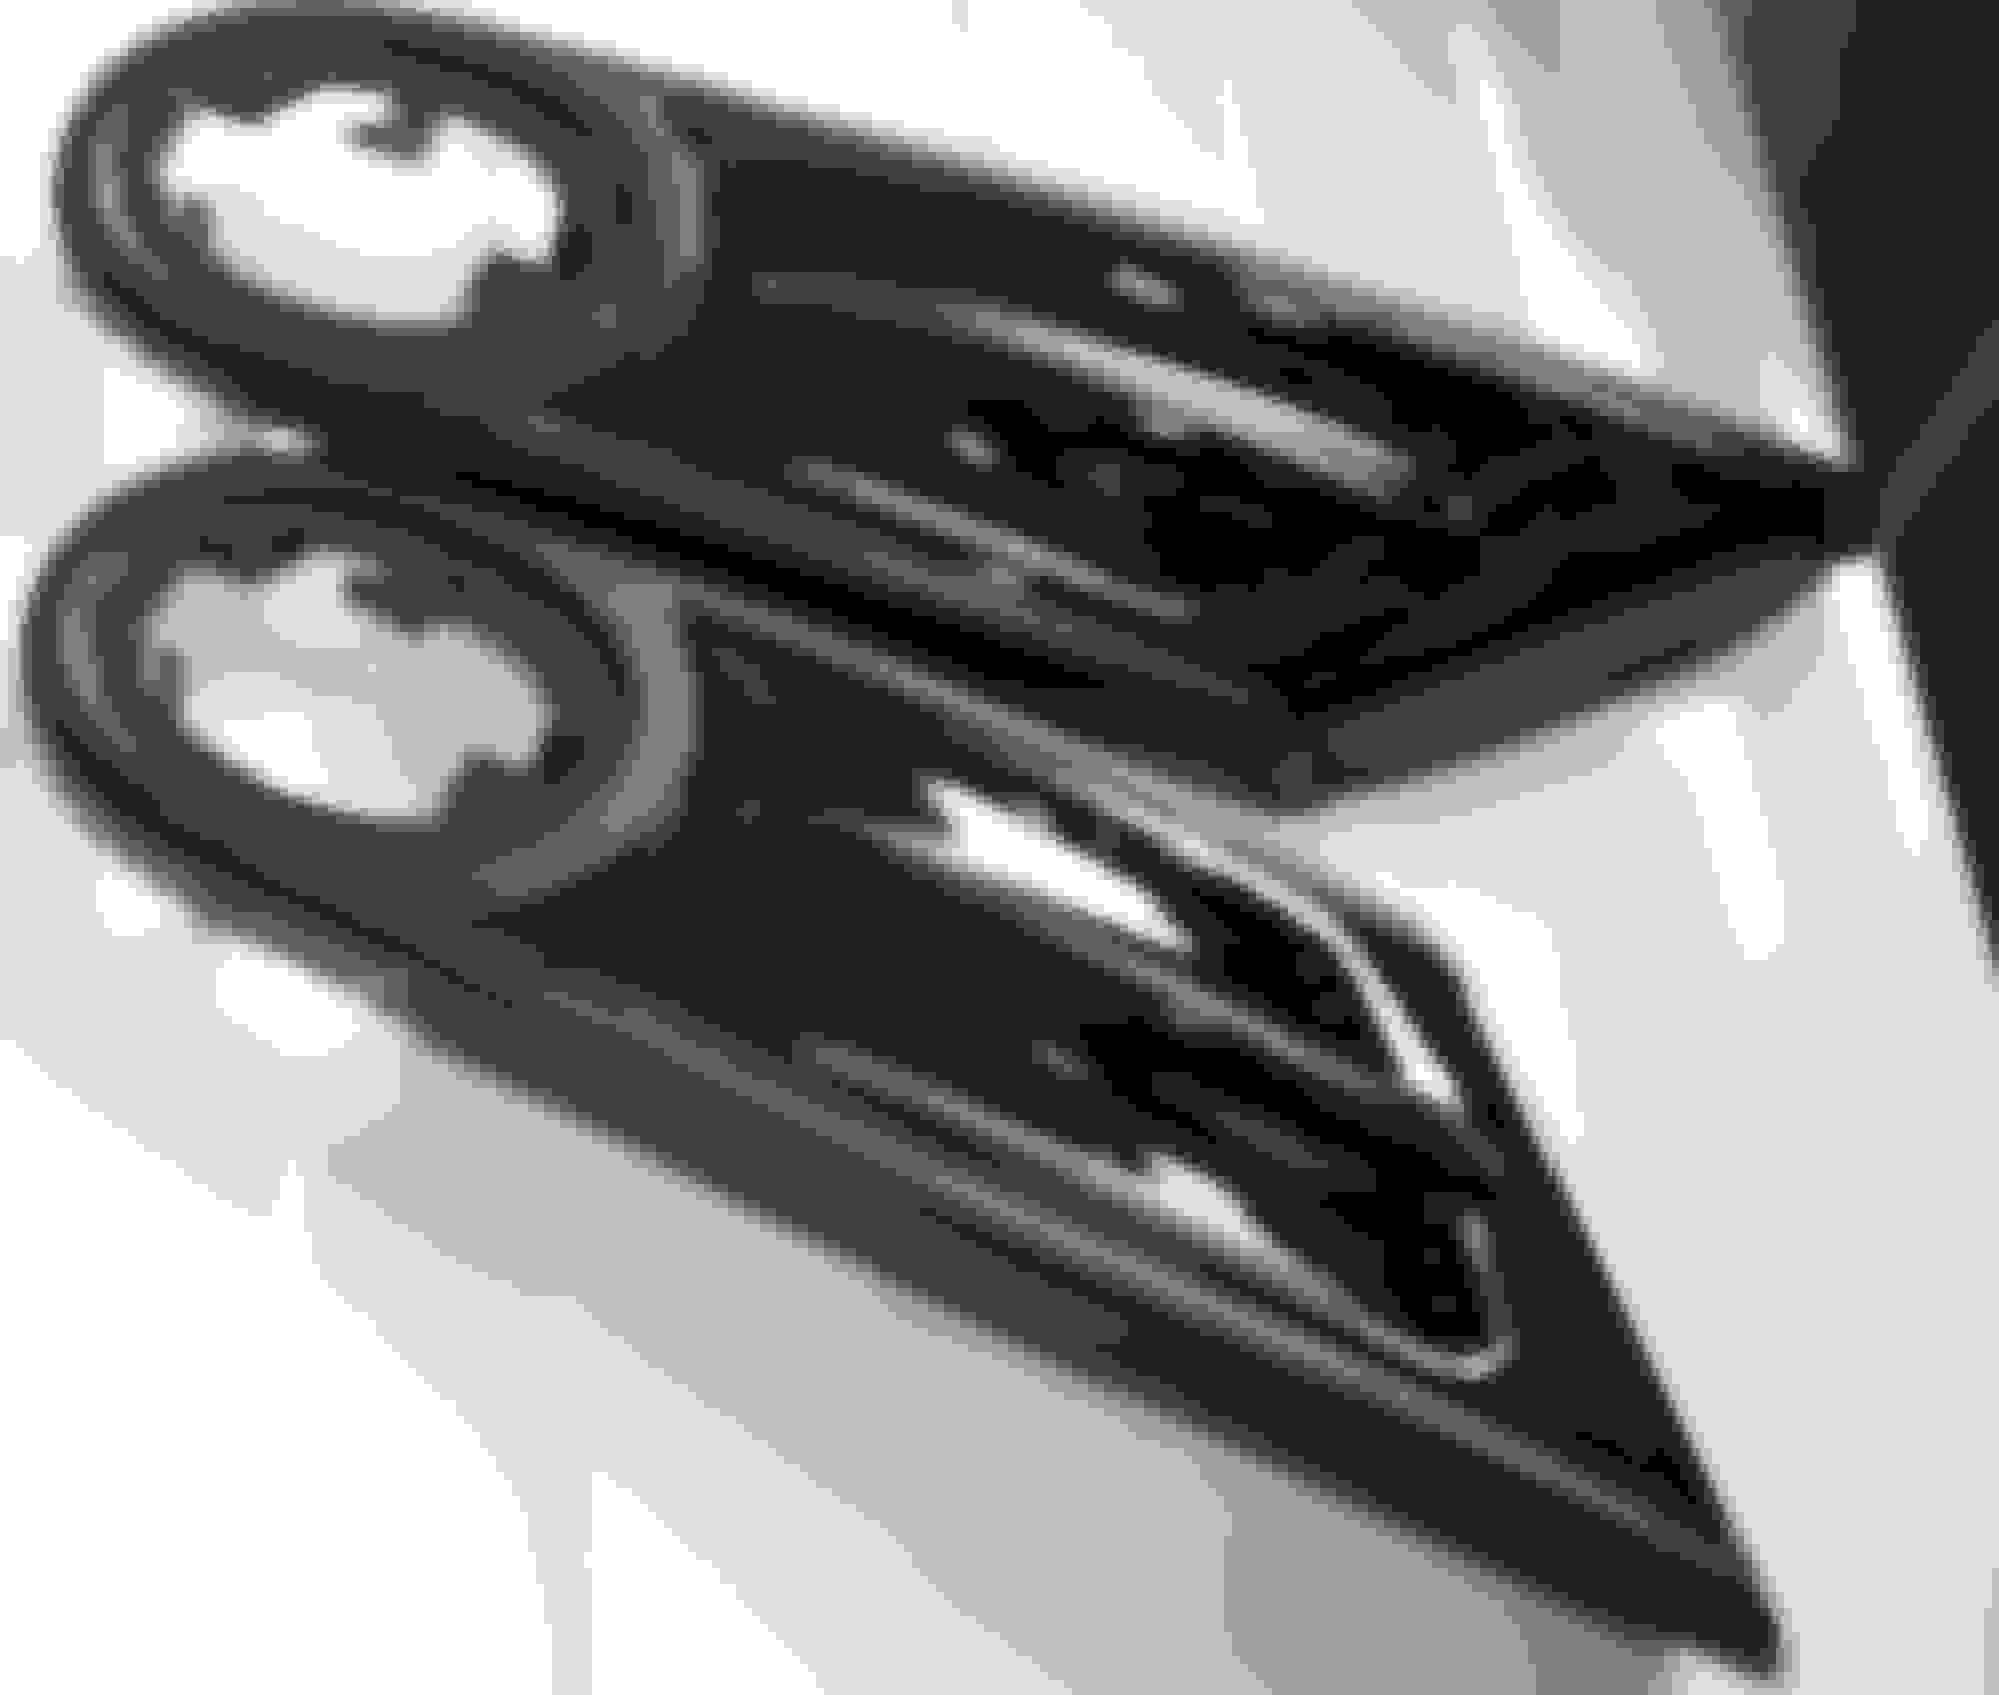
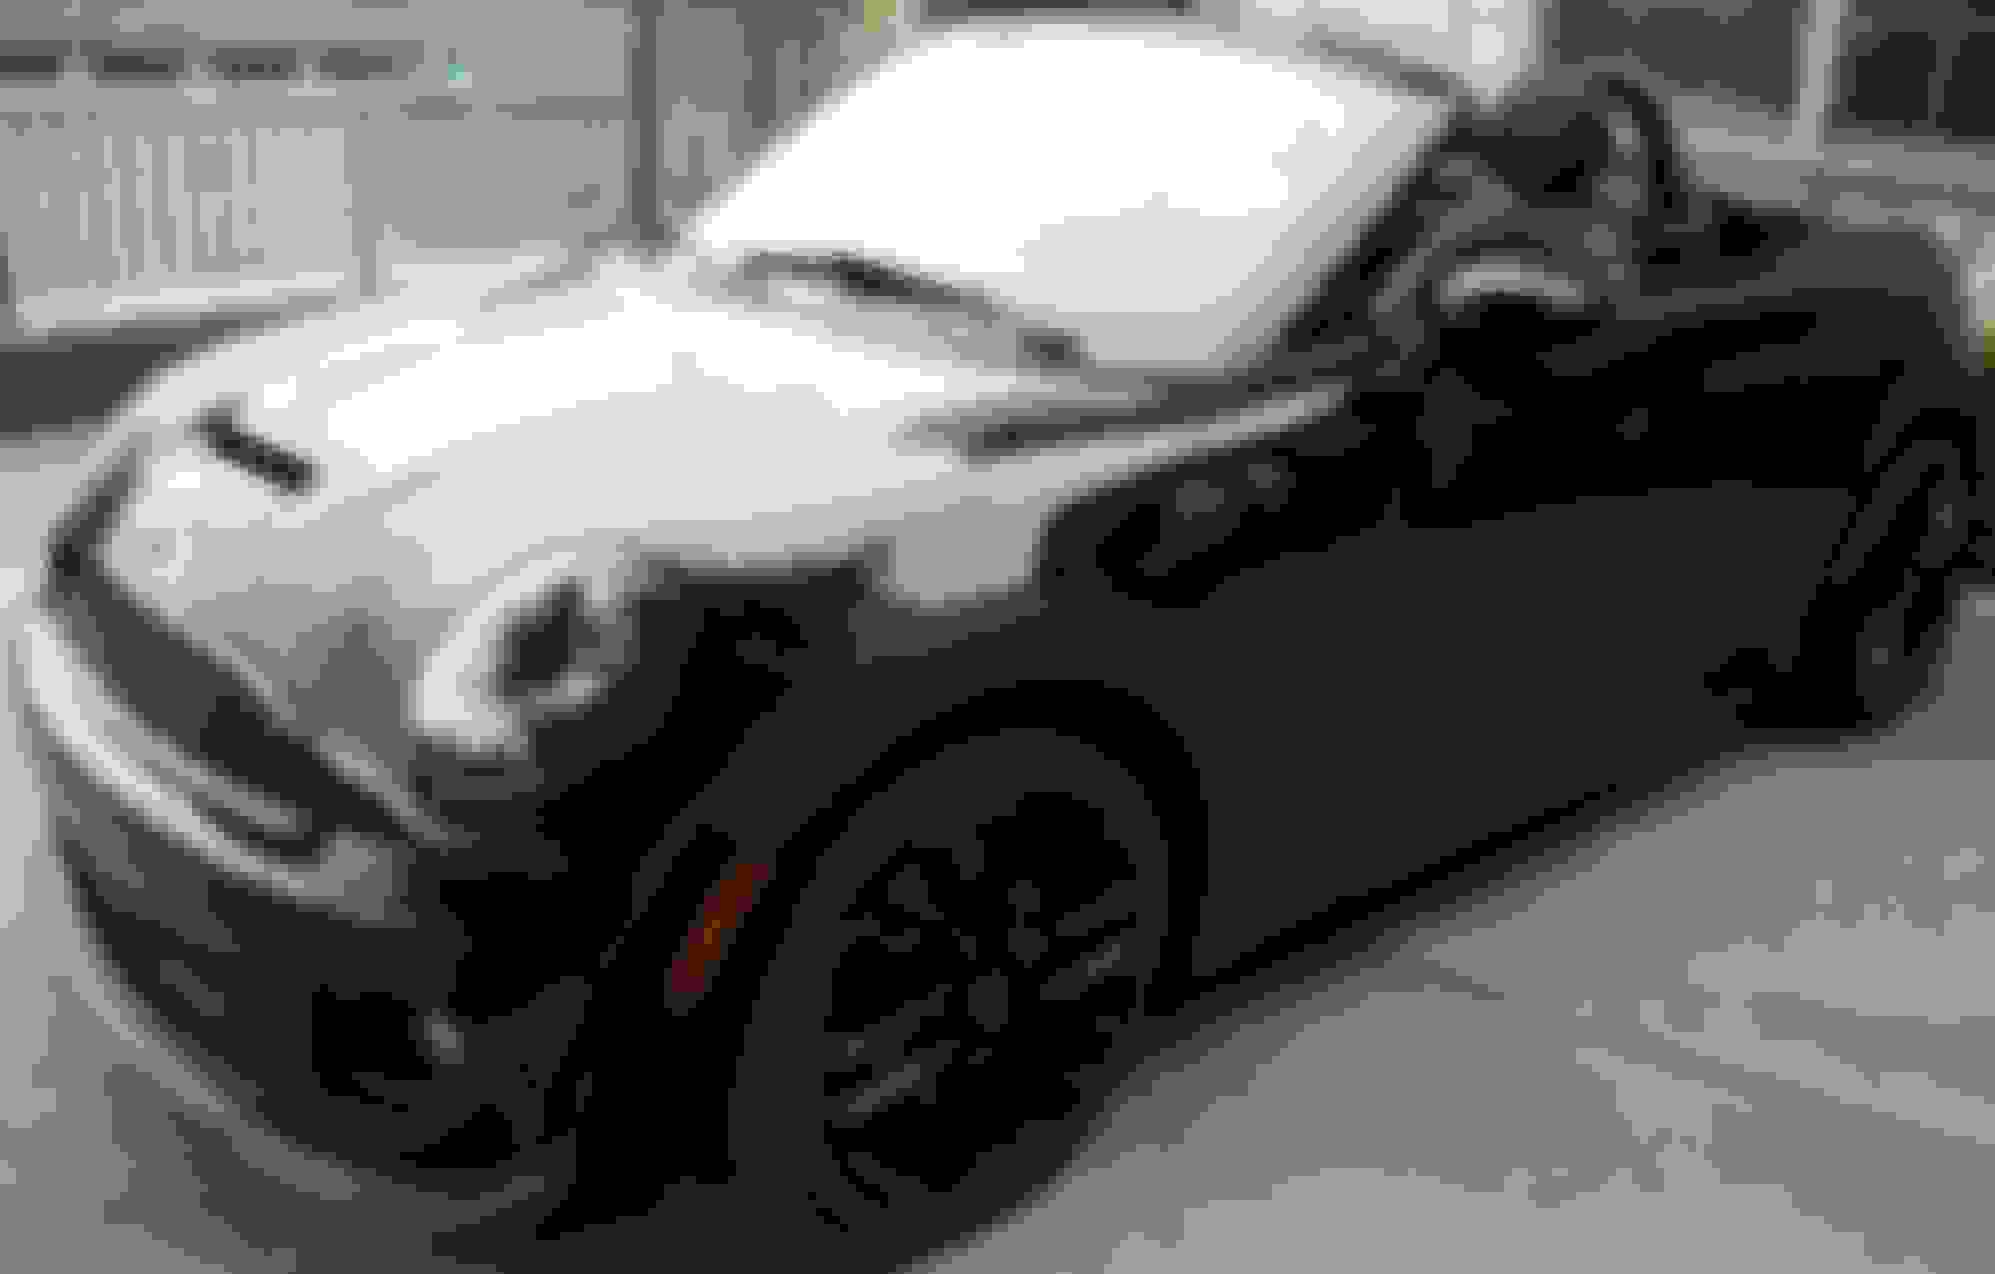
Spray Paint Chrome Side Scuttles on Roadster & More
No matter how I tried, I just like the black over chrome trim. So on the newly purchased 2015 JCW Roadster in midnight black, I started the process of altering the trim. Did the black around the belt line, purchased black door handles and 1 of 2 badge covers. Then I went crazy and replaced the entire grill and grill trim pieces. I had ordered smoke grey side lights with an amber LED strip that ran progressively across the face, but the scuttles themselves had a chrome insert. The replacements in all black I ordered were an odd matte black and didn't look right against the metallic black paint. So after much research I painted them myself!
I used Dupli Color Clear Adhesive Primer first because I was afraid that the paint might not adhere well to the slippery chrome surface. I had attempted to sand the chrome part before I did anything with little success. I taped off all but the chrome part as I wanted to keep the original black scuttle. After a few coats, I then used Dupli-Color Epae10000 Premium Acrylic Enamel Spray Paint. When those multiple thin coats dried, I went over it with a few coats of a clear top coat (Dupli-Color DA1692 General Purpose Acrylic Enamel Crystal Clear). I am tickled at how well it turned out. The 3 cans of paint ran over $30. but I have a ton left and have plans to paint other things around the house. I have already spray painted a garden cart and a large candle stand!
Now that I have tried it, I feel inclined to spray paint the wheels black. (I purchased replacement wheels/tires but retained the ones that came with to use for the limited months here where summer tires are not recommended.) That is a much bigger project, but thanks to YouTube there are bunches of how to videos. Before modification on dealer site. After spray painting the chrome insert in the side scuttle. After blacking out chrome: beltline, door handles, headlight/taillight trim, side scuttles and indicator light, front grill and grill trim, badge and added a stripe to center pattern, Trying to catch the LED amber light as it ran from front to back across the face of the smoke grey light was really difficult.
Isn't that the best feeling? Congratulations! Every time I was able to pay off a loan I felt like jumping and screaming "it's mine, it's mine, it's only mine". Plus it is great to have the extra $$ in your pocket every month.
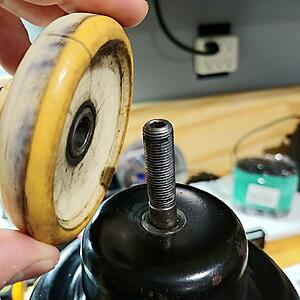
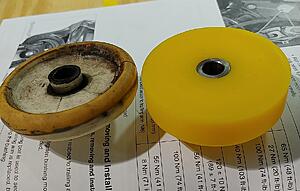
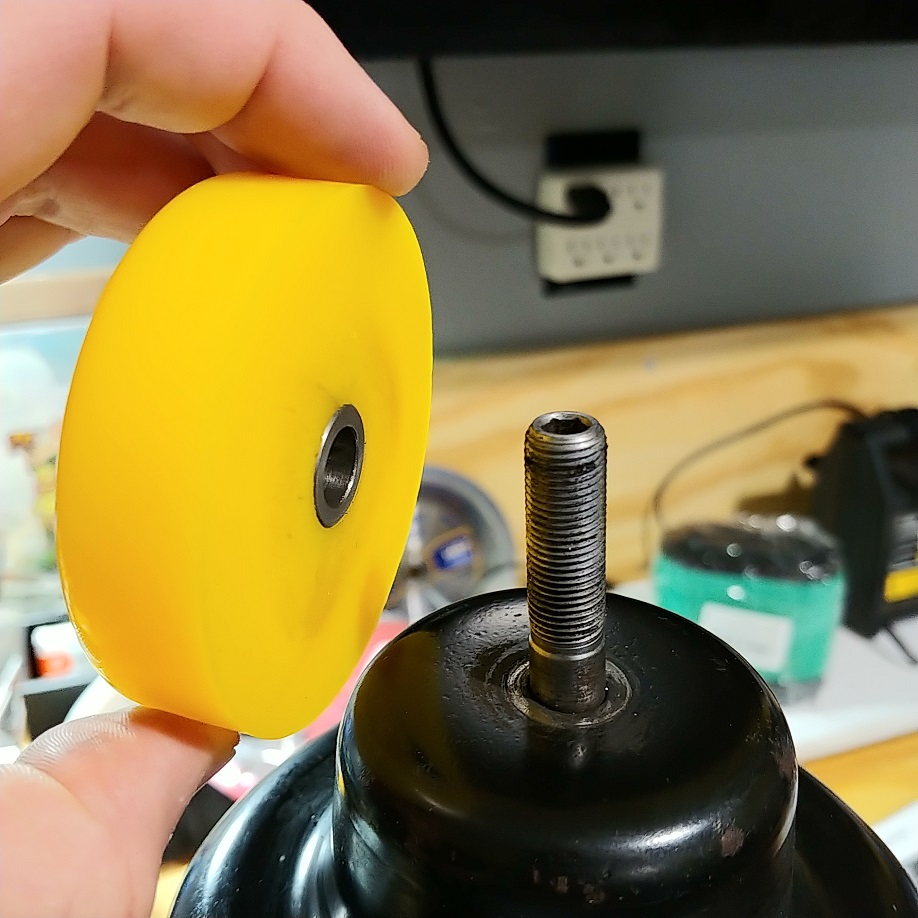
Managed to hunt down a rattle coming from the rear pass. side. It was bothering me so bad.
The factory strut top mount bushings compress over time, and as you can see they became concave and allowed almost 1/4" of travel. I replaced both the rear bushings with Powerflex polyurethane ones. Rattle gone!
That's awesome. I'll have to check out mine. I have an annoying rattle coming from my rear hatch area I just have been too focused on other things to look into it.


 04-23-2021, 01:03 PM