When you click on links to various merchants on this site and make a purchase, this can result in this site earning a commission. Affiliate programs and affiliations include, but are not limited to, the eBay Partner Network.
General MINI TalkShared experiences, motoring minutes, and other general MINI-related discussion that applies to all MINIs, regardless of model, year or trim.
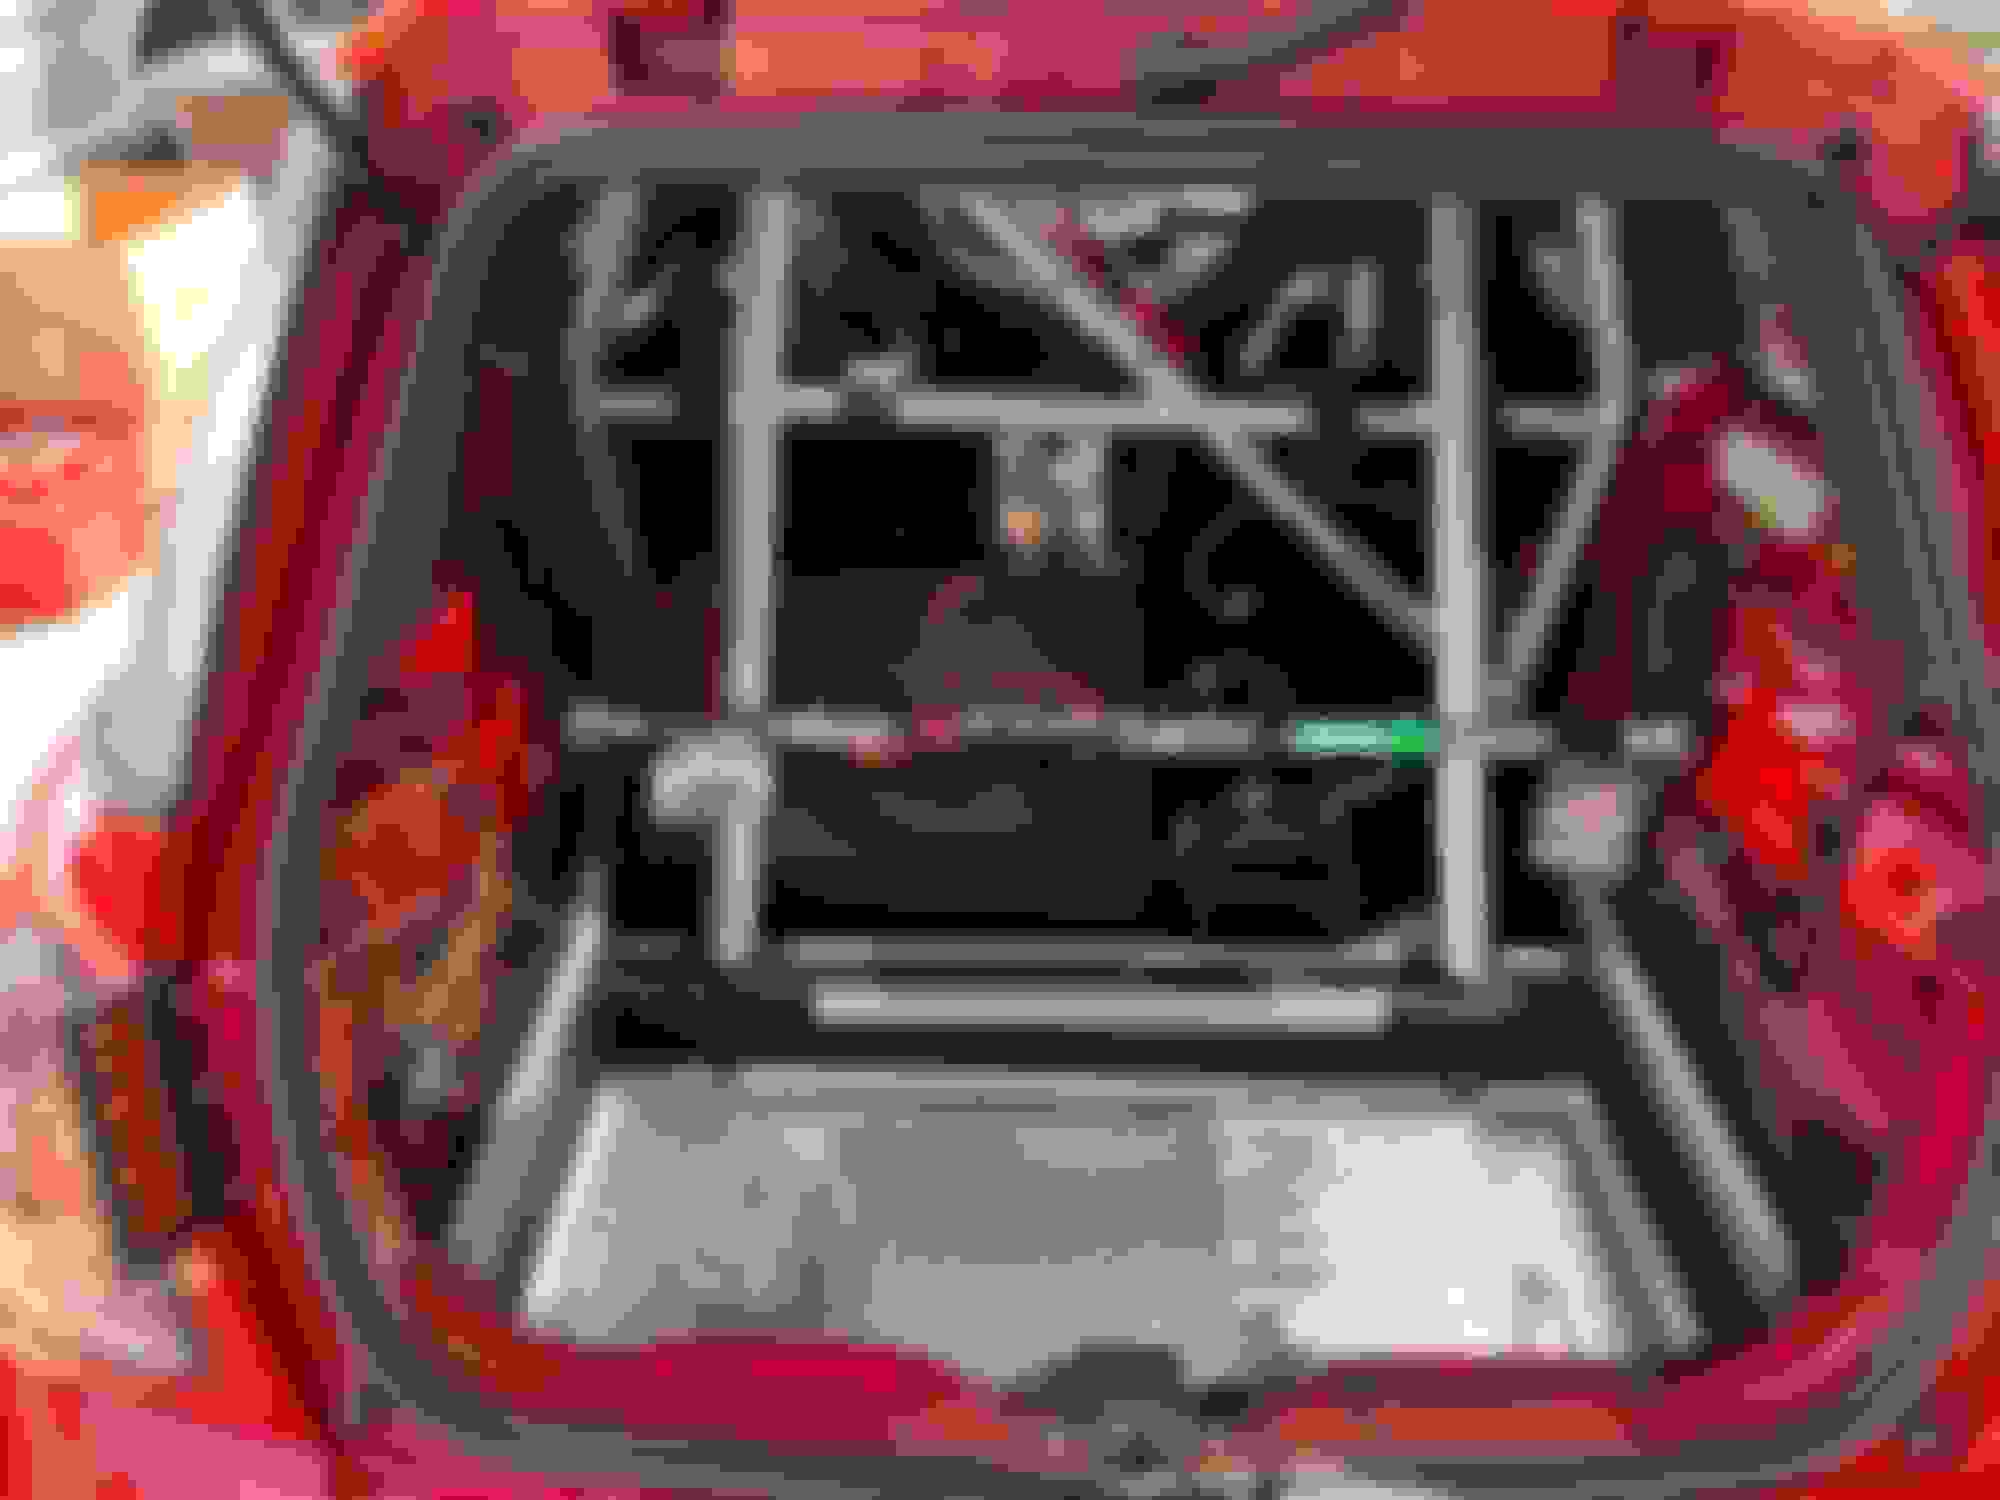
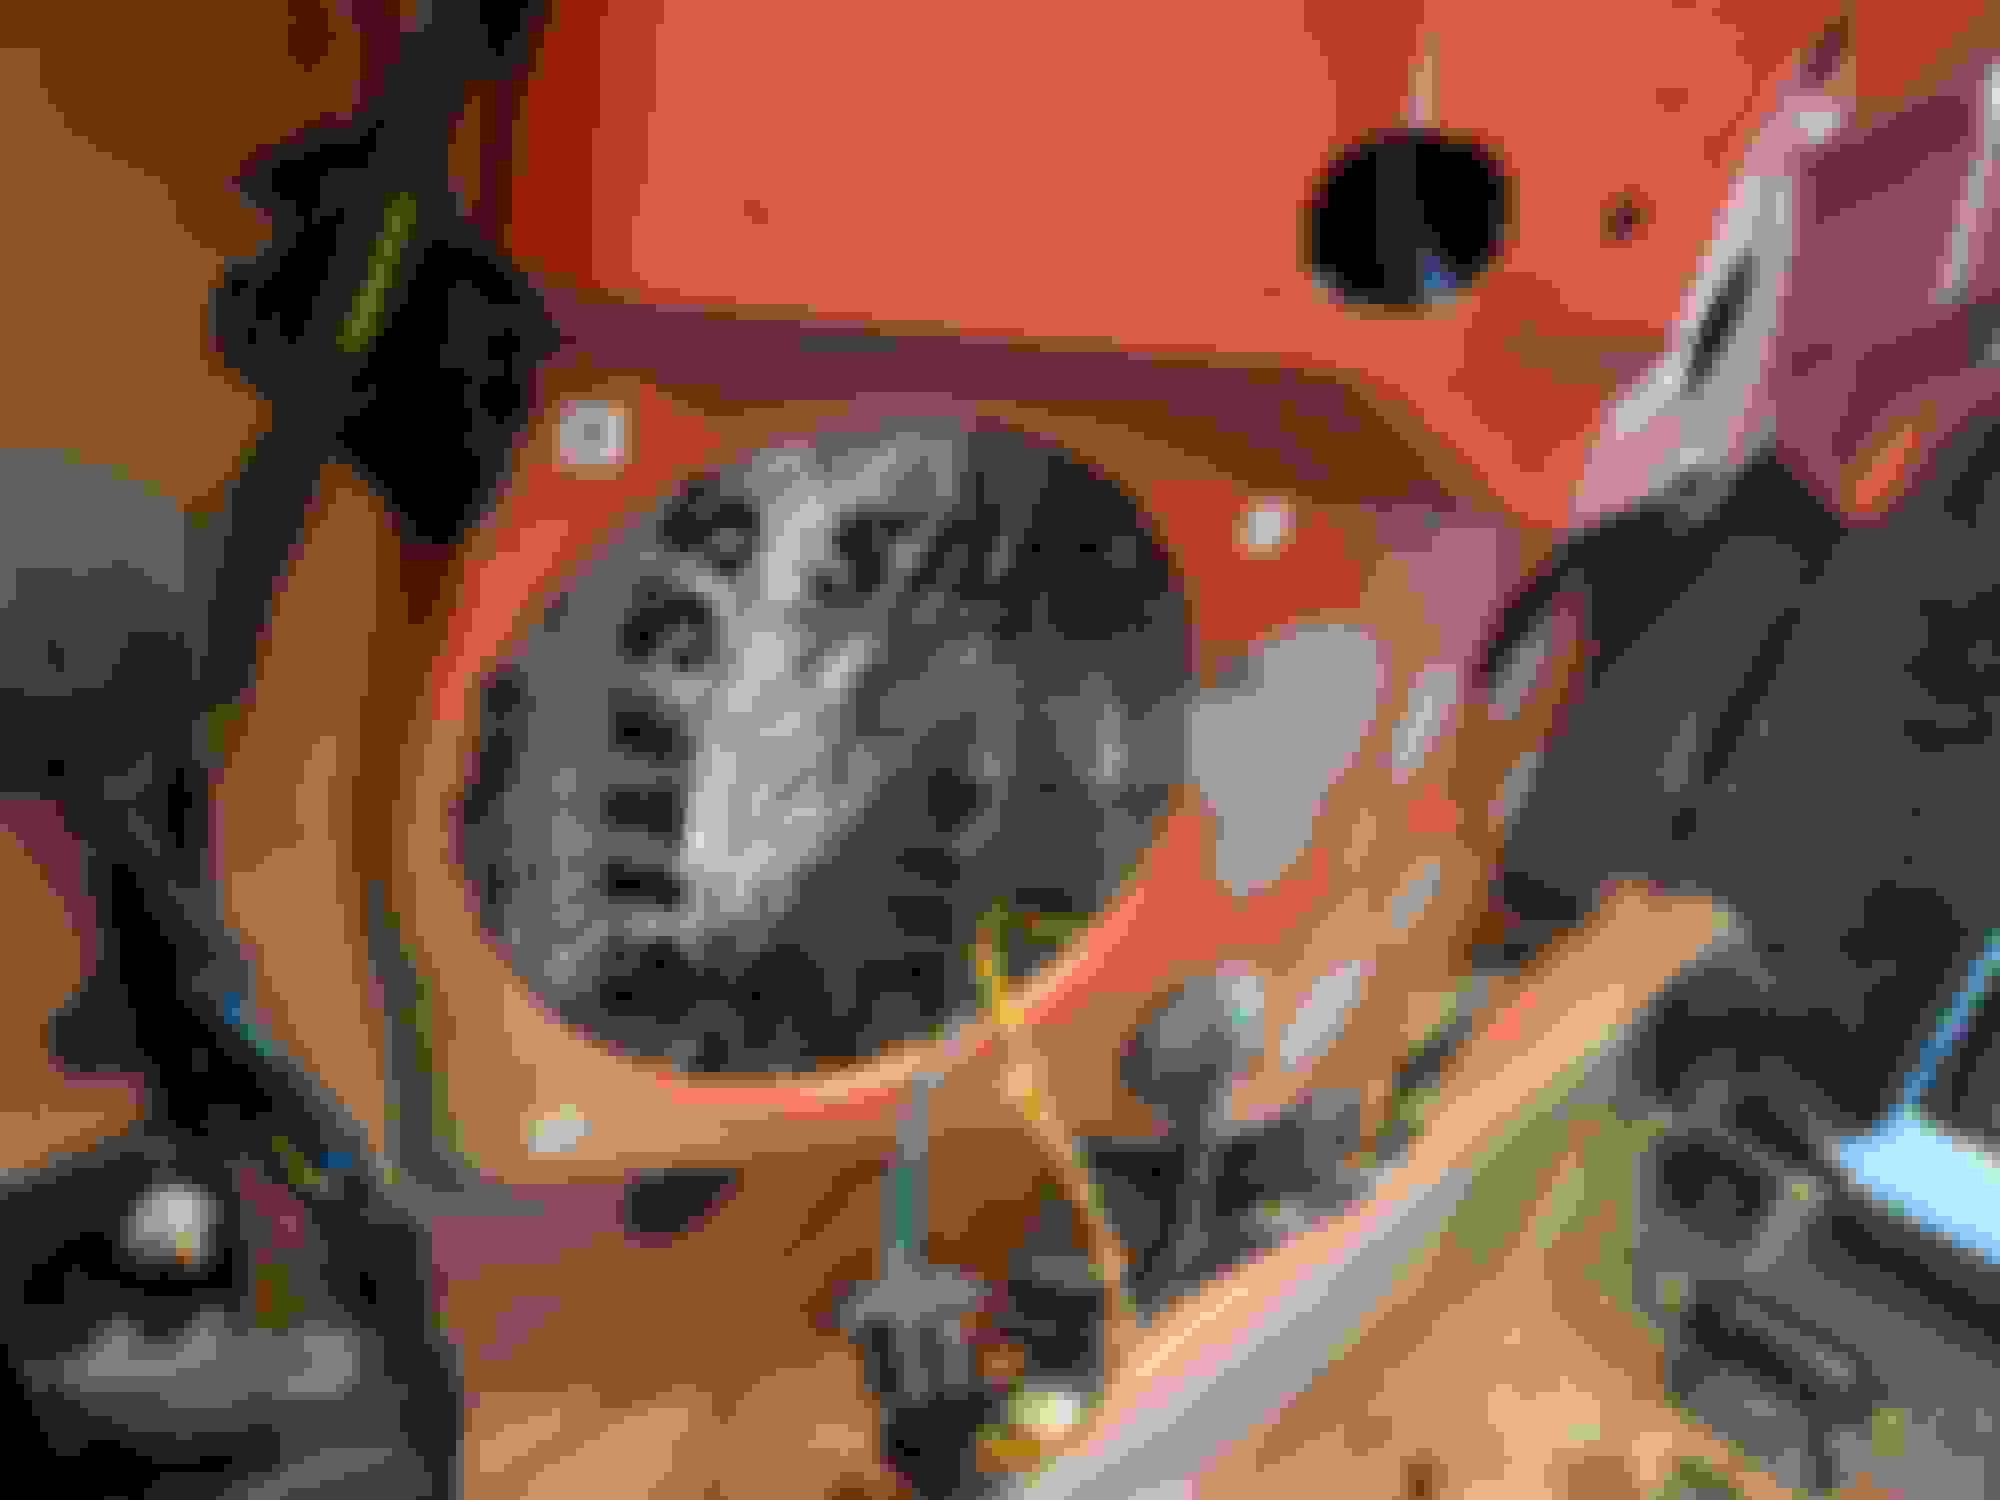
Rear speaker enclosures lined and added protection to a portion of the wire harness. I am currently in the middle of adding a subwoofer and another audio-enhancing product that my company is working on.
This portion of the wire harness drapes over an edge of the body. It's been ok for 17years so far, but since I am into the interior this far anyway, I decided to add some protective sheathing. Wrap-over protective sheathing installed on that portion of the wire harness. I'm also in the process of adding a JBL Basspro Go subwoofer/Bluetooth speaker. I had to gain access to the speaker wires for one of the rear speakers, so I also took the time to line/seal the rear speaker enclosures with butyl sound deadening material. This was the left-rear speaker cavity. And here is the right-rear speaker cavity.
Finally started installing the new Cerwin Vega front components in Grumpy last weekend. Only got the driver's side done before I had other engagements, but that was the side with a dead woofer anyways. Tweeter installed in the carrier. Crossover mounted to the inside of the door skin with 3/4" wide outdoor rated 3M double sided tape. Covered for weather resistance with closed cell foam butyl taped to the door skin. All finished up. I cut the old basket apart and installed the new woofer into outer frame of the old speaker using zipties. It's amazing how solidly 4 zipties can secure something like a speaker.
Good ideas guys. This will be good info for when it's time for me install a set of JBL's I had purchased more than a year ago. My original factory speakers aren't blown yet and sound just fine but your posts will be of great insight "while I'm in there" during my installation/upgrade.
Cool.
Yesterday and today; I had to R&R, restore and re-paint my left sideview mirror.
Recently refinished and re-installed left sideview mirror...
More than a year ago I had removed and refinished my weather beaten sideview mirrors. As I recall at that time, sanding out and painting the severely oxidized left sideview mirror housing somehow went terribly wrong.
The first coat of paint "bucked" and "gatored" due to having breached the plastic surface exposing the pores which gassed off - adversely reacting to the solvent in the paint.
While I did manage to salvage the mirror housing by sealing and refinishing the surface, subsequently successfully applying a beautiful paint finish...Over time the elements had taken a toll on all my hard work...
Left side mirror: Superficial yet severely cracked previous refurbished paint finish. *The Right side (passenger) mirror which I had also previously refinished at that time, remained unaffected and still looks un-weathered and glossy.
Revealing and prepping the underlying damage..
Refinished, painted and lacquer cleared - ready for re- install. (first picture).
Last edited by Here2Go; 05-21-2023 at 11:33 AM.
Reason: "housing" NOT "cap"
Finished up a month of work on my newest purchase.
05 mini cooper R52.
Thru a rod on cylinder 1. Trashed crank a block. Found a low mileage replacement engine.
Installed all new seals thru the entire engine an transmission.
Replaced the clutch an flywheel with a single mass wheel.
Installed strut defenders.
Repaired the right rear quarter panel window regulator.
All new brakes an rotors.
New upgrade tail lights.
Love the wires. Unlike the last set I put in, these were all numbered and were the right length. The only issue I had was that, at first, 2 would not snap onto the new plugs. So I snapped an old plug into them to �loosen� the connector. This worked to allow them to be installed properly.
Tools of the trade
The socket is an old school 6 point, fits perfectly in the well.
The magnet on the stem is to retrieve the loosened spark plug.
The rubber hose is a piece of vacuum line that fits tight over the end of the spark plug where the wires snap on. It only goes on about 1/4� then I lower the plug to the head and twist the hose to thread the plug in a few turns. This way I make sure it is not cross threaded.
The tube of dielectric is for the boots on the wires. I use a Q-tip to smear it on the inside of the boot.
What is not shown is the short piece of tube that I slide into the spark plug well so I can vacuum out any debris.
I also put a thin layer of anti-seize on the spark plug treads with the hopes that the plugs don�t �weld� themselves to the head
The old plugs look ok.
Cylinders 1 - 4, left to right
On close inspection and comparison to the new plugs, these have a slightly larger gap. Not surprised. Also it will just get larger with time.
Blue has only 68k miles on him, but in that time the original plugs were changed at just over 30k miles. I noticed back then that it ran better with the new plugs. Same this time. Just sayin�, like changing the oil, change the plugs. Your MINI will love ya for it.
Last week we pulled out the soaked carpet and fixed some corroded wires. Luckily the BC module and connections were completely dry and free of any damage.
Some water was getting in at he front lower door sill. I have a new foam coming for under the A pillar. Drivers side sunroof drain was completely blocked as well. It seems to be originating there via testing with a hose.
That is on the passenger side. The corroded wires are 3 joined RED/brn tracer.
Bought a running driving S with a bad trans (R, 2-6 are fine 1 is defunct) as a donor car for the JCW so now that Alex has his learners permit, he will have a working car by the time he has his provisional license in 5 more months.
Bought a running driving S with a bad trans (R, 2-6 are fine 1 is defunct) as a donor car for the JCW so now that Alex has his learners permit, he will have a working car by the time he has his provisional license in 5 more months.
Found that annoying rattle I�ve had since my header install, which I forgot to add here. Tensioner was only held in by the 2-16mm bolts and bushing completely gone from the shock. Quick trip to HD, picked up 2 m6-35 mm bolts, new tensioner in, rattling gone. As for the header, stock one split at the small cat on the bottom, ordered a racing dynamics catted header only to find that they are on back order till June, working on canceling it since I was able to pick up a catless header for 100 shipped and had it in 3 days. As for the rear o2 sensor, got a spark plug Fowler, drilled it out and boom, no pesky p0420. Where�s my bushing?
Blue, our R50 got some more love. He threw a P0030 code (O2 sensor) a couple of weeks ago. Cleared it, but it came earlier this week. The dealer was able to get him right in right away and changed out both. Expensive little suckers… With a car that is 20 years and has been exposed to NE winters most of that time, there was no way I was going to crawl under the car and tackle this job myself. It was worth it to pay someone to do it for me. Well done Keeler MINI.
Now, with those fixed and the new spark plus and wires he is running great. A joy to drive.
On a side note, I follow racing, including the efforts of LAP Motorsport to run a field of Gen 3 JCW MINI Coopers in both IMSA and SRO compilation. And they have done well over the years. If you too are are interested in racing and, in particular MINIs racing, you can help support the efforts of LAP Motorsports as announced on the MINI USA website.
Combined parts of the IPod adapter i took out of the JCW and the one I found in the S to get a fully working iPod adapter in the S for now. Later I’ll have to get the special cable from @ECS Tuning to allow the iPod adapter and Sirius to coexist in the JCW.
turns out the hw 3.0 box from the JCW was bad, and the cable from the S… but now I can listen to iPod while I piddle around in the S this week.
Drove her 4.5 hours south, to Sevierville, Tn. I put in 7 days last week so I�m taking a couple, and having some well needed and deserved dragon time. Bath time before her play date on the dragon.
Drove her 4.5 hours south, to Sevierville, Tn. I put in 7 days last week so I�m taking a couple, and having some well needed and deserved dragon time. Bath time before her play date on the dragon.
3 of the MINI logo on the wheel center caps have gone missing and the one remaining one is looking poorly. I suspect they went missing in the ultra high pressure car was that I used to go to, that also took out the center rear brake light�
Original wheel center caps, looking poorly
ECS sells both complete center caps and just the logo plates for any existing center caps that look like Blue�s. I purchased the logo plates. These are genuine MINI parts and are clearly top MINI quality. The glue that was left behind on the plastic was easily scraped off with a sharp knife. Any residual was removed with some brake parts cleaner on a rag. I found that it was important to use a wetted rag and not spray the plastic directly. It turns out the plastic cap is very porous and the clean just soaked in. It seemed that wetting the plastic any more than necessary would not be a good idea.
The logo plates are aluminum with a pressure sensitive adhesive on the back and a shiny black finish on the front, protected by an easily removed plastic film. It seems that these, with the adhesive on the back, will adhere at least as well, if not better than the 3 dollops of glue used in the originals.
With careful alignment, the plates are in place�
Redone with replacement MINI logos
Trust me, this picture does not do the center caps justice. They look really good!
Waiting to meet up at the HD Met us with �Hooligan� or Robb a local Wonder where we are headed 😁 On top Fontana Dam Overlook at the top of dragon hill climb, which he has never been up there
One of these days I will post my project to the site but there�s way too many photos. Long story short, finally got the track this last weekend after a year in the garage. Only had some all season tires and absolutely shredded them. Couldn�t resist. Anyhow, bought some Yokohama A052s and some Konigs to go with. Hopefully these will help lol. Sized down to 16� so I�ll gain a bit out of her. Side profile Interior Rear. Speaker is being removed ☹️ Last checks before the day.
One of these days I will post my project to the site but there�s way too many photos. Long story short, finally got the track this last weekend after a year in the garage. Only had some all season tires and absolutely shredded them. Couldn�t resist. Anyhow, bought some Yokohama A052s and some Konigs to go with. Hopefully these will help lol. Sized down to 16� so I�ll gain a bit out of her.
3rd post! Welcome to NAM�
Your MINI looks like it has quite a story to tell and there surely are people who would like to read about it. Suggest that you start a new thread and break it up into posts with a few pictures at a time. Leave a link to it in this thread.
So happy of what it�s become. White Sport Stripes Next Maybe??
Your car looks great with the color matched appearance package. If you're thinking stripes, I think it would look good with the black stripes with white outline.
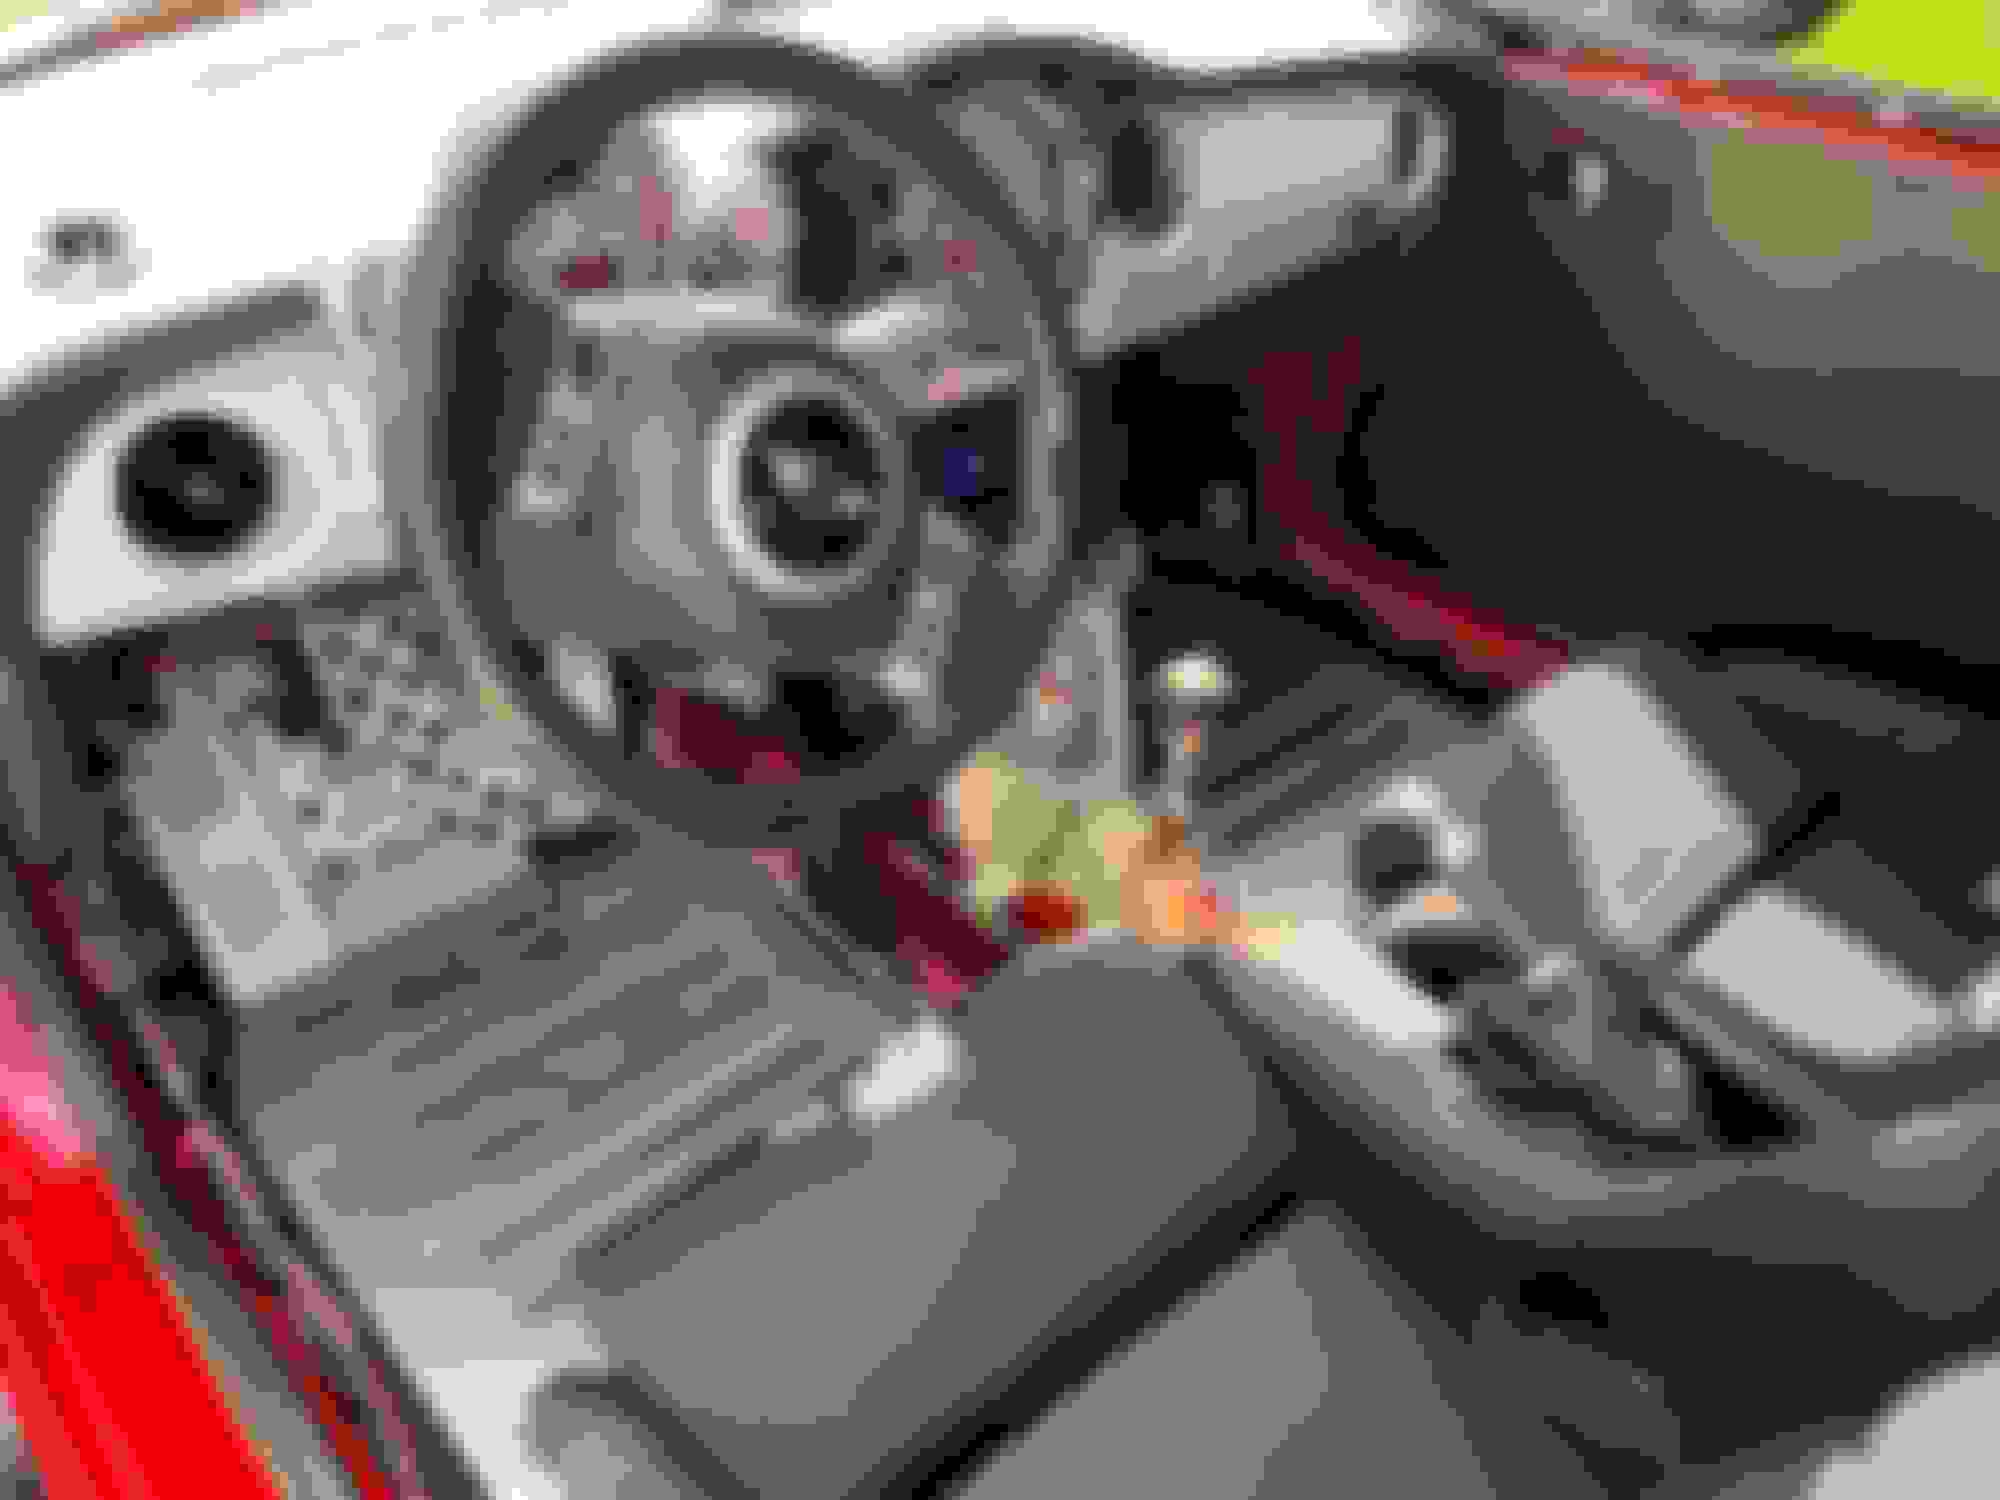
Last weekend I solved my intermittent stiff shifting anomaly by R&Ring and installing new shift weight bushings.
A simple procedure, though not so simple, in the end; made all the difference in the world and my Mini shifts just like the day when I bought it new almost 19years ago.
Although it's not often that I have to dig deep into my engine bay - However...I do insist that it is dirt and grime free to the best of my ability.
"While I was in there" - Looking things over, I decided that I wanted to upgrade/fortify my transmission/gearbox bushing with powerflex inserts.
Today I did just that ...
New powerflex PFF5 -122 gearbox bushing inserts installed.
Transmission/gearbox support bracket de-greased, cleaned with MEK and finished off in silver Hammerite.
Last edited by Here2Go; 06-07-2023 at 03:43 AM.
Reason: Fixed part number/description


 05-18-2023, 08:00 PM


 With a car that is 20 years and has been exposed to NE winters most of that time, there was no way I was going to crawl under the car and tackle this job myself. It was worth it to pay someone to do it for me. Well done Keeler MINI.