Removing Emblems.....
#1
 04-12-2010, 12:34 PM


Removing Emblems.....
I'm having some body work done on my Mini and in the front where the body work is being done, I'm having the shop leave off the Mini emblem just under the hood scoop. (I'm leaving the JCW emblem that's lower on the grill alone.)
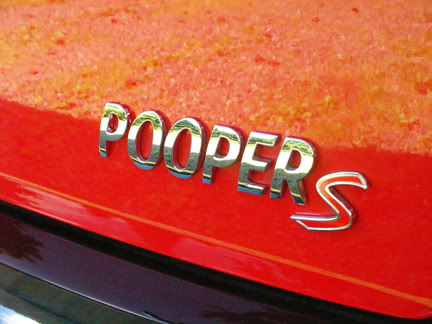
I'd like to also remove the Mini emblem from the rear of the car (an 06 cabriolet) as well as the "CooperS" emblem. (Again, leaving just the JCW emblem on the rear.
My questions are:
1. Are there any holes in the rear boot body panel that would need to be filled after removal of the emblems?
2. Are the emblems simply held on with adhesive?
3. If simply held on by adhesive, is there an easy way to remove them without damaging the paint?
I've heard that heating gently with a heat gun and then stripping them off with some dental floss is an approach that works.
Has anyone here removed their emblems and how did you do it?
Thanks much!
#2
04-12-2010, 02:05 PM

You have the right idea, but dental floss isn't usually strong enough. The emblems are held on with adhesive, so no holes. Get a heat gun (a hair dryer will work, it will just take longer) and a piece of fishing line. Get someone to heat up the emblem and then keep holding the heat gun on it, while you work the fishing line behind it.......it will come off easily and only take a few minutes. Clean any excess glue off with WD-40 or Goo Gone.
BTW, once the emblem is heated enough, you could just pull it off without the fishing line.......but it will destroy the emblem and leave more glue behind. So it's better to use the fishing line, in case you ever want to put it back on.
BTW, once the emblem is heated enough, you could just pull it off without the fishing line.......but it will destroy the emblem and leave more glue behind. So it's better to use the fishing line, in case you ever want to put it back on.
Last edited by kemo; 04-12-2010 at 02:11 PM.
#3
04-12-2010, 06:57 PM
6th Gear
Is this a first or second gen car? I know the first gens have holes behind the emblem, but I'm not sure about the second gens. You'll have To have body work done to fill in the holes for a "shaved" look. Use fishing line, but if you don't have any you can use the dental floss, but just be prepared to use a lot. A heat gun will work wonders, but don't hold it over it for long periods of time. Personally, I just use the dental floss.
#4
04-13-2010, 03:58 AM
You had me curious deth, I just went out to the garage and checked the rear emblems on my 05 (semi retired, so I had nothing better to do ).....no holes, both my Mini wing and and my Cooper S emblems are stuck on. I had the wing off when we put my new stripes on and of course the Cooper S is individual letters, so they are definitely 3M tape.
).....no holes, both my Mini wing and and my Cooper S emblems are stuck on. I had the wing off when we put my new stripes on and of course the Cooper S is individual letters, so they are definitely 3M tape.
#5
04-13-2010, 05:39 AM
6th Gear
#6
04-13-2010, 10:19 AM

You had me curious deth, I just went out to the garage and checked the rear emblems on my 05 (semi retired, so I had nothing better to do ).....no holes, both my Mini wing and and my Cooper S emblems are stuck on. I had the wing off when we put my new stripes on and of course the Cooper S is individual letters, so they are definitely 3M tape.
).....no holes, both my Mini wing and and my Cooper S emblems are stuck on. I had the wing off when we put my new stripes on and of course the Cooper S is individual letters, so they are definitely 3M tape.I thought the verts had the same hood has the tin tops, which would say you have wings with pins/pegs.
I know the hood and boot wings on the R53 have two pins for each. I had mine off to get covered by Lyle.
#7
04-13-2010, 04:42 PM
. When they put the new stripes on, they cut around the wing on the hood, but the wing on the trunk looked slightly crooked, so I asked them to take it off first and straighten it. I was there when they were doing it and they just heated the wing and slid a piece of fishing line behind it.....I didn't see any holes........now you have me curious if I just missed them???
Last edited by kemo; 04-13-2010 at 06:47 PM.
Trending Topics
#8
04-13-2010, 04:51 PM
There were no holes in the boot of my 02 R50 when I debadged it. I seem to recall in a video on motoring file that the MINI emblem on the hood is the last thing to go on the car because they used the hole that was there to hang the list of stuff that was supposed to go into that particular MINI.
#10
04-13-2010, 05:22 PM
#11
04-13-2010, 06:51 PM
There were no holes in the boot of my 02 R50 when I debadged it. I seem to recall in a video on motoring file that the MINI emblem on the hood is the last thing to go on the car because they used the hole that was there to hang the list of stuff that was supposed to go into that particular MINI.
The CooperS was one of the first things to go on my car.

#12
04-14-2010, 09:33 AM
Well, here's how it stands.
I checked with the Mini dealer and he brought out a new emblem for the rear trunk lid and it has two pins. So, I'm assuming that there are two corresponding holes in the sheet metal. So, for now, the stock emblem stays.
The body shop said no problem removing the Cooper S from the back. Nice!
Since the hood is new and unpainted, they'll be welding the holes up and I'll get a hood without the emblem. Nice again.
I've purchased a set of the standard black side marker light grills and they'll pop them into the panels when reassembling the car.
The shop is going to prep and spray the headlight trim rings to match my black JCW 18" wheels.
For the door handles, I splurged and bought a new set which I am going to sand and prep for paint. I'll be removing all the chrome and finishing them off with 600 grit wet or dry to they can be painted. I'll do the mask myself. I really think these should have been painted the body color from the factory. The only tricky part I see is the need for me to pick up the lock thingy from the body shop and prep that for paint as well. I really don't want a chrome circle set into the door handle. When all is done, it should look really great.
I'll probably have Lyle take care of the belt line. Some days I work just a short ways from his shop in San Carlos.
That only leaves the little bit of chrome in the tail lights and I'll take care of that down the road. This should end up looking really great.
One question: Is there an easy way to remove the latch mechanism (the black part with the cable attached) from the chrome part of the handles? It would be a lot easier to prep and paint if I could do that. I'm guessing they may be glued or something.
#13
03-02-2012, 08:13 AM


#18
07-04-2012, 08:15 AM
#19
04-08-2013, 07:38 PM

1st Gear
Join Date: Apr 2011
Location: Boston, MA area
Posts: 46
Likes: 0
Received 0 Likes
on
0 Posts
seems to be conflicting info, can anyone confirm pins or no pins on JCW emblem for rear trunk lid (2011 model year). also, if there are pins i can see how using fishing line to remove old one could be problematic as how do you loosen up between the pins without scratching paint.
if there are no pins on the other hand, any ideas on how to align the new one in place? make a template maybe?
it's being replaced because the red paint on John Cooper is gone-just chrome now... after just one year
thanks for your help
if there are no pins on the other hand, any ideas on how to align the new one in place? make a template maybe?
it's being replaced because the red paint on John Cooper is gone-just chrome now... after just one year
thanks for your help
#20
04-08-2013, 07:56 PM
5th Gear
#21
04-08-2013, 08:00 PM
#22
04-09-2013, 07:10 AM

If your going to use fishing string...just make sure it is wax coated. I used heat gun and dental floss for my front emblem. although it came off in 3 different pieces because I was getting a little pissed. I also taped around the emblem with the blue painters tape for protection and alignment. On the Countryman, you just have to remove the interior piece inside the boot, then there are 4 nuts to remove and all done.
#23
04-09-2013, 07:30 AM
1st Gear
Join Date: Apr 2011
Location: Boston, MA area
Posts: 46
Likes: 0
Received 0 Likes
on
0 Posts
If your going to use fishing string...just make sure it is wax coated. I used heat gun and dental floss for my front emblem. although it came off in 3 different pieces because I was getting a little pissed. I also taped around the emblem with the blue painters tape for protection and alignment. On the Countryman, you just have to remove the interior piece inside the boot, then there are 4 nuts to remove and all done.
#24
04-09-2013, 07:38 AM

Platinum Sponsor
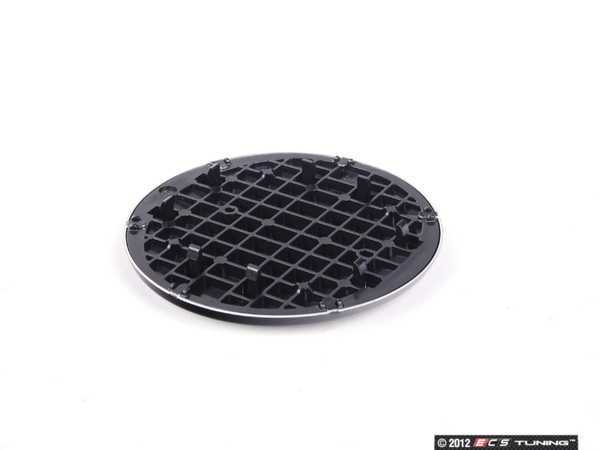
Good advice on the painters tape for alignment and hair dryer. Sometimes being in the sunlight on a hot day can make things easier to get it started with the floss.
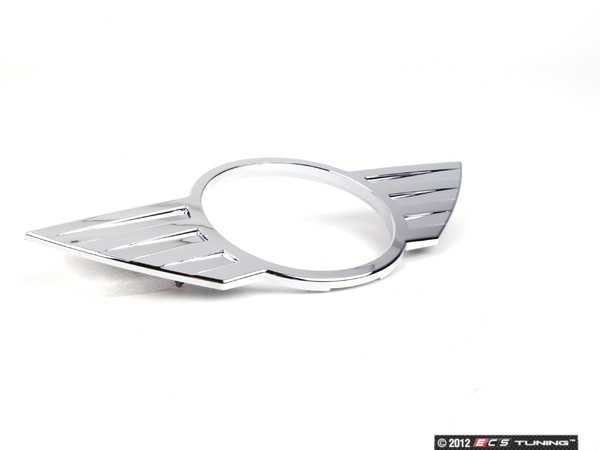
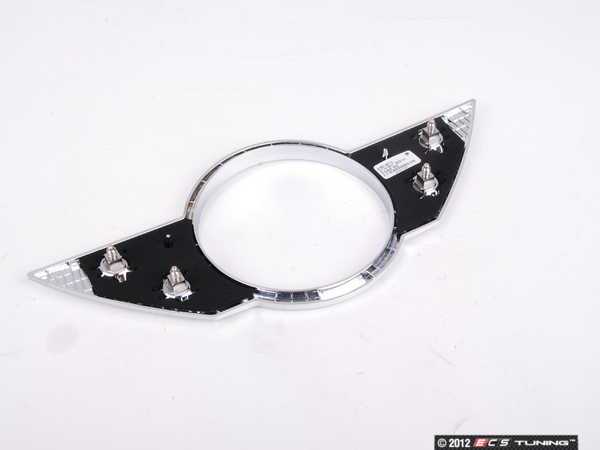
On the rear it is a little more work since the emblem has two sections.

Here is parts by themselves.
http://www.ecstuning.com/Search/51149801607/ES2136602/
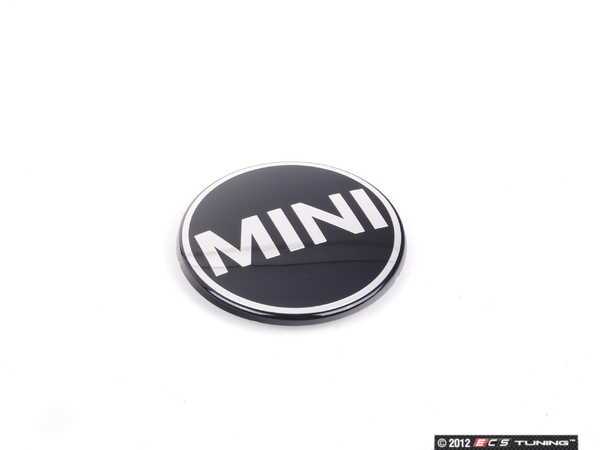
And the center section with the MINI circuler center emblem.
http://www.ecstuning.com/Search/51149802563/ES2136603/
On the rear it is a little more work since the emblem has two sections.
Here is parts by themselves.
http://www.ecstuning.com/Search/51149801607/ES2136602/
And the center section with the MINI circuler center emblem.
http://www.ecstuning.com/Search/51149802563/ES2136603/
__________________

MINI Guru/ MINI Owner Since 2004 | NEW Lifetime Part Replacement | Local Pickup
Milltek | Genuine MINI | Forge Motorsport | NM Engineering | ECS Performance | M7 Speed
Customer Service Hours: 8am-8pm EST|Sales Team Hours: 8am-11pm | SAT 10am-7pm 800.924.5172
MINI Guru/ MINI Owner Since 2004 | NEW Lifetime Part Replacement | Local Pickup
Milltek | Genuine MINI | Forge Motorsport | NM Engineering | ECS Performance | M7 Speed
Customer Service Hours: 8am-8pm EST|Sales Team Hours: 8am-11pm | SAT 10am-7pm 800.924.5172