When you click on links to various merchants on this site and make a purchase, this can result in this site earning a commission. Affiliate programs and affiliations include, but are not limited to, the eBay Partner Network.
General MINI TalkShared experiences, motoring minutes, and other general MINI-related discussion that applies to all MINIs, regardless of model, year or trim.
Zombie thread revival... how's the process/rebuild going?
If you get an 05 or 06 as a parts car you should be fine. There's a few different parts in the "pre face-lift" cars, to the point (in my opinion) of not making them as interesting as doaners (in the long run).
I just got a 05 r53 no more than a month ago. I crashed it within the first 4 days of owning it. I just finished replacing the hood with a carbon creations carbon fiber hood. I replaced the radiator with a csf racing radiator and have yet to find a cure for my front bumper. I have used apoxy and sanded and primed it but have yet to figure out if I want to get a new one or not. The side plastics on yours should be fine. The insurance company considers mine totaled but that fine with me because I never plan to sell the car.it has 112,000 on the odometer. Plus I got a little more back in insurance. Idk if this was any help but keep doing what youre doing it will all turn out great!
Glad to see there's still interest here. Apologies for the delay, I'm a grad student, so haven't had a ton of time to get to this. Quick update: I got the car back from the insurance co. Now in the barn...awaiting some TLC.
Finally got to dig in a bit yesterday (woo, spring break!). Got the hood off and into front end service mode. Better than I thought in some places, worse in others. Overall, mostly cosmetic, with some concern for the IC and intake manifold. Here we go...
I got a kick out of painting this when I got the car. Now, so sad...
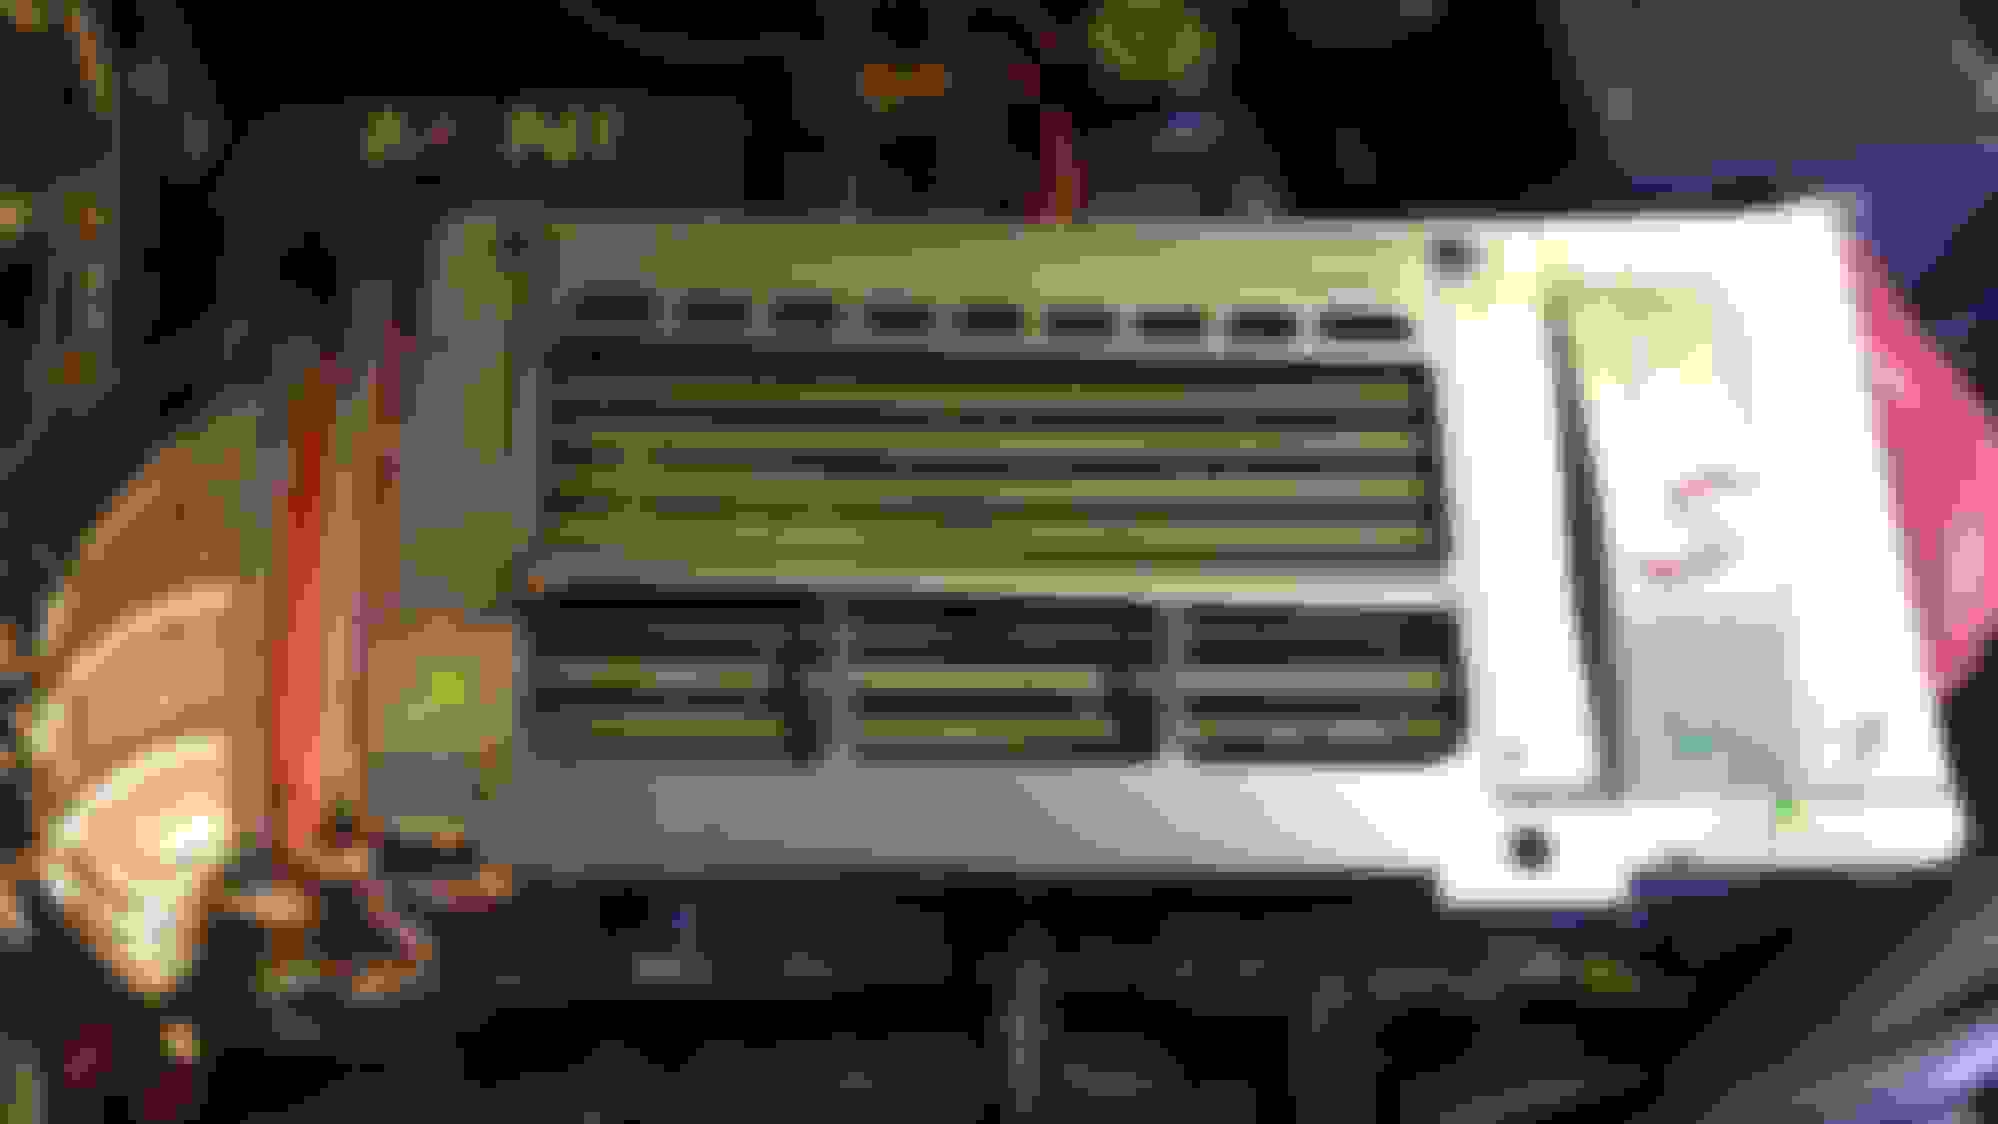
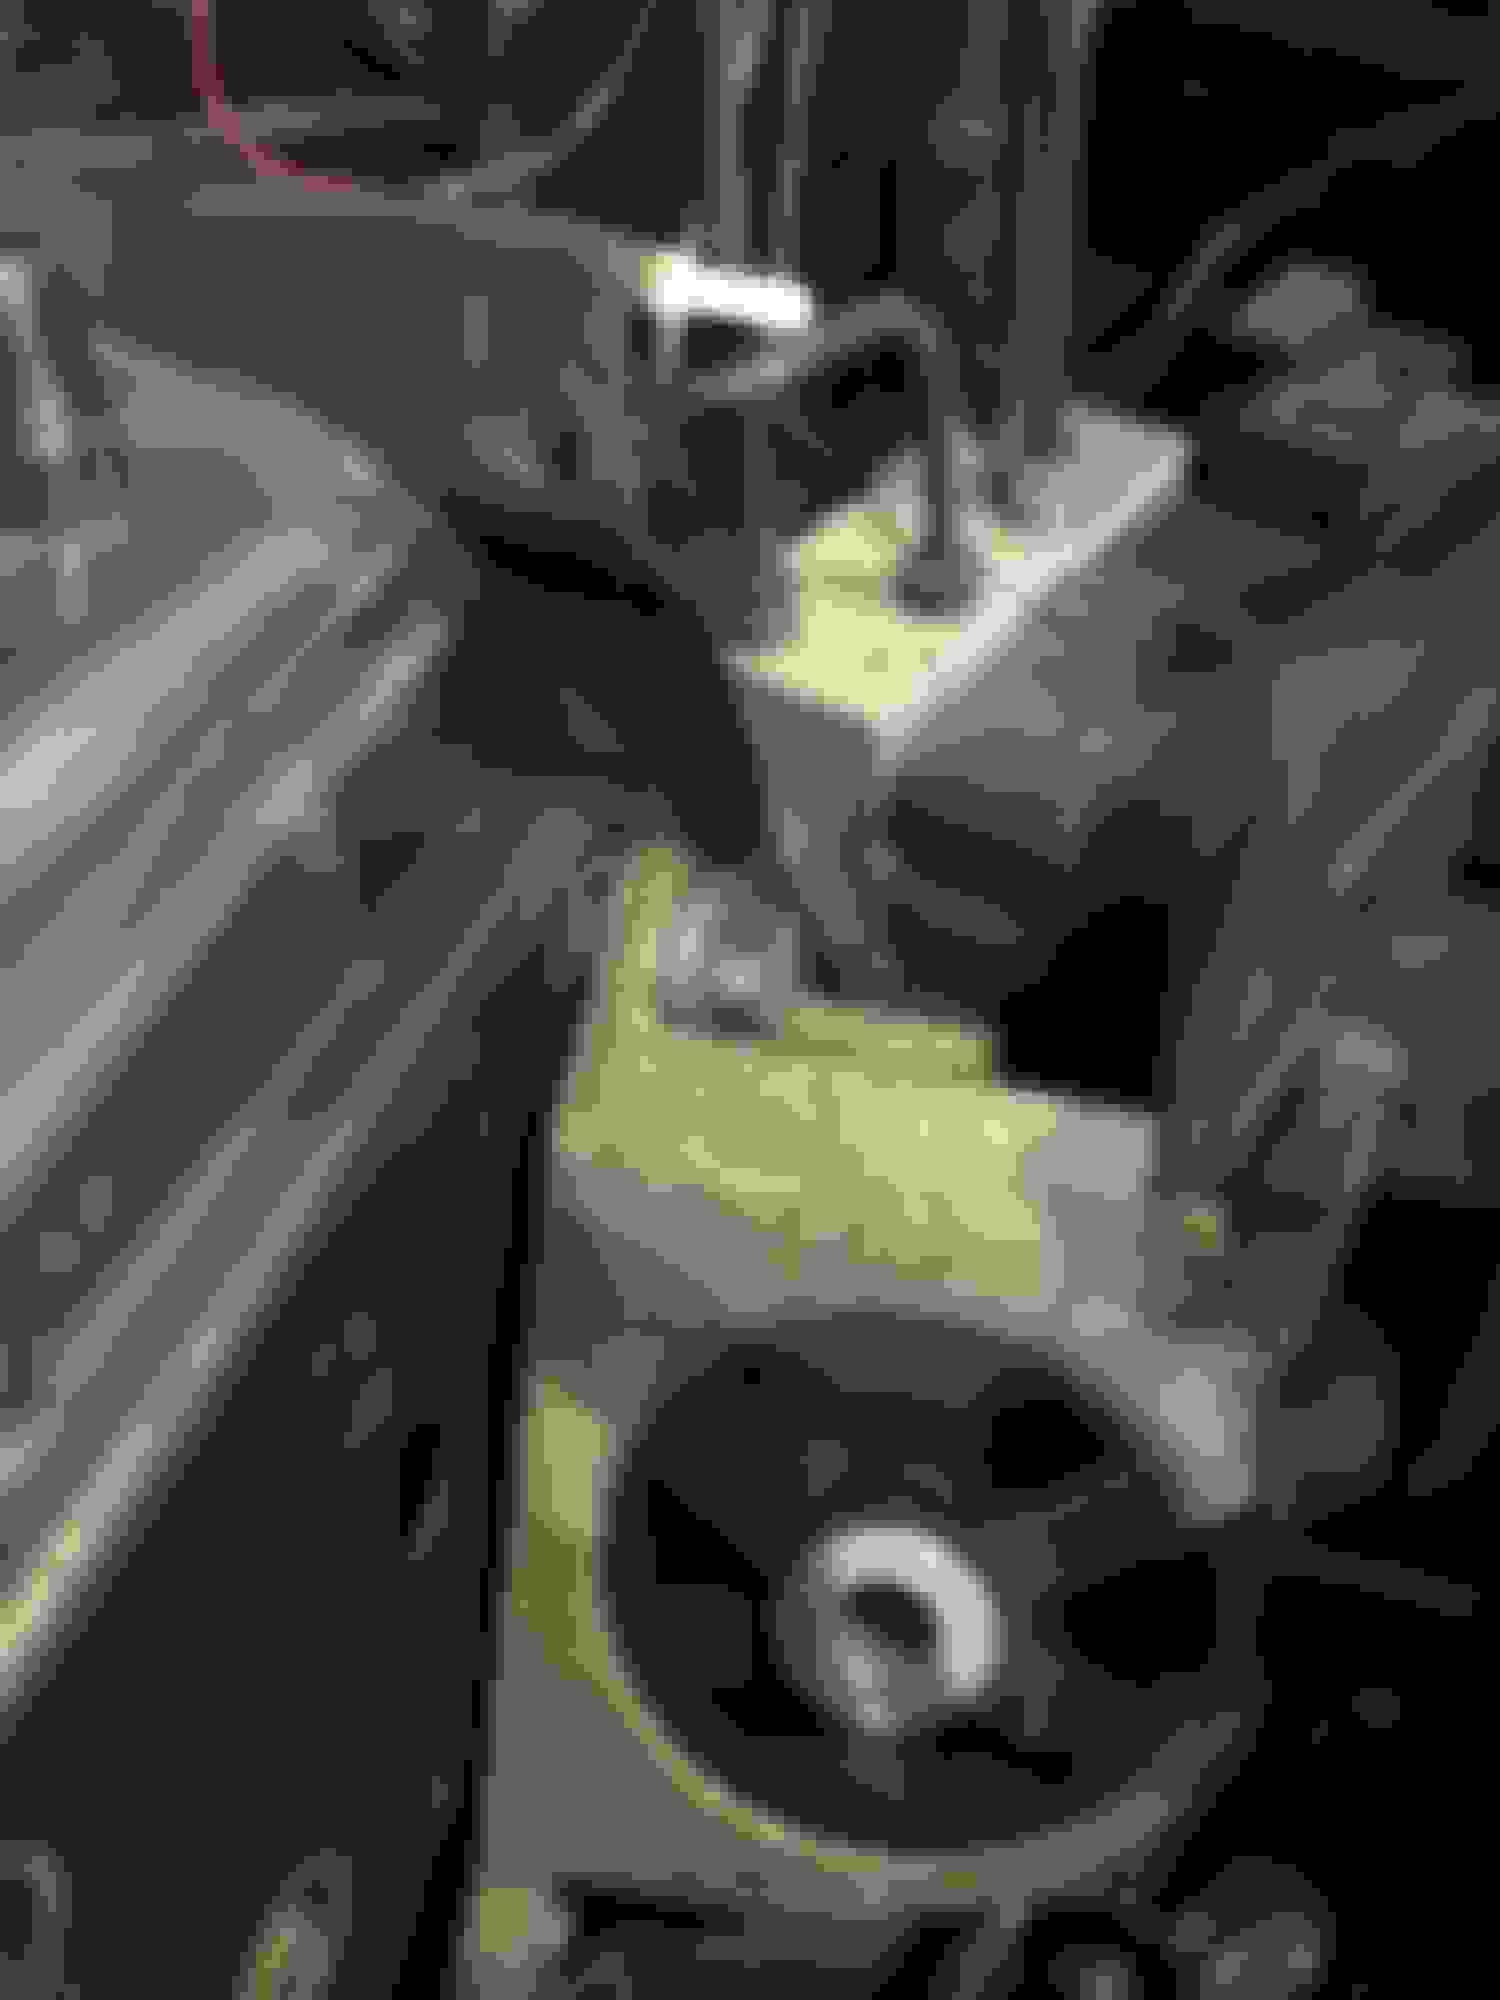
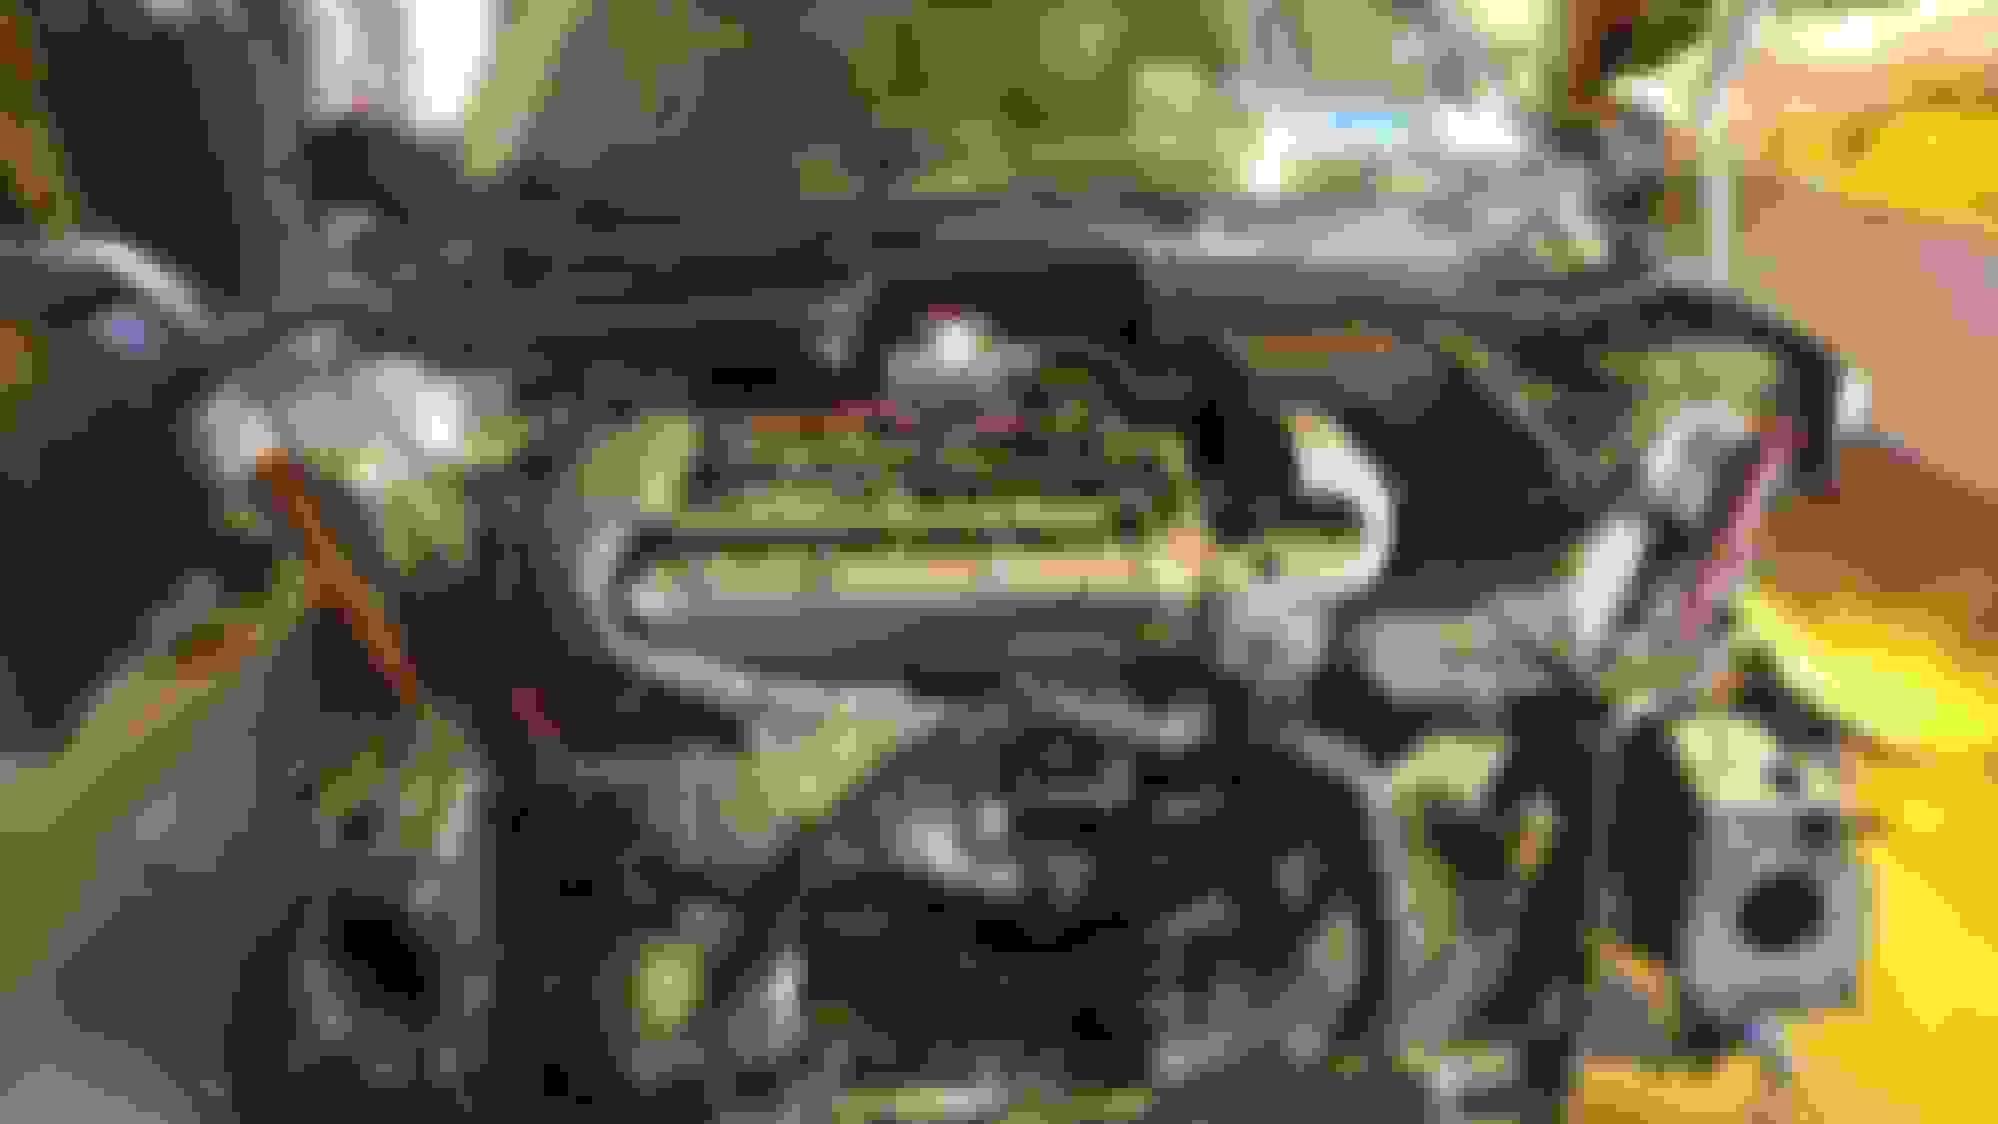
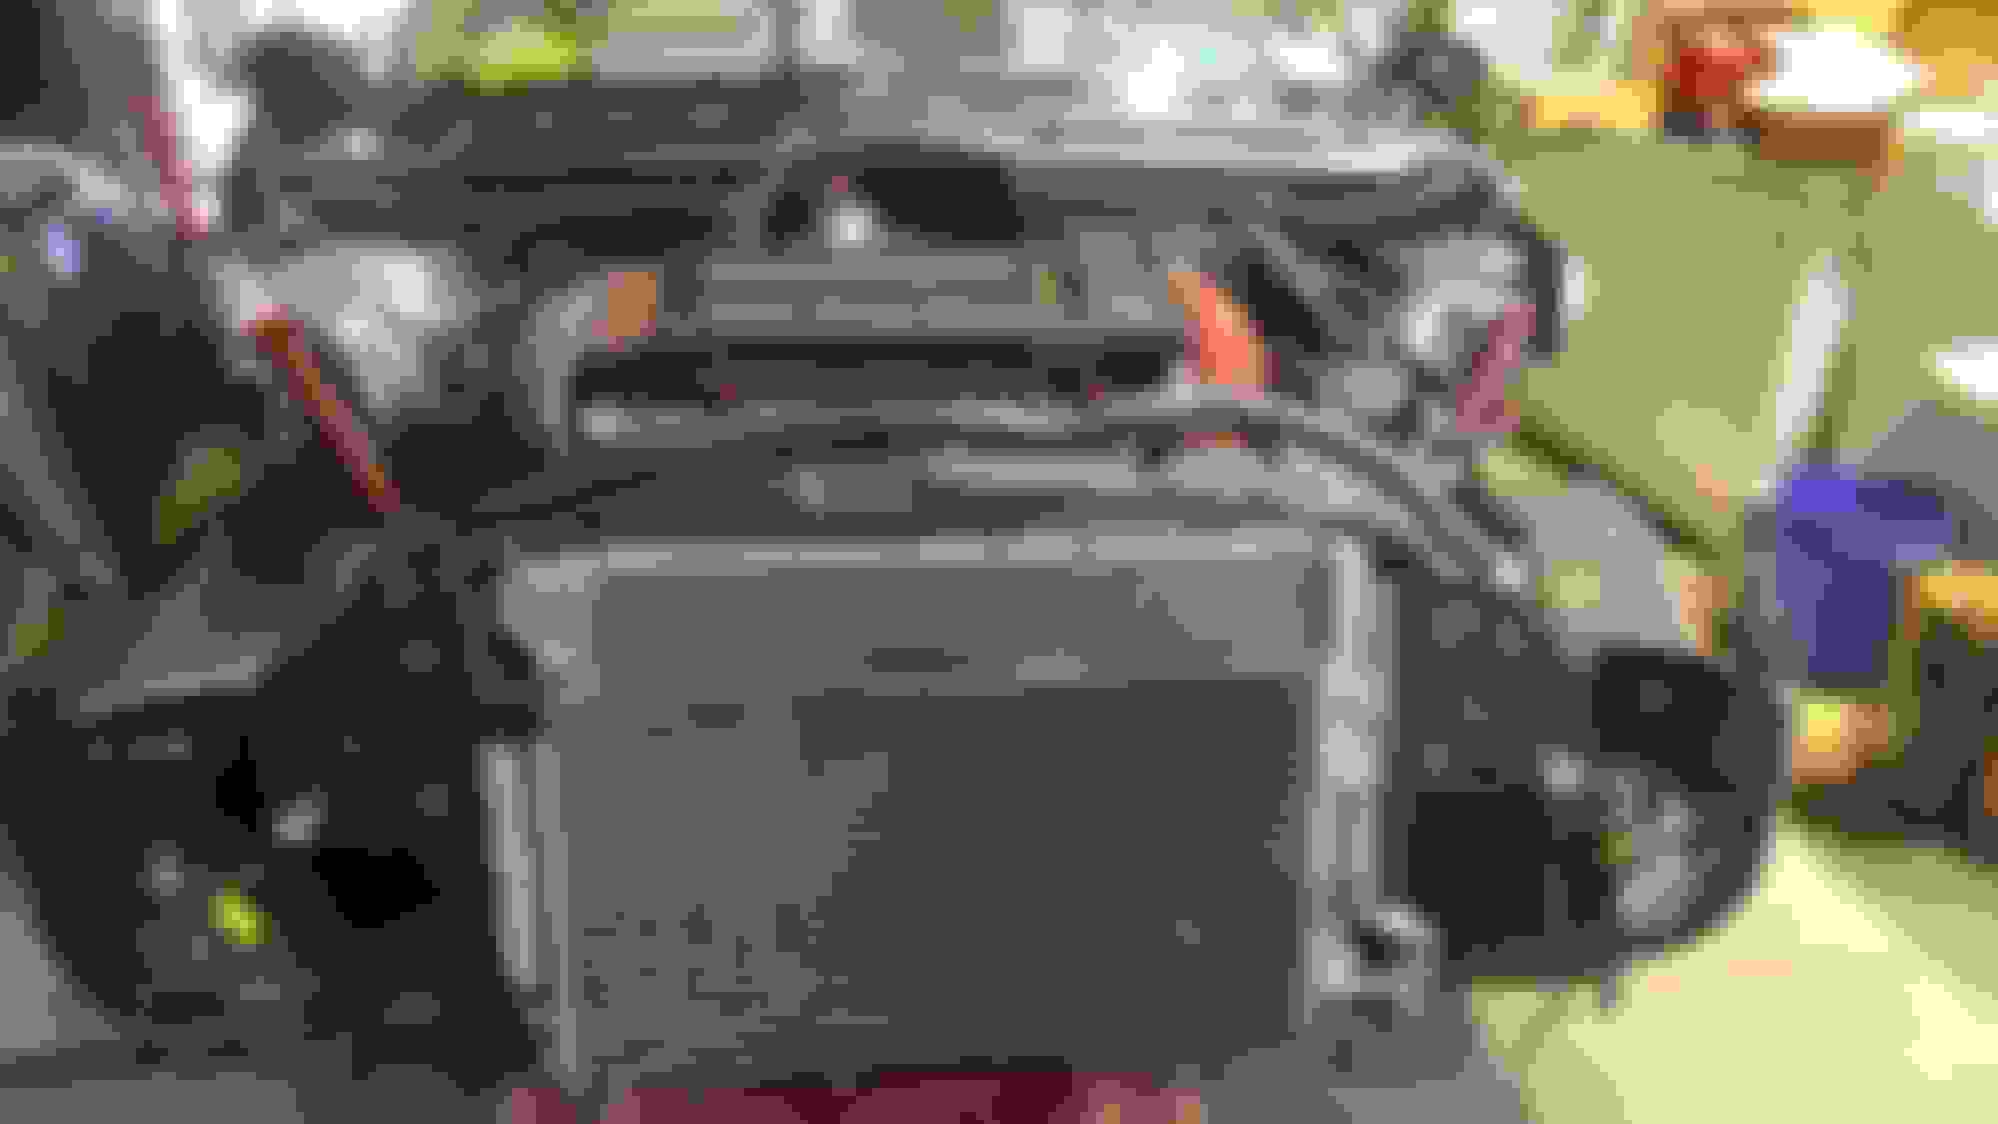
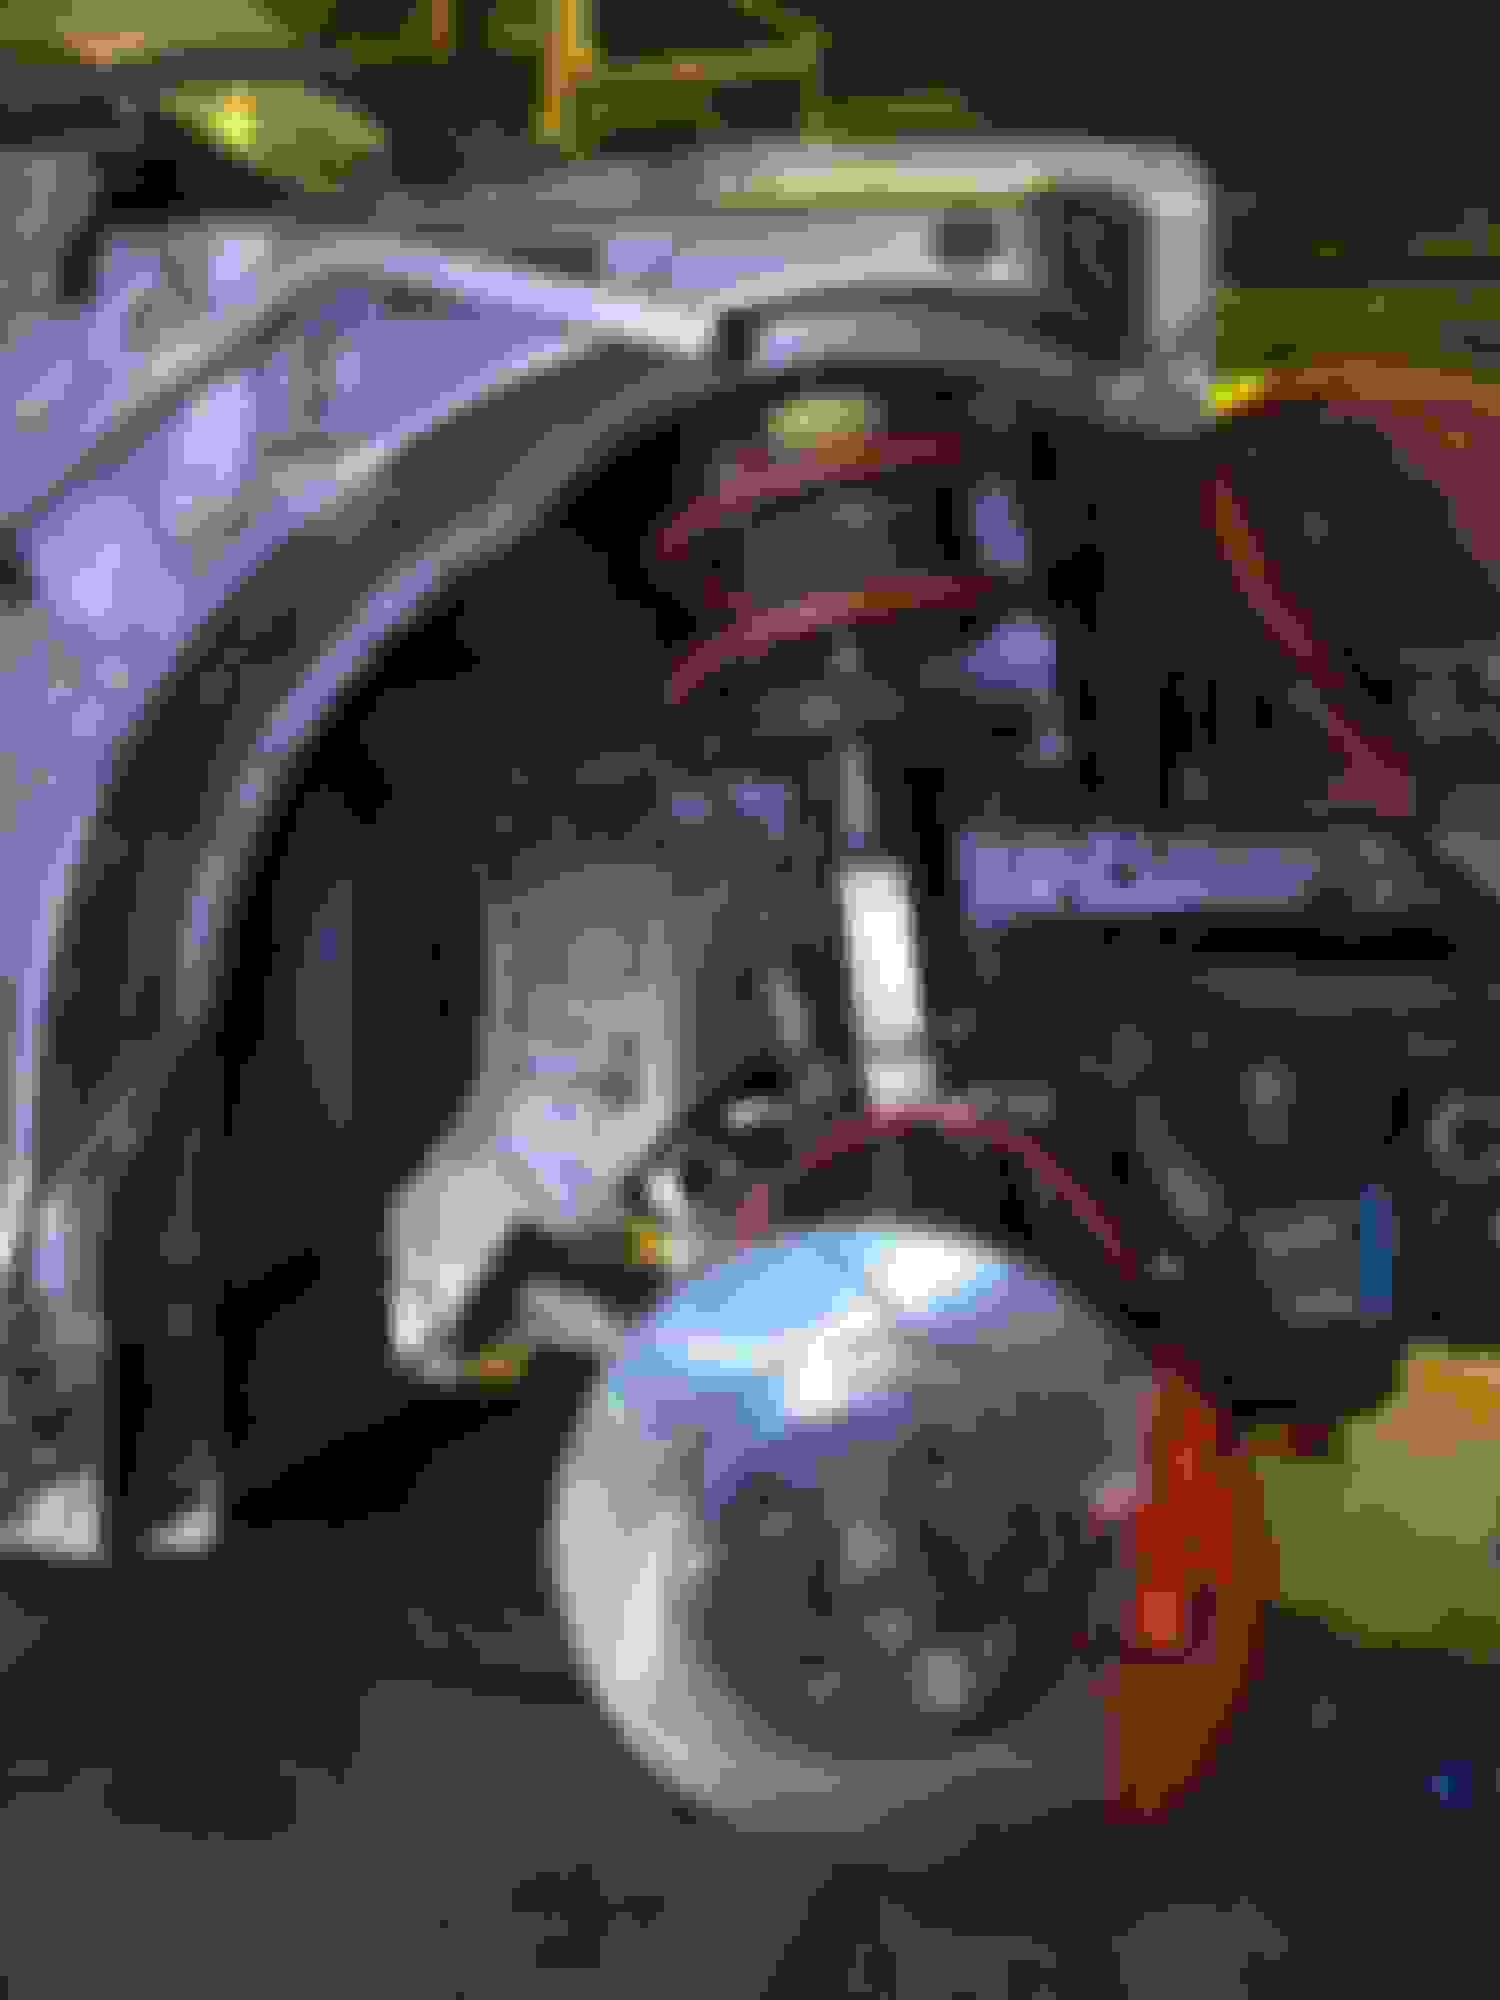
IC took a knock...
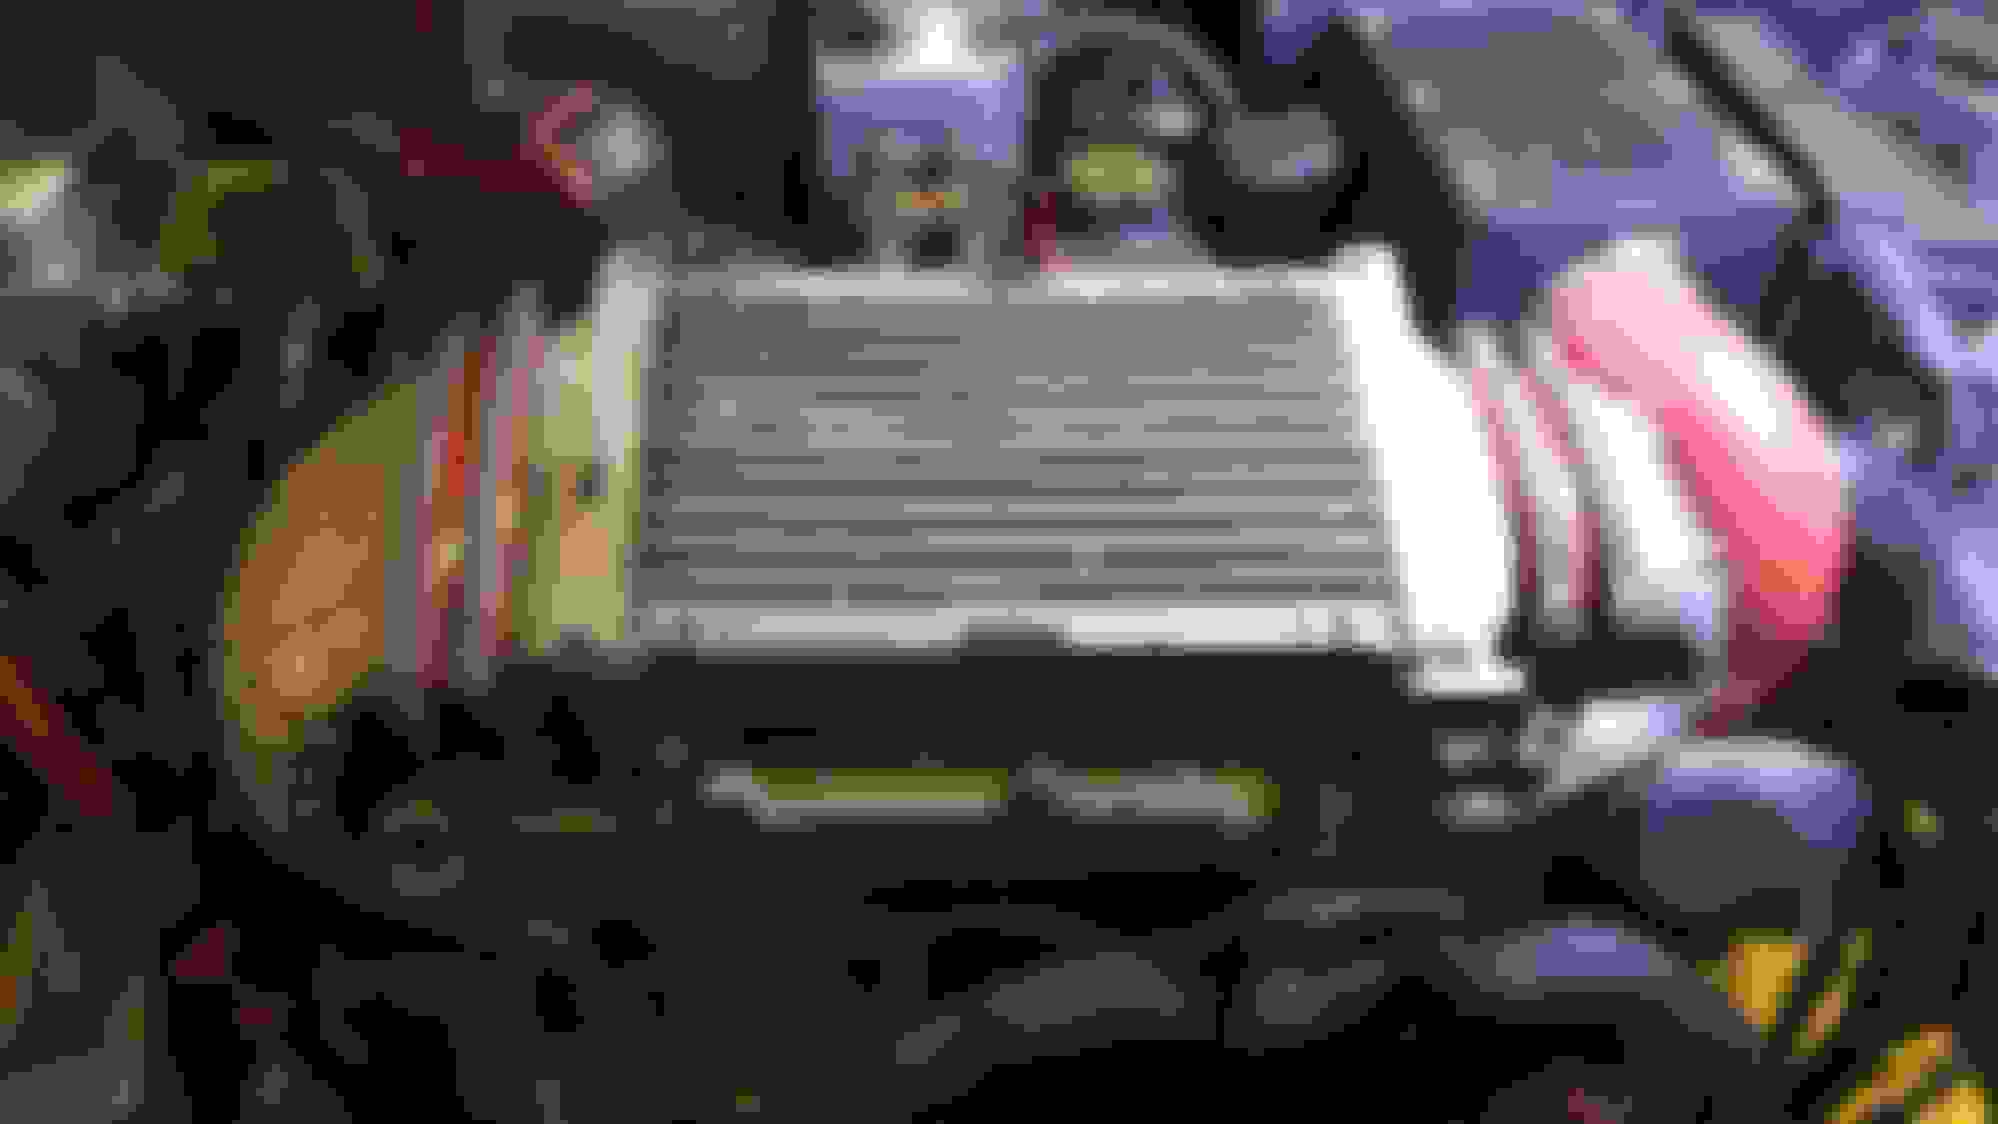
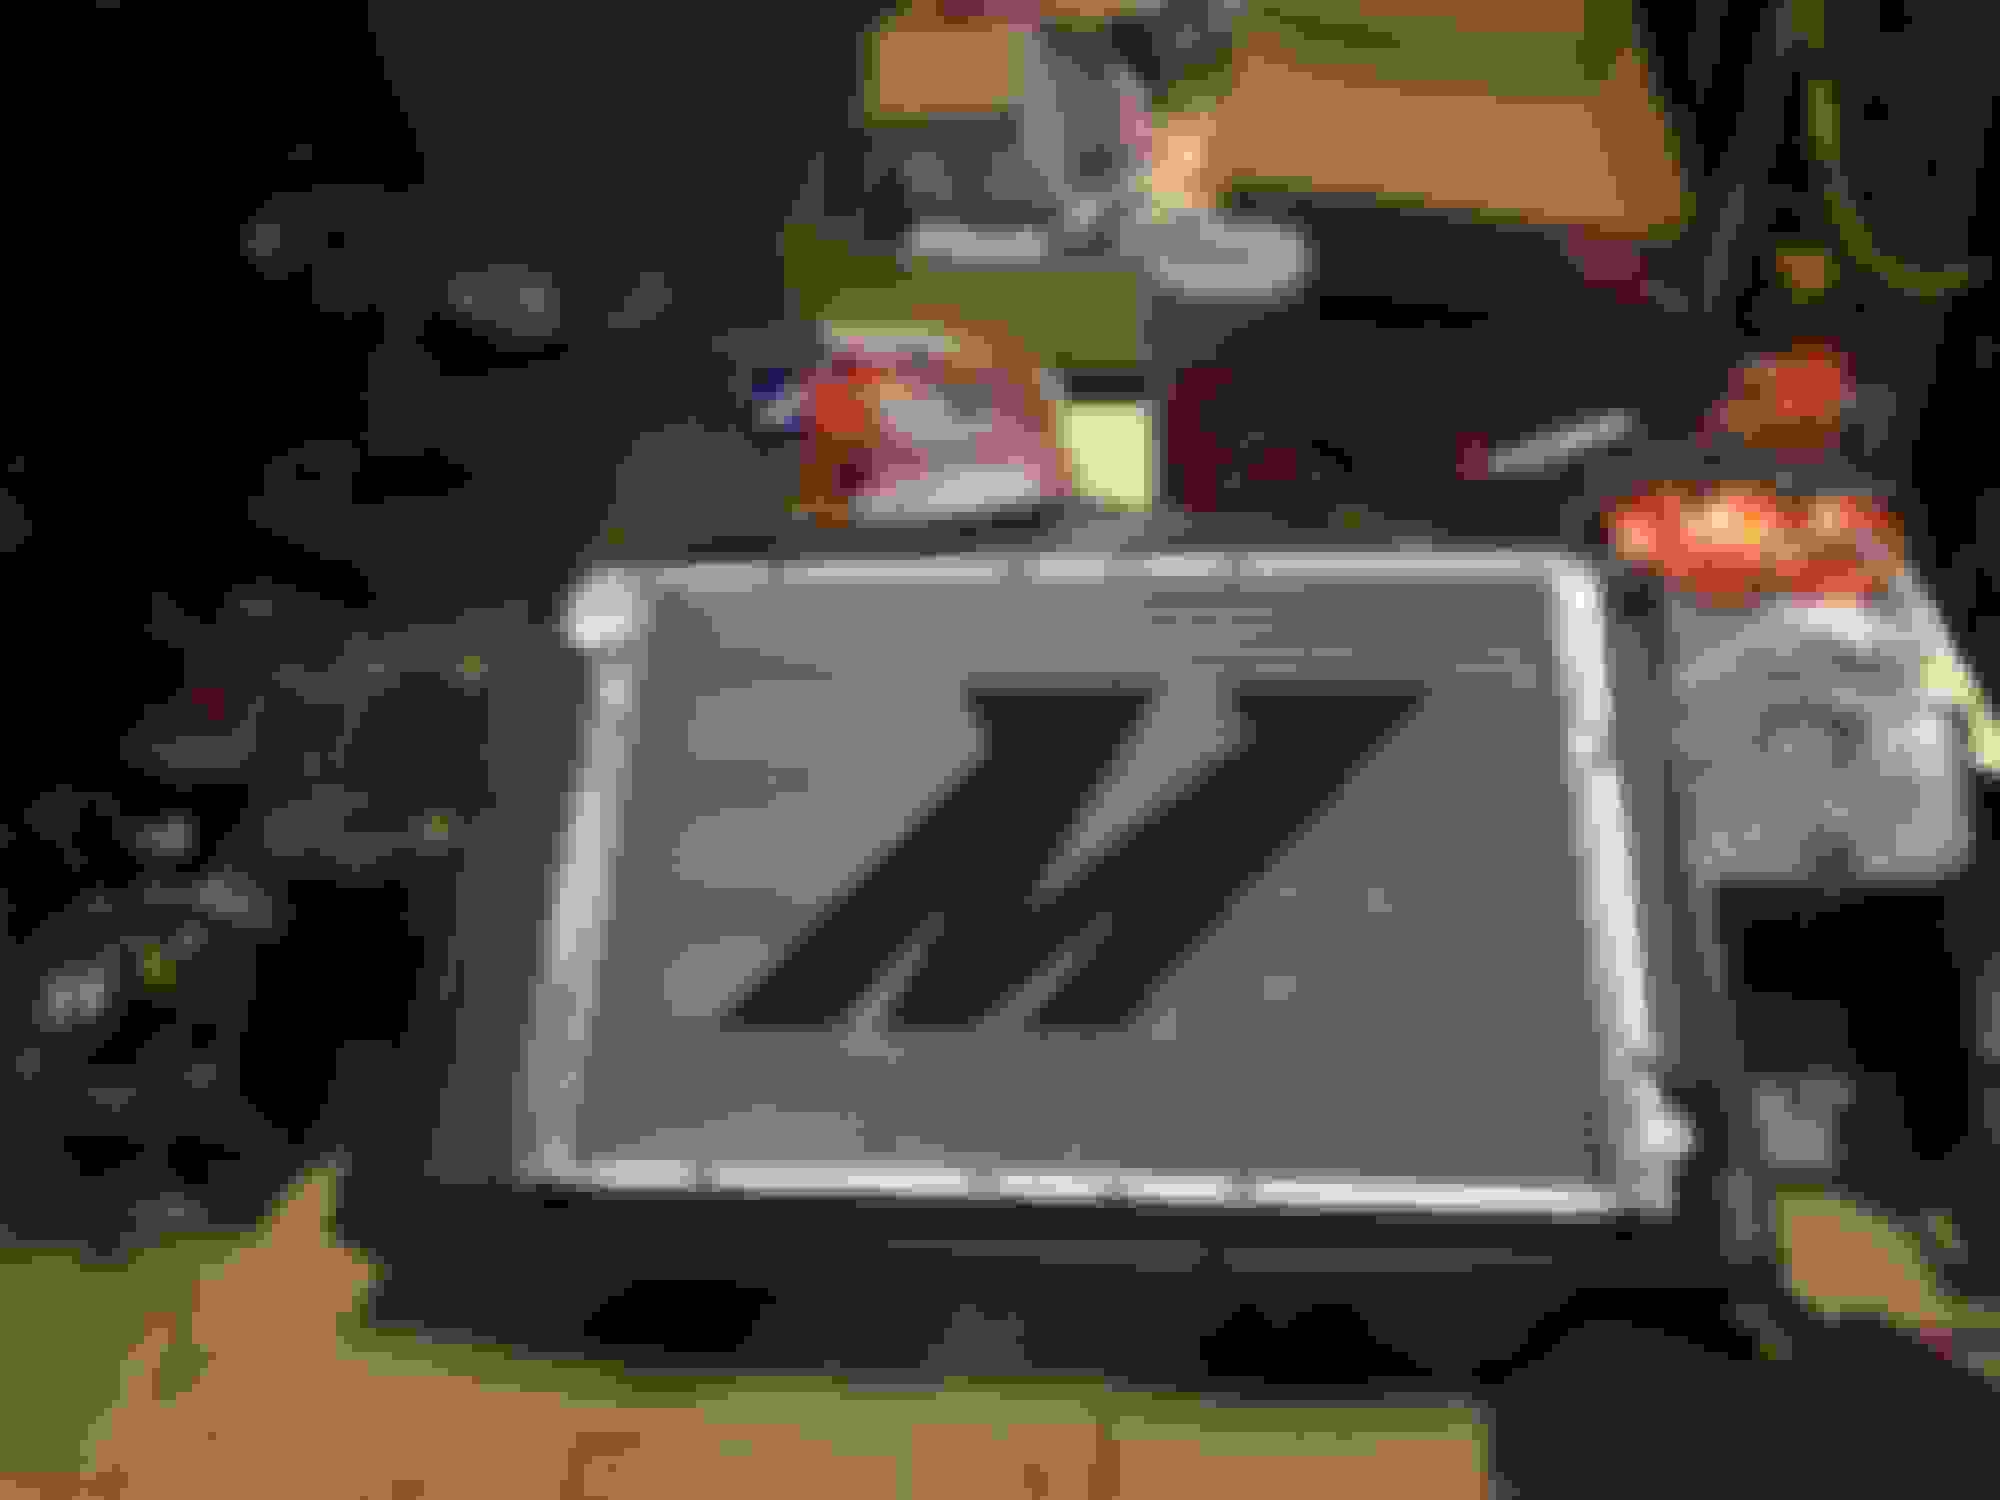
bye bye radiator
Just missed the bumper carrier, AC condenser survived!
IC tweaked a bit...
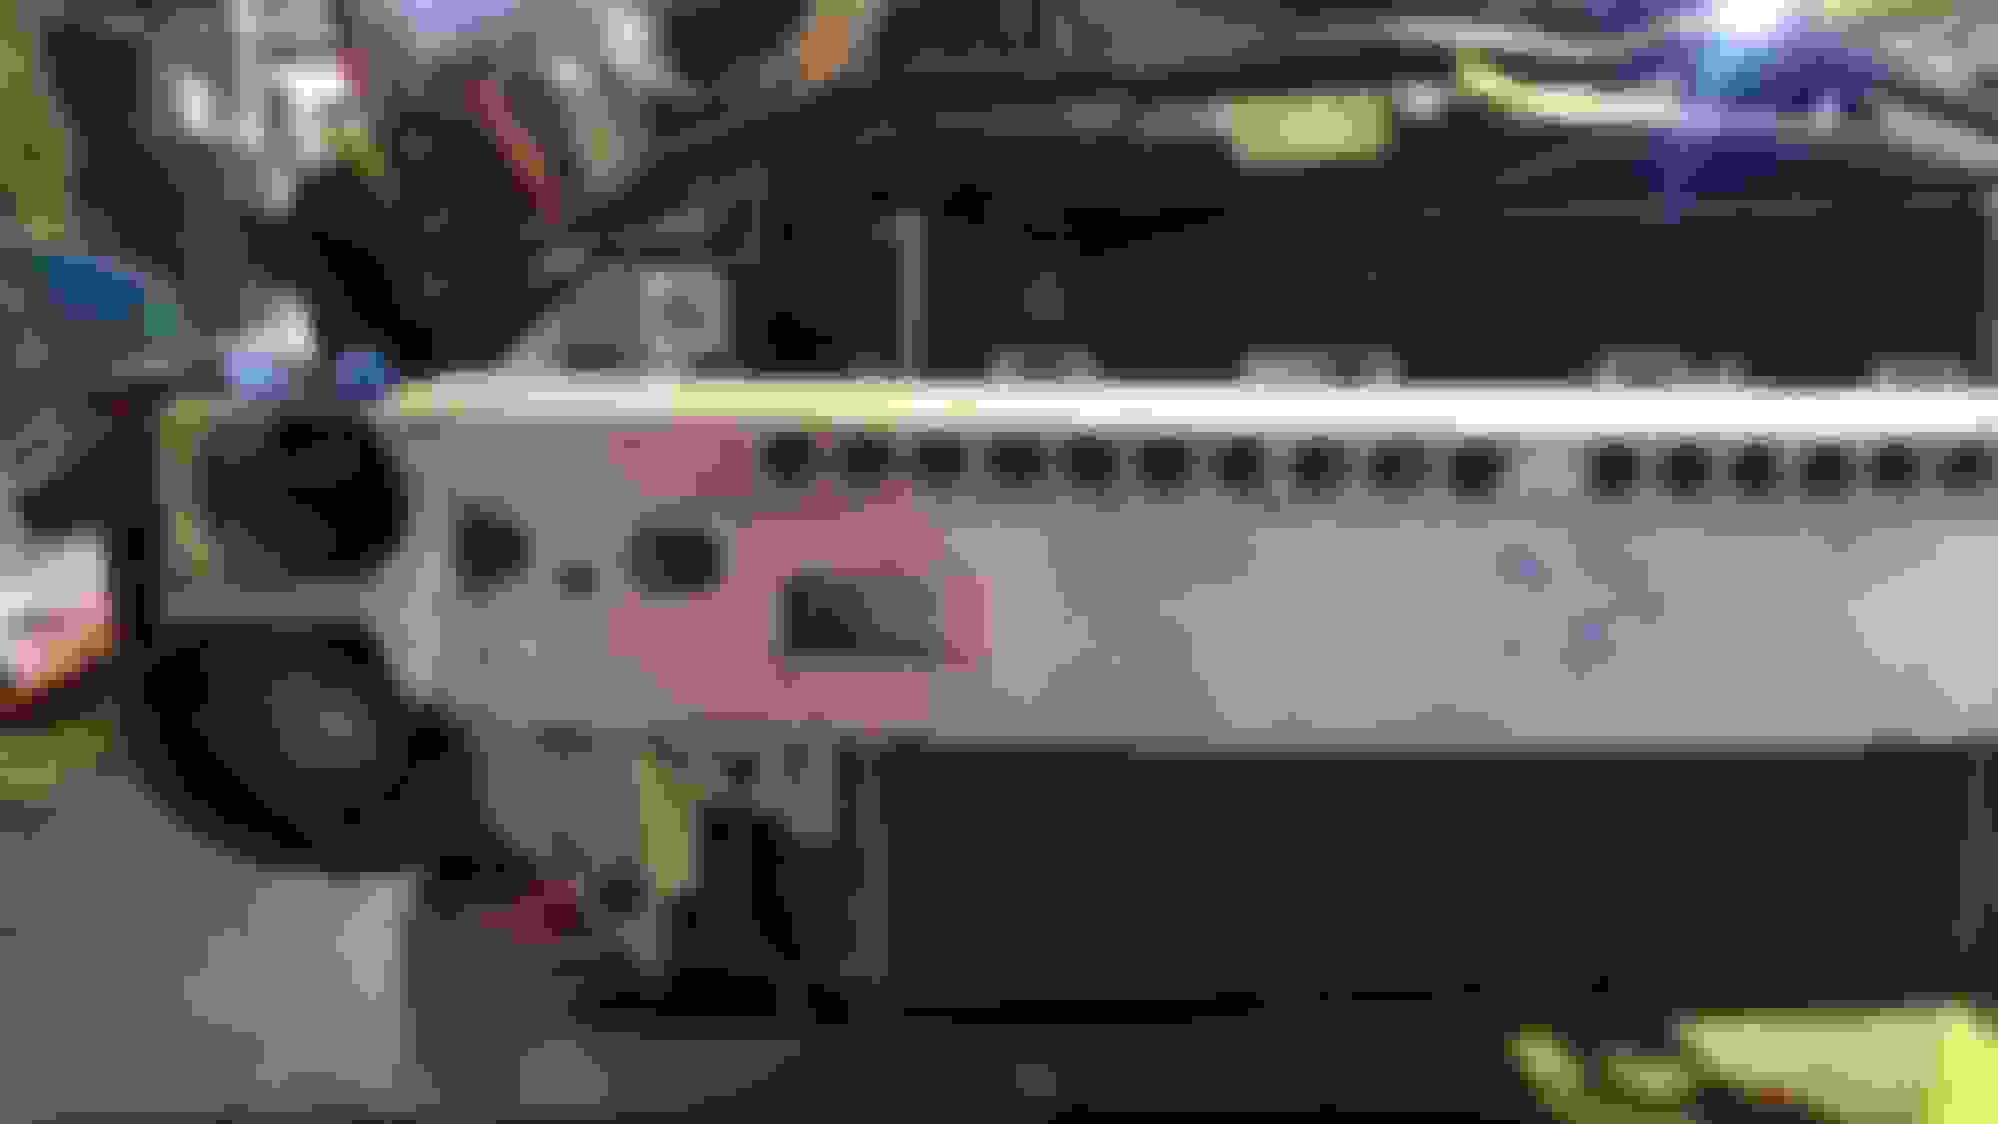
Threads for IC bracket in intake manifold broken from impact (2nd hole from left).
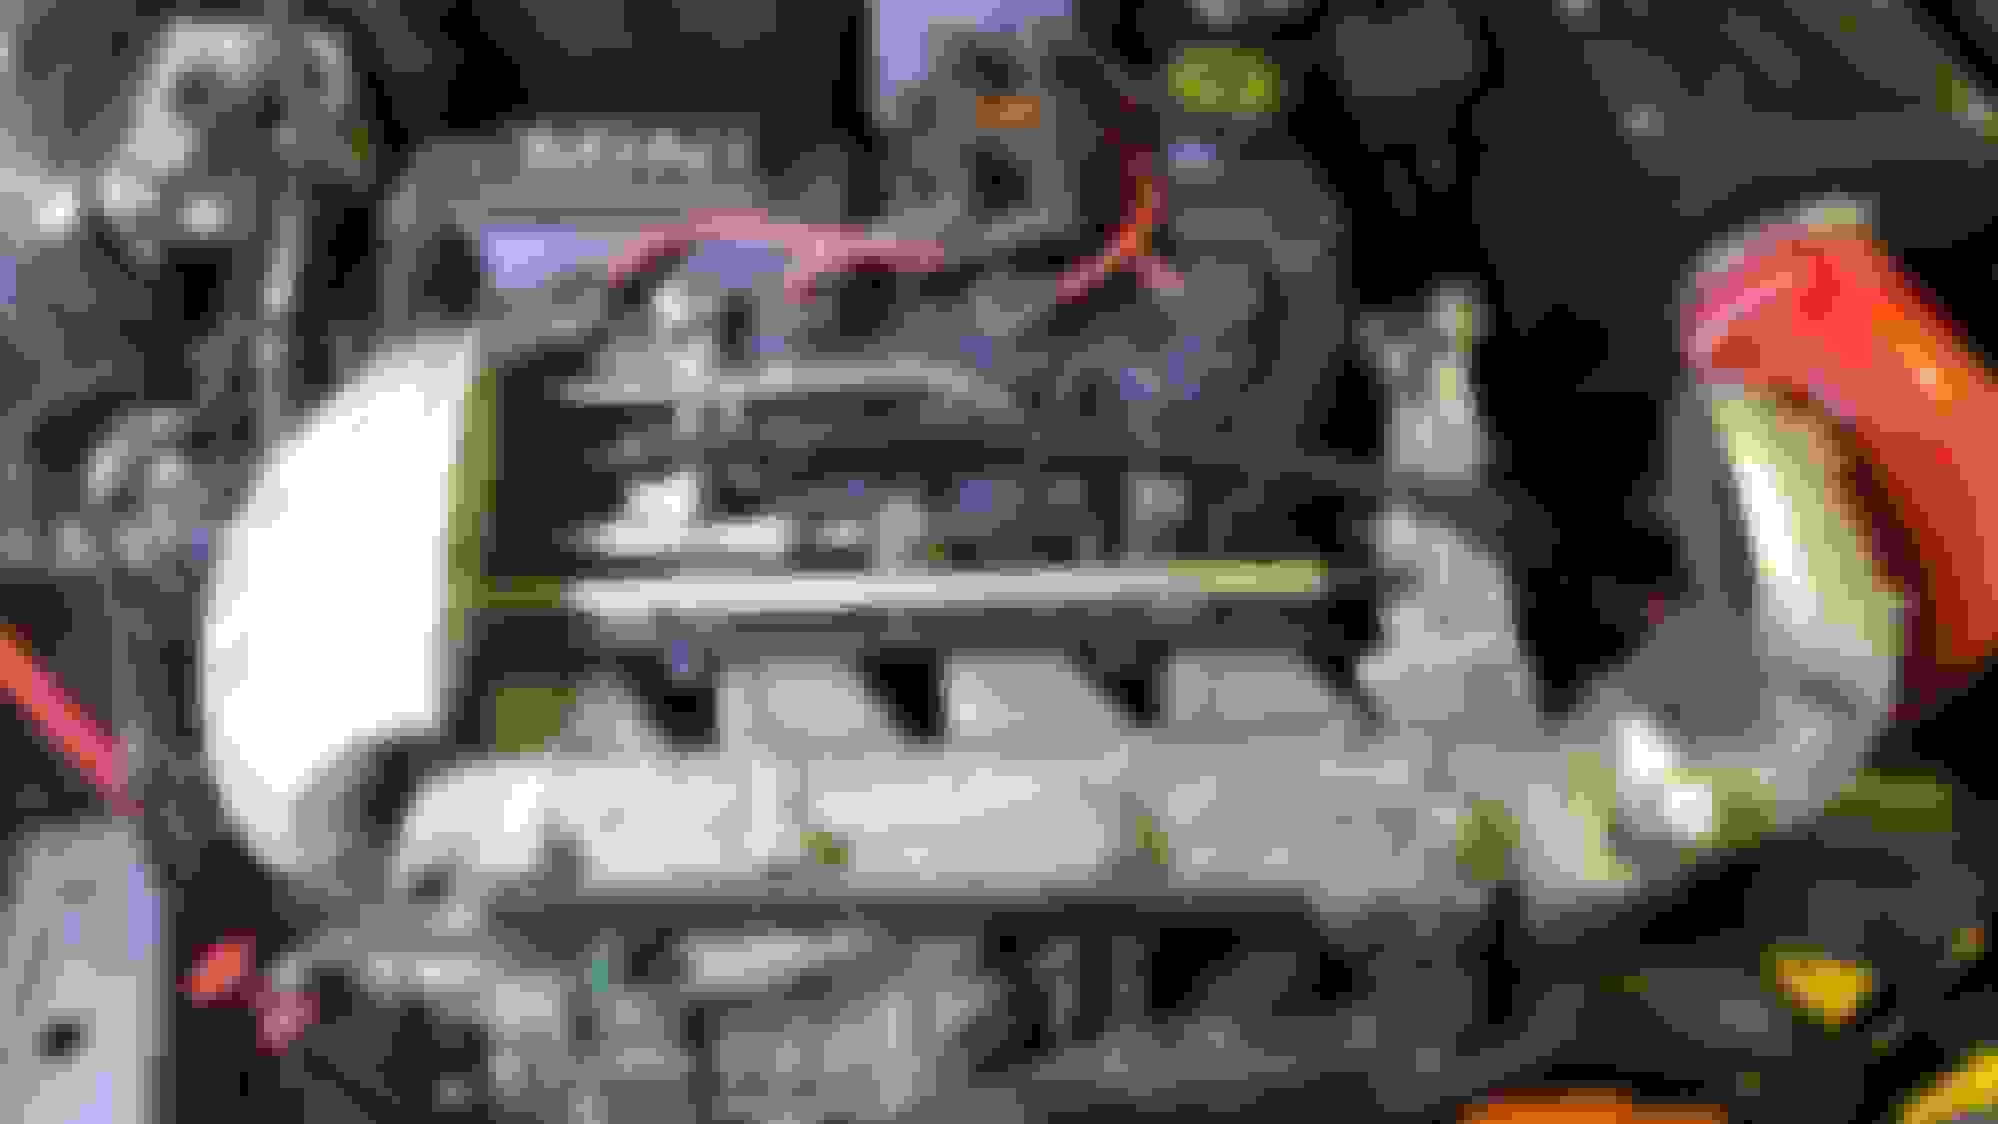
S/C horn (passenger side). Hopefully no damage to S/C...
End of day 1!
Parts list (and growing):
Hood + hinges + headlights
Passenger side wheel well liner
Radiator
modular front end/radiator carrier (big, expensive plastic piece)
Intake manifold?
I/C
I/C brackets + cover
S/C horn (passenger)
All in all, not too bad. I figure the broken threads on the intake manifold is likely not the end of the world, but looks like a used replacement is pretty cheap on car-part.com. Very happy the bumper carrier and AC condenser are ok.
Will be digging into the S/C to make sure its ok, new gaskets, oil change, etc. Also going to swap to a Detroit Tuned throttle body as the car was pretty yo-yo-ie pre-crash. Of course, planning on replacing radiator hoses/thermostat while in there as well, thoughts on silicone hoses? Anything else I should be considering while elbow deep? Water pump? Timing chain?
I have a feeling the headlights are really going to suck to replace. They were xenon, does this mean they should stay xenon (codes)? Other options?
For the body work, I originally thought I'd try to find grey replacement parts or just buy a used grey r53 as a donor, but of course, the chances of them matching are slim to none. Might as well paint it something one of a kind...
Coming along good,. looks like they were xenon , with the headlight washers standard in the pre 7/2004 design.
I would go with the helix / depo ones and convert to xenon. You will loose the headlight washer function but gain the 7/2004+ xenon design. Multiple finish options. Not just black.
Well, I've been having some fun! The adventure continues...
I never took great pictures of it (hard to take photos of everything!), but the hood was pushed backward into the windshield cowl and passenger side fender from the impact. It scraped along the seam, marring the rolled edge to the point I wondered if it was fixable. The hood hinge was also pushed backward, closing the gap between the door and fender a bit. Could likely be pried back into position...
One of the damaged areas on the windshield cowl
The passenger side fender was a major PITA...
It wasn't horrible, likely something a talented body shop guy (or gal) could handle, but well beyond my expertise. I found a windshield cowl in grey locally for a good price (Thanks Chad!), so I just decided to swap it out. Of course, this required the fenders to be removed. Thought it'd be simple, but of course, it wasn't. Lots of stuck bolts that required heat and an impact tool to remove, even then I broke/stripped the passenger side lower fender mount. Stoopid torx bits...luckily, it was accessible with a dremel, so I just cut the nut off, will replace with a nylock nut/bolt through the hole in the bracket, should be fine...should have taken more pictures of this...
Fearing more broken things, I went back to the intake/SC removal. Removed the fuel rail and injectors, throttle body, driver side IC horn, all without incident.
Sans fuel rail...
Classic crank position sensor oil leak?
Continued on down the list, remove SC/water pump, intake manifold, dipstick, alternator, AC compressor. SC was dirty, made me think it was going to be bone dry, but not too bad. Oil was actually still kind of transparent. Luckily, doesn't look like any damage to mating face with SC horn...
Dirty, but not damaged... :-)
Rear...about a tablespoon...
Front...say 1/4 cup?
nekkid...
Upskirt...
Well, that's that. I've heard these valves get pretty gunked up, was expecting them to be much dirtier...This look about right for 80k? Anything else need to be done here?
Let the party begin!
Well, parts arrived! I have a lot of work to do! Almost everything, still scrounging for plastic trim pieces, but this is close...
Given all the oil leaks, decided to do valve cover gasket, crank and cam sensor orings, and oil pan gasket. Started at the top...
Pretty clean! Timing chain guides look ok...
I noticed the lower engine mount was torn when I put the SC pulley on back in August. Probably put undue strain on other mounts. Figure I might as well do all three, while I'm at it.
Swapped lower mount to BSH dogbone while changing oil pan gasket...
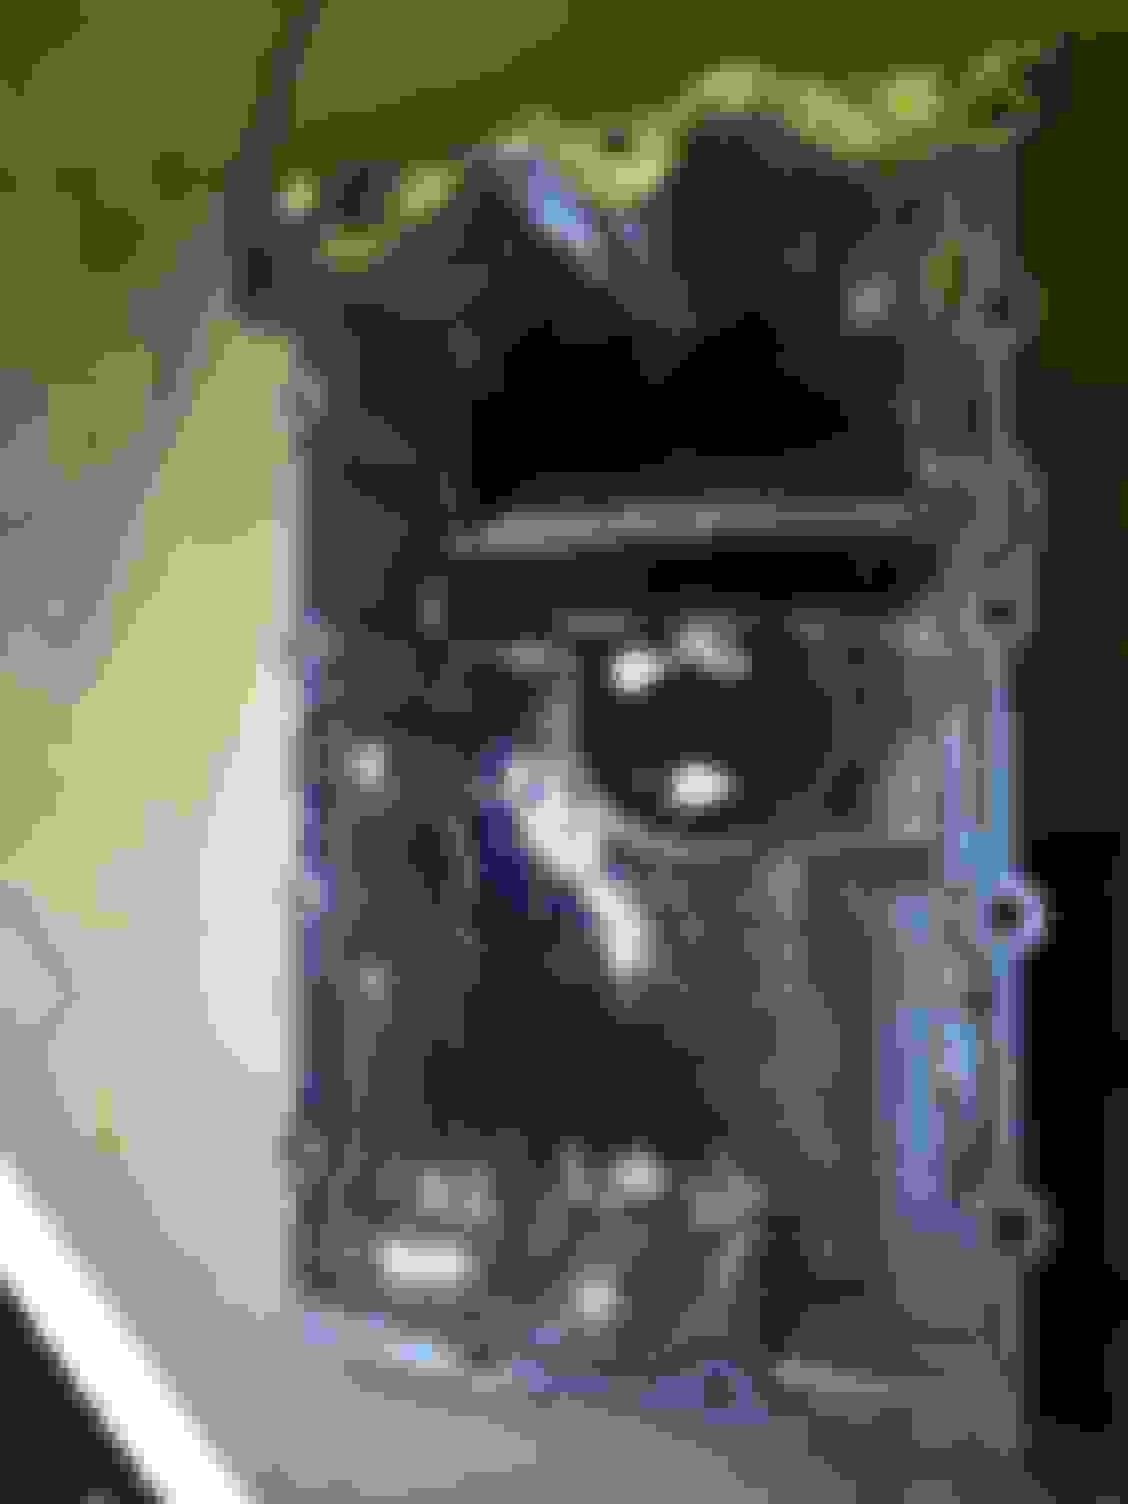
Oil pan came off easy. Look ok to you?
Looks good to me...I think. That scorching on the bottom of the pistons normal?
As it came off car. I was worried at first, thought those were all little flakes of metal. Ran a magnet through, got next to nothing...
Dabbed up the oil, lots of little bumps stuck to pan, almost like slag? Irregularity in the oil pan, normal wear and tear, or did someone overheat this car?
Pan back on with new gasket, torqued to 12Nm, easy peasy. Moved up to other mounts...
Old engine mounts...(pre-camshaft seal replacement)
Is that an old, old style hydraulic mount? Held together by zipties? Also ripped...Decided to go with Way's TSW mount...here's hoping I don't regret the NVH increase with the two new mounts....onto the upper mount. Planning to replace with OEM here. First two bolts cam out easy enough, and blam-o, third one = another stuck bolt on the passenger side...
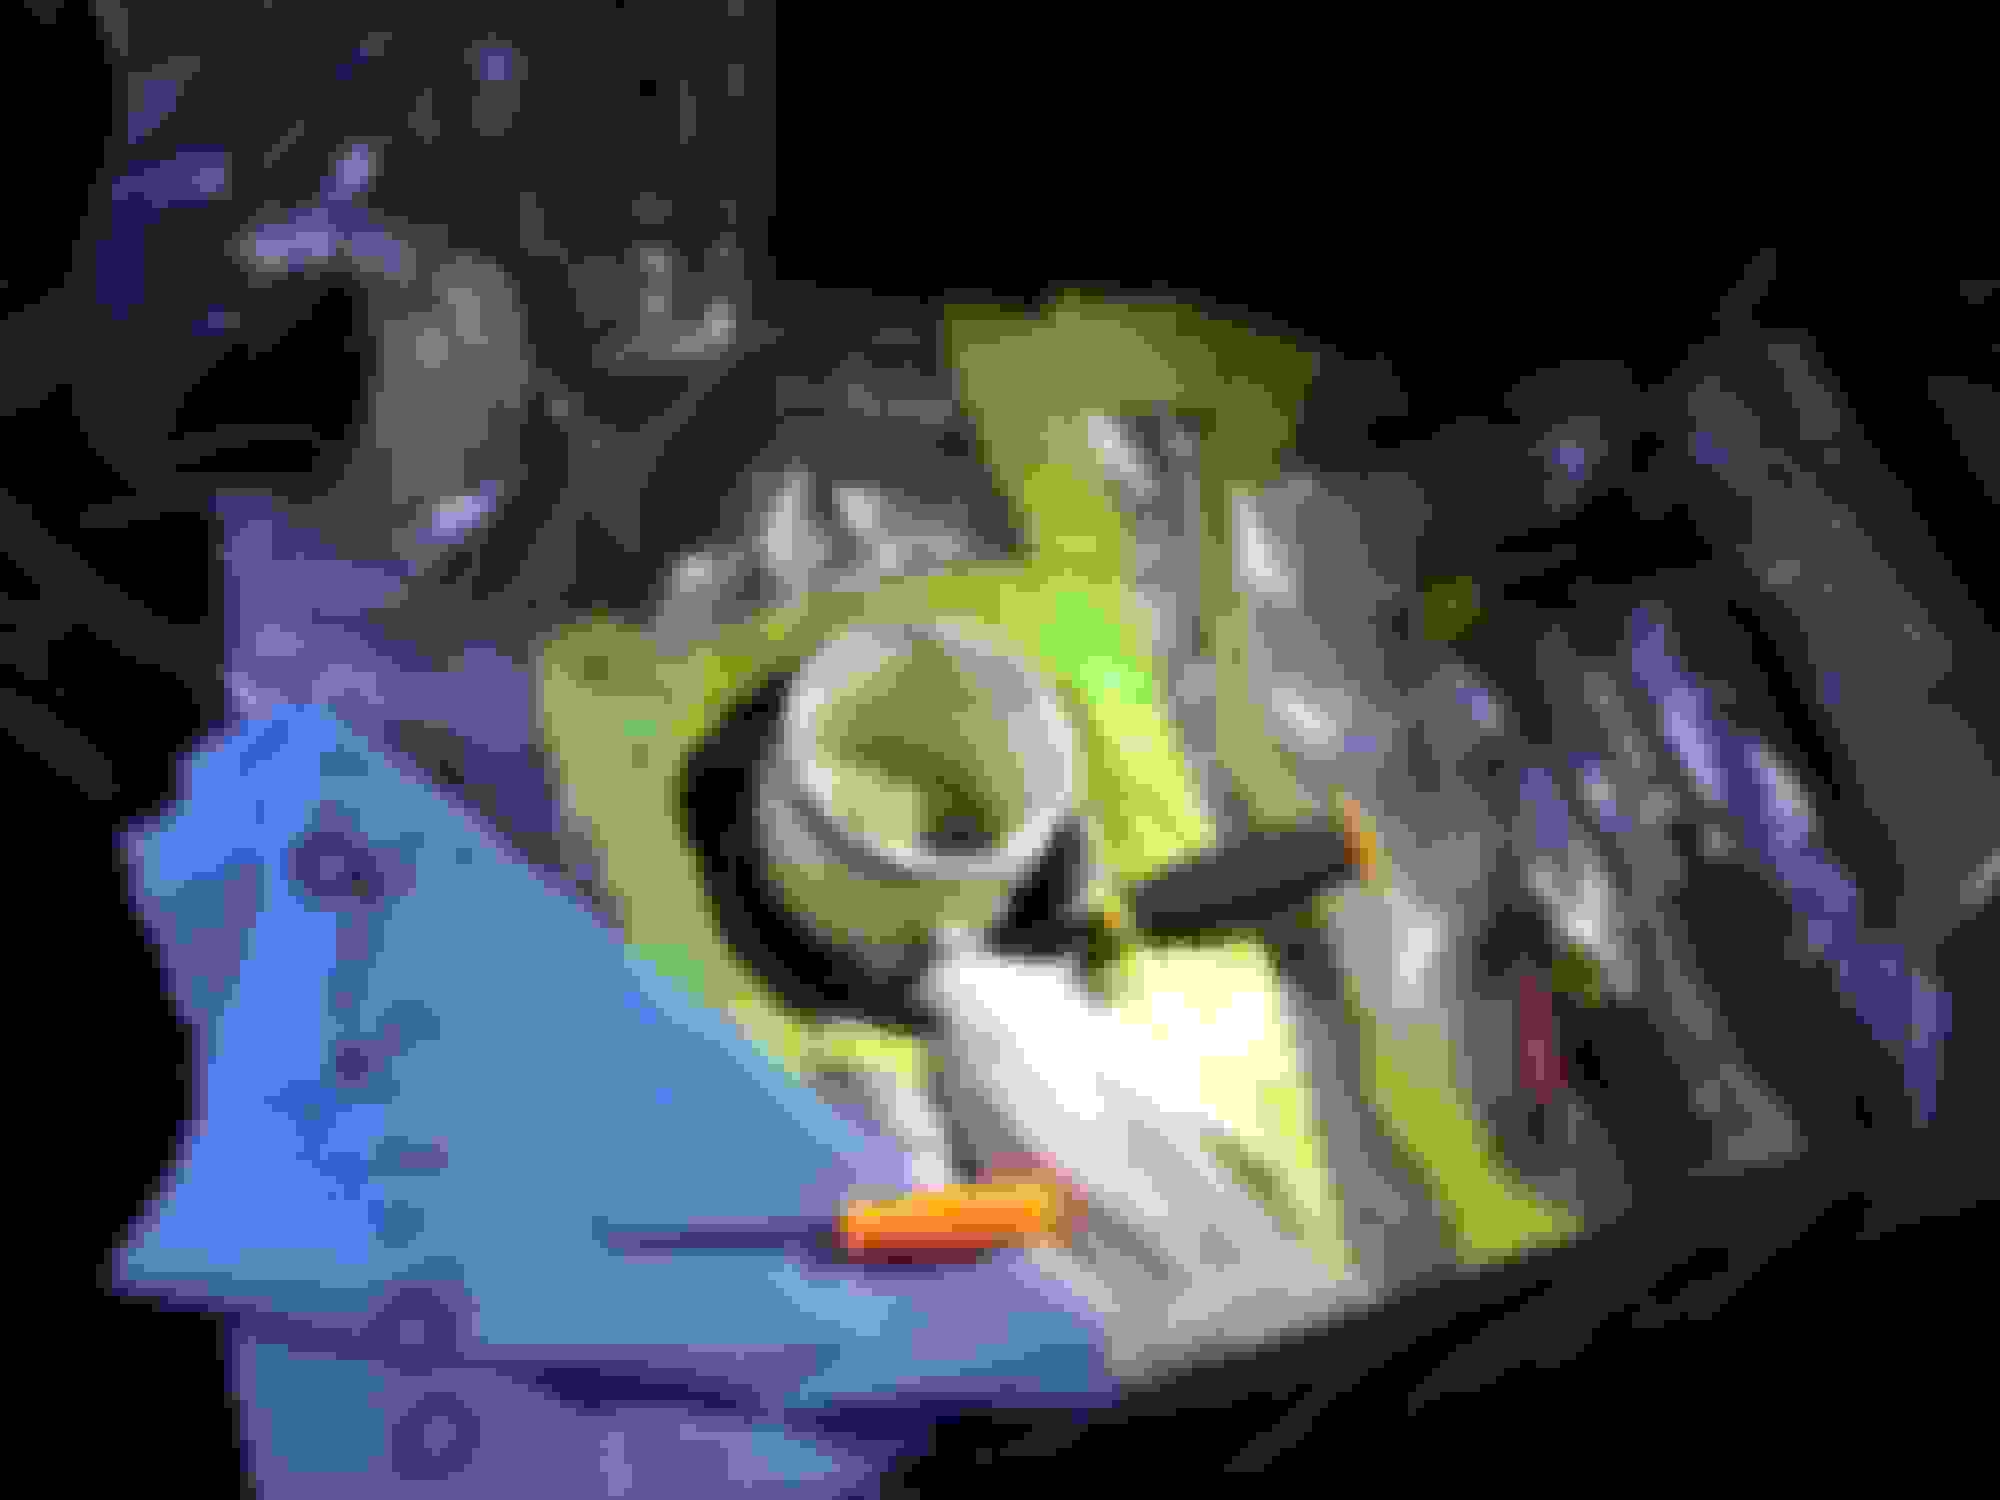
uh-oh, another passenger side problem!
After several back in, wire brush, liquid wrench, heat it, back out cycles, got the infamous 'pop' followed by free spinning. Looks like the bolt is threaded into a nutsert type threaded insert that is pressed onto the body. It broke free and now spins freely with the bolt. Try as I might, I couldn't get it free. Just nothing to hold on to. The motor is now sitting on a jack, with a jackstand as backup. Here's hoping the strain doesn't ruin the brand new BSH mount or the oil pan gasket I just put in...sigh.
Looking up into passenger front wheel well. Engine mount bolt is stuck, body nutsert is spinning... :-/
Tell me someone has dealt with this and knows a magic trick to get it out? Please?
Given the head of the bolt is sticking out a bit, I thought about lopping it off with a dremel, which frees the mount, but then what? Maybe tack weld the nut to the body? I figure that's ripe with catastrophe...an EZ out won't do me any good...Any other ideas out there? Lets say I screw that nutsert up getting it out, how would I replace it?
Can you keep a running cost as well? Obviously labour has to be ignored, but I'm sure we'd all like to know how much the parts end up costing in case we're ever in the unfortunate situation and have to revive our loved ones.
Well, I've been having some fun! The adventure continues...
I never took great pictures of it (hard to take photos of everything!), but the hood was pushed backward into the windshield cowl and passenger side fender from the impact. It scraped along the seam, marring the rolled edge to the point I wondered if it was fixable. The hood hinge was also pushed backward, closing the gap between the door and fender a bit. Could likely be pried back into position...
One of the damaged areas on the windshield cowl
The passenger side fender was a major PITA...
It wasn't horrible, likely something a talented body shop guy (or gal) could handle, but well beyond my expertise. I found a windshield cowl in grey locally for a good price (Thanks Chad!), so I just decided to swap it out. Of course, this required the fenders to be removed. Thought it'd be simple, but of course, it wasn't. Lots of stuck bolts that required heat and an impact tool to remove, even then I broke/stripped the passenger side lower fender mount. Stoopid torx bits...luckily, it was accessible with a dremel, so I just cut the nut off, will replace with a nylock nut/bolt through the hole in the bracket, should be fine...should have taken more pictures of this...
Fearing more broken things, I went back to the intake/SC removal. Removed the fuel rail and injectors, throttle body, driver side IC horn, all without incident.
Sans fuel rail...
Classic crank position sensor oil leak?
Continued on down the list, remove SC/water pump, intake manifold, dipstick, alternator, AC compressor. SC was dirty, made me think it was going to be bone dry, but not too bad. Oil was actually still kind of transparent. Luckily, doesn't look like any damage to mating face with SC horn...
Dirty, but not damaged... :-)
Rear...about a tablespoon...
Front...say 1/4 cup?
nekkid...
Upskirt...
Well, that's that. I've heard these valves get pretty gunked up, was expecting them to be much dirtier...This look about right for 80k? Anything else need to be done here?
Let the party begin!
Well, parts arrived! I have a lot of work to do! Almost everything, still scrounging for plastic trim pieces, but this is close...
Given all the oil leaks, decided to do valve cover gasket, crank and cam sensor orings, and oil pan gasket. Started at the top...
Pretty clean! Timing chain guides look ok...
I noticed the lower engine mount was torn when I put the SC pulley on back in August. Probably put undue strain on other mounts. Figure I might as well do all three, while I'm at it.
Swapped lower mount to BSH dogbone while changing oil pan gasket...
Oil pan came off easy. Look ok to you?
Looks good to me...I think. That scorching on the bottom of the pistons normal?
As it came off car. I was worried at first, thought those were all little flakes of metal. Ran a magnet through, got next to nothing...
Dabbed up the oil, lots of little bumps stuck to pan, almost like slag? Irregularity in the oil pan, normal wear and tear, or did someone overheat this car?
Pan back on with new gasket, torqued to 12Nm, easy peasy. Moved up to other mounts...
Old engine mounts...(pre-camshaft seal replacement)
Is that an old, old style hydraulic mount? Held together by zipties? Also ripped...Decided to go with Way's TSW mount...here's hoping I don't regret the NVH increase with the two new mounts....onto the upper mount. Planning to replace with OEM here. First two bolts cam out easy enough, and blam-o, third one = another stuck bolt on the passenger side...
uh-oh, another passenger side problem!
After several back in, wire brush, liquid wrench, heat it, back out cycles, got the infamous 'pop' followed by free spinning. Looks like the bolt is threaded into a nutsert type threaded insert that is pressed onto the body. It broke free and now spins freely with the bolt. Try as I might, I couldn't get it free. Just nothing to hold on to. The motor is now sitting on a jack, with a jackstand as backup. Here's hoping the strain doesn't ruin the brand new BSH mount or the oil pan gasket I just put in...sigh.
Looking up into passenger front wheel well. Engine mount bolt is stuck, body nutsert is spinning... :-/
Tell me someone has dealt with this and knows a magic trick to get it out? Please?
Given the head of the bolt is sticking out a bit, I thought about lopping it off with a dremel, which frees the mount, but then what? Maybe tack weld the nut to the body? I figure that's ripe with catastrophe...an EZ out won't do me any good...Any other ideas out there? Lets say I screw that nutsert up getting it out, how would I replace it?
deeper and deeper into the rabbit hole...
Well, that's it for now...until next weekend!
On the body nut can you pry between the mount and the nut and hold pressure while you twist the head bolt ?
It's been fun! I keep getting annoyed with the gloves off, take photo, gloves on cycle, but then I guilt myself about not taking enough pictures. Luckily I have a wonderful lady friend that doesn't mind sitting in a barn taking photos of me swearing...
Conveniently, she's also laughing at my tedious upkeep of spreadsheets to track costs, estimates, etc. To me, this hunting for parts is the worst part. Nope, strike that, broken bolts is the worst part. Scrounging the dark corners of the interwebs to save $10 on a part no one will ever see is the 2nd worst. All in all, I'm at about $2400. Probably $4-500 more required for the headlight, plus $100-200+ for misc. trim, bolts, plastic, etc. Of course, this includes all sorts of things that weren't really "necessary" in the broken from the accident sense. Decided to bundle in new motor mounts (BSH lower, TSW upper), gaskets, thermostat (with metal housing), radiator hoses, brakes (EBC redstuff pads, SP performance rotors, tyrolsport bushings, and SS lines) and rear sway bar (Hotchkiss 25mm) while I'm at it. I saved a ton salvaging the sheet metal and IC bits. Got a deal on a new intake mani. Probably a solid $1000 in paint once it's all buttoned up. Guessing total bill will cross $4k....
ECS, that was my first thought as well. Tried to pry a bit, but was worried about damaging the nutsert or pulling it out...No luck with moderate pressure...I'm guessing I'll have to drill the bolt from the wheel well side...hopefully removing some of the tension and allowing it to come out. Even then, threading a new bolt back in won't be easy as the nutsert will still spin. Maybe I can "crimp" it back on with a good whack with a hammer on each side....
Boy-o, been slacking on keeping this up to date...Slowly but surely, the build continues...
After numerous failed "crimping" attempts, I decided to try to tack weld the body nut back in place to remove the bolt. Pretty thin stuff, burned through enough that the nut just ripped free when I turned it.
oops.
The good news is there was now a hole big enough to remove the body nut.
Cleaned. Put a nut with brass bushing on backside...
I cut a bushing down to size to fill the remaining hole and put a lock nut on the backside. That mount doesn't seem to hold much weight, more to handle vibration/twist. Go it solid enough that I am comfortable.
nothing rtv and body sealant can't fix.
Covered the hole with a piece of flashing, sealed with RTV. When good and dry, I sealed the whole wheel well with body sealant/deadener. Seems pretty good to me...
nekkid.
Was slowly working the front end down to the block at this point cleaning up bits. New thermostat, bypass valve, replaced just about every gasket I could find, camshaft sensor, crankshaft sensor, oil filter housing/oil cooler orings, waffled back and forth about the timing chain tensioner (hard to fix something that ain't broke). Finally decided to do it...piece of cake.
Back together again.
So. much. degreaser.
New front end.
Finally got the new radiator into the MFE, starting to look like a car again...
One step at a time...
Finally got to move onto the wheels, did full brake overhaul. Added more red.
Aw shucks, ain't I lucky!!
Purdy red, with new bushings.
Together with new sealant.
Onto the rear, swapped sway bars...
Old vs. New
Rear end with new brakes and sway bar.
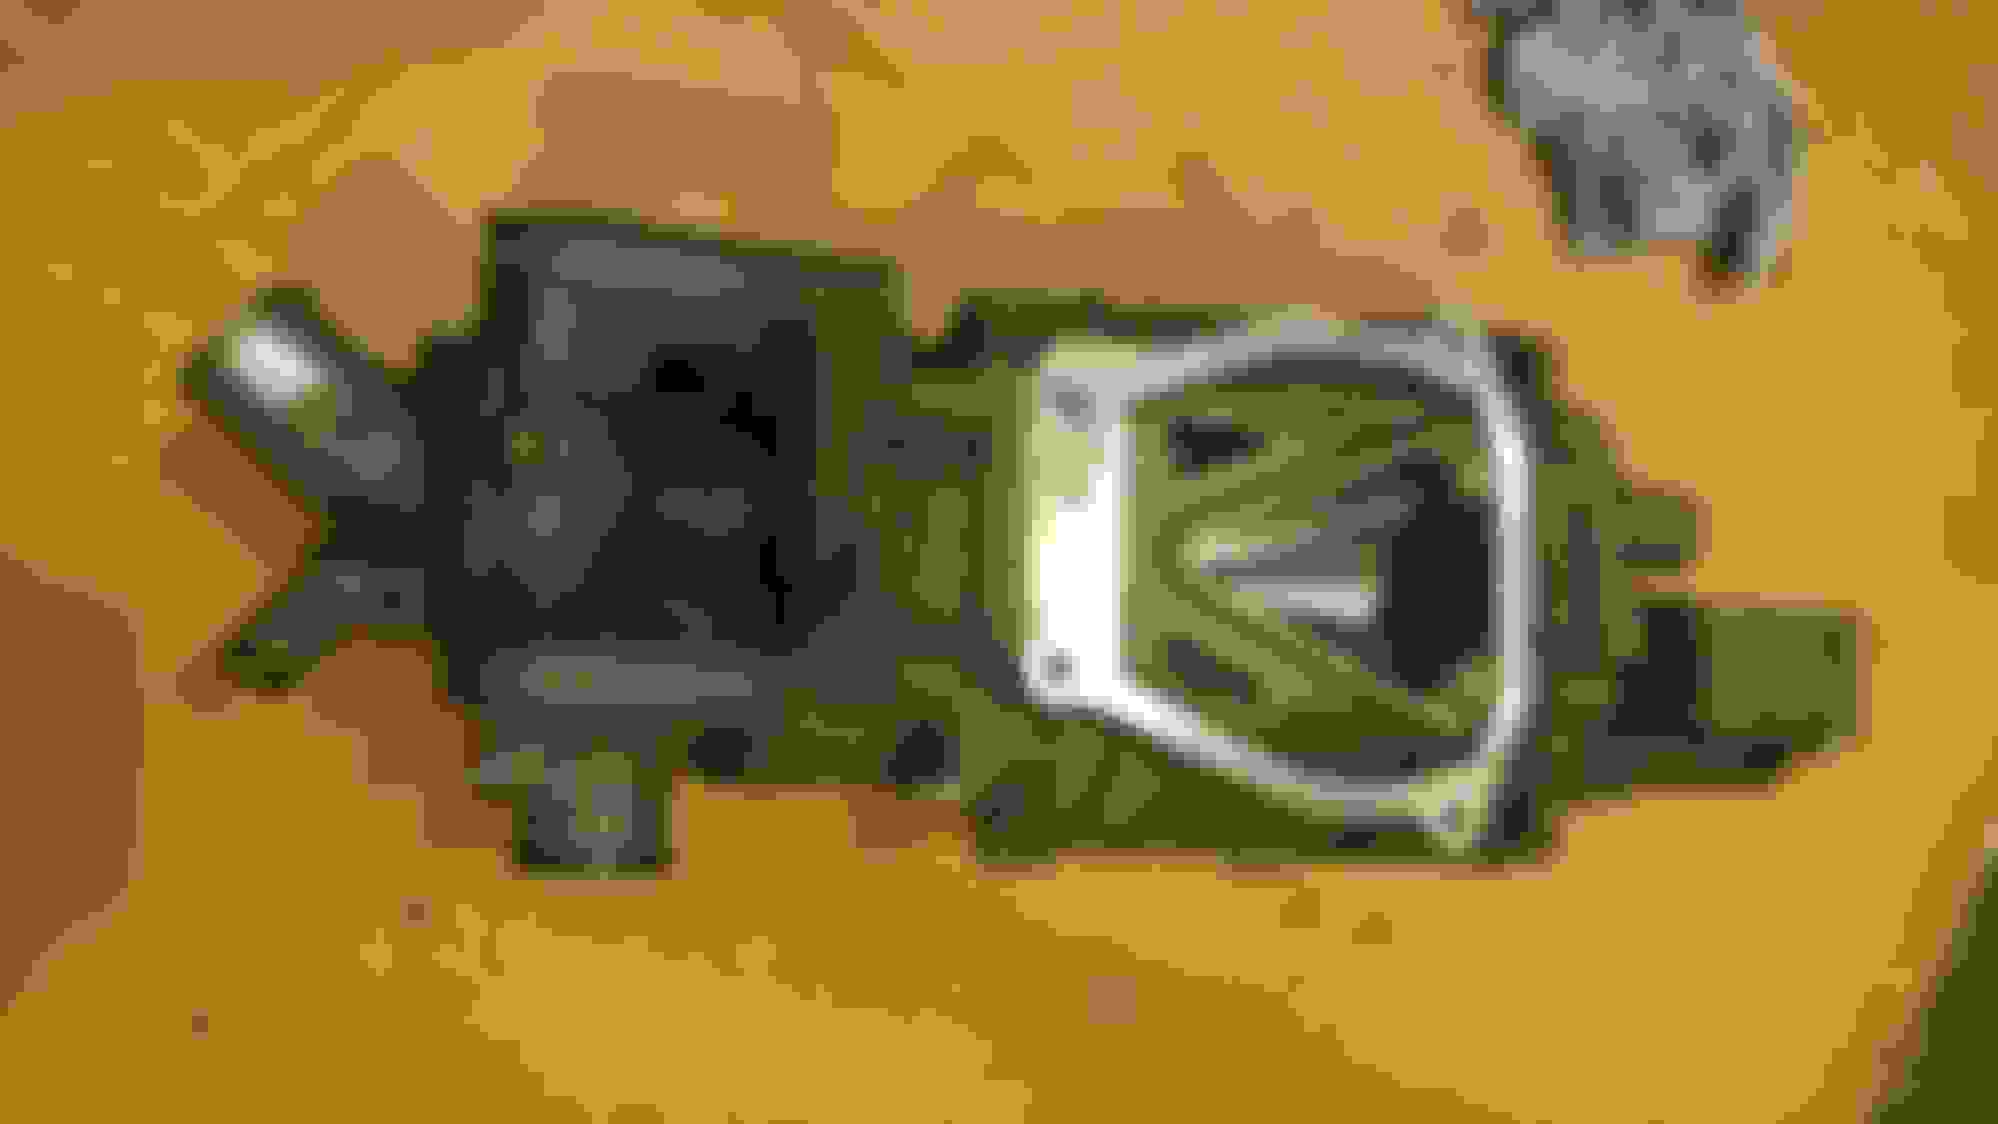
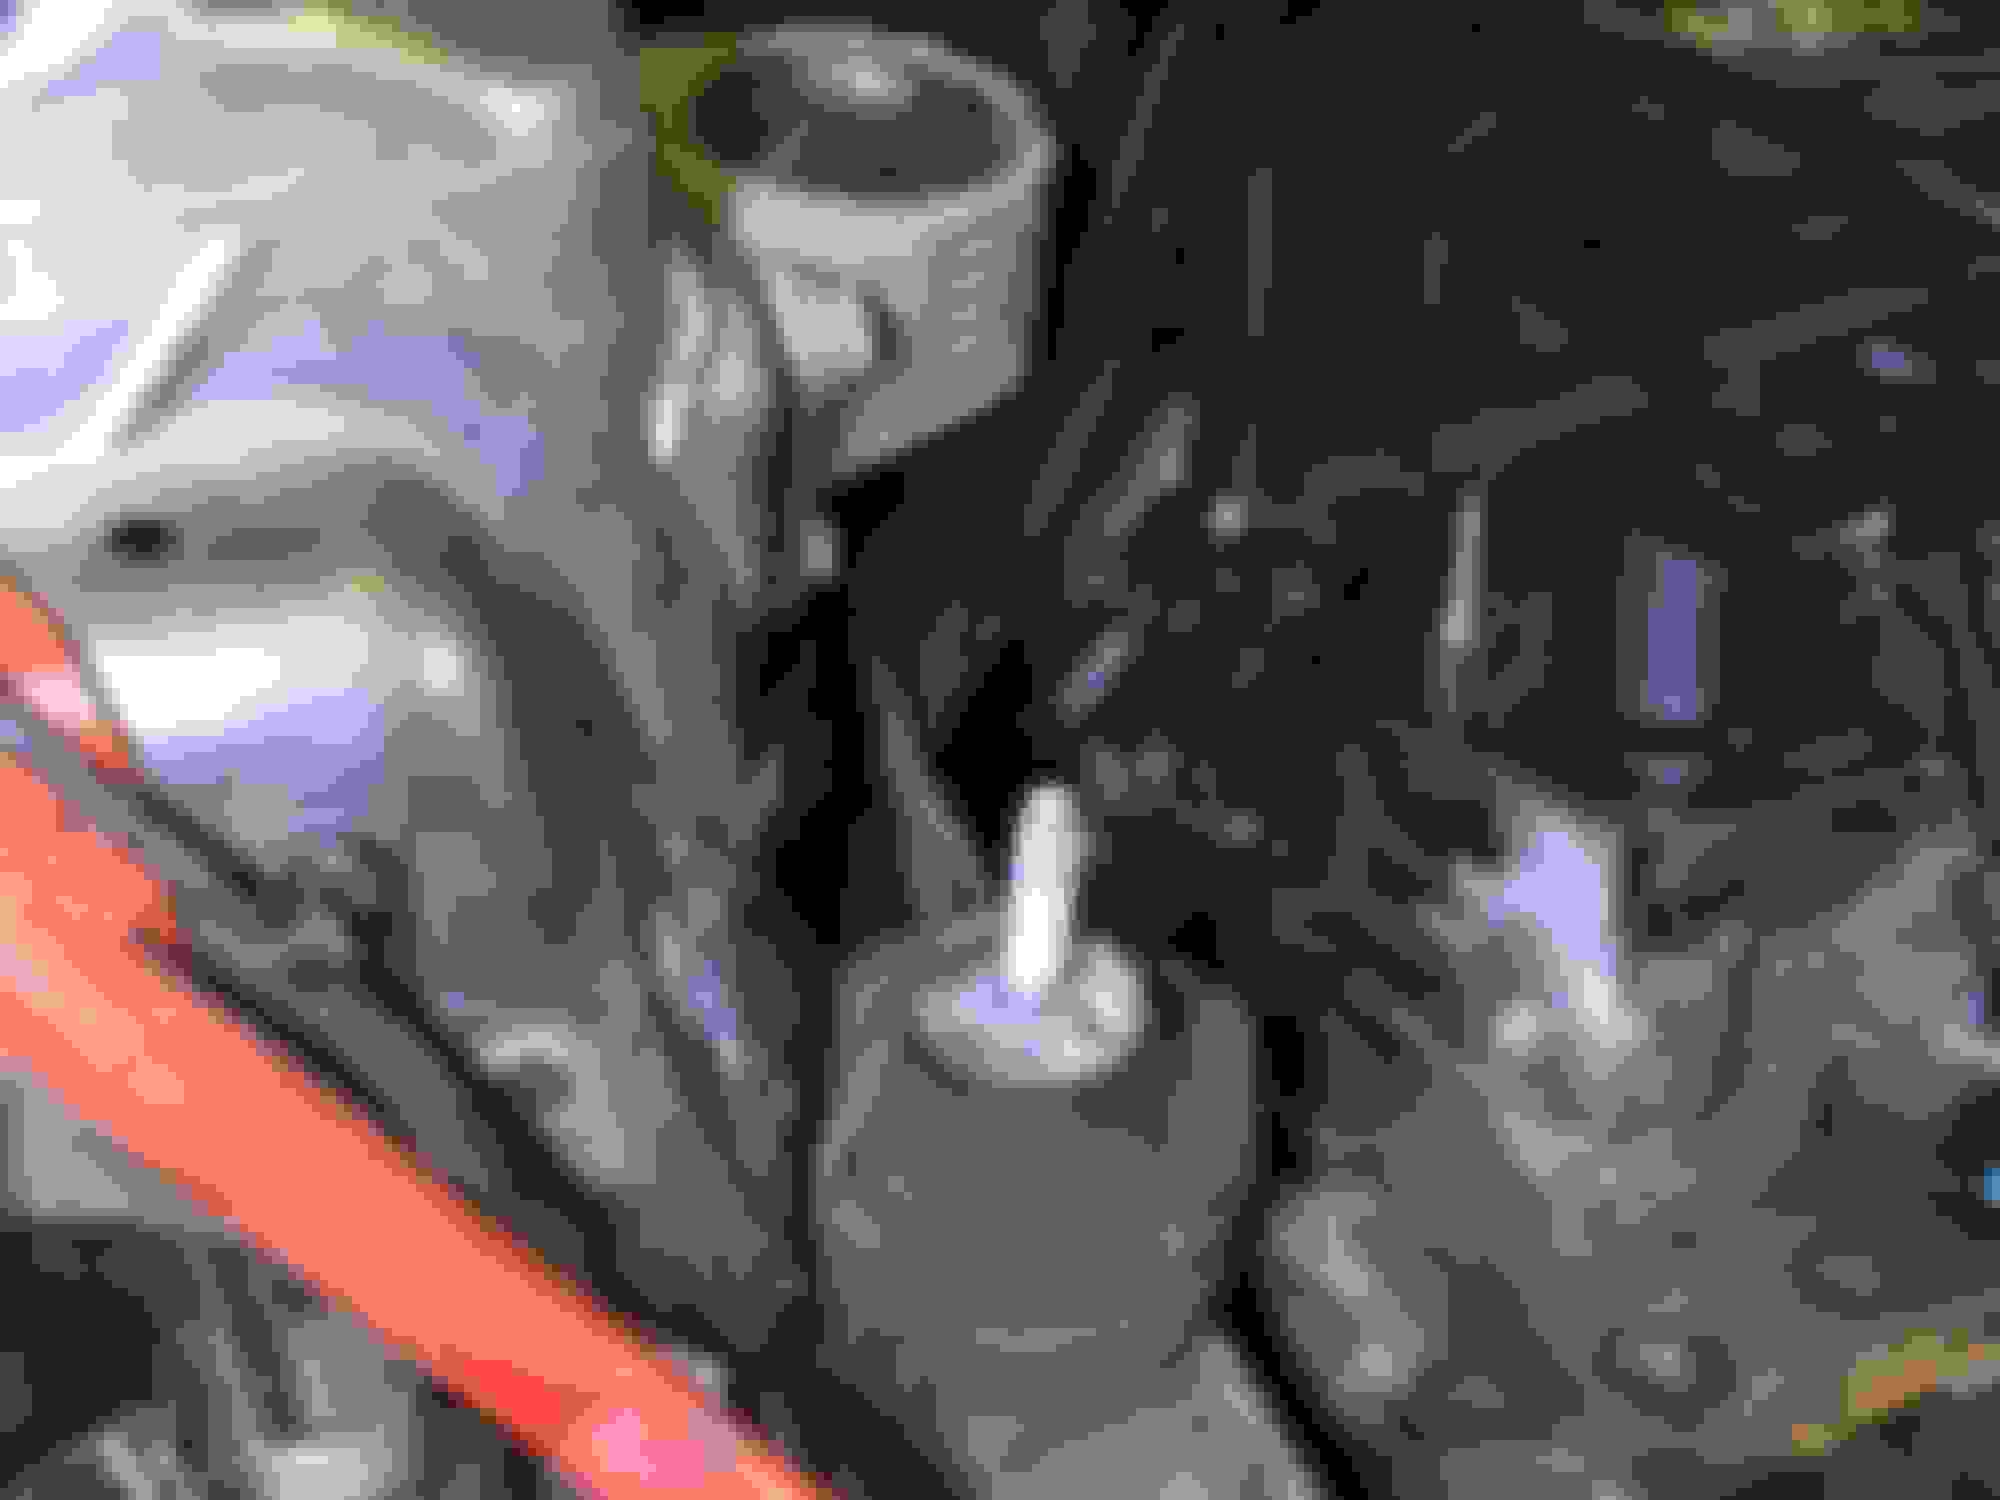
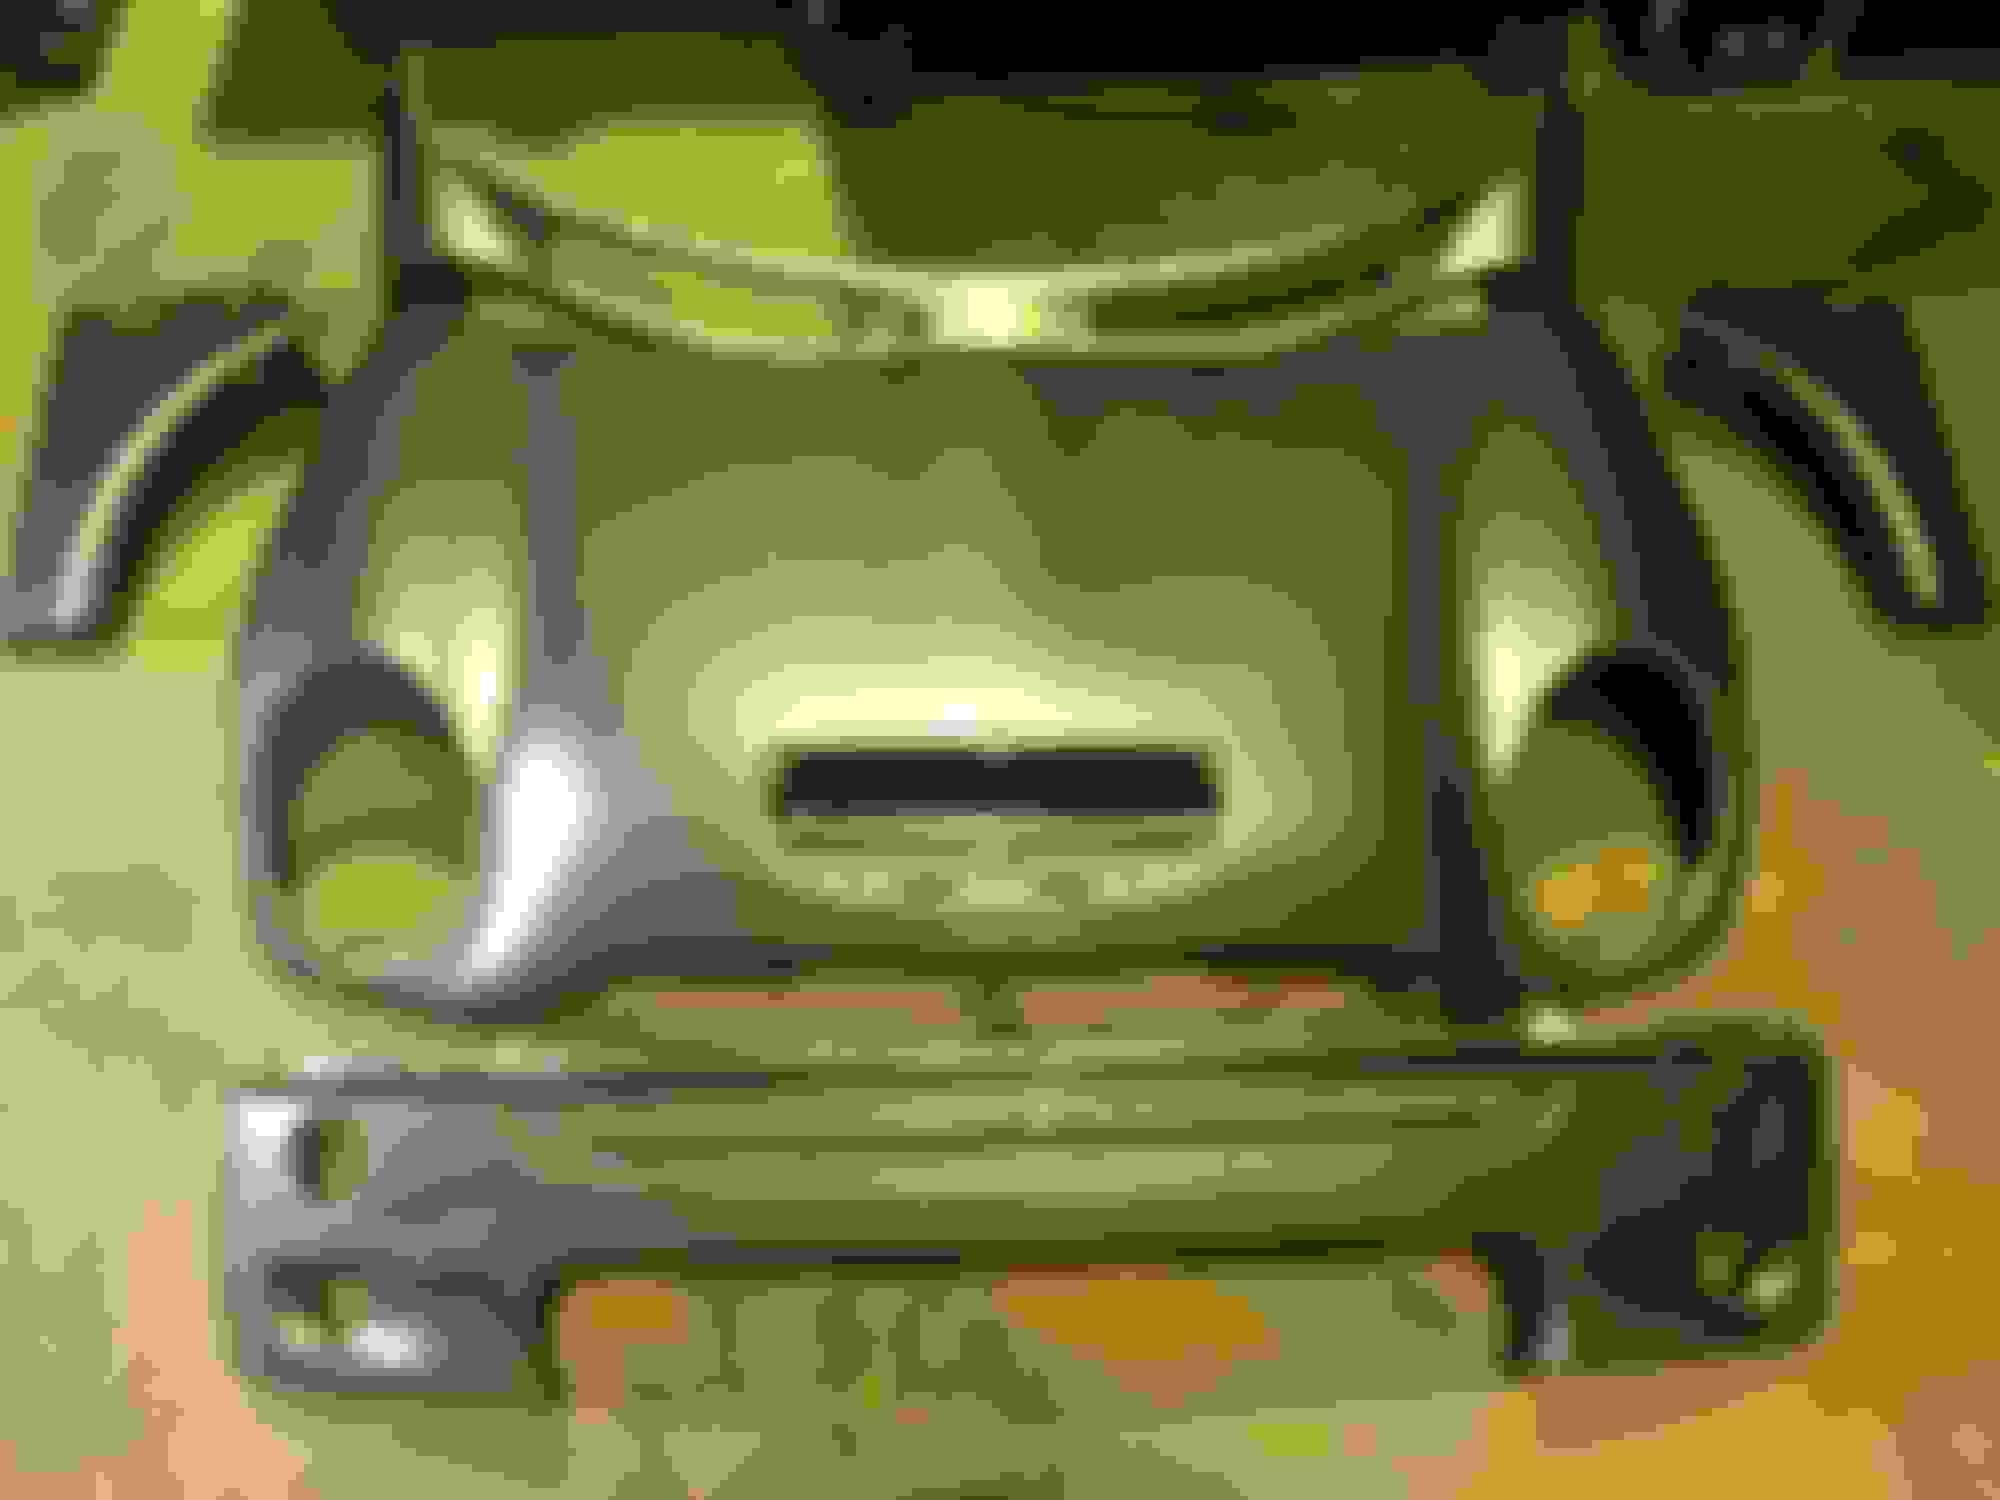
Got to poking around in the passenger side wheel well while adding sealant/insulator/sound deadener and found this thing. Gotta be something fuel related? Any ideas?
What's this thingy jobber? *poke poke
Might as well change the fuel filter too, eh? Filter in the cabin, pishaw.
Can you tell I was worried about fuel smell?
Filter out.
Not so bad?
Finally made a few stops at body shops for quotes on paint. Got all the "new" body pieces cleaned and ready with trim removed. Thought it'd be best to paint them off the car, then put them on, but the shops I went to discouraged it. Suggested putting them on since they're the same color, that way less chance of damage re-installing, and they can help with the adjustments...thoughts?
Ready for paint
While fooling around on the front end, realized the control arm bushings were sloppy. Thought I might bundle the subframe drop with the power steering recall in the works, but found out they don't drop it to swap pumps. Guess I might as well go all the way...
How did doing control arm bushings end up this far?
Now got a box of power steering lines, ball joints, tie rods and bushings to work with...
Next steps...
Well, if you made it this far cheers to you.
A few questions for the die-hards:
As expected, outer ball joints are stuck in the wheel hubs. Beyond a big hammer, any suggestions on getting them out easy peasy?
Anyone have any experience with the headlight leveling sensors? My car had the oem xenons with washers and levelers. I've since replaced the headlights with the depo/helix non-leveling type. Turns out the arm in my front sensor was broken anyway, so I'm tempted to just remove the sensors. Do they integrate with DSC? Will they throw codes if disconnected?
That thingy jobber is your charcoal canister and the air filter for the pump. It's part of the emissions system. The charcoal canister stores gas vapors and vents them to the intake. There is an air pump that pressurizes the fuel tank and the system monitors for leaks.
Good job on the MINI. I went through this a couple of weeks ago with my wife's R55 after she hit an animal.
Hey, do still have the old headlights. I'm looking for some of the internal pieces inside the headlight assembly.
I have the complete driver side and a partial passenger side. Washer, ballast and igniter still ok in passenger side, but lens was broken in accident. What are you looking for?
Thanks for the explanation grussel! Im definitely missing the wheels but it's been fun to really get to know the car in and out. Hope your wife is ok and the mini wasn't too bad. You at least get some meat in the freezer?
I am only looking for the plastic piece that is behind the chrome ring that surrounds the projector bulb. The piece is sits behind the chrome ring that has the 8 holes.
You can PB all you want, but it's a design issue. Gunk gets in there and it fuses the metal.
Mod Mini has a clip on one method of removal (leaving the balloint connected to the LCA and removing the two bolts that hold the balljoint to the carrier) and then they "tap" on the LCA in hopes for more leverage and hoping to pop it out in a downward motion from the carrier.
If that doesn't work, the best bet is to use a cold chisel and a mallet and wail on it from above. Add some heat and PB and keep at it. Obviously it's going to destroy the balljoint. I've had to remove 3 in this method.
Even if you get the Balljoint removed from the carrier it may still be stuck in the actual LCA. If that's the case, hunker down:
Yikes, luckily nothing that bad...LCA fell out pretty easily. Less so on the wheel hub portion...
Success!
I went the heat, PB, cold chisel method. Was concerned with damaging the mating face of the wheel hub jamming a chisel in there. Ended up using a dremel and cutoff wheel to cut a bit of the ball joint flange away, then alternating between slow steady prying and beating the hell out of it. Went a bit easier once I had a helper to hold the hub to one side.
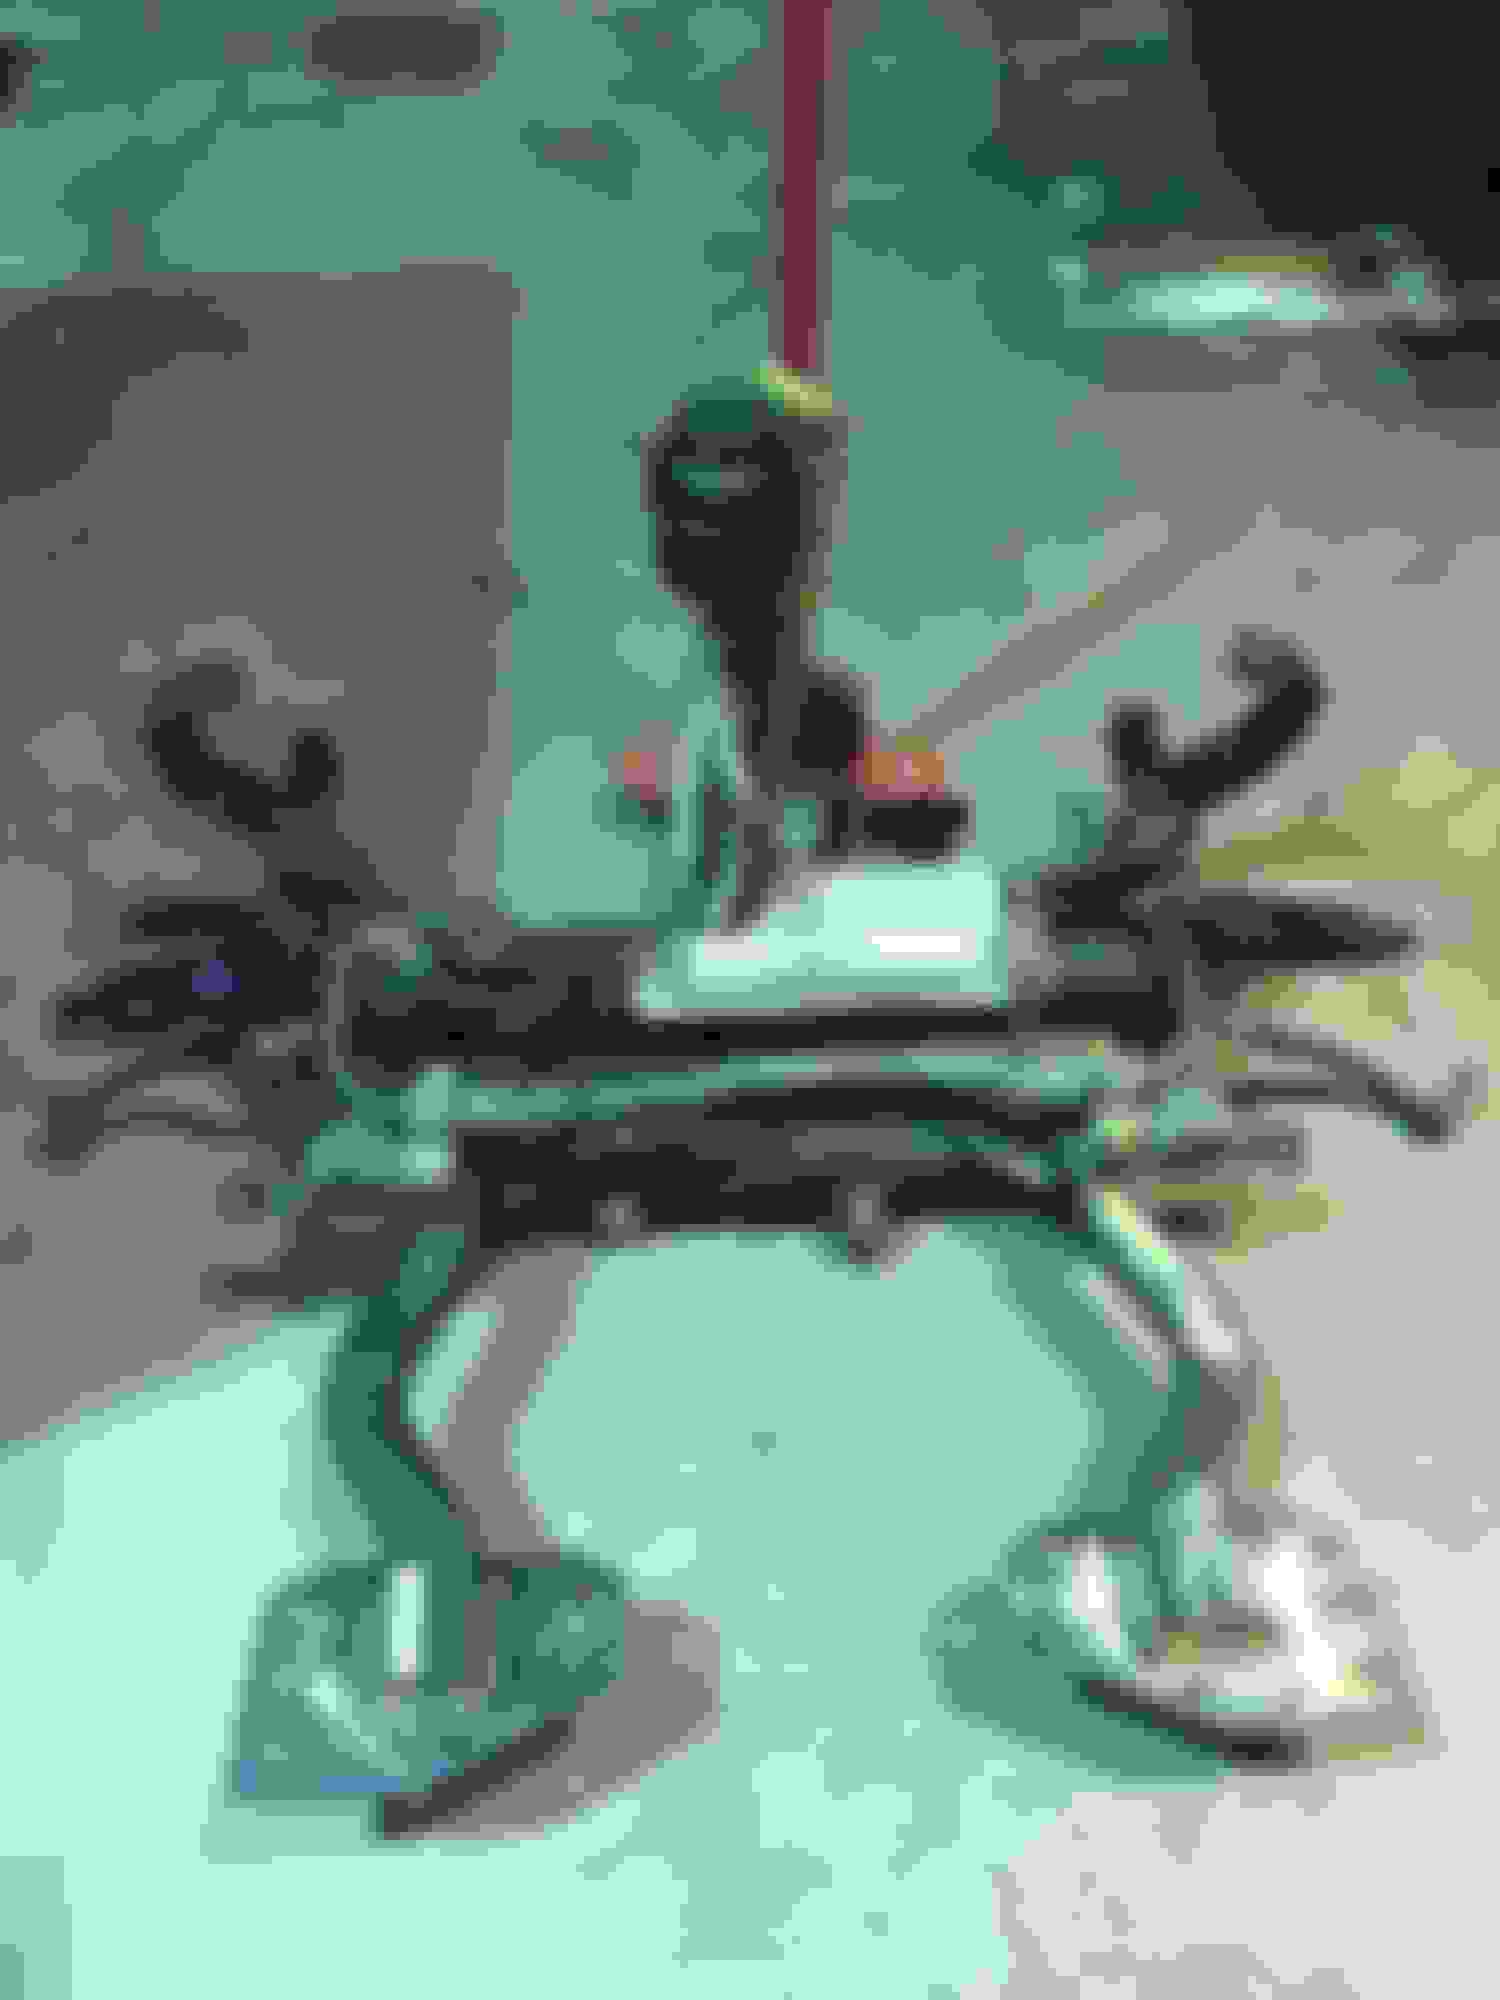
Got the subframe back together, new inner and outer ball joints, LCA bushings, tie rods, power steering lines, sway bar bushings. Lots o' lube.
Shiny and new...
Time to button this thing up!
Not sure if they're a bad design or if they're just worn out, but I've always hated the door brakes on this car. Creaky, rusty and very sloppy feel. Can't recall how many smashed shins while half in/out of the car...
Old rusty door brake...
Poked around the forum a bit and as with many other pieces, looks like they were upgraded shortly after the build on this mini (05/03). At $60 a pop, I really didn't want to buy the same older style to replace but didn't find any info on upgrading them to the new style...Ended up finding a pair of used new-style brakes from ALLmag at a decent enough price to justify the risk if it didn't work out.
Side by side...
Clearly it's quite a bit more stout, with a very different design. More plastic, but more sturdy overall. Was planning on taking a dremel to the door to make it work but was happy to find out it's a direct swap. That's right, no cutting required, plug-and-play.
New non-creaky door brake...
I'm surprised this mod/update wasn't talked about more on here, it was a very easy swap with a huge upgrade in the feel of the door. No more creaking, more solid feel to the hinge, and much better defined "slot's" for the door to check in. Most importantly, no more bruised shins. For the $60 I paid for used parts, might be one of the best upgrades I've done.
Stuff like this is what I enjoy most. Rebuilding/building them is more fun to me then anything personally. Alot of gratification when you're done. Good call saving it. Not nearly totaled. THIS is totaled
In Indiana any vehicle over 7 years old would not have that placed on the title.
Apparently, not here in Michigan either. After several go-rounds with my insurance agent, it doesn't look like there is any change to the title. My understanding is that since the car never transferred possession the title stays as is. If I would have sold the car to the insurance co (took the buyout) and they then sell it at auction, the car would then have a salvage title.
According to the insurance folks, I can even put full coverage back on it after it's rebuilt. That way I can do it all over again!!


 03-07-2016, 10:31 AM