Interior/Exterior Joey mod R56!
#76
 02-15-2008, 06:37 PM


Join Date: May 2007
Location: Sacramento, Ca
Posts: 1,442
Likes: 0
Received 0 Likes
on
0 Posts
#77
02-15-2008, 07:58 PM

Join Date: Jun 2007
Location: Oregon
Posts: 3,155
Likes: 0
Received 0 Likes
on
0 Posts
I have an R56 S not a Cooper. We make our own items but don't carry K&N. Sorry bout that! Let me know if I can help in anyway further!
#78
02-16-2008, 04:44 PM

4th Gear
Join Date: Oct 2007
Location: Kansas City
Posts: 510
Likes: 0
Received 0 Likes
on
0 Posts


#79
02-17-2008, 04:40 PM

#80
02-17-2008, 06:39 PM
Join Date: May 2007
Location: Sacramento, Ca
Posts: 1,442
Likes: 0
Received 0 Likes
on
0 Posts
#81
02-17-2008, 07:53 PM
nope my brother said that those circuits and bulb get a lot hotter than 200f and he was right. I remember when i was a projectionist and the xenons in those machines would glow red, they could melt the skin right off your hands. There was this one time i had to change a bulb right after a show. I did it while the thing was still hot. The next day i had a sunburn on my nose . Now thats messed up. The only bulb i took out was the turn indicator. I had tons of problems with removing the rings around the lamp reflectors and painting them btw. PS you need an 8 torsions driver to remove the plastic from the rings. But other than that everything went very smoothly 4 hours total if you don't count my little home depot break. Just reinstalled them and every things a go. I will try to get some pics in the light tomorrow.
. Now thats messed up. The only bulb i took out was the turn indicator. I had tons of problems with removing the rings around the lamp reflectors and painting them btw. PS you need an 8 torsions driver to remove the plastic from the rings. But other than that everything went very smoothly 4 hours total if you don't count my little home depot break. Just reinstalled them and every things a go. I will try to get some pics in the light tomorrow.

#85
02-17-2008, 08:01 PM
4th Gear
Join Date: Oct 2007
Location: Kansas City
Posts: 510
Likes: 0
Received 0 Likes
on
0 Posts
#86
02-17-2008, 08:19 PM
Join Date: May 2007
Location: Sacramento, Ca
Posts: 1,442
Likes: 0
Received 0 Likes
on
0 Posts
ive got a tiny little "chip" if you will, on my washer cap for the xenons. Its barely noticeable and since i used flat black paint, it will be super easy to touch up. Aside from that, ive driven behind some trucks that for some reason had a good amount of loose gravel or mud flinging from them and the little spec is the only paint issue. Otherwise, it has held up fantastic! If it gets really bad eventually just wrap them in vinyl, although the vinyl may get damaged just as easily.
#87
02-17-2008, 08:32 PM

ive got a tiny little "chip" if you will, on my washer cap for the xenons. Its barely noticeable and since i used flat black paint, it will be super easy to touch up. Aside from that, ive driven behind some trucks that for some reason had a good amount of loose gravel or mud flinging from them and the little spec is the only paint issue. Otherwise, it has held up fantastic! If it gets really bad eventually just wrap them in vinyl, although the vinyl may get damaged just as easily.
I used a triple thick clear coat and did many layers of that haha but even if it does chip its sooo cheap to just touch it up...like mere pennies
#88
02-17-2008, 08:47 PM

#90
02-18-2008, 12:09 PM

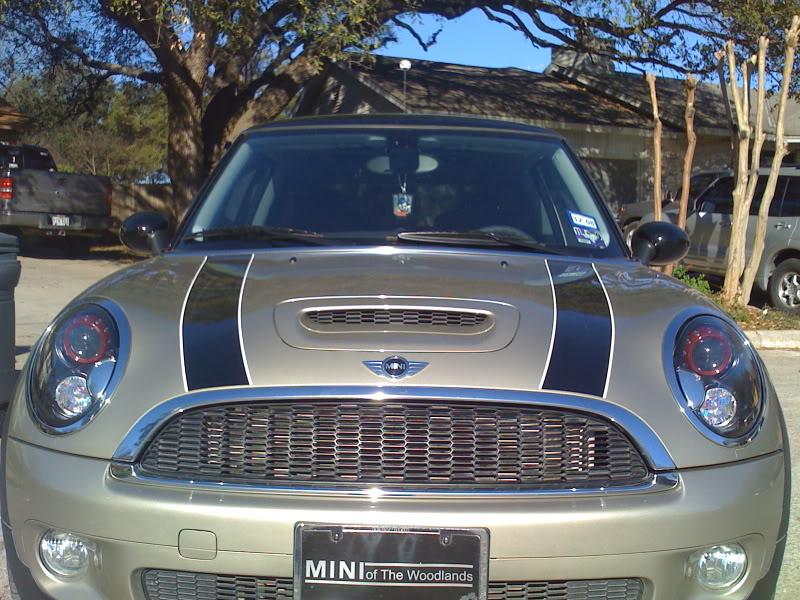
This is before i washed her, you can see how red the covers look.
That looks cool thank you wetceal and ghosthound for blazing the trail

i re did the gas cap i think it looks a lot better
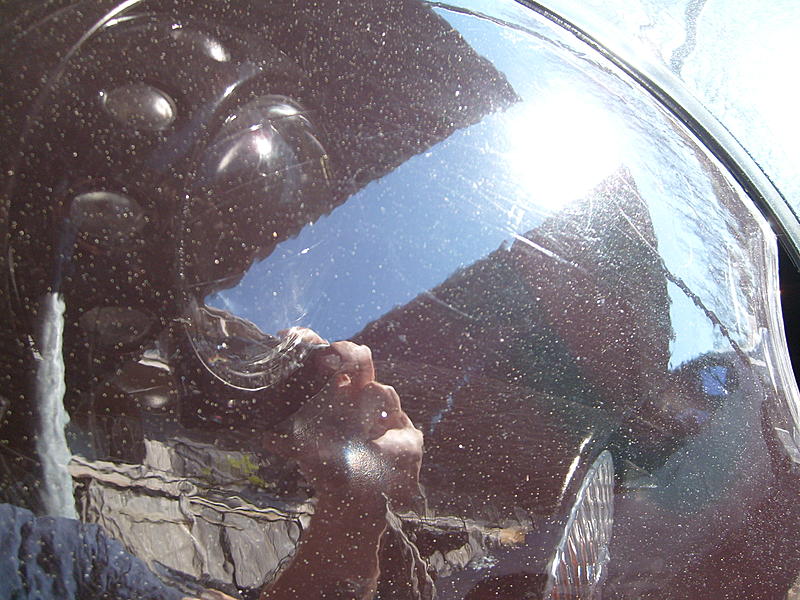
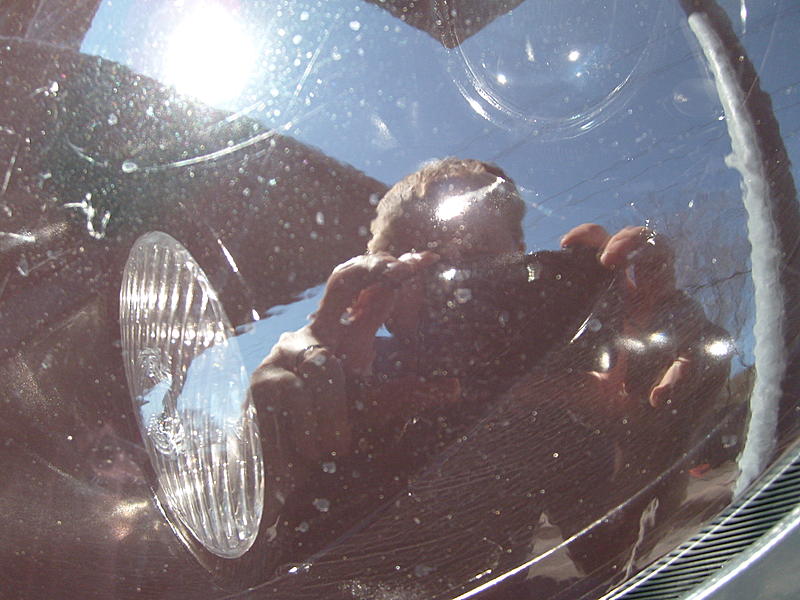
The craziest part was after i took the headlamp off off my car. When i took those black covers off and looked in side. All i remember seeing was bolts, wires, and stuff. I really had to grow a pair there. I have to let my hands heal up before i do anything else.
for those out there still debating this mod? do it.
#91
02-18-2008, 01:18 PM
Join Date: May 2007
Location: Sacramento, Ca
Posts: 1,442
Likes: 0
Received 0 Likes
on
0 Posts
#92
02-25-2008, 05:14 PM

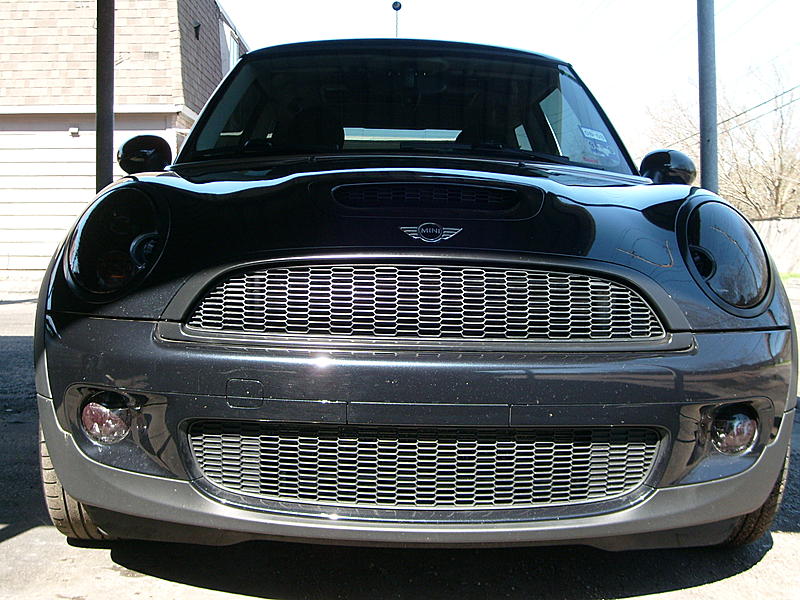
Add me to the list! This was a very easy mod!
I used the oven method, 200* for 6 minutes (5 was not quite hot enough). I also removed the orange reflectors and replaced them with orange bulbs. I painted the bulbs silver to match the halogen bulb cover. Still blinks bright orange, no light loss with everything else black.
Just DO IT!!! Perfect for a rainy day.
Last edited by <MINI>; 02-25-2008 at 05:20 PM. Reason: pics didn't post
#93
02-25-2008, 05:18 PM

4th Gear
Join Date: Dec 2007
Location: Albany, NY
Posts: 497
Likes: 0
Received 0 Likes
on
0 Posts

#94
02-25-2008, 05:26 PM
4th Gear
Join Date: Oct 2007
Location: Kansas City
Posts: 510
Likes: 0
Received 0 Likes
on
0 Posts
Add me to the list! This was a very easy mod!
I used the oven method, 200* for 6 minutes (5 was not quite hot enough). I also removed the orange reflectors and replaced them with orange bulbs. I painted the bulbs silver to match the halogen bulb cover. Still blinks bright orange, no light loss with everything else black.
Just DO IT!!! Perfect for a rainy day.
I used the oven method, 200* for 6 minutes (5 was not quite hot enough). I also removed the orange reflectors and replaced them with orange bulbs. I painted the bulbs silver to match the halogen bulb cover. Still blinks bright orange, no light loss with everything else black.
Just DO IT!!! Perfect for a rainy day.
PICS!!!!!!!!!!!
Also, did you scuff up the parts before painting or use the Krylon Fusion that apparently doesn't need it?
#95
02-25-2008, 05:36 PM


#97
02-25-2008, 07:05 PM
4th Gear
Join Date: Oct 2007
Location: Kansas City
Posts: 510
Likes: 0
Received 0 Likes
on
0 Posts
#99
02-26-2008, 10:17 AM