Interior/Exterior Joey mod - dark silver or black?


#27
 06-11-2008 | 06:56 PM


#30
06-12-2008 | 06:10 AM

Joined: Mar 2005
Posts: 3,989
Likes: 1
From: Westerly, RI
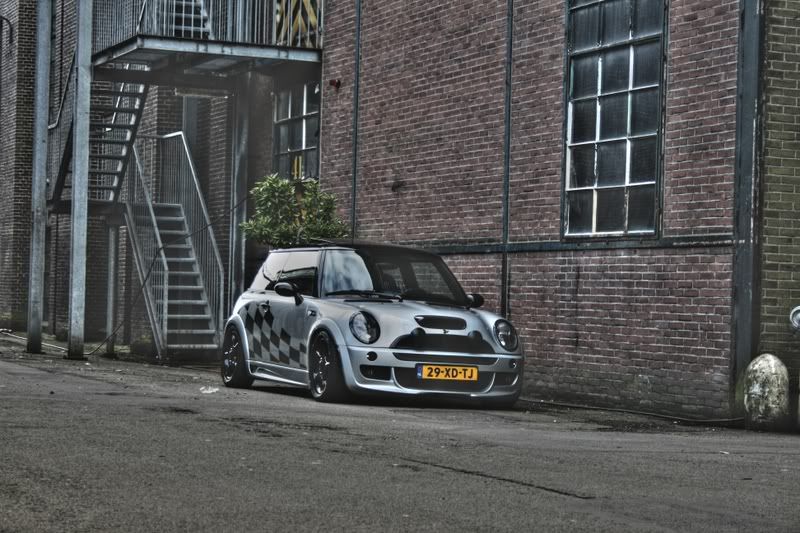
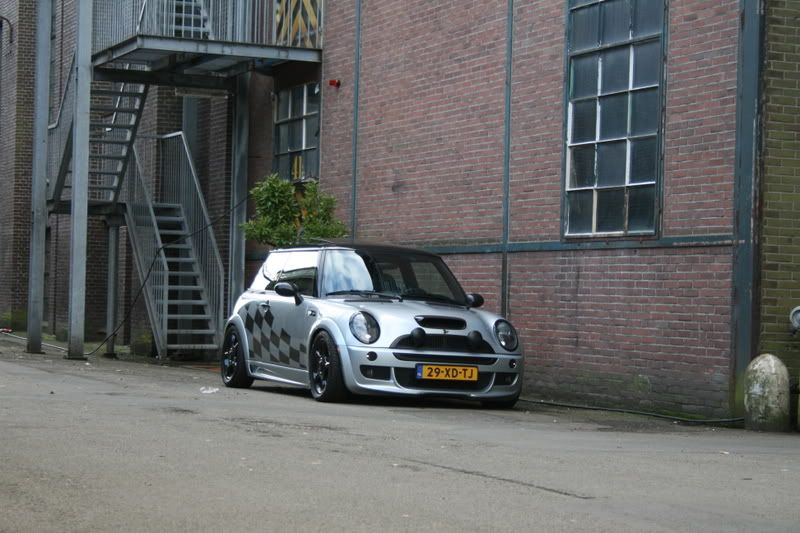
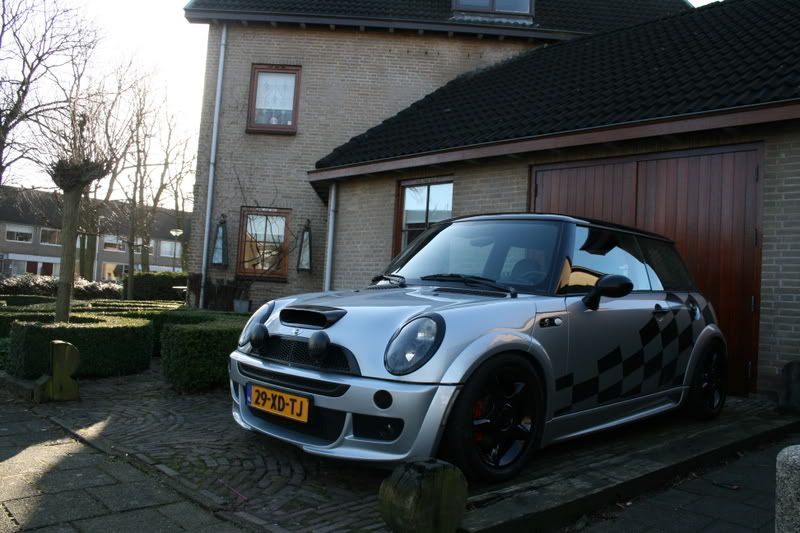
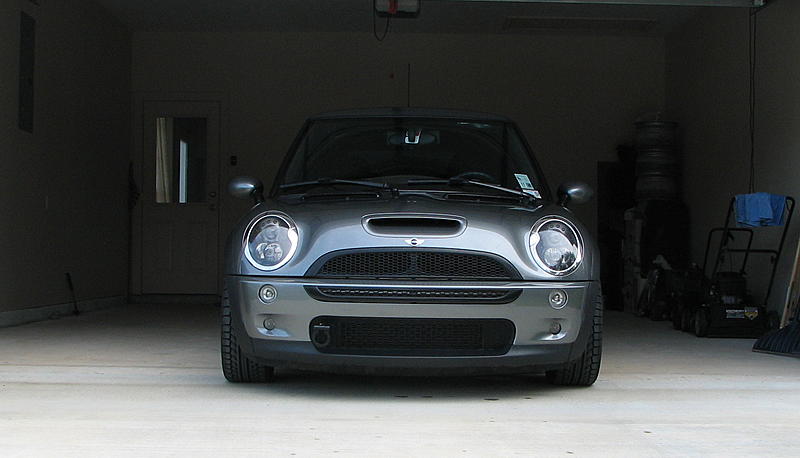
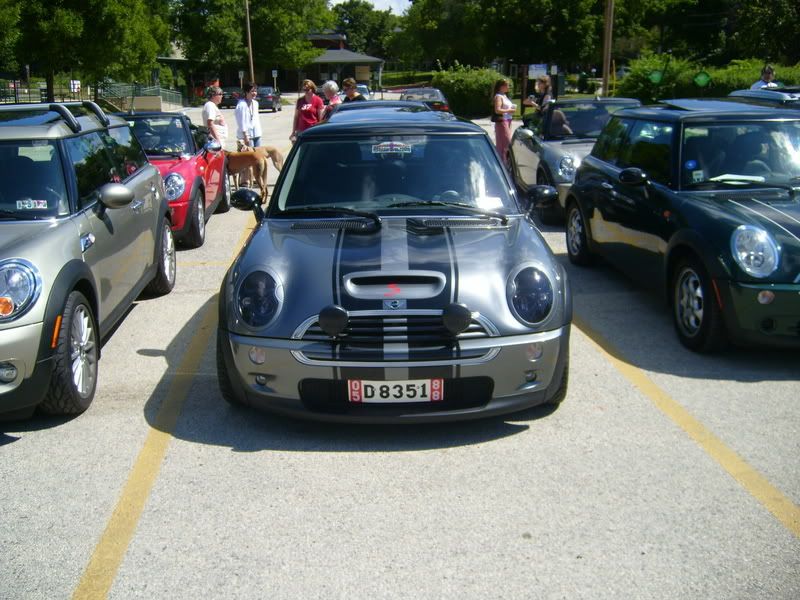
Coen, your car looks amazing! It has the perfect stance. Very nice and thanks for posting.
#32
06-12-2008 | 08:20 AM
Joined: Mar 2005
Posts: 3,989
Likes: 1
From: Westerly, RI
#33
06-12-2008 | 09:51 AM

5th Gear
Joined: Sep 2002
Posts: 883
Likes: 1
Coen:
I most certainly have to second that statement.
You have an outstanding representative of the Mini community.
Like Partsman said, "...thanks for posting."
BTW -Can we see a wheel shot in the "show us your wheels" thread?
You have an outstanding representative of the Mini community.
Like Partsman said, "...thanks for posting."
BTW -Can we see a wheel shot in the "show us your wheels" thread?

#35
07-01-2008 | 08:07 PM
5th Gear
Joined: Sep 2002
Posts: 883
Likes: 1
OK, I can't take it anymore!!! I have to do this Joey Mod.
I've looked all over the forums for a "How To," but all that I found was for the R56.
Can someone please PM/lead me in the right direction to where I can find out how to do the mod on an R53? I would also like to know if there are any tricky things to watch out for, like easily breakable tabs and things of that nature.
This mod is distracting me on the job. If I don't get it done, as well as the headlight rings and door handles, I'm gonna go crazy.
Thanks a lot "Shooler"!!! It's all your fault!
http://i190.photobucket.com/albums/z...g?t=1212942677
Last edited by Minian; 07-01-2008 at 08:15 PM.
#36
07-02-2008 | 06:43 AM

#37
07-02-2008 | 10:07 AM
5th Gear
Joined: Sep 2002
Posts: 883
Likes: 1
Oh! Who's the girl in the background?
http://i190.photobucket.com/albums/z...g?t=1212942677
Last edited by Minian; 07-02-2008 at 10:15 AM.
#38
07-02-2008 | 03:01 PM
Thanx Shooler - again great job on your car.
Oh! Who's the girl in the background?
http://i190.photobucket.com/albums/z...g?t=1212942677
Oh! Who's the girl in the background?
http://i190.photobucket.com/albums/z...g?t=1212942677
 (Just kidding)
#41
07-05-2008 | 10:26 PM
5th Gear
Joined: Sep 2002
Posts: 883
Likes: 1
Shooler,
Thanks for the info on the J-Mod. Looks good.

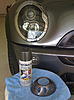
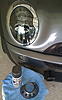
Forgive the iPhone pics. For those of you with Dark Silver Minis and on a budget, go to WalMart to purchase your paint. (If using Drk Silver) As you can see on the attached pic, Rustolium Metalic paint is very close to the Mini OEM paint.
I was told by "Shooler" to be very patient. I now understand why. If you hear cracking and popping your moving to fast. Yes! Use a heat source to warm up the black rubber seal/adhesive. Do not remove any of the light assembly. If you remove the low beam bulb you'll see 1 each tabs on the Lt & Rt (gray colored plastic) behind the metal heat shield (?). Use a 4-6 inch flat head screw driver to release one of the tabs. After-which the half moon projector lens cover should pop off easily with a little prying. I removed the whole right side light assembly and wasted a lot of time putting it back together.
Oh! Still waiting for my body colored headlight rings.
Thanks for the info on the J-Mod. Looks good.


Forgive the iPhone pics. For those of you with Dark Silver Minis and on a budget, go to WalMart to purchase your paint. (If using Drk Silver) As you can see on the attached pic, Rustolium Metalic paint is very close to the Mini OEM paint.
I was told by "Shooler" to be very patient. I now understand why. If you hear cracking and popping your moving to fast. Yes! Use a heat source to warm up the black rubber seal/adhesive. Do not remove any of the light assembly. If you remove the low beam bulb you'll see 1 each tabs on the Lt & Rt (gray colored plastic) behind the metal heat shield (?). Use a 4-6 inch flat head screw driver to release one of the tabs. After-which the half moon projector lens cover should pop off easily with a little prying. I removed the whole right side light assembly and wasted a lot of time putting it back together.
Oh! Still waiting for my body colored headlight rings.
Last edited by Minian; 07-06-2008 at 10:44 AM.
#43
08-28-2008 | 06:55 AM

Steve


#47
03-01-2009 | 06:54 PM
My little dose of LITHIUM
iTrader: (1)
Joined: Jul 2005
Posts: 2,435
Likes: 2
From: Albuquerque New Mexico
OK, breathing new life into this thread, as I'm DOING IT!
As we speak, as it were...
I will provide photos soon, and there are some details that I've never read about on NAM. I'm going to reveal some secrets here that have never been revealed before--done by many for sure, but I had to re-invent them.
To start, I was never going to put my Xenons in the oven... But a heat-gun, used by many hobbyists to shrink wrap tubing, for example, generates more than enough heat that can be directed to specific parts of the seal. It was **easy**. A little heat, as little leverage between clear plastic lens cover and black plastic housing with cutting the silicon adhesive to ease the release.
Once they are apart, it gets really interesting. But more later when I have photos to help out.
I've been experimenting with color combos...
(i) all dark silver (thanks to Partsman, I got factory paint which is clearly better than anything that comes from any retailer)
(ii) all satin/PlastiDip black -- a little dull.
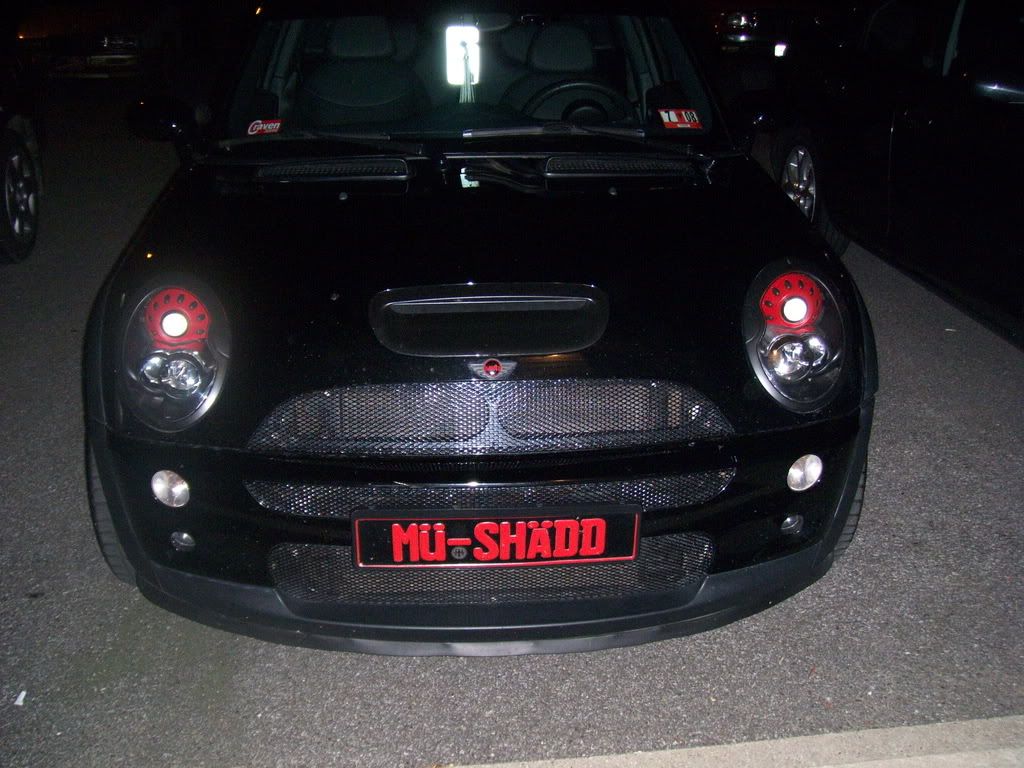
(iii) dark silver and black mix -- this has to be the way to go, but I tried painting the ring around the projector (with the cool little hightlight around the projector) black--oops. It completely disappeared!
More later...
Oh, by the way, the chrome finish on the internals of the headlamps is about 1 micron thick--just buff with steel wool or green scourer pad, then a swipe with acetone and the white plastic is revealed. There's no problem with refinish here.
End of transmission.
As we speak, as it were...
I will provide photos soon, and there are some details that I've never read about on NAM. I'm going to reveal some secrets here that have never been revealed before--done by many for sure, but I had to re-invent them.
To start, I was never going to put my Xenons in the oven... But a heat-gun, used by many hobbyists to shrink wrap tubing, for example, generates more than enough heat that can be directed to specific parts of the seal. It was **easy**. A little heat, as little leverage between clear plastic lens cover and black plastic housing with cutting the silicon adhesive to ease the release.
Once they are apart, it gets really interesting. But more later when I have photos to help out.
I've been experimenting with color combos...
(i) all dark silver (thanks to Partsman, I got factory paint which is clearly better than anything that comes from any retailer)
(ii) all satin/PlastiDip black -- a little dull.
(iii) dark silver and black mix -- this has to be the way to go, but I tried painting the ring around the projector (with the cool little hightlight around the projector) black--oops. It completely disappeared!
More later...
Oh, by the way, the chrome finish on the internals of the headlamps is about 1 micron thick--just buff with steel wool or green scourer pad, then a swipe with acetone and the white plastic is revealed. There's no problem with refinish here.
End of transmission.
Last edited by DrPhilGandini; 03-01-2009 at 08:10 PM.
#49
03-01-2009 | 08:14 PM
My little dose of LITHIUM
iTrader: (1)
Joined: Jul 2005
Posts: 2,435
Likes: 2
From: Albuquerque New Mexico
Well, I am constantly impressed with how easy it is to work on the Mini. Maybe this is true of every car, but the Mini is my "test bench" and no matter how difficult things seem at first glance, in the end it always works out to be manageable. Honestly the Xenons are daunting when looked at as one complete unit, all sealed and weighing a ton, but pulled apart they are like little puppies--just tickle them and they do exactly what you want! (maybe I'm confused with my analogy there...)
Anyway, I will provide the documentary evidence, rely on that!
and thanks Joaquin--the paint is amazingly good.
Anyway, I will provide the documentary evidence, rely on that!
and thanks Joaquin--the paint is amazingly good.