
Interior/Exterior calling all Joey moder's
#1
 11-19-2008, 01:47 PM

#3
11-19-2008, 02:56 PM

4th Gear
Join Date: Feb 2007
Location: Wylie, TX
Posts: 405
Likes: 0
Received 0 Likes
on
0 Posts
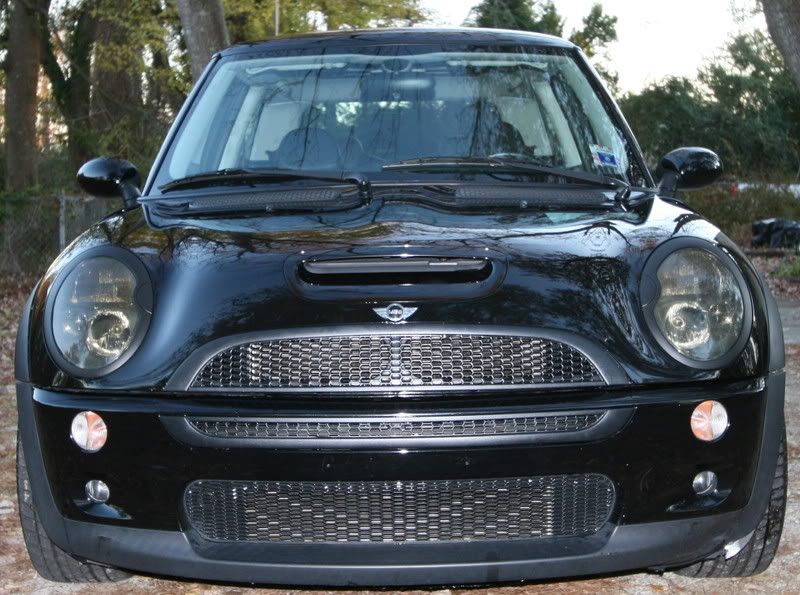
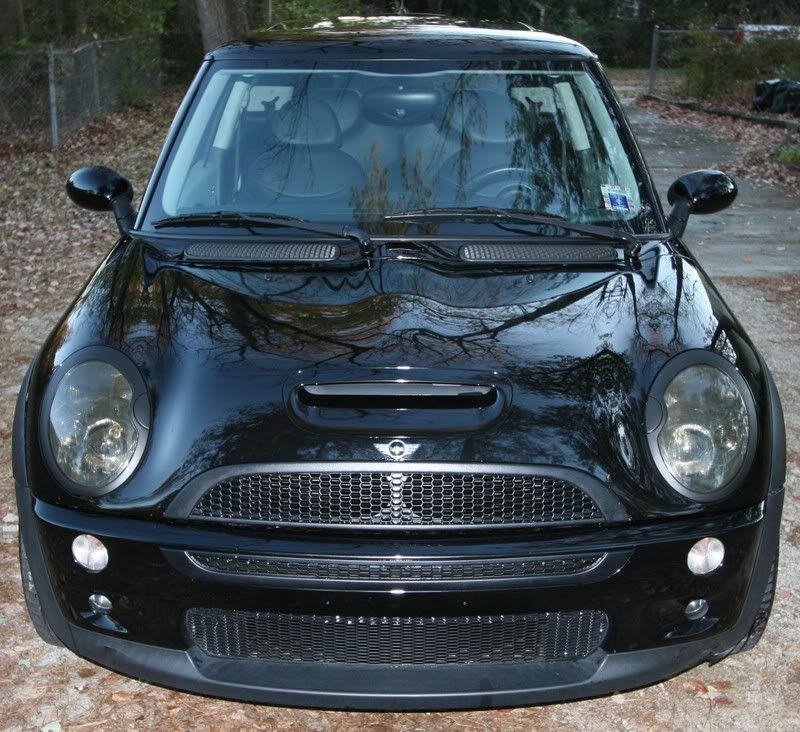
Take your time and go slow. The older the light the harder the sealant. Mine is an 04' and they where a bear to take apart. Be sure the paint is dry and the bulbs are back in straight before you fire them up to test. Soft paint and hot lights equal drippy paint. Ask me how I know. But hey, they come apart easier the second time.
But hey, they come apart easier the second time.


#7
11-21-2008, 12:12 AM

3rd Gear
Join Date: Jul 2007
Location: Houston, TX
Posts: 190
Likes: 0
Received 0 Likes
on
0 Posts
When I did mine, I did 6 min @ 230 deg. to get them apart and it took a lot of muscle (I got antsy around 5.5 min and pulled them out, the second one at the full 6 was easier. I'd image another few degrees, or 20-30 sec would help, but I was too chicken to try. To seal them, I put them in for just over 4 min @ 230 deg and just pushed it together as hard as i could and it sealed completely.
make sure the lens is clean on the inside (I wouldn't try a special cleaner or anything b/c there might be residue that may react to the heat, just do your best not to touch it, I guess), and do your best not to touch the areas the light needs to reflect off of. all that chrome chips REALLLY easy, sad story.
it worst part of mine was realizing the inside of the lens was kinda foggy after sealing it and the only option was pulling it apart
make sure you get it together good, my friend and I tried it on his tundra long before I had even heard about it and his lights were nuts. the directions we found required 10 min @ 330 deg!!!<<-------(PLEASE DO NOT COOK A MINI HEADLIGHT FOR THIS TIME @ THIS TEMP) and they still to both of us and a screw driver to get them apart. and didn't seal
a suggestion... don't use a screw driver to pry the pieces apart, it gets the adhesive everywhere it shouldn't be.
hope this helps
Trending Topics

#9
11-21-2008, 08:14 AM
Join Date: Jul 2006
Location: Minneapolis Minnesota
Posts: 645
Likes: 0
Received 0 Likes
on
0 Posts
So I too want to do this, but I figured you could just take it apart somehow. I didn't realize you have cook it in the oven!?
So starting from the beginning, I take the whole light unit out, take the bulbs out? and throw it in the oven for six minutes at 230 degrees? And that should make the seal able to be pulled apart?
So starting from the beginning, I take the whole light unit out, take the bulbs out? and throw it in the oven for six minutes at 230 degrees? And that should make the seal able to be pulled apart?
#11
11-21-2008, 03:23 PM
Join Date: Jul 2006
Location: Minneapolis Minnesota
Posts: 645
Likes: 0
Received 0 Likes
on
0 Posts
#12
11-23-2008, 02:59 PM
Well I tried and could not get my headlights open so I went with vinyl. I plan on getting new black Halo's and Aesthetic Creation carbon Fiber headlight rings later but I had to do something right now. I had taken them out a few days ago and did my headlight rings so I really didnt want to wait any longer. I had some vinyl from Vinal Styles rushed to me and tried it myself. You really need 3 people for this job. One holding a hair dryer and two streching the vinyl. They turned out ok but I will get those Halo's and send them the Vinyl Styles

Last edited by 4Boogie; 11-23-2008 at 03:01 PM. Reason: misspelling

Thread
Thread Starter
Forum
Replies
Last Post