
Interior/Exterior Euro Style Front lip & Diffuser install. Need your help PLEASE!!!
#26
 05-27-2010, 01:31 PM

6th Gear
No, the Auto Hobby Shop on base. Although, I am also an avid fan of nitro and electric cars. My favorite being my T Maxx. I also had a nitro 4 tec and recently a Duratrax Streetforce. Right now I only have an electric F1 car and a few Radio Shack x mods. Fun hobby, but like owning a MINI, can get real expensive.
#27
05-27-2010, 05:21 PM
6th Gear
Pictures
Okay, here are some pictures I took while the rear wheels were off.

This is the passenger side.

Another shot a slightly sharper angle

This is the passenger's side again. Notice the bolt holding the bracket to the car. This nut and bolt is already there. You just have to take the nut off and put the barcket on. Above this nut and bolt is another one that can come off and be utilized as well, but opted not to. You'll see another picture later showing how the bracket just sits on top of the upper bolt.

This is the driver's side. See how I pushed the heat shield out of the way. You can cut it, but I opted not too. You can see the nut and bolt holding the bracket to the car just like the passenger's side.

Another shot of the driver's side. This photo also shows how I trimmed the wheel well liner to allow the steel bracket to fit. You'l see how much you need to trim once you get under there.

Driver's side once again. Look near the top of the photo. This is where I was saying you can use the other existing nut and bolt. I just let it rest on it and I haven't had any trouble at all. It's very secure.

And another shot of what it looks like on the car. Hopefully you can get an understanding by these photos. I'm sure Longboard, Airborne, and myself will help you get this thing installed. Don't hesitate to ask for any tips. Once you get under the car, you'll see it is an easy job, just tedious. Take your time though, especially when drilling into the actual diffuser. Thats not a time you want to make an error. Check and double check, and when finished double checking, check again.
This is the passenger side.
Another shot a slightly sharper angle
This is the passenger's side again. Notice the bolt holding the bracket to the car. This nut and bolt is already there. You just have to take the nut off and put the barcket on. Above this nut and bolt is another one that can come off and be utilized as well, but opted not to. You'll see another picture later showing how the bracket just sits on top of the upper bolt.
This is the driver's side. See how I pushed the heat shield out of the way. You can cut it, but I opted not too. You can see the nut and bolt holding the bracket to the car just like the passenger's side.
Another shot of the driver's side. This photo also shows how I trimmed the wheel well liner to allow the steel bracket to fit. You'l see how much you need to trim once you get under there.
Driver's side once again. Look near the top of the photo. This is where I was saying you can use the other existing nut and bolt. I just let it rest on it and I haven't had any trouble at all. It's very secure.
And another shot of what it looks like on the car. Hopefully you can get an understanding by these photos. I'm sure Longboard, Airborne, and myself will help you get this thing installed. Don't hesitate to ask for any tips. Once you get under the car, you'll see it is an easy job, just tedious. Take your time though, especially when drilling into the actual diffuser. Thats not a time you want to make an error. Check and double check, and when finished double checking, check again.
Last edited by Fatherdeth; 05-27-2010 at 05:41 PM.

#30
06-19-2010, 04:46 PM
4th Gear
Daaamn fatherdeth. Nice job figuring that out. I think that the parts I included in the installation attachment from Hamann is the cleanest since there is no cutting of the wheel well liner required. Plus, I can take it off easily with the wheels removed because the bracket is done in 2 parts, one that secures to the car and another that secures to the diffuser, with both being secured together. Figuring Hamann engineered the part in the first place the fitment is dead nuts. I can probably get you more details on the other style brackets if you want since it is just more 2 L brackets that are secured.
#31
06-19-2010, 08:44 PM
6th Gear
Daaamn fatherdeth. Nice job figuring that out. I think that the parts I included in the installation attachment from Hamann is the cleanest since there is no cutting of the wheel well liner required. Plus, I can take it off easily with the wheels removed because the bracket is done in 2 parts, one that secures to the car and another that secures to the diffuser, with both being secured together. Figuring Hamann engineered the part in the first place the fitment is dead nuts. I can probably get you more details on the other style brackets if you want since it is just more 2 L brackets that are secured.
 Trust me, I searched.
I really didn't want to cut the liner, and for good reason. I had said I would have this R53 forever, but after 10 years I have just opted to leave the MINI world and trade it in on a Buick once the Gran Sport comes out later this year. Laugh all you want, but 255hp/295lb ft of torque mated to a 6 speed manual and AWD will make for some fun times!!! Anyway, I'm not trading the car in with these components on it, so I can't wait to see what the liner will look like without the brackets on there. Overall, though, the install was simple with these brackets, but, if you can help it, try and get the Hamman hardware. Don't worry about me, it's gonna stay as is until I get rid of the car.
#32
06-20-2010, 10:41 AM

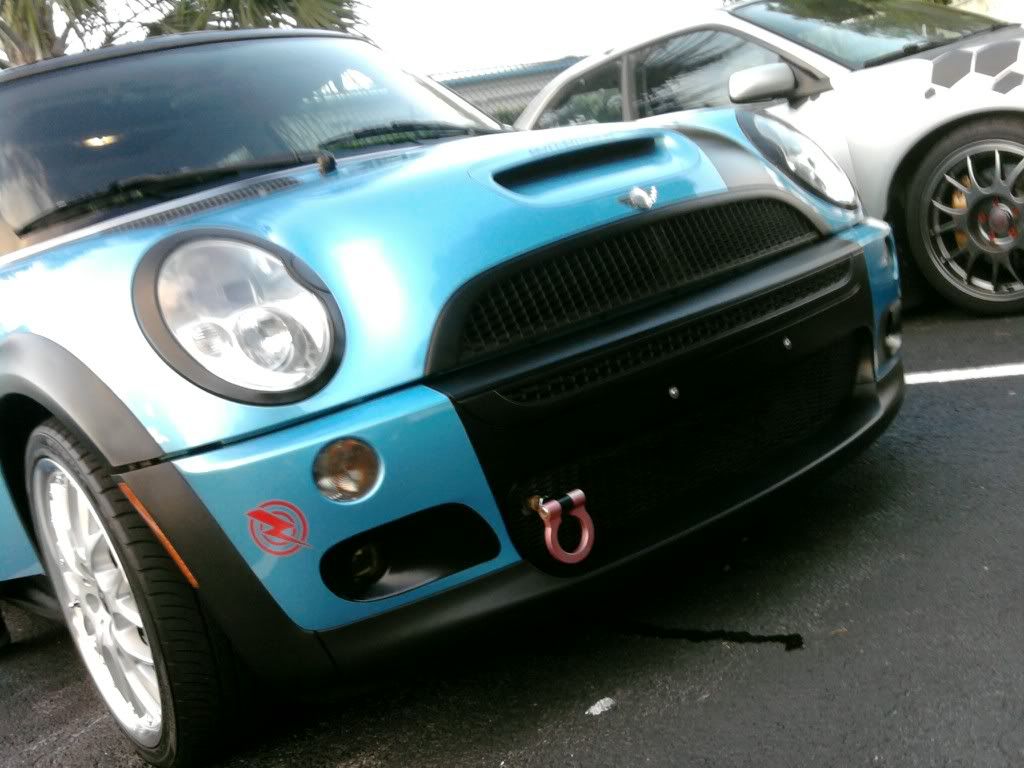
Wow! Thanks for the replies. I still haven't put on the rear lip but I have put on the front lip.
kcle730: The front end is so similar texture to the arch-molding around the fenders and bumper. Its a textured vinyl that I purchased from 3M. I then took the bumper off and into my house and sat on the floor and blow dried it on. Slowly I marked were I want the vinyl cut and presto I made the front end all black.
I went to the Depot to see if they had some L-brackets to cut for the rear lip and I couldn't find anything. I even copied some of the bracket pics on here and showed some of the pics to the associates there and they couldn't find it.
I haven't lately been focused on the car due to the Subaru needed some attention recently. I think it got jealous that I was spending to much time with Mini.
I started really learning about ECU parameters and how to interpret data logs from my ECU unit for my Subaru called Cobb AccessPort.
I wish Mini's had such things for them such as the Cobb AccessPort so I can interpret the data logs for my Mini. (sorry to go off topic)
AS for the topic of RC's! Me and my young brother are into RC helicopters...
I luv them!!
THanks for the pics.... It really helps me out. I can't wait to put it on. I want to really lower the car more cuz my TSW springs for me sit to high.
Does anyone know what springs lower the car the most? I hate the big wheel gap but love how the springs feel.
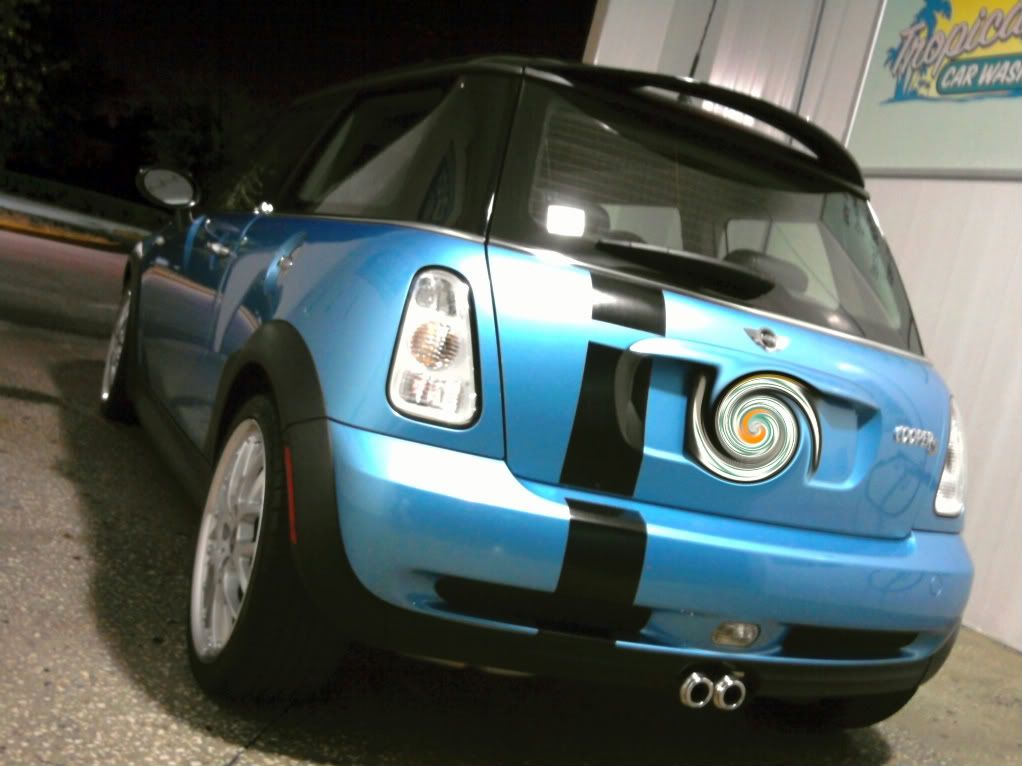
I gotta post some pics but here's a quick one I recently took.

kcle730: The front end is so similar texture to the arch-molding around the fenders and bumper. Its a textured vinyl that I purchased from 3M. I then took the bumper off and into my house and sat on the floor and blow dried it on. Slowly I marked were I want the vinyl cut and presto I made the front end all black.
I went to the Depot to see if they had some L-brackets to cut for the rear lip and I couldn't find anything. I even copied some of the bracket pics on here and showed some of the pics to the associates there and they couldn't find it.
I haven't lately been focused on the car due to the Subaru needed some attention recently. I think it got jealous that I was spending to much time with Mini
.I started really learning about ECU parameters and how to interpret data logs from my ECU unit for my Subaru called Cobb AccessPort.
I wish Mini's had such things for them such as the Cobb AccessPort so I can interpret the data logs for my Mini. (sorry to go off topic)
AS for the topic of RC's! Me and my young brother are into RC helicopters...
I luv them!!
THanks for the pics.... It really helps me out. I can't wait to put it on. I want to really lower the car more cuz my TSW springs for me sit to high.
Does anyone know what springs lower the car the most? I hate the big wheel gap but love how the springs feel.
I gotta post some pics but here's a quick one I recently took.
#34
06-24-2010, 04:17 PM

Join Date: Aug 2009
Location: L.A, Lake Balboa, California.
Posts: 146
Likes: 0
Received 0 Likes
on
0 Posts
love the look of the front lip so far. im definitely going to pull the trigger on that when i can.
if people dont mind me asking, can you please post up where you guys got the front/rear lips from. that would be a great help because ive seen many different companies selling them, but dont know if some are better then others.
As for the springs question, m7 drops the most, then eibach, then h-sport, then h&r. i have h-sports and love them, but my sig doesnt have them installed yet. ill try to post up a pic of them when i can.
-Andrew
#35
06-24-2010, 07:28 PM
6th Gear
Looking good Iris!!!!! 
Mr. Andrew, I'll get you the vendor I used from Ebay for my splitter. It was a vendor from New York I remember. The splitter is really well done. Only required a little sanding and then paint. My rear diffuser was purchased from extreme dimensions. It came with no hardware so that's why I had to rig that crude set up in the rear. Another NAM member gave me the idea.
Mr. Andrew, I'll get you the vendor I used from Ebay for my splitter. It was a vendor from New York I remember. The splitter is really well done. Only required a little sanding and then paint. My rear diffuser was purchased from extreme dimensions. It came with no hardware so that's why I had to rig that crude set up in the rear. Another NAM member gave me the idea.
#36
06-25-2010, 12:37 AM
Join Date: Aug 2009
Location: L.A, Lake Balboa, California.
Posts: 146
Likes: 0
Received 0 Likes
on
0 Posts
#37
07-03-2010, 10:14 AM

Thank you so much for the responses! I really appreciate it!
Fatherdeth: it would be greatly appreciated if you can send me some more info!
Airborne: Thanks alot you have been so helpful
I got my kit from Ebay (I know I know! Its from Ebay... But its what I can afford at the moment) I gotta split cost when it comes to tuning two little beast! My STi and My Mini! LOL..
I have an STi which I use for Auto-x and I really hooked this little puppy up before the Mini! I have lot of Genuine STi Parts and high name brand things on this car (this is way before I had the Mini).
In a nut shell, I give the ebay Front and rear lip a 7 out of 10. There is still some preparation involved to get painted and plus the mounting which I'm getting your guys help as we speak LOL... (thank you so very much)
I only paid $240 front and rear lips shipped from Cali which to me is a pretty good deal. Usally the lip sells for $200-250+ on its own let alone the CF version.
I know once its all on it gonna look sexy! My Lil Mini! I'm so excited plus this weekend in Orlando I'm bring him (my lil Mini) to a very large Mini meet! I can't wait!!!
Again any info would be great!
Here's a little of what I've done in these recent days...(some pics)
Chrome tail lights
Black out front done by me all alone! and it wasn't easy!

I so...can't wait for the front & rear lip to be installed!
-Iris
Fatherdeth: it would be greatly appreciated if you can send me some more info!
Airborne: Thanks alot you have been so helpful
I got my kit from Ebay (I know I know! Its from Ebay... But its what I can afford at the moment) I gotta split cost when it comes to tuning two little beast! My STi and My Mini! LOL..
I have an STi which I use for Auto-x and I really hooked this little puppy up before the Mini! I have lot of Genuine STi Parts and high name brand things on this car (this is way before I had the Mini).
In a nut shell, I give the ebay Front and rear lip a 7 out of 10. There is still some preparation involved to get painted and plus the mounting which I'm getting your guys help as we speak LOL... (thank you so very much)
I only paid $240 front and rear lips shipped from Cali which to me is a pretty good deal. Usally the lip sells for $200-250+ on its own let alone the CF version.
I know once its all on it gonna look sexy! My Lil Mini! I'm so excited plus this weekend in Orlando I'm bring him (my lil Mini) to a very large Mini meet! I can't wait!!!
Again any info would be great!
Here's a little of what I've done in these recent days...(some pics)
Chrome tail lights
Black out front done by me all alone! and it wasn't easy!
I so...can't wait for the front & rear lip to be installed!
-Iris
what'd you use to black out the front bumper

Thread
Thread Starter
Forum
Replies
Last Post
dyeLucky
MINI Parts for Sale
3
08-07-2015 07:10 AM