Interior/Exterior Mini-Fini Intake Scoop Grill installation for Dummies
#1
Mini-Fini Intake Scoop Grill installation for Dummies
Found out about this here: Removed Hood Scoop Honeycomb Insert
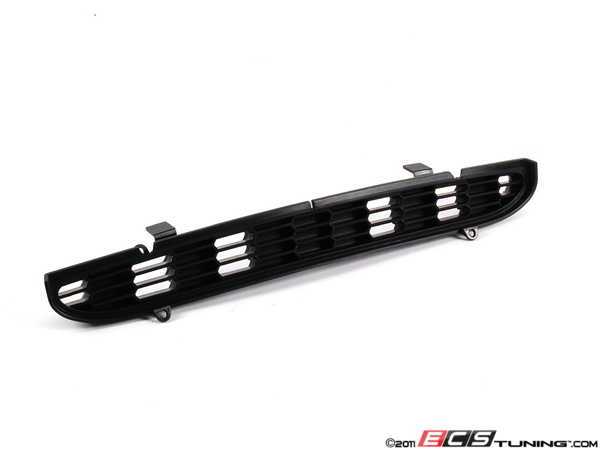
The part - Mini-Fini: P1. R55 56 57 Black Intake Scoop Grill
My guinea pig - Trigger.
There were no instructions, so for others like myself who are mechanically challenged, this is how I did it.
First step is removing the fuzzy black fire starter under the bonnet. Helps to pull on the plastic screws, when screwed out about 1/2", pull out.
One screw, a Torx T25, is under a rubber plug near center of scoop.
This was the scary part for me, prying off the scoop. I started at the top, and worked side to side downward. I had one plastic mount break (red arrow), must be the heat degrading the plastic, so be careful! You can see locations in the picture.
http://www.flickr.com/photos/53074154@N00/7116983973/
After removing the whole scoop, take out 4 screws to remove the plastic plug (it has a few holes in it).
http://www.flickr.com/photos/53074154@N00/7116984693/
I think the carbon-fiber JCW scoop is thinner than the normal plastic scoop. The new grill doesn't fill the space, the top tabs with double-sided tape don't reach the scoop. The two lower tabs for the screws needed to be bent........ very carefully, to be close enough to the mounts. I also slightly bent the grill to the same arc as the inlet. Made sure the top was wedged against the top screw mounts snug (those screws not used) before screwing bottom screws in.
http://www.flickr.com/photos/53074154@N00/7116986351/
It was simple to snap back into place. I didn't bother putting the black fuzzy thing back. Don't forget the Torx screw.
http://www.flickr.com/photos/53074154@N00/7116986433/
Saved maybe an once or two, so this should be good for 0.00008% horsepower increase!
The part - Mini-Fini: P1. R55 56 57 Black Intake Scoop Grill
My guinea pig - Trigger.

There were no instructions, so for others like myself who are mechanically challenged, this is how I did it.

First step is removing the fuzzy black fire starter under the bonnet. Helps to pull on the plastic screws, when screwed out about 1/2", pull out.
One screw, a Torx T25, is under a rubber plug near center of scoop.
This was the scary part for me, prying off the scoop. I started at the top, and worked side to side downward. I had one plastic mount break (red arrow), must be the heat degrading the plastic, so be careful! You can see locations in the picture.
http://www.flickr.com/photos/53074154@N00/7116983973/
After removing the whole scoop, take out 4 screws to remove the plastic plug (it has a few holes in it).
http://www.flickr.com/photos/53074154@N00/7116984693/
I think the carbon-fiber JCW scoop is thinner than the normal plastic scoop. The new grill doesn't fill the space, the top tabs with double-sided tape don't reach the scoop. The two lower tabs for the screws needed to be bent........ very carefully, to be close enough to the mounts. I also slightly bent the grill to the same arc as the inlet. Made sure the top was wedged against the top screw mounts snug (those screws not used) before screwing bottom screws in.
http://www.flickr.com/photos/53074154@N00/7116986351/
It was simple to snap back into place. I didn't bother putting the black fuzzy thing back. Don't forget the Torx screw.
http://www.flickr.com/photos/53074154@N00/7116986433/
Saved maybe an once or two, so this should be good for 0.00008% horsepower increase!

#2
#5
#6
#7
I didn't, 1 of 6, can't tell after install. If I wasn't in a hurry, I would have JB Welded it back on. With this JCW unit, everything is glued on.
Trending Topics
#8
#9
I just installed mine and it couldn't have been easier.
It happened so fast I didn't even take pics along the way
After taking the plastic "screw" out of the underside of the scoop I used a plastic putty knife to lift the lower right corner of the scoop gently until I heard the "pop" of the first clip letting go.
Then I workd the other lower corner, then the front center. After that I just pulled straight up and off came the scoop.
No broken clips
After a little bending and aligning the grill insert it went in with 2 screws and supplied adheisve pads.
EASY.
The only bit I have to work out is I had the under hood heat sheild (basically a flat piece of aluminum) (http://www.waymotorworks.com/mini-cooper-s-hood-heatshield-r55-r56-r57.html") and it was held in place at the front by the factory grill insert. Now with the Mini Fini insert it doesn't stay in place and droops down in front so I removed it.
Should I use a little double sided tape to hold it in place?
OR is the Mini Fini grill insert going to provide enough air flow that the shield isnt needed anymore?
It happened so fast I didn't even take pics along the way

After taking the plastic "screw" out of the underside of the scoop I used a plastic putty knife to lift the lower right corner of the scoop gently until I heard the "pop" of the first clip letting go.
Then I workd the other lower corner, then the front center. After that I just pulled straight up and off came the scoop.
No broken clips
After a little bending and aligning the grill insert it went in with 2 screws and supplied adheisve pads.
EASY.
The only bit I have to work out is I had the under hood heat sheild (basically a flat piece of aluminum) (http://www.waymotorworks.com/mini-cooper-s-hood-heatshield-r55-r56-r57.html") and it was held in place at the front by the factory grill insert. Now with the Mini Fini insert it doesn't stay in place and droops down in front so I removed it.
Should I use a little double sided tape to hold it in place?
OR is the Mini Fini grill insert going to provide enough air flow that the shield isnt needed anymore?
#10
#11
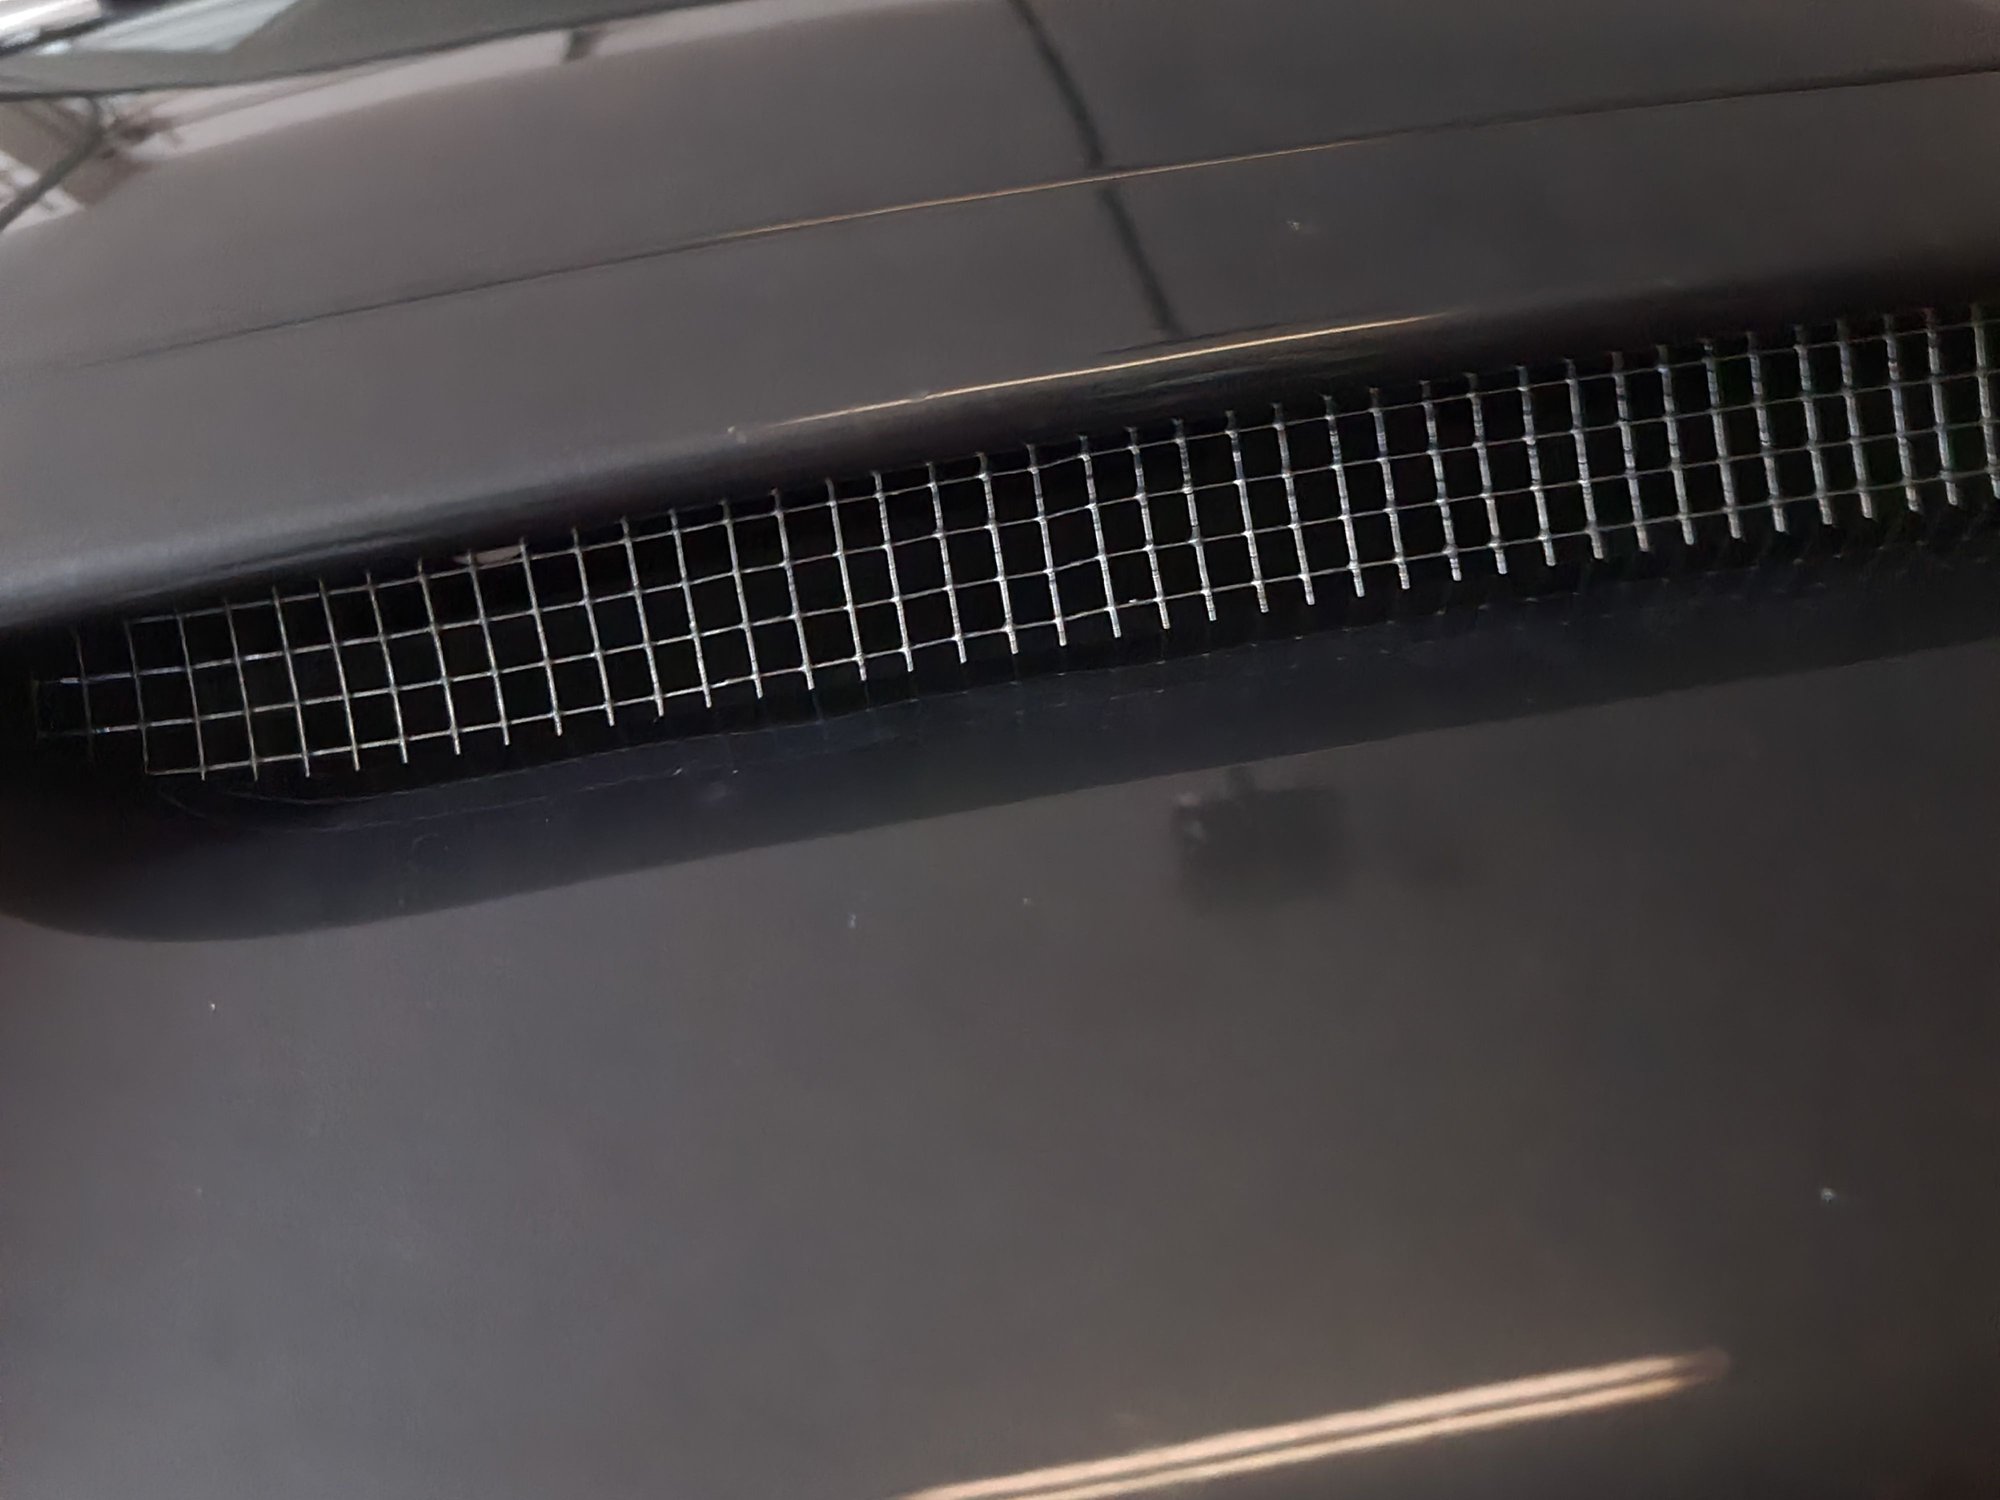
I took my scoop off the other day, so I could Dremel out the plastic grill, but I got looking at it and thought, "Hey it looks just fine with nothin' in the hole!"
So, I put the plastic grill thingy on a shelf and put the scoop back. I like the look, I don't think it needs anything in there.

Dave
So, I put the plastic grill thingy on a shelf and put the scoop back. I like the look, I don't think it needs anything in there.

Dave
#12
I took my scoop off the other day, so I could Dremel out the plastic grill, but I got looking at it and thought, "Hey it looks just fine with nothin' in the hole!"
So, I put the plastic grill thingy on a shelf and put the scoop back. I like the look, I don't think it needs anything in there.
Dave
So, I put the plastic grill thingy on a shelf and put the scoop back. I like the look, I don't think it needs anything in there.
Dave

#13
#14
#15
I took off my scoop grill a long time ago. I plasti dipped the beneath hood scoop in black and it looks great. Engine compartment gets a little air which is nice since it gets super hot in there. I never had any issues with rain getting in and what not, even car washes. You'll be fine if you buy the minifini scoop grill or leave it empty.
#16
I am considering going with the new GP scoop grille only because it fits perfectly and better than the Minifini.
#17
Sent from my iPhone using NAMotoring
Last edited by mikeyb74; 06-12-2013 at 06:07 PM.
#18
The GP2 scoop grille is the same part number as the one on the Cooper S and JCW.
http://www.ecstuning.com/Search/SiteSearch/51232752275/ES91639/

Hope that helps.
http://www.ecstuning.com/Search/SiteSearch/51232752275/ES91639/

Hope that helps.
__________________

MINI Guru/ MINI Owner Since 2004 | NEW Lifetime Part Replacement | Local Pickup
Milltek | Genuine MINI | Forge Motorsport | NM Engineering | ECS Performance | M7 Speed
Customer Service Hours: 8am-8pm EST|Sales Team Hours: 8am-11pm | SAT 10am-7pm 800.924.5172

MINI Guru/ MINI Owner Since 2004 | NEW Lifetime Part Replacement | Local Pickup
Milltek | Genuine MINI | Forge Motorsport | NM Engineering | ECS Performance | M7 Speed
Customer Service Hours: 8am-8pm EST|Sales Team Hours: 8am-11pm | SAT 10am-7pm 800.924.5172
#19
I see that now. Still prefer the better fit over the other options.
The GP2 scoop grille is the same part number as the one on the Cooper S and JCW.
http://www.ecstuning.com/Search/SiteSearch/51232752275/ES91639/

Hope that helps.
http://www.ecstuning.com/Search/SiteSearch/51232752275/ES91639/

Hope that helps.
Thread
Thread Starter
Forum
Replies
Last Post
igzekyativ
MINIs & Minis for Sale
34
07-16-2020 12:54 PM
squawSkiBum
MINI Parts for Sale
15
10-02-2015 09:21 AM


