
Interior/Exterior Sidemarkers dont fit
#1
 04-11-2013, 07:25 AM


Sidemarkers dont fit
Hi so i ordered some Blackjack LED sidemarkers off out motoring
http://www.outmotoring.com/mini-coop...al_lights.html
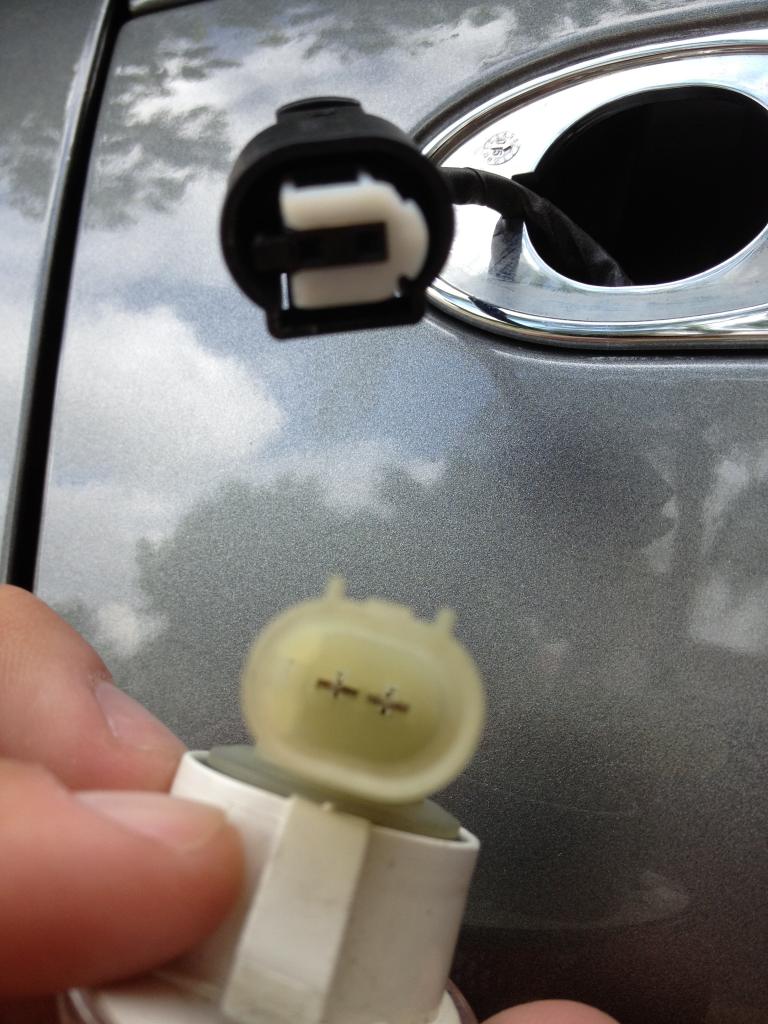
And i pulled off my current oem sidemarker and the plugs dont match up?
did i order the wrong thing? or am i missing something..
i have a 2005 MCS convertible
http://www.outmotoring.com/mini-coop...al_lights.html
And i pulled off my current oem sidemarker and the plugs dont match up?
did i order the wrong thing? or am i missing something..
i have a 2005 MCS convertible

#3
04-11-2013, 07:40 AM
#4
04-11-2013, 07:43 AM
4th Gear
#5
04-11-2013, 07:46 AM
#6
04-11-2013, 08:01 AM
4th Gear
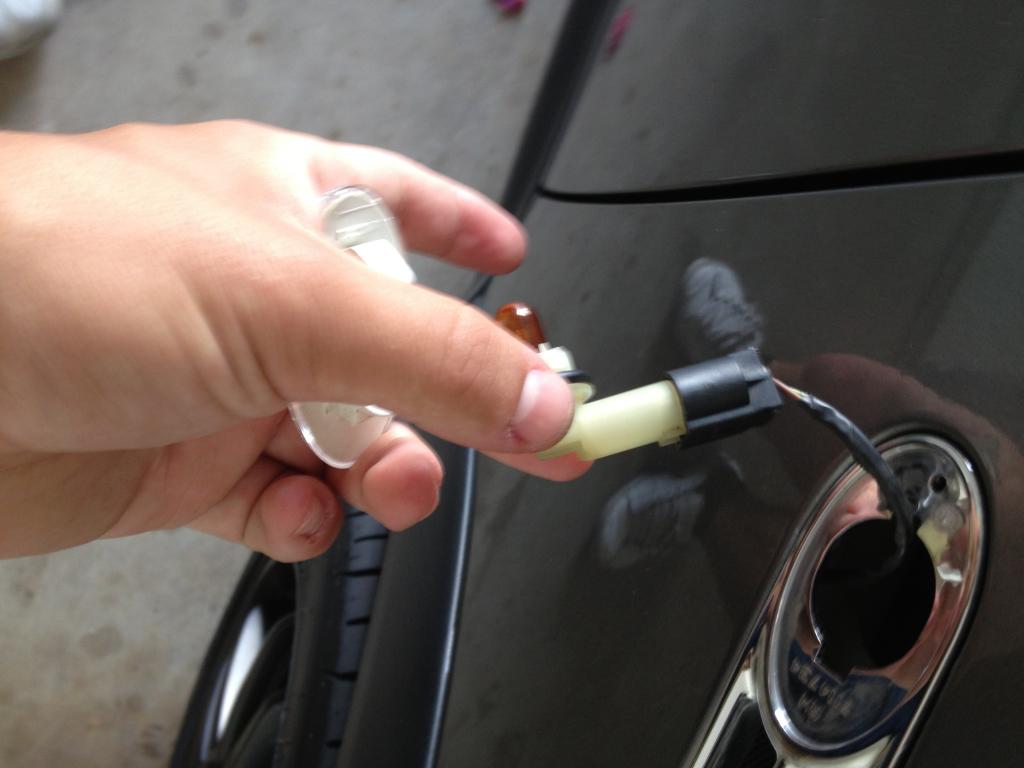
To remove the housing, you have to slide it back and then push out.
To splice, you disconnect the battery, cut the wires, strip off the insulation, twist the wires from the light to the car wires (one wire to one wire each), tape them safely with electrical tape, and then that's it. With most LEDs +,- polarity isn't a huge issue.
-this is NOT official electrical advice. This is the half assed way of doing things.
Call out motoring first, maybe they'll send you a different harness.
#7
04-11-2013, 08:03 AM

Trending Topics
#8
04-11-2013, 08:07 AM
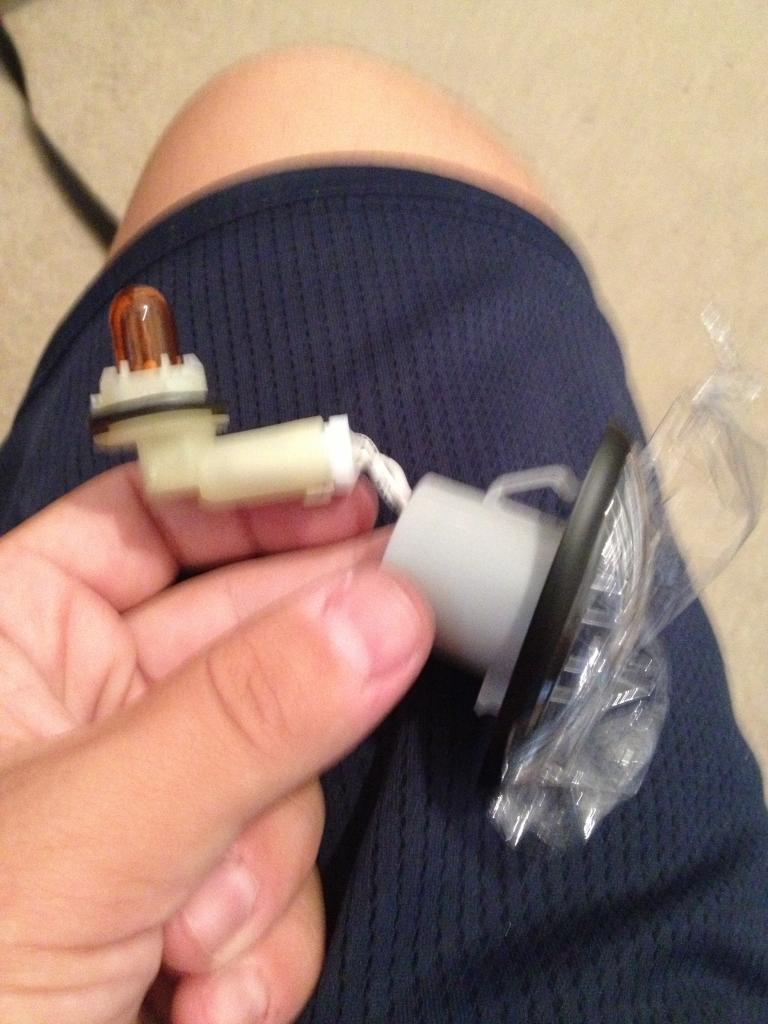
You havn't taken it apart all the way, the white male portion twists off of the lens, then you'll see how it plugs in.
as far as pulling the scuttle, should just pop out from the rear (near the door) and have a catch in the front, just be sure & use a piece of cardboard or a rag to protect your paint if you use a screwdriver to pry it out.
Edit: Now I'm 2nd guessing myself, I think it's back=pin & front=tab.
as far as pulling the scuttle, should just pop out from the rear (near the door) and have a catch in the front, just be sure & use a piece of cardboard or a rag to protect your paint if you use a screwdriver to pry it out.
Edit: Now I'm 2nd guessing myself, I think it's back=pin & front=tab.
Last edited by BlwnAway; 04-11-2013 at 08:20 AM.
#9
04-11-2013, 08:33 AM

#10
04-11-2013, 08:56 AM

6th Gear
Join Date: Dec 2005
Location: Germany
Posts: 1,140
Likes: 0
Received 0 Likes
on
0 Posts


#11
04-11-2013, 08:57 AM
 but thankyou guys and i called outmotoring and they were great help and told me exactly what you posted above just verbally!
#13
04-11-2013, 09:02 AM
6th Gear
Join Date: Dec 2005
Location: Germany
Posts: 1,140
Likes: 0
Received 0 Likes
on
0 Posts
#14
04-11-2013, 09:05 AM
Still kinda stuck on the sidemarker housing tho :/ trying to dip it black.
Tried prying it from the near the door side with a screw driver but it just dosent budge, i also went inside the hole where the side marker light goes and tried to pull it out from the inside but nothing moved really.
Tried prying it from the near the door side with a screw driver but it just dosent budge, i also went inside the hole where the side marker light goes and tried to pull it out from the inside but nothing moved really.
#15
04-11-2013, 09:12 AM
6th Gear
Join Date: Dec 2005
Location: Germany
Posts: 1,140
Likes: 0
Received 0 Likes
on
0 Posts

Thread
Thread Starter
Forum
Replies
Last Post
trw92a
R50/R53 :: Hatch Talk (2002-2006)
8
08-26-2015 01:47 PM
ECSTuning
Vendor Announcements
0
08-19-2015 12:51 PM
ECSTuning
Vendor Announcements
0
08-12-2015 01:24 PM