When you click on links to various merchants on this site and make a purchase, this can result in this site earning a commission. Affiliate programs and affiliations include, but are not limited to, the eBay Partner Network.
1. Prior owner opened hood scoop.
2. I added marine door seal (Lowes) between grille and bonnet cover, headlights, bumper/cover and on support U where it contacts underside of bonnet cover;$10.
3. Foam earplugs cut into discs wedged into dash areas to quiet rattles. $1
4. Sound deadener delete. Stuck lid from pill bottle that fit perfectly into hose just past hose clamp and added hose clamp. Remove deadener and lose 1-2 lbs. $1 for clamp.
5. DEI heat shield over turbo oil feed line, coolant feed line and coolant return line. $17
6. Exhaust manifold port matched to turbo and polished. Free. Free the HP!
7. Copper spray gasket on all exhaust mating surfaces. Ultra grey on all intake mating surfaces. $7 for copper $9 ultra grey
10. Added neodymium magnet to drainplug. $1
11. Adjusted turbo wastegate closed 1/8 inch. Free. Free the HP!
12. Bicycle inner tube used everywhere to quiet stupid rattles. Free
13. H11 fog lights. Feels like they won't fit. They won't. Take dykes and compare the H8 to H11. Alter H11 to mimic OEM. Gain 20W from 35 to 55W. Don't know cost. My buddy found in trash at parts store. Listed for Mini conv.
14. Steel pipe between turbo hose and intercooler hose. Painted with 1200� F red. Free 2.75in? At exhaust shop. Filed, painted and installed. Look: Better Drive: Better
15. Turbo hose wrap. Used silicone self annealing tape. $20 added quick response to pedal. Probable HP increase.
16. Royal Purple products. Oil, manual transmission gear oil, and Purple Ice coolant. K&N oil filter. All worth it. Dealer said my head was clean enough to eat off.
I have a K&N typhoon, Magnaflow catback,
14. Replace fuel filter. Mini says never. $50 and worth 10 times that. I have 120,000 on my 2008 MCS AND THE TENSIONER FAILED AND MINI DEALER LEFT DEBRIS IN MOTOR. Of course I found it and replaced oil pump before I starved the motor and turbo. When you do timing chain, ALWAYS change oil pump chain and front engine seal.
[QUOTE=11corners/min;4197684]1. Prior owner opened hood scoop.
2. I added marine door seal (Lowes) between grille and bonnet cover, headlights, bumper/cover and on support U where it contacts underside of bonnet cover;$10.
3. Foam earplugs cut into discs wedged into dash areas to quiet rattles. $1
4. Sound deadener delete. Stuck lid from pill bottle that fit perfectly into hose just past hose clamp and added hose clamp. Remove deadener and lose 1-2 lbs. $1 for clamp.
5. DEI heat shield over turbo oil feed line, coolant feed line and coolant return line. $17
6. Exhaust manifold port matched to turbo and polished. Free. Free the HP!
7. Copper spray gasket on all exhaust mating surfaces. Ultra grey on all intake mating surfaces. $7 for copper $9 ultra grey
10. Added neodymium magnet to drainplug. $1
11. Adjusted turbo wastegate closed 1/8 inch. Free. Free the HP!
12. Bicycle inner tube used everywhere to quiet stupid rattles. Free
13. H11 fog lights. Feels like they won't fit. They won't. Take dykes and compare the H8 to H11. Alter H11 to mimic OEM. Gain 20W from 35 to 55W. Don't know cost. My buddy found in trash at parts store. Listed for Mini conv.
14. Steel pipe between turbo hose and intercooler hose. Painted with 1200� F red. Free 2.75in? At exhaust shop. Filed, painted and installed. Look: Better Drive: Better
15. Turbo hose wrap. Used silicone self annealing tape. $20 added quick response to pedal. Probable HP increase.
16. Royal Purple products. Oil, manual transmission gear oil, and Purple Ice coolant. K&N oil filter. All worth it. Dealer said my head was clean enough to eat off.
I have a K&N typhoon, Magnaflow catback,
14. Replace fuel filter. Mini says never. $50 and worth 10 times that. I have 120,000 on my 2008 MCS AND THE TENSIONER FAILED AND MINI DEALER LEFT DEBRIS IN MOTOR. Of course I found it and replaced oil pump before I starved the motor and turbo. When you do timing chain, ALWAYS change oil pump chain and front engine seal.
15. Painted exhaust manifold metal plates to match turbo pipe. We'll see how long the color lasts.
1. Prior owner opened hood scoop.
2. I added marine door seal (Lowes) between grille and bonnet cover, headlights, bumper/cover and on support U where it contacts underside of bonnet cover;$10.
3. Foam earplugs cut into discs wedged into dash areas to quiet rattles. $1
4. Sound deadener delete. Stuck lid from pill bottle that fit perfectly into hose just past hose clamp and added hose clamp. Remove deadener and lose 1-2 lbs. $1 for clamp.
5. DEI heat shield over turbo oil feed line, coolant feed line and coolant return line. $17
6. Exhaust manifold port matched to turbo and polished. Free. Free the HP!
7. Copper spray gasket on all exhaust mating surfaces. Ultra grey on all intake mating surfaces. $7 for copper $9 ultra grey
10. Added neodymium magnet to drainplug. $1
11. Adjusted turbo wastegate closed 1/8 inch. Free. Free the HP!
12. Bicycle inner tube used everywhere to quiet stupid rattles. Free
13. H11 fog lights. Feels like they won't fit. They won't. Take dykes and compare the H8 to H11. Alter H11 to mimic OEM. Gain 20W from 35 to 55W. Don't know cost. My buddy found in trash at parts store. Listed for Mini conv.
14. Steel pipe between turbo hose and intercooler hose. Painted with 1200� F red. Free 2.75in? At exhaust shop. Filed, painted and installed. Look: Better Drive: Better
15. Turbo hose wrap. Used silicone self annealing tape. $20 added quick response to pedal. Probable HP increase.
16. Royal Purple products. Oil, manual transmission gear oil, and Purple Ice coolant. K&N oil filter. All worth it. Dealer said my head was clean enough to eat off.
I have a K&N typhoon, Magnaflow catback,
14. Replace fuel filter. Mini says never. $50 and worth 10 times that. I have 120,000 on my 2008 MCS AND THE TENSIONER FAILED AND MINI DEALER LEFT DEBRIS IN MOTOR. Of course I found it and replaced oil pump before I starved the motor and turbo. When you do timing chain, ALWAYS change oil pump chain and front engine seal.
Under intake manifold. Runs off a split from the pressurized turbo hose along firewall toward driver side. I left hose and plugged it after the Y and removed rattling plastic deadener. I hope this helps.
Wanted to do something this weekend, and none of the "fun" things I've ordered have arrived, soooo...
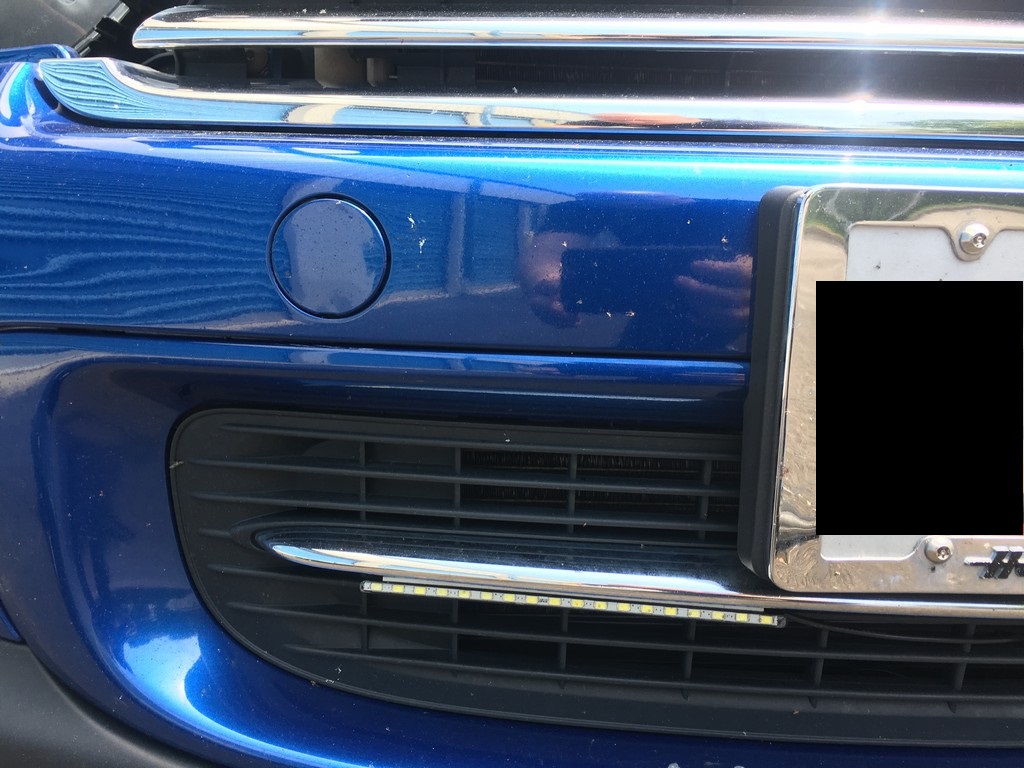
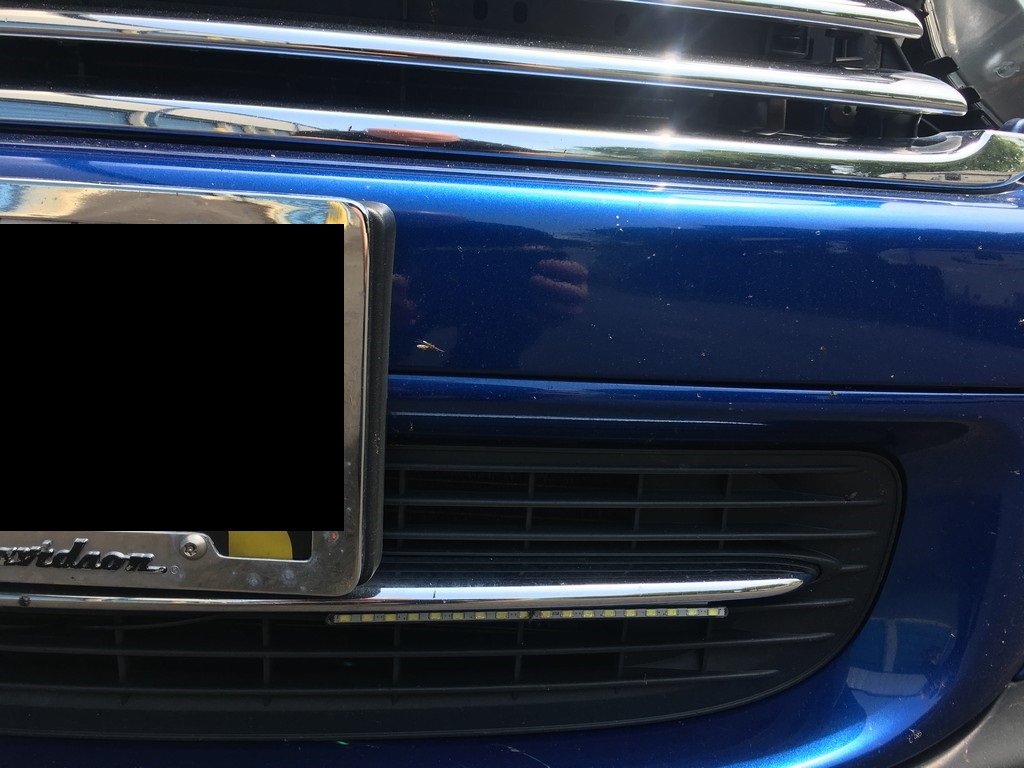
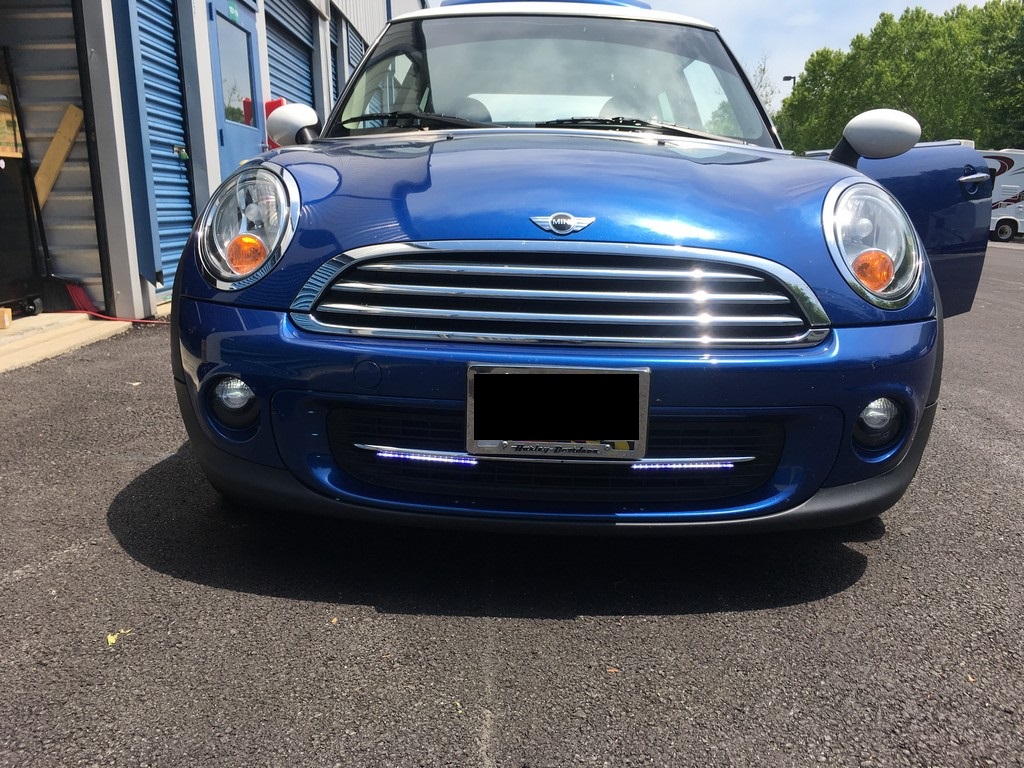
Don't know if I will keep them or not yet, but I installed some 12" flexible LEDs in the gap between the bonnet and bumper for a cheapo faux Audi-ish DRL look...
Wired into the parking lights behind the wheel wells.
Cost = $20 (PepBoys)
Time = 1 hour
Pics:
Great idea!! I was thinking, though. Instead of a straight line on the bumper, what about going along the inside upper edge of the headlight. I'll pick some up and try it out. I'll post the results if it works out.
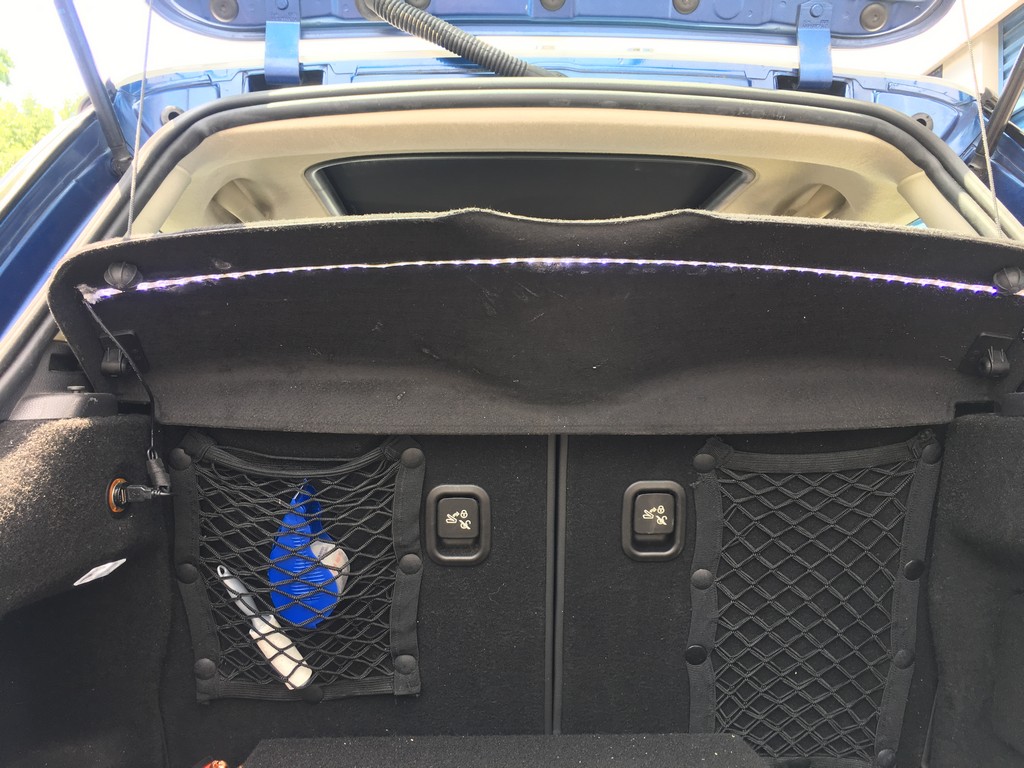
I was tired of having the one light on the drivers side get covered by a bag, etc, and losing all of the available light in the cargo area. I used some adhesive backed LED strip lights and wired them to the cargo light. I then covered the whole thing with clear vinyl wrap film that is used on floors to protect the light from getting ripped off. The top leading edge has a 3/16" red translucent stripe to help from blinding me each time I open the door at night.
I was tired of having the one light on the drivers side get covered by a bag, etc, and losing all of the available light in the cargo area. I used some adhesive backed LED strip lights and wired them to the cargo light. I then covered the whole thing with clear vinyl wrap film that is used on floors to protect the light from getting ripped off. The top leading edge has a 3/16" red translucent stripe to help from blinding me each time I open the door at night.
With the complete engine rebuild I decided that I also needed to be able to better monitor the engine parameters and added a much needed coolant gauge. I also installed a, not needed but appreciated, boost/vacuum gauge.
I made my own mounting pods and wrapped the whole thing in carbon fibre vinyl film; this being the "cheapskate" portion of this dorky mod. The gauges, not so much.
Boost Gauge
Gauges w/ Amber LED lighting, close-up
H20 temp gauge
Top View of gauges
Boost/Vacuum Line at airbox
Footwell module (blue wire for parking light switch)
absolutjh22 - how did you hook up boost/vac gauge? does ti show BOTH functions?
ISAMIN
isamin
the boost/vacuum gauge uses the same source for measurement. You need to add a "boost tap" to the factory sensor port and then route the boost/vacuum line from the engine bay to the interior. If you see my other posts "Clubman Repower" you will see a more detailed description of how I accomplished this task. Optionally, you could use an OBD2 tool and display the same information electronically via your phone. I found that I could not rely on the electronic method as the data transfer has a pretty significant lag time and was unreliable for a consistent signal. Much of the connectivity issue being due to using an iPhone. Android phones utilize Bluetooth with the OBD2 tools which is much more reliable (in my experience). Plus, a mechanical boost/vacuum gauge will always be more accurate and responsive as there is no electrical or data processing interface.
I then ordered these from amazon & attached them as shown with the included double-sided tape & tapped them onto the stock driving lights so they are always on as well -
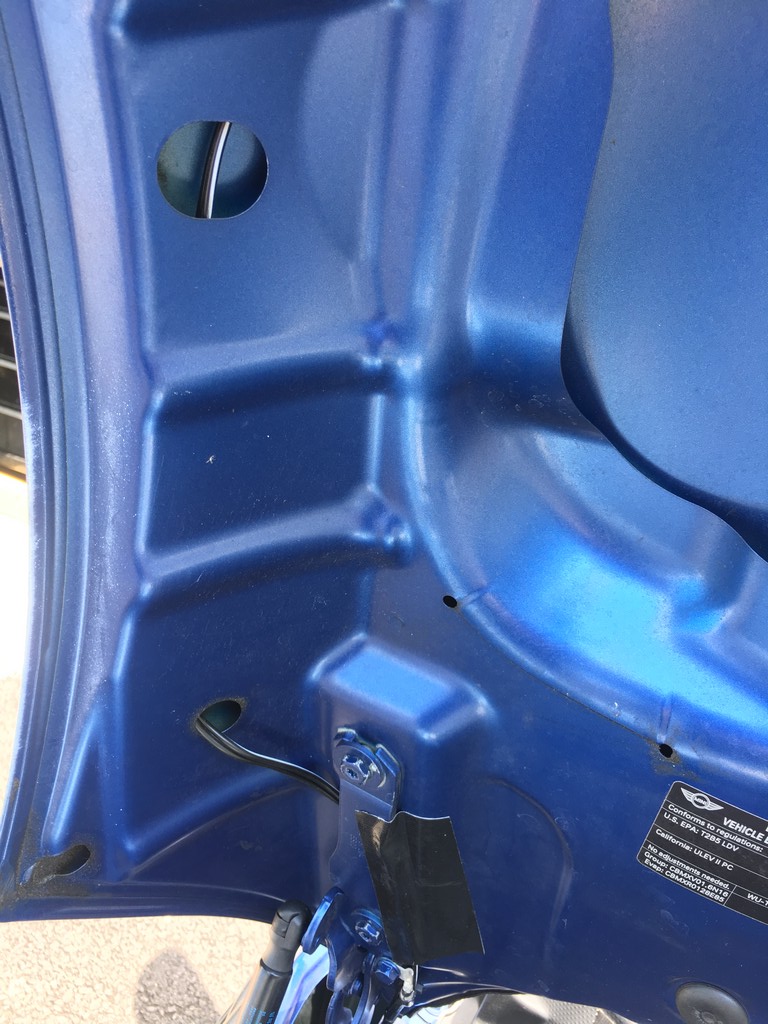
I attached 2 of the strips to the underside of the hood for engine bay lights. I spliced the ridiculously small gauge wires to some 16 gauge speaker wire & then ran it inside to hood skin (as seen in the pics).
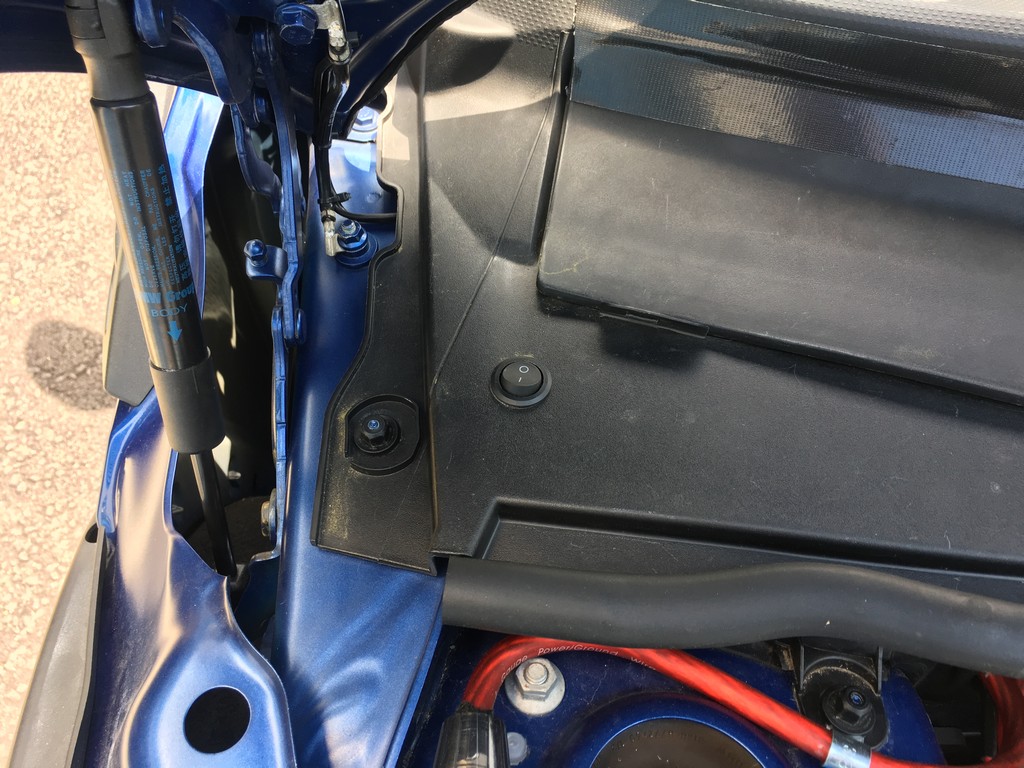
I added a simple on/off switch to the trim panel that covers the battery. I also used one of the quick-disconnect plugs to the backside so if I ever need to take that trim panel off to replace the battery or such, I can just unplug it & lay the panel aside -
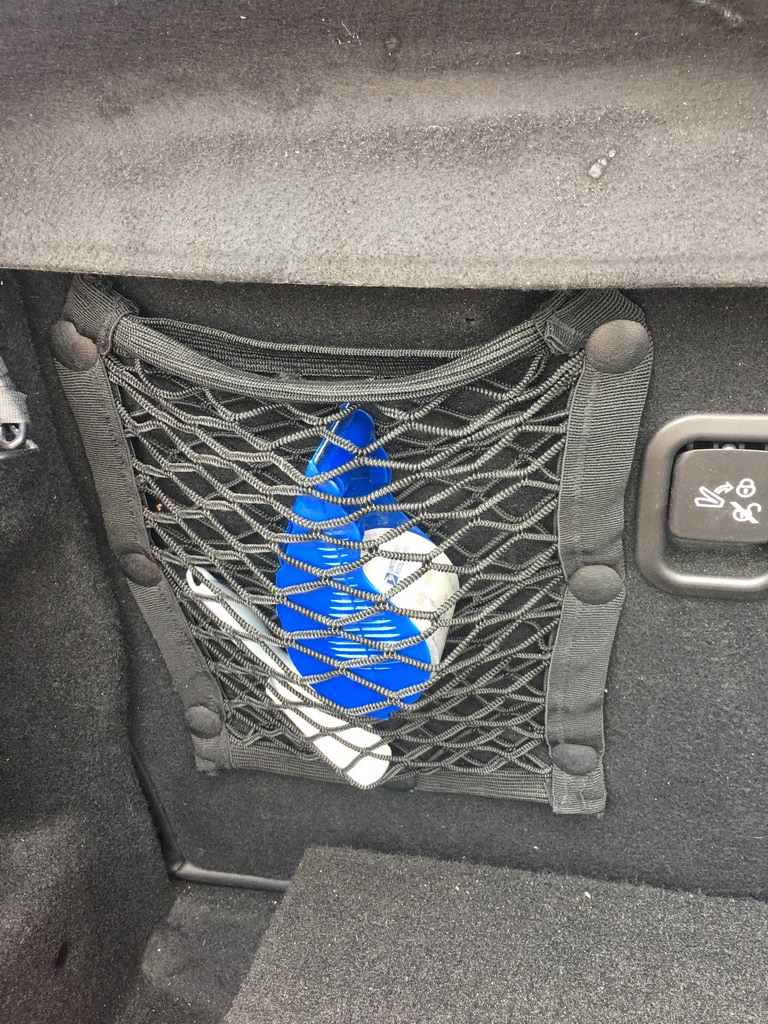
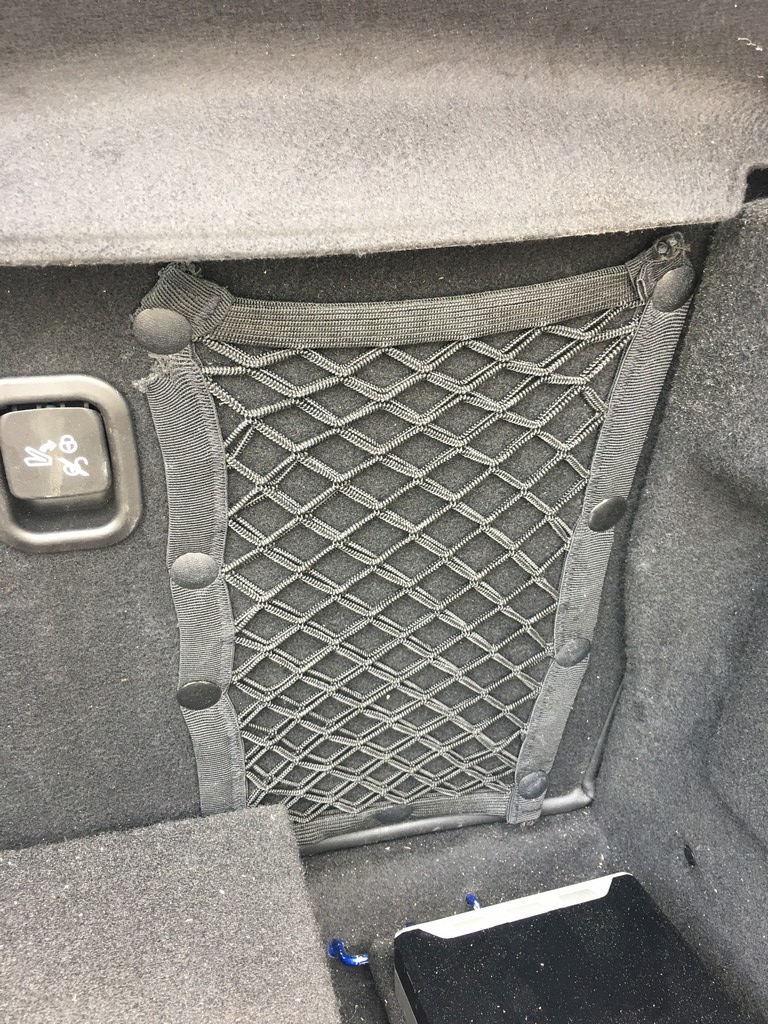
I picked up some large automotive push-pins from Lowes & drilled holes in the back of the seats to push them into. I also cut off the mounting straps that the nets had.
I used superglue to attach it to the bottom of the hatch cover. I also took the factory USB point in the rear & rewired it to operate with the stock trunk light. I simply unplugged the factory harness & just left it hanging behind the trunk trim panel. I then used "half-taps" to attach some 16 gauge speaker wire to the wires going to the stock hatch LED & then connected that to the power/ground pins for the cig adapter. BTW.....don't try to use hot glue. I tried that 1st & it worked great....until the LED strip was on for a few minutes & got warm & the stupid thing fell off & I had to then super glue it on LOL
Now both the stock trunk light & the LED strip come on/off when the hatch is opened/closed. If I ever need to take the hatch cover out, I can just unplug the USB power plug & lay it to the side.
BTW.....the large red/black wire in the pic is going to my aftermarket speakers in the door
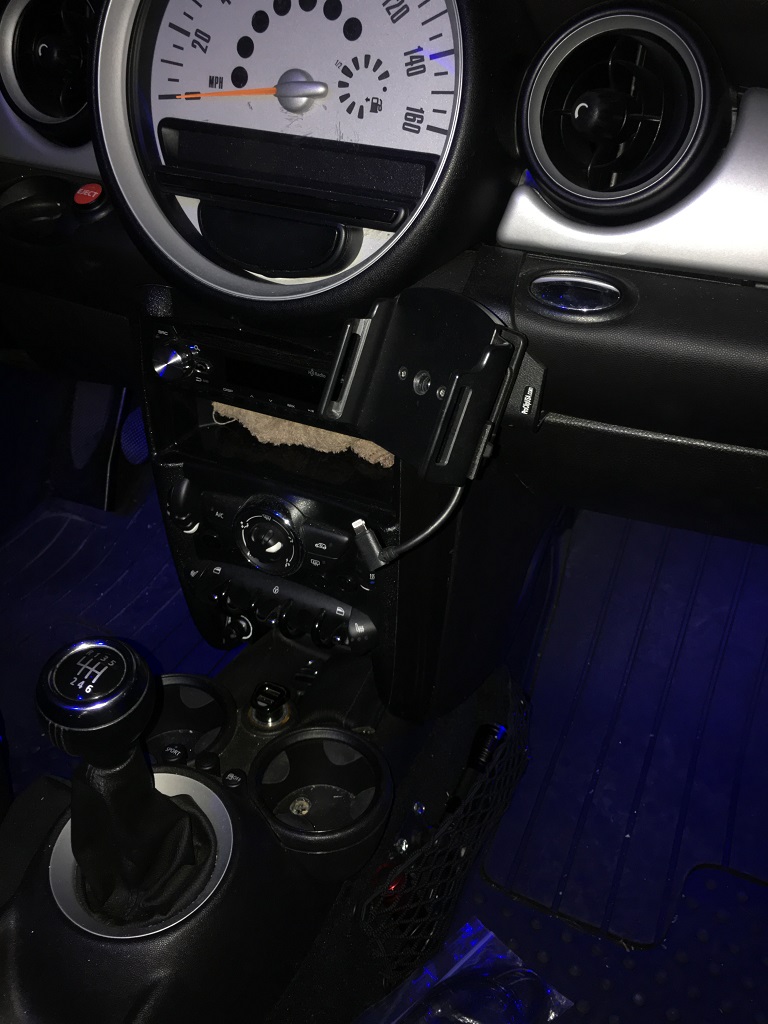
I have the Proclip.com iPhone mount. You can see the 6ft right-angle lightning cable that I have attached to the back side of the mount that hangs in position for when needed. That cable runs over to the radio riser edge & then black gorilla taped (so it's pretty much invisible) down & then under the center console up to this power point. This way, the cig plug in the center of the console is free if needed & the cables are hidden but always ready to be used. I am in the process of doing a RAM mount setup for my iPad Mini that I use for music & GPS that I'll be running the power cable for it to this power point as well
The before mentioned driving lights, the fender-mounted turn signal & the overhead map lights take a 194 bulb, so I used these. I did NOT do the map lights in the front near the rearview mirror because these LEDs are BRIGHT & if you turn them on in the dark they WILL blind you for a minute LOL -
My car is blue, so I replaced all the other interior 194 bulbs (overhead cabin light, footwells & bottom of the door "puddle lights") with the same LEDs but the blue version -
I also had my car "coded" to eliminate the cold & warm bulb checks....otherwise the exterior bulbs would flicker when the check was done & it irritated me LOL
I also tried replacing the front turn signal (7506) & rear brake/turn signal (3 7506 per side) with 7506 LEDs, but couldn't tell enough of a difference to justify the cost (about $40), so I went back to the Sylvania Silverstar 7506 that i had taken out of my Harley when I did LED upgrades on it
Installed these high quality puddle lights in the front doors.
Since I followed the detailed directions on the back of the box exactly, the installation was "Dedicated Car-Easy. No Need To Change The Vehicle". And indeed I have "Stronger Visual Senses. More Dynamic And. More Stylish. (sic)
all for a whopping $8.37/pair from ebay. Install time @5 min each door.


 Imagine these with the DRLs


 04-13-2016, 08:43 PM