
Interior/Exterior Need help installing Aero Kit (already read the Official Aero install guide)
#1
 06-08-2006, 07:15 PM


Join Date: Apr 2006
Location: PHX
Posts: 274
Likes: 0
Received 0 Likes
on
0 Posts
Need help installing Aero Kit (already read the Official Aero install guide)
Hi All!
Thanks for taking the time to read, thanks in advance for those who wish to help.
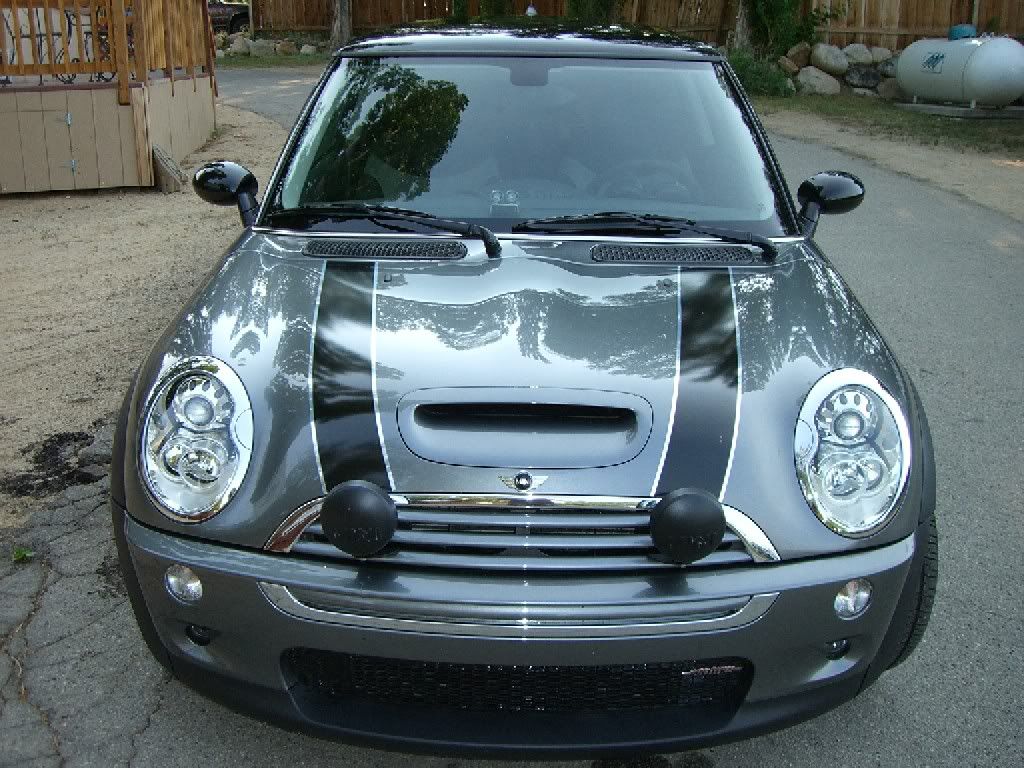
I just bought the side skirts and front bumper of the Aero kit, painted to match (DS) from someone who read my WTB post here on NAM. I have these parts: a spoiler (DS - just to see if it would look good with a black roof... nah), side skirts, front bumper and a MM CAI. I knew it was used, but I was assured all parts were there. Well, it's missing some stuff and it was packaged pretty badly, so it got scratched up a bit on the edges in some places. I feel like I got ripped. I don't know his ID on NAM, he responded via email
Anyway, I think I'm going to stick to my stock bumper since it's not as big a change in look as the side skirts (imho) and I want to simplify the install, perhaps I can recover some funds by selling it (plus it's ALL DS, not masked off to match the wheel well plastic). So one of the side skirts has this long black plastic piece (I assume this is the side skirt mount) that connects the bottom of it to the car, the other just has the side skirt mount but it is not connected by those little black plastic expander rivets to the aero side skirt, so I have to do that. So here's my questions:
1. Where do I get these plastic expander rivets?
2. I can see how to install an Aero Kit from scratch in this guide (yes, I've been searching before posting, lol) but I don't know where to start to remove the stock side skirts.
Help?
Thanks once again in advance,
b.
Thanks for taking the time to read, thanks in advance for those who wish to help.
I just bought the side skirts and front bumper of the Aero kit, painted to match (DS) from someone who read my WTB post here on NAM. I have these parts: a spoiler (DS - just to see if it would look good with a black roof... nah), side skirts, front bumper and a MM CAI. I knew it was used, but I was assured all parts were there. Well, it's missing some stuff and it was packaged pretty badly, so it got scratched up a bit on the edges in some places. I feel like I got ripped. I don't know his ID on NAM, he responded via email
Anyway, I think I'm going to stick to my stock bumper since it's not as big a change in look as the side skirts (imho) and I want to simplify the install, perhaps I can recover some funds by selling it (plus it's ALL DS, not masked off to match the wheel well plastic). So one of the side skirts has this long black plastic piece (I assume this is the side skirt mount) that connects the bottom of it to the car, the other just has the side skirt mount but it is not connected by those little black plastic expander rivets to the aero side skirt, so I have to do that. So here's my questions:
1. Where do I get these plastic expander rivets?
2. I can see how to install an Aero Kit from scratch in this guide (yes, I've been searching before posting, lol) but I don't know where to start to remove the stock side skirts.
Help?
Thanks once again in advance,
b.
#2
06-08-2006, 08:42 PM

Former Vendor
Join Date: Jun 2005
Location: Austin, TX & Boston, MA (Babson College)
Posts: 1,447
Likes: 0
Received 0 Likes
on
0 Posts
Originally Posted by b8b
Hi All!
Thanks for taking the time to read, thanks in advance for those who wish to help.
I just bought the side skirts and front bumper of the Aero kit, painted to match (DS) from someone who read my WTB post here on NAM. I paid $825 shipped for these parts: a spoiler (DS - just to see if it would look good with a black roof... nah), side skirts, front bumper and a MM CAI. I knew it was used, but I was assured all parts were there. Well, it's missing some stuff and it was packaged pretty badly, so it got scratched up a bit on the edges in some places. I feel like I got ripped. I don't know his ID on NAM, he responded via email
Anyway, I think I'm going to stick to my stock bumper since it's not as big a change in look as the side skirts (imho) and I want to simplify the install, perhaps I can recover some funds by selling it (plus it's ALL DS, not masked off to match the wheel well plastic). So one of the side skirts has this long black plastic piece (I assume this is the side skirt mount) that connects the bottom of it to the car, the other just has the side skirt mount but it is not connected by those little black plastic expander rivets to the aero side skirt, so I have to do that. So here's my questions:
1. Where do I get these plastic expander rivets?
2. I can see how to install an Aero Kit from scratch in this guide (yes, I've been searching before posting, lol) but I don't know where to start to remove the stock side skirts.
Help?
Thanks once again in advance,
b.
1. Remove all of the plastic screws from the bottom side of the old side skirts. They are all phillips heads. Be careful not to strip the heads as it will become a big PITA if you do.
2. Remove the metal Phillips screw that is at the very front of the side skirt. It connects to side skirt to the wheel well liner.
3. Save all the screws that you remove.
4. Remove your sill plates. This will uncover 3 or 4 plastic tabs. They are very small, and are rectangularly shaped. I got a hammer and a chisel and just hammered the top of them until they broke and fell through.
5. Now, with the door open pull the side skirts off. Don't be afraid to use some force. And, don't freak out when you hear a bunch of plastic cracking
 .
. I think that is it. I feel like I am missing a step though...hopefully someone can confirm for you.
As for your other questions, the plastic expander rivets can likely be purchased at the dealer.
One more thing, for the aero side skirts, make sure you mount the right mounting bracket with the right skirt, and the left with the left. I didn't, and it really annoys me knowing that they are not on there correctly (I haven't had the time to fix it).
#3
06-08-2006, 09:47 PM
Join Date: Apr 2006
Location: PHX
Posts: 274
Likes: 0
Received 0 Likes
on
0 Posts
Thanks, skitelluride531!
How can you tell which one is right or left?
I have to call the dealer tomorrow for the plastic expander rivets, I hope they aren't expensive and that they will ship to me (they are 8 hours from where I live).
Sounds easy. Since I have the parts for the driver's side, perhaps I'll just do that side.
There are two more questions I have now:
1. in the instructions it shows the adhesive strip, since this is used, the adhesive strip won't work - any idea how I can either replace this or make it work another way?
2. The sill plates are the JCW ones, I was hoping to salvage these, any hope of this?
Thanks again!
b8b
How can you tell which one is right or left?
I have to call the dealer tomorrow for the plastic expander rivets, I hope they aren't expensive and that they will ship to me (they are 8 hours from where I live
).Sounds easy. Since I have the parts for the driver's side, perhaps I'll just do that side.
There are two more questions I have now:
1. in the instructions it shows the adhesive strip, since this is used, the adhesive strip won't work - any idea how I can either replace this or make it work another way?
2. The sill plates are the JCW ones, I was hoping to salvage these, any hope of this?
Thanks again!
b8b
#4
06-09-2006, 06:54 AM
Former Vendor
Join Date: Jun 2005
Location: Austin, TX & Boston, MA (Babson College)
Posts: 1,447
Likes: 0
Received 0 Likes
on
0 Posts
Hey,
1. To tell right or left, you need to just be extra careful and double check it to make sure you have the right one. Put everything up against the car and make sure it all lines up. I think there may be left and right markings on each of the pieces too. I don't remember though.
2. They probably are not very expensive. I would guess $10-20 at most.
3. The adhesive stripe, I think, is pretty important. It will ensure that the top of the aero skirt will stay on very securely. What do you mean it does not work? Are you looking in the right place? I did not notice it until I actually looked for it.
4. The sill plates are very very hard to save. I tried for 30 seconds, until I bent it. Then I gave up, and just ripped it off. The only suggestion I can give is to really take your time if you want to save them .
1. To tell right or left, you need to just be extra careful and double check it to make sure you have the right one. Put everything up against the car and make sure it all lines up. I think there may be left and right markings on each of the pieces too. I don't remember though.
2. They probably are not very expensive. I would guess $10-20 at most.
3. The adhesive stripe, I think, is pretty important. It will ensure that the top of the aero skirt will stay on very securely. What do you mean it does not work? Are you looking in the right place? I did not notice it until I actually looked for it.
4. The sill plates are very very hard to save. I tried for 30 seconds, until I bent it. Then I gave up, and just ripped it off. The only suggestion I can give is to really take your time if you want to save them
.
#5
06-09-2006, 08:10 AM
#6
06-09-2006, 08:50 AM
Join Date: Apr 2006
Location: PHX
Posts: 274
Likes: 0
Received 0 Likes
on
0 Posts

#7
06-09-2006, 10:00 AM

Go to an autoparts store and buy some 3M molding tape. It's about an inch wide and has adhesive on both sides like the tape that came with the skirts. if you look at the back of the skirts and the black plastic parts they are marked Left and Right (or LH & RH - I don't remember). When you align the black plastic piece with the sill it's fairly obvious which one is correct.
One more thing - when you put the plastic clips in place on the side skirts that align with the rectangular holes in the cars sheet metal make sure you get them the right way round. What I mean is that the part of the clip that goes into the car is square and the hole in the car is oblong. You need to make sure that the plastic "barbs" that lock into the sheet metal are aligned vertically. If you don't then they won't stay in. When you take the old ones off the car you have to rotate them so that the "barbs" are horizontal to allow them to come out of the hole. I may be a little confusing but if you look at the clips and the hole they go in you will see what I mean.
One more thing - when you put the plastic clips in place on the side skirts that align with the rectangular holes in the cars sheet metal make sure you get them the right way round. What I mean is that the part of the clip that goes into the car is square and the hole in the car is oblong. You need to make sure that the plastic "barbs" that lock into the sheet metal are aligned vertically. If you don't then they won't stay in. When you take the old ones off the car you have to rotate them so that the "barbs" are horizontal to allow them to come out of the hole. I may be a little confusing but if you look at the clips and the hole they go in you will see what I mean.
Trending Topics
#8
06-09-2006, 10:21 AM
Join Date: Apr 2006
Location: PHX
Posts: 274
Likes: 0
Received 0 Likes
on
0 Posts
Hi Alan!
Thanks for your advice. I am getting a very good mental picture of the barbs and the holes, thank for an excellent explanation and the precautionary note, I will be sure to be attentive to this detail.
I am so excited to see what it will look like but I only have the clips for one side, so I think I'll just have to mount it on the drivers side and look a bit odd for a while
#9
07-13-2006, 02:01 PM

6th Gear
Join Date: May 2006
Location: New York City
Posts: 1,310
Likes: 0
Received 0 Likes
on
0 Posts
#11
07-19-2006, 01:30 PM
Join Date: Apr 2006
Location: PHX
Posts: 274
Likes: 0
Received 0 Likes
on
0 Posts
Originally Posted by skitelluride531
4. Remove your sill plates. This will uncover 3 or 4 plastic tabs. They are very small, and are rectangularly shaped. I got a hammer and a chisel and just hammered the top of them until they broke and fell through.
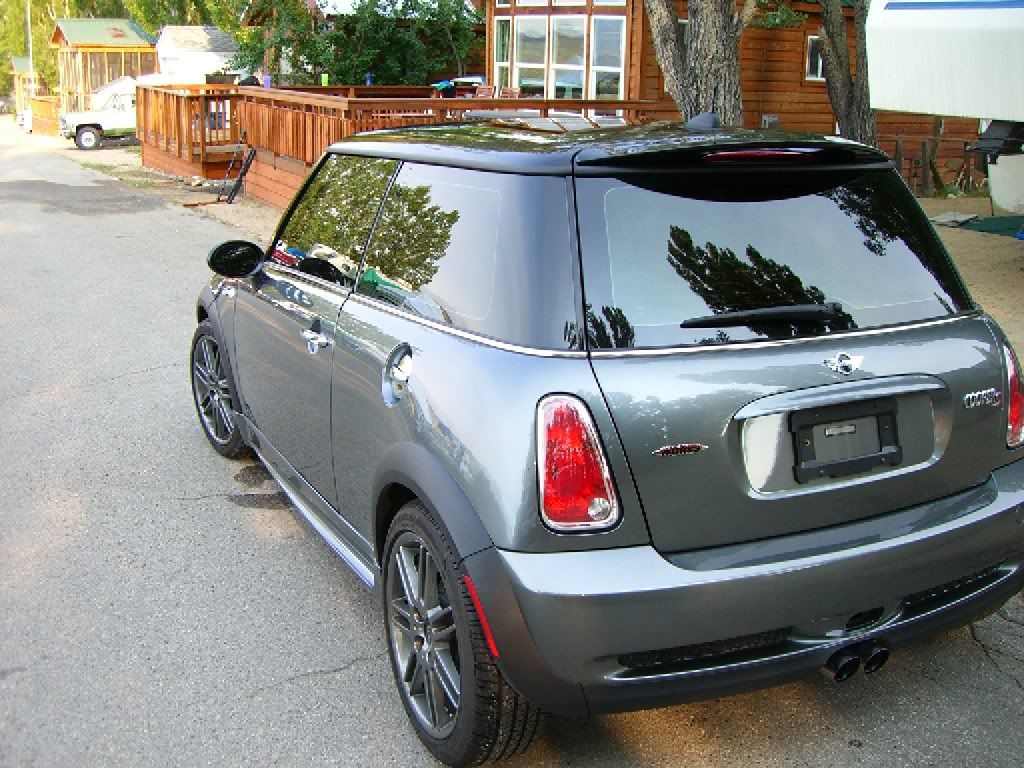
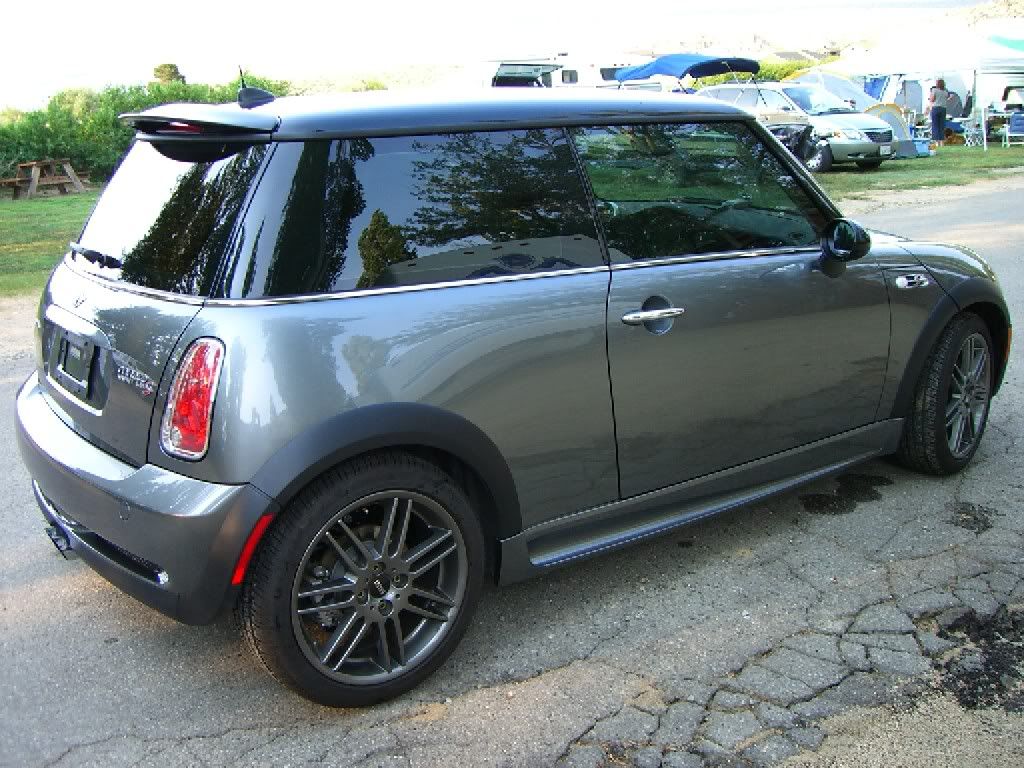
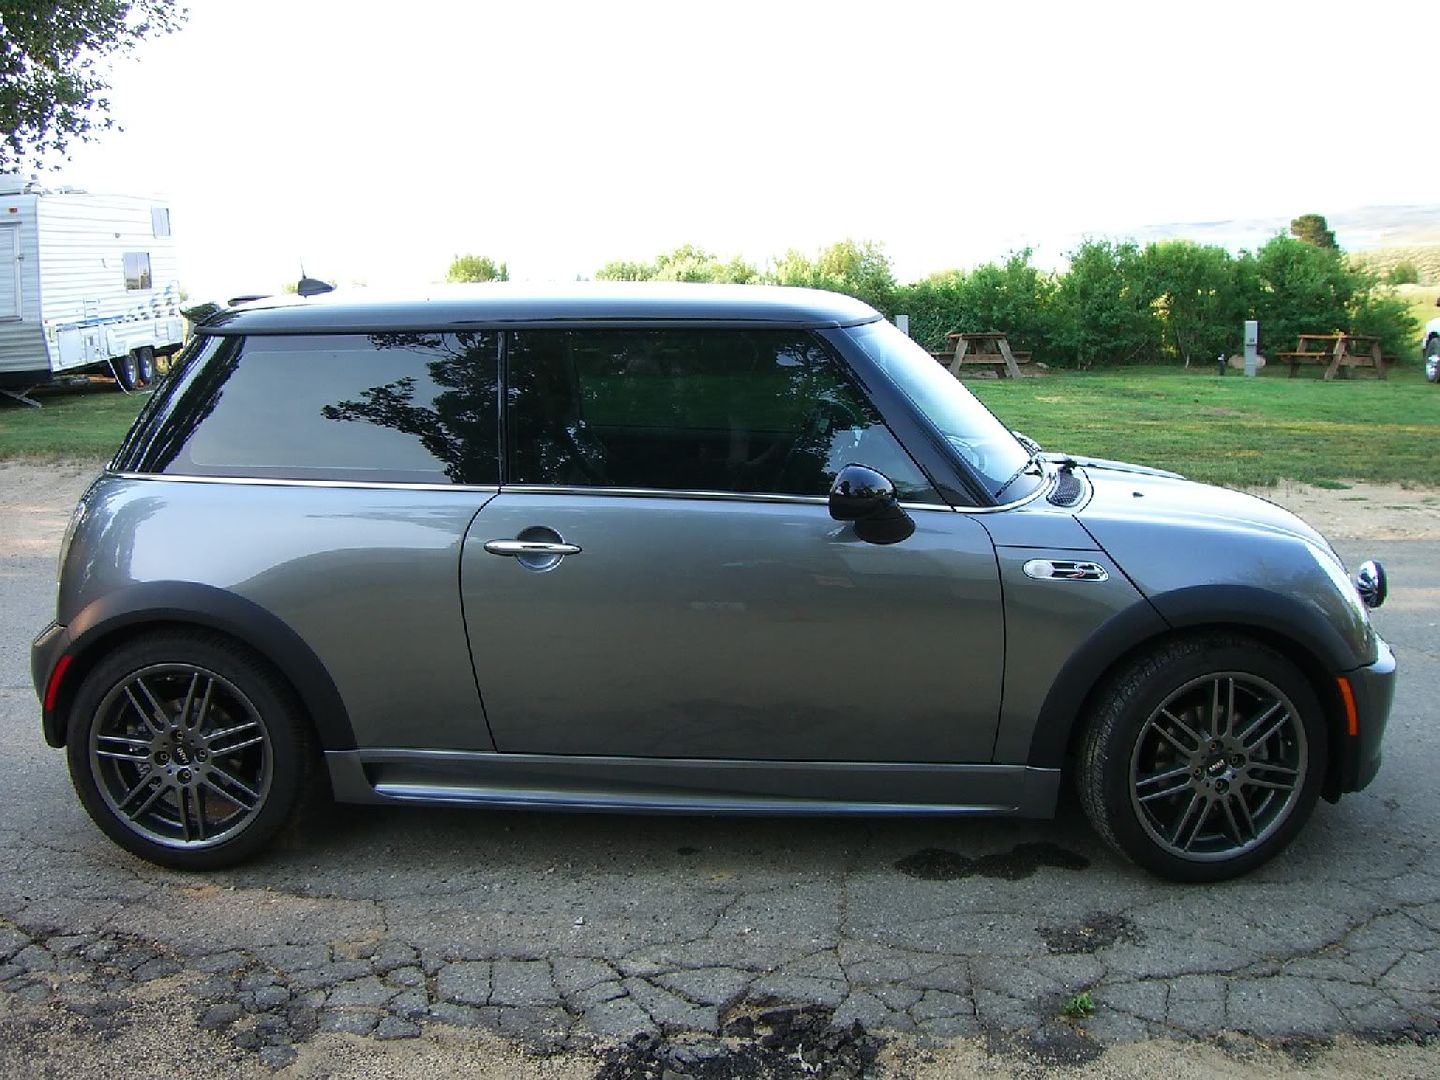
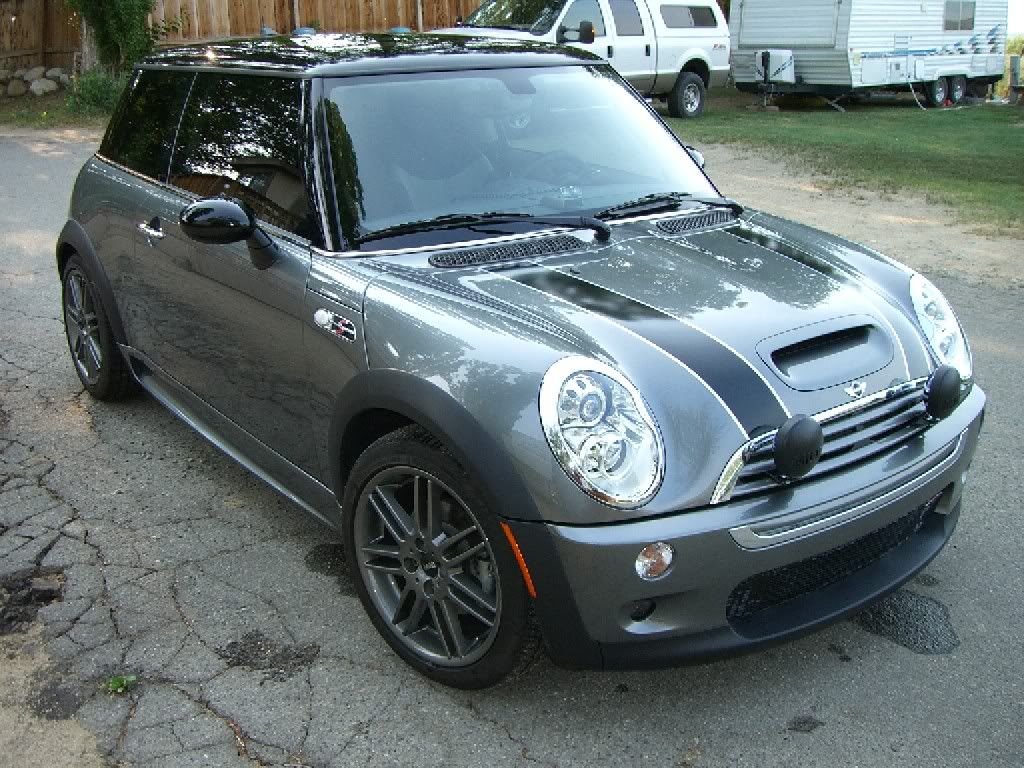
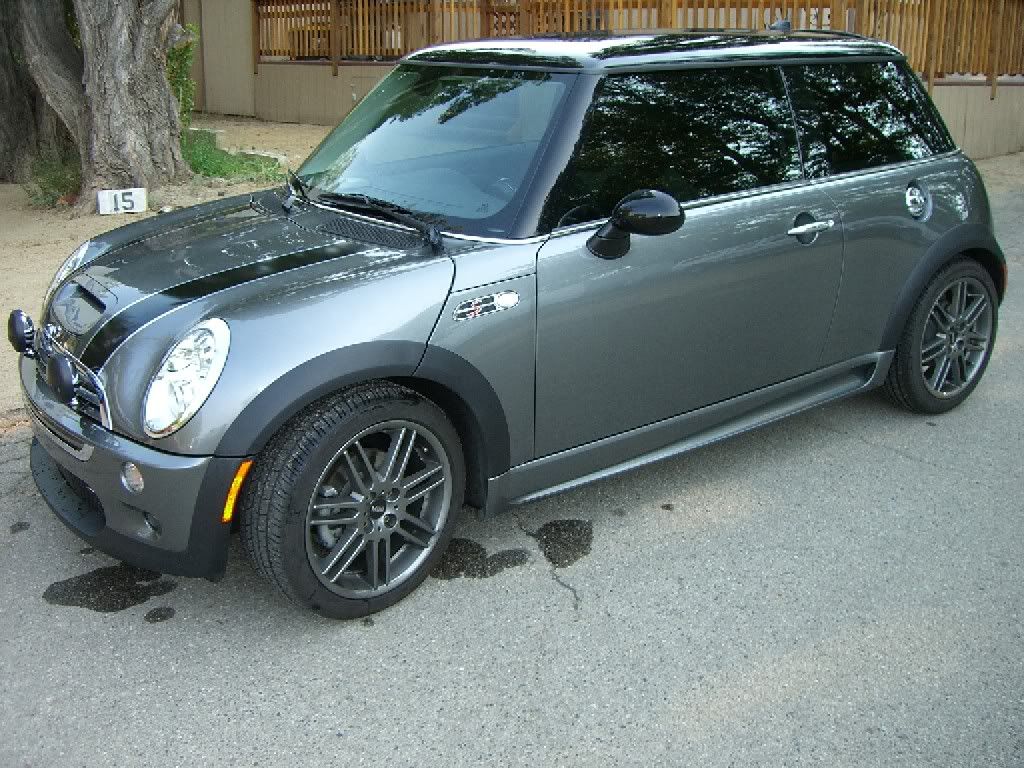
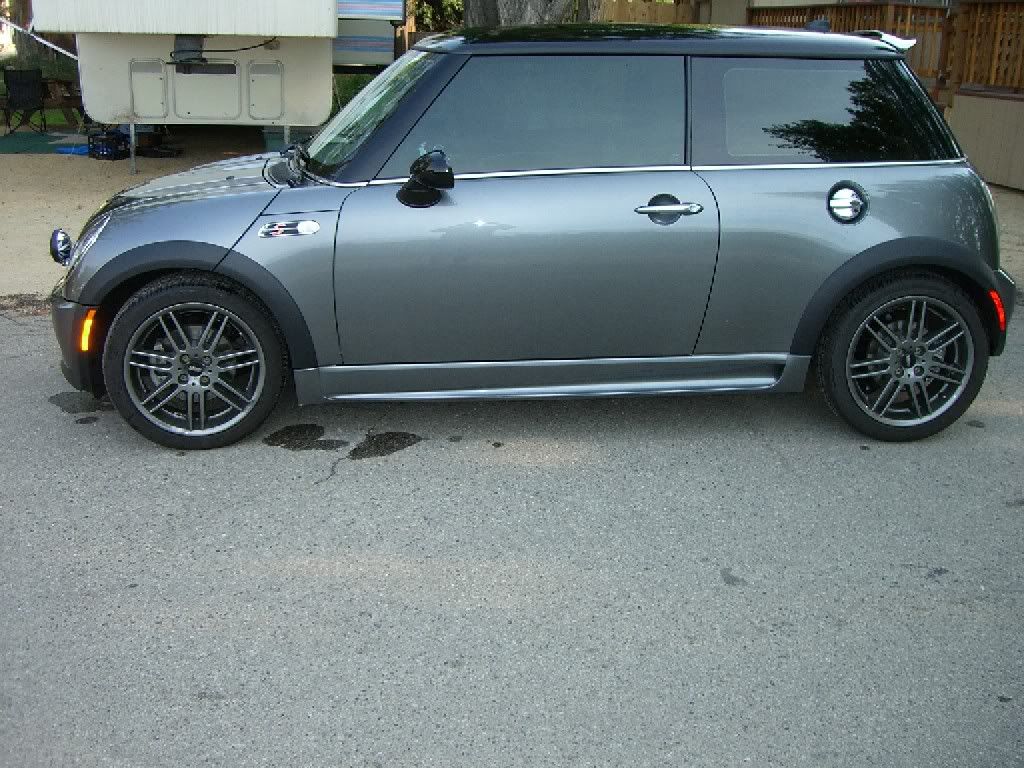
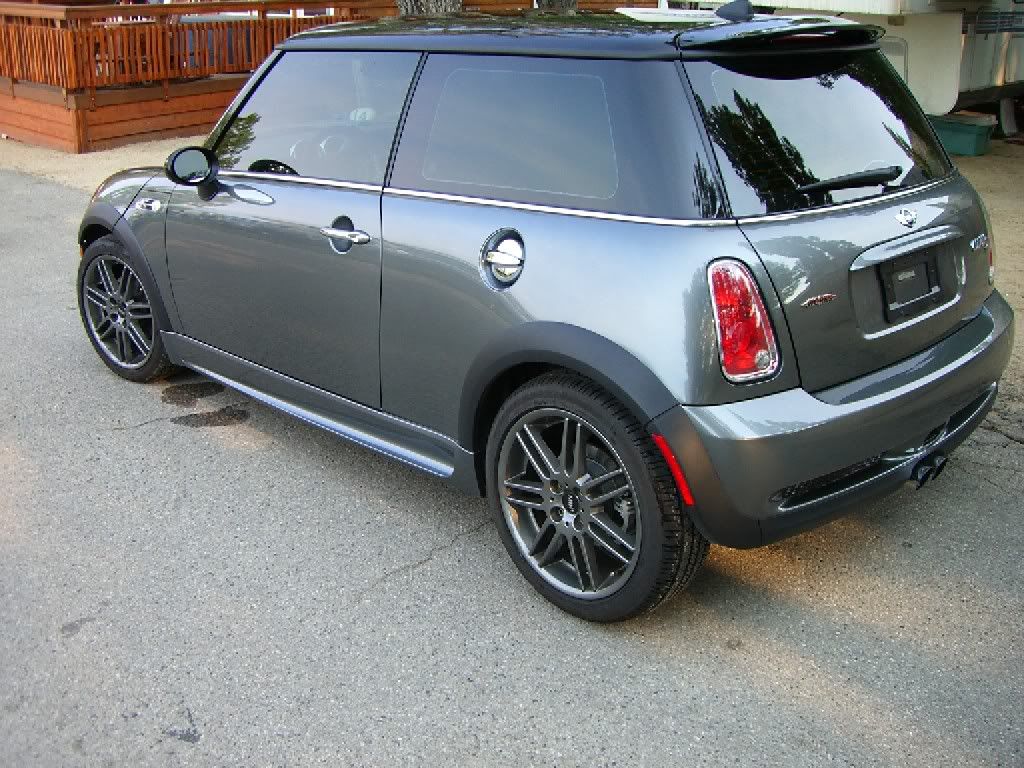
Done! Looks a bit different since the whole side-skirt is painted DS instead of the OEM paint lines with parts painted. I'll try to put some pics up asap.
b.
#13
07-19-2006, 02:07 PM
Former Vendor
Join Date: Jun 2005
Location: Austin, TX & Boston, MA (Babson College)
Posts: 1,447
Likes: 0
Received 0 Likes
on
0 Posts
#15
07-19-2006, 06:32 PM
6th Gear
Join Date: May 2006
Location: New York City
Posts: 1,310
Likes: 0
Received 0 Likes
on
0 Posts

Thread
Thread Starter
Forum
Replies
Last Post
igzekyativ
MINIs & Minis for Sale
34
07-16-2020 12:54 PM
igzekyativ
MINIs & Minis for Sale
28
12-23-2015 10:36 AM
squawSkiBum
MINI Parts for Sale
15
10-02-2015 09:21 AM