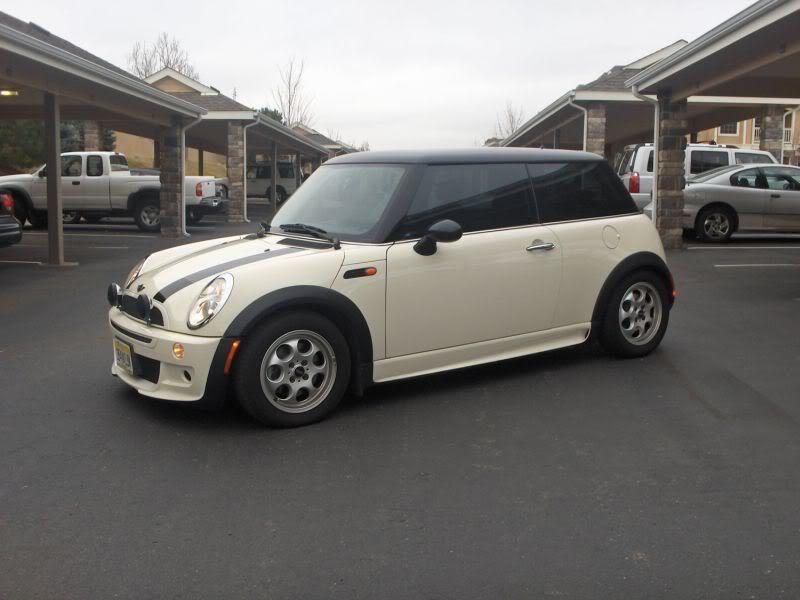
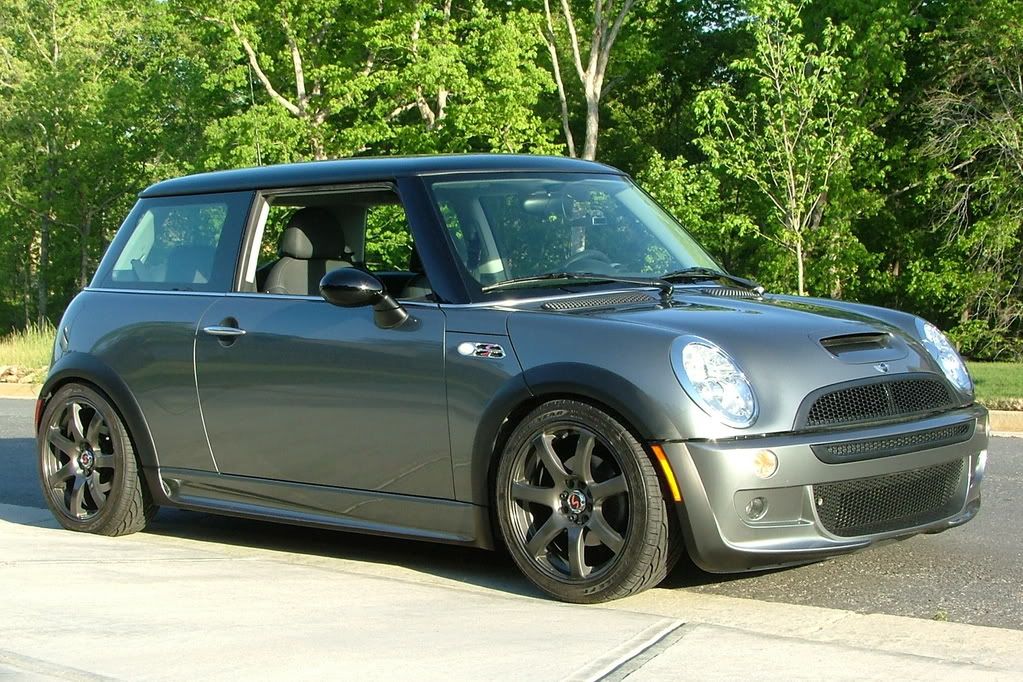
Interior/Exterior Show us your Aero Kit!!!
#226
Quick answer, No. It took me over 3 1/2 hrs just to get the stock bumper off; by the time i did that, got the new bumper on, and worked on installing the top grill...i was more than exhausted and frustrated to take proper shots. Knowing me a FULL photoshoot will be coming soon!
 (Heck, if i could get out of school/class right now, i'd go.)
#227
#228
3.5 hours  (where's the jaw hitting the floor smiley when you need it)!? I can have it off in five minutes (not bragging or anything). BTW, the cord hanging should be your temp sensor for the OBC (I saw you mention about this in your other thread). Can't wait to see the other pics
 (where's the jaw hitting the floor smiley when you need it)!? I can have it off in five minutes (not bragging or anything). BTW, the cord hanging should be your temp sensor for the OBC (I saw you mention about this in your other thread). Can't wait to see the other pics
#230
Believe me, i know the pain of the price even though i didn't get the whole kit. Most of the cost for me turned out to be for paint supplies. Yes, i used the same paint shop...Royal. VERY satisfied with the time it took to get done, and the finished product...but not happy with the price.
Quick answer, No. It took me over 3 1/2 hrs just to get the stock bumper off; by the time i did that, got the new bumper on, and worked on installing the top grill...i was more than exhausted and frustrated to take proper shots. Knowing me a FULL photoshoot will be coming soon! (Heck, if i could get out of school/class right now, i'd go.)
Quick answer, No. It took me over 3 1/2 hrs just to get the stock bumper off; by the time i did that, got the new bumper on, and worked on installing the top grill...i was more than exhausted and frustrated to take proper shots. Knowing me a FULL photoshoot will be coming soon!
 (Heck, if i could get out of school/class right now, i'd go.)
#236
#238
#240
Me likee:

Complete (w/ fender flares too!) for $1400.
http://www.streetbeatcustoms.com/xen10900-3n.html
Kinda gives that widebody look... for those non-S drivers. =(
Complete (w/ fender flares too!) for $1400.
http://www.streetbeatcustoms.com/xen10900-3n.html
Kinda gives that widebody look... for those non-S drivers. =(
Last edited by uRabbit; 04-17-2008 at 07:17 PM.
#241
Here's what my new front aero kit bumper and grilles lookED like. Got them installed over the past weekend.

Unfortunately, we had high winds yesterday - gusts averaging 40-45mph. I work very close to the harbor, which reportedly got gusts in excess of 130mph. My MINI got sandblasted on my way to work, and while it was sitting in the parking lot. The bonnet, windshield, and of course - the new bumper took the brunt of the blow. Fortunately, I parked in between two fullsize 4x4 pickup trucks, so damage to the sides is non-existent or minimal. I'm soooo upset!
A link from our local newspaper talking about the wind: http://www.kodiakdailymirror.com/?pid=19&id=6087
It's times like this when I really want to reconsider living in Alaska. Ugh!

Unfortunately, we had high winds yesterday - gusts averaging 40-45mph. I work very close to the harbor, which reportedly got gusts in excess of 130mph. My MINI got sandblasted on my way to work, and while it was sitting in the parking lot.
 The bonnet, windshield, and of course - the new bumper took the brunt of the blow. Fortunately, I parked in between two fullsize 4x4 pickup trucks, so damage to the sides is non-existent or minimal. I'm soooo upset!
A link from our local newspaper talking about the wind: http://www.kodiakdailymirror.com/?pid=19&id=6087
It's times like this when I really want to reconsider living in Alaska. Ugh!
Last edited by AKIndiMini; 04-17-2008 at 10:37 PM.
#242
#243
I just used the nuts from the original grille. It was a real PITA to get them to thread on, but it worked for me. I can't say I'm too impressed with the mounting method, but the grille doesn't look like it will work its way loose anytime soon. It stayed on there despite the hurricane force wind gusts we were getting here on wednesday.
#247
Yeah, just did this Thursday. Pull off the old front bumper cover, remove the turn signal housings, and side marker lights. You'll have to trim off about 1/2 an inch off the turn signal housings (it doesn't fit right, and I used a dremel with a cutting wheel). Screw those on. Next, you'll have to reem out the holes where the side marker light pegs slide into. You'll notice they won't drop right in, so modify so it'll work. Then, mount your bumper up.
I also used a wire tie to hold my temp sensor onto the lower grille. Sorry the instructions are so bare, but I followed the MINI instructions, and it was a piece of cake. (DO NOT MOVE YOUR FOGLIGHTS!!) I followed this step in the instructions only to find out that it was not needed. My lights were fine going from the old bumper to the aero kit. If you print off the PDF, you'll see this step. It's not harmful or anything, but I just wasted an hour of my time removing the fender liners so I could get to the damn bolt holding the foglight housing on...
Again, follow the PDF. It's about an hour job if you know what you're doing and have everything at hand

#248


