
Interior/Exterior Rear Aero Kit Grills
#1
 02-24-2007 | 10:00 AM

Rear Aero Kit Grills
I didn't want to put the silver sticker on the Aero Kit and I couldn't find anything I liked, so I came up with this idea:
Get two stock Aero lower grills ($40 each) and use the sticker for a template:

Trace a pattern and use a jigsaw to end up with this:

and here is a mock up:
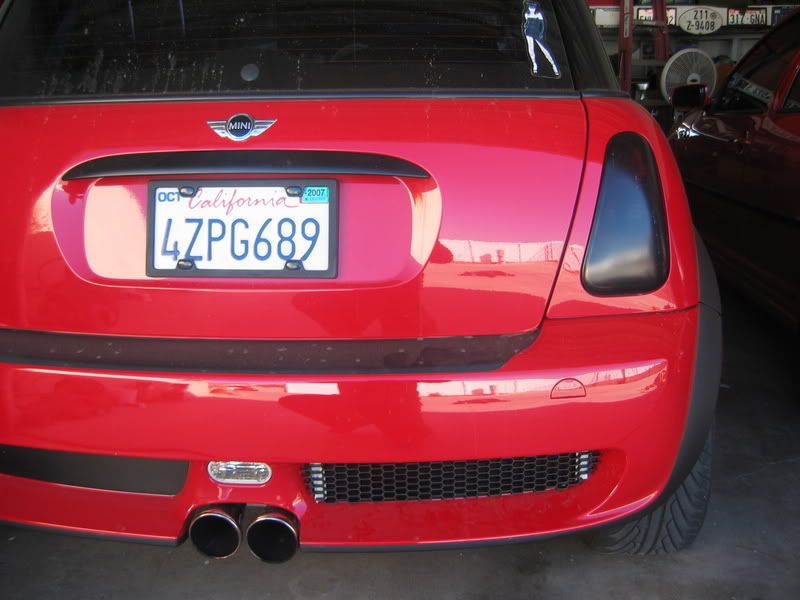
I need help finishing it off though. I have searched the home improvement and auto supply stores, but I cant find anything to trim the edge. I thought that door guard would work, but it is too small. If anyone knows of something that would work, it would be much appreciated. The edge is 1/2 in thick.
Get two stock Aero lower grills ($40 each) and use the sticker for a template:
Trace a pattern and use a jigsaw to end up with this:
and here is a mock up:
I need help finishing it off though. I have searched the home improvement and auto supply stores, but I cant find anything to trim the edge. I thought that door guard would work, but it is too small. If anyone knows of something that would work, it would be much appreciated. The edge is 1/2 in thick.


#7
02-24-2007 | 11:09 AM

6th Gear
Joined: Jul 2002
Posts: 3,446
Likes: 8
From: L.A ca
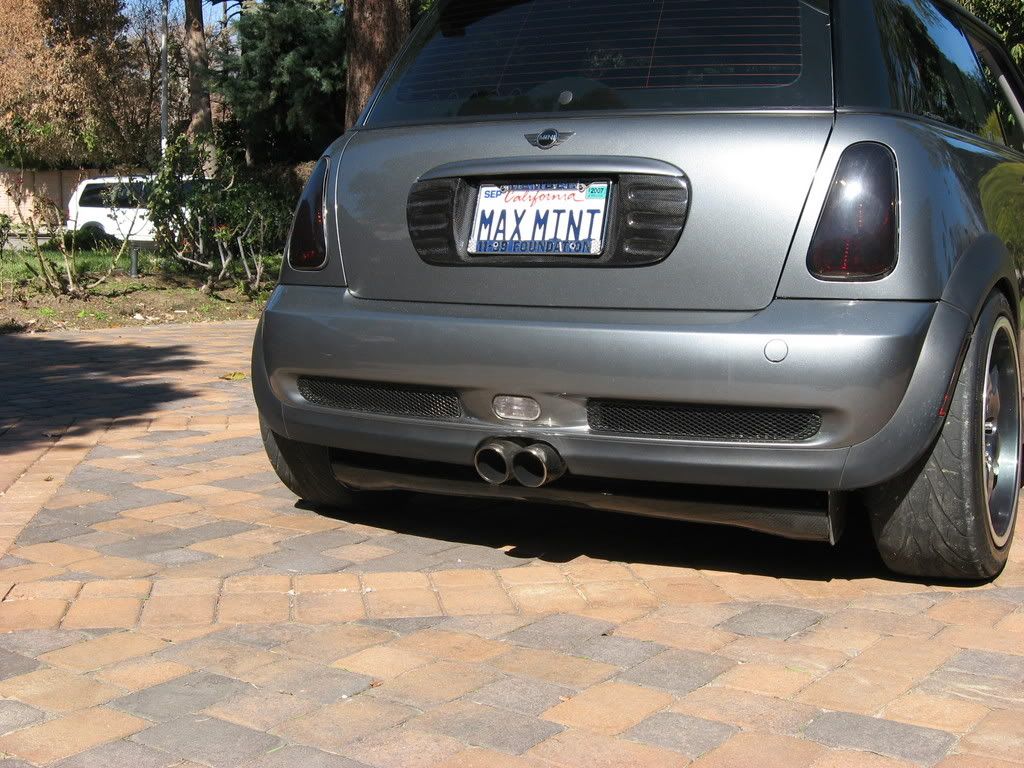
Nice work ! I like to see budget mods like this and am trying to think up something that might be used to finish it off. My first thought was door edge material like i use to finish of my CF plates etc but as you said its not wide enough. Too bad you couldn't trim the edge from the piece that you used to cut from but I do not know how you could make it stick cleanly. As another option I mention this because we have not updated our site but we do have matching grills for the aero kit now. They are more expensive than your project here at $ 139 for the set but it is another option that you might not have been aware of. I will add a quick snap shot of how they look on my standard rear bumper so you will at least get some sort of an idea. I only have the aero front grill on my car at this time. Again nice DIY job and if i can think of a suitable trim idea I'll post it up.
Randy
M7 Tuning
Standard rear grills
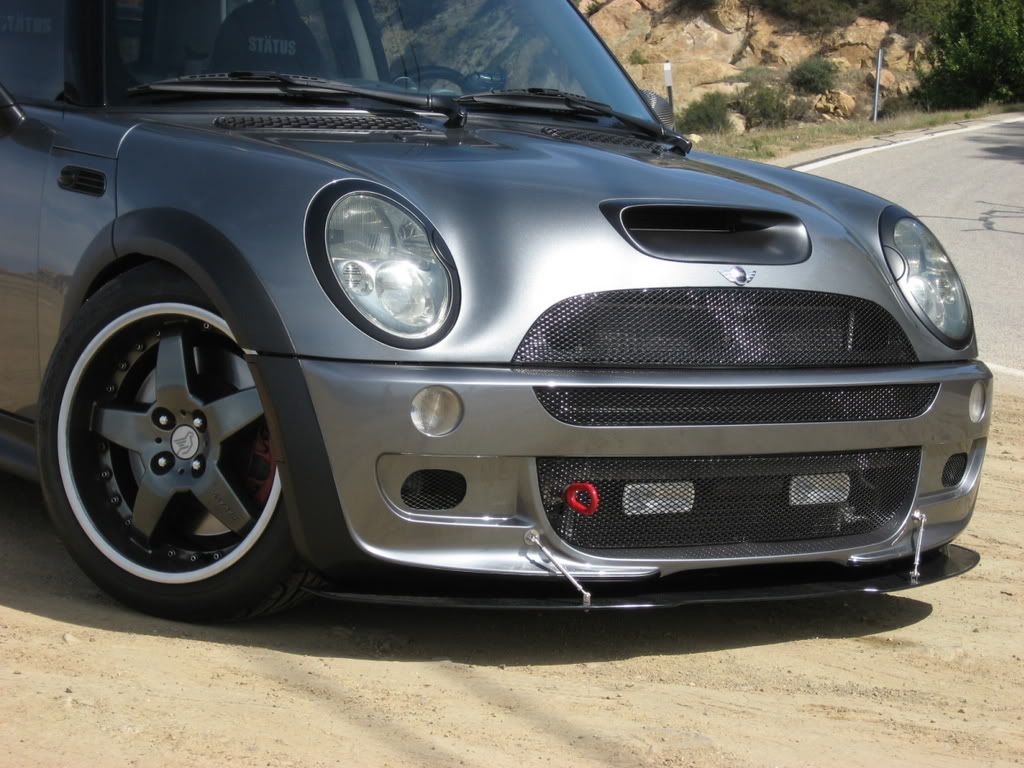
Matching front Aero pkg.
Randy
M7 Tuning
Standard rear grills
Matching front Aero pkg.
Trending Topics
#8
02-24-2007 | 09:14 PM
#9
02-24-2007 | 10:48 PM
6th Gear
Joined: Jul 2002
Posts: 3,446
Likes: 8
From: L.A ca
Randy
M7 Tuning
#10
02-25-2007 | 01:17 PM

Banned
iTrader: (1)
Joined: Feb 2005
Posts: 4,054
Likes: 0
From: As far away from Florida as I can get.
I need help finishing it off though. I have searched the home improvement and auto supply stores, but I cant find anything to trim the edge. I thought that door guard would work, but it is too small. If anyone knows of something that would work, it would be much appreciated. The edge is 1/2 in thick.
#11
02-25-2007 | 02:39 PM
A mini2 member found this site for me. Looks like it may be the solution.
http://www.sealsdirect.co.uk/bbCMS/s...DepartmentId=3
http://www.sealsdirect.co.uk/bbCMS/s...DepartmentId=3
#12
02-25-2007 | 03:17 PM

I'm really looking for an idea to replace the stickers on the aero kit as well. I thought about using the Aero grille as a template, but thought the depth was too much. I liked the idea of the Ultimate grilles from M7, but thought those were spendy. I now don't know what the solution is. I would like to see a picture of the ultimate grilles on an AERO bumper, not a stock bumper.
#13
02-25-2007 | 03:27 PM
6th Gear
Joined: Jul 2002
Posts: 3,446
Likes: 8
From: L.A ca

#14
02-25-2007 | 03:37 PM

3rd Gear
Joined: Oct 2005
Posts: 187
Likes: 0
From: Glendale, CA
Hey guys,
I cut 2 grilles to the shape of the sticker. Then I went to Home Depot and bought about 8' black rubber floor molding (mostly used in offices or industrial buildings. Buy the best one). I again used the stickers to outline the moldings (2 sets of symmetrical templates, 4 in total). I used 2 of them as bases to mount the grills on (also it created a nice black background), and the other 2 rubber templates were used as shaping frames on the top.
I cut out the inside of the other 2 leaving about 0.5" wide frame. Everything was assembled and bond together using epoxy glue (I chose the best quality, 2 component, fast drying glue again from Home Depot). Make sure the glue you buy remains flexible after hardening. I bond them together gluing the edges only, so the glue won't be visible through the grille, and then enforced the sided applying epoxy. left them to dry for a bout 15 minutes and mounted on the bumper using double sided, high tack tape (I think it was 3M. It's dark gray with red transfer tape). Don't forget to clean the bumper from the sticker residue. Also wipe all surfaces with rubbing alcohol before applying the double-sided tape.
Tools used: heavy duty utility knife, several cheap brushes to apply glue.
You will need 2-3 packs of glue, a roll of double sided tape. and lacquer thinner to remove excess glue.
The best part of using the molding is that I was able to create a nice continuos edge frame and, believe me , it looks like factory made. Unfortunately I don't have a good photo, I'll post a close shots later. For now this is the only picture I have.
#15
02-25-2007 | 03:44 PM

I will vouch that MiniYegor's set up is the nicest I have seen out there. I hope he posts some pics so everyone can see for themselves. We have witnessed several people come up to him at the SCMMLaughlin run asking if that was a factory option.
P.S. You better patent the idea before a single letter single digit company steals it.
P.S. You better patent the idea before a single letter single digit company steals it.
#16
02-25-2007 | 03:53 PM
6th Gear
Joined: Jul 2002
Posts: 3,446
Likes: 8
From: L.A ca
Hey guys,
I cut 2 grilles to the shape of the sticker. Then I went to Home Depot and bought about 8' black rubber floor molding (mostly used in offices or industrial buildings. Buy the best one). I again used the stickers to outline the moldings (2 sets of symmetrical templates, 4 in total). I used 2 of them as bases to mount the grills on (also it created a nice black background), and the other 2 rubber templates were used as shaping frames on the top.
I cut out the inside of the other 2 leaving about 0.5" wide frame. Everything was assembled and bond together using epoxy glue (I chose the best quality, 2 component, fast drying glue again from Home Depot). Make sure the glue you buy remains flexible after hardening. I bond them together gluing the edges only, so the glue won't be visible through the grille, and then enforced the sided applying epoxy. left them to dry for a bout 15 minutes and mounted on the bumper using double sided, high tack tape (I think it was 3M. It's dark gray with red transfer tape). Don't forget to clean the bumper from the sticker residue. Also wipe all surfaces with rubbing alcohol before applying the double-sided tape.
Tools used: heavy duty utility knife, several cheap brushes to apply glue.
You will need 2-3 packs of glue, a roll of double sided tape. and lacquer thinner to remove excess glue.
The best part of using the molding is that I was able to create a nice continuos edge frame and, believe me , it looks like factory made. Unfortunately I don't have a good photo, I'll post a close shots later. For now this is the only picture I have.
I cut 2 grilles to the shape of the sticker. Then I went to Home Depot and bought about 8' black rubber floor molding (mostly used in offices or industrial buildings. Buy the best one). I again used the stickers to outline the moldings (2 sets of symmetrical templates, 4 in total). I used 2 of them as bases to mount the grills on (also it created a nice black background), and the other 2 rubber templates were used as shaping frames on the top.
I cut out the inside of the other 2 leaving about 0.5" wide frame. Everything was assembled and bond together using epoxy glue (I chose the best quality, 2 component, fast drying glue again from Home Depot). Make sure the glue you buy remains flexible after hardening. I bond them together gluing the edges only, so the glue won't be visible through the grille, and then enforced the sided applying epoxy. left them to dry for a bout 15 minutes and mounted on the bumper using double sided, high tack tape (I think it was 3M. It's dark gray with red transfer tape). Don't forget to clean the bumper from the sticker residue. Also wipe all surfaces with rubbing alcohol before applying the double-sided tape.
Tools used: heavy duty utility knife, several cheap brushes to apply glue.
You will need 2-3 packs of glue, a roll of double sided tape. and lacquer thinner to remove excess glue.
The best part of using the molding is that I was able to create a nice continuos edge frame and, believe me , it looks like factory made. Unfortunately I don't have a good photo, I'll post a close shots later. For now this is the only picture I have.
I've seen the car and it looks good. If you can't find the 3m tape any hobby shop which caters to the radio controlled crowd has a super strong double sided tape commonaly referred to as " servo " tape. A $5.00 roll should do everything you need. Nice write up!
Randy
M7 Tuning
#17
02-25-2007 | 05:42 PM
#18
02-26-2007 | 08:58 AM
3rd Gear
Joined: Oct 2005
Posts: 187
Likes: 0
From: Glendale, CA
I will vouch that MiniYegor's set up is the nicest I have seen out there. I hope he posts some pics so everyone can see for themselves. We have witnessed several people come up to him at the SCMMLaughlin run asking if that was a factory option.
P.S. You better patent the idea before a single letter single digit company steals it.
P.S. You better patent the idea before a single letter single digit company steals it.
Here 2 other images. I apologize for the quality, I'll try to post better close-up shots.


Thread
Thread Starter
Forum
Replies
Last Post
igzekyativ
MINIs & Minis for Sale
34
07-16-2020 12:54 PM
igzekyativ
MINIs & Minis for Sale
28
12-23-2015 10:36 AM