When you click on links to various merchants on this site and make a purchase, this can result in this site earning a commission. Affiliate programs and affiliations include, but are not limited to, the eBay Partner Network.
Only the rice will tell. She was cleaning the cats' running water bowl and the wall adapter wound up sitting in a bowl full of water in the kitchen sink.
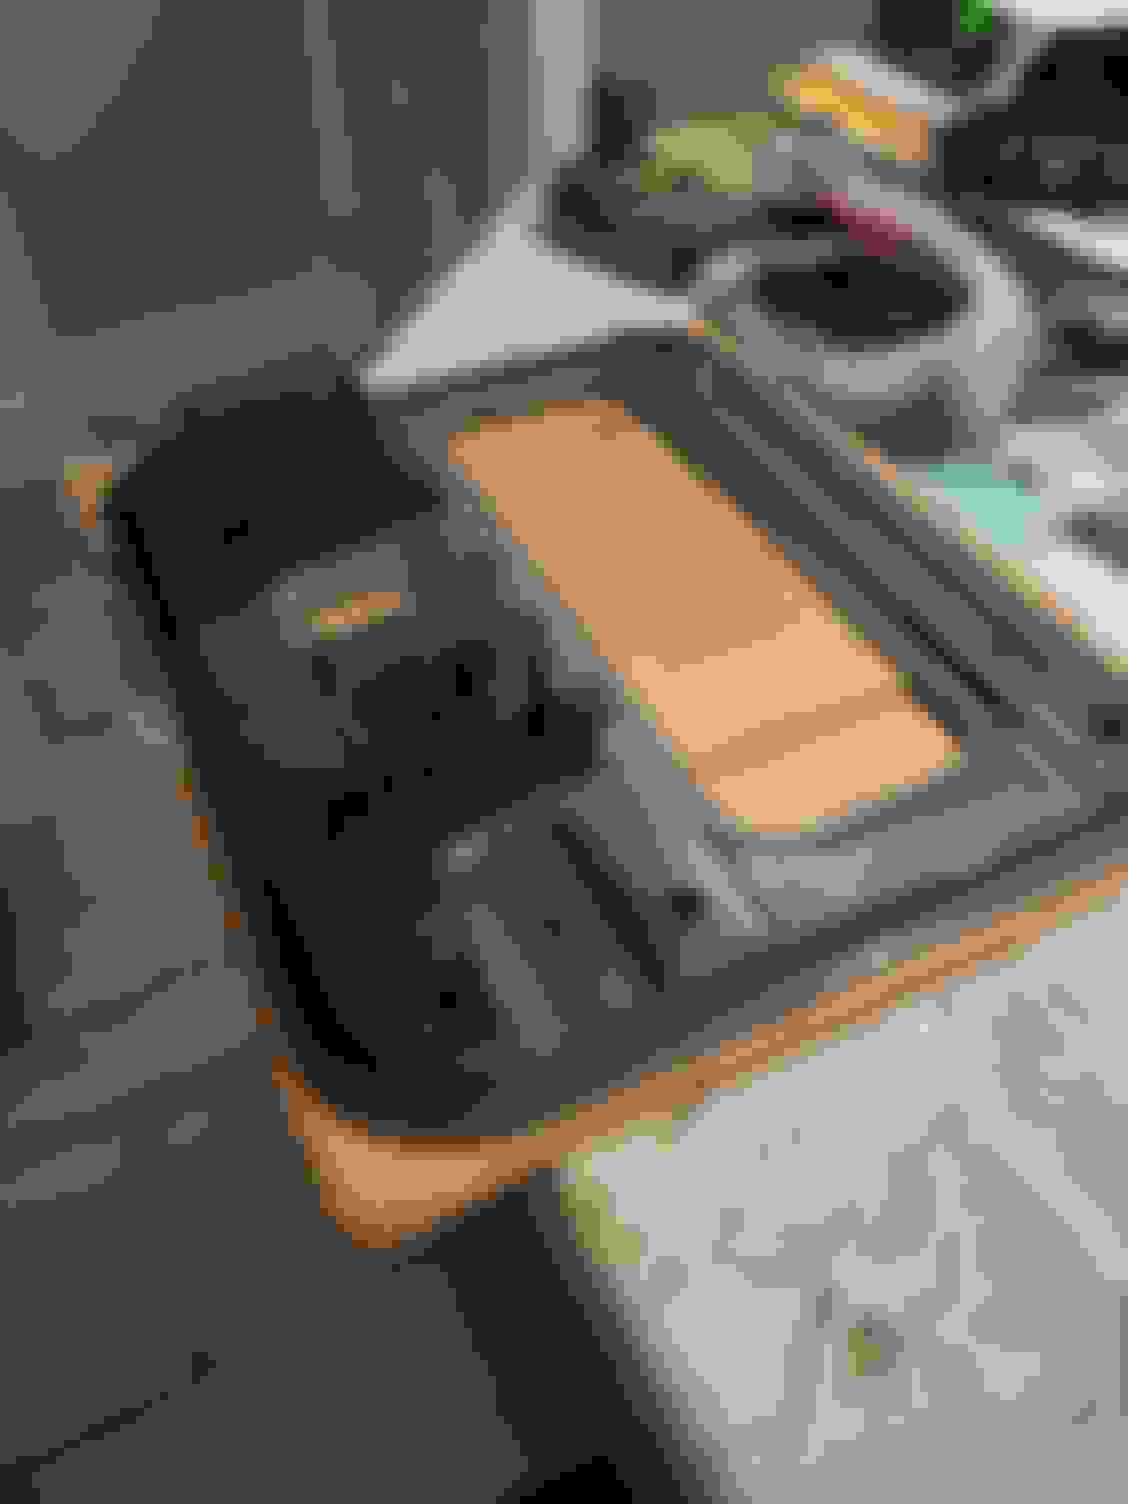
Scored some RTABs on clearance from Rock Auto for $8.19/ea! With tax and shipping both bushings are coming to my door for the cost of one retail. Tie rod assemblies are also on hand.
But yesterday I found a more pressing issue when I hopped in Gurmpy to run an errand. Fired him up and there was way more growl than normal. I'm not sure if it's the flex pipe or something else, but there is a substantial exhaust leak in front of the passenger compartment and at times I could smell exhaust in the car. Not good for the wife sitting in traffic!
Posted the exhaust fix in the "what did you do today" thread. Typical (it appears) broken downpipe right after the first cat. Apparently making it 178,000 miles is a good run! Welded it back up and all is well, again.
Noticed the passenger tag light was out again. The corrosion from when the housing was leaking had finally taken its toll and the wire had broken off. I managed to get the wire pulled out enough to get the end stripped. I then soldered some more wire to the original wire, and then soldered that to the bulb contact. So far so good! Was crunched for time so no pics.
While in the hatch I also addressed the in-op rear washer. The pump runs, and I could see fluid around the motor, so it's pumping to the the rear. With the cover removed the problem became apparent, it was clogged. Out came the drill and small bit and we have flow again!
RTABs, tie rods, and an oil change are on hand for some maintenance in the next two weeks.
Got the oil change done Monday night. Noticed a bit of sparkle in the oil, not thrilled. However it appears that someone stripped the oil pan at some point and just installed some giant bolt to fill the hole. I'm hoping the sparkles are coming from the buggered up drain hole in the pan. The bolt also has a floating washer integrated on it that doesn't seal, so I put some black rtv between the two parts. Time to price an oil pan and be prepared to inspect some bearings at the next oil change.
I also got the right rear RTAB replaced. Good news is the bushing is done. Bad news is the end of the trailing arm is tweaked. I was pressed for time and just put things back together so I could drive the car. My plan is to go back in and heat the end of the arm with a torch and use the bolt to straighten it back out.
(Pic upload doesn't seem to be working at the moment.)
You've brought this car back! Congrats! In regards to the sparkle, make sure to check the oil filter as that's where most of it will be caught. I also got a new 3rd party oil pan from Rockauto for very cheap - it fits fine - which was only a little bit more money than buying the tools to helicoil the hole!
Lots of maintenance research being done for old Grumpy at the beginning of the new year. Still need to finish the suspension and steering repairs, which should be happening in the next few weeks. Started a new job (from used car dealer to BMW dealer!) so I haven't been rushing to come in and use shop resources, even on my own time.
After that we'll do the oil pan replacement and inspect the oil filter for metal contaminants. Based on those findings we'll decide where to go from there.
Since I found some coolant on top of the trans last weekend, and a spot in the driveway, the t-stat and housing are on the list. While doing cooling system work I'd also like to service the S/C and replace the water pump. This will, of course, involve inspecting the PTO gears for the WP drive. While I've found kits with new gears, I've also found some very reasonably priced used S/C units from sellers who understand these cars and have inspected the PTO gears and included pictures of them in their listings. This seems like a really good way to go if I find an issue.
There's tons more in the suspension that should be addressed, but for now we're establishing the health of his propulsion system. A vehicle that drives excellent, but doesn't run, is of little use. He still drives decently, though the ride quality leaves some desires.
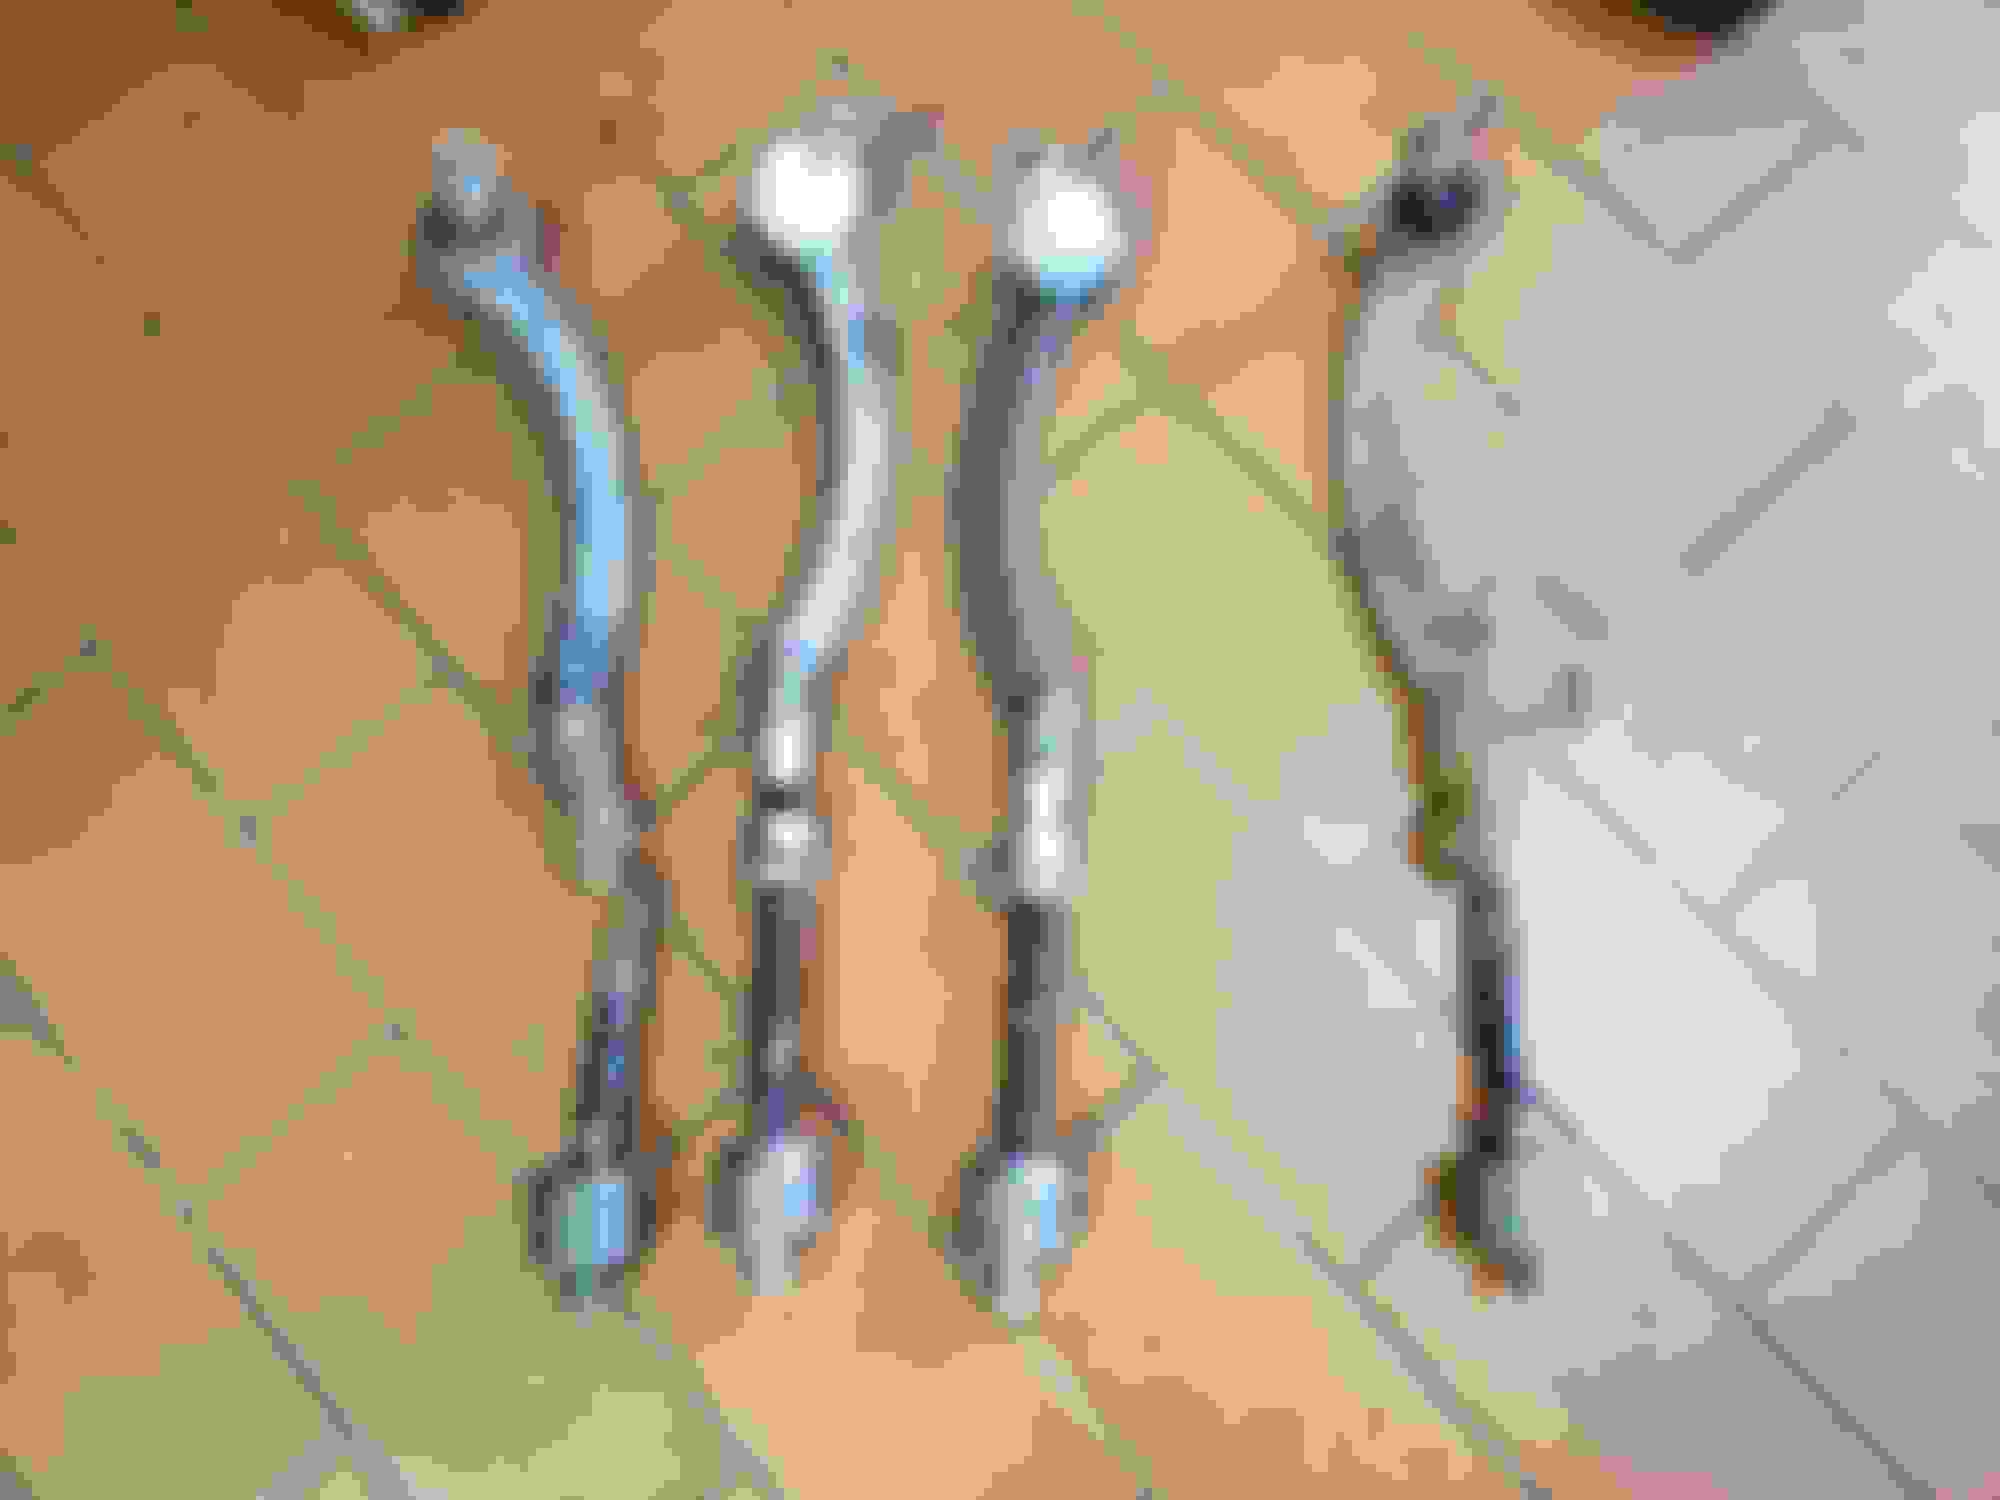
Got Grumpy into the shop today and got some work done. All did not go exactly as planned, but things could have gone worse. First order of business was to sort out the tweaked rear trailing arm. Nothing the torch and a BFH couldn't handle. Much better than it was. Next was replacement of the other RTAB. Next up was inner and outer tierods. I had a bugger of a time getting them adjusted the last time I aligned it, so new ones went in! I wasn't messing around and just cut the old ones in half to remove the boots. Final step was an alignment. This is where things started going a bit wrong. Even with the trailing arm back in shape the right rear toe would not come into spec. Finished up the rest, and went back on the 2 post to drop the RTAB bracket and elongate the alignment slots to give a little more adjustment. Sadly I didn't get quite enough. Being out of time for the day I just compensated the other side to give the right amount of total toe. He may crab down the road a smidge, but he won't eat tires.
Suggestion for the front tie rods, now that they are new. On my NE (read that as “With well salted roads...“ ) MINI when it was new, I took spray lubricant and soaked the tie rod threads through the slit in the tie rod. Then I put in a thick layer of Never Seize in the slot and turned the tie rod end a half turn in each direction to work the stuff in. It has worked pretty well.
Took a ride Thursday night and met fellow forum member robj to pick up a stock exhaust with the one ball mod. He was kind enough to throw in a new rear muffler hanger, some extra hoses, and some LED side scuttle lights he wasn't using. The exhaust almost fit in the ski bag in my e46 wagon, but was about 6" too long!
Ugh - Our R50 needs a new exhaust. It is on its second one and that one only lasted a few years. The NE is really hard on parts like this... Getting the first one off was a royal PIA. This time I may go with a SS one like Miltek with the hope it isn’t too loud.
It was a pleasure and a nice visit. Sailboats and Mini's, who knew?
All's well that ends well right? Hows the thumb?
rob
Thumb is fine, just a nick, healed quickly, thanks. Wish I had a gasket for the exhaust so I could get it on.
Cleaned and RainX'd the windshield yesterday. Also worked on de-Plastidipping the wheels. What a PITA this is. The eraser wheel is a help, but it doesn't get in all the nooks and crannies.
I can't say how much time I had in refinishing my wheels. 60 hours plus? Heck, maybe 80?
In hindsight it would have been easier to sandblast and repaint the entire wheel!
No gasket for the exhaust came with the Borla, but I had bought a new one. There was nothing wrong with the old one. If I had thought about it I'd have given it to yow.
The stock wheels are winter wheels, and are curbed to crap, which is probably why they got Plastidipped in the first place. I'm going through a refinish on a set of wheels for my e46. Started with a chemical strip and it looks like what's on the surface is finish #2 and thick as heck. The coating underneath is even thicker and nastier. Blasting is what I need.
Parts came! Exciting and boring all at the same time. About $60 for the exhaust isolators and the plate shipped to my door, not too shabby. Now I just need to rustle up some hardware for it all. Shouldn't be too hard with all the cars I've parted over the years. I know there are at least two bolts to mount the plate under the car right now holding the exhaust that's on it currently.
Used plate, new isolators. Stock properness going back under with the one ball.


 12-08-2019 | 05:58 AM


 ) MINI when it was new, I took spray lubricant and soaked the tie rod threads through the slit in the tie rod. Then I put in a thick layer of Never Seize in the slot and turned the tie rod end a half turn in each direction to work the stuff in. It has worked pretty well.