When you click on links to various merchants on this site and make a purchase, this can result in this site earning a commission. Affiliate programs and affiliations include, but are not limited to, the eBay Partner Network.
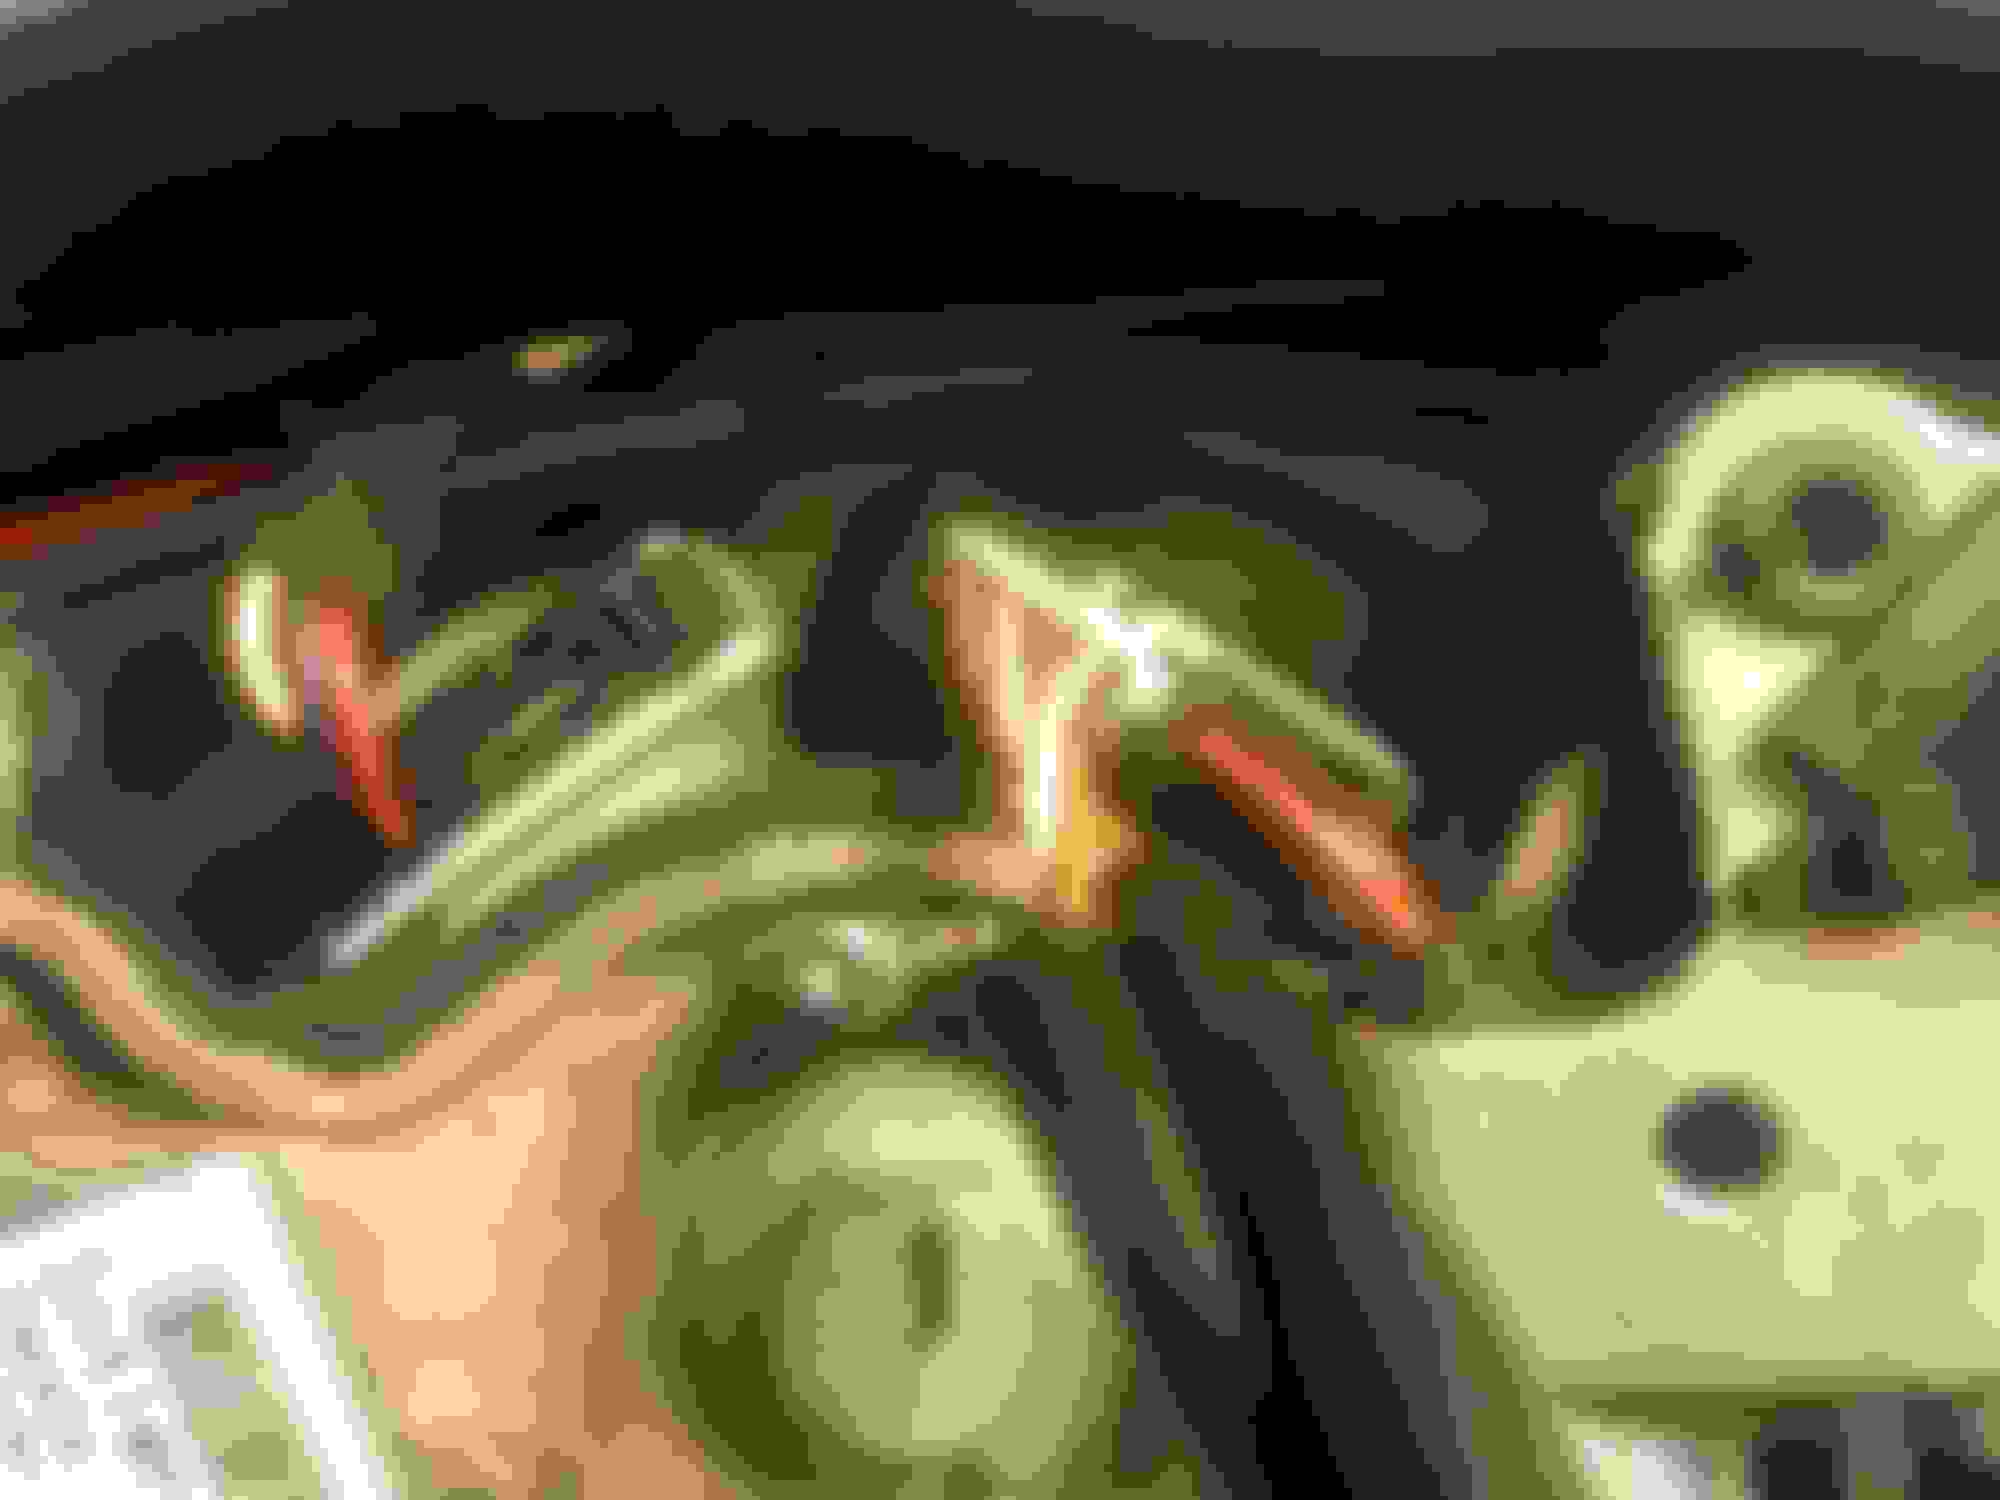
Thanks Eddie. It turned out pretty nice compared to the rusty lump it was when I pulled it. Ford did't paint their engines then so of course the block rusted. I took everything off and wore out 2-3 small wire brushes on it, then silver Por-15, then cast iron grey paint.
I had a new old stock water pump that was still shiny bare aluminum and tried about 10 different silver "detail paints" until I found a match which was a Por-15 "stainless" color. I bead blasted and painted all the aluminum brackets with that. I did the intake with a fine wire brush on a die grinder.
The intake is for the GT-40 plenum and the headers are "Bassini" [sp?].
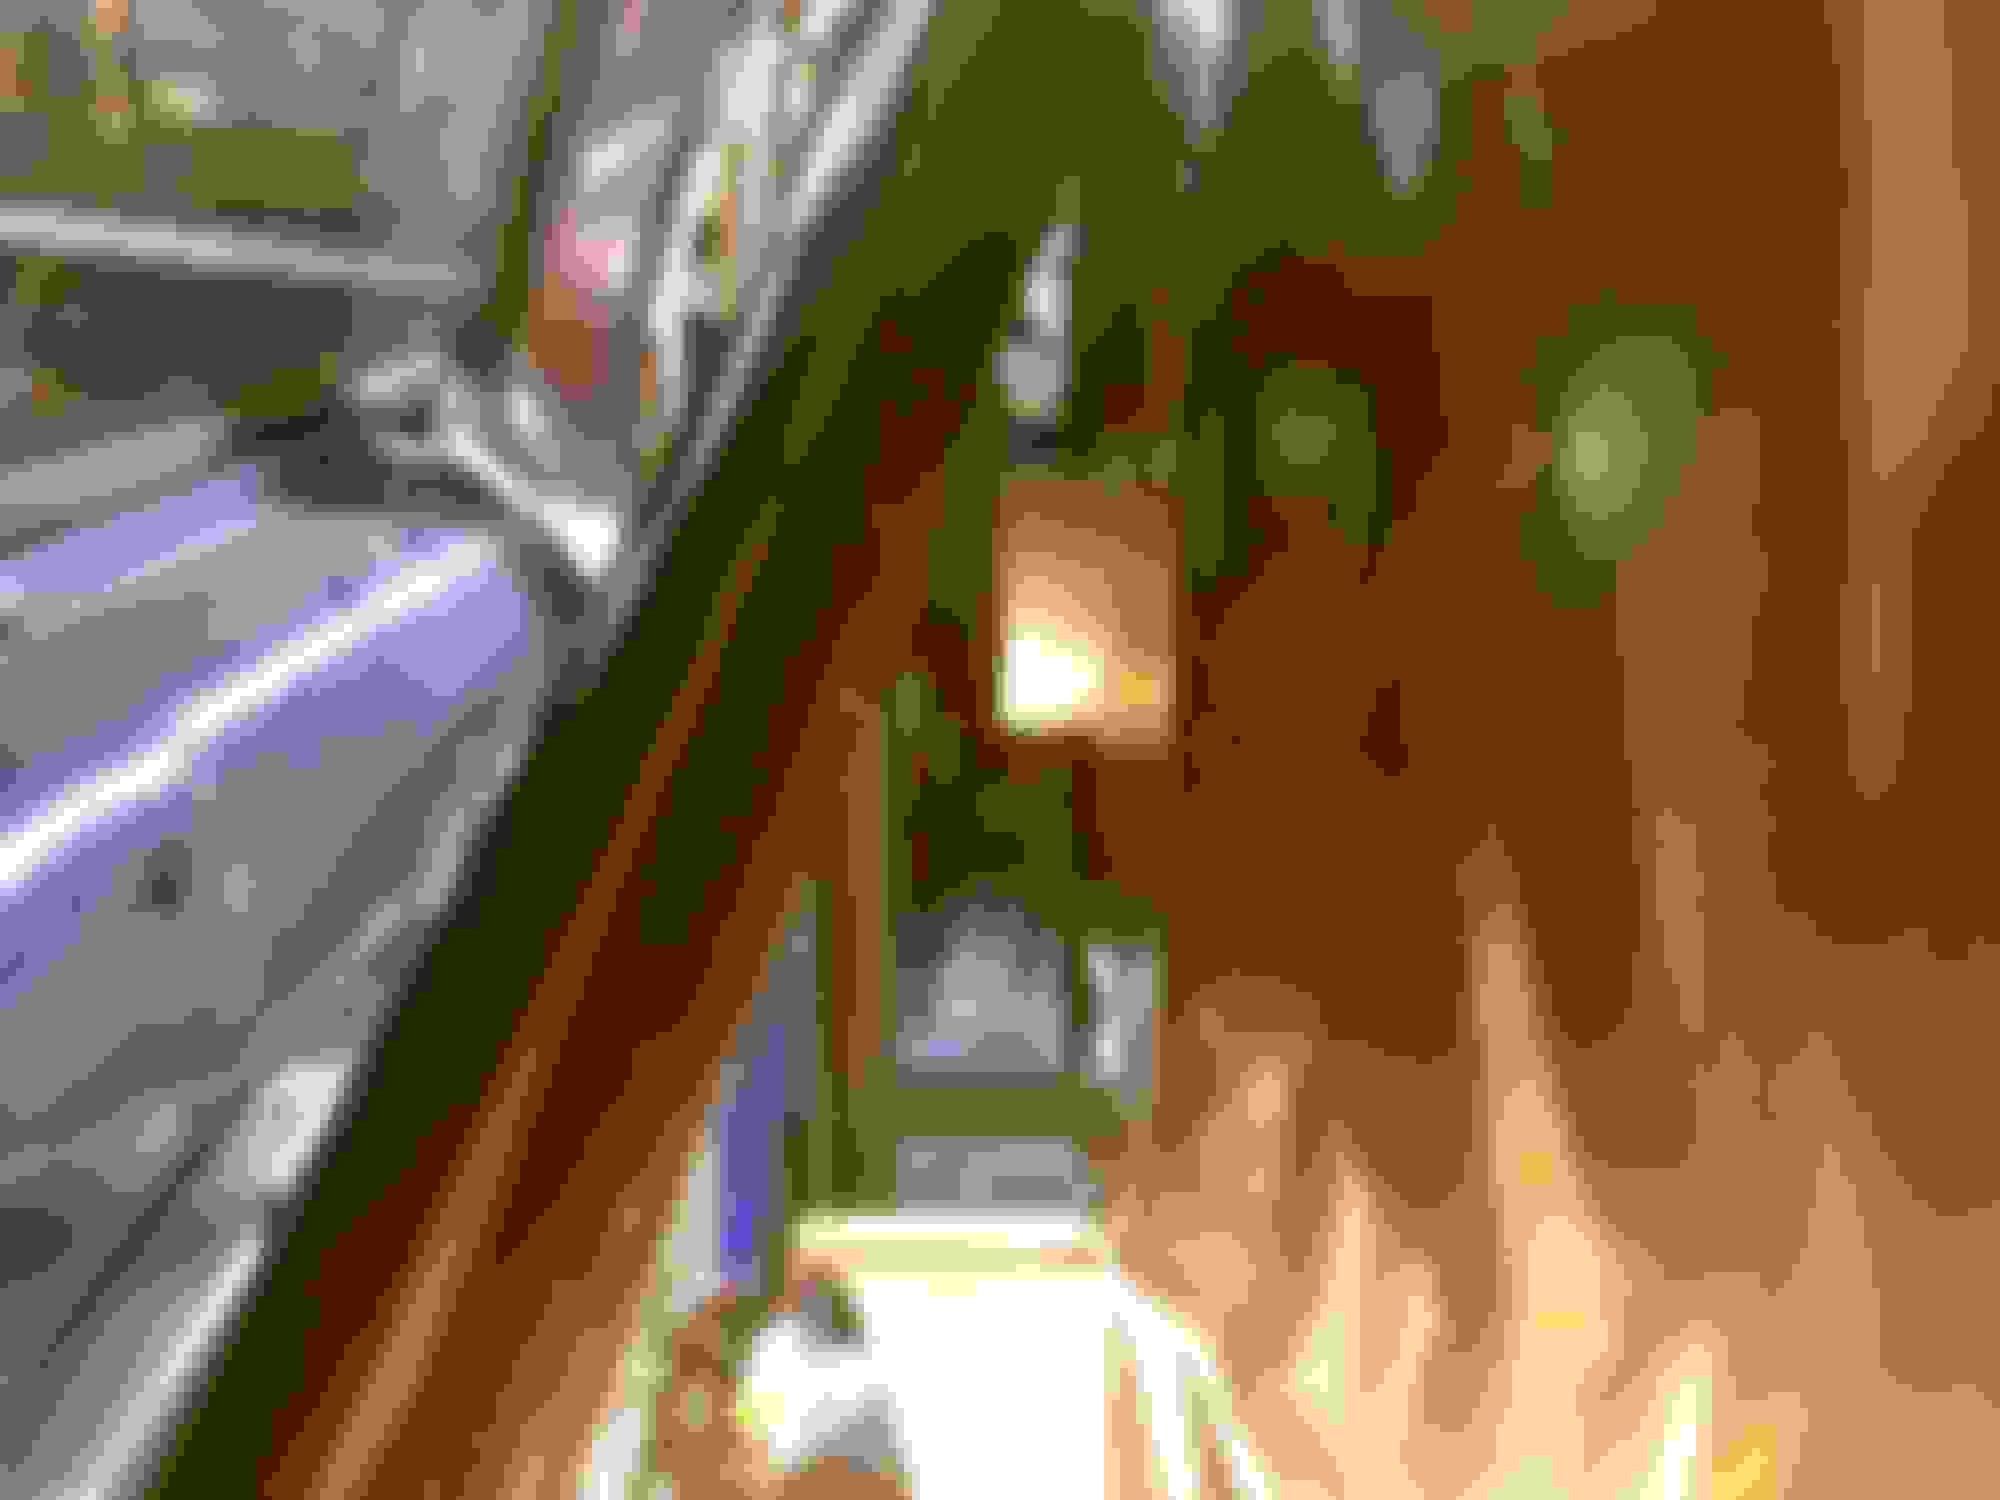
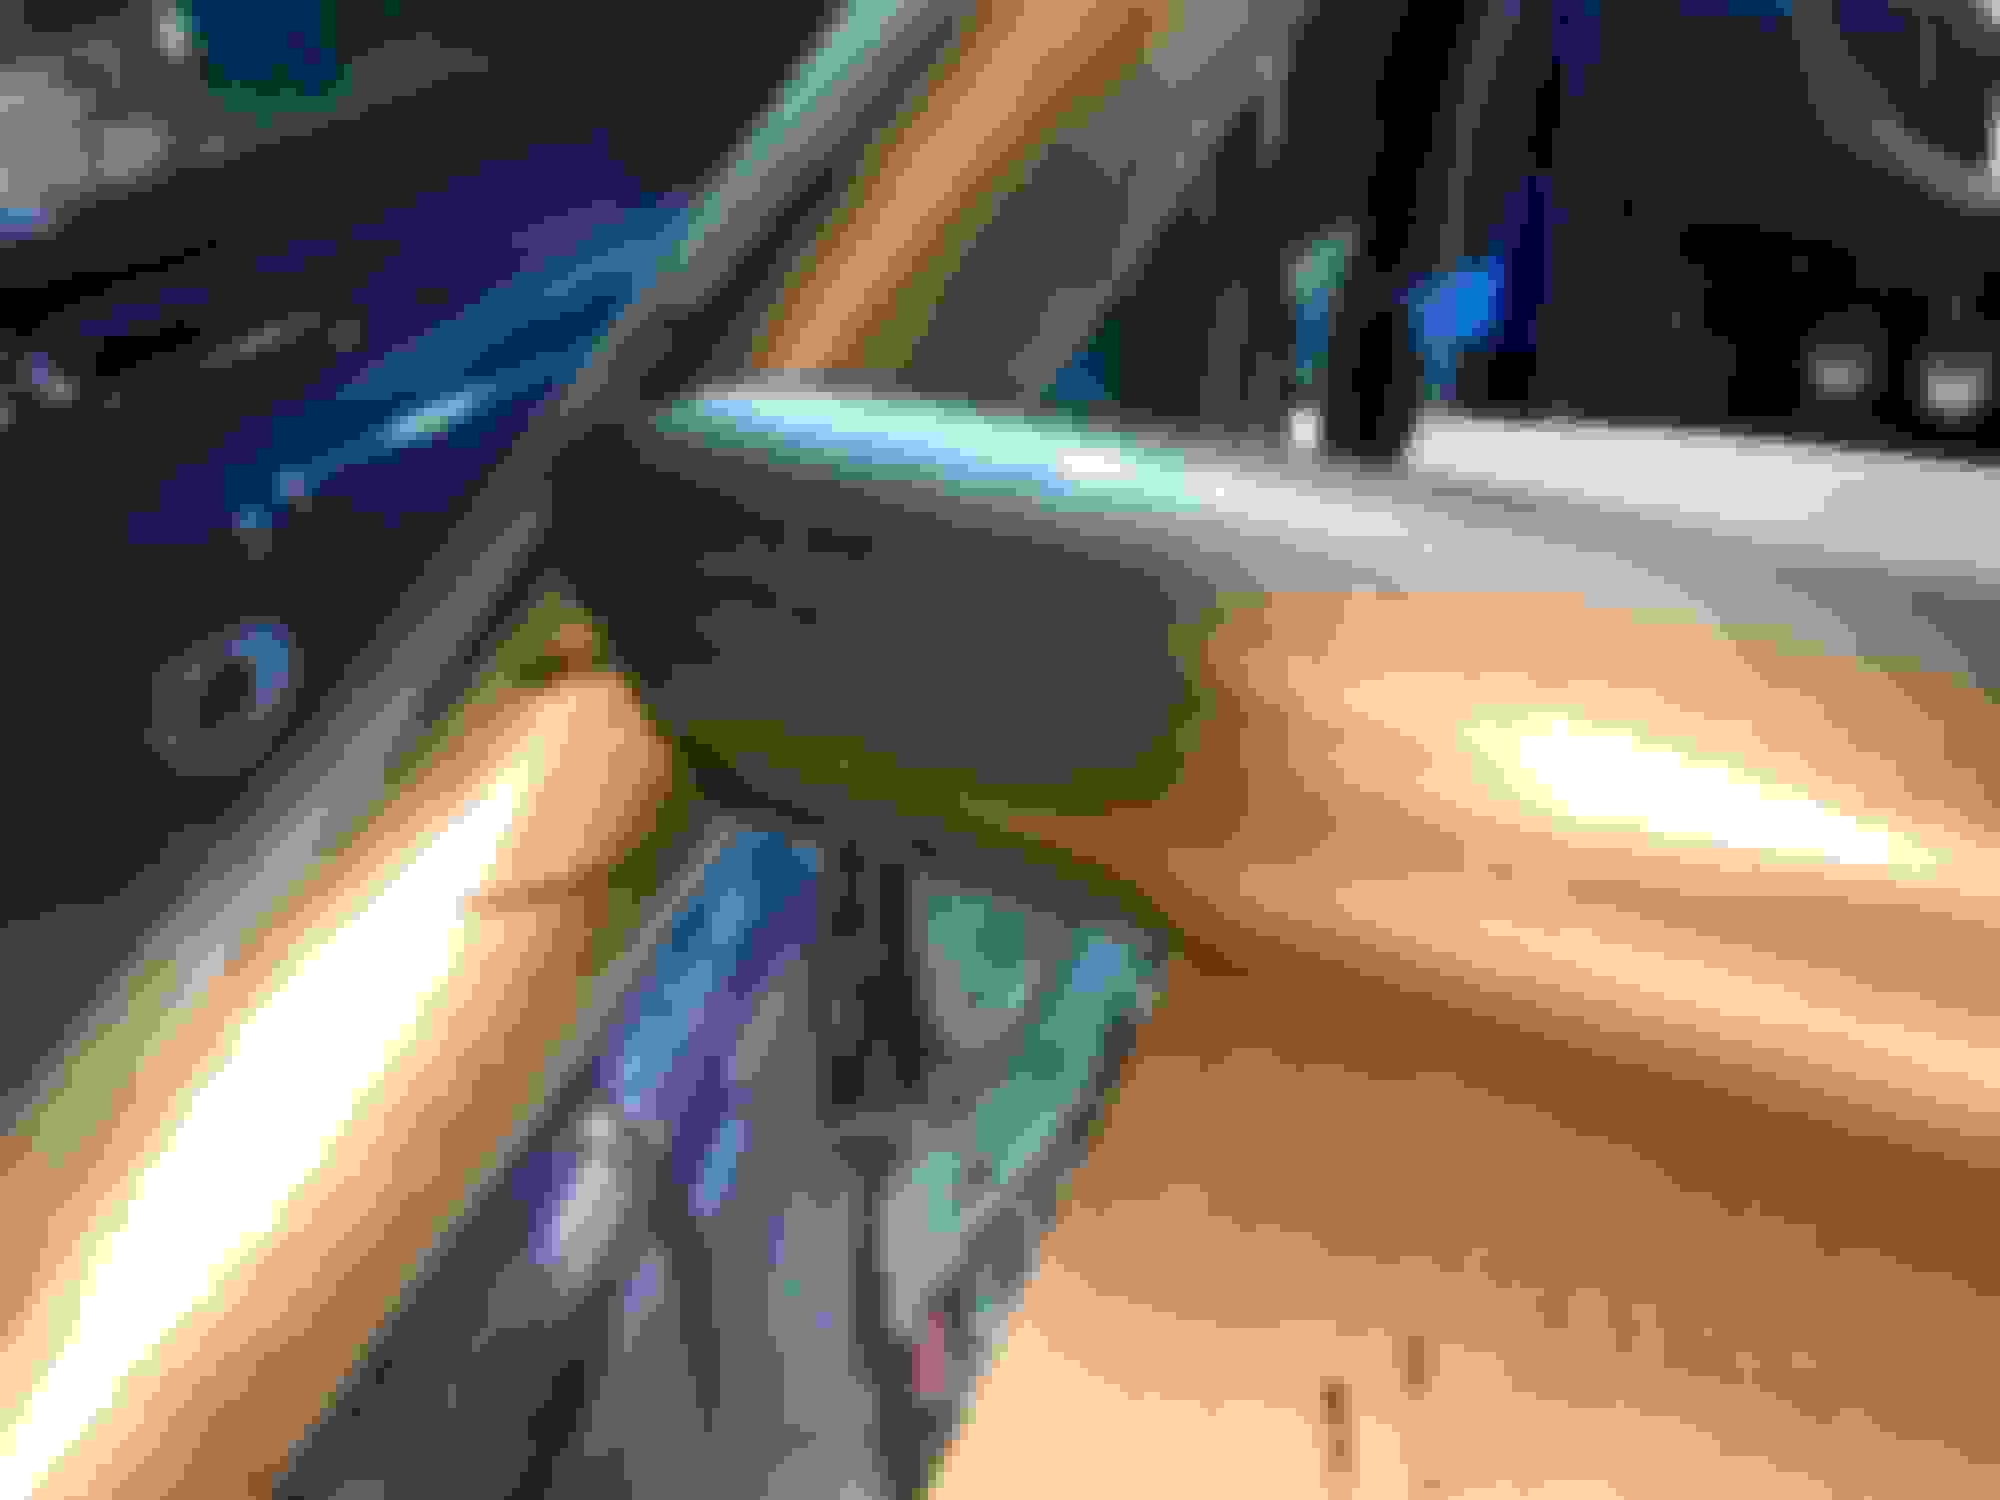
A before shot. Pretty crusty after being a D.D. for 85K miles. The engine looked so nice I couldn't bear to put it into the crusty engine compartment. Started stripping that for paint and stalled... But it's back in an upper bay so it might start getting some attention.
So I am walking though a local parking garage today (2 hrs ago) and guess what was at the end of one of the rows of cars... Yup... A Mustang Cobra, like yours... Go figure I would see that today.
It didn’t have your nice wheels, though.
So I got around to a little Mini work today, sort of successful.
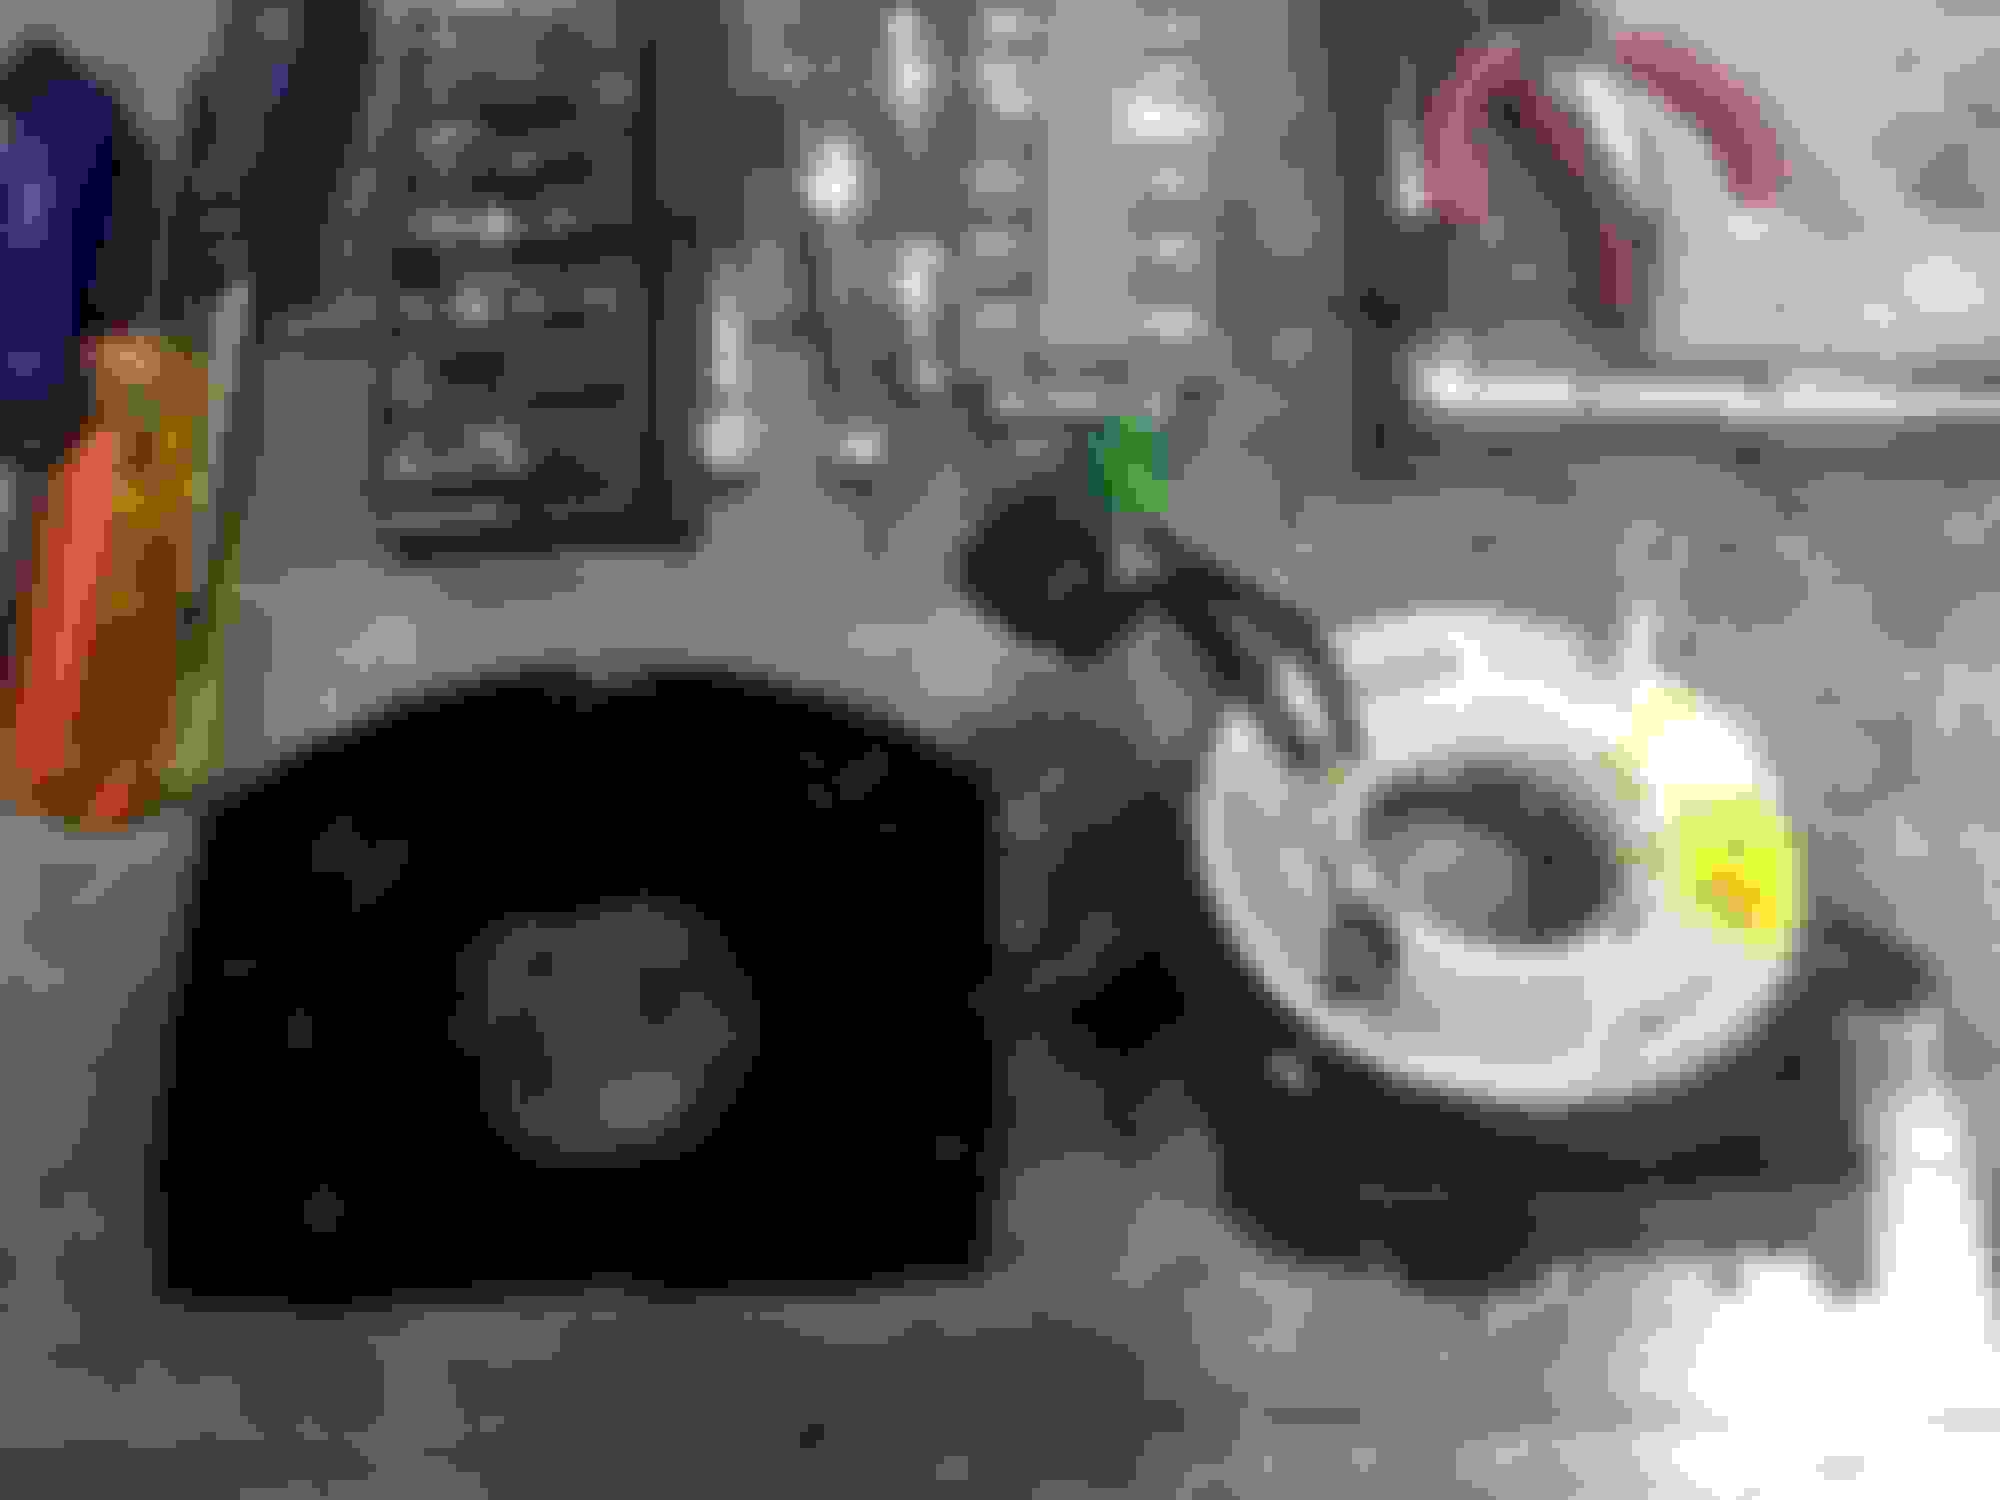
Airbag light and clock spring;
Since the 2nd or 3rd day of operation the airbag light came on. I deduced it was from letting the steering wheel spin freely when the sub-frame is out which broke the clock spring..
Don't do that!
I was getting a code for the drivers side bag and the horn stopped working. [Well it was the first thing I tried after getting everything back together and it didn't work, replaced the fuse, horn worked, then quit working in a day or two.
I figured it was the clock spring, so I ordered one. I've been putting off the installation mostly as I couldn't find any specific information on the process. The shop manual wasn't much help, Pelican had a how to on a R56 which was different and YouTube had mostly bits and pieces.
It seems the process change quite a bit between years. And I was pretty amazed you need to poke a hole in the steering wheel trim , marring the car to get it apart.
It was mentioned that some models need reprograming and some don't but I couldn't find anything about what model/year is what. My installation went well, [and the horn works again] but still have the light and I couldn't clear it.
Grrr...
So some photos and hints from the job. Hope it helps someone. Edit; DISCONNECT THE NEG. BATTERY CABLE AND WAIT A MINUTE OR TWO BEFORE DOING ANYTHING WITH THE AIRBAG.
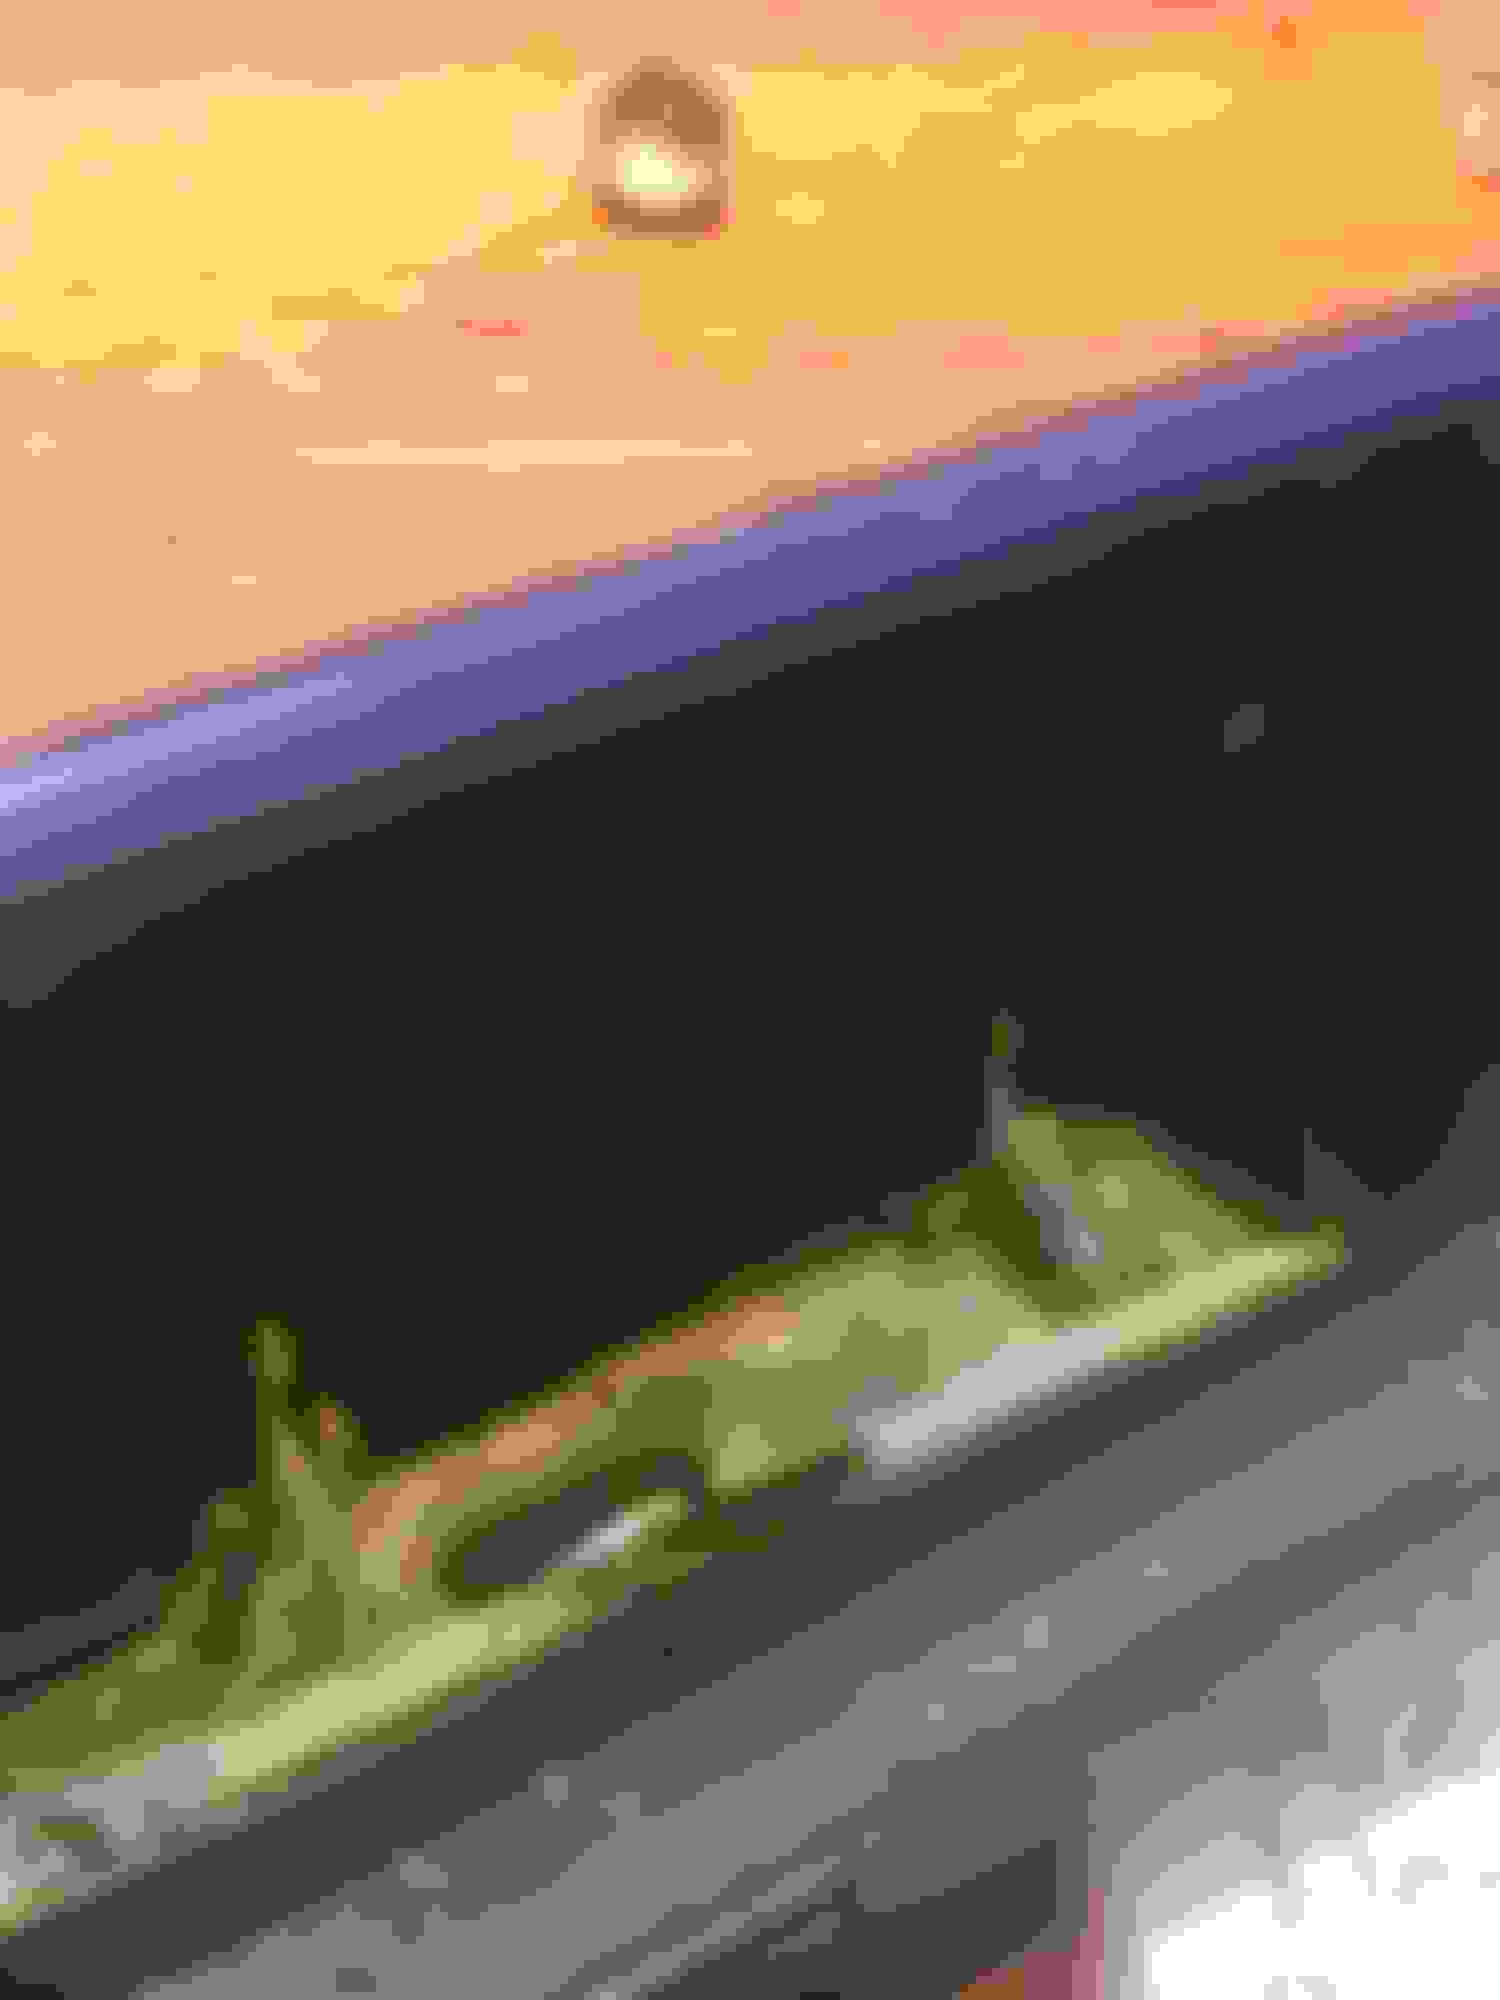
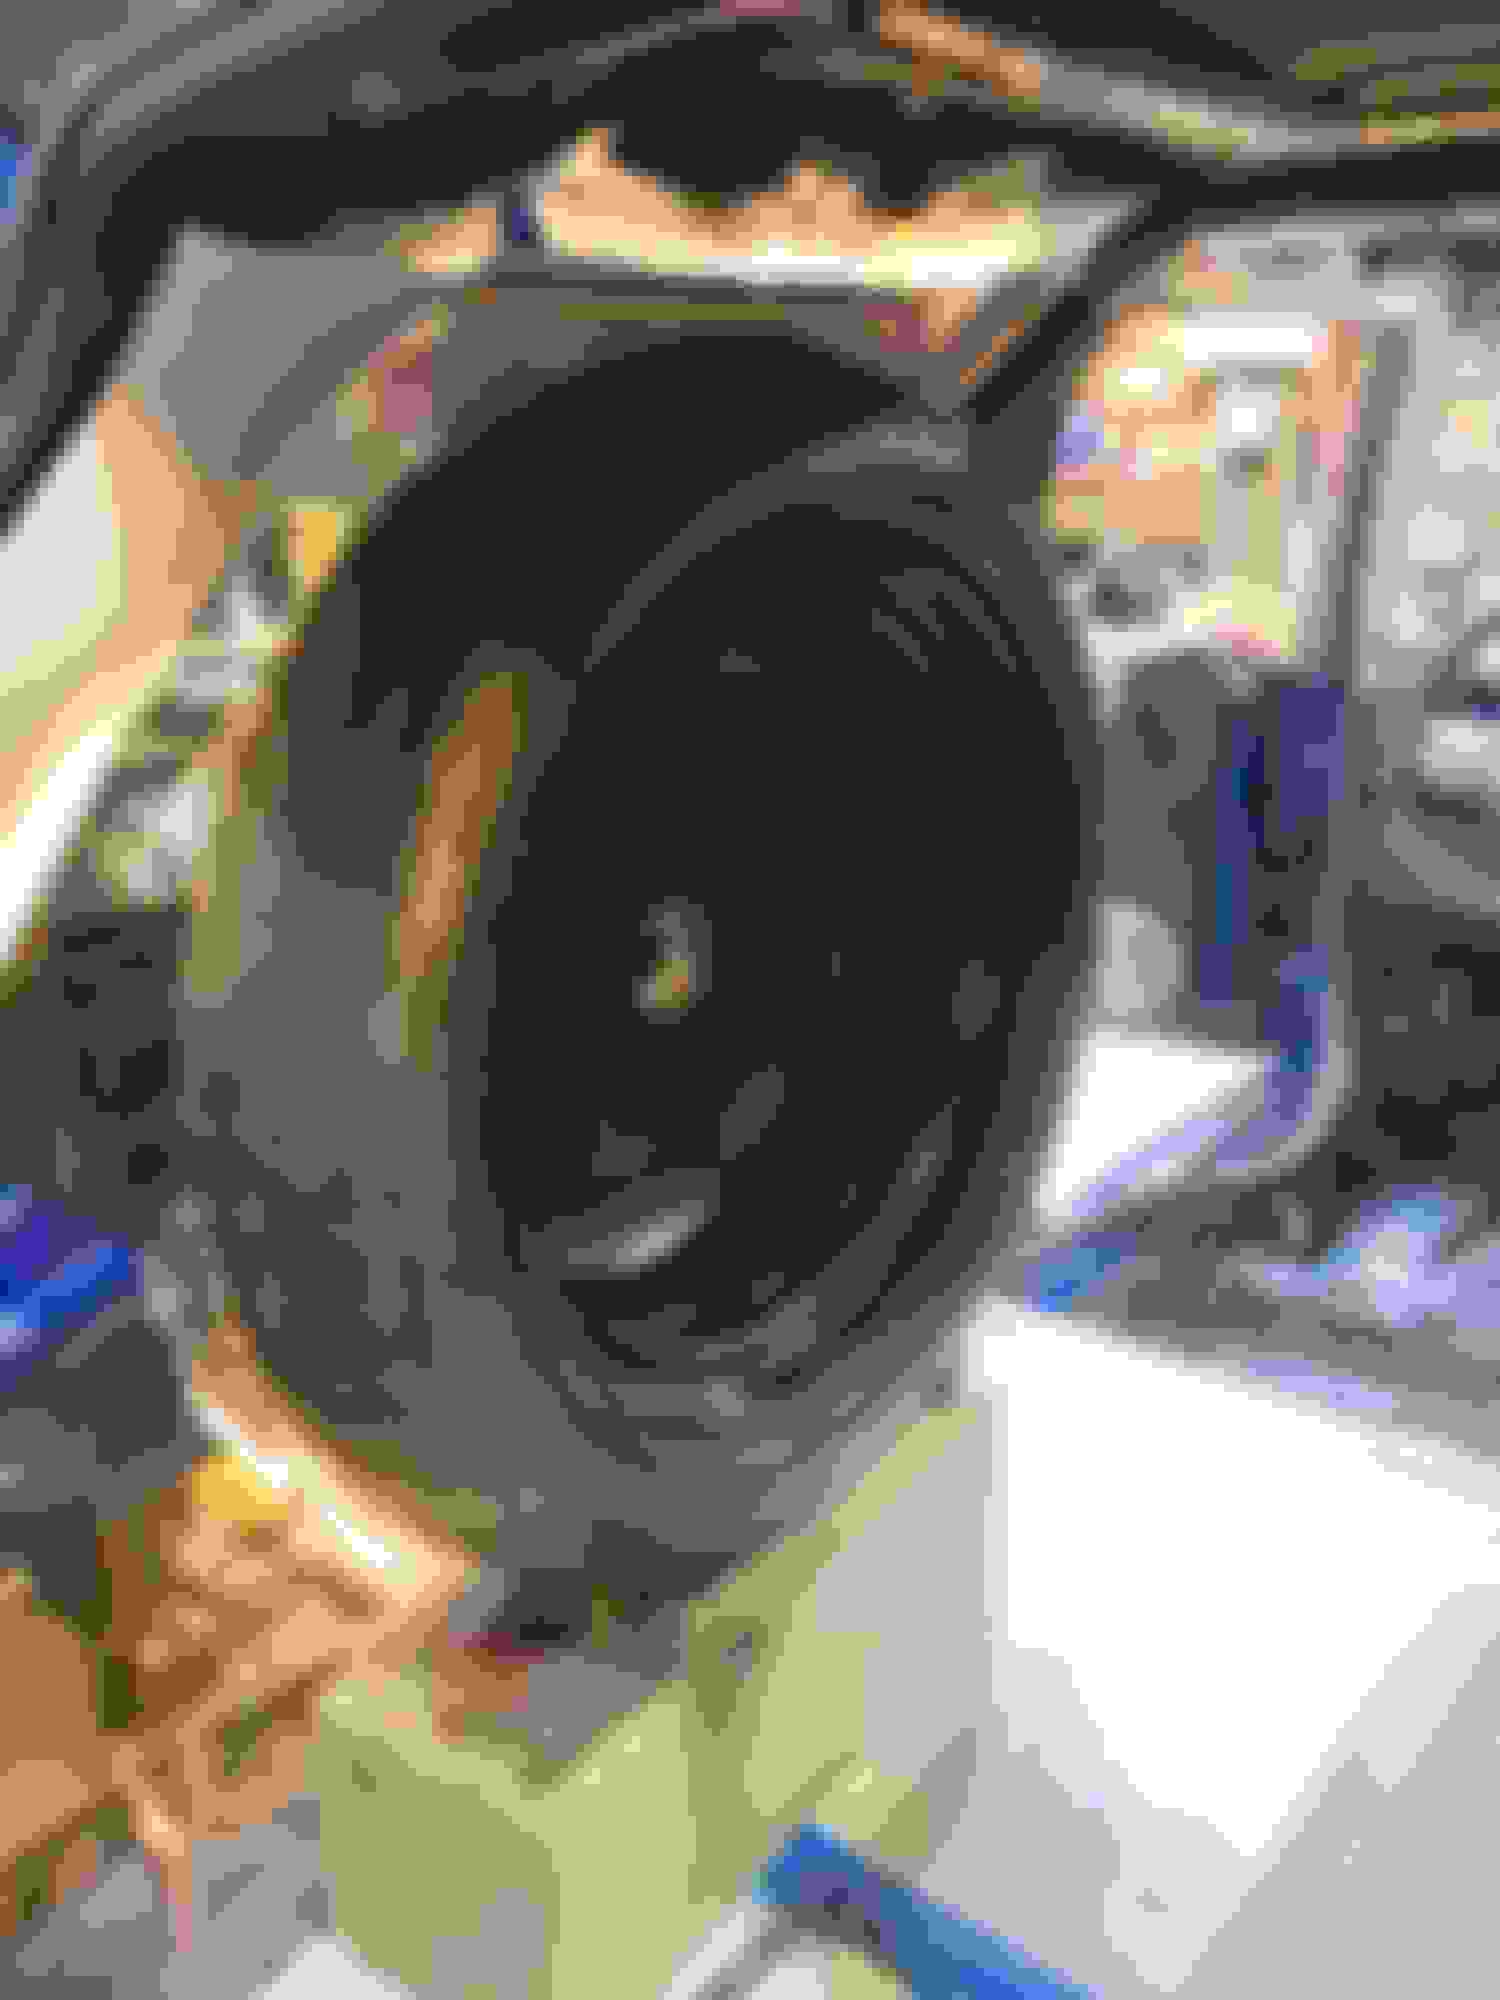
first is to remove the airbag module. There are two dimples in the trim at the back of the steering wheel. you need to make a hole in the trim to get a screwdriver, [flat/slotted] to press on the spring hold the bag on. Most Youtube just poked a screwdriver in. I used an X-acto knife to make a slit first. It sort of "self-healed".
What your trying to do is push on one side of the spring clip to release the bag. The screwdrivers go in at about 11 am and 2pm position. You don't have to do both at once. You can do one side, pull the module toward you then do the other side. You can "sort-of" feel the spring move. It took a few tries. Later models have a screw hole. Much better.
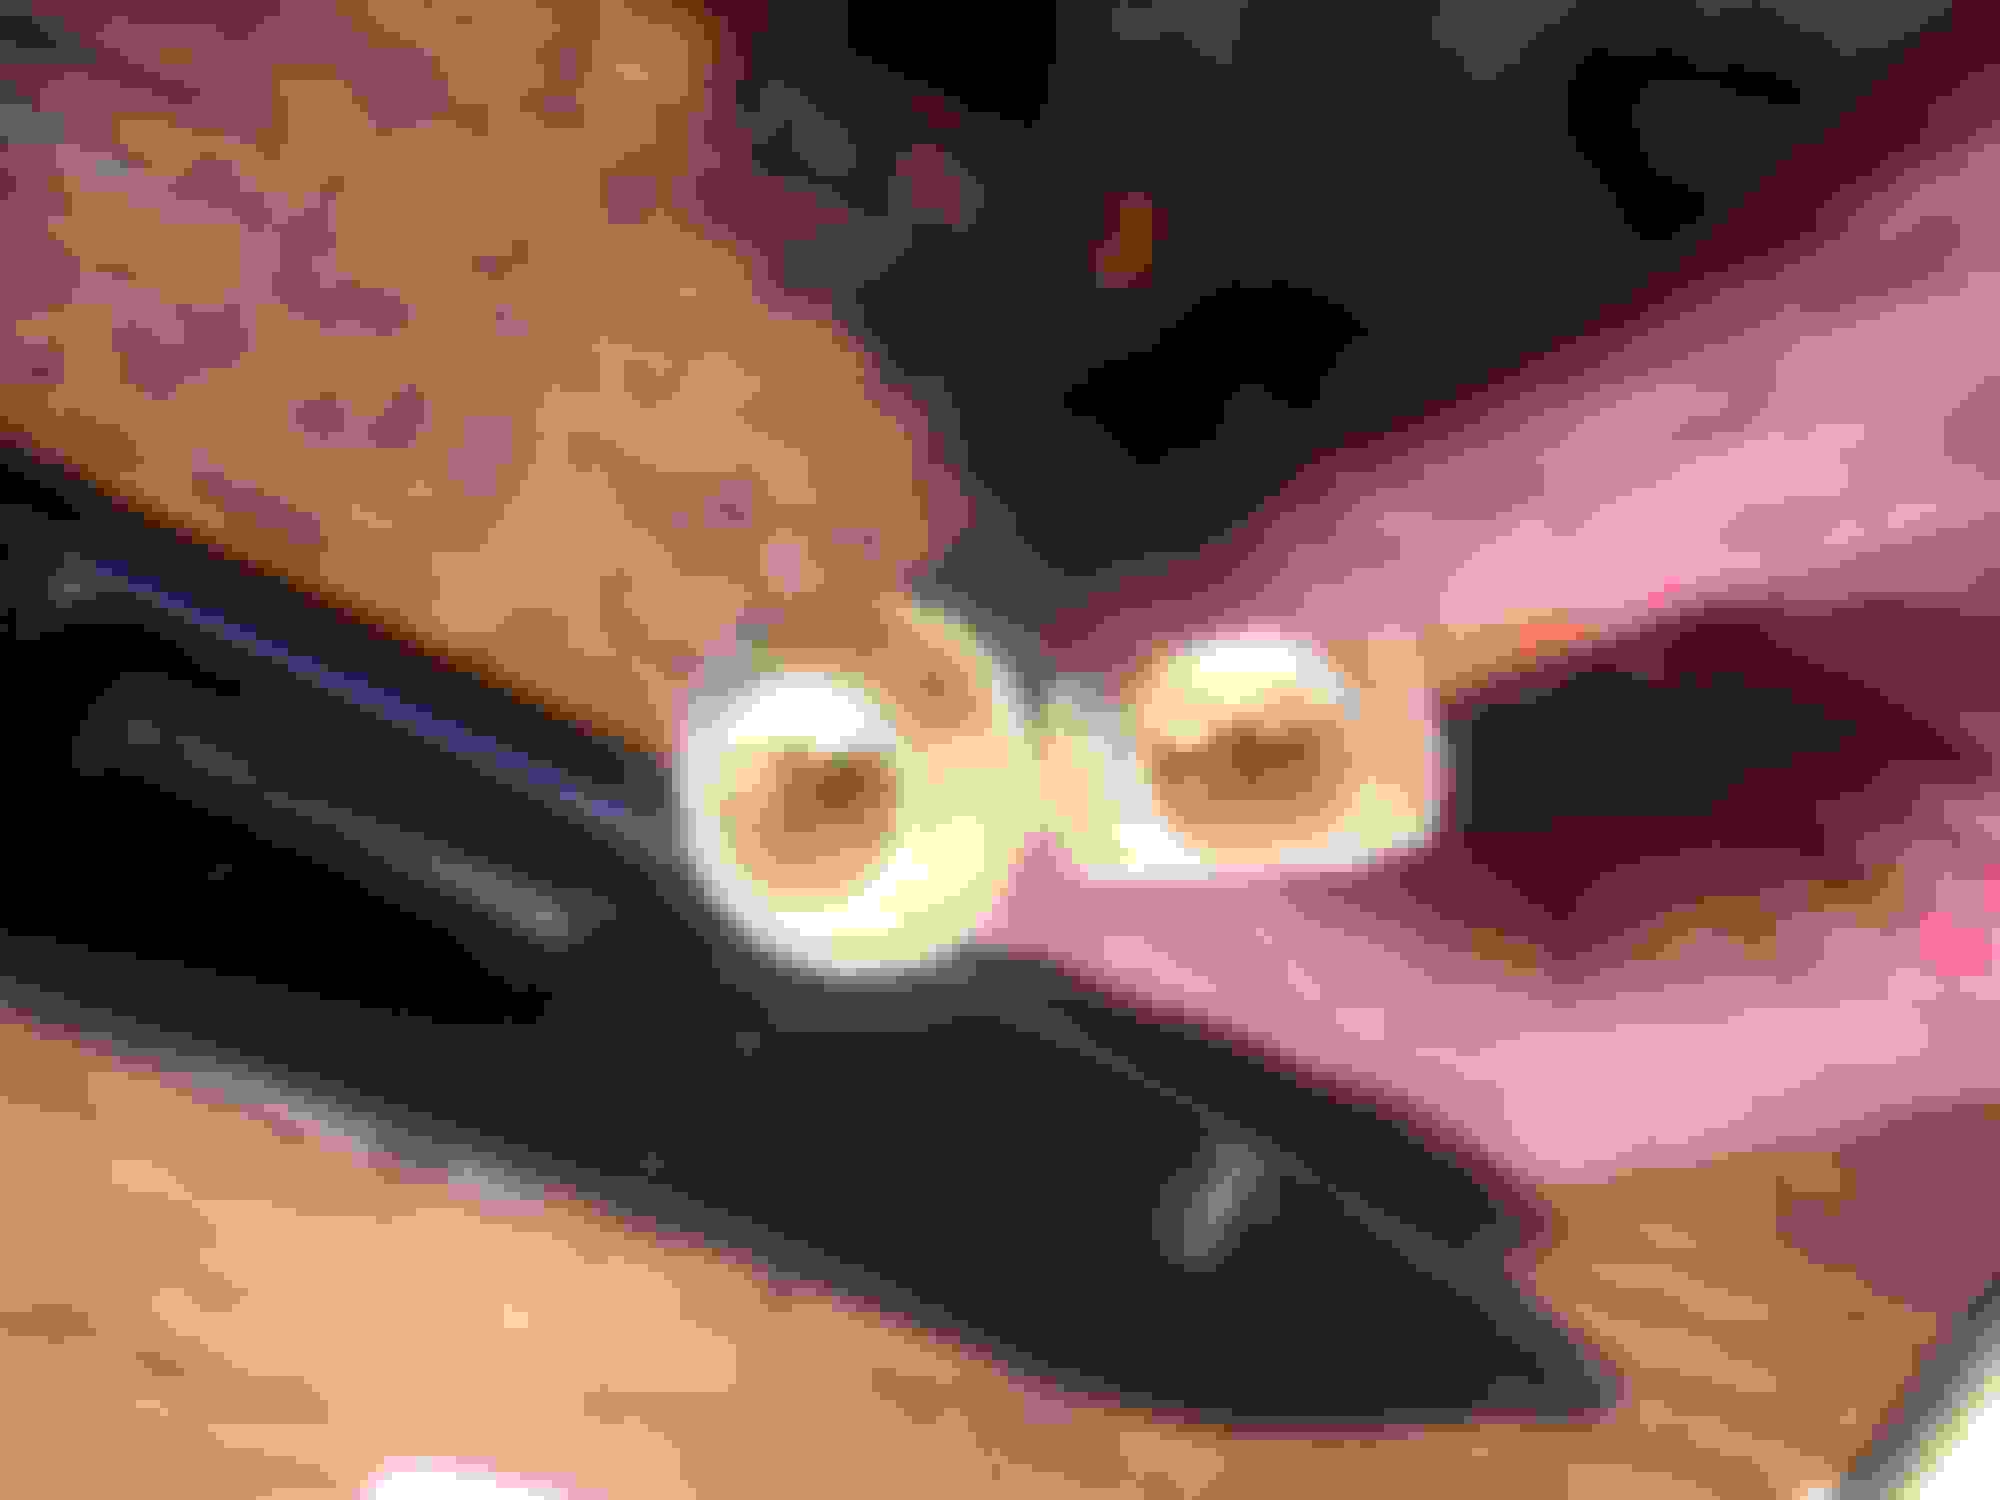
Once the module is off you need to pop up both sides of the black portion of both plastic clips to remove the connectors from the bag.
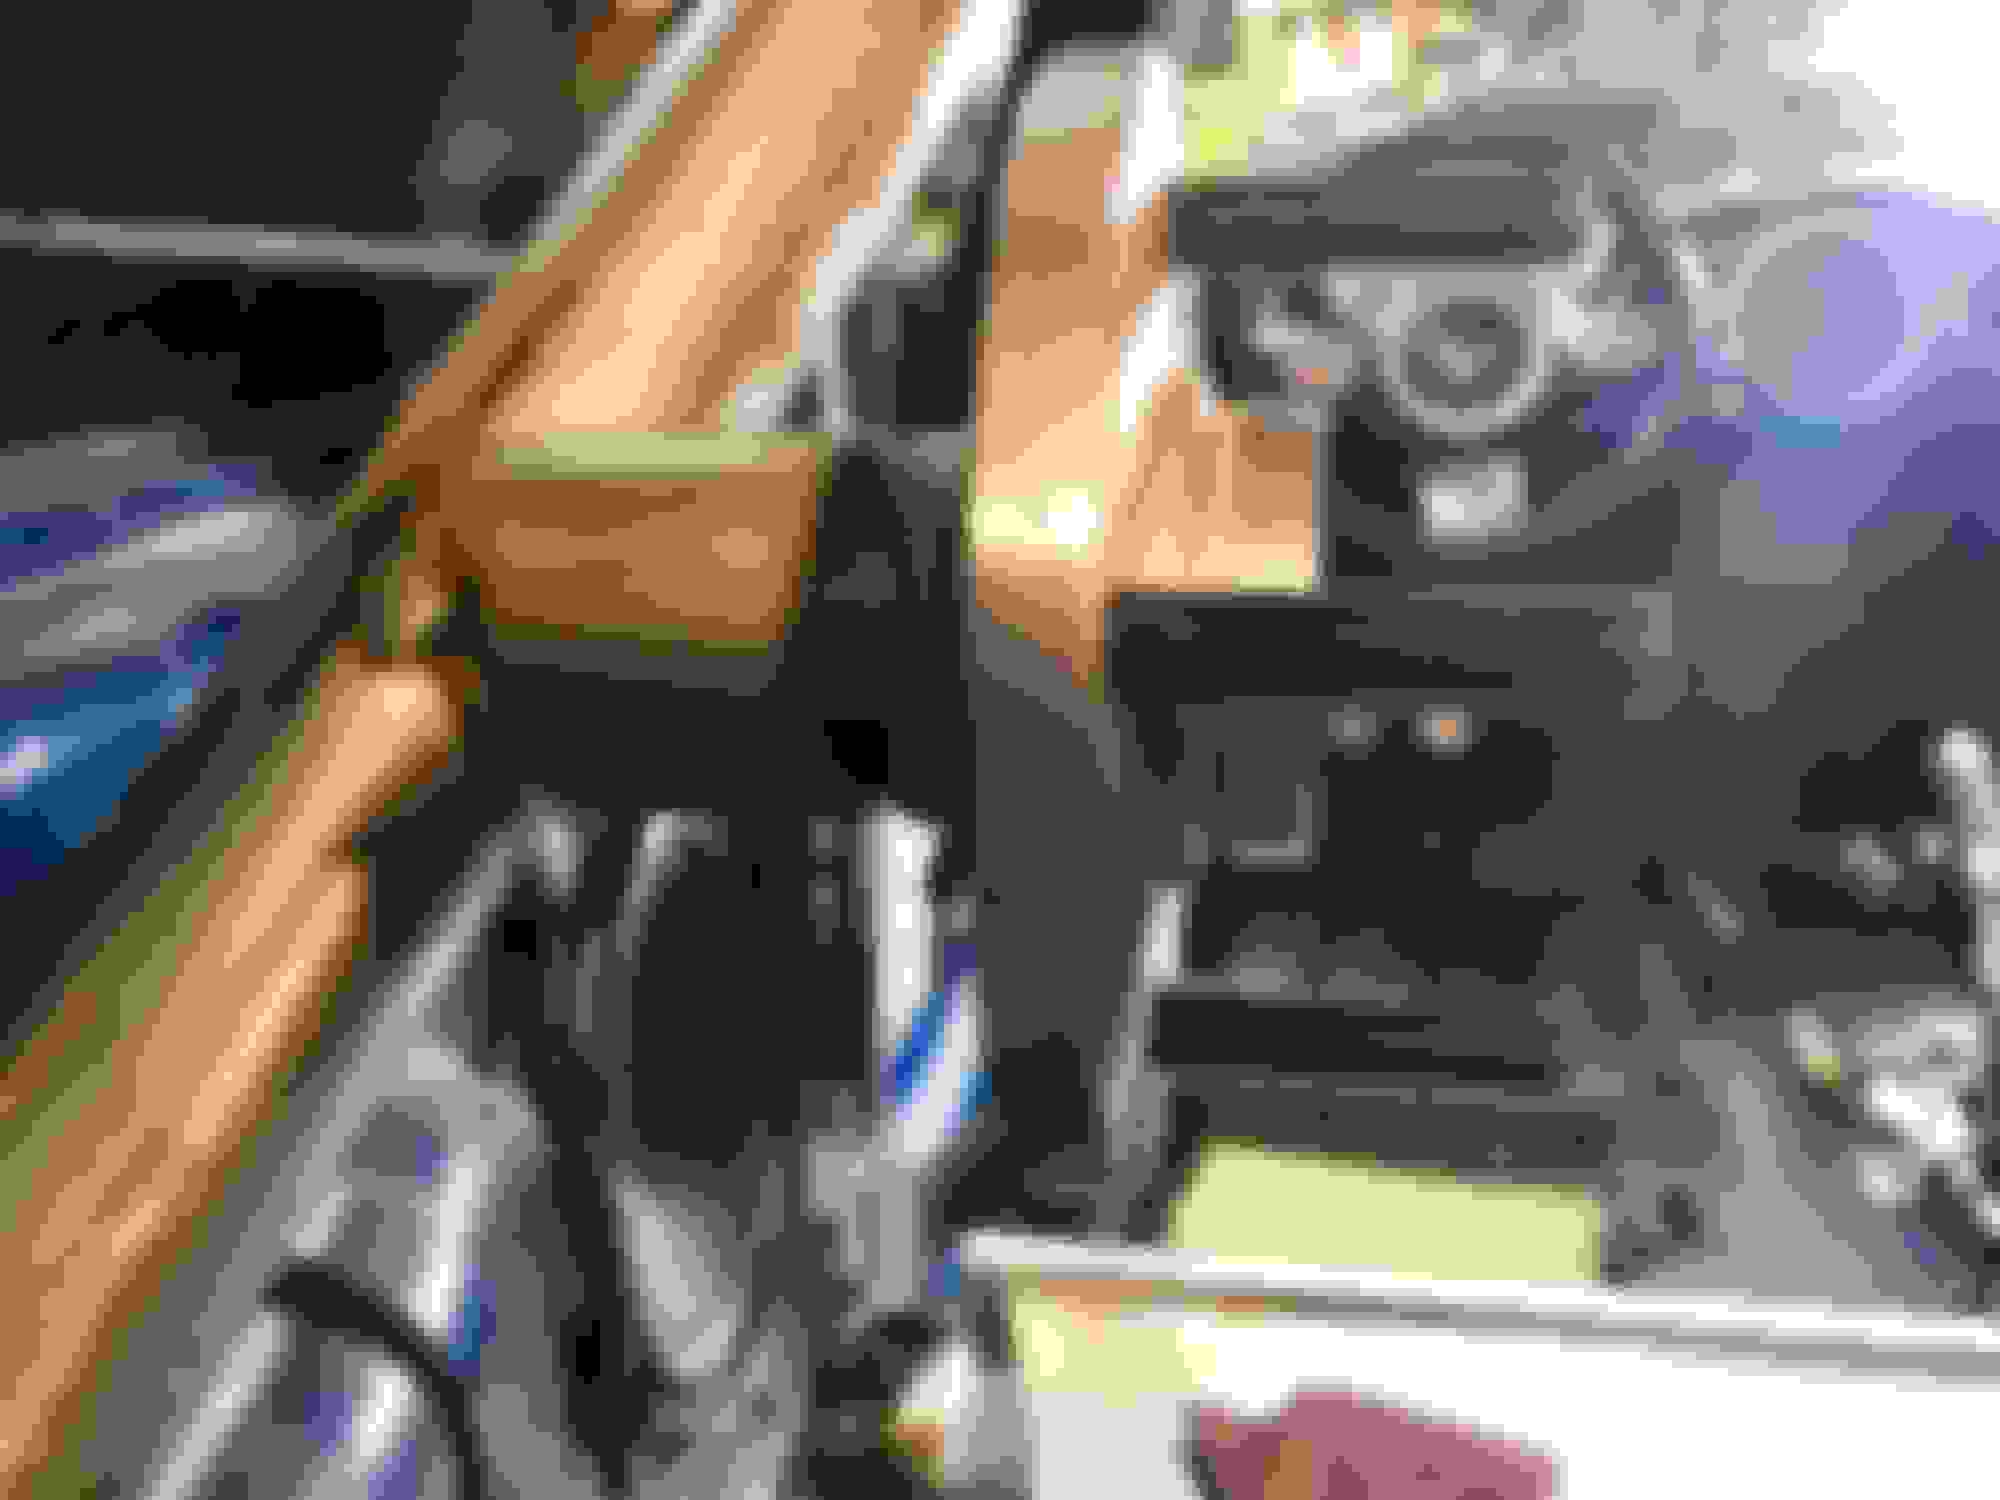
After the airbag connection as my wheel had the multi-function stereo switches you need to remove the connector on the left.
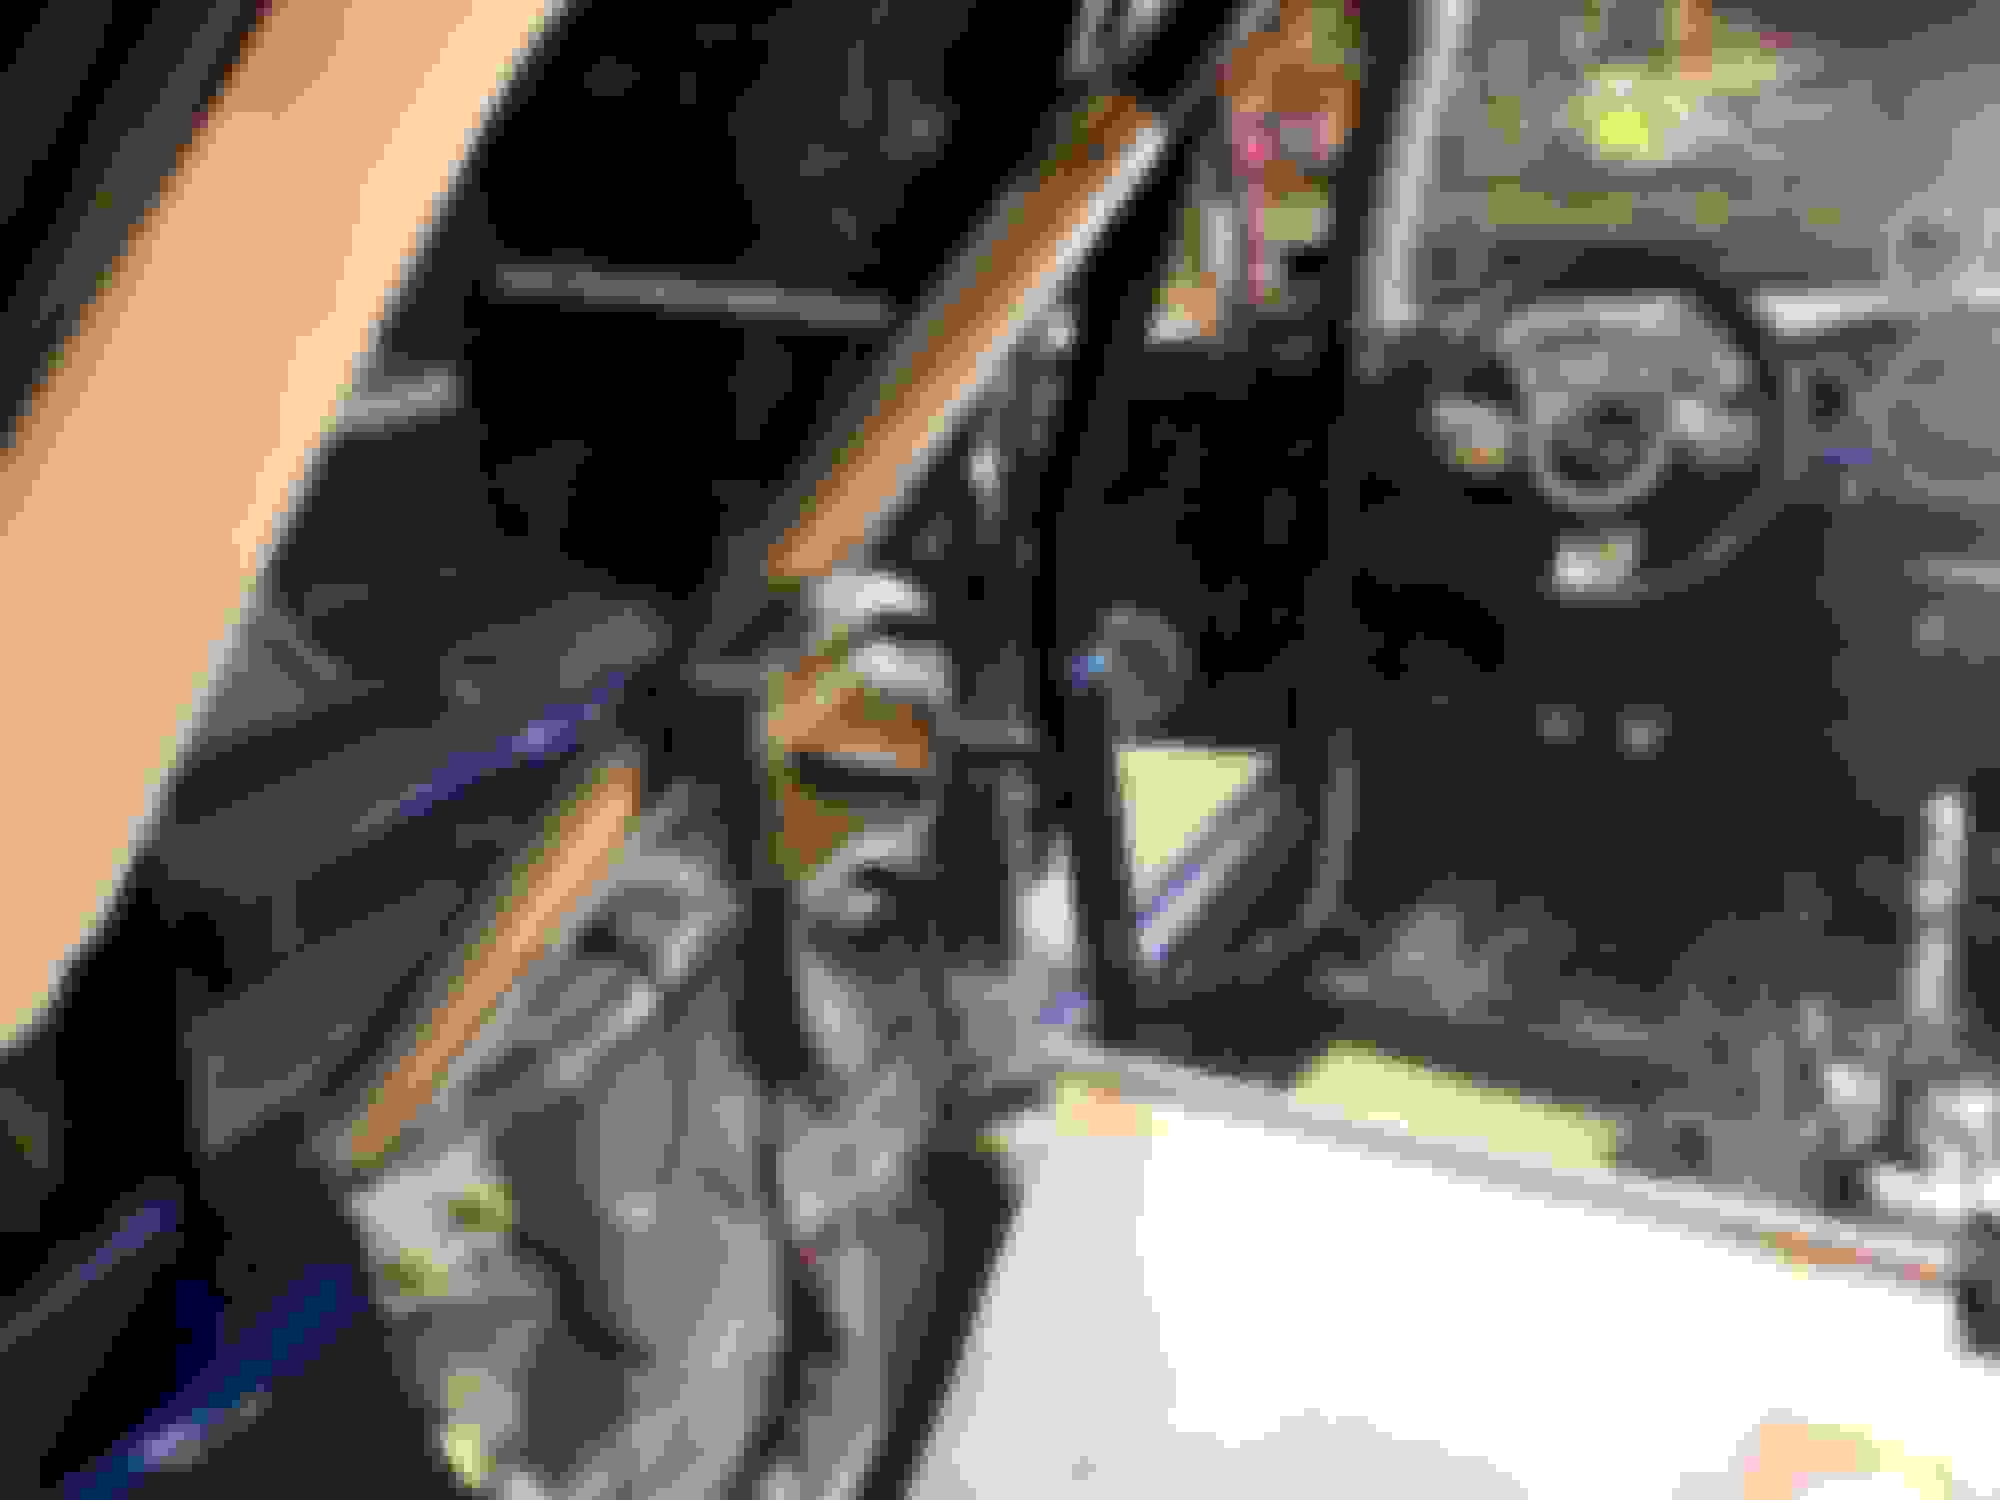
At this point I dropped the lower dash panel for a little extra room to loosen the lower steering column trim. I'm not sure what they covered that trim with but with age, it came off on my hands like tar. I would have rather it been just plain plastic. It was a bit of a mess.
took these 2 screws out, [one on each side] but figured out I didn't need to remove the trim completely. This would have required removing the Tach and speedo. I figured out a workaround.
So the clock spring comes with the clock spring itself, along with the black plastic housing pictured. You don't need to remove the black piece, you can leave the old one in place and fit the new clock spring into that. That way you don't have to remove all the steering column trim or the gauges.
Remove the 3 torx screws, lift the clock spring out leaving the black piece it sits in, in place.
My clock spring came with a plastic tab, [7pm] that you need to remove. This keeps the clock spring oriented to center. But, once removed the clock spring can turn freely. When I went to reinstall the wheel it moved. Don't panic. The clock spring will turn 5 times, lock to lock. [stop at first resistance!] Spin it all the way one direction, then go back 2.5 turns and you're good.
The rubber key surround was a little tricky. Just snap the column trim into place and you can fit the rubber piece starting at the top then use a little screwdriver to get the bottom part in place.
Tighten the steering wheel bolt. [Actually a 5/8 socket fits best] and tighten it pretty good. I didn't bother looking up the value, just made it pretty darn "snug".
Reconnect the airbag wires and clips and push into place. It does take a pretty good push to get it to go on.
Good news is the horn works again. Bad news is even after clearing codes the airbag light is still on.
Anyone have any information about what models need to be reprogramed?
The programming has to do with whether or not the steering angle sensor is part of the clock spring and needs calibrated. It would cause a DSC/ABS light as opposed to an airbag light.
What is the airbag code it's setting? It's not too difficult to check resistance in the wiring if it's an open squib code, or the like. The other thing that comes to mind is that it may be for an impact sensor, since you did have the front of the car taken apart. Whether a sensor went bad, or a wire got pinched, or something. Although you did say it was for the driver's airbag, didn't you. There is also an airbag in the seat...anyways, please post the exact code you're getting!
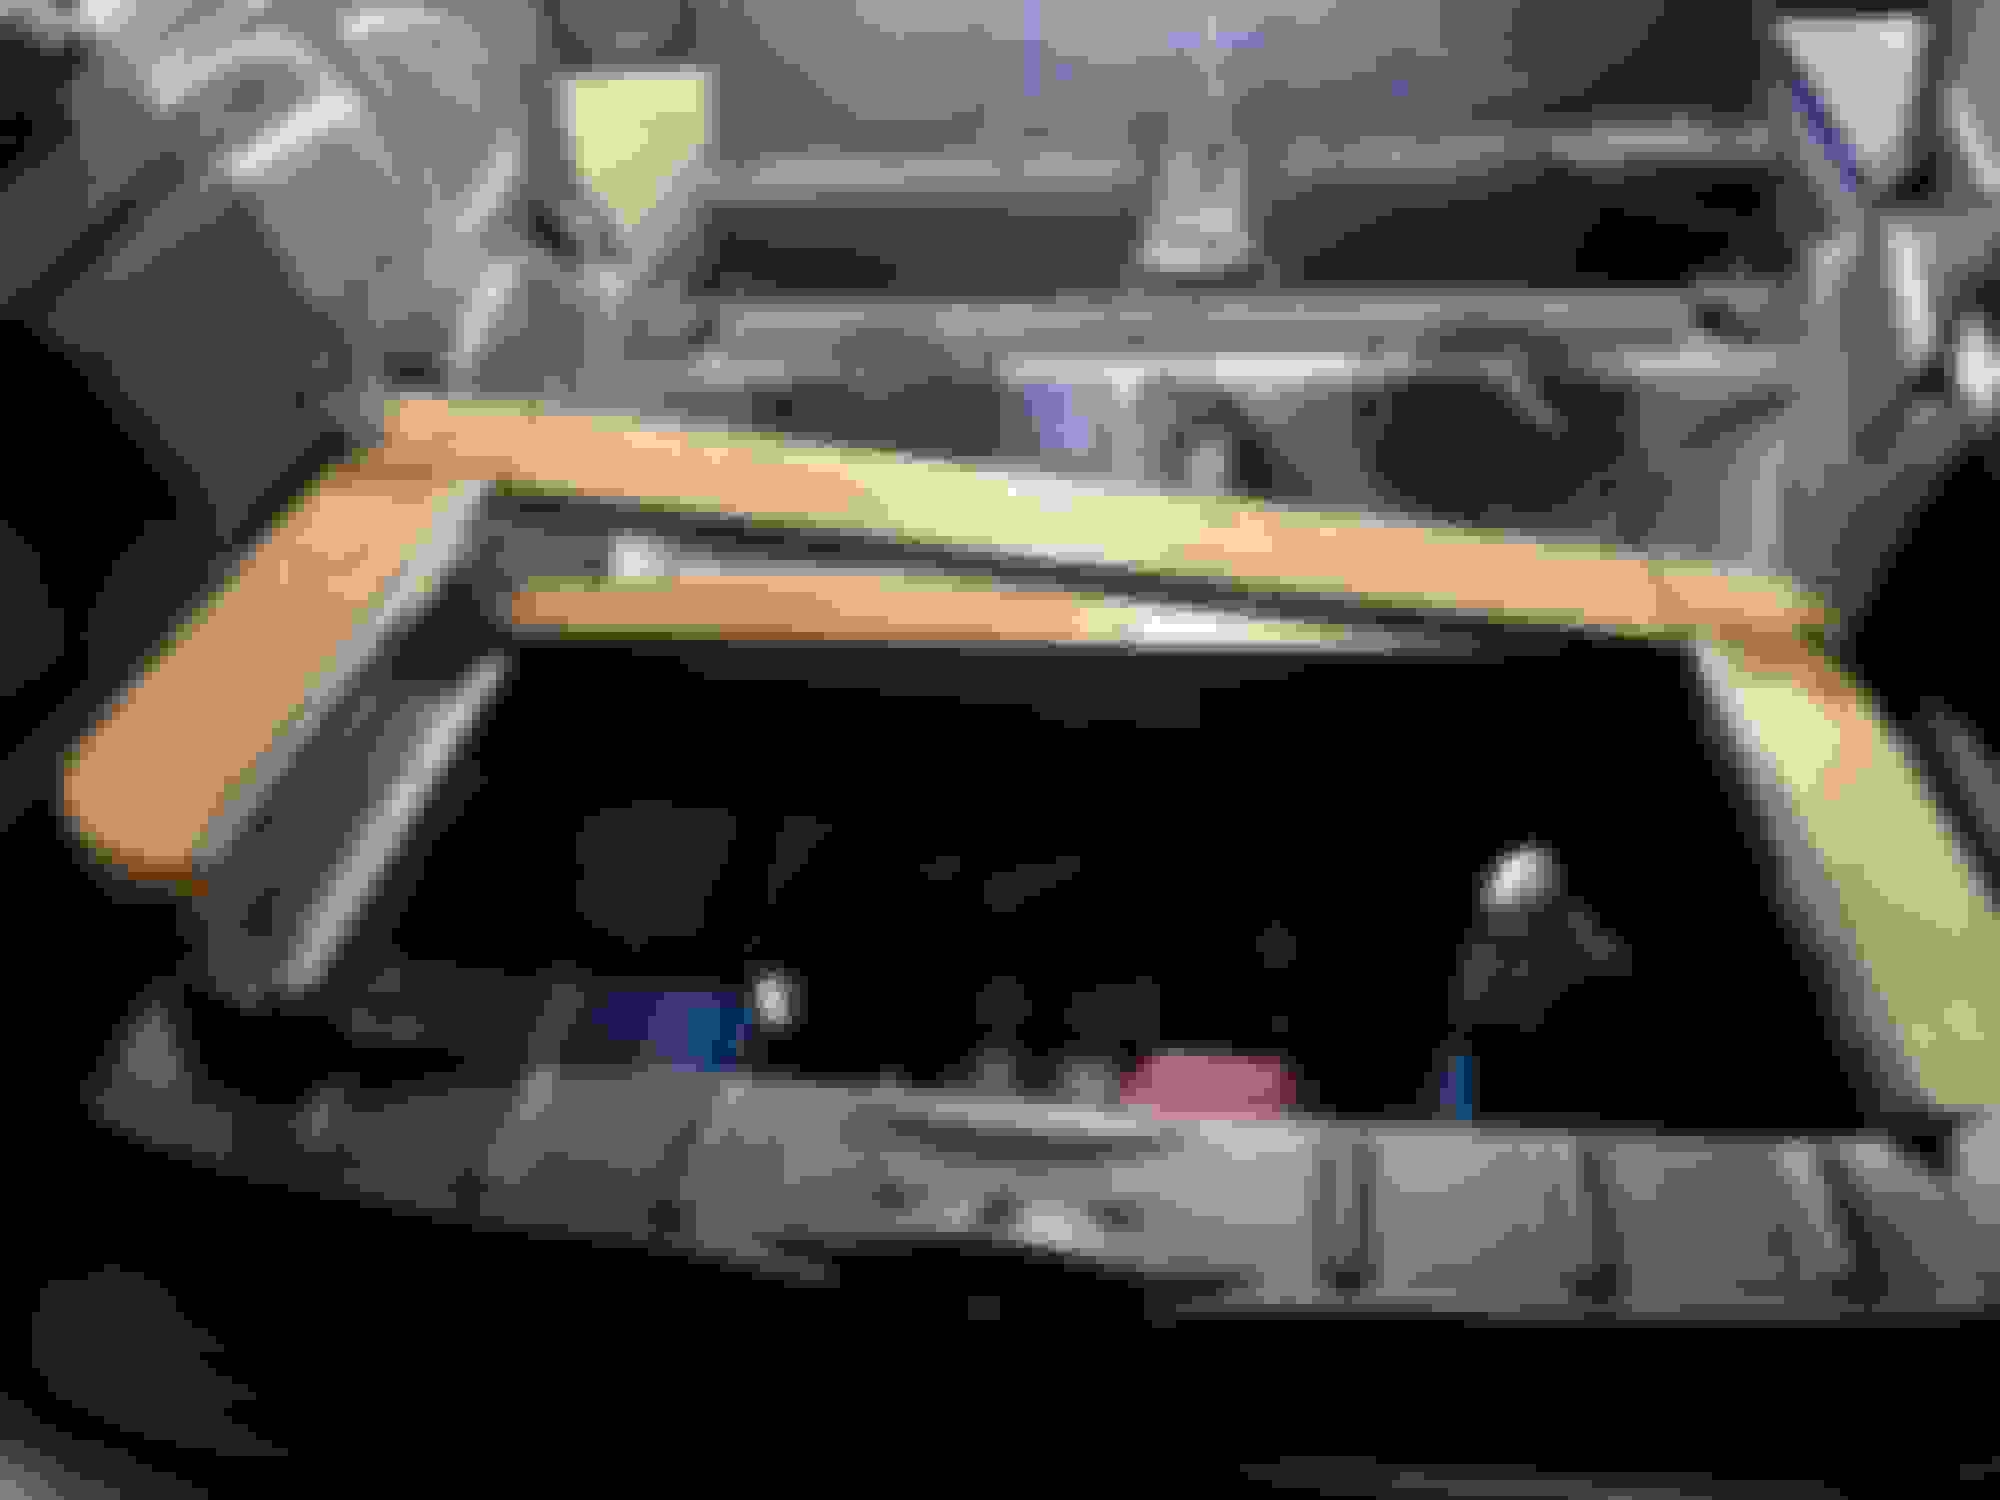
Nice on the Cobra, BTW. The best of the fox bodies, for sure. And, Eddie, yes, that is a fuel injection manifold. There is a plenum that attaches to the top of the runners you see on the lower.
It's been a while but I'm not been sitting around. Barn, airbag light, tag lights, socket replacement, state inspection, rust repair, new/used tag light assembly, paint and stripes...
First, Barn cleanup update. The second dumpster left on Tuesday and between that, the first dumpster, metal, batteries, etc.. that were scrapped, total, 5.9 Tons! That's right, TONS!
This is a result of having a large space, 30x80 barn [with a loft the same size] and a 20x50 tractor shed and 30 years of, "don't toss that, I might be able to use, or fix it, or do something with it, someday..."
It's really nice to be able to have 2 empty bays to work on a car, [or 2] and to be able to walk around without having to follow a "path"!
It wasn't easy but I stuck to the rule of if I haven't done something with it in 10 years it goes. Then organized alll the "good stuff" that remained.
Back to the Mini. I last installed the clock spring in an attempt to get rid of the airbag light, [drivers side] without success.
I drove it for a day, shutting it off to go into a store and when I came out and started up, the airbag light was GONE! I guess it took a while for the computer to realize it was fixed, who knows?
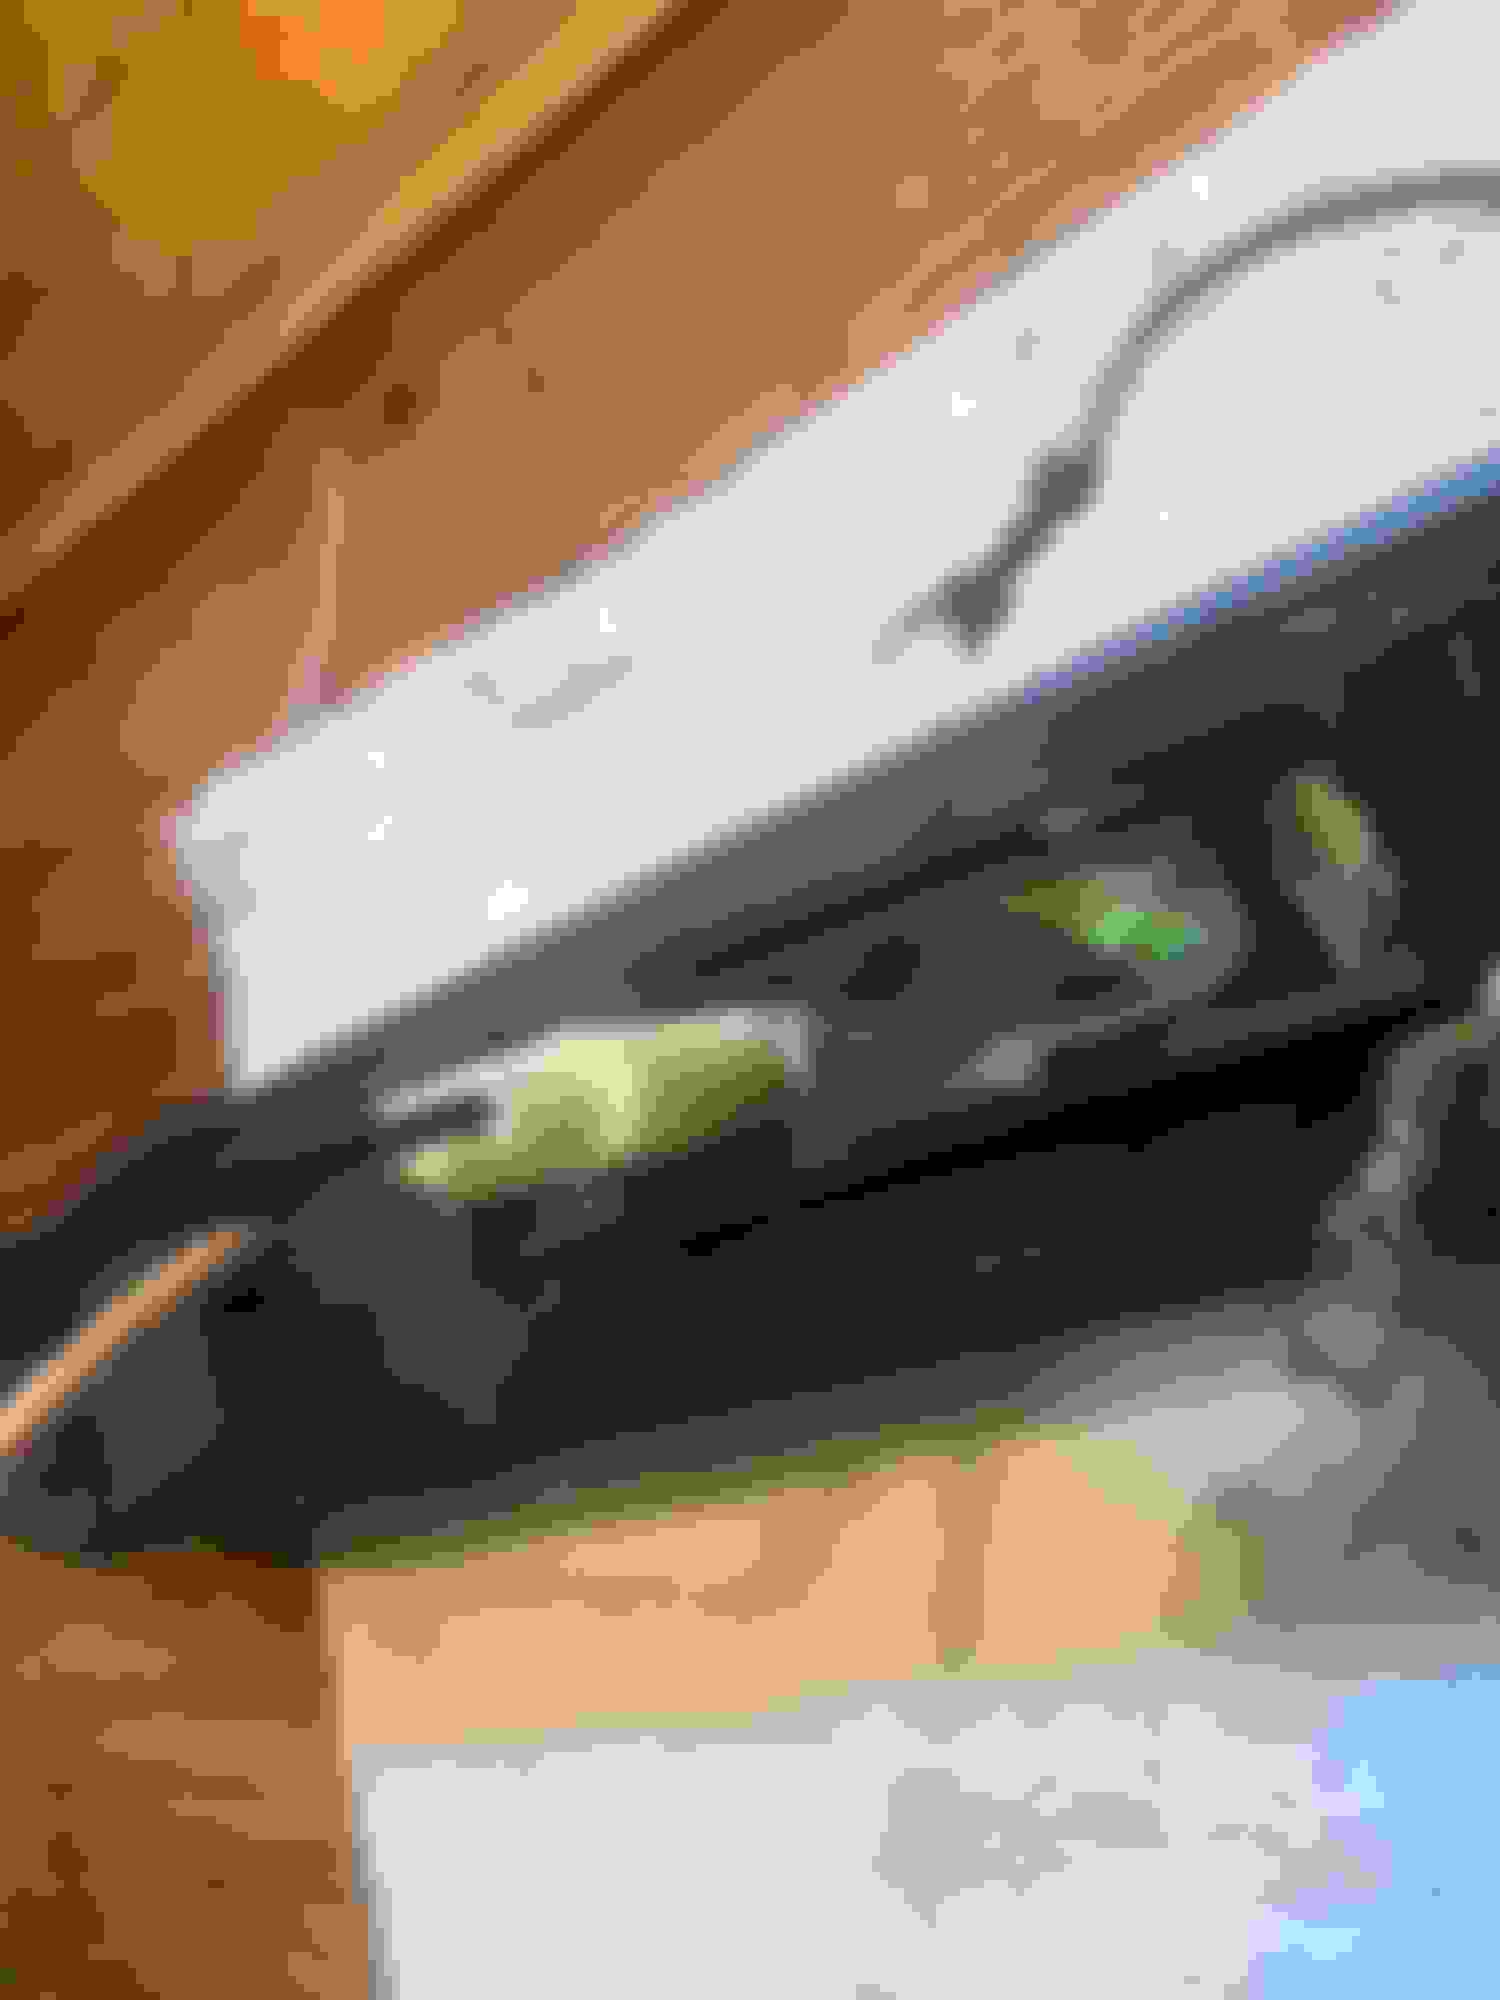
But, when doing the scan for the airbag I got a code for tag light out. So as the goal was to pass inspection, that had to be fixed.
Of course it wasn't just a bulb, the socket was completely corroded. Of course BMW doesn't sell just the sockets and in fact although they do come out I'm not sure they are meant to come apart as they were almost destroyed in the process.
Let's go to the photos as I'm getting tired of typing and it a long story.
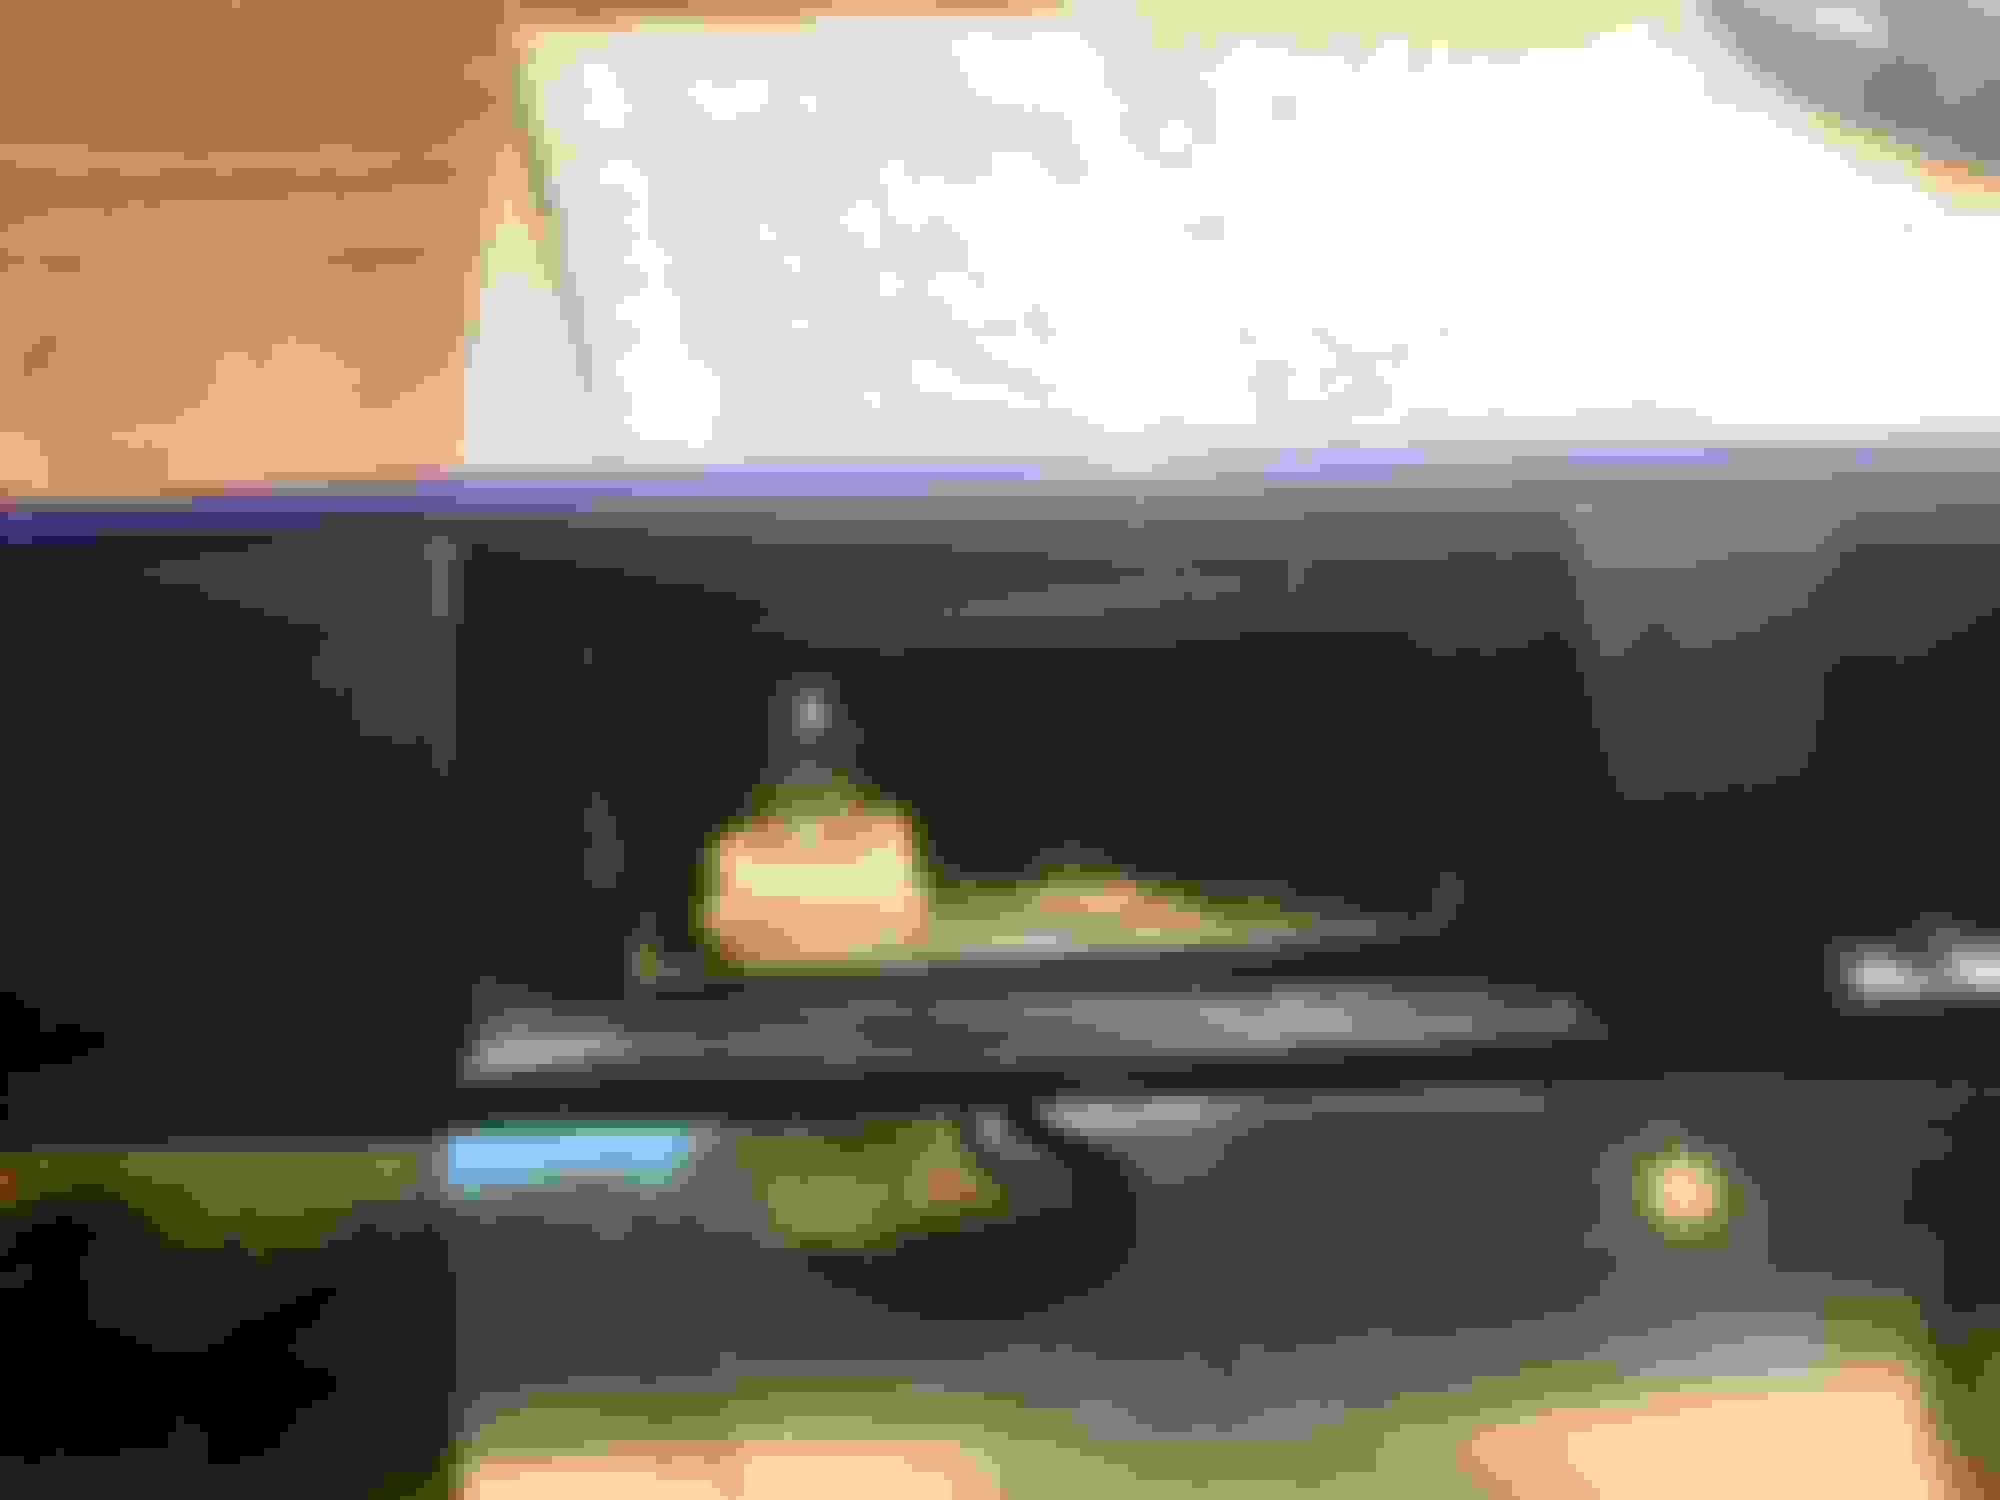
Not a good start...
Not just corroded, gone.
Generic bayonet-type sockets ground down to fit.
Piece of plastic to hold socket in place, to be cut to fit where the original socket went.
When your bandsaw is at the other shop...
So far so good.
Glued in place. This was where things started not going well... I thought I had some clear silicone that I was going to use to fill the back to waterproof things and keep the plastic in place. I didn't and used thickened epoxy instead. That didn't go well as I couldn't seal the clear piece well enough. epoxy dripped out and it was quite a mess until it started to harden.
Didn't matter much as I couldn't get the lens on.
So not quite a "failed experiment" as they worked well enough [and with the air bag light now out] to get Blue Car through Md. State Inspection. Finally.
But, another forum member was parting out a Mini and I snagged an entire tag light assembly with no corrosion for $20 and $10 shipping. I think with a little more time and fiddling the other sockets could be made to work, but it wasn't worth the effort.
More on the new assembly, painting, rust repair and stripes, coming up.
Wow, ours weren't that bad. Bulb holders were OK, but one of the wire connections was toast. I was able to solder some wire on and repair it, fortunately.
That rust doesn't look too bad, yet. Clean it back and treat it with some converter, then time for more paint! Keep it up!
There are a few things that require the car’s engine to be started and stopped a few time (3 times, maybe?) for the computer to know it is real or not. I found this out when I first got an ABS total failure light on my R56. It sometimes happens when the track brake pads squeal. A little disconcerting on a track day.
Moving on. Rust, tag light, rust, paint and stripes.
As you can see from the photos above, there were some pretty good rust bubbles along the top of the tag light assembly. I was able to get a used assembly from a NAM member for a good price with no corrosion but it needed to be painted. I envisioned the front hood stripes extended to the trunk and where would they land. Looks like they would go right over the rust spots covering the repair. So no need for paint blending, it just needed to be smooth enough for the tape stripes.
To the photos.
Husky,
Had about 6-7 loaded, went to add the last one, things froze up and they all disappeared. Grrrrr....
I'l post them tomorrow. Been a long day of yard work.
So I imagined the stripes extending to the rear and they would pretty much cover the rust spots which were ground to bare metal, body filler, primed and painted, being very careful to stay inside of where the tape will go.
Picture the stripes going to the rear and curving back in.
Step one, paint the replacement tag assembly black, same 1 part paint as the scoop and bumper cover.
Ground to bare metal with 60G. then body filler, then feathered out, again staying within the edge of the tape line.
Ready for primer.
Primed. The hoops of tape were to "feather" the primer when sprayed.
Taped again and painted with the blue rattle can. Feathered this out by hand with 1500, 3000, then 5000 with a small piece of sanding pad.
Feathered smooth. Ended up not terribly pretty but it didn't have to be. Just needed to be smooth enough for the tape stripes.
Stripes cut and installed. It was a little tricky getting the tape cut exact and the placement correct. But as I had bought an entire hood kit I had plenty. First try worked. I put tape down to guide the placement of the stripes. Once I had that right, putting the stripes on was a snap.
All buttoned up. It was nice the rust was in the exact position where this worked. And best of all, no paint blending.
Now back matches front. I even ordered a new "Mini" emblem[waiting on that] as all the black was gone from mine.
Next is finishing up the rear seat delete then the roll bar. First I'm going to price getting the headliner done as for some reason I just don't feel like messing with that. But we'll see what I'm quoted. May end up DIY.
robj
Looks good! You really are fortunate that the rust was where the stripes would go. Ifi t was my project, one side would have been a half inch too wide.
Headliner is really easy. The most time consuming part was cleaning the old gunk off.
Back again.
So the headliner was falling apart and for some reason I didn't feel like messing with it so I stopped at a local upholstery shop. $475 for a new liner, in and out but they couldn't do it for 4 weeks{and why didn't I go to a Vo-tech school for upholstery ?] Anyway, If I took the liner out they would clean the old nasty foam and install new for $125 and done the end of the week. So that's what I did. After getting the old liner out, [no day at the beach] their $475 was probably a decent price.
So with the down time I started on the roll bar. First removing the rear seat delete for epoxy and paint.
Then things spiraled a bit out of control.
Photos;
Ok, for some reason my photos are taking forever, I took a 45 minute nap after dinner so woke full of energy. It's now 12 hours later, 600am, and I don't have the patience to wait for photos...
it'll have to wait.
Well that was fun. 2 hours of removing headliner. Need that squared away before installing the roll bar.
So first issue. As the base for the RSD was created in place I figured out it couldn't be removed.I ended up cutting it in half down the center so it could be removed. Opps...
So pretty much everything out pending roll bar installation. The RSD will be getting a coat of epoxy. #1 for the contact cement to glue the mat to, and to give a decent surface for paint on the underside. I think I'm going to go with "splatter paint. Never used it before but always wanted to.
So with most stuff removed, I looked at the carpet. It was gross. My dog goes everywhere with me and the black carpet looked grey from dog hair. I stared at it for a while and thought, Eff it, I'm going carpet delete. After all it's a "hot rod" and I figure I can blow the dog hair out with the air hose. My '57 Chevy didn't have carpet either...
Pretty gross...
3 hours later, Carpet Delete... so the lighter areas, I'm going to paint with base coat clear coat, at least the areas not covered by the plastic trim. The aluminum "track plates" will provide a flat floor in the drivers side/passenger side front, [although some spacers may be needed considering how "un-flat" the floor is, so we shall see.
Although the option I choose was roll bar with sunroof, at first it wouldn't stand upright. Then I cut the carpet and foam from where the baseplate sits and it fit fine. It's going to be a little fiddly. I'm going to add a straight bar between the uprights just in case a safety harness is in the future.
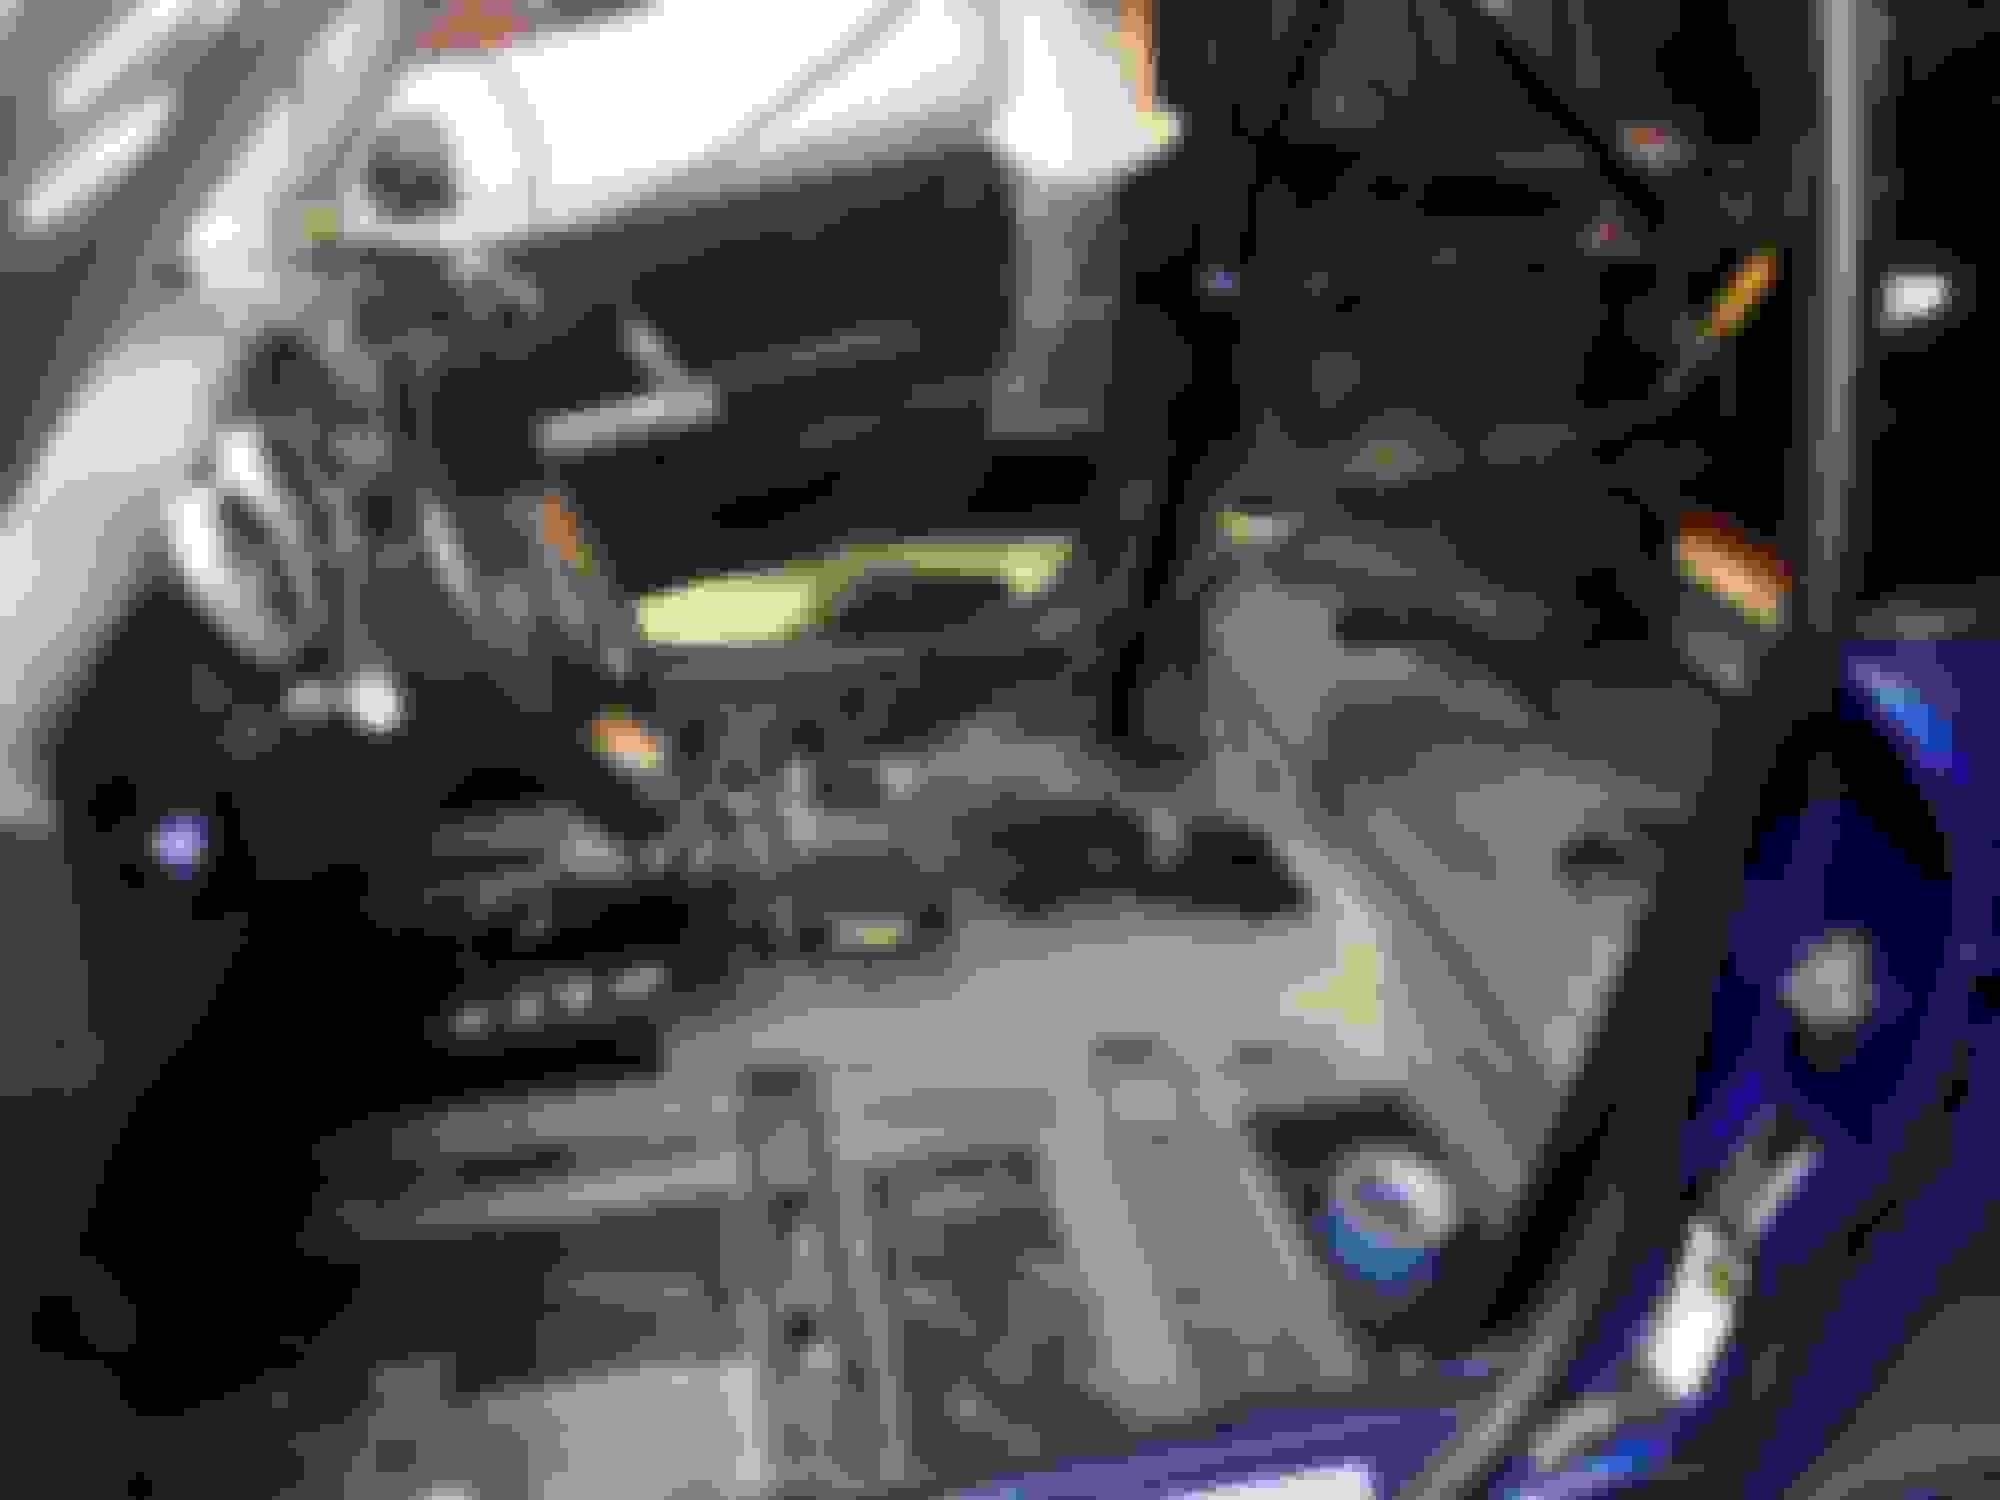
Yep, My car accidentally took itself apart.
So as we speak the plan is. Paint the exposed floor with blue base coat/clear coat. Temporally install the roll bar. Remove the back supports and mark the plastic inner panels using cardboard tubes. Cut "neat" holes as opposed to "slots". Then, figure out the mount for the spare tire, [if that's even possible] Paint the roll bar, epoxy the RSD, paint that, cut rubber mat for RSD, and reassemble. I'm sure I'm missing about 10-15 steps but that's the general idea. I'm figuring 2 weeks so that probably means 4....
A work in progress;
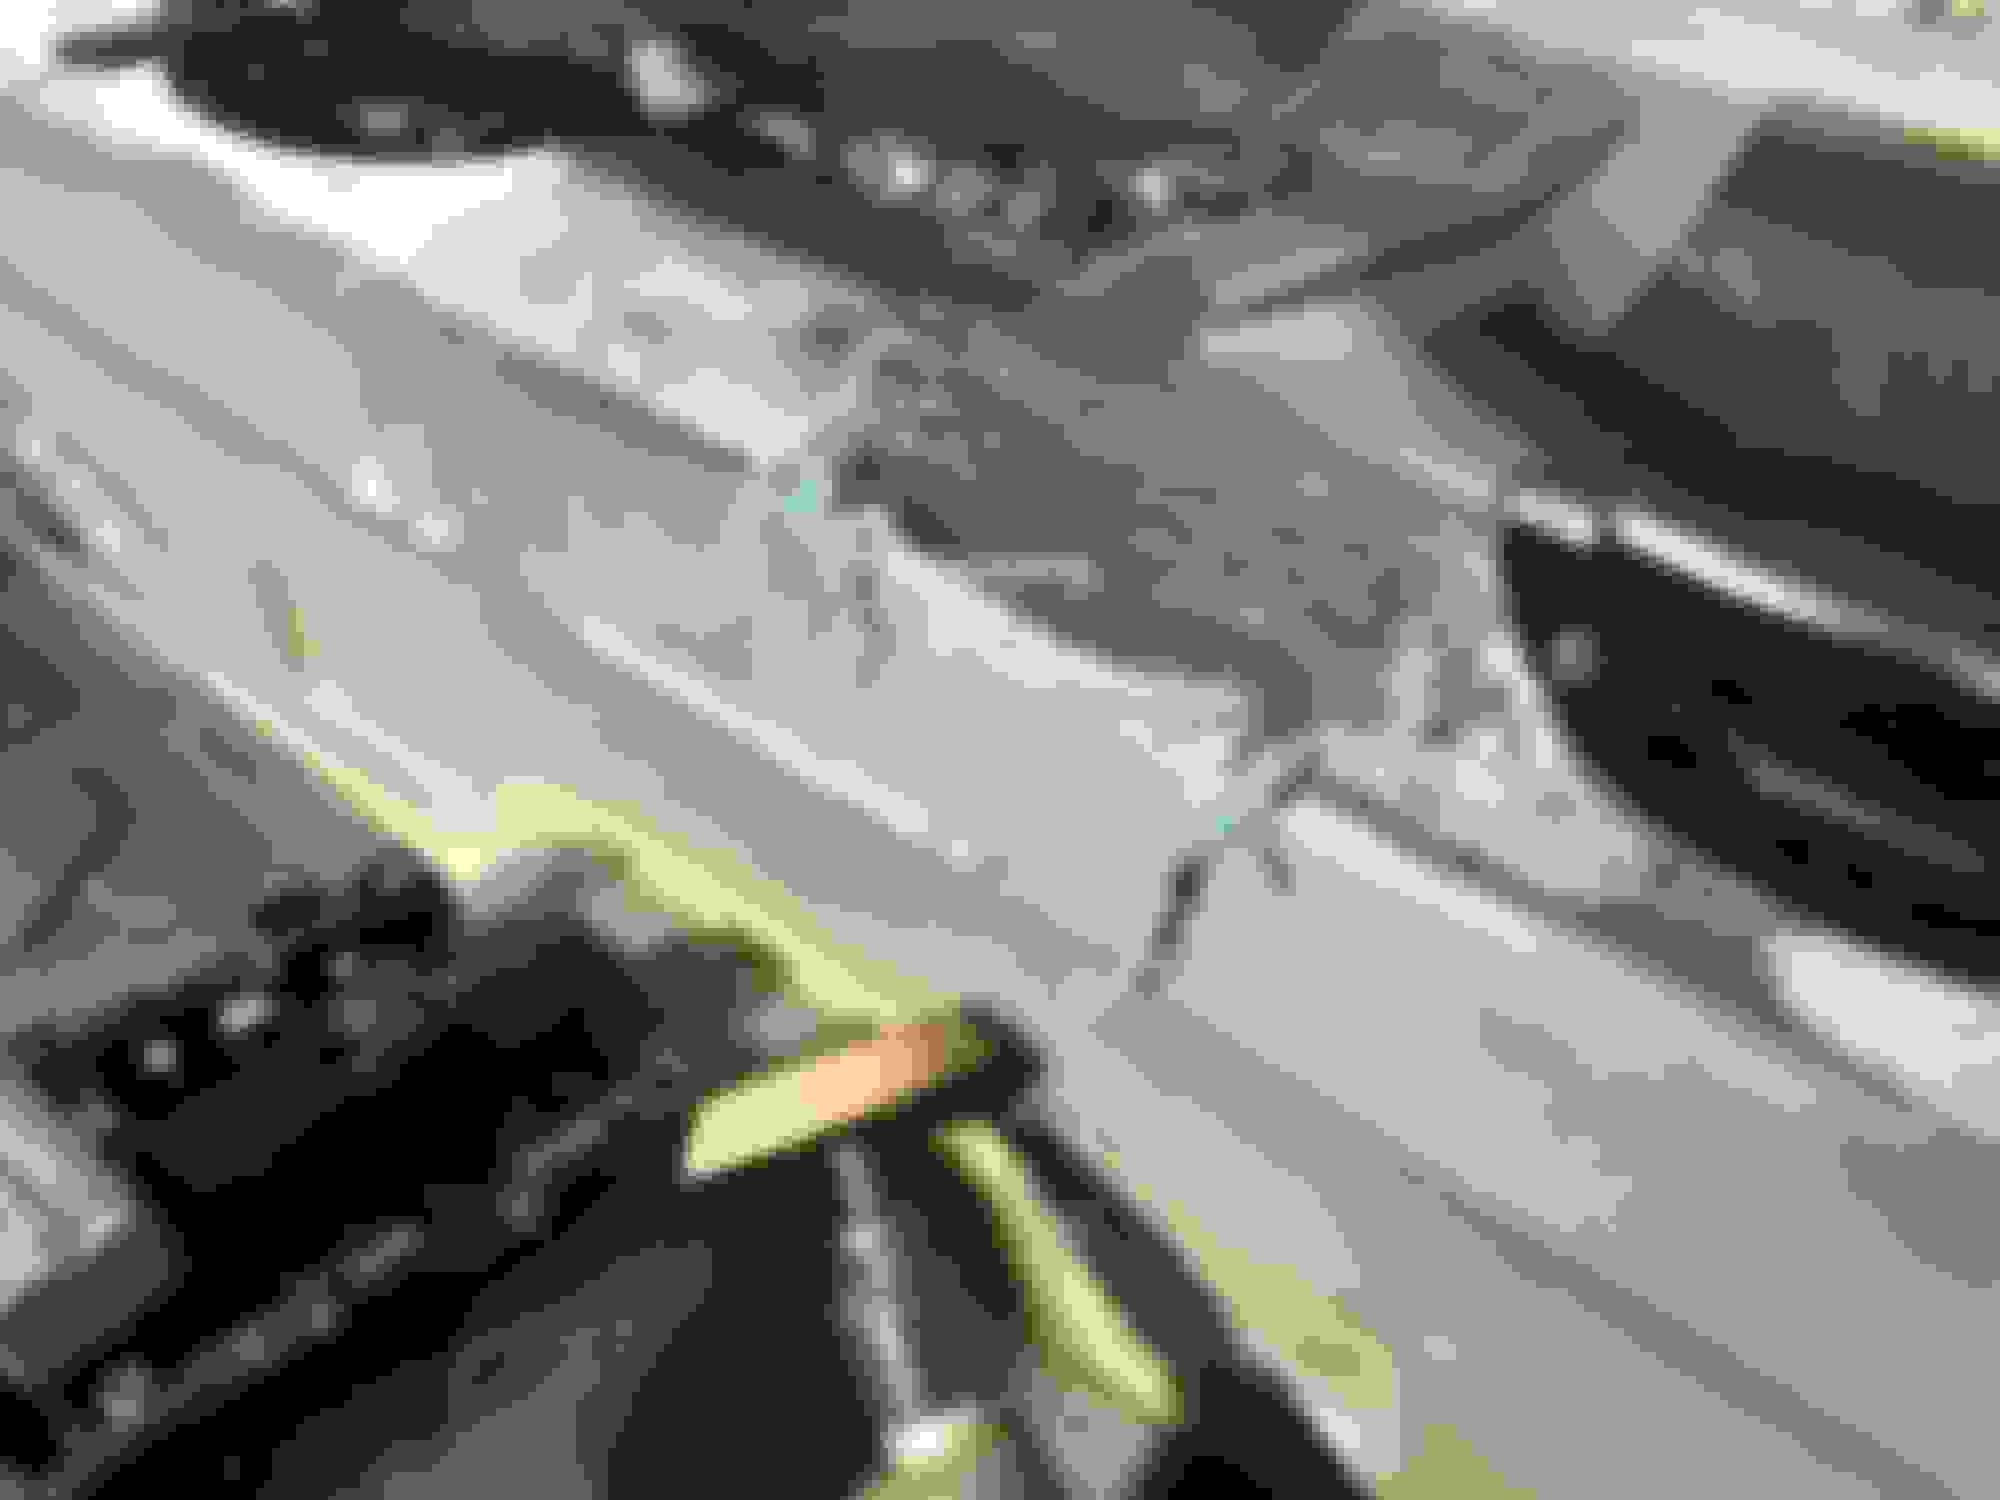
So between removing the headliner and all the trim for the roll bar install I'm left with this. The damn thing took itself apart again...
and this...
at least there's not much in the way...
So after pondering things, due to the abundance of dog hair I'm going carpet delete. To make things look "nice" I'm painting the floor and the underneath [the part seen when the hatch is raised] of the rear seat delete with base coat/ clear coat. The top will be covered with rubber mat. This will involve quite a bit of taping off, most of the interior and in addition, the plywood for the RSD needs to be coated in epoxy, sanded, primed, filler, more primer then paint. I think I'm a glutton for punishment but it should look good. A bit of work but what the heck.
When I did the RSD I cut the carpet at the edge then glued it down with spray rubber cement. Note to self: when using rubber cement just tape off an area as much as you need. When I pulled the carpet up it left quite a mess [for painting]. I mechanically removed most of the rubber cement with a rubber wheel used for removing pin stripes. The rest came off pretty easy with regular paint thinner. Still a 3 hour mess...
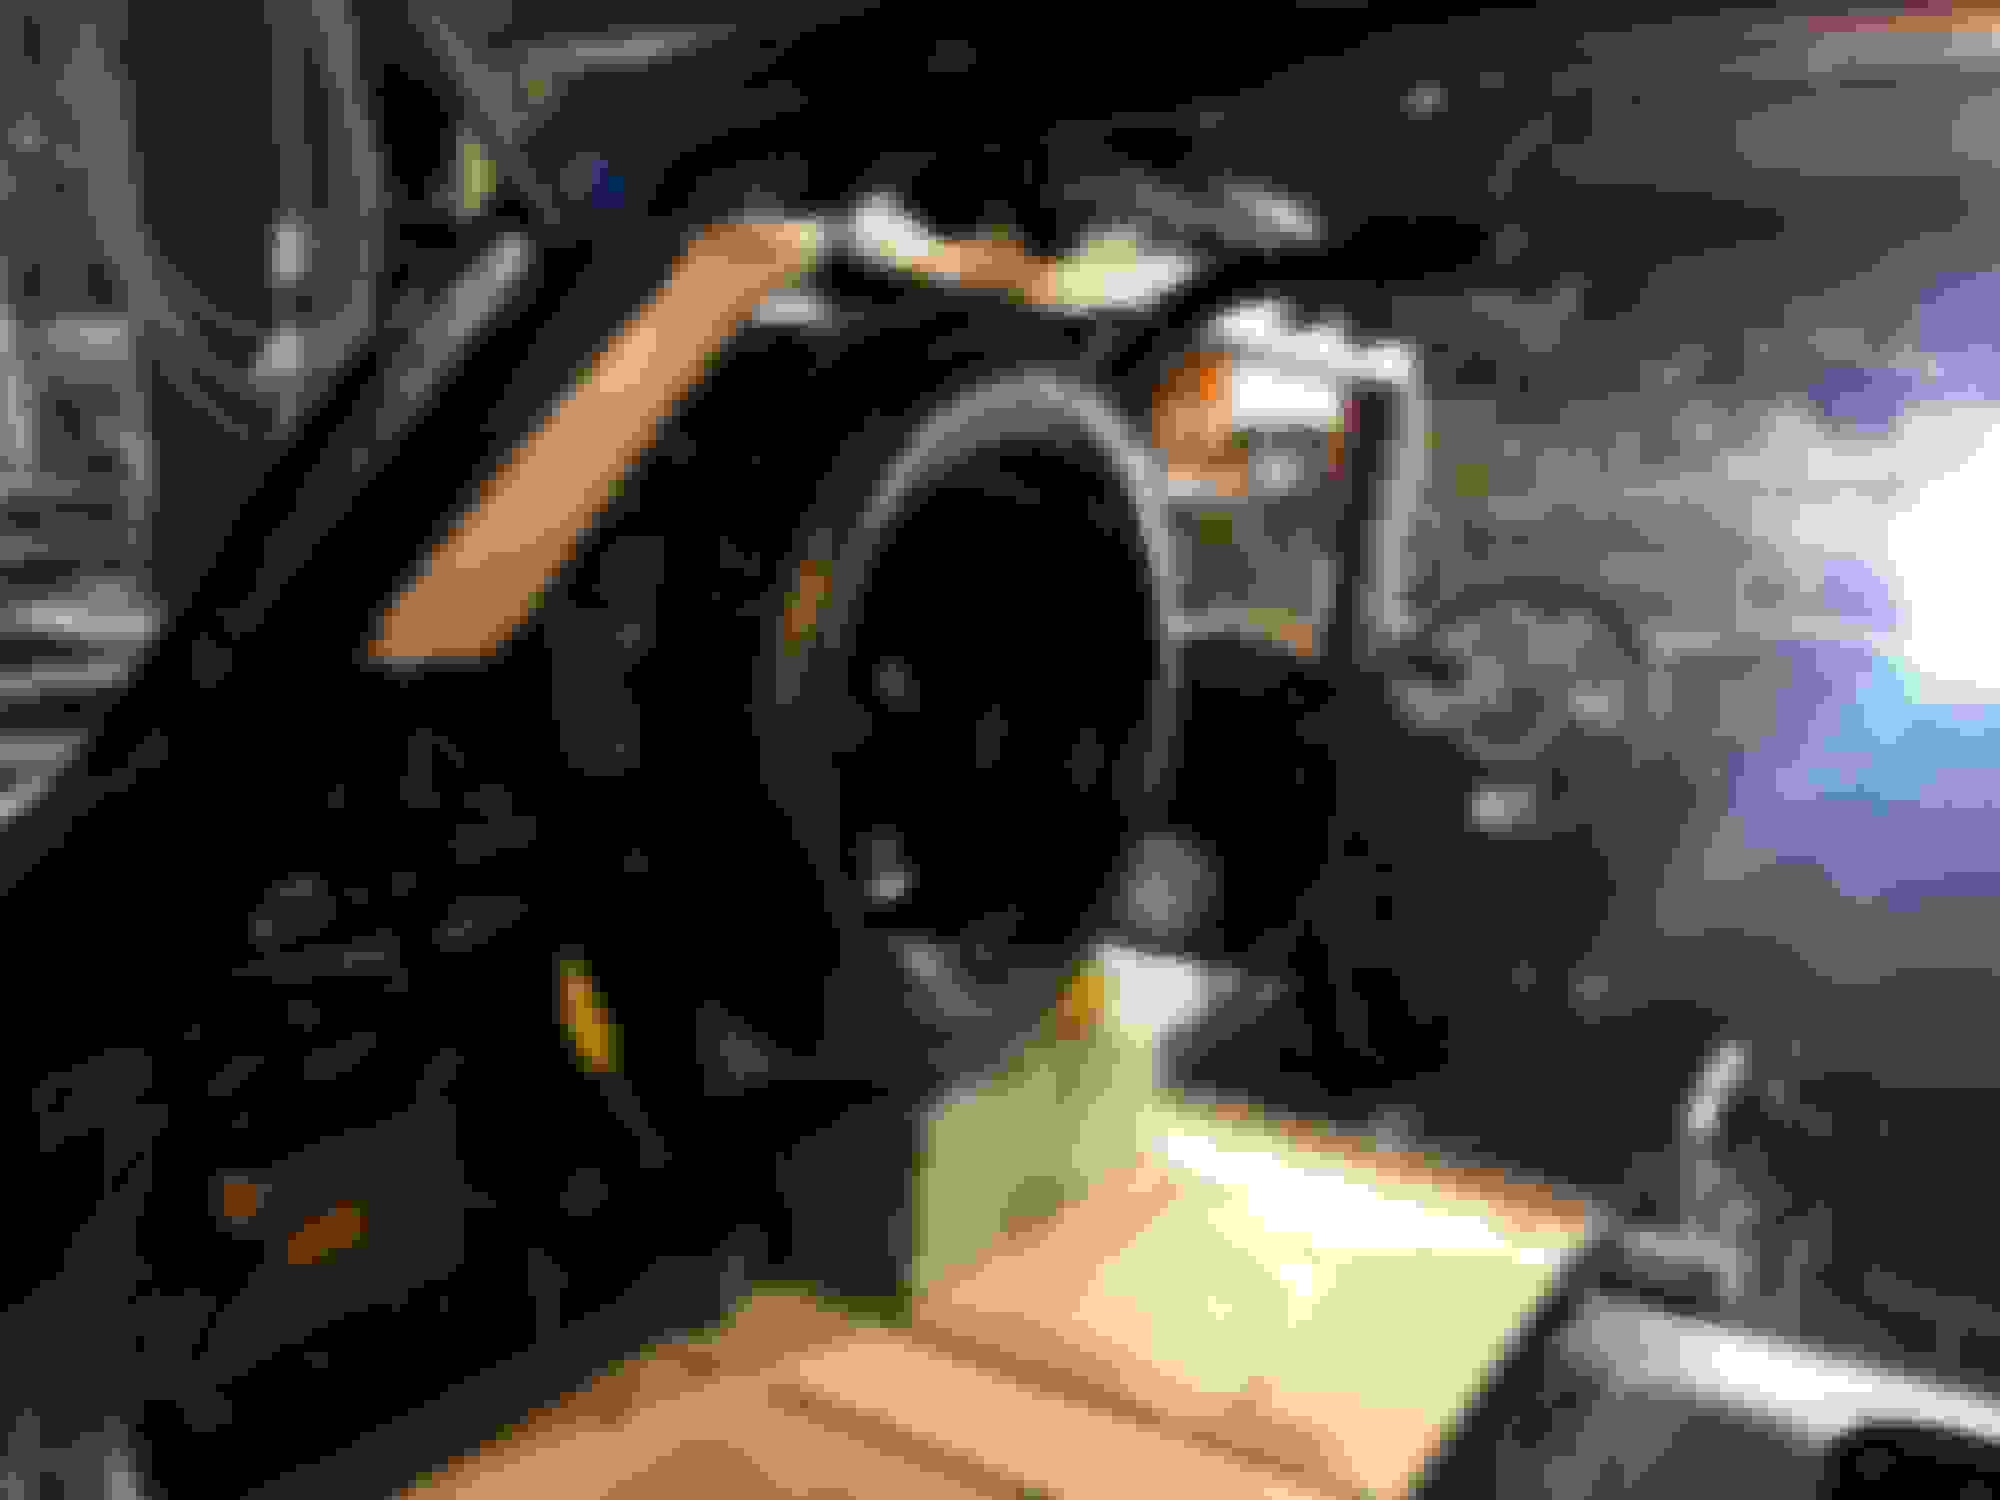
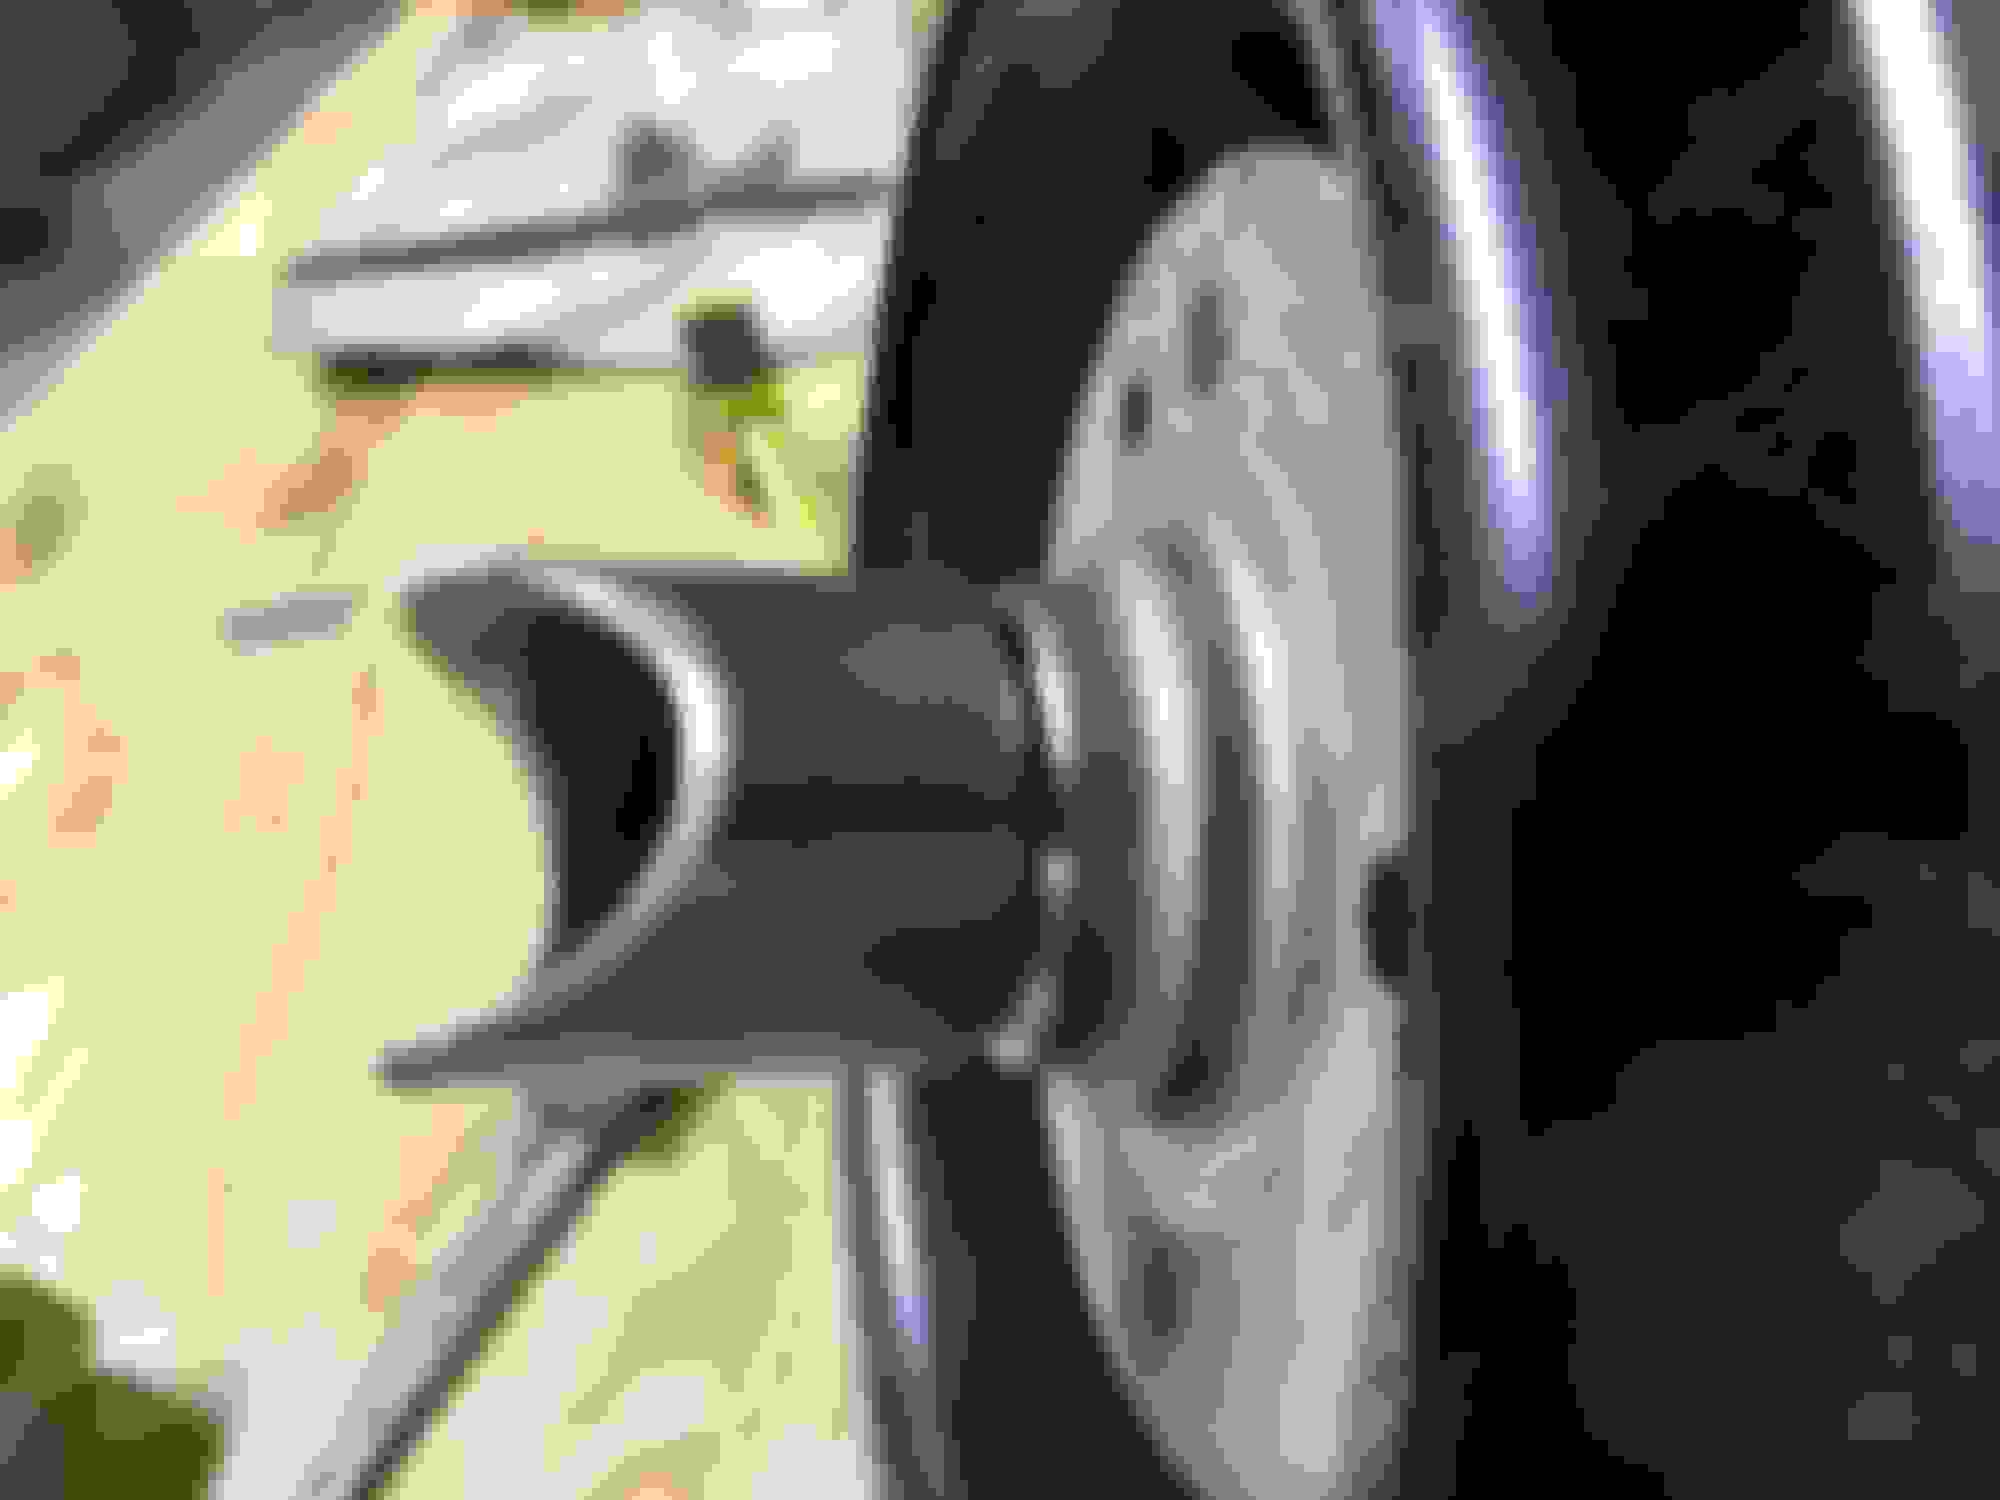
So one of the goals was to have a mounting point for a real spare tire, mounted like a Jeep Cherokee. I think this will actually work.
Mounted 6" up, both hatches for the RSD will open, and being directly behind the drivers seat, out of view.
This actually lines up directly with the rear angled downtube. I think it looks pretty darn official.
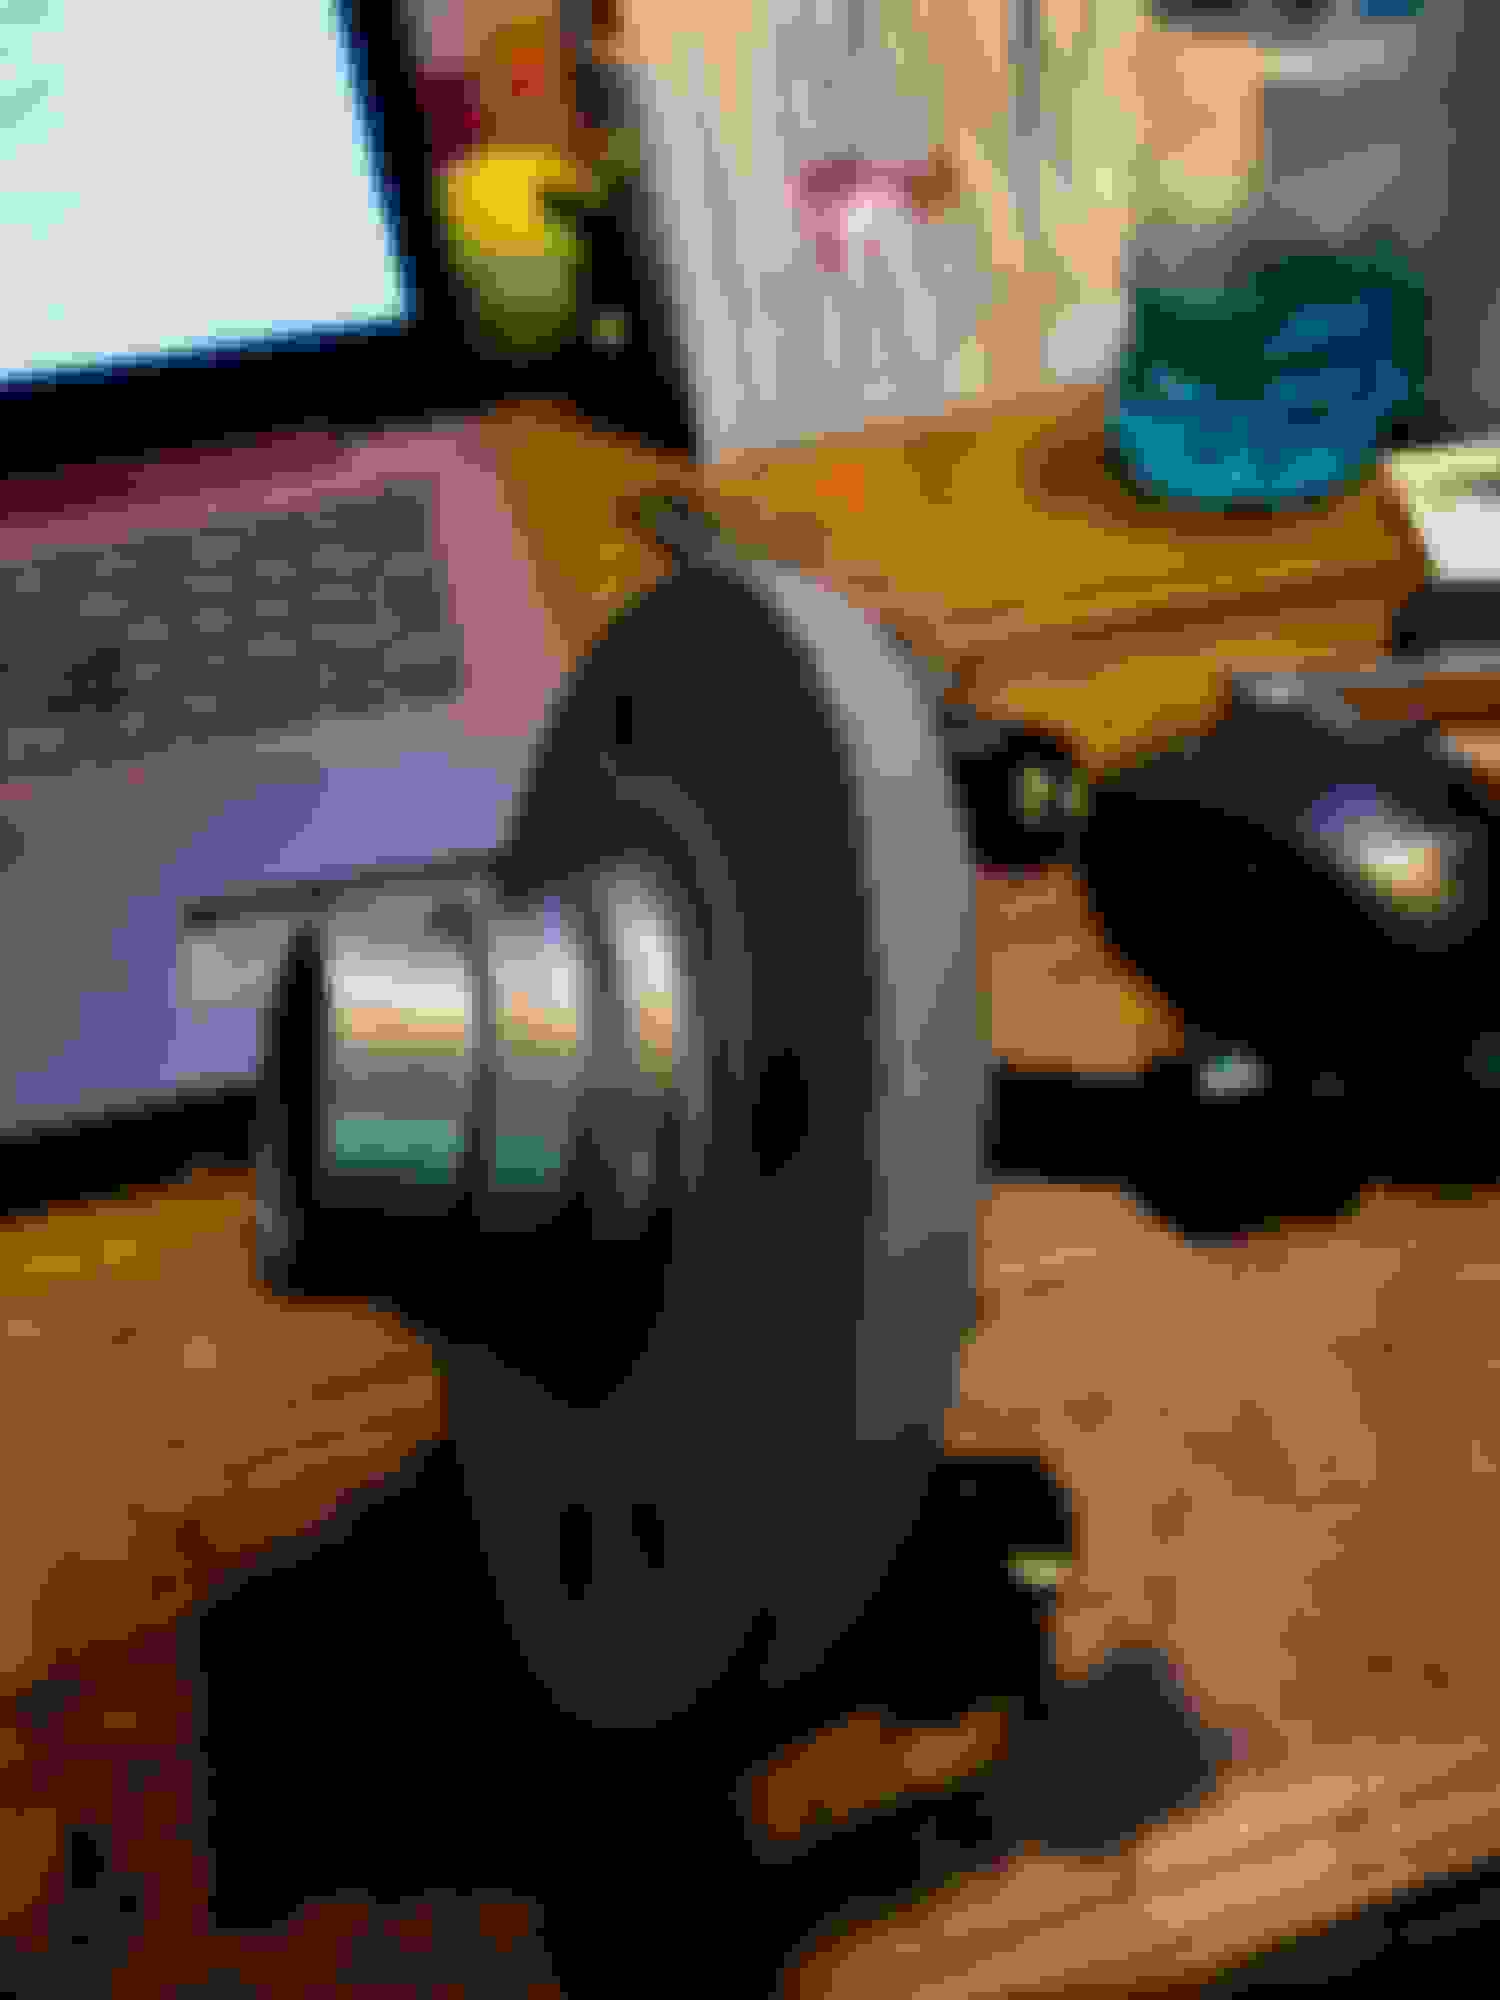
I saved one of the old front hubs and pressed the bearing off then sandblasted. Should fit inside 2" I.D. tube nicely. Hoping my welding skills don't fail me. The stud kit for the wheels came with enough for 5 studs per wheel. So 4 left over. Perfect.
Had to buy a foot of tubing but it looks like I'll need about 3". Works out as if I screw up the fishmouth, I'll have plenty for a 2nd try. Some gussets might be in order. Last thing I want is a spare bouncing around inside...
So 3-4 evenings of epoxy coating, sanding , primer and paint.
So the floor had an indent right where the foot of the bar goes. Instructions said to just tighten it up and smash it all together with the bottom supporting plate. I didn't like that so checked it out with about 3/8's inch of feeler gauges and I ordered some spacers from McMaster-Carr. I think I may also weld the bottom plates to the underneath of the floor.
Only downside of the spare mount is I may have to cut slots on the plastic side panel for the angled downtubes. [at least on that side] I really wanted to do a nice oval like another member. May not be possible with the bracket for the spare welded in. But that side will be blocked from view by the spare so maybe I do that [the oval] with just the pass. side.
What was so difficult about removing the headliner? I need to do it on my 2004 with sunroof and was led to believe that after removing the mirror, visors, hand-holds, sunroof trim, etc. it would be easy. No?
Jab,
Difficult may be the wrong word. PIA may be a more accurate description. More me whining about all the little snaps and clips BMW uses and me lamenting the days when cars weren't plastic and everything was held together with bolts or screws..
It's not that bad.
robj
What was so difficult about removing the headliner? I need to do it on my 2004 with sunroof and was led to believe that after removing the mirror, visors, hand-holds, sunroof trim, etc. it would be easy. No?
I didn't find it difficult at all; I also took mine out without removing any of the A/B/C pillar trim, and successfully reinstalled with them still in place.
I did take the pillers off as I needed to take the rear side panels off for the "nice, neat hole" for the roll bar rather than big slots. Although a slot might be required on the drivers side where the mount for the spare will be welded. No way to slide the downtube through. But I have maybe a plan for that, we'll see. [it's hidden by the spare anyway but still...]
So the RSD has had 3 coats of epoxy and a coat of primer, and some filler. That's where we stand.
I decided to base coat, clear coat the tops as well as the bottoms, just in case I decide not to glue the rubber mat down. [in case it looks too good for that, but that might not be an issue....]
robj
So jumping between the carpet delete, the roll bar mounting, fabbing the spare tire mount and prepping the RSD for paint I've been jumping around quite a bit.
But it's sort of starting to come together. Still a ways to go.
So after 3 sanded coats of epoxy, one primer and 2 rounds of spot putty, I think we're ready for a coat of epoxy primer and paint.
Roll Bar and Spare Tire Mount. Got the RB bolted in, then measured from the back, loosened everything up, removed the rear supports [checked placement] and slipped a piece of 1.5" PVC on with card stock that I could slide up and down to mark the holes in the side trim.
Measured the angle then squeezed the trigger and said a little prayer to the garage gods... Seemed to have worked out.
On the drivers side as I can't slide the downtime in due to the spare tire mount, I cut a slit from the hole out toward the window. I'm hoping it will separate enough to go around the tube.
Thick wall, [1/4"] 1.75" tubing for the spare tire mount. Used a friends tubing notcher and after some grinder work, ended up with a darn nice fit. Surprised myself, considering the angle and all. It was slow going with that thick tubing.
Front side. Next was figuring out how long it needed to be. I was pretty careful as there was no desire to notch another piece!
Tubing notcher. This was the 90 deg. cut for the seat belt bar I'm adding.
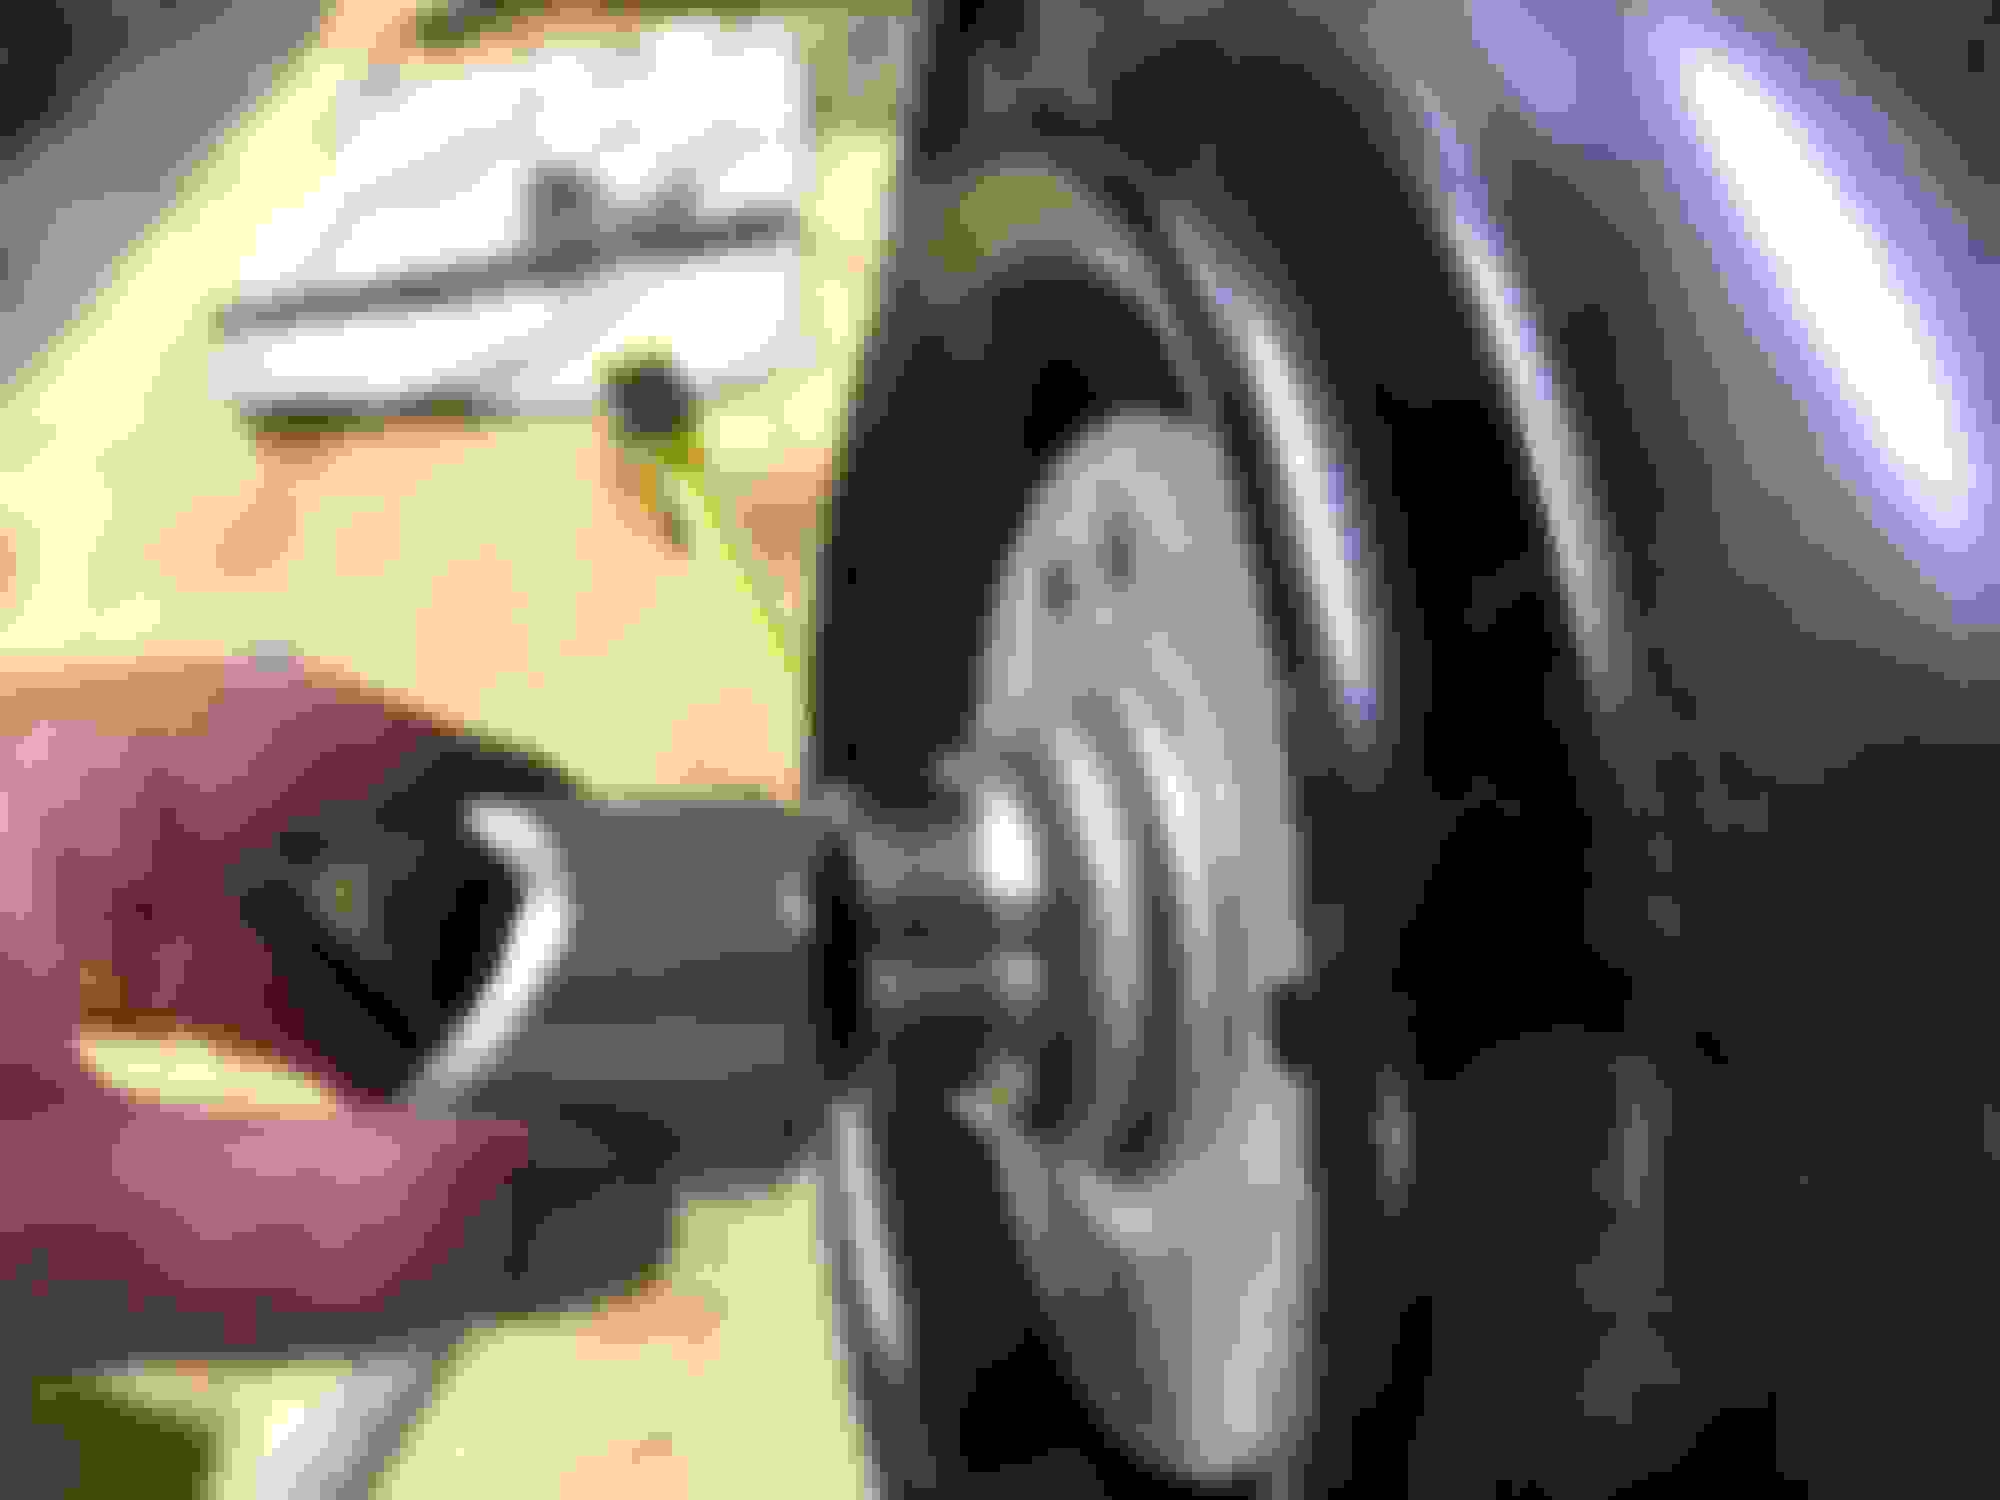
Using the old front hub I saved. Pressed the bearing off and turned that area down to match the ID of the tube. I had a friend stop by with a carbide bit as the hub was hardened. He [my machinist buddy] wasn't sure it was going to work but it did. Chamfered a little off for the weld.
Sorry for the lack of focus but you get the idea.
Mocked up. Nice thing is both hatches of the RSD still open.
Another view.
While the wheel was still on I reached behind and tacked things in place. Excuse the snot weld, that'll get cleaned up. It was a little hard to see behind the tire.
I like this angle better, no snot weld...
More...
I think it will work. I still might add a gusset. Really don't want a tire coming loose...
So, lot's to do yet. Paint the floor, finish welding, sand the paint off the RB, primer and paint that. Primer and paint the RSD. Install the headliner, and figure out the Track Mat installation with no carpet.
But it's coming along.

 05-26-2020, 08:04 AM