When you click on links to various merchants on this site and make a purchase, this can result in this site earning a commission. Affiliate programs and affiliations include, but are not limited to, the eBay Partner Network.
And I seem to remember my Jeep Cherokee had a pretty flimsy stamped sheet metal holder with a single bolt for the spare tire. I’m thinking you are well on the way to having a sufficiently strong mount for your spare...
Enjoying your thread.
Last edited by Eddie07S; 07-01-2020 at 08:13 AM.
Reason: Edit
Eddie,
"Jeep Cherokee had a pretty flimsy stamped sheet metal holder with a single bolt for the spare tire"
Pretty much. After welding things up I think I can skip the gusset. I'm thinking you can probably hang the entire car from the spare tire mount.
Currently taping and masking the outside and inside to paint the floor. That's may take a day by itself!
rob
A brief update of some progress made. Things have been a little slow as for the last week or so I've been more or less walking around holding onto things for support and gobbling pain meds as I did "something" to my back. it's been a lifelong thing but I hadn't had a flareup in about 2 years and didn't miss it at all.
I did learn when your back is messed up there are actually 4,500 different sleeping positions, none of which are comfortable. But things have improved the last day or so, a good thing.
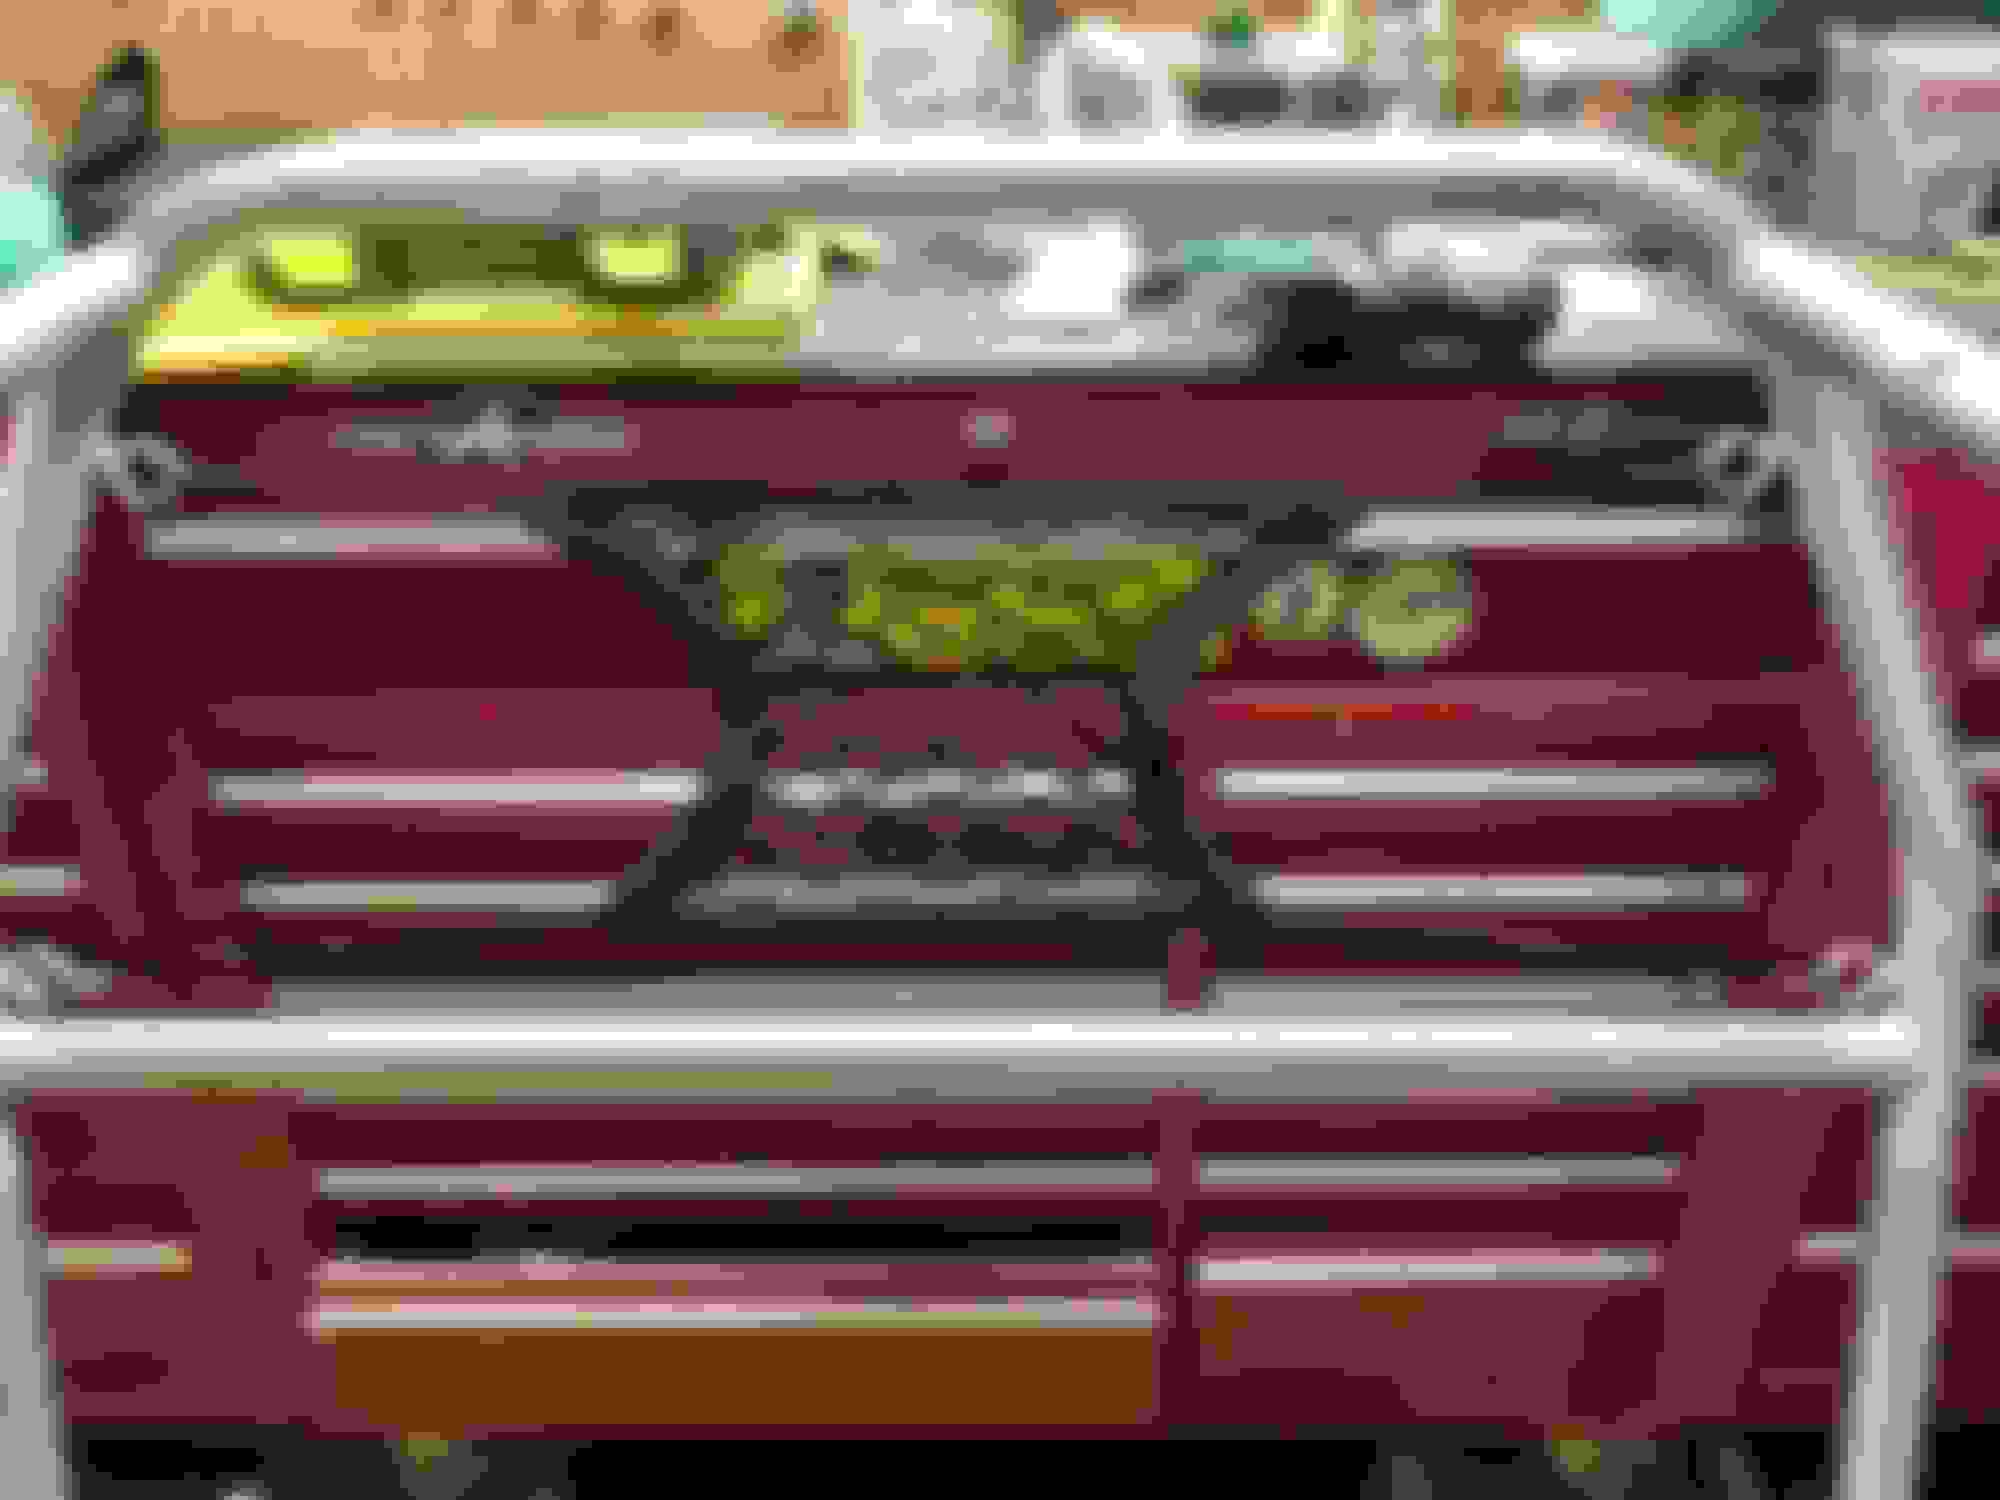
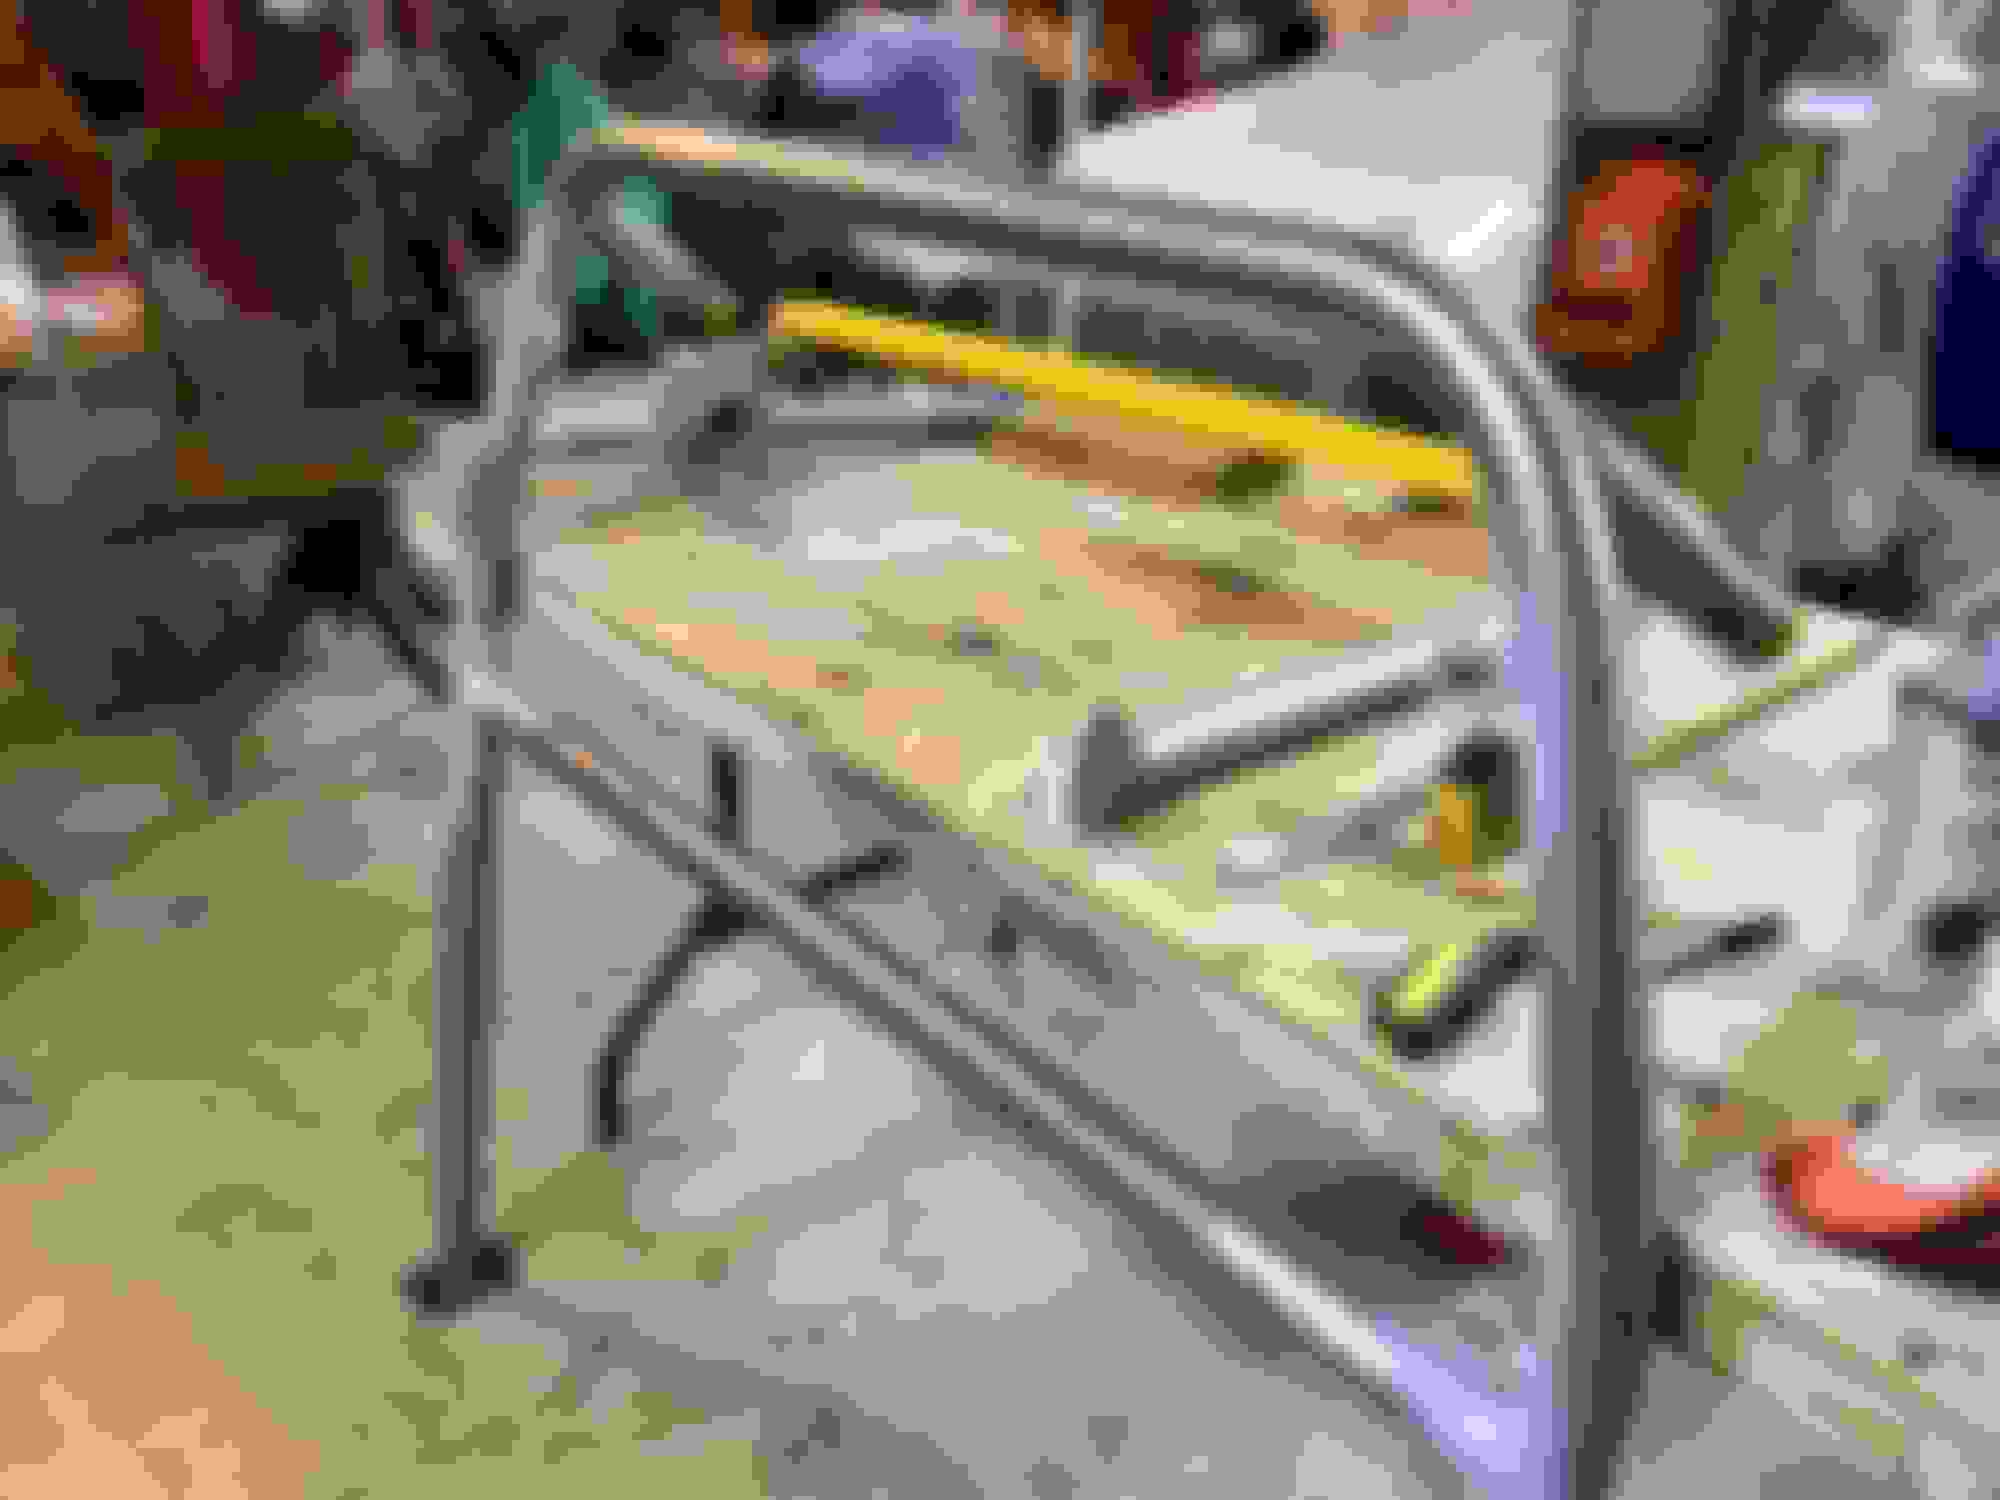
Anyway, enough about me. The roll bar is ready for primer and paint. I added some rings for a cargo [dog] net. They are forged and are actually rated for "lifting" and are non-threaded weld in type. A little overkill but it is a roll bar, so I stuck with the heavy-duty theme. I did a little extra welding and grinding to smooth them in, mostly for appearance. Also a little extra welding and grinding on the spare tire mount for the same reason.
Neatness counts, right?
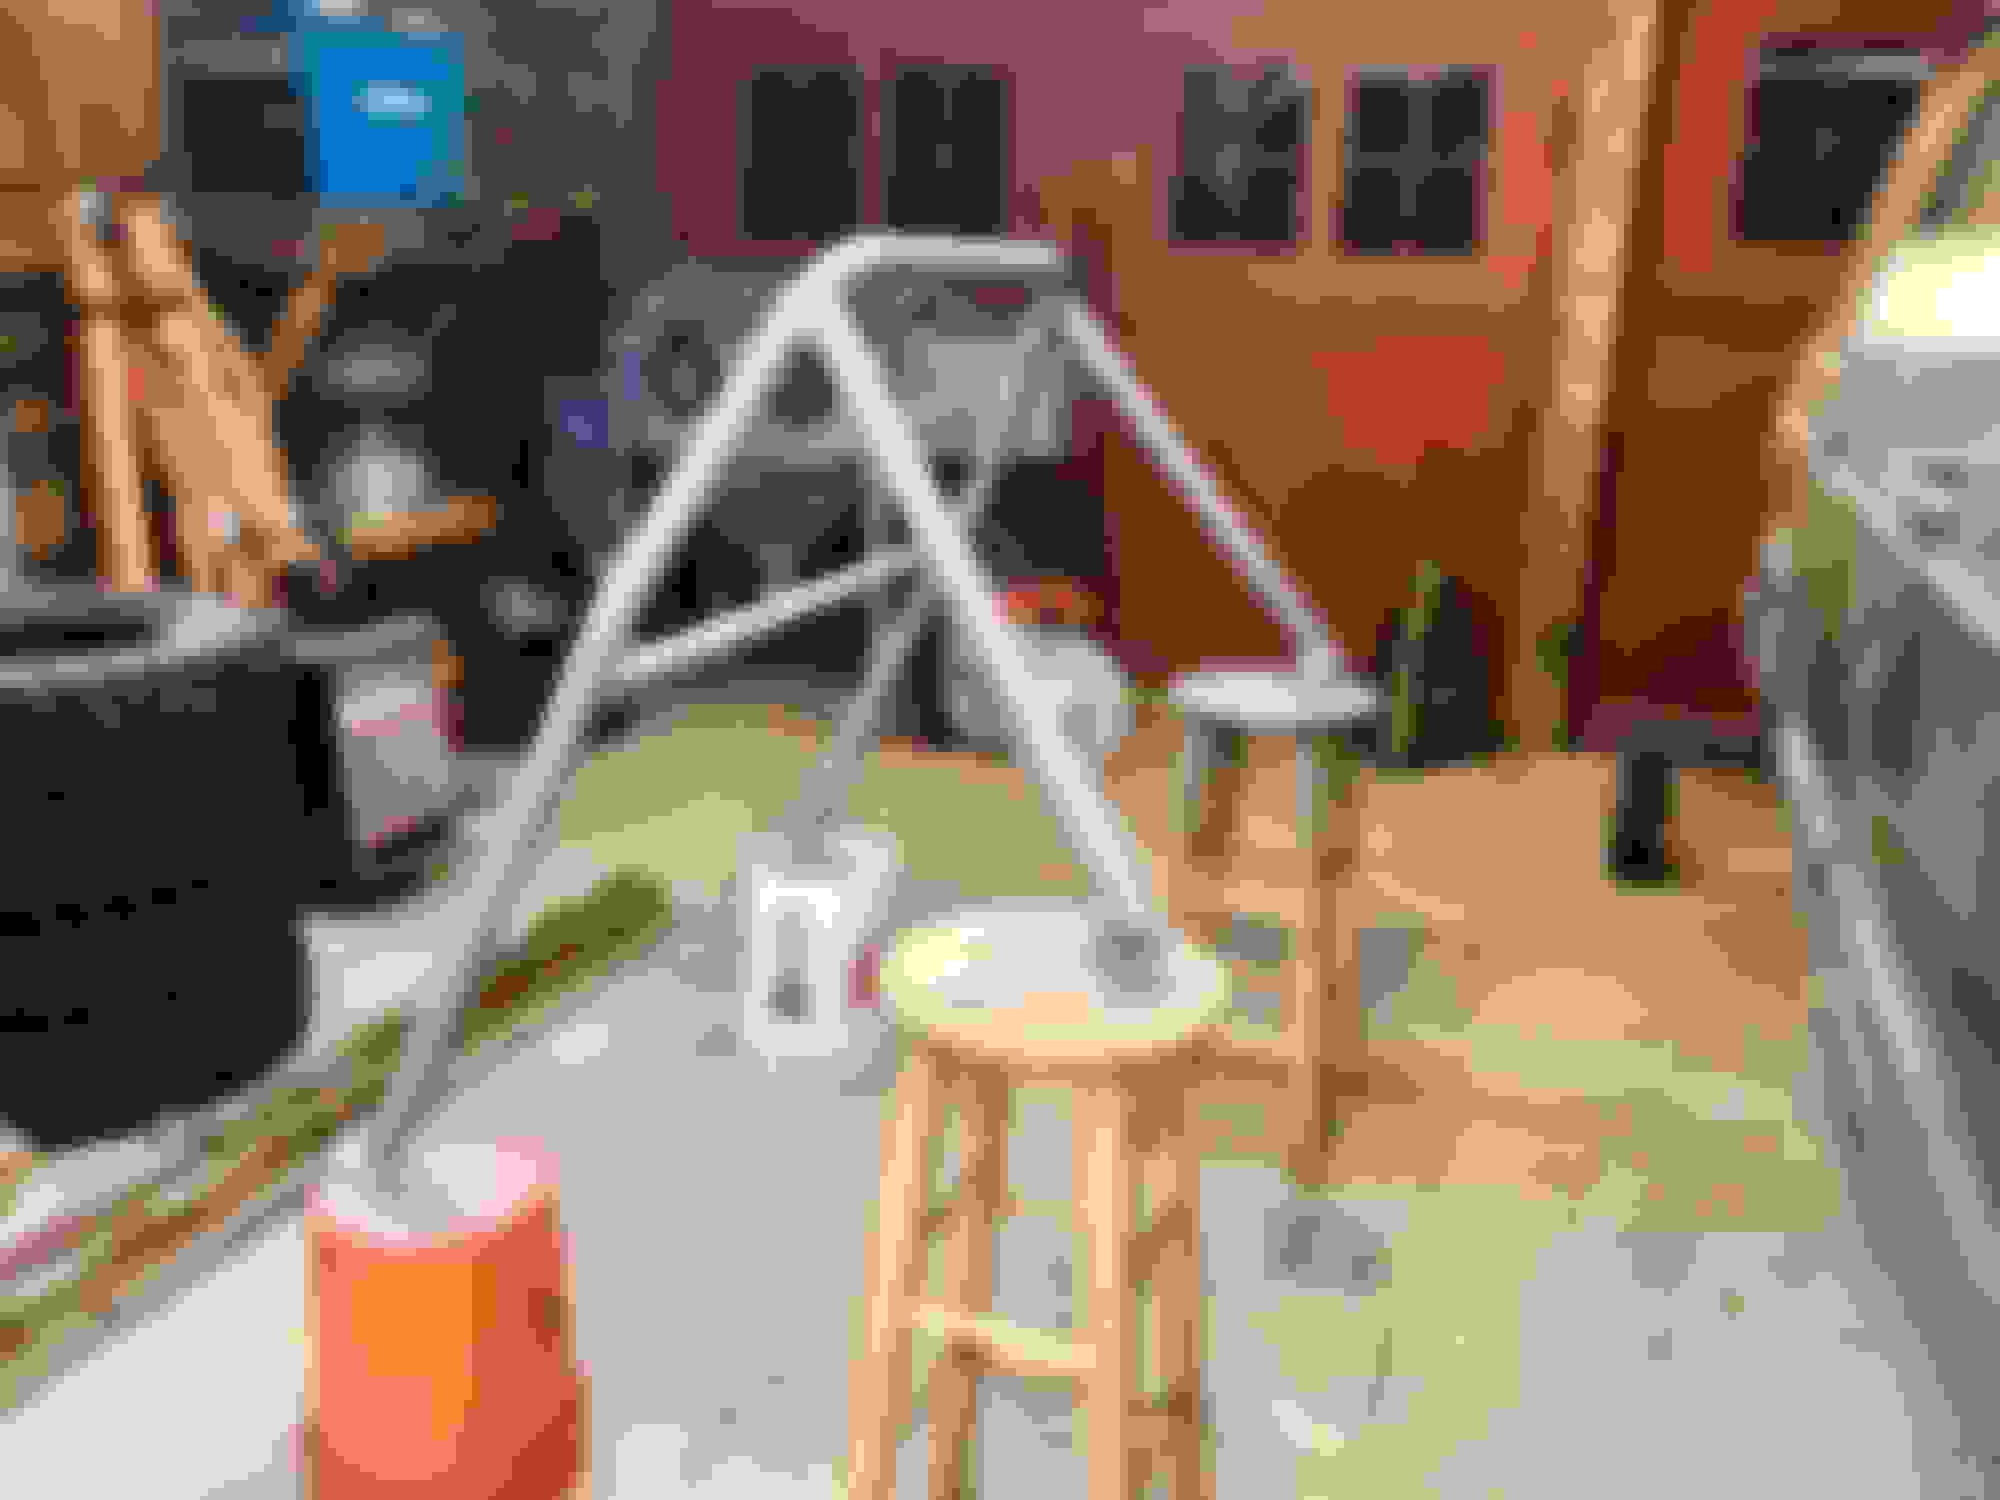
As for painting the floor. This turned out to be a little more involved than I envisioned. Between removing components and realizing I needed to mask off the entire inside, as well as the outside to prevent overspray it became quite the project. No paint yet but soon.
I need to primer and sand the RSD as I want to paint that and the floor at the same time.
I would love to skip the rubber mat on the RSD and leave it blue but with the dog riding there, [at least some of the time] It would be scratched up in no time. I've been pondering a mat cut full size so I could remove it, but I'm not sure that would really work so I going to cut the mat to fit each part of the RSD before painting so I don't mess up the paint and decide for sure later. So that's next, then primer and paint.
Stay tuned...
robj
Roll bar with hooks and cross support for possible future comp. seat belts.
Hooks welded and smoothed.
Weld-in forged hooks.
Spare tire mount welded and ground smooth.
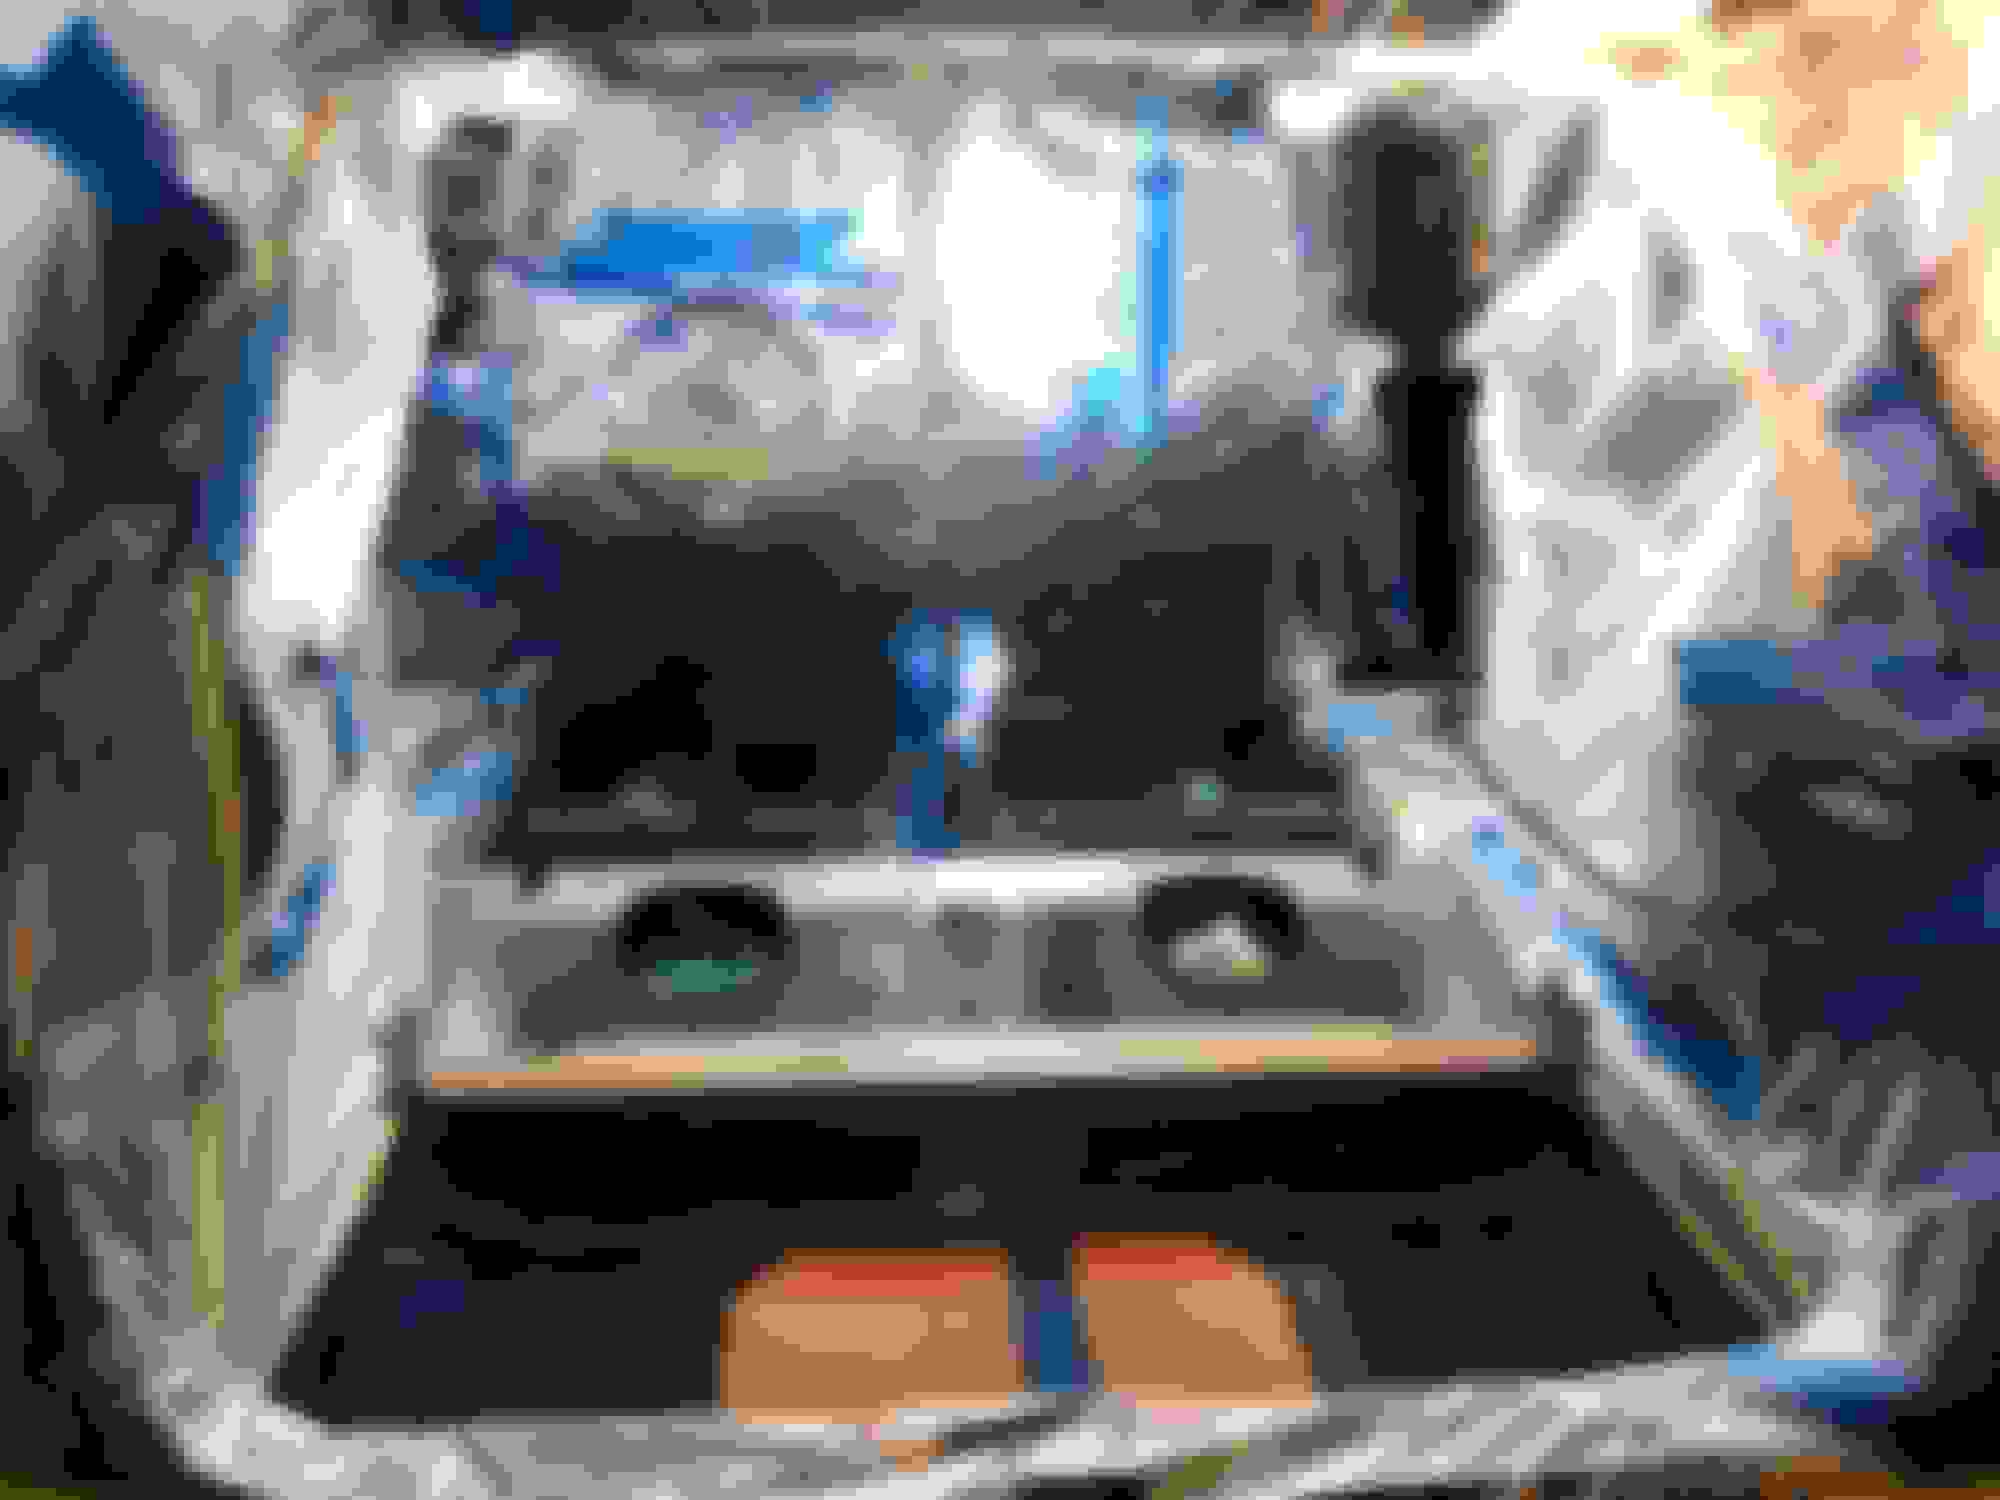
Masking. This was fun...
More masking...
It never ends.
Pretty much the entire car except for the floor. Whatta PIA...
I think it will end up looking good though. We'll see.
I'm more of a "mask a little, polish out the overspray later" kinda guy, but I find your attention to detail fascinating. 👍
Have you found a good source for your cargo net?
I've been looking for just such a thing for quite a while. The thought of a 100# Malamute bouncing around inside a crashing Mini, with airbags exploding everywhere and me trying to duck is comical to picture, but probably not too fun in real life.
That, and the ******* leaves the spacious comfort of the rear-seat-deleted back-end created especially for him, and climbs into the front seats every time I'm out of his sight when parked.
So far I haven't found a reasonably priced source.
I'm more of a "mask a little, polish out the overspray later" kinda guy, but I find your attention to detail fascinating. 👍
That, and the ******* leaves the spacious comfort of the rear-seat-deleted back-end created especially for him, and climbs into the front seats every time I'm out of his sight when parked.
So far I haven't found a reasonably priced source.
Hahaha... Mine does the same. Not quite 100# but a solid 50# of pit mix. Her favorite thing was front to back, front to back... Esp. when she see's a cow. [She appears to have a thing for cows].
I started off with a M.C. cargo net but it wasn't high enough and she figured out she could jump over. [She can jump onto my workbench from a sitting position- just levitates]
Then I got one off Amazon that seemed too big and too stretchy. I bought another one from Amazon that I think will work, esp. with the roll bar. They're pretty cheap, 12-15$.
Rob - For my dogs I just put down a rubber backed door mat that they sell at HD. It doesn’t slide around with them on it. I take it out when they are not in the car. Both were about 70# +/- a bit.
Pits are known for jumping. And they are known for being smart. Yours will likely figure out how to get around, over, under, or through your net... A cow “thing”? They are a “working” dog. Maybe yours has a bit of a “herder” thing...
And, oh, remind me to to never invite you over to work with me on building a light weight race car. Between the 2 of us it would weigh 4 or 5T...
Hahaha... Mine does the same. Not quite 100# but a solid 50# of pit mix. Her favorite thing was front to back, front to back... Esp. when she see's a cow. [She appears to have a thing for cows].
I started off with a M.C. cargo net but it wasn't high enough and she figured out she could jump over. [She can jump onto my workbench from a sitting position- just levitates]
Then I got one off Amazon that seemed too big and too stretchy. I bought another one from Amazon that I think will work, esp. with the roll bar. They're pretty cheap, 12-15$.
I'll post a pic.
rob
All the ones I have found have been >$100, or didn't look strong enough to restrain much more than a bag of groceries.
I think I got the "over build" from my grandfather. I was 8 and "helped" him build a small vacation cabin in Pa. I remember my Dad grumbling that granddad thought he was "building a tank".
It was sold to the neighbors almost 40 years ago and two weeks ago I rode up there. Still standing 60 years later and not a sag to be seen.
My motto, "Anything worth doing is worth doing to excess!"
Husky,
This is the net I bought. Not sure it will work without the roll bar and not positive it'll work with it. Just fills the area between the seats.
I'm not married to it and was actually thinking about the netting they sell for race car windows, [think Nascar]
The boat nets were light, and stretchy. I want something more sturdy to protect against a flying dog in an accident. I think something like this will be the route I go. I'm not putting in a roll bar. Not necessarily this net, but this page brought up a whole new group of possibilities from the offroad world.
I will probably try to fabricate a couple of mounting points that attach to the upper seat belt anchor bolts on the B pillars, install some friction buckles that will allow me to pull the top strap tight across those two points, then install some attachment points across the front edge of my RSD, add friction buckles, and attach the bottom edge pulling down to the RSD.
Probably doesn't make any sense when written out, but it's a beautiful picture in my head.
Now I just gotta get some time in the garage to do it.
Husky,
I like that Jeep net. Saved it to my wish list just in case. Probably the best thing is a securely attached harness with a suitable harness for the dog. They have ones that clip into the seat belts but I don't think my dog would like that one little bit. Plus she can never decide what window she wants to look out of...
rj
I have a harness to strap the dog in that I got from my daughter who used it for her dog. Yogi is not a fan, and I don't want to have to rig and derig him every time we go to the store.
I should have mentioned that I use a piece of 1/2” plywood to keep the dogs in the back of our MINI. With the back seat laid flat, I have small cutouts in the plywood that fit the rods of the head rests with the ply wood vertical. The plywood rests on the rods and is held between the head rest itself and the top of the seat back (I am talking about the back seats here). Then I just use a bungee cord to keep the plywood up tight against the front seats. The bungee cord is hooked on one head rest of the rear seat and then up to the head rest of one of the front seats. The dogs can see over it, but not by much and they never tried to climb over it.
Last edited by Eddie07S; 07-08-2020 at 06:10 PM.
Reason: Added detail
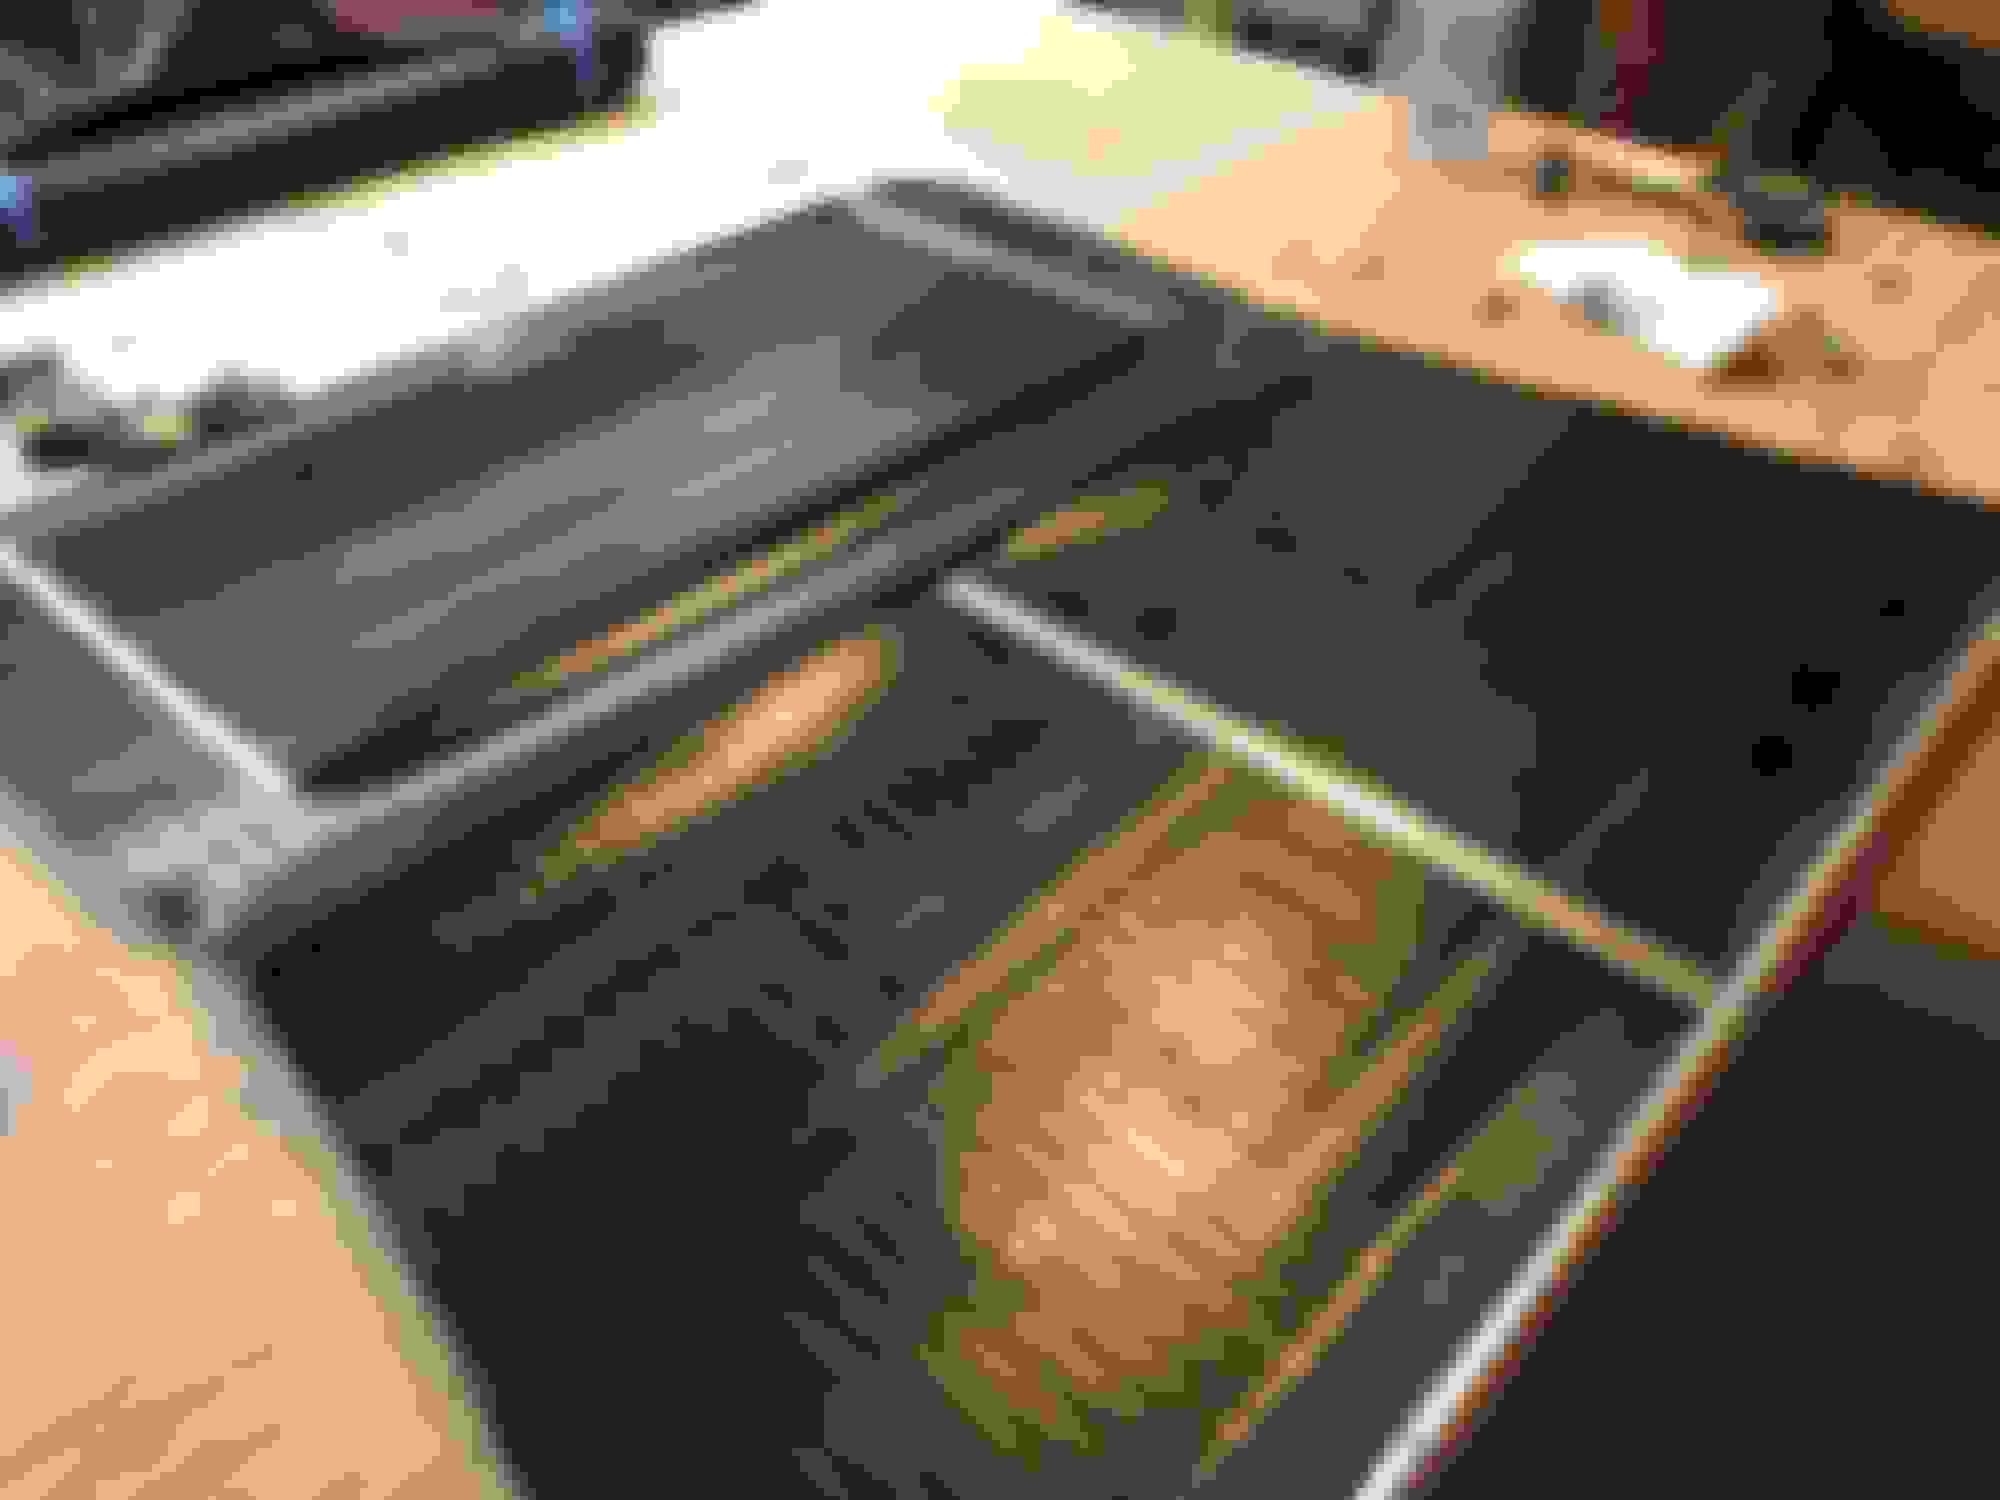
For some reason I was putting off cutting the rubber mat I had bought. I guess the potential for error was high and cutting rubber accurately is never easy. In addition I was hating the thought of covering up the nice blue paint soon to come. But with my dog as a constant passenger there's no way the paint would hold up so mat it is.
Getting everything even and the lines straight was a little tricky. I laid the mat face down and laid the RSD on top, upside down. Although a little touch and go I forged ahead with a big razor knife and had at it. iI seemed to work out. The next test is putting it down with contact cement as you get one shot with that.
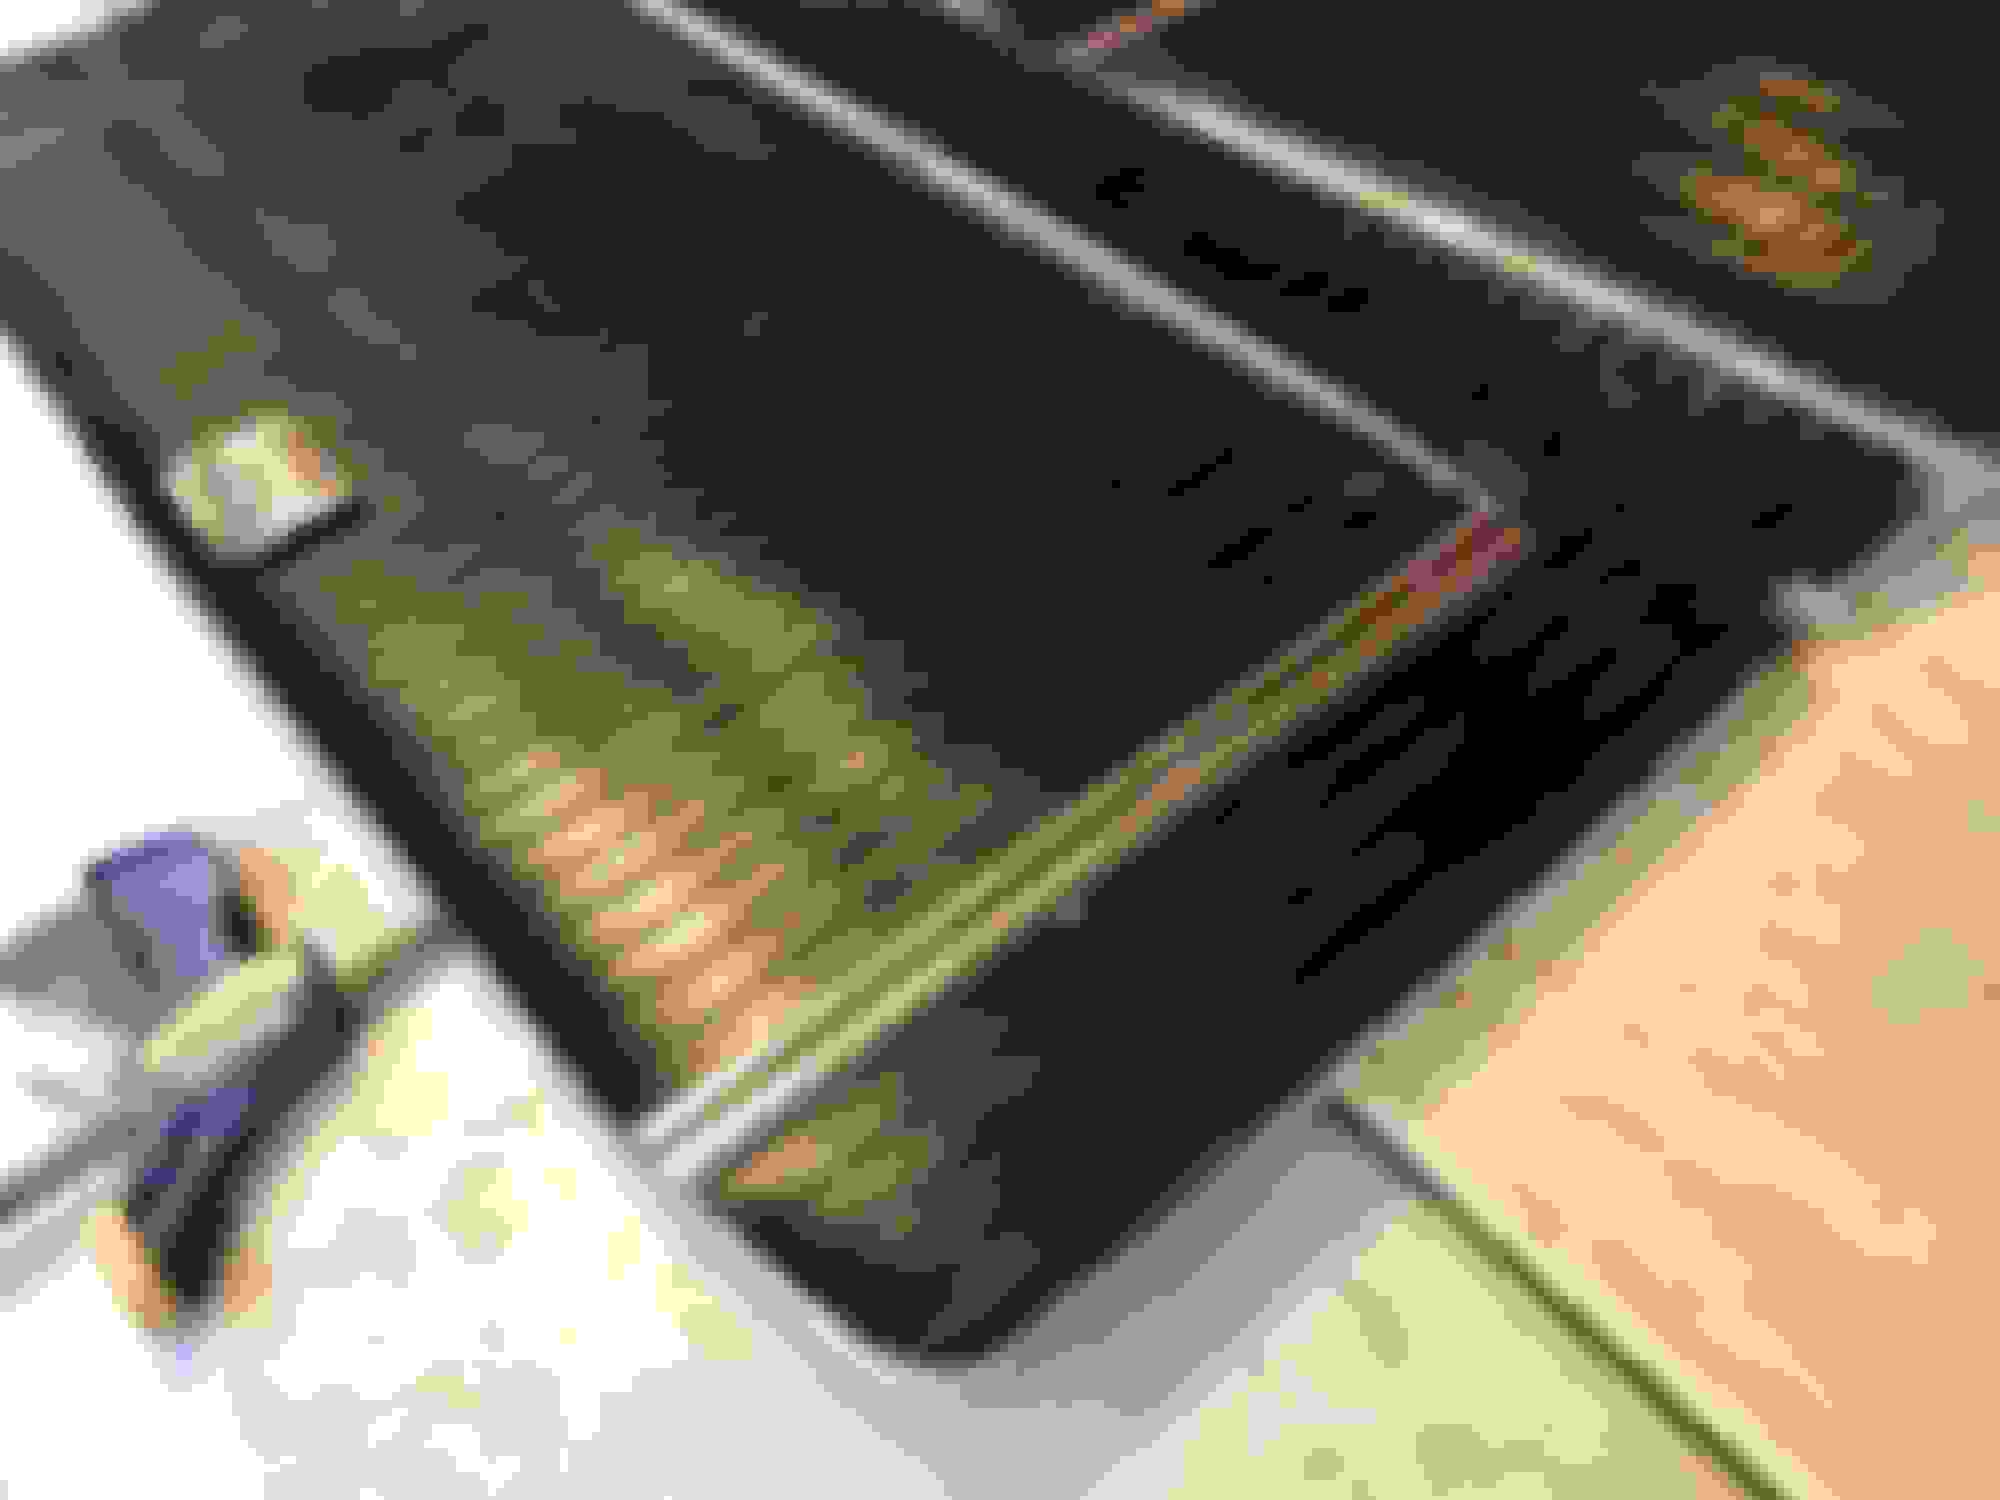
I did forget that I had made only one set of aluminum strips for the rear hatch and had to order some additional from McMaster-Carr. I wanted to cut the rubber before paint to avoid messing up the paint cutting the patterns.
Although prior to paint and being glued down with rubber cement this will give an idea of the rubber mat.
robj
Waiting for additional trim for a second piece on either side of the rear hatch.
The hinges will protrude slightly and the mat will butt up against the front and rear hinges.
Reminds me of my fathers '63 Rambler station wagon...
The rear hatch will get a strip on the lifted part and a strip on the fixed portion.
Front to back view. The faces will be blue BC/CC.
Going to lay the mat outside in the sun for a day or so to get it to relax.
Next, primer and paint.
I decide to pull a "double" tonight but got quite a bit done.
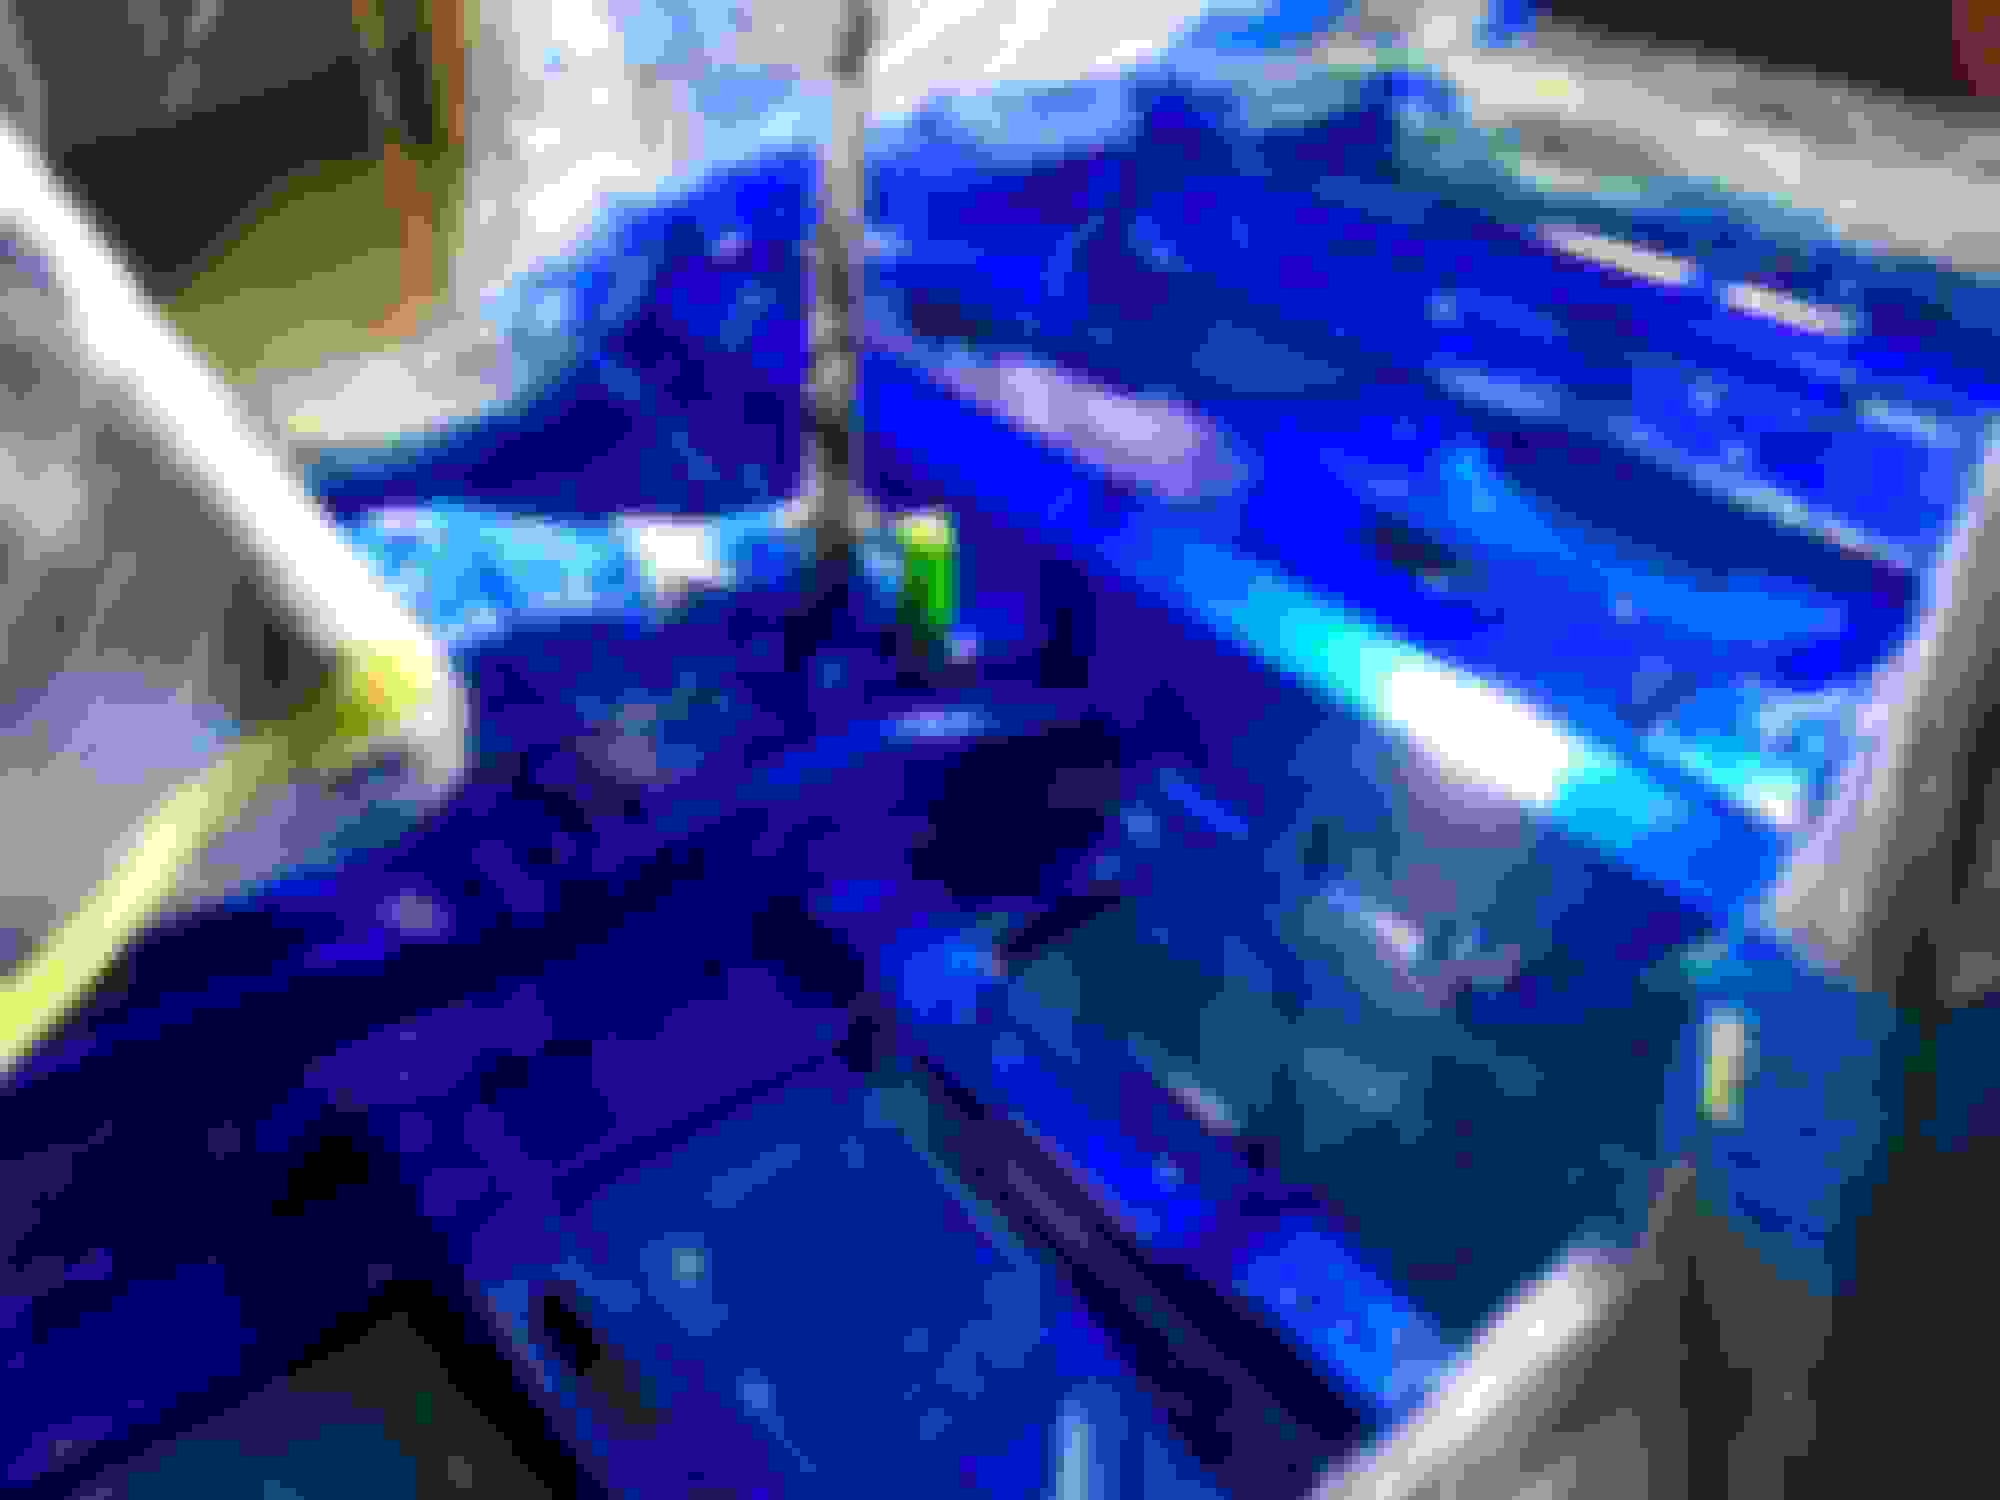
2 coats of urethane primer on the RSD and the roll bar and base coat/clear coat on the floor. It's 215am and I'm bushed so right to the pics.
rj
RSD. I need to get some addition blue. used up more on the floor than I thought.
I thought I saw you yesterday afternoon on 155 on my way to HdG, but the trunk stripes were wrong, and then I remembered it was in the barn all apart and masked up!
Eddie,
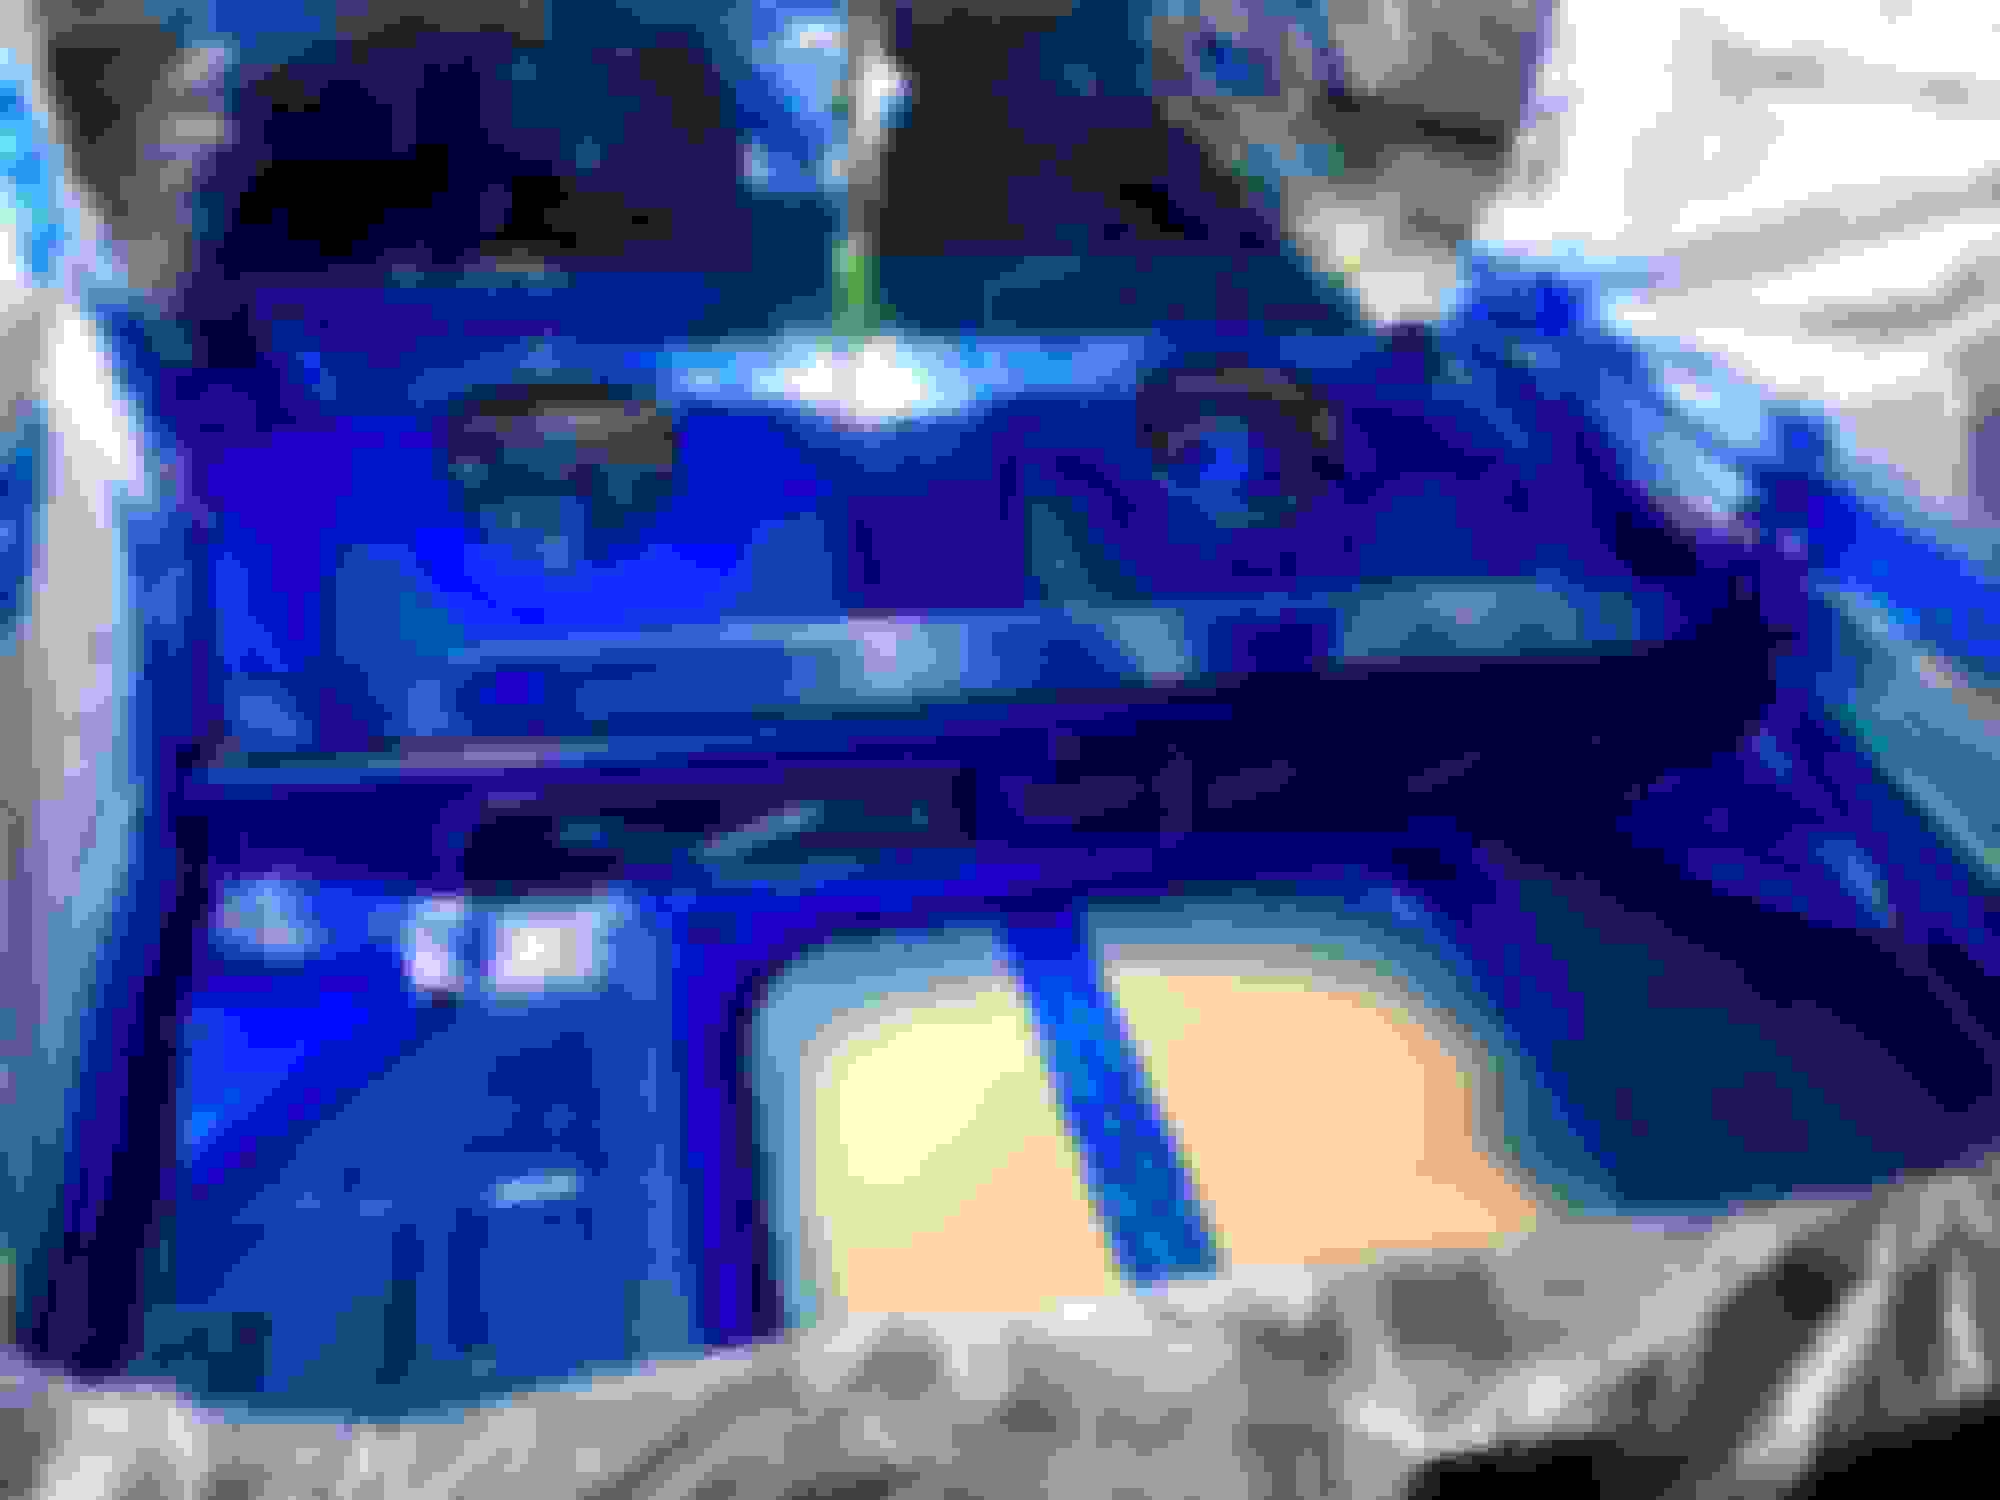
Lot's of blue is right. The black mat is going in for sure if for no other reason than to break up all that blue.
Took about an hour to get all the plastic and tape off but it's nice to be looking at a car again. Starting adding bits and pieces to the inside and added some clips for wire that will now be exposed. Hoping to get color on the RSD today but I have to mow, a 3.5 hour job. I may final sand today and paint tomorrow. I want to give it a few days for the paint on the floor to harden good before climbing around inside to put up the new headliner.
I briefly contemplated leaving the plastic covers off and painting up the E-brake for that real "race car look" but nixed that pretty quick.
The blue exposed below the covers will stay exposed but most will be hidden once the seats are back in. The wires down either side will be covered by the sill trim.
Added some SS clips to secure some wires that will stay exposed.
Well, That's it for now. Didn't get a lot done yesterday due to some errands, [another can of paint, used more than I thought I would on the floor] and my garage buddies came by last night and forced me to drink some beer. But everything you do is a step in the right direction.
I think it's been a little over 3 weeks now but I was out of commission for 4-5 days due to my back. That's my excuse and I'm sticking to it.
Only local on Thursdays for that sailing thing we talked about when I came down for the exhaust. Hopefully we can get out on the water together some time.
Thanks Eddie,
I really hold my breath every time I pick up a spay gun but from time to time ya get lucky. Lots of blue and a little overwhelming to be honest. But a good bit will be covered/broken up by the trim so it should work out. Def. easier to keep clean, just blow it out with an air hose.

 07-01-2020, 08:12 AM


 A cow “thing”? They are a “working” dog. Maybe yours has a bit of a “herder” thing...