When you click on links to various merchants on this site and make a purchase, this can result in this site earning a commission. Affiliate programs and affiliations include, but are not limited to, the eBay Partner Network.
Let's start off with another confession. As I had lost the nuts for the tie rod ends, I ordered new ones, but just the end part, not the part that goes into the rack. The reason for this was the ball joint part that goes through the arm was still very stiff with no real wear that I could tell, [not like the ball joints] so I suspect these had been replaced at some point and maybe recently.
When the new ends came in, I thought, screw it, and just used the nuts on the old tie rod, and saved the new tie rod for future use.
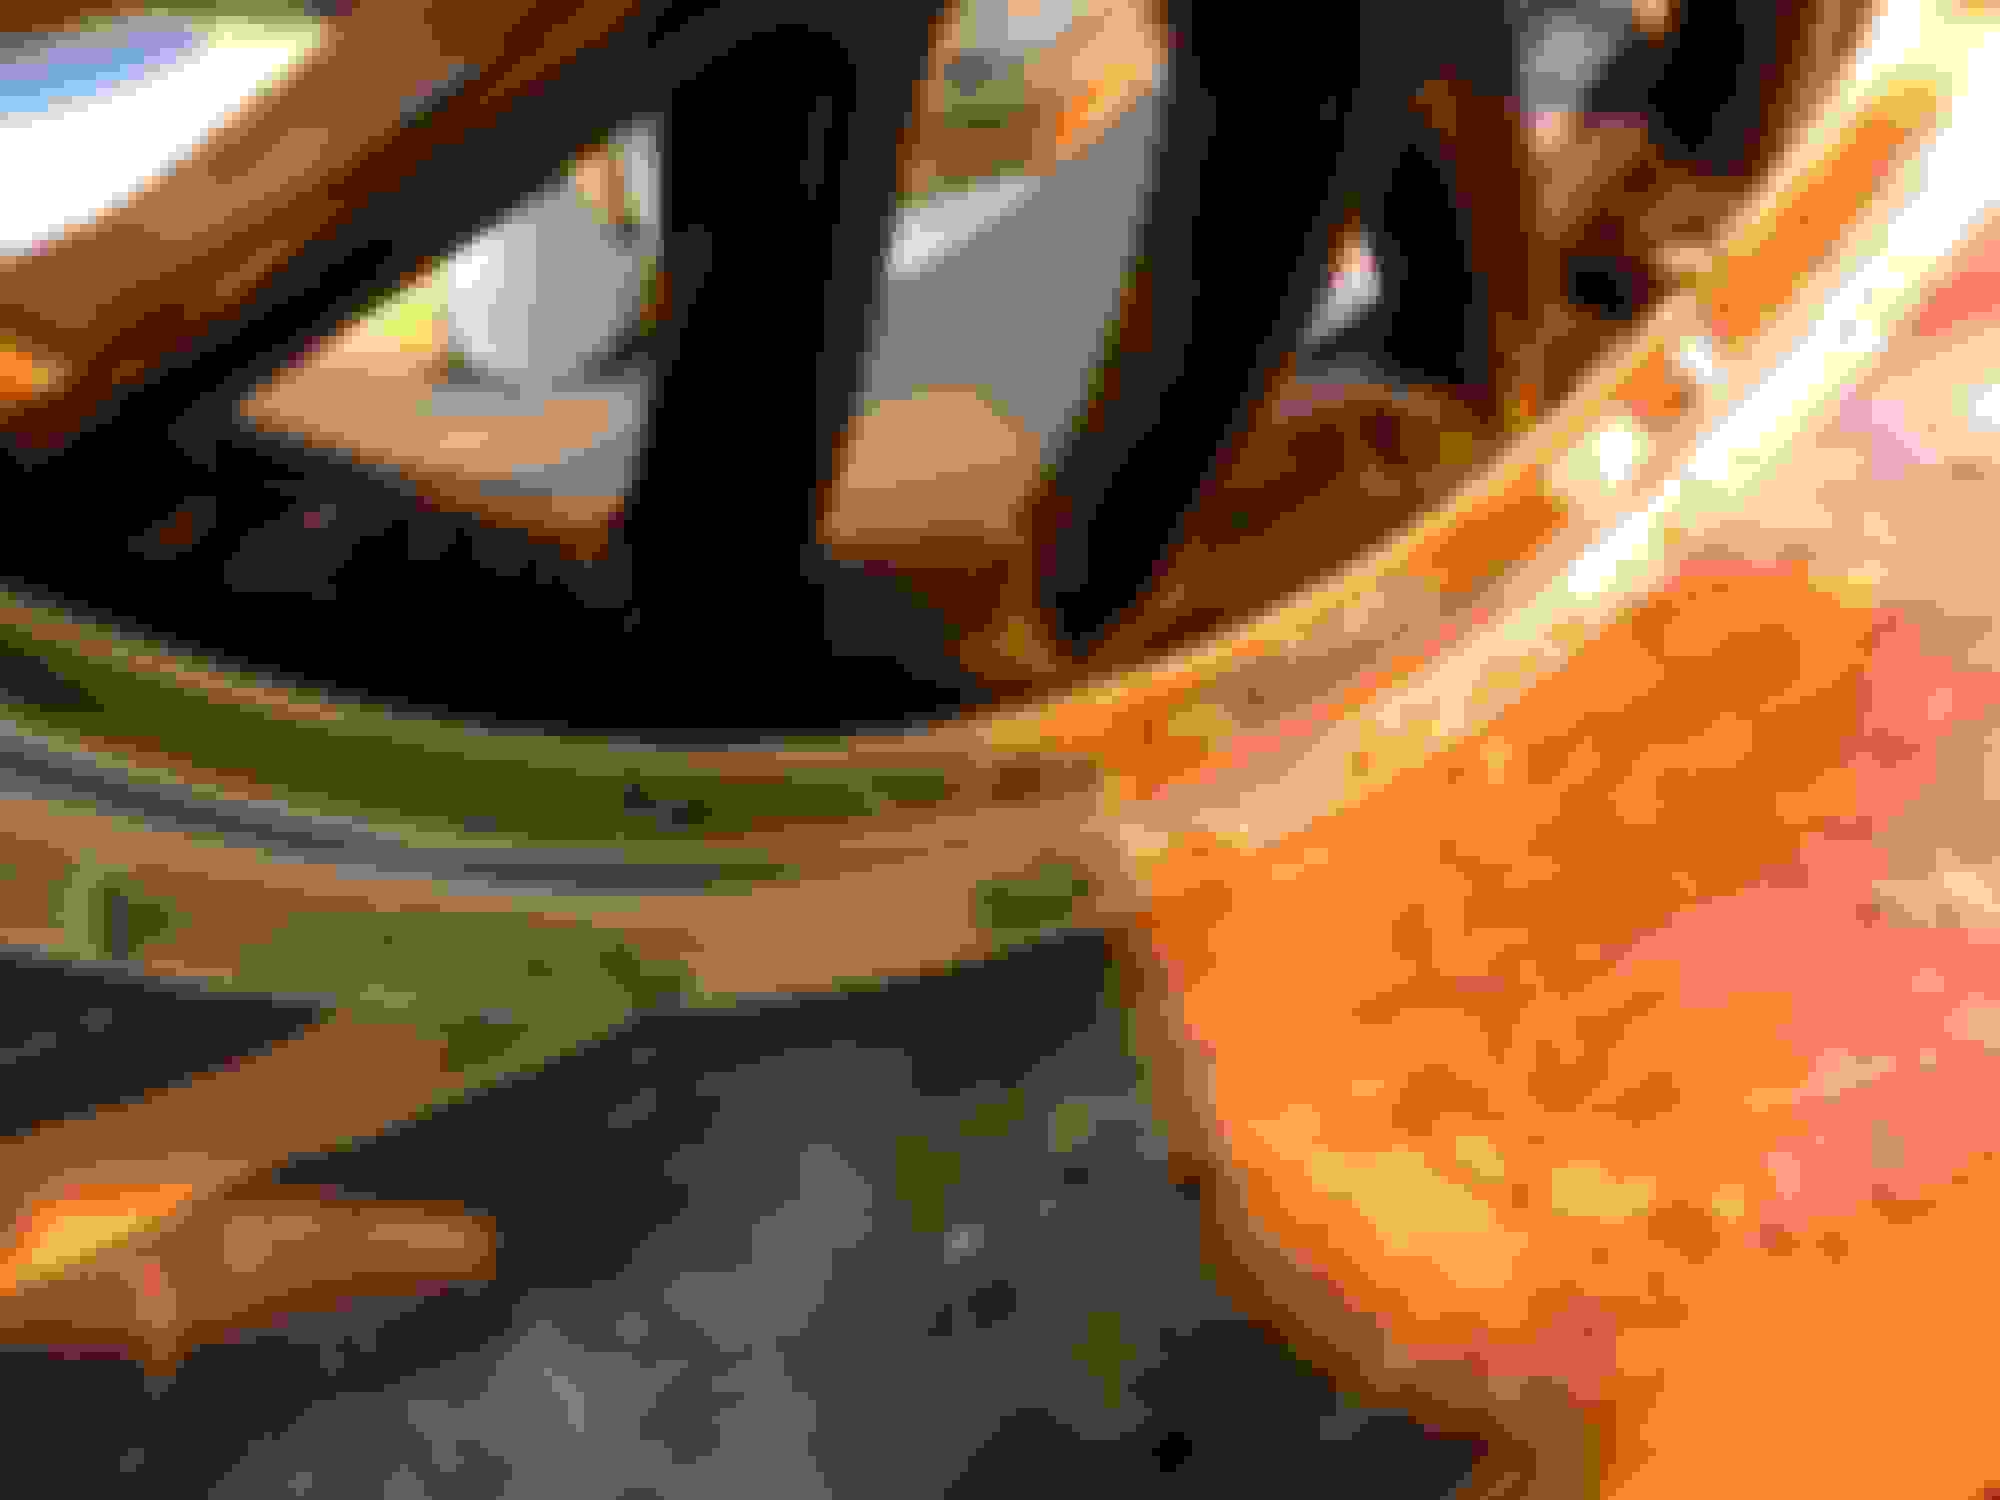
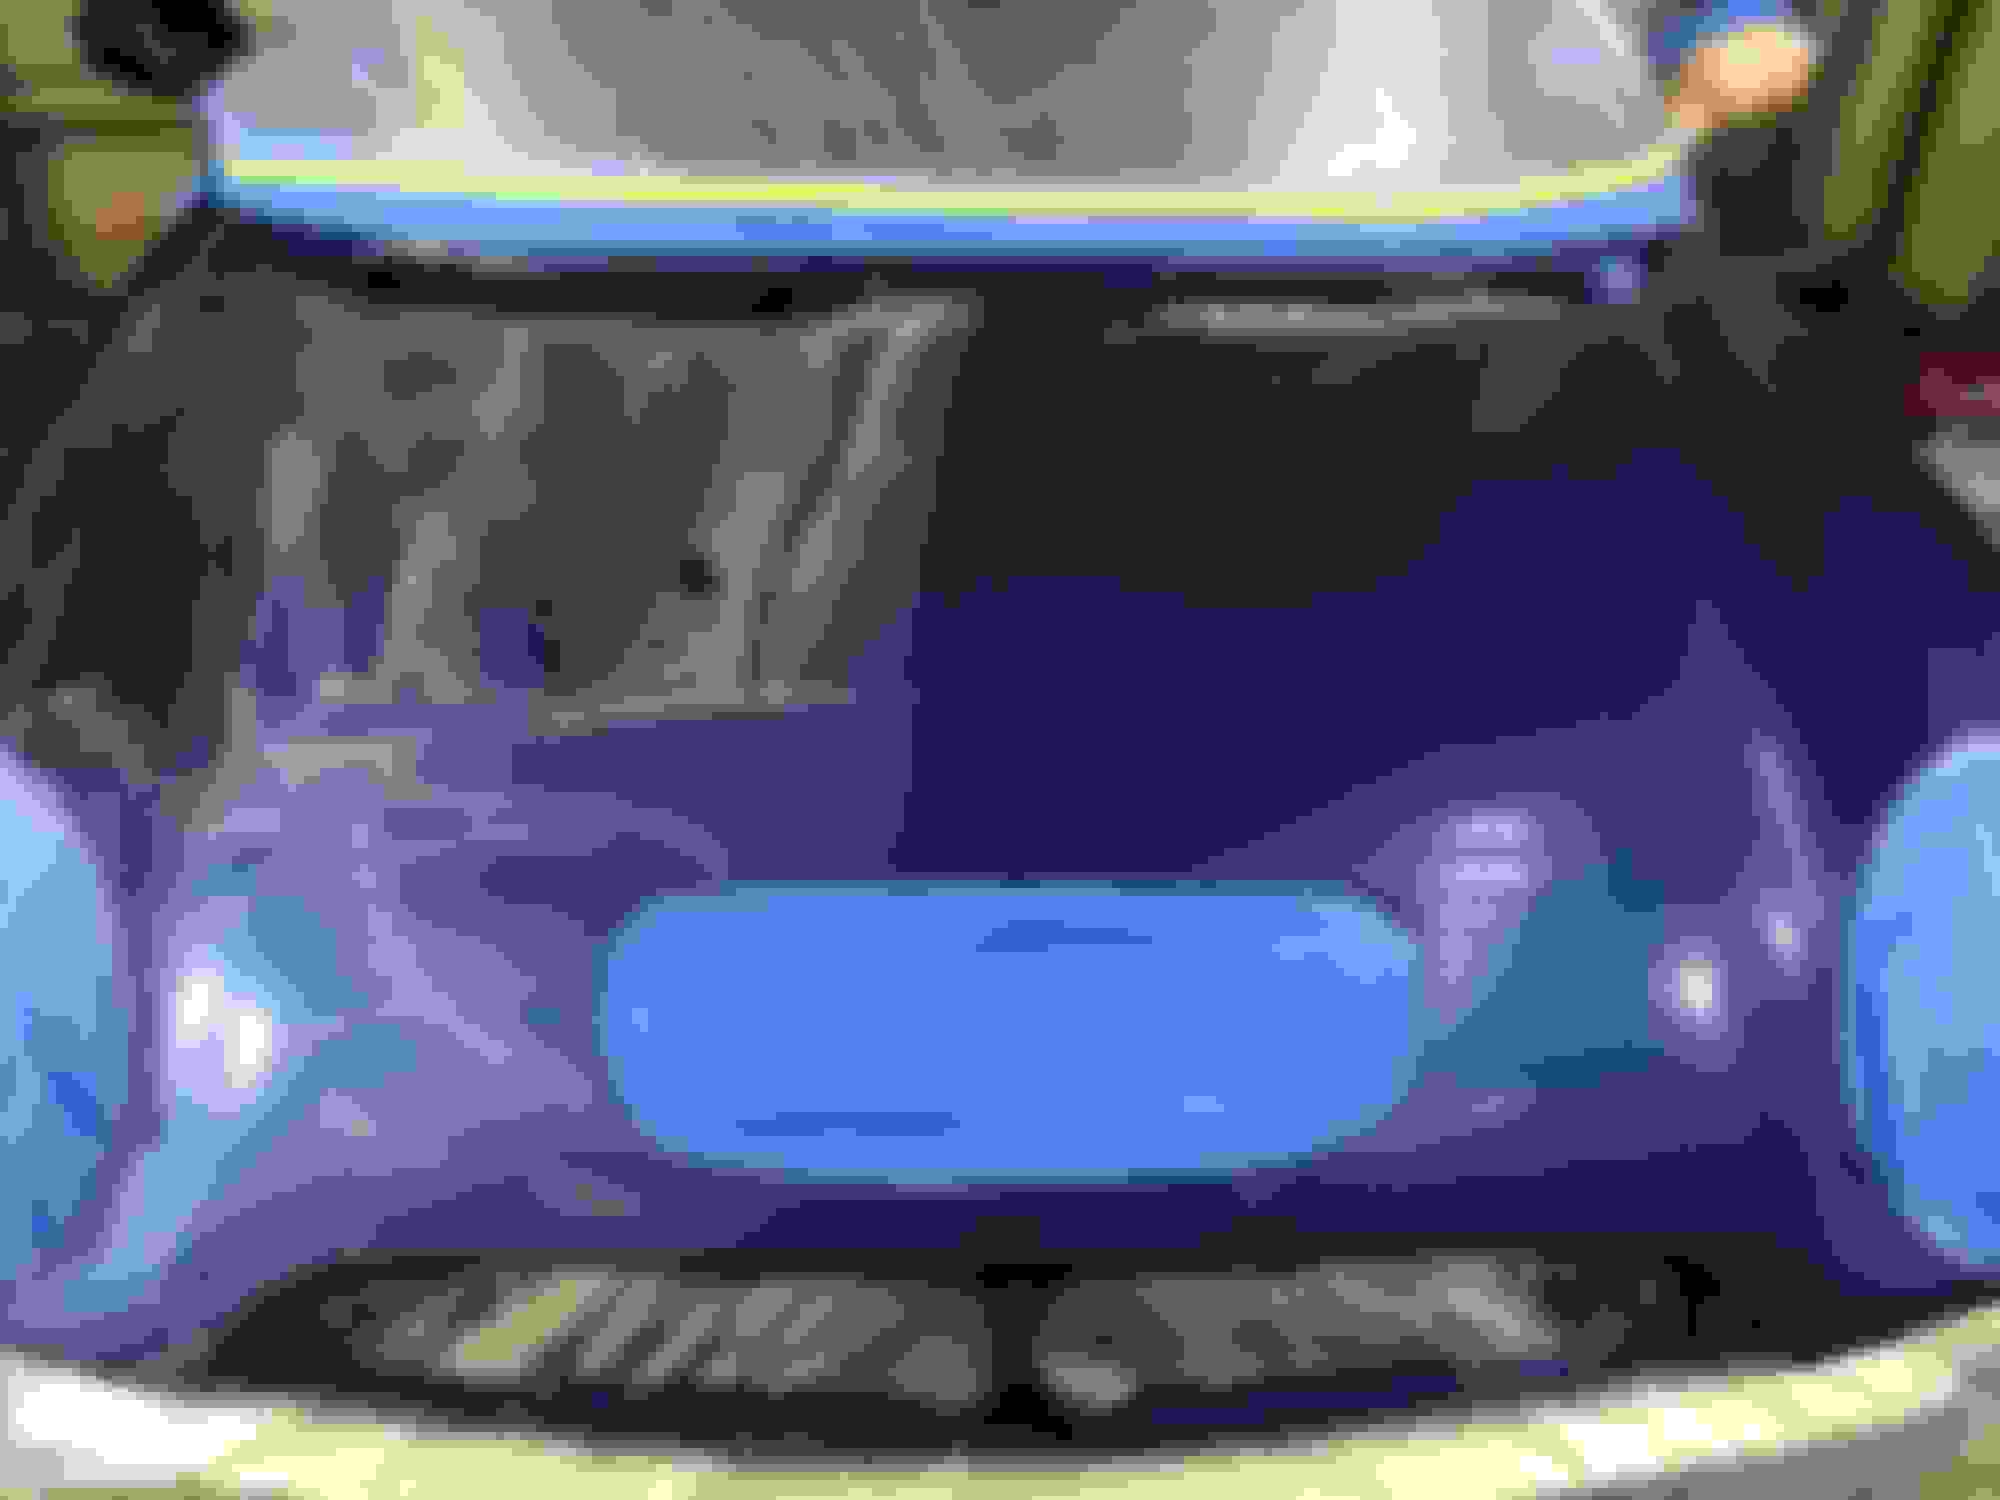
Then onto the belly pan/bottom engine cover.
As I had mentioned before, when I got the Mini it had been towed incorrectly. The cable for the rollback or the arm for a wheel lift truck contacted the front end at the bottom. This broke the radiator support in half, broke the pan almost in half, bent the bottom of the radiator itself and broke the small spoiler that attaches to the bottom of the bumper in 3 pieces.
I looked at the spoiler and it really didn't seem to direct air and was more of a "ground effects" type thing. It was also really scarred up, probably from hitting the stoppers in parking lots. I could see myself doing the same thing so I decided to eliminate the spoiler.
Good plan except the spoiler is how the bumper cover attaches to the car. So after repairing the radiator support, the pan and the bumper cover with F.G. mat and West System Epoxy, I epoxied 3/4 inch plywood to the inside bottom of the bumper cover to drill holes and use that to attach the lower portion of the bumper cover.
It actually worked really well and the cover is actually much stiffer than stock. The inside of the bumper cover will be painted flat black so none of this will be seen anyway.
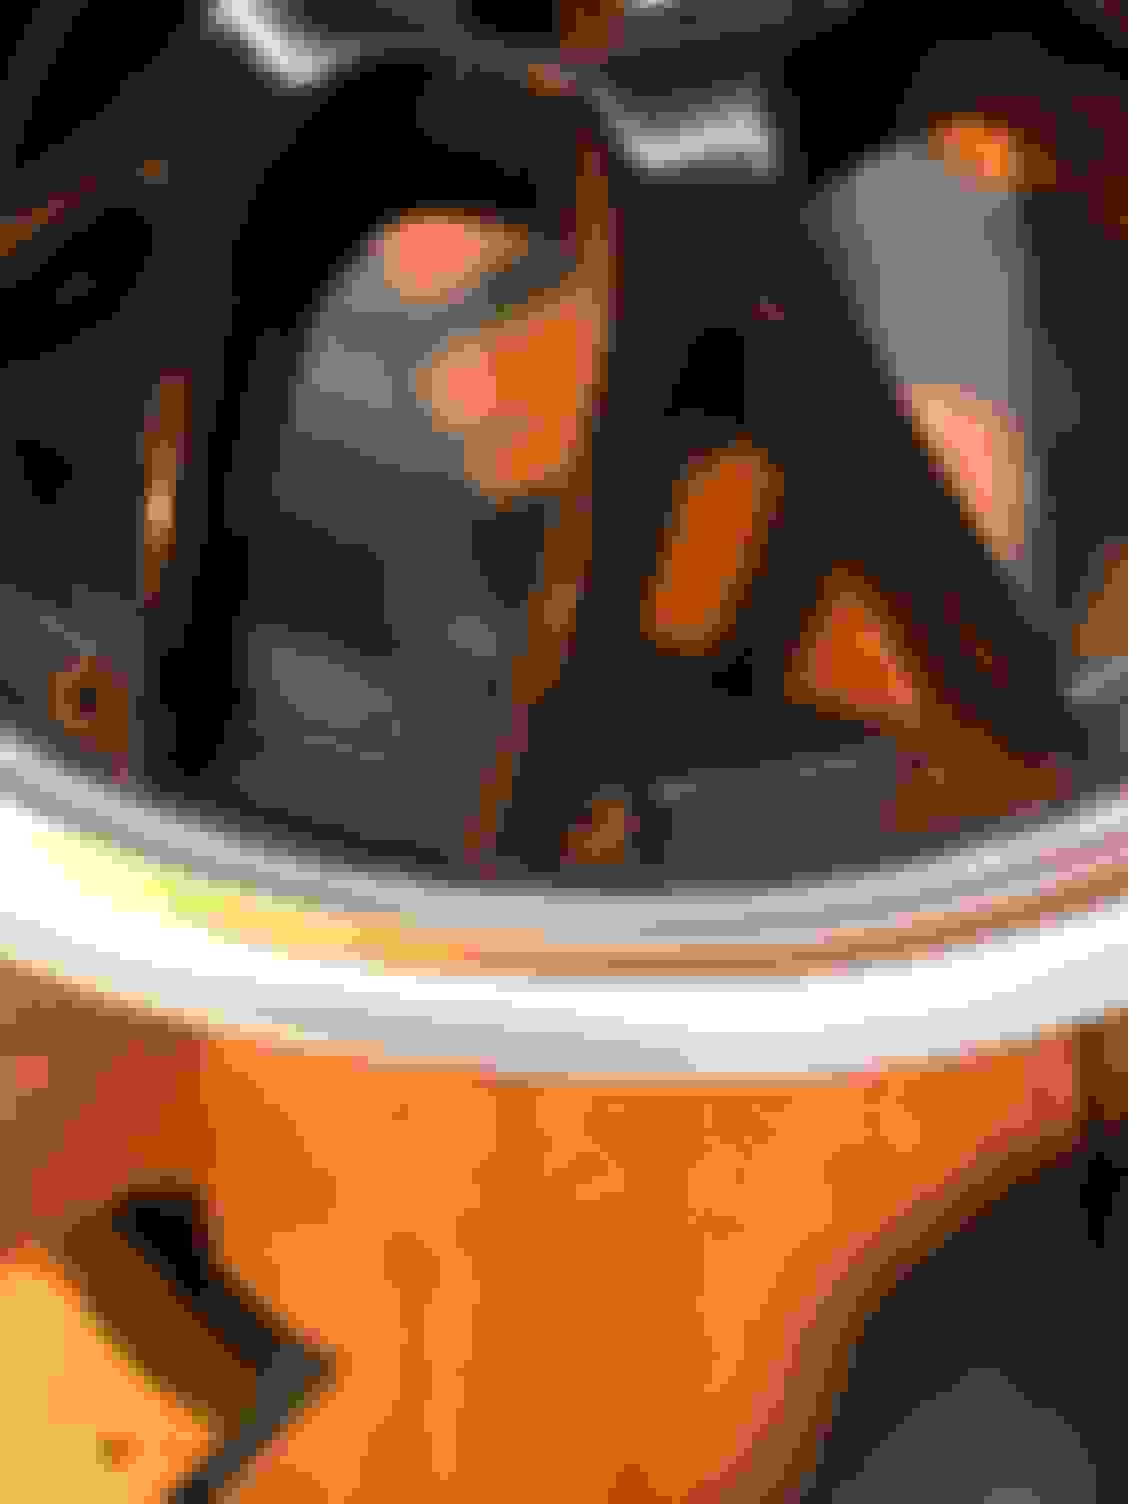
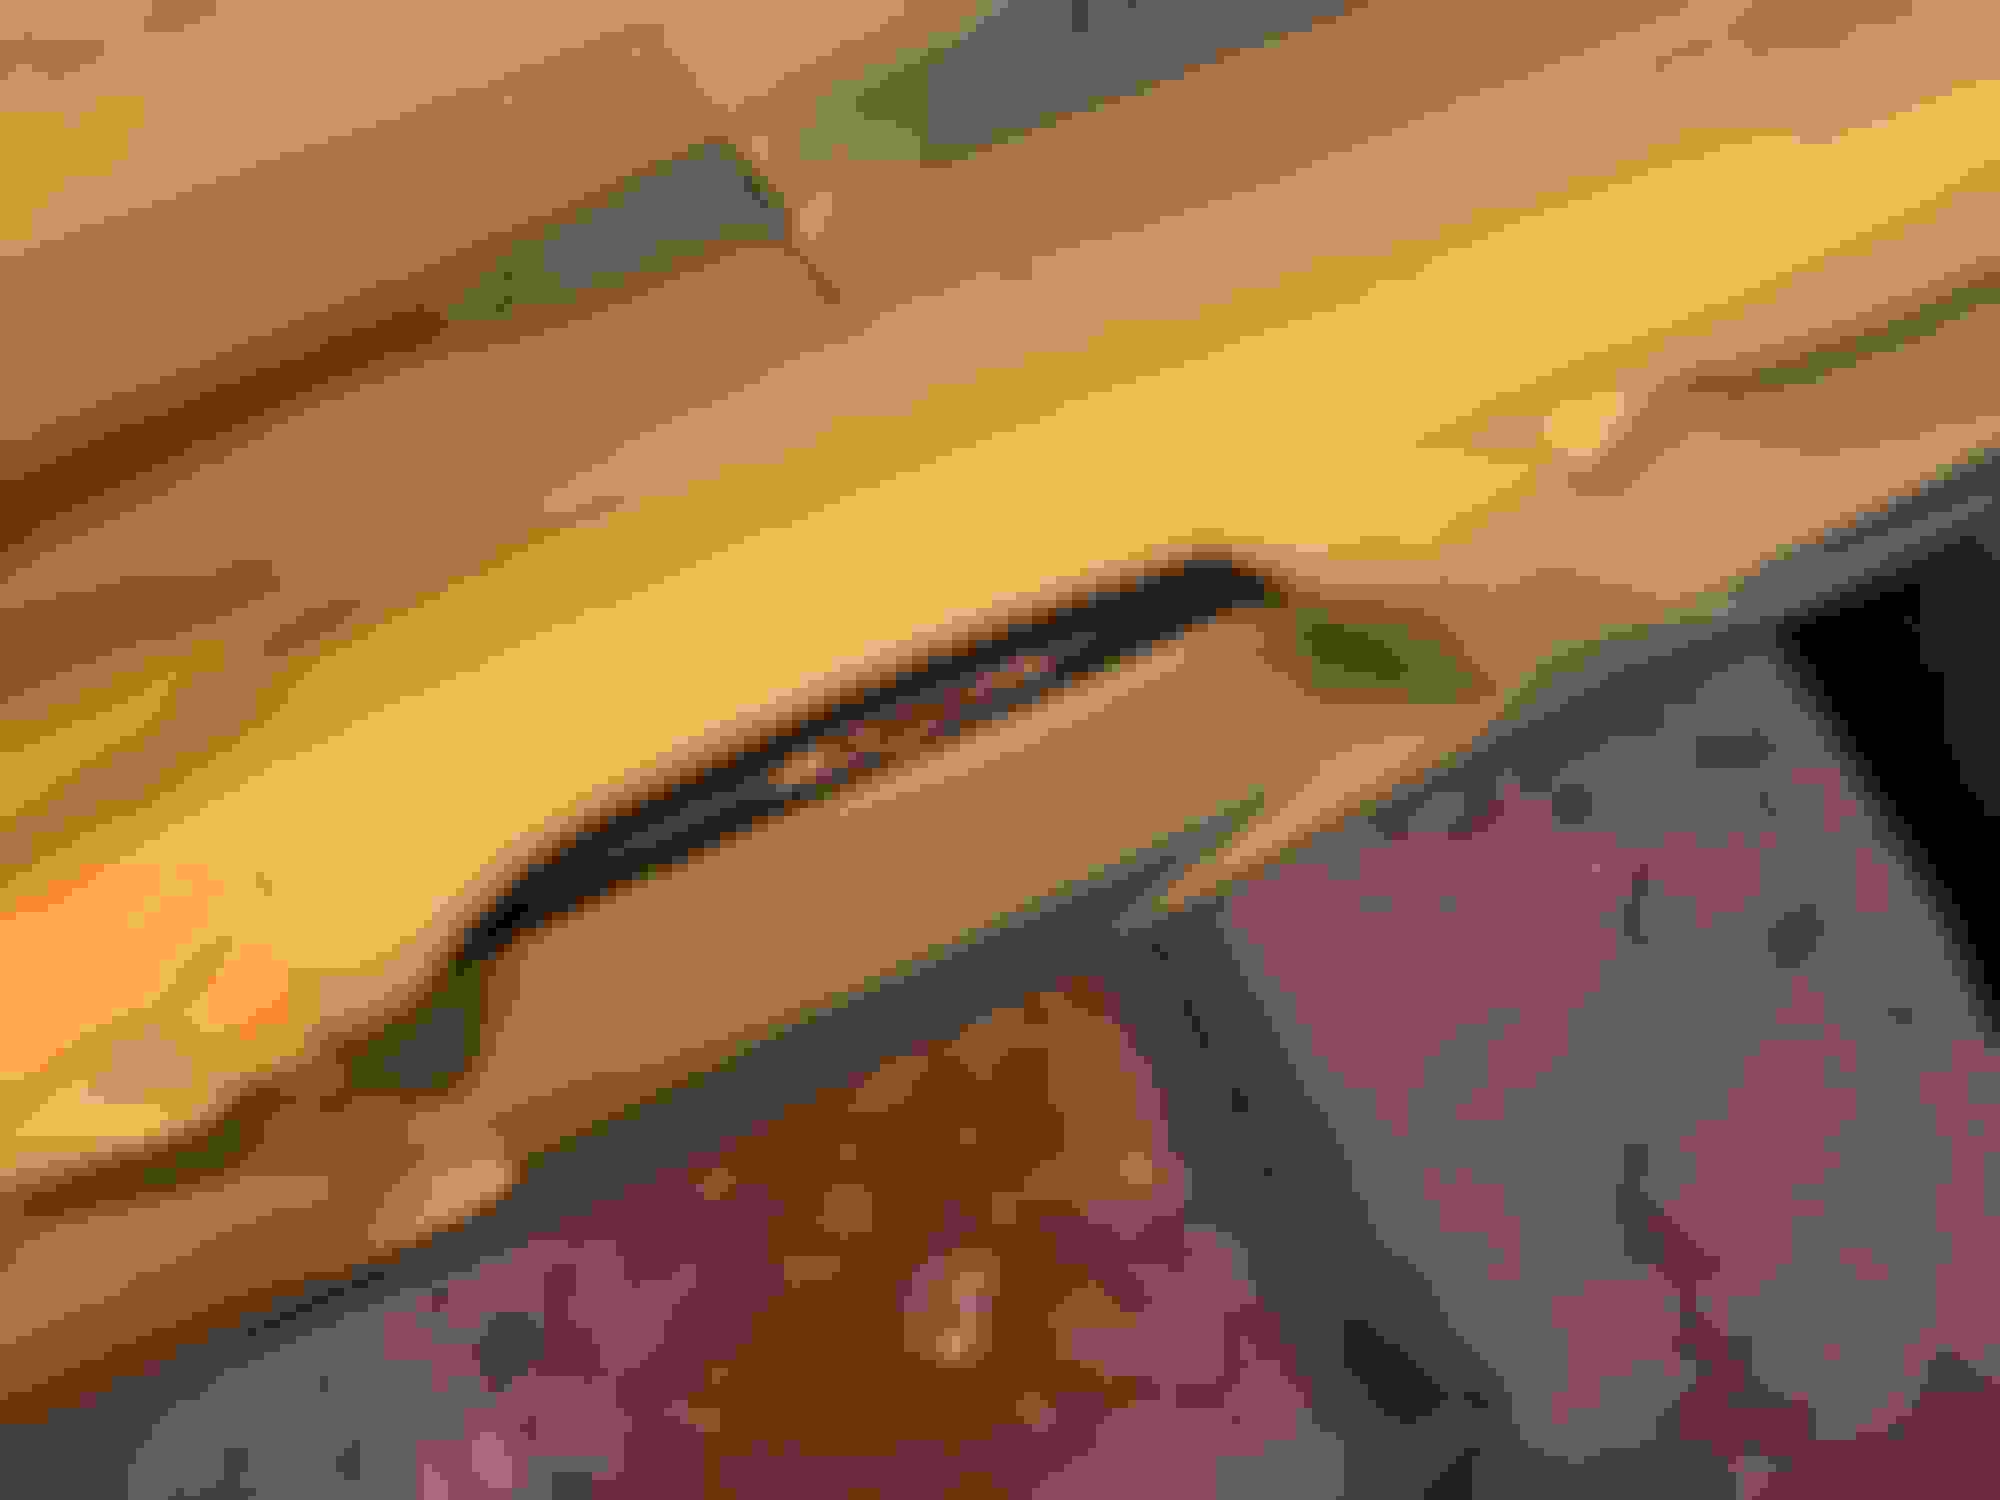
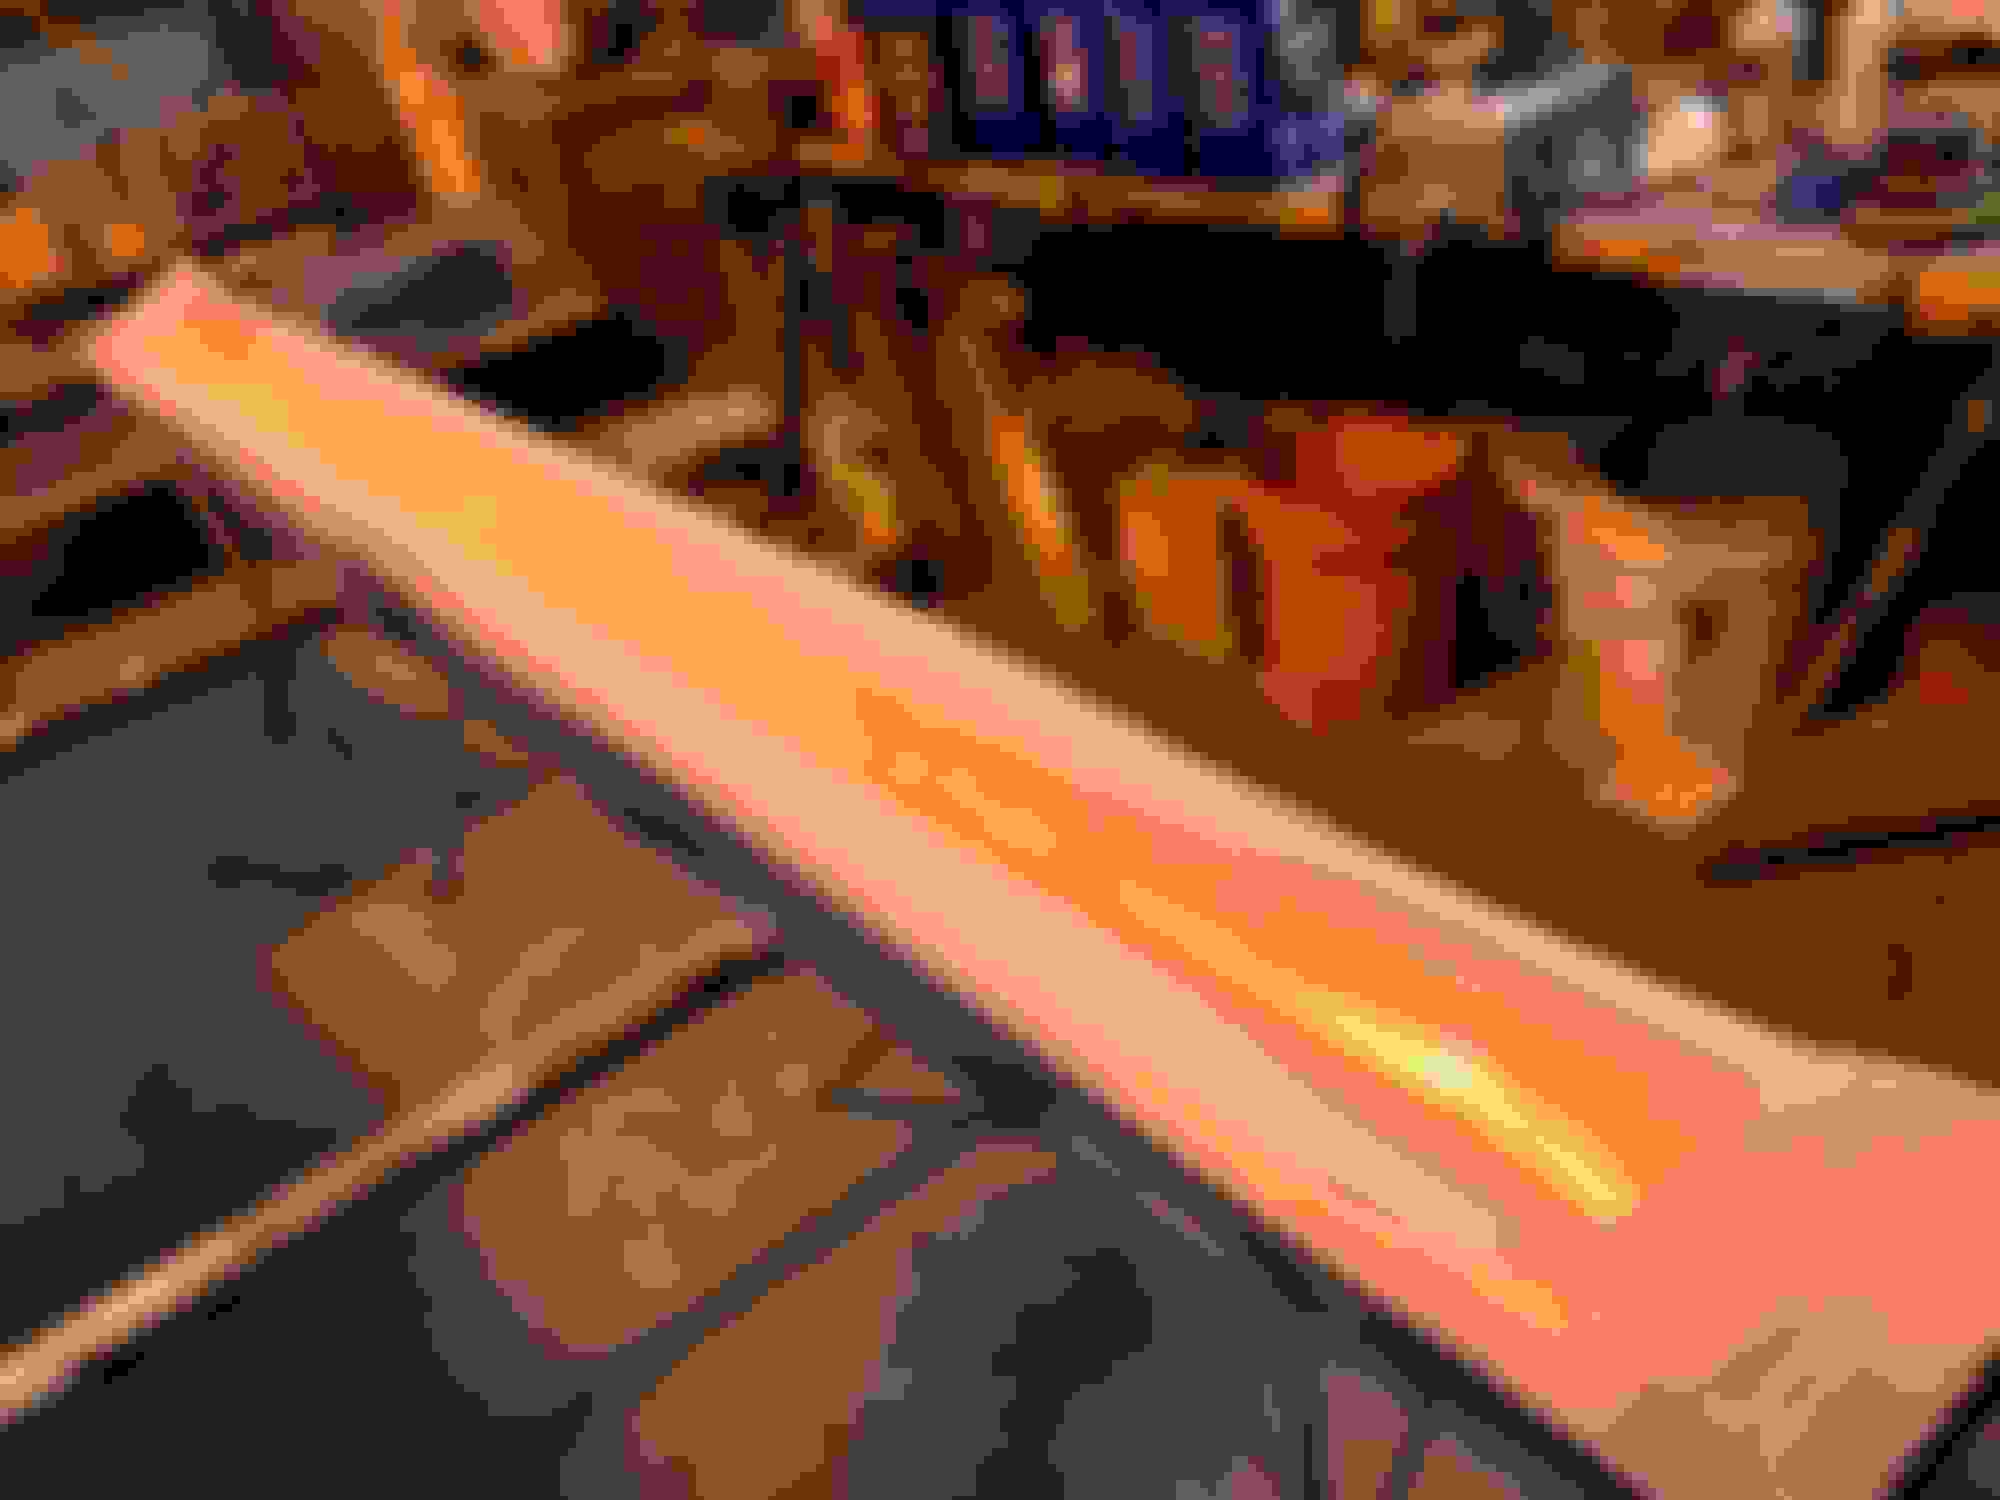
As I had read about folks having issues burning up the power steering pump with bags or debris caught in the fan, I saw where the factory fix was a scoop that attaches to the fan housing and to the engine pan.
The factory scoop part ["Power Steering Pump Fan Air Duct" to be precise] was $361 for the "kit", and $220 or so for the duct alone. Pretty outrageous to fix a design flaw that was theirs to start with. The "kit" includes a new pan with a grill/ hole it it and I figured I could modify my existing pan so I just got the "air duct".
Kit; https://www.pelicanparts.com/More_In...yABEgLWDfD_BwE
It was pretty easy, but a little tricky to make certain the hole was in the right spot.
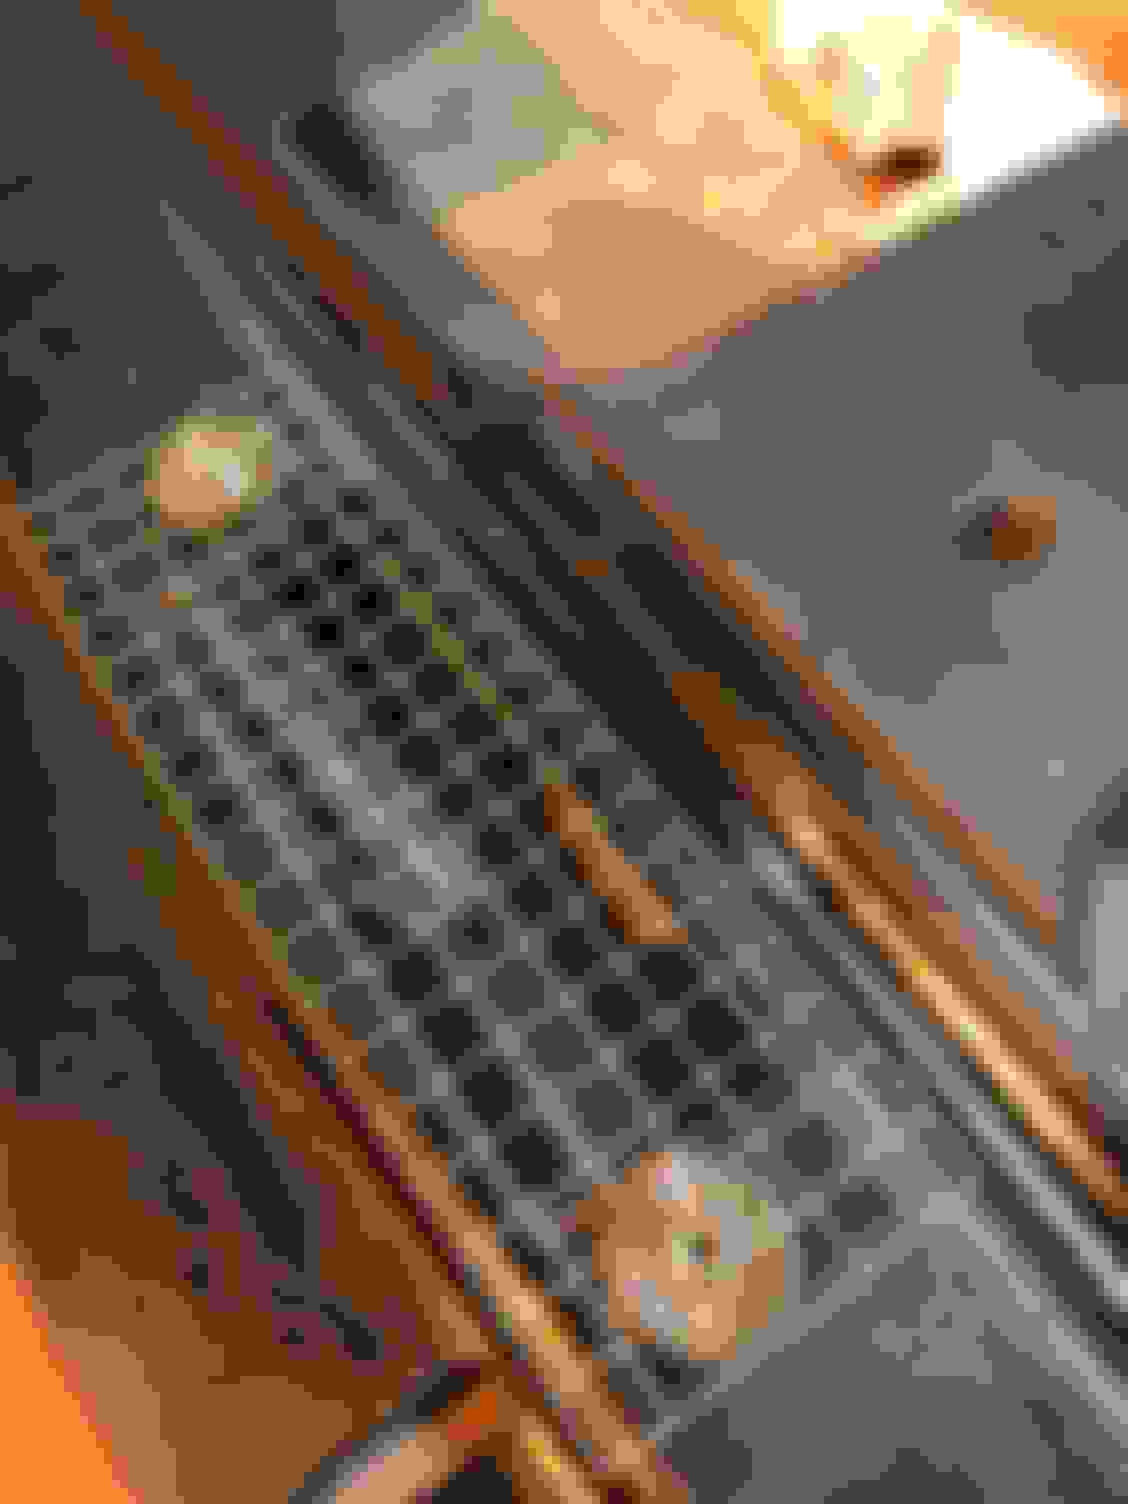
$220 piece of factory "rubbery" plastic attached to the fan housing. Hole cut in original engine pan. Guard cut from "hardware screen" and S.S.allen head bolts and fender washers
It all went together pretty well. I did bend the edge [[about 1/8" in] of the screen for a tighter fit at the front and to stiffen it up a little.
The pan bolted right up, but I did get metric clips/nuts for the frame and used SS allen head screws [bolts] instead of the weird factory coarse "twisty" screws as the clips/nuts on mine were all messed up. Installed with a liberal dose of never-seize.
Finished then installed. One less thing.
I did get the heat shield for the exhaust in so that goes on today and then tighten the exhaust up. I still need to install the rear SS brake lines and speed bleeds. Hoping they work as advertised!
robj
Looks good! It's looking almost like a Mini again! When do you think it will be touching down on all 4 tires?
Well, a few more things.
Had a little set back as when installing the new exhaust heat shield I found both rear brake lines rusted where the go up to the floor. This won't pass Md. State Inspection.
From what I've been reading it seems only the rear lines have these rust issues.
Another OEM parts site I looked at said they were NLA [right at the listing for the part numbers] but "Minipartss" didn't say that. The $50 question is are they pre-formed or not? Isn't the worst thing if they weren't but would be nice if they were.
In getting the bumper cover ready for paint I found a crack I had to fix. Took care of that and the cover is primed and ready for final sanding and paint. I ran out of primer for the scoop and tag bracket so that's on hold a bit.
Couldn't see the crack before the primer was on.
Crack ground out ready for Epoxy.
Like it was never there.
Waiting for primer and paint.
I did get a decent coat of satin black on the inside of the bumper cover. I got a run down at the bottom but I'm pretty sure no one will see that!
Much better than before although I don't think it will show. I'm wondering if the car was hit before as there was primer on the inside of the cover, but no sign of any prior repairs. Hmmm...
Another "project" before "Blue Car" rolls and funny you mentioned wheels.
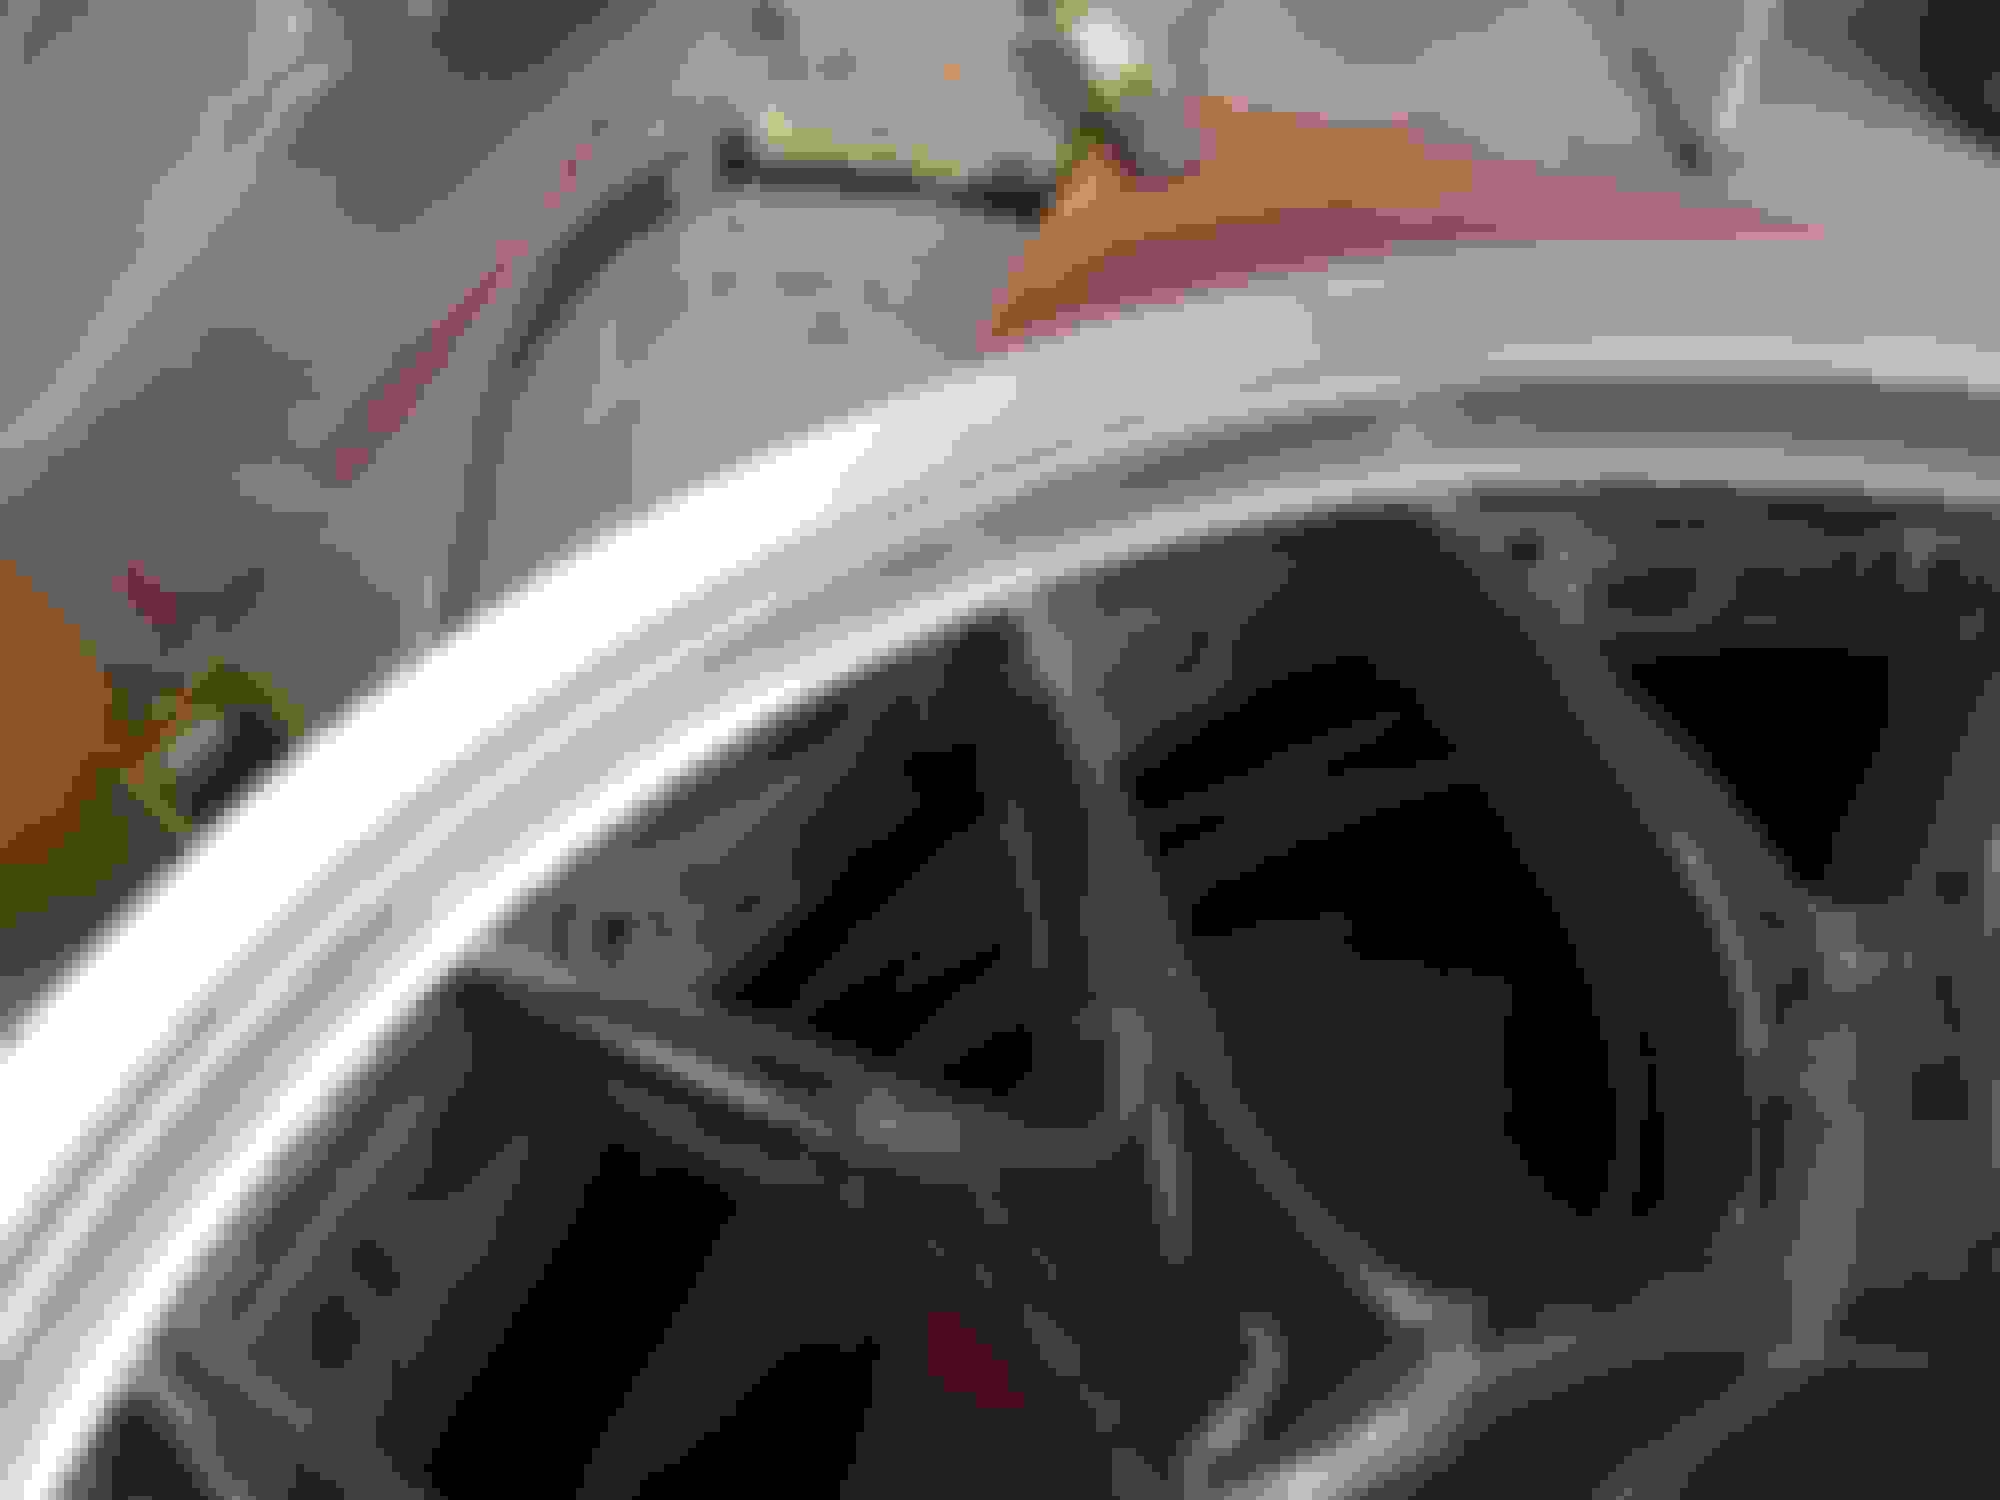
It has aftermarket wheels that I like and the black part is in good shape but the polished, clear coated part has corrosion.
I'm going to try and sand/refinish that part without messing up the black area. Right now I can't decide between a silver paint look for that part, or get really tricky and paint it the same blue as the car and clear coat.
Thoughts on that?
Looking pretty bad.
One last thing. Horns. Refinished but where do they mount???
Crusty horns.
Less crusty horns. They look white but they're actually silver.
But again, where do they mount????
So, in addition to all the above, after the hard brake lines, the SS braided lines on the rear, bleeding the brakes, re- re- installing the exhaust, painting and installing the front end body parts and refinishing the wheels, the only thing left is the rear seat delete, but that might wait until it's running and driving...
Steve,
Thanks for the hints and the video. As you suggested I tested the horns after installing and...Nothing. Great, the battery has been disconnected since I started this 3 months ago and this was the first thing I tried after reconnecting.
A harbinger of things to come? I hope not.
Anyway it was the fuse but why the fuse blew is a mystery. I'm going to test it again before installing the bumper cover.
And if there are any other dumb**** like me that forget where the horns go, here's a shot.
Horn in relation to bumper support Horn bracket attached to radiator support.
Now a little bit of a fun but functional addition. Wheel studs. Just in case down the road I might want to go with some spacers but mostly as it makes installing the wheels much easier.
One hint with this, most "studs" with 2 threaded sections have what could best be described as a "bulge" between the two where there are no threads which provide a "stop". These did not.
On the rear hubs the seemed to stop on their own, but on the front hubs they kept threading in. Not sure if it was the front hubs I had or what. I noticed this and using the depth gauge on my caliper, I made sure each were tightened to the correct length. Blue Loctite as suggested.
Note: No budge between the 2 threaded sections. Looks very "Official".
Next up. Wheels.
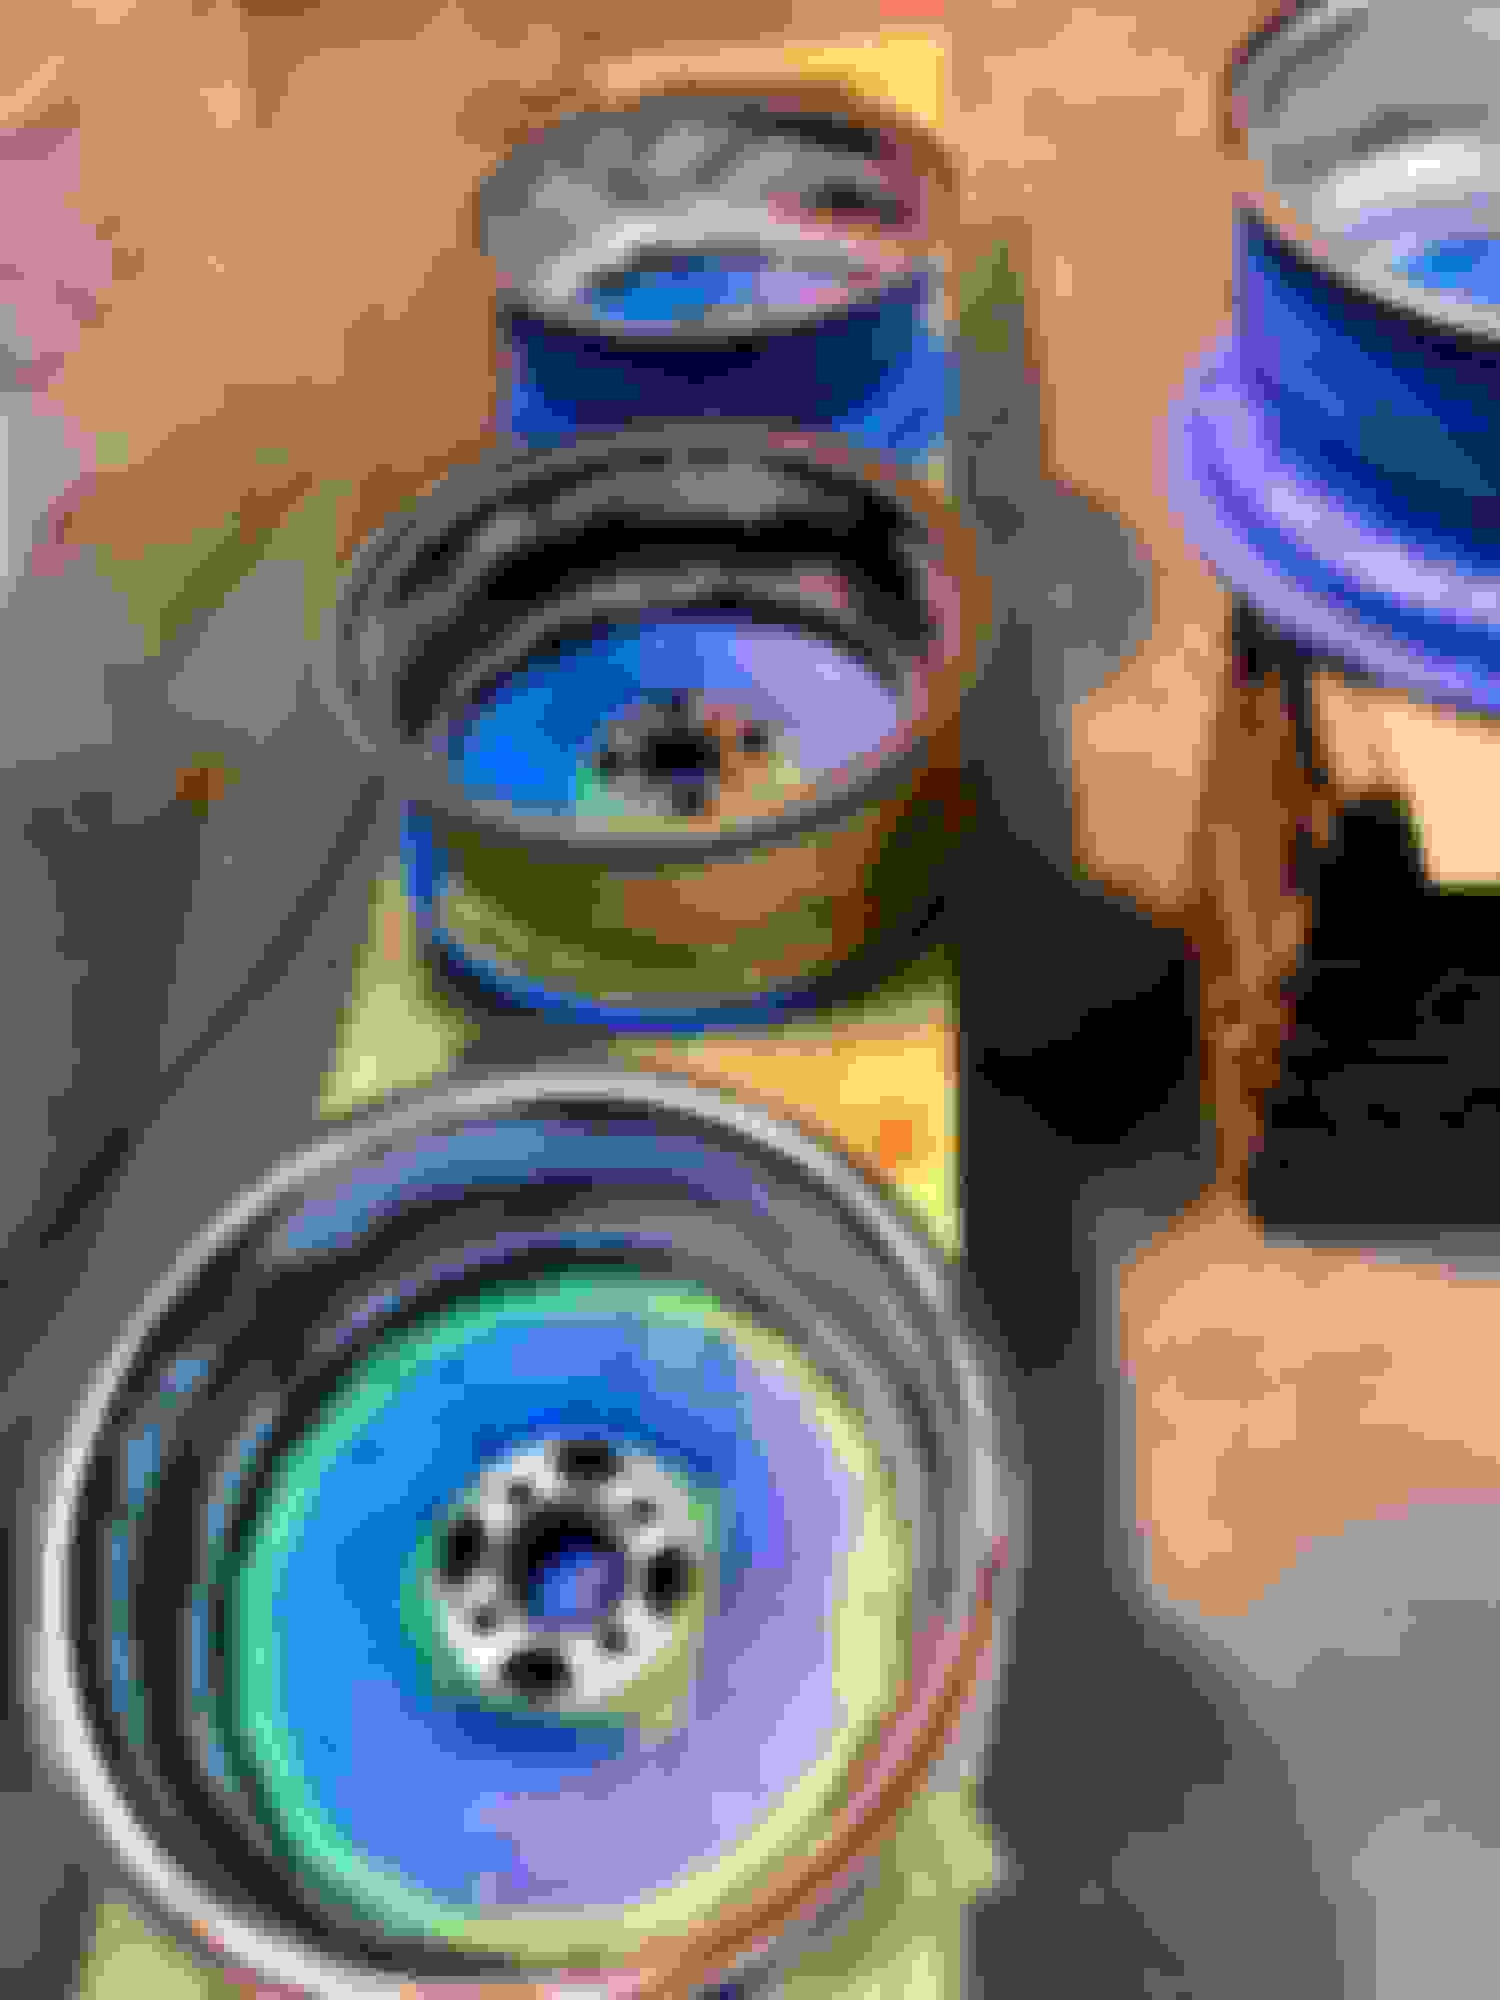
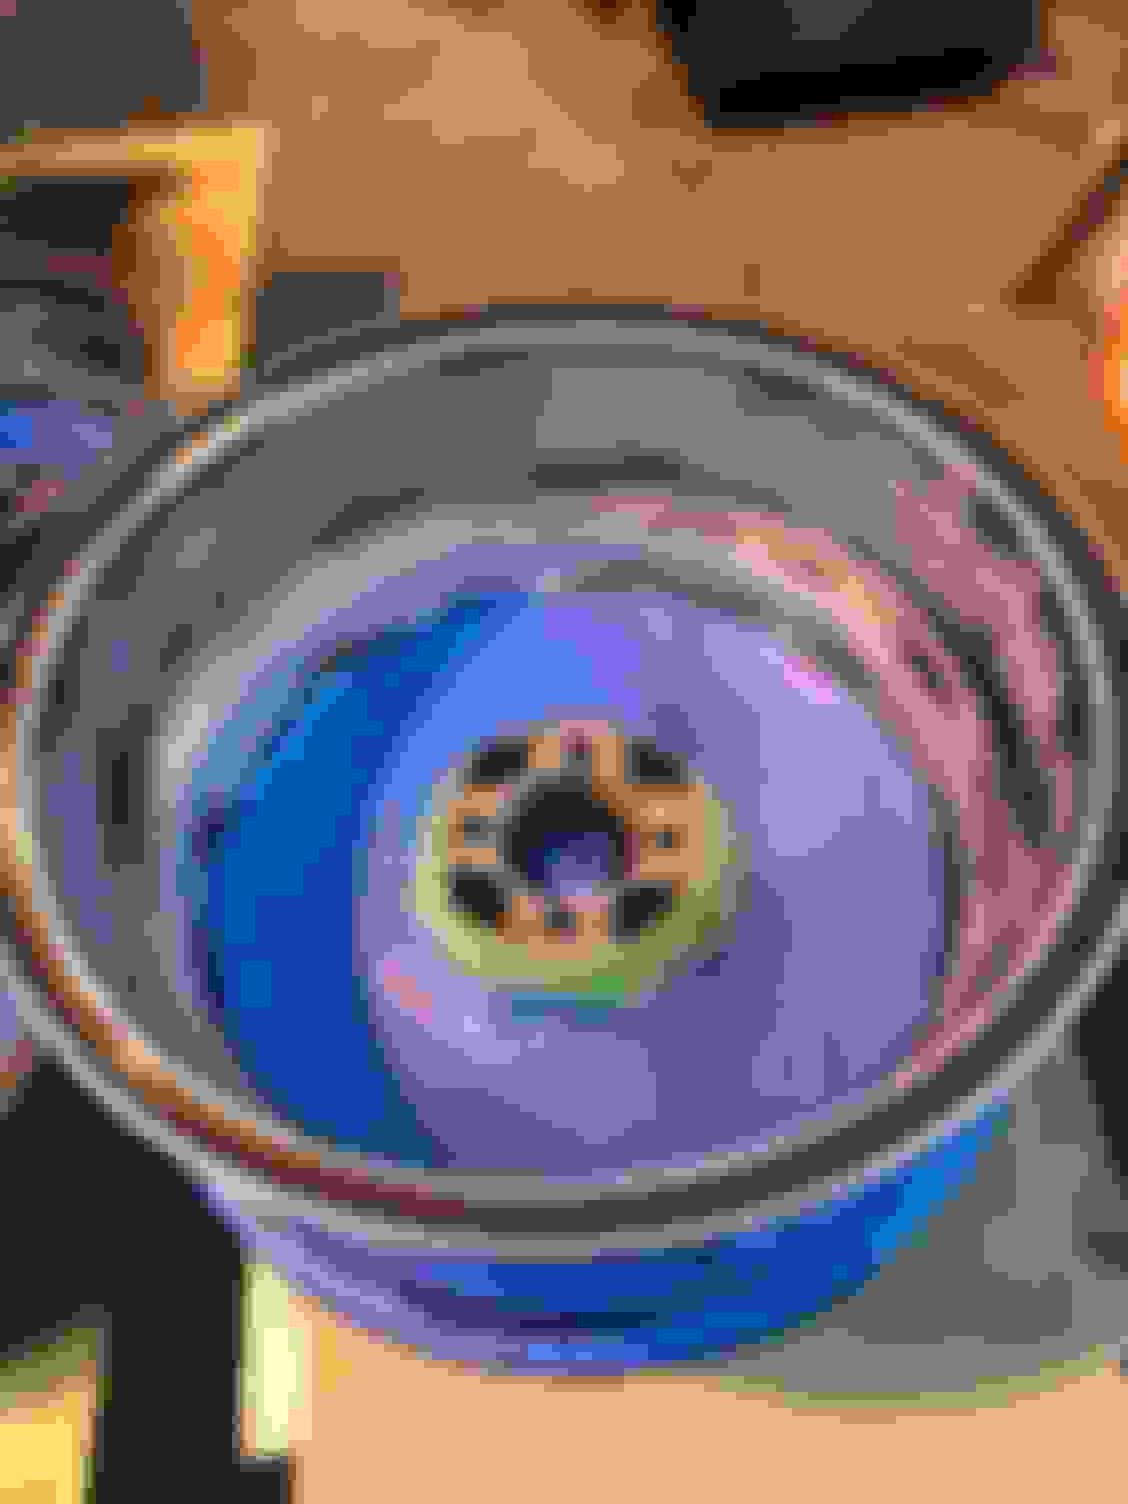
To be honest I've been dreading this a little. Aftermarket wheels but not very expensive ones, sold by "Tire Rack" I think. I like the look but they are pretty scuzzy as the clear powder coat has failed on the shiny part on the outer edge of the rim. New wheels would be great but it is after all, a "Bargain $500 Mini" so refurbishment of what I have is in order.
The inner black area looks pretty decent, [one scuff on one wheel] but preparation of the outer edge was going to be pretty tricky without effing up the black part.
Option 1. Sandblast the wheels and paint the whole thing black. [but I like the shiny around the edge]
Option 2 Sand the edge, self-etching primer and paint silver [not fake chrome silver, just silver color]
Option 3 [probably the most difficult] Prep the outer edge [not polished but sort of a brushed finish] without effing up the black and Eastwood "direct to metal" clear coat.
If you have followed this thread at all, obviously I picked #3.
I first sanded using fine paper to get the clear powder coat off, but that would have taken forever and was not terribly accurate. Then I found a maroon "scotch-bright" disc I had and that worked pretty well on an air die grinder, was fairly easy to keep accurate and left kind a satin , brushed finish. I evened out the finsh by hand.
Of course the inside of the wheel, [visible through the spokes] looks like sh**. I'm going sand that with a DA sander and a soft interface with 80-100 grit. Then scrub each wheel, then tape off the spokes, then paint the inside of the wheel, then tape off the outside spokes, and then clear coat the satin outer edge.
I'm pretty sure it's going to take MUCH longer to do than describe. At this point, maybe I should just buy new wheels.
But I think it can be done so what the heck...
Prior nastyness.. Better...
But I think the next step is to scrub the wheels, inside and out with detergent and hot water. Plus get the stick on weights, paper from the tape and the glue off. I'm thinking 10 hours a wheel. Maybe not, but I would bet.
So that's where we are. Waiting for the rear hard brake lines and primer for the scoop and the license plate bracket. By the time those parts come in I'll probably need a break from the wheels...
I got a message from Mini parts Directs and I was almost afraid to open it as I thought it was going to say, "Opps, sorry, the brake lines are NLA. {still holding my breath that they are preformed.
But;PART IS OUT OF STOCK
PART HAS TO BE ORDERED THIS USUALLY TAKES 2-3 BUSINESS DAYS WILL SHIP AS SOON AS IT ARRIVES
THANKS FOR YOUR
PATIENCE
So in the meantime I started in on the wheels. Aftermarket ASA wheels that seem to be $175 each. As this is a "Bargain Mini" refinishing the wheels is in order. They're powder coated with a bit around the edge polished and powder coated clear.
Well the P.C. has failed and the curb rash on the passenger side wheels was pretty noticeable. Appears the P.O. never met a curb he didn't like.
Before, Looks pretty awful..
After some file work and a Scotch Bright sanding disc.
Scotch Bright disc from McMaster-Carr.
The outer edge of the rim was originally polished and powder coated clear. I used the Scotch bright disc to remove the powder coat and give it a "satin" finish, then some hand work with maroon, green then grey Scotch Bright to even out the finish. Then Por-15 Direct to metal clear coat.
It was really a pain and really time consuming as I wanted to repaint the inside, then the edge without messing up the spokes. Easier said than done.
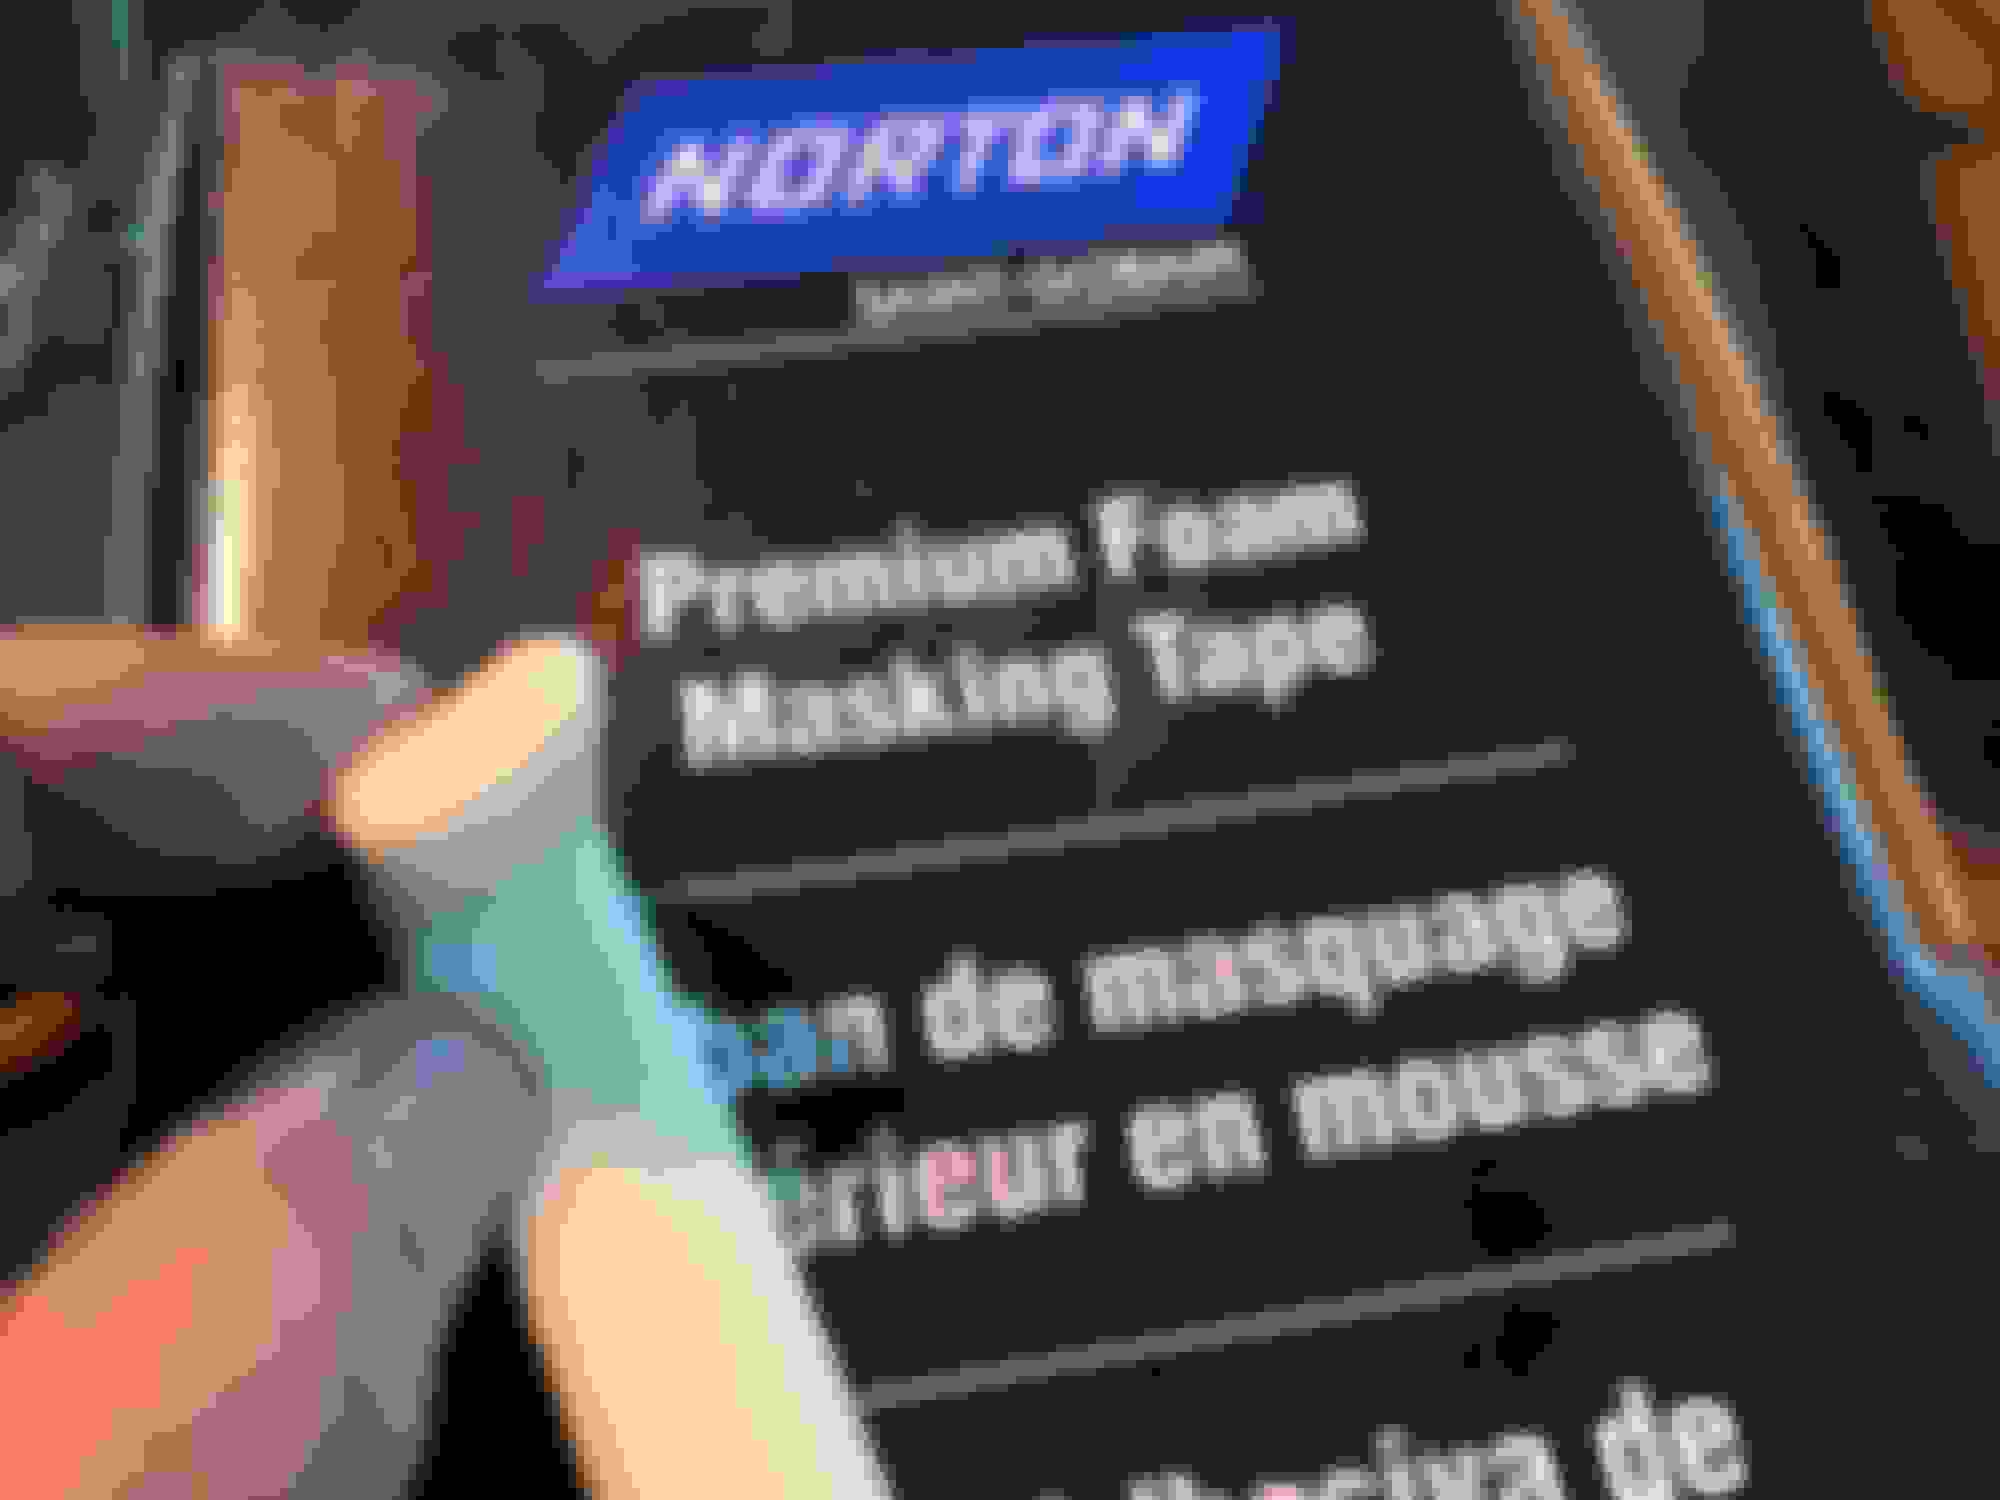
On top of that one of the spokes had some serious rash. I sanded that and used foam masking tape which is neat as as opposed to tape it gives a "softer" edge than tape. Some wet sand around the edges of the repair and some polish and it will be barely noticeable.
Rash area sanded and foam tape.
Painted. A little wet sand, a little polish, close enough.
Painting the inside or the rim was equally a pain. Used a DA sander with 80grit Then wiped everything off about 10 times. Masking the wheels must have taken 8-10 hours and 4 rolls of tape.
What a pain...
Ready for paint.
Here's where is went it all went a little south. All paint sprays a little different and with the Por-15 DTM [direct to metal] they really mean it when they say 2 thin coats, and wait at least and hour before re-coating. I didn't wait that long and got some serious runs. This was compounded by the fact that every thing was black and it was a little hard to see what was going on down inside the rim. I ended up using a chip brush to smooth them out then misted in a little more paint.
I'm really not sure how it will end up.
I might end up waiting 2-3 days, wet sanding and spraying again. Or I might say "screw-it" as it is, after all the side of the wheel. But after all that prep it really sucked.
I still have some spot repairs on the spokes and clear coat the rim edge. It might have been easier to have my buddy sandblast the entire wheels and paint it black.
You're really helping support my decision to replace the worn ASA wheels on my e46. I love how they look on the car, but the paint on the faces is terrible and coming off and they're just going to be a royal pain to prep and paint. I applaud you're efforts, though. Some good ideas to help me refinish the lips on the BBS wheels on our Mini.
Speaking of wheels, I forgot to add the part about straightening the flat spot on the edge of the rim. Not for the feint of heart as it involves heat, [a torch] a block of wood and a 3 pound maul.
The tricky part is heating up the rim enough that the edge will move a little. The problem with heating aluminum is, all of a sudden it can just melt.
I used an oxygen/acetylene torch with a rosebud tip, but I would probably recommend using a good propane torch as it most likely won't get hot enough to melt anything but you will have to heat it longer. And if you keep working at it you might be able to get it perfect.
I wasn't worried about perfect, I just wanted to get most of it out so it would be less noticeable. As the flat spot really is just on the edge and the wheel is still round, I don't think it matters that much from a drivability standpoint.
first tried a heat gun, no go, not even close. Switched to a propane torch which probably would have worked but I ran out of gas. Then went to the oxygen rig[with caution!] the dent was hard to see but the outer edge had a slight flat spot.
Again, hard to see but less dent. BFH, a block of stout wood, heat and some really hefty wacks, 8-10, moving the block around. I shaped the end of the block to more or less fit the curve of the rim so I could focus where I was hitting. A little more heat would have helped but I was being cautious ...
I think I wacked it a few more times after this shot as I went back to try and find the spot to take another photo and had trouble finding it.
Still waiting on the rear brake lines.
They better come soon as I'm taking more stuff apart in the meantime. The fender flares were looking a little tired and I was planning on painting them on the car but now that I have some time... Plus I can polish the body where the flares touch as it looked like it was growing fuzz along there.
The rocker panel part had some noticeable chips at the rear portion and I was on the edge of ordering a quart of paint and repainting the entire thing.
But, if I did that, I would end up painting the hood and if I did that I may as well paint the entire car!
So for once, I actually stopped myself, got a grip and touched up the chipped part.
NOTE: I did have to order some clips as I din't figure out until I broke them that you need to slide the rocker part to the rear to disengage the four inside clips. [after removing the screws to the rear, [and front? - I'll have to look]
Maybe I won't break the other side.
But those darn brake lines better show up soon...
robj
Somebody stop me!
Calmer heads prevail, for once...
This goes against my nature but I'm sure it will be fine. A little 1500-2000 grit, some compound...
While waiting on the brake lines I figured I would refinish the black wheel arch and rocker trim. The rocker trim was the hardest as it's got body color and black. I restrained myself in not painting all the blue as I would have ended up painting the entire car.
On the rocker, I first taped off the black then polished the blue with a rotary buffer. During this I taped off the black as I didn't want to get compound or wax on the black part. [A vain effort it turns out] . but the blue looked pretty decent, [I still feel like I should have painted it]
After repainting the blue where it was chipped. Base coat, clear coat. It blended pretty well with the help of the foam tape. Most of the noticeable chipping was on the outer edge of the scoop part.
After that, I taped the black part, to avoid getting wax on it. I wanted to polish and wax the blue then tape that off to do the black
So far so good...
After touch up, compound with a rotary polisher and wax, it looks pretty good. So far so good... Some scratches remain but again, it's not the hood right?
Next, tape off the black, sand then 3-4 passes with alcohol to remove any grease, wax etc...
Again, so far so good, pits/chip out of the black, wiped really well with alcohol , then THIS!
Grrr... Double Grrr...
I've previously posted about how much I dislike Powder Coat finishes. Right up there, [and maybe even ahead of powder coat] are any products containing silicone!!!
Obviously the prior owner wiped some silicone based product on the rockers, probably to regain the "Black Look". Please don't use this ****. It makes a mess for anyone trying to refinish later. This includes Armour-All and all of these type products.
One of the best things to use to regain the black is Johnson and Johnson Baby Lotion. Does the same thing, is much cheaper and doesn't contaminate the surface.
I'm not sure what I'm going to do at this point. I was out of lacquer thinner, so that the next step. I REALLY hate silicone based products.
I'm guessing all the black parts may have been treated in the same manner so what should have been a 1-2 evening project could end up being a challenge.
So I got another gallon of lacquer thinner and a gallon of acetone. I used a grey scotch-bright and removed the contaminated new paint, then "scrubbed" the black area with a piece of grey Scotch-Bright soaked in lacquer thinner. Before the thinner evaporated I kept wiping with a clean coth, contiually turning it so as not to drag any remaining silicone to the cleaned portion.
Then wiped everything down 2-3 times, again using a clean side of the cloth with each wipe and being careful to wipe from the cleaned part to the next [contaminated] area.
Silicone is nothing to mess with when it comes to painting.
Then, I did the same thing with acetone.
What I did do is switch paints. I had good luck with the Duplicolor in the past with some flares on a CJ Jeep. I had initially tried the SEM paint as it's more of a professional grade product. At this point as I went right to the Duplicolor so I can't say if it was the paint or not. It probably wasn't, It was most likely the silicone contamination, but I do have to say the Duplicolor sprays in a finer mist which helps preserve the OEM textured finish.
Now to do the other side....
robj
I don't think it was the paint but more likely the silicone contamination, but the Duplicolor does have a finer mist that preserves the textured OEM finish.
Not bad.
Should look good once installed.
Do the other side and call it done. Now to reinstall without messing things up!!!
Dude, you entertain me
I haven't had decent garage time in months, so getting to chuckle at someone else doing my tricks is a great substitute.
Well with an eye towards transparency, I post the failures as well as the successes. Most of the time you really learn more from the failures than the successes.
That's why I'm so smart at 68, no shortage of failures...
So while STILL waiting on brake lines I pulled the wheel arches and rocker covers off the drivers side to refinish the black.
As before I compounded and polished blue part of the rocker cover. There were a few scratches that wouldn't buff out so I'm going to have to live with that but overall, not too bad.
But inn addition to the stone chips sat the rear like I sanded and repainted on the passenger side, this side had a few pretty noticeable larger chips, 4 altogether, plus the portion at the rear..
I'm really taking a chance here posting this in the event they end up looking like Sh*t. But here goes.
compound/ polish. Again taping off the black. Looks pretty good. I just used compound and 1 stage polish. Didn't want it too look too good. Before compound, I wiped it good with alcohol, after compound and polish I wiped it down again with laq.thinner. One of the more noticeable chips...
More before shots of the chips and after sanding.
This one about the size of a penny. This is a different chip but you can see the size of the sanded area. About the size of a quarter. Tapered as much as possible without going too large.
The stone chips at the rear sanded.
After sanding I taped everything up. I used foam tape along the edges immediately around the repair. The theory with this is it gives a "fuzzier" line of paint that's easier to blend in as opposed to a hard line from tape. But you do have to spray it more or less straight on to take advantage of this. It looks a little weird but it actually works, [a little].
Painted 4 coats waiting about 20 minutes between each coat.
Then waited about 35 minutes and did a "mist" of clear, then 3 additional coats of clear about 10 minutes apart.
What you want is enough clear that you don't cut through it when sanding.
It will have to sit for at least 3-4 days then I'll sand, probably starting with 800, then 1500 then 2000 grit but the sanding has to be done VERY gently especially where the new clear joins the old as the old is much thinner. Depending on how that goes, compounding with the buffer or possibly by hand.
Then tape that off, clean [thoroughly!] with thinner, scuff and paint the black.
In the meantime I'll do the wheel arches. They're easier, clean and paint.
Lot's of work for a few chips, but they were showing white underneath which was pretty noticeable. Plus they were on my side so I'd see them every time I got into the car...
Like I said, I post the successes and the failures. Like I also said, "I'm taking a chance posting this in case they, [the rocker covers] look like Sh*t.
Well, they look like Sh*t...
I think between the paint and the clear the touch-up was just too thick and by the time I got it wet sanded smooth, I was through the original paint.
So I grabbed the bull by the horns and ordered 3 cans of the outrageously priced spray touchup paint from the "Paint Depot", and another can of clear.
This might be really pushing the limits for a rattle can paint job but we'll see what kind of rattle can "Michelangelo" I really am. The only thing in my favor is at least it's not a big, flat surface like a door or a hood. With lots of curves it's a little easier as it's like painting a bunch of smaller pieces.
So, in for a dime, in for a dollar. Failure photos below.
Robj Bad...
Worse...
Worse yet...
So, sanded and primed. No going back now!
Sanded with 400 wet. Primed.
Now I have to decide, do the black while the blue is primed, [taping the primed, painting the black[ Then taping the black and painting the blue.
or;
Paint and clear the blue, tape that off and do the black. I'm leaning toward the latter...
So still waiting for the rear brake line. Really???
After painting the wheel trim and one of the rockers, [the second, {see above} I gave up on and tomorrow will be pushing the rattle can envelope]
While the wheel trim was off I figured I would compound the edge of the body where the wheel trim meets. Well of course that meant one thing led to another and I ended up taping off the entire upper part of the body and compounding the entire thing, [stone chips and all - Bargain $500 Mini, remember?]
I used the 3m "Perfect-It" system while although not inexpensive It works really well. I've compounded cars, boats, motorcycle gas tanks, a bunch of stuff mostly try to bring life back into some tired looking sh*t. and this is a system that works with no guess work. Now my skill level needs some work and moving up from a Harbour Frieght Rotory polisher might help, but that's another story.
One of the things I really wanted to try to do is fix the hood where there were "ghost stripes". It appears the "blue car" originally had 2 stripes on the hood that the P.O. removed. Not sure why, but they were gone, leaving 2 really nice stripes of un-faded original blue paint.
I was thinking [hoping] the clear coat was faded or whatever and if I got down to decent clear coat the "stripes" of blue would be less noticeable.
No such luck.
I used the 3m system, photos below. This was 1500 grit on a D/A sander dry, 3000 Wet, then 5000 wet, then compound, then polish step 1 then polish step 2.
Despite this, the blue stripes are still quite noticable.
So, although I really like the "stripes delete" better, I ordered new stripes. Plus, as I'm painting the bumper cover black, [I had some black paint, don't judge] the black stripes may help tie things together.
The compounded body looks great, [minus the stone chips] and 2 more steps of polish to go. I'm hoping the body will look so dam* shiny no one will notice the flaws.
This is what prompted all this compounding and polishing. Scuzzy wheel well edges...
The start of it all. Since compounded but I forgot to take photos, duh...
On to the hood. To no avail but it was good practice.
First try, 3000 wet. Not aggressive enough. [Start with the least aggressive first.]
Next, 1500 wet.
Ghost stripes. Hard to see in a photo but they're there. The diagonal line is one edge. so far not a dent...
3000 Wet.
Just for comparison.
Getting there. But still no effect on the ghost stripes.
5000 grit.
Since, [but no photos ] Compound, polish #2 and polish #3 on the hood. It looks shiny but no effect on the ghost strips. Oh well it was worth try.
So, Polish #2 and #3 on the rest of the body. photos to follow...
Husky,
Now that actually made me laugh out loud!!!!! Last night my garage buddies were there until about 1 am, and over more than one beer we were discussing the exact same thing.
It's even worse than you think. Pic's and explanation to follow. I can't wait to tell the guys what you posted!
rob, [slowly twisting in torment and indecision] j
PS I actually couldn't wait. I texted them a photo of your response.
The struggle is real... to paint, or not to paint, that is the question.
On the plus side;
I can do the all over paint myself. I've done 3 other cars and base coat, clear coat is pretty fool-proof.
I can do it right here in the shop as dust bunnies are not as big a concern with my new found 3m Perfect-It sanding/ compounding/polishing skills.
It can probably be done with 2 quarts of paint.
The car will be all one color. [right now the plan is to paint the bumper cover gloss black as it wouldn't matter if the blue didn't match the existing paint]
The minus side;
The additional work
The time delay in getting this $500 Bargain-Mini out the door.
New paint on a $500 car with 150,000 miles that I really haven't even driven yet.
To be honest, all of this [all the new parts etc...] is a leap of faith. So far I've driven the car about 100 yards from my neighbors house to mine. it sat in his driveway over a year after throwing a belt. But, with a new battery it started right up, idled smooth, no codes and the oil pressure was good. The clutch was able to easily kill the engine with the brake on.
But still a leap of faith...
I think, if I had had the chance to at least drive it at least "a little" I would not be as hesitant and would do the all over paint, but with compound and polish, at a traffic light it will still look pretty good.
What makes this decision even harder is that there is minor body damage to the passenger side door. [Grrrr...] As there's no way the paint will match it needs to be "blended" to the existing paint. Blending is above my skill level but there's a shop right here where my boat shed is that does nice work. A good man from "south of the border" runs it and he and his guys do some amazing work.
So I standing there with him and I'm thinking, repairing and painting the door, blending onto the fender and the quarter, the hood is full of stone chips, the bumper cover is unpainted as is the rocker on the drivers side. That pretty much leaves only the drivers side fender, door and quarter panel. Oh, also the hatch and the rear bumper cover.
But with not having really driven the car I think right now I'm going to repair the door and blend the panel. Despite my desire to re-paint I'm going to take the path of least resistance.
My thought is, in Md. historic tags are available for vehicles 20 years old. If I'm still driving this by then,[5 more years] a new paint job will be in order.
robj
Photo of the passenger door damage. It looks worse in person.
Drivers side. No sanding, just compound and step 1 of polish, step 2, [swirl remover] to do yet. Although hard to see in person, [actually easier in the photo] a tiny bit of orange peel remains. Probably hitting it with 3000 or maybe even the 5000 grit would level that but I think it looks good enough.
The wider view.
The hood looks pretty good as well. If the stone chips in the nose are ignored. The lines on the top of the fender that look like swirl marks is actually the reflection of the roof rafters.
You painted undercarriage stuff that even you can't see...
You're gonna do 75% of the prep work for a repaint if you try to do a blend/touch up, and spend more hiring the work out than if you did a full respray yourself
How satisfied were you with the "good enough" solution on the rockers, hmmm?
You're gonna love this car, guaranteed Might as well do it right once (oh, and clear-bra the front end, as there is absolutely no way to avoid rock chips on the front end)
On the offhand chance you don't love it, with you doing the repaint you'll get top $ on resale, and given your purchase price, you stand a good chance of actually making money.
If you lived closer, I'd let you drive mine, I bet you can find someone on here that lives near you with a well sorted R53 to test drive, just to confirm the smile this little go kart will put on your face
Thank you for taking the time to give me a pep talk.
So...
My OCD did have me painting the subframe.
You're mostly right. I think the guy here in the park said a very reasonable $250 for the repair and blend. [but again, we'll call this right as the paint and material would probably be no more than $250] But done and finished in 1 day. [And, I think he's willing to have his guy do the work in my shop so by the time the brake lines show up, I get go full speed ahead with finishing it up].
I think the rockers will be fine, [sanding the primer as we speak] I think it's the stone chips in the hood that bug me the most.
You're right again, Given how long I wanted an original Mini I'm sure I'll love this go-kart.
Actually, in all my car projects, I think the only one I actually made money on was a '63 VW bug that I put a Baja kit on in about 1978.
The body shop guy was going to stop by this evening but I guess he forgot. I'll see him Monday and pin down what the fix and blend will be.
To be honest this "break from the boat " has taken far longer than anticipated and I'm getting a little anxious to be driving.
Maybe a tiny bit of eff-it has crept into my OCD world.
We'll see...
But again, thanks for taking the time for the pep talk! These are all points that have been swirling around in my head as well!
rob
Against my inner OCD I'm saying screw-it and having the guy in the shop next door, repair the door and blend the paint onto the fender and the quarter.
[I know Husky, I know]
I have the skills to prep and paint the car, But I don't have "blending" skills. That's a whole other level. If I still have the car 5 years from now for it's 20th birthday I'll do a full paint job, but for now, this will have to be good enough...
So I painted the rocker that I screwed up trying to touch-up. It wasn't the most cost effective way to go as I used 3 rattle cans of the touch-up paint at almost $50 a can. I'm not really sure why I'm so reluctant to buy a quart and use a spray gun. Getting the mixing right? Cleaning the gun? I don't hesitate if painting a car, but for little jobs I seem to put on the brakes.
But anyway it turned out well. I had one minor issue when a drop of paint came off the edge of the can and dripped on the paint. I took a tiny brush spread the drop out a little and misted some paint on it. As this was in the last "wet coat" stage and the paint was still really wet, it flowed out pretty good and is hardly noticeable.
I'm letting that dry good for a day or two, then sand the edge very carefully and paint the satin black. Not screwing the sanding up is the hardest part of that.
I was going to try to paint the bumper cover today but as I'm getting the door done rather than having the guy tape around the mirror and the door handle, [which I'm sure is what they normally do] I removed the mirror and am taking off the door handle, but I need my metric ball end Allen head wrenches from my shop at home for the door handle. I'm hoping the boss will agree to him doing it in my shop, that way I can get it done right away as opposed to waiting until the car is moving.
All in all it flowed out pretty good for rattle can, but I think a rocker or something about the same size is the limit for a can. I would def. not attempt a door or a fender. Had one little Aw "Shoot" when I pulled the tape prematurely. Dragged some blue onto the black but no big deal as that has to be sanded for the black anyway.
Still flowed out pretty well for rattle can. 1 mist coat, a semi-wet coat then a really wet coat of color, [about 10 minutes between each. Then 1/2 hour later a semi-wet coat of clear then a really wet coat. I was tempted to add a third coat but it looked pretty good so I decided not to push my luck. Now to avoid screwing up the black.

 01-04-2020, 12:56 PM