When you click on links to various merchants on this site and make a purchase, this can result in this site earning a commission. Affiliate programs and affiliations include, but are not limited to, the eBay Partner Network.
First a quick update on the wheels. It turns out the single Dekagram I ordered was one of the last ones Konig had made in their last run..
Sooooo I�m waiting patiently for them to complete a new batch of Dekagrams in my spec. My order is in, but the ETA is late October to early November.
As soon as those wheels make it out of the factory, I�ll order the rest of my Toyo R1R tires. It�s just a bummer that i probably won�t get a warm enough day after that here in NJ to drive them until next spring.
Tis a virtue I suppose!
(and @JerBear for the kind words on my wheels!)
- - - - -
OOkay, now with that out of the way.. the fun stuff!
I�m sure no one has been following the updates to my first post in this thread, because, well why would you? Lol.
But a few things have arrived in the mail over the past weeks that I thought I�d share. I have a Snow Performance water/methanol injection kit on the shelf waiting to be installed. I went with their VC-30 controller because it employs an external MAP sensor that should deliver more accurate injection rates with our roots type SC.
I also ordered their #2 and #3 nozzles which allow me to flex in the range of 100-175ml maximum flow rates. The top end of their #3 nozzle at full pressure is rated for up to 400hp, which obviously I am no where near.
I have a trunk mount 2.5gal tank as well, and finally the last few pieces arrived in the mail...
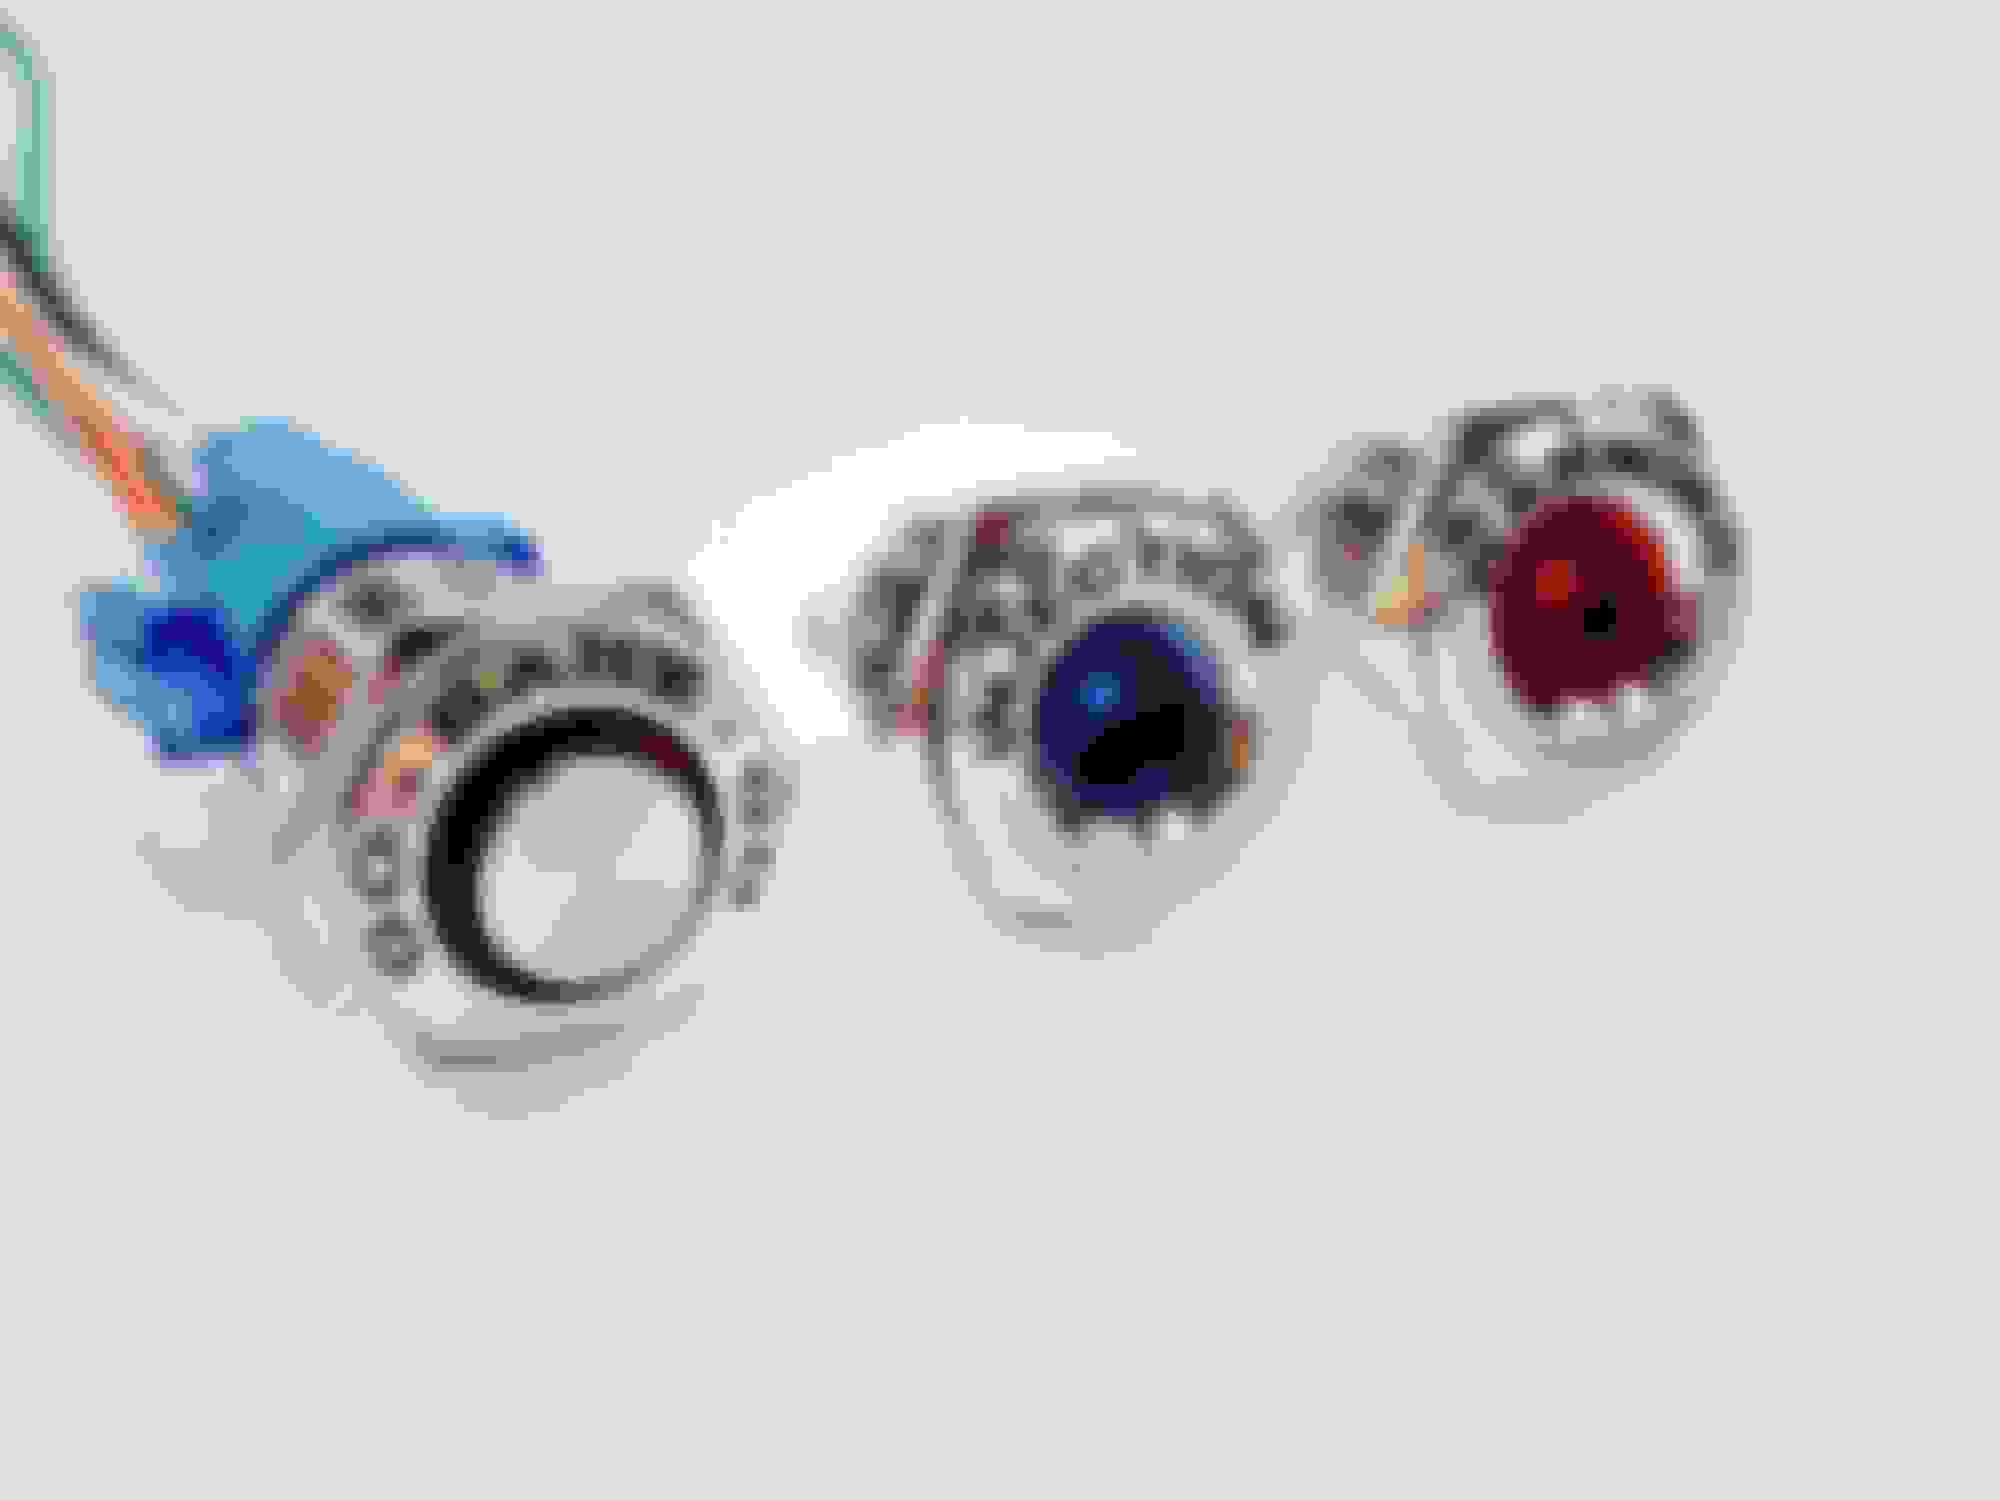
I had these custom switch and pilot lights made up for the water/methanol system by a company in Australia. They turned out sooo well. The blue pilot light will obviously signal when the system is actively injecting meth, and the red warning light will alert me when the tank is running low on juice. And okay okay I know it�s not an N2O system, but who doesn�t love a little go-baby-go button?? Haha
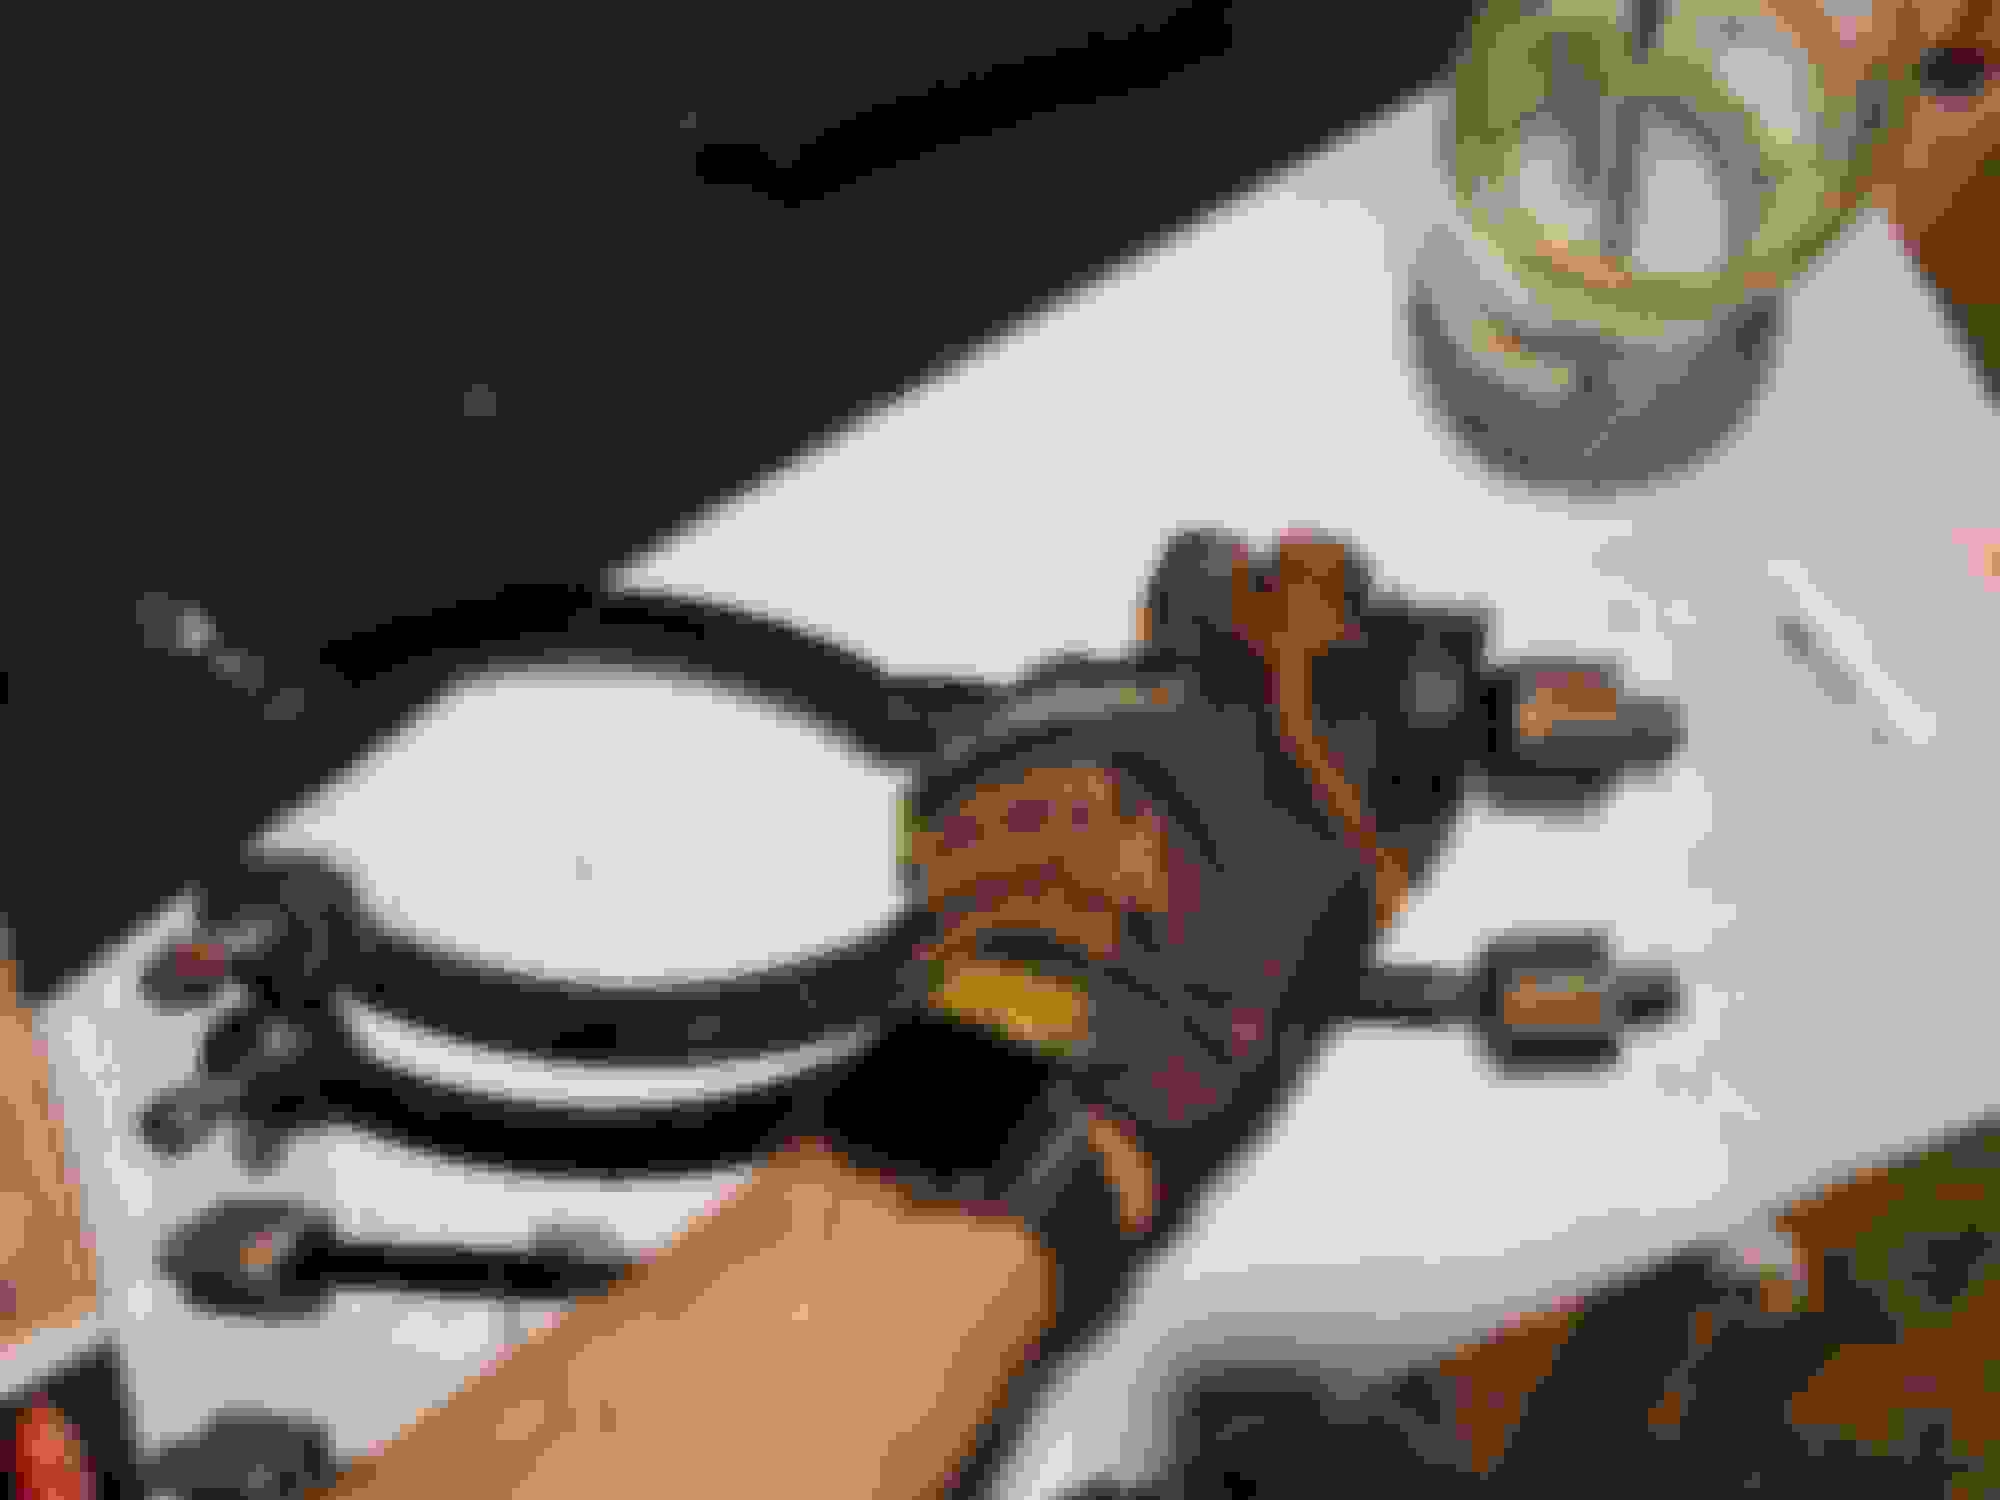
And FINALLY, one of my favorite buys so far on this project. I was able to track down an Ian Cull auto up. This version is a v6.
That�s all for now. My baby boy should be arriving any day now , so it might be a while before I get to installing wheels and the methanol kit. Be well!
Last edited by Tragesaurusrex; 10-03-2020 at 07:07 AM.
That�s all for now. My baby boy should be arriving any day now , so it might be a while before I get to installing wheels and the methanol kit. Be well!
Wow!
Big excitement in this family! Best wishes to everyone...
I�m sure no one has been following the updates to my first post in this thread, because, well why would you? Lol.
Oh we are...or I am...I guess I'm somewhat of a creeper lmao. At least on forums ha ha. But I'm following a few threads on here pretty close as I'm not able to build my own car in the time frame I'd like to be due to life in general. So I am living the mod life vicariously through fellow NAM members like yourself.
That�s all for now. My baby boy should be arriving any day now , so it might be a while before I get to installing wheels and the methanol kit. Be well!
I will wait patiently with you for updates :-D And congratulations! super exciting times!
For the quotes, use the quote button in the post instead of using the quick reply button or box at the bottom of the thread. For multiple quotes, press the multi quote button for each except for the last which is just quote. Not sure if you can multi quote across thread pages though.
Once the reply box pops up with the quote(s) you can edit the quote if you want. Just don’t alter the coding in brackets at the beginning or end or else the quote will just become regular text.
+1
Nicely said.
The only thing I would add is to click the “quote button” that is associated with the post you want to quote.
Quote and multi quote buttons.
It took me a bit to figure out how to use the “Multi Quote” button.
There is also a button in the menu above where you are typing a message that looks like quote marks. If you click that, you will be able to paste in a word or phrase where the cursor is and have it show up as a quote in a post. However, it won’t have any links or screen name with it.
Hope this all helps.
Last edited by Eddie07S; 10-02-2020 at 01:27 PM.
Reason: fix typo
For the quotes, use the quote button in the post instead of using the quick reply button or box at the bottom of the thread. For multiple quotes, press the multi quote button for each except for the last which is just quote. Not sure if you can multi quote across thread pages though.
Once the reply box pops up with the quote(s) you can edit the quote if you want. Just don�t alter the coding in brackets at the beginning or end or else the quote will just become regular text.
Thanks! I'll try with your response. I was on my phone when I posted the reply that got messed up so maybe that was it? Don't know. Not a fan of computers lol.
First, thanks for all the well wishes guys. Baby boy is here and healthy. He�s all I could ask for .
Second, I got a surprise yesterday. Konig said it would likely be early November before their next batch of Dekagrams rolled off the line, but i opened my door yesterday morning to a stack of wheels sitting on my porch .
I�m having the rest of my Toyo R1Rs mounted tomorrow afternoon, and there�s a fellow at the tire shop who is good with aftermarket suspensions and alignments. After the extensive suspension work I�ve done, he�s going to give my setup a proper alignment so my camber plates and rear arms are all even and accurate.
Finally got my Toyos mounted up and oh man are they sexy. Pics will come when I have the fitment dialed in
I dropped Madeline off to get an alignment the other day and a few hours later I got a call saying the alignment couldn�t be done because both tie rods were seized up.
I knew the outer rods were on their last legs and I actually already had a replacement set sitting in the shed, so that was great. I picked up a set of inner tie rods to complete the assembly yesterday and got to installing everything yesterday afternoon.
Getting ready for a fight. Lol
Actually the old ones came out without any issue. Which was good news for the boots I needed to swap over to the new set.
After 10min of heat and wailing on a breaker bar, I decided to get out the grinder and cut through the old tie rods instead. Much easier.
The second one put up a hell of a fight. I ended up having to cut the lock nut in half as well.
You can see here where some numbskull vise gripped the adjustment threads before I bought her. What a clown.
Roughly setting the front toe by simply matching the length of the old pair (eyeballing it)
New set all assembled. I had to carry over the boots, and compression washers from the old pair. I didn�t realize that none of my new parts came with the compression washer that sits behind the locking nut.. that was disappointing and I assume it�s because I bought the inner and outer rods separately instead of as an assembly.
Is supposed to rain all the next day.. so I wanted to finish everything up the night before. I don�t usually work at night, but this gave me a changed to try out some new led work lights I got a few months ago. VERY bright.
✅ finished.
Hope to be back with a proper alignment this weekend, then I�m onto the final stages of fitting the new Dekagrams.. Fender trimming
Last edited by Tragesaurusrex; 10-16-2020 at 12:13 AM.
Those LED lights are the best...
Even in my garage I use them.
Edit - I just noticed that your tie rods are different from my R56 and the following is what I did on my R56. If you don’t mind, I’ll leave it in... On yours, it may be too late, but I would pack those threads with the Anti-seize. A suggestion on the new tie rods... Fill the slot where the threads are with some light weight oil, even penetrating oil will do. Then fill the slot with Permetex Anti-seize or the like. Then rotate the screw part a half turn in each direction to work the anti-seize into the threads. This has worked pretty well up here in the salt zone...
Last edited by Eddie07S; 10-16-2020 at 07:46 AM.
Reason: Correction...
If you don�t mind, I�ll leave it in... On yours, it may be too late, but I would pack those threads with the Anti-seize.
Thanks @Eddie07S , fear not, I packed the entire length of the threaded rod with Permatex aluminum while I was assembling. I just gave them a good wipe down to clear the excess. I thought the same thing about salty winters.
They�re waterproof, which is one of the selling points, but because of this the front is one large piece of tempered glass.. so just know you can�t bang them around as much as other rugged work lights.
Last edited by Tragesaurusrex; 10-17-2020 at 03:03 AM.
Now that the new tie rods were installed, I found a few hours while the kiddo was napping to finish all the work left to do before finishing my alignment this weekend.
My tire shop was afraid of shearing the rear subframe screws used to adjust the rear toe last week on my first attempt at an alignment. The alignment tech claimed all six screws were seized up, but subframe-to-body fasteners come from the factory with anti seize on them, so they all broke loose with a spritz of PB and my cordless impact. I also dressed them with a little extra Permatex for Nervous Nelly over at the shop . I guess they just didn�t want to risk any liability at all. Fine by me, and I appreciate their caution.
I also trimmed the plastic rear fender arches back to the very edge of the outside facet because I wanted to run factory alignment specs. Bringing the rear camber back north of -3* looked like It was putting the fender arch in danger (before trimming anything). After trimming, the arches I could easily fit -2* camber in the rear.
Finally!! She�s sitting pretty on 16s that clear my JCW brakes, 8inchwide wheels running 225s, and is 100% within factory alignmentspecs with no rubbing at all.
I honestly didn�t know if that was all possible without wide fender arches. Maybe I just didn�t know were to look, but I couldn�t find a single example of a setup like mine in research.. it feels good to have sorted it out now.
And she drives SO well. She�s absolutely glued to the road, and the light 16s feel so much better than the shitty tires i had on the heavy 17s. It feels just as I�d imagined while planning out my BC/Swift suspension months ago.
Built. For. Corners.
Full list of suspension and wheel specs:
Wheels:
Konig Dekagram
4x100
16x8
et 35
14.7 lbs each
Hub/Spacers:
R56 hubs
82mm wheel stud conversion (M14x1.25)
3mm front spacers
No rear spacers
Suspension:
BC BR series coilovers w/ camber plates - lowered 1.4in from stock height
Swift Springs (7k front, 5k rear)
Adjustable rear control arms - lower arms only
Brakes:
R56/JCW front brakes (294mm rotor)
Stock rear brakes
Trimming:
Plastic fenders arches are trimmed as close to the edge as possible
Fender liner outside edge is trimmed back 1.0in
No sheet metal trimming needed
Rubbing:
None after trimming
Alignment:
Factory alignment specs
Last edited by Tragesaurusrex; 05-18-2021 at 08:34 PM.
Honestly man, and this is coming from someone who used to work in a shop, if I saw a car come in that looked that good I wouldn't dare risk anything either! The techs were probably also fighting over who got to work on it too just fyi.
That thing is one of the best looking MINI's I have ever seen!
I can't remember - - did you lower at all?
Looks really nice!
@Husky44 Thanks! Yes it�s currently set to 1.4in below stock height. The BCs have around another two inches of potential drop, but any lower wouldn�t benefit me personally.. only put my undercarriage in harms way lol.
Originally Posted by JerBear
...if I saw a car come in that looked that good I wouldn't dare risk anything either!...
That thing is one of the best looking MINI's I have ever seen!
@JerBear Haha maybe you�re right. It�s easy for me to see the flaws and assume others would also. Appreciate the kind words man!
Originally Posted by nd-photo.nl
Ow wow that looks great. I will keep this in mind, as my preference is also 16 inch wheels instead of 17 inch.
@nd-photo.nl Oh totally, 15-16s are where it�s at, especially with a relatively stiff suspension setup. The 225/45s really give the ride a solid but smooth quality that I just didn�t get with the heavy 17s.


 10-01-2020, 05:20 PM


 , so it might be a while before I get to installing wheels and the methanol kit. Be well!


 .
.


 What a clown.