When you click on links to various merchants on this site and make a purchase, this can result in this site earning a commission. Affiliate programs and affiliations include, but are not limited to, the eBay Partner Network.
So I�ve decided to gut Madeline and change my plans into a fully dedicated track car...
...jokes!
I could never give up the panther leather I love so much.
Today I�m starting my water/methanol system install, and I have a 2.5gal remote tank kit for the boot.
I�m also going to make up a loom with several extra runs of wire while I�m in there. I don�t have plans for them yet, but I learned in my car audio days to run some spares while you have the whole interior out.. kinda like wiring your house for surround sound before you put up the drywall haha.
I definitely won�t finish today but aim to finish this weekend.
Last edited by Tragesaurusrex; 10-28-2020 at 02:40 PM.
Finisehd up my wire looms and wrapping the nylon methanol line in high temp nylon in my spare time today.
The methanol line will get one more wrap in a fiberglass heat sleeve.
I made three 16ft looms with 14ga wire. One will be used by the methanol controller to trigger the solenoid and pump during injection.
Snugged the three looms together and kept it tidy with the factory harness
Man.. if I knew BMW just tossed a bunch of loose wires down in the rocker panel maybe I wouldn�t have been so ****! At least mine stands out now in the bowl of spaghetti down there.
Menthanol line wrapped in nylon for nick protection before going in the fiberglass sleeeve
I�ve been noodling on how to tackle a WMI controller shortfall that I wasn�t aware of when I bought it.. so just sharing my thoughts and plan for this weekend.
The controller that was suggested to me by Snow Performance was their VC-30 model which has an external MAP sensor, supposedly making methanol delivery more accurate with our roots style superchargers.
However unlike many other controllers, this model does not have a function to test or prime the methanol system manually. I reached out to Snow Performance several times and finally got a response confirming the lack of a priming function, and they suggested I simply �put direct power to the pump to prime it.�
..Okay, I thought. That seems super haphazard.. especially if the controller is also connected to the pump, there�s a good chance doing that would backflow the circuit with higher voltage and damage the controller board.
This was also after my entire kit order arrived missing pieces and fittings and I had to contact their service team a few times. Lesson learned, don�t deal with Snow Performance.. At least not directly, maybe a reseller would be a better bet for service if you need it.
Anyway, I didn�t like their vague suggestion, so I drew up a simple diagram of how I�ll add a momentary button switch to my system that can prime while the system is otherwise off OR it can override the system while in use to inject full pressure manually.
The design uses two relays in parallel to allow for normal operation from the controller, and I�ll have the ability to safely manually prime the pump as well as safely override the controller if needed.
I don�t really see a need for manually overriding the controller if it�s already actively injecting methanol, but the override design was more for safety than anything. This will prevent the controller from ever seeing a backflow of current from the pump.
Will post actual photos when I get to wiring this up
I got a few hours this weekend to keep trucking on the WMI install..
First up.. Modifying the negative battery cable. Because I�d be securing my 2.5gal tank to the sheet metal boot floor, I would lose fast access to my battery.. solution? Adding a battery cutoff switch.
Now I�ll be able to disconnect the negative terminal with a switch when working on the car in the future, and without having to move the methanol tank.
I picked up a pretty sweet little lug crimping tool. I wish I had this sooner for some past projects. It would have saved crushing my palms against the handles of my manual crimp tool.
Finished up with heat shrink sleeve with a waterproofing adhesive lining inside. Never used this stuff before but it�s awesome.
Rerouted negative cable extensions. I planned on mounting the cutoff switch next to the factory 12v outlet location in the boot.
Dressing up my pump and solenoid wiring to match the harnesses I made.
Wrapped the long length of nylon methanol line in fiberglass heat shield sleeving. This will provide nick protection and (god forbid) some level of fire protection.
Here�s the layout I decided on after trying a few different configurations. For ease of simplicity and servicing in the future, I wanted to keep all wiring and connections between the tank pump and solenoid exposed for quick access and in the same area.
It took me a minute to realize the tank mounting brackets were the perfect space apart to drill and mount the pump as well. Once I figured that out it drastically simplified the layout since I wouldn�t need another wall on the car to mount the pump to.
I briefly thought about mounting the pump and solenoid behind the driver seat for a super clean boot, but didn�t like the complexity of multiple runs of meth line in and out of the rocker panels to do that.
Cleaned up and got the interior back in. I only needed to cut a very minor access hole with a step bit in the side panel to run the meth line and wiring behind the tank.
I�m happy with the result and its serviceability without much disassembly.
You can also see my final result of the battery cutoff switch above the tank.
I was able to wire up the controller and test to make sure everything is functioning properly. Next steps are moving onto my relay and dash switch wiring. I also still have to remove and tap the Intercooler horn for the nozzle.
Last edited by Tragesaurusrex; 11-09-2020 at 07:15 PM.
I�ve been buttoning up my methanol setup pretty piecemeal over the past 4 weeks. Sometimes working at night after the rest of the family goes to bed, which isn�t my preference and it�s been getting chilly here in NJ.. nonetheless, progress was made
And thanks guys @JerBear@nd-photo.nl for the kind words. I always appreciate you two checking up on my progress. Hope my write ups are entertaining enough.
Ill get right to it...
Here�s the harness I wired up based on the relay diagram I designed a couple posts ago. This allows me to control the system on/off, plus the option to prime/override the controller output without back flowing current into the controller.
Preview of the dash commands. At this point I still has some of the center console apart but my phone camera was on the fritz. I�ll go back and post some proper pics of the switches and pilot lights I installed another day.
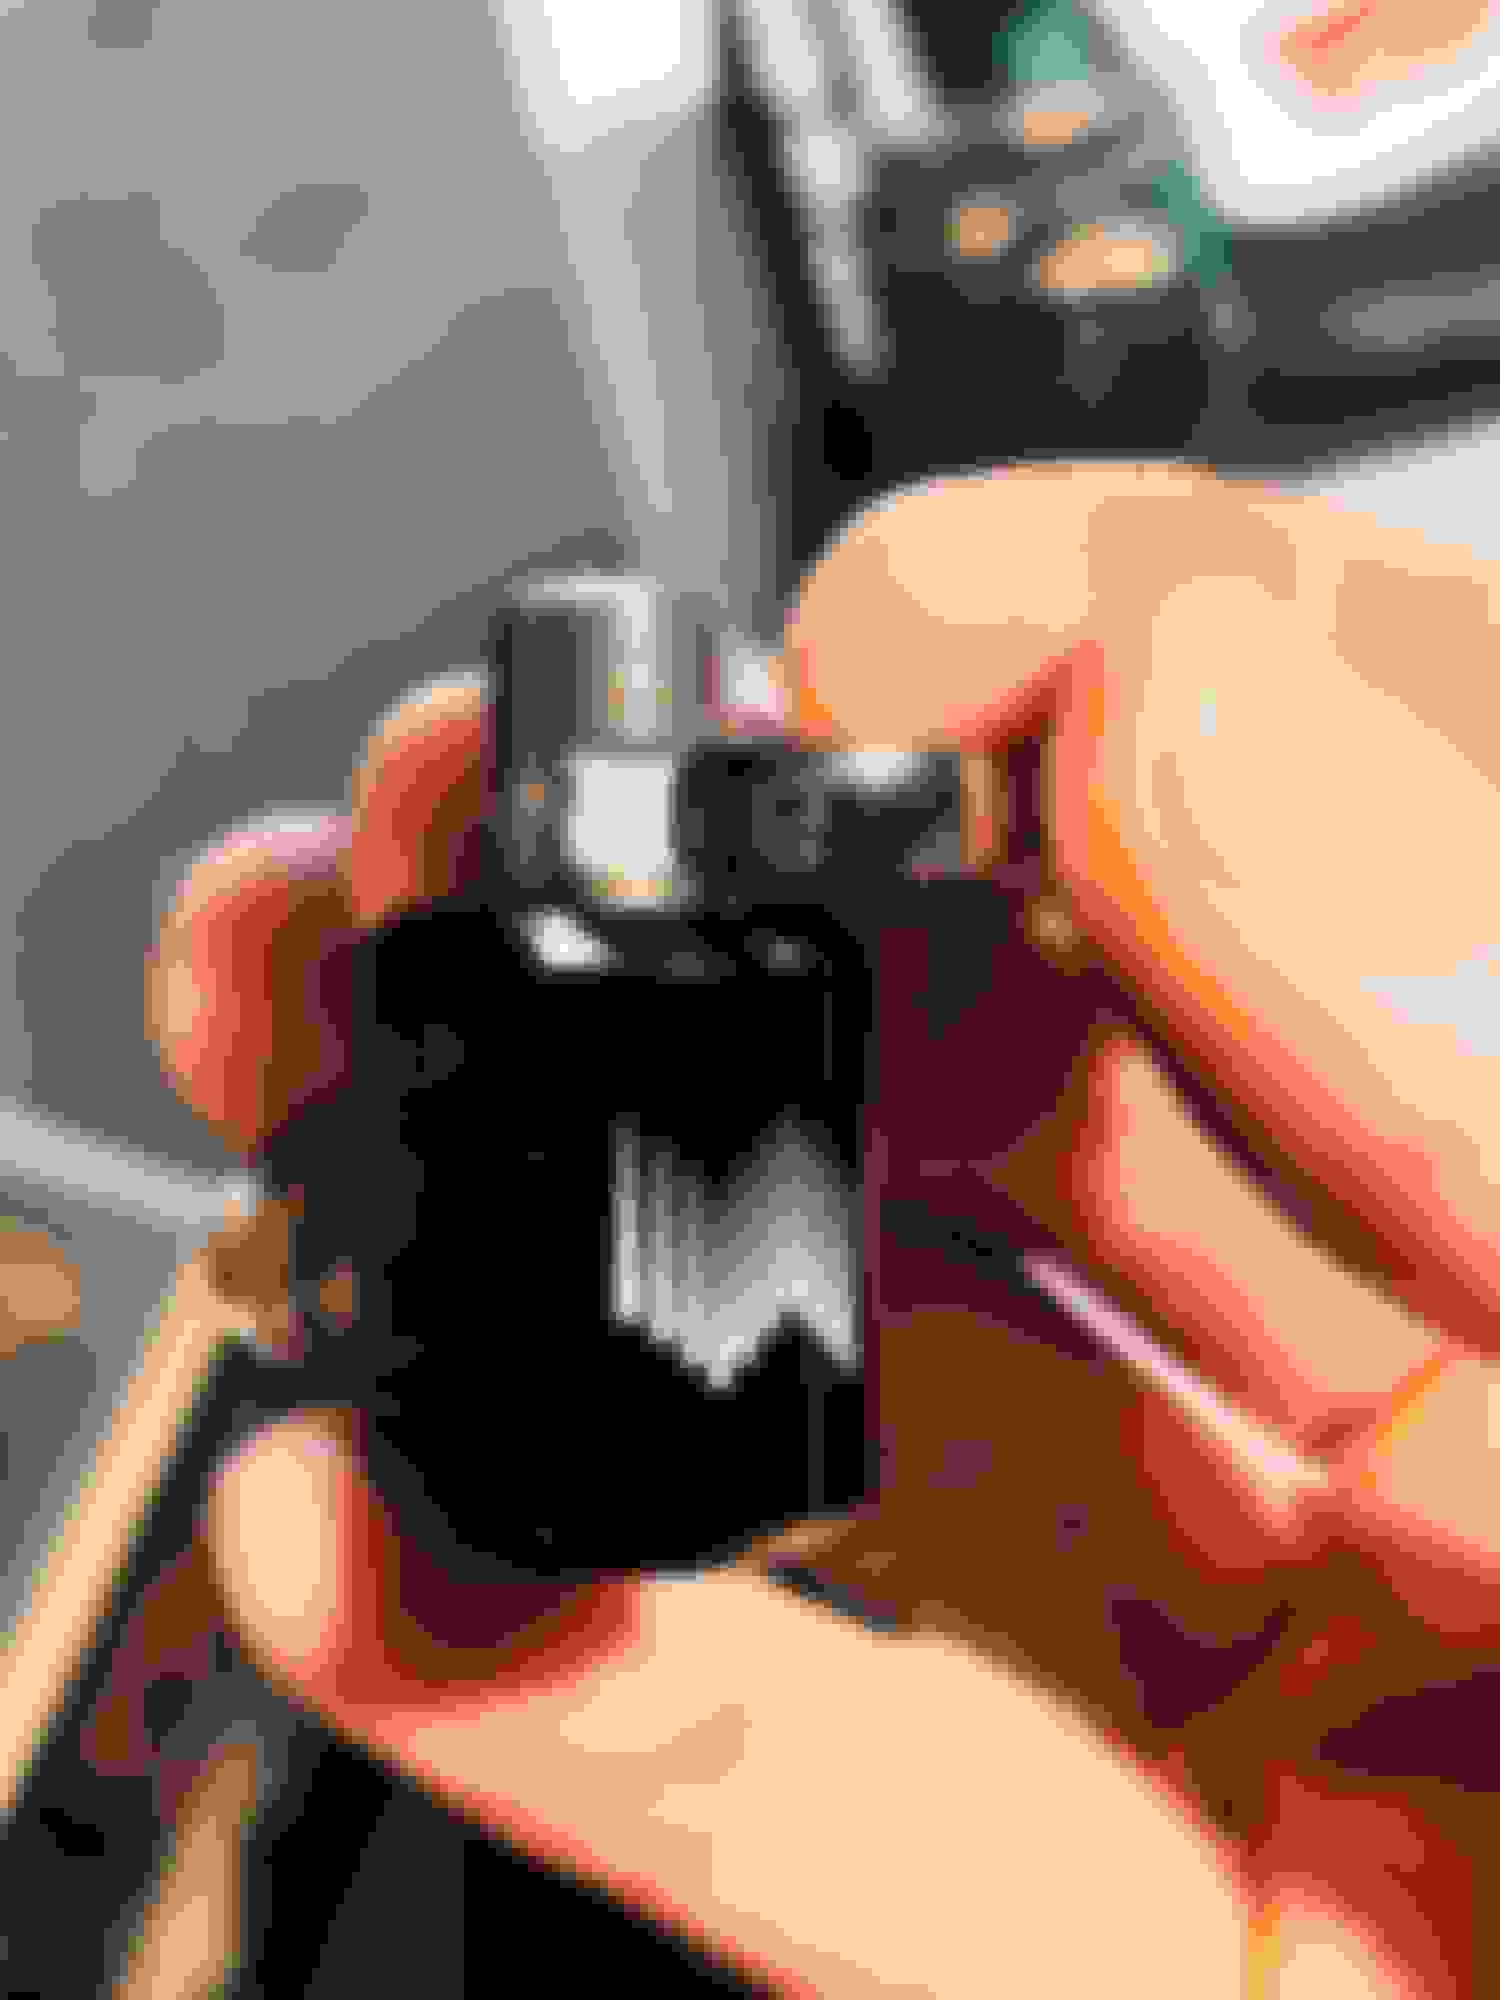
On to the nozzle install... I filed down the center number marking (06) as the location to mount my nozzle.
This let me tap a spot in the center of the horn and perpendicular to the surface (which simplifies things quite a bit). Plus the nozzle threads more material to grab here.
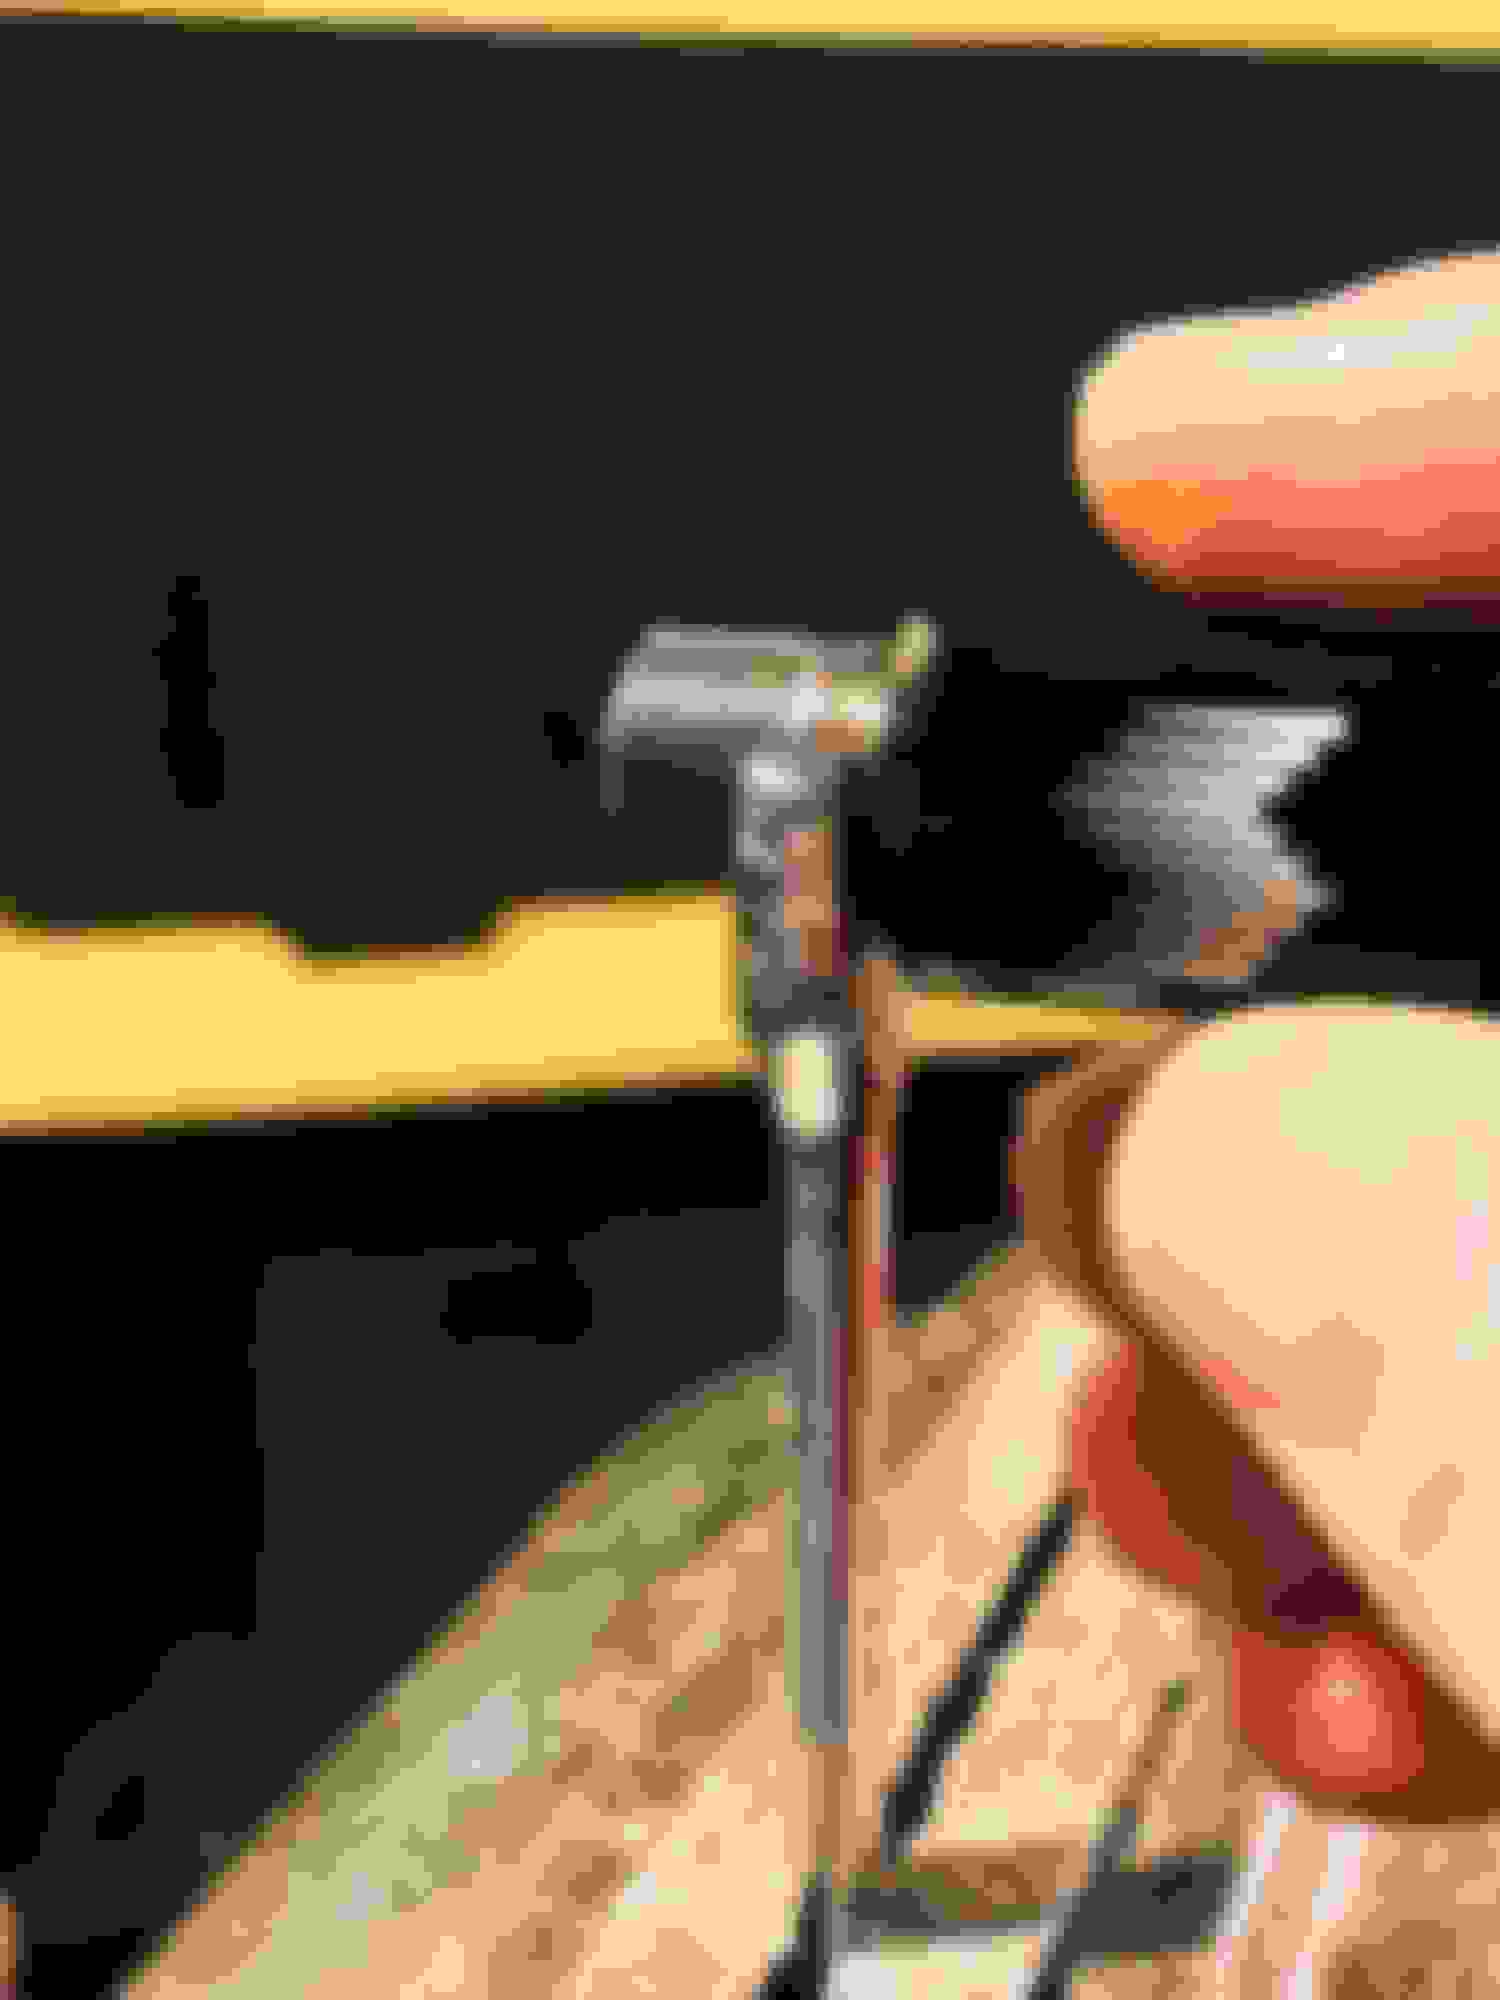
Nice, round and straight. Not bad for a hand drill. I�ll buy a proper drill press in our next house. I did however have to run to the store for a titanium 11/32 bit. Never needed that size until now.
Tapped to spec. (1/8 Npt. (27tpi)). I was glad there was more material here than I originally anticipated.
Nozzle #2 to start. This has a max cycle load of 100ml/min, which I have mapped to 17psi.
Welp, I couldn�t find a narrow enough 3/8 spanner to fit the nozzle. So I took a trip to my LHS for a cheapie to screw around with.
Nothing a little filling couldn�t fix. Ah the sweet sound of nails on a chalkboard.
Like a glove. Now it�s my stupid �custom� methanol nozzle spanner haha.
Test fitting the nozzle for tightness and flushness against the inside surface of the horn.
Finished. I actually picked up another charge inlet horn pretty cheap from eBay to drill and tap just in case. It came with a bpv in better shape than mine as an added bonus. I know that�s a lot of write up for a simple tap job, but I�ve read a few lengthy threads debating where and how to tap this horn, so I figured I�d pass along my thoughts with care.
The nighttime setup to put her back together.
Giving her some lifeblood.
Testing/priming the complete system before the final step of installing the nozzle in the inlet horn. Dramatic stuff..
Here�s the full routing of my methanol line. I came through the engine harness grommet and through the front intake wall for the path with least bends. Keeping the line as straight as possible while being secure was a priority.
I rearranged the DSC brake lines in their holder to make room in the top slot. Now my methanol and boost gauge line have a nice home and won�t flop about.
I tried to be as clean as I could with the routing and aesthetics of this install.
I�m happy with the result.
Last edited by Tragesaurusrex; 11-25-2020 at 10:59 PM.
The methanol system is running and I have two things to address:
1. My boost is plateauing at 13psi, where I was making 16.5 before the install. Not a huge deal, and I suspect either the nozzle tap did t get enough E6000 sealant or I have an IC boot kink somewhere. I�ll pull it apart and check when I have a free hour.
2. I have a flow solenoid installed just after the tank to prevent engine vacuum from siphoning methanol. The activation of the solenoid is tied into the pump signal so if the pump is active, the same goes for the solenoid.... However, it seems my solenoid is only receiving enough voltage to activate at 20-30% injection, meaning if I�m only making enough boost to trigger 0-20% max injection, the solenoid is remaining closed.
I have the solenoid wired as per Snow Performance installation guidelines, but I may add my own relay to solve the issue. Just another disappointment from Snow.
Now then, to more fun things:
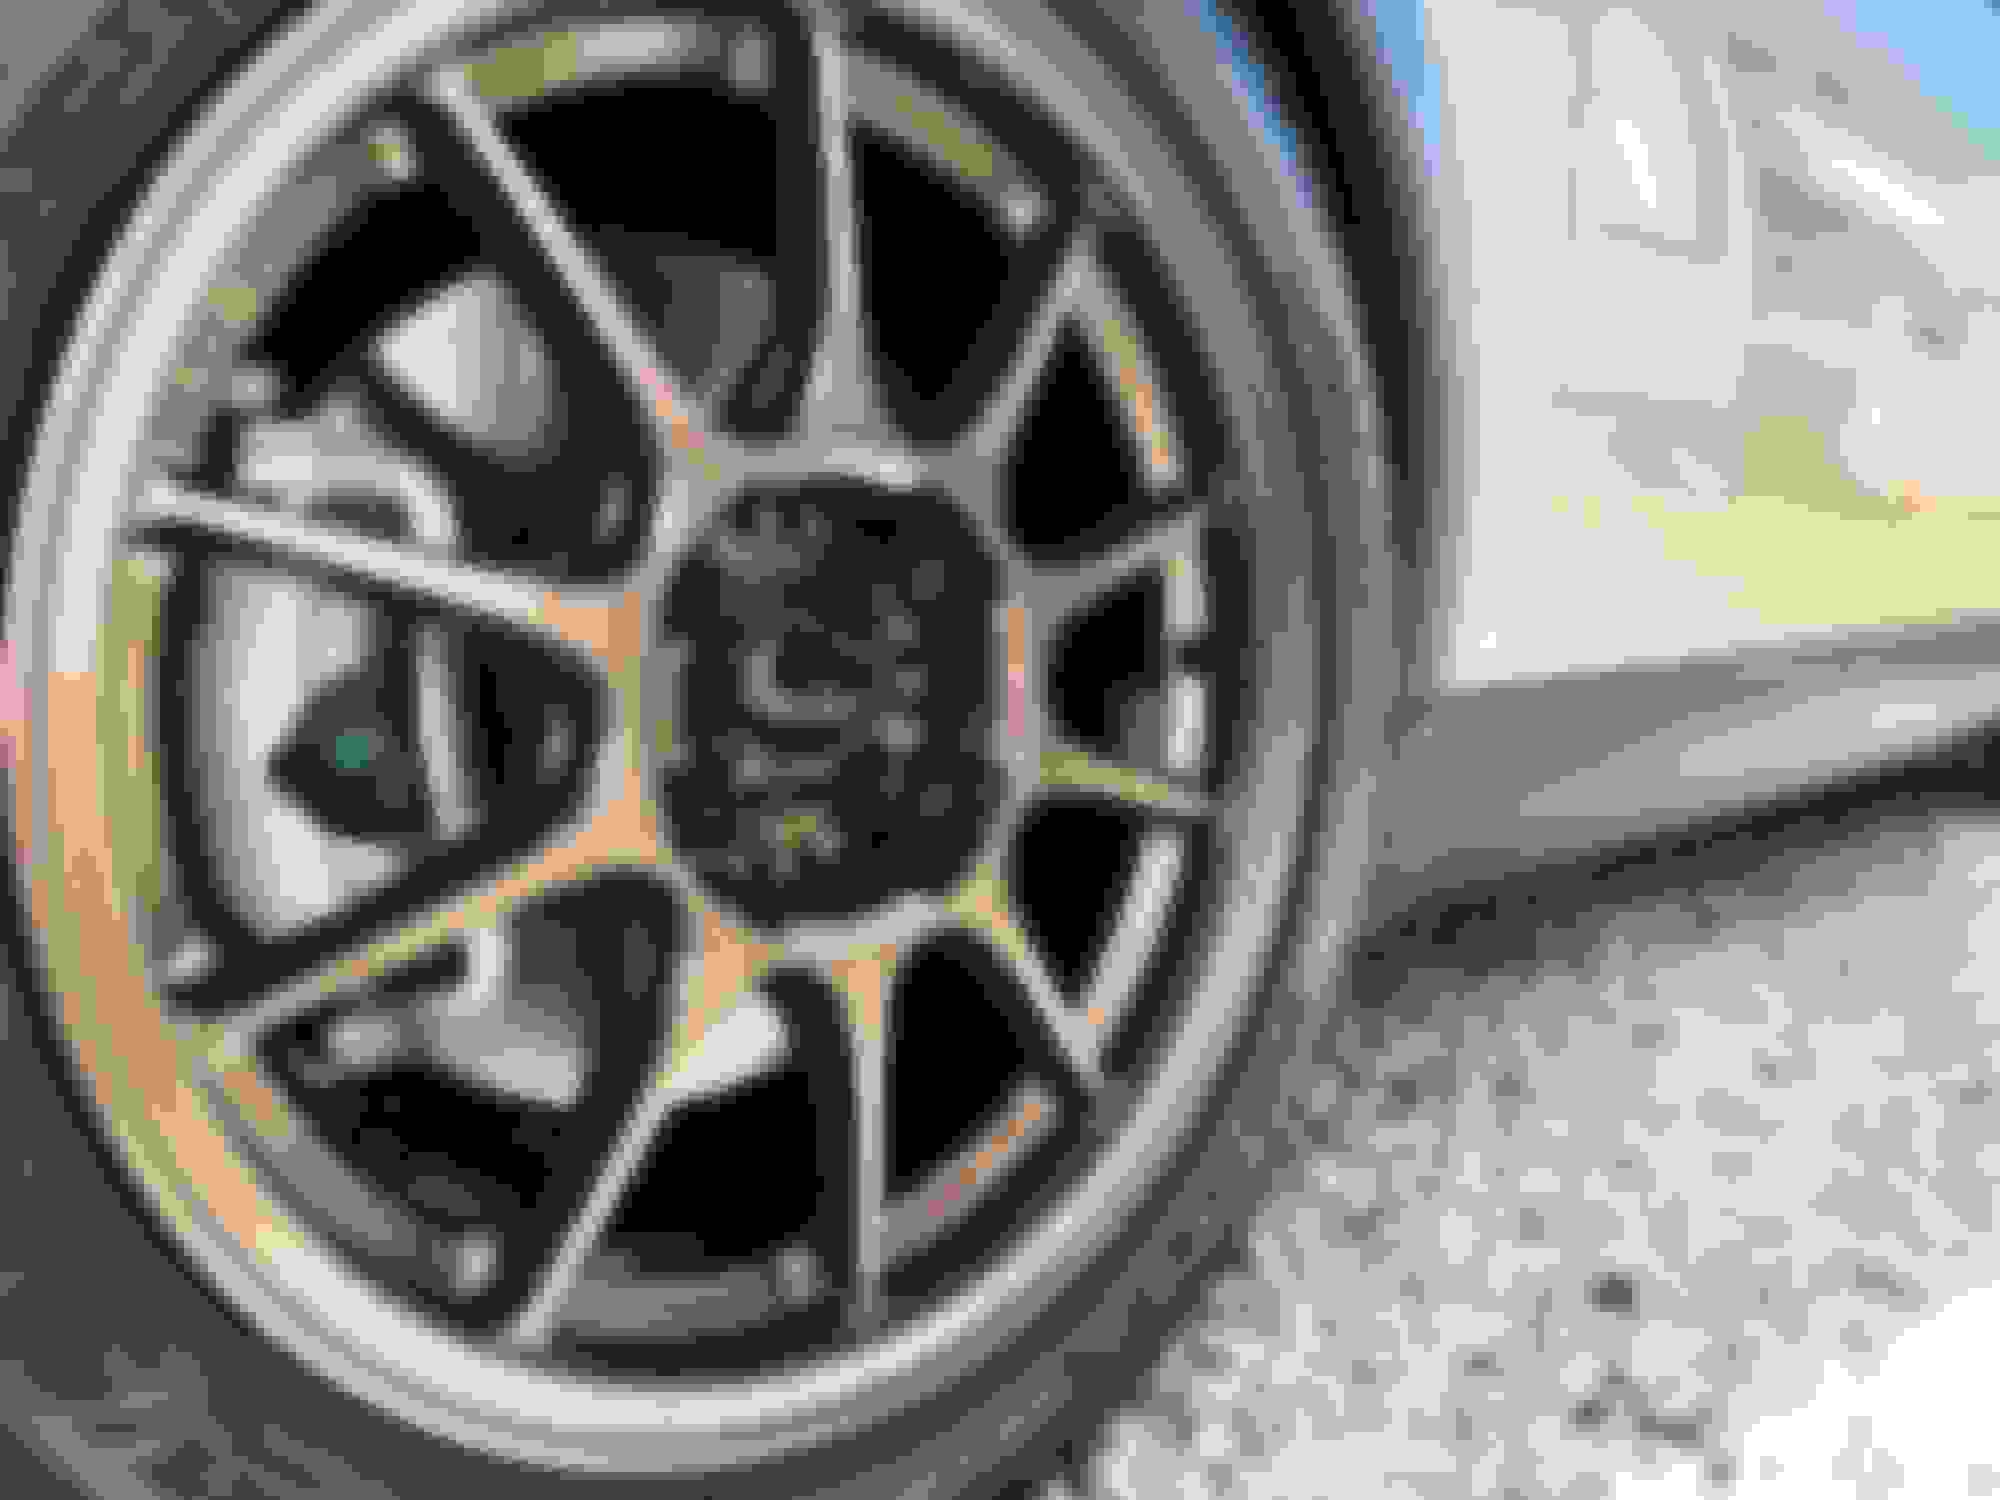
Rebranded my Konig center caps back to MINI
Picked up a complete R56 aluminum trailing arm conversion to swap in sometime this winter. No rush, but looking forward to it.
I�ll also be replacing my entire rear subframe with another in much better condition, and adding a pair of adjustable upper control arms to match my lowers.
Not sure if you already know this, but just a heads up about those control arms... the shocks need to have the conical fitting of the R56 shocks. Way Motorsports sells conical washers if you are planning to keep your current shocks. Also, the bolt MINI uses is self-tapping. I would recommend replacing them with a conventional bolt and only torque them to 90 ft-lb. If you use the MINI bolts, take care with threading them in as they will easily cross thread and you won’t know it and they will strip out at an inconvenient time. I’ve seen this happen; not good at 80 mph. Hand thread them in until they are most of the way in. In either case check the threads. If they look iffy there is a simple repair with a Time Sert threaded steel sleeve. It takes special tooling which I have. If you need it, PM me.
Hey thanks @Eddie07S, hope you�ve been well. Yeah it�s hard to see but the conical washers are just above the right side of the bottom arm in that pic.
I hear ya on the self tapping screws too. I gave the same disclaimer much to the annoyance of the last guy that did my alignment
Great to know a guy with the tools to fix that though, and great explanation!
EDIT:
Wait.., I think I spoke too soon and misunderstood which bolt you�re referring to. I was picturing the x6 self tapping screws that fasten the rear arm bushing bracket to the floor of the car. Are you referring to the x2 screws that secure the bottom of the shock body to the trailing arm?
Last edited by Tragesaurusrex; 11-30-2020 at 09:09 PM.
Correct, the lower shock bolts. I've researched it and as long as you hand tighten the lower bolt first you won't have an issue. To me that is standard practice on all bolts. I also like to use a little pepto bismol to prevent galling the threads. Kind of an old school practice. If you got the kit from Way, you'll have all the pieces you need and Way has said he has done over 1,000 of these and just reuses the lower shock bolt with no issues. Just do not use an impact gun to install them.
The only bolts that I had to replace were the ones for the wheel hubs as the aluminum arm is thicker by over an inch. The brakes use the same bolts in both versions. If you have 53 brakes you can reuse the parking brake cables, but 56 brakes need new cables.
Since you are doing the subframe I'll tell you one item I would have done differently and that is I would have removed the hot battery lead from the battery box to make the install of the subframe easier, but honestly it is still easy to do with it in place.
So I am going to steal your Mini/Konig sticker idea. I keep looking at my wheels and don't like the silver center at all. not sure why Konig didn't make it black for a bronze wheel in the first place.
Also it does sound like you'll need to run that solenoid off a relay, there is probably too much voltage drop from the pump. Just out of curiosity, is the solenoid wired in series or parallel to the pump? I guess it could also be a faulty solenoid too...
Another trick for mating dissimilar metals is Crisco. Use it on the threads before assembly and in some cases (stainless steel) it works better than anti-seize. Its not good for parts that get hot though.
Hey thanks @Eddie07S, hope you�ve been well. Yeah it�s hard to see but the conical washers are just above the right side of the bottom arm in that pic.
I hear ya on the self tapping screws too. I gave the same disclaimer much to the annoyance of the last guy that did my alignment
Great to know a guy with the tools to fix that though, and great explanation!
EDIT:
Wait.., I think I spoke too soon and misunderstood which bolt you�re referring to. I was picturing the x6 self tapping screws that fasten the rear arm bushing bracket to the floor of the car. Are you referring to the x2 screws that secure the bottom of the shock body to the trailing arm?
Yes, I am referring to the 2 bolts that hold the bottom of the shock on. I agree that these can be reused, with care in doing the re-install. I have done this numerous times. However, be wary of how they go in. Even with hand threading they can cause wear the threads they made in the aluminum. Using something like never seize will help with this. I like the never seize in this case as it isn�t a great lubricant and it won�t overly affect the load on the bolt and threads when torquing it.
Another thing, I believe the MINI torque spec of 120-ish ft-lbs is for when the bolt is being installed on a virgin piece and actually cutting new threads. It make no sense when re-installing a bolt in a control arm. The bolt is 14mm, the same as the wheel bolts on an R56, and those are torqued to 102 ft-lbs. There is no reason to go higher than that. I actually used 90 ft-lbs (or there about) as that is the torque for the R53 wheel bolts. I figure if it is good to hold a wheel on, it is good for these. Not overly scientific, I know. The threads in the control arm are pretty crappy given the way they are made and it is easy to over load them and strip them out. Hence, my suggested torque setting.
Since you are doing the subframe I'll tell you one item I would have done differently and that is I would have removed the hot battery lead from the battery box to make the install of the subframe easier, but honestly it is still easy to do with it in place.
I didn�t get my kit from WMW since I was able to source it cheaper elsewhere, but nice tip on the positive batt lead. Thanks
If I�m able to move it out of the way from underneath I�ll do so. If that means getting to the battery itself I may pass. My methanol injection tank, pump and solenoid fastened to the sheet metal boot floor and I�d rather not remove all that for this job.
Originally Posted by JerBear
So I am going to steal your Mini/Konig sticker idea. I keep looking at my wheels and don't like the silver center at all.
Just out of curiosity, is the solenoid wired in series or parallel to the pump? I guess it could also be a faulty solenoid too...
Haha here�s the set of center cap stickers I picked up for cheap. They�re a thin metal with a clear rubberized outer coating. Not terrible but I had to add my own VHB to the back to fill in the concave profile. The MINI is a little off center too.
Yeah the Snow Performance tech team I�ve contacted says it sounds like a bum solenoid and want me to send it back on my own dime so they can repair it as a warranty claim. Seems silly to repair a part that retails for 50 bucks. Probably costs them 10-15 at cost. It feels like their way of dissuading customers from making claims. I�m not happy with their offer but the worst part is I feel I can�t trust the quality of their stuff now.. like I�ll always be paying extra attention to the solenoid and pump sounds in the back of my head instead of enjoying the drive.
Originally Posted by nd-photo.nl
Man, those wheels are looking better and better the more I see them on NAM
Thanks Andy. Been enjoying your thread lately too
Originally Posted by Eddie07S
Yes, I am referring to the 2 bolts that hold the bottom of the shock on.
...I actually used 90 ft-lbs (or there about) as that is the torque for the R53 wheel bolts. I figure if it is good to hold a wheel on, it is good for these.
Thanks Eddie. Helpful as always. I like your rationale and caution to stripping the softer aluminum threads.
(I use an orange paint marker to dot any fasteners I don�t want to use an impact on.. these�ll get an orange dot )
Been following the thread for a while because I started a similar build process on a 2003 MCS back in April. First and foremost, I am impressed and a little awestruck by your photography and photo-documentation of the jobs you have done to the car. Having done most of the work on my own car, thinking about all the extra time to stop and take pictures along the way is mind-numbing to me. You are a hero!
I wanted to share some details of the build I am doing and then ask a couple of questions, if I may. I fear this will get long but hopefully folks will read it all and provide some additional info that benefits others beyond just me.
Like yours, my car is rather rusty underneath. It was a MA/CT/ME car and those winters in slush and salt have had their impact. Virtually every nut and bolt in and under the car has required penetrant and a torch to loosen and more than a couple have simply broken due to being so bad. It has made the work slow and painfully difficult at times. A couple of the jobs went off the rails due to rusty nut/bolt issues and required me to bring it to my mechanic for completion which is the ultimate mark of surrender. Thankfully, it's a project car that I can leave in various states of disassembly in the garage in order to wait for parts to arrive (like, when I break off bolts unexpectedly and need to order replacements!) or if it gets too late to finish a job in a day. That said, here's what's been installed so far:
OEM suspension bushings, F & R - all
OEM front control arms + OE tie-rods
OEM rear upper control arms, Movetec (?) rear lower adjustable control arms, OE e-brake cables
Bilstein shocks and struts + all new OE/OEM mounting hardware and boots
OE springs F & R
Cravenspeed strut tower indurators and tower defenders (after spending a couple of hours 'correcting' the mushrooming done by previous owners)
OE front sway bar w/ OE bushings & droplinks, OE rear bushings & droplinks (20mm rear sway bar replacement TBD)
OEM driveshafts, L & R + new driveshaft seals in tranny
Valeo clutch w/ single-mass flywheel, OE t/o bearing & bushings
OE clutch slave
All hard lines in the braking system replaced with custom bent nickel-alloy lines (the OE ones looked like swiss cheese)
Full Milltek exhaust system: headers w/ sport-cat and resonated cat-back setup (I had the non-resonated center pipe installed originally but it's just too loud)
OE exhaust heat shields
OE supercharger + water pump + thermostat (I have both the OE and JCW pulley pullers and both OE and 11% JCW pulleys for sale, dm me)
17% WMW s/c pulley
All coolant hoses (yes, ALL of them are new)
Colder range NGK plugs + NGK blue plug wires + MSD coil
380cc fuel injectors
OEM supercharger belt tensioner + OEM crank pulley + OEM idler pulley + shorter Gates s/c belt (I also want to get the -39 belt installed but haven't figured out how yet, I don't like only one hole showing on the tensioner)
Airtec intercooler w/ silicone boots
DDM cold air intake w/ OE intake boot
VR Tuning OBD/DME tune
OE Shifter cables (should have done a full upgrade to R56-spec parts including shifter, oh well)
Weighted black shift **** + gray suede shift boot + gray suede e-brake boot + black OE e-brake handle
Three-spoke OE sport pkg steering wheel
OE Navigation screen, used (replaced the non-functioning OE head unit that was in the car and it still doesn't work - no illumination or graphics, thinking it's an issue with the underseat unit or a bad cable/wire in between)
Several exterior body trim and molding pieces
LED bulbs for everything except the xenon low-beam bulbs (wondering about replacing them with better/brighter bulbs)
Sparco 7.5"x18" ET42 Assetto Gara matte black wheels w/ 225/35-18 Federal SS595 tires
...And so many other little things that I can't even begin to remember everything I've fixed, replaced, or repaired.
I have remarkably few photos of the work that's been done but I tend to take photos when milestone jobs are completed - like when the brand new s/c with 17% pulley and huge intercooler were all installed and it was drive-able again. My initial approach to the car was almost exactly 180 degrees from yours in that I started on mechanicals with little regard to exterior appearance work and improvements. The paintwork needs attention, for sure, and I did some washing and cleaning and such but my thinking was that there's little point in making it pretty until it actually drives well. I think mine was much more poorly maintained by the PO than yours because I had mechanical work needing to be done just to pass the state inspection in order to get it registered. As I started taking it apart for the first few repairs, I realized that almost everything was original to 2003 and most of it was sacked, especially anything made of rubber. I think I have replaced every rubber part on the car with the exception of the glass seals, the hatchback door seal, and the driver's door seal. Waiting in the garage right now are the following parts that I'll install in the next couple of weeks:
OEM hubs, F & R
Reman OE brake calipers, F (red powder-coated)
Drilled rotors, F & R (OE diameter)
SS brake lines, F & R
EBC brake pads, F & R
M7 oil catch can
Hella dual-tone horns (I love your install and will be duplicating it for mine)
The biggest questions I have are in regards to your water/meth injection system. It seems like a lot of complexity and upkeep for the performance it gives with the disclaimer that I am not well versed with those systems, honestly. I was concerned with charge cooling and heat saturation issues with the 17% pulley so I found and installed the largest intercooler that fits under the stock hood which is from Airtec (UK) to address the problem, The Airtec unit has significantly larger internal volume than stock along with much better flow characteristics which results in an almost 40% intake charge cooling efficiency improvement - all documented in dyno testing. What type of charge cooling numbers and performance gains are you expecting to see from your system, once it's functioning correctly of course? I am no programming wizard and electronics are not my forte so those are things I avoid when possible but assuming you can get it dialed in and keep everything functioning perfectly, what were the main reasons you went this route? My car absolutely RIPS at this point with no perceptible issues related to heat saturation, engine temps, charge temps or anything else for that matter and I have no drop off in performance even after pushing hard for many miles around the back roads so I wonder what's the better path... perhaps the longer-run reliability will be the only way to know?
I am also aware of the short suspension travel which is why lots of folks go with smaller wheels and higher profile tires. You mention weight savings over stock as one reason you went with the wheels you chose. Personally, I am a fan of less sidewall deflection whenever possible if the activity is performance driving with a goal of maximum performance so I would never consider a smaller wheel diameter than 17". Building so much performance into the car's mechanicals and then installing a less performance-oriented tire/wheel setup is incongruous in my mind. I'd be interested to hear thoughts on this from you or anyone else... Even F1 is finally getting with the times and changing to 18" wheels soon
That is probably enough for now but let me conclude by saying that I really like your car and the thoughtful approach you have taken toward the vast majority of the mods you've made. I'm impressed with your build skills and your systematic process for completing the work on your car. You are good and it shows. Thanks again for doing such a great job with the documentation, it's super helpful!!!
Cheers!
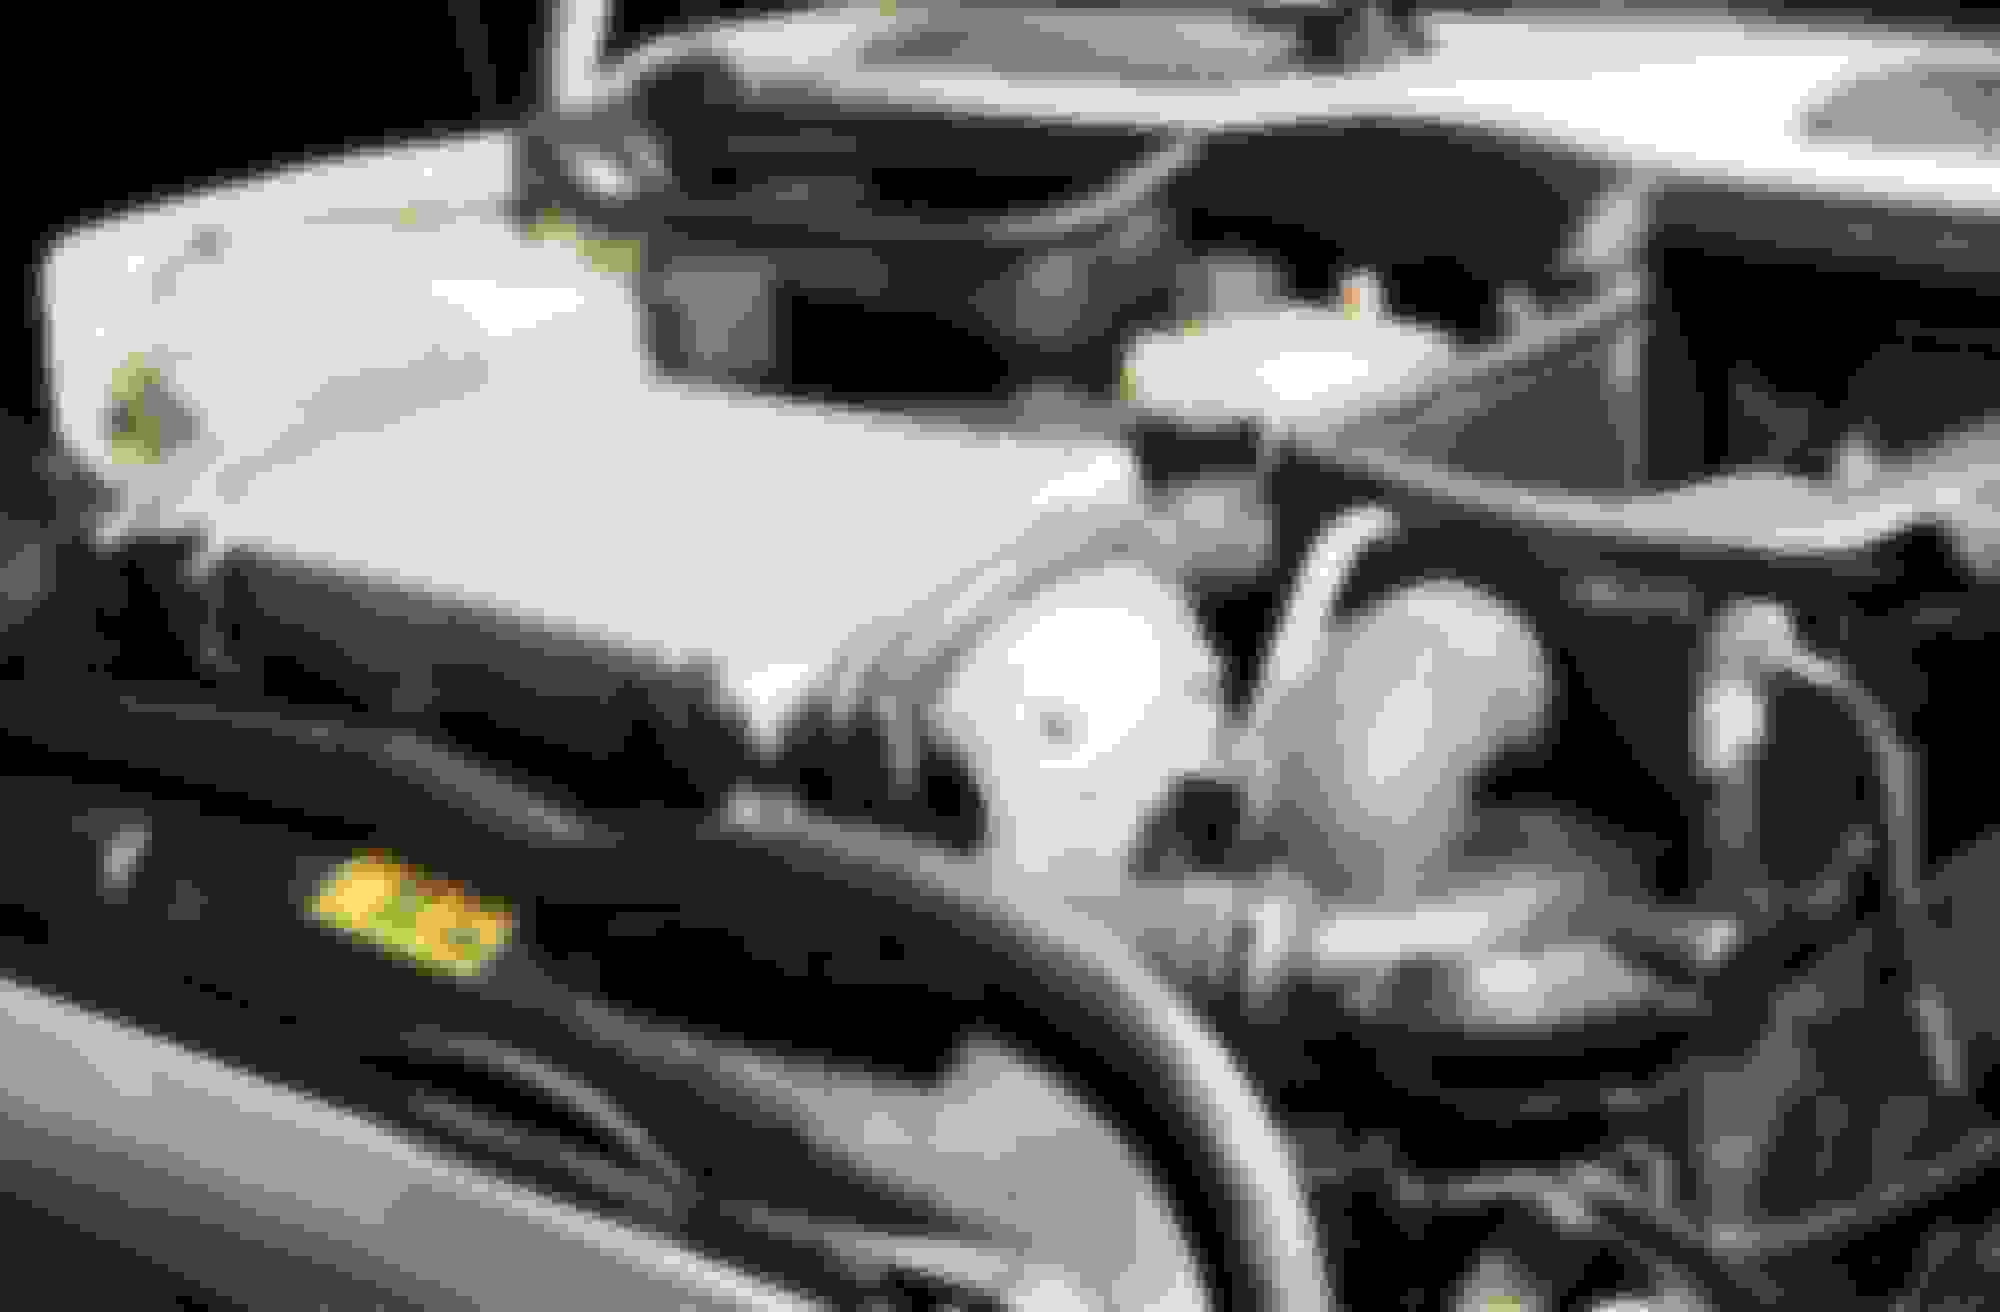
-Tom Just after getting the s/c back in and with the Airtec prominently riding up top. There is now a DDM CAI in place of the stock box pictured here New vs old, you can see the damage on the lobes of the old unit caused by dirt getting in through a giant tear in the intake hose that was duct-taped rather than being replaced JCW vs OE (the stock pulley was reinstalled backwards by mistake prior to shipping out as a core return, oops) The Sparcos when newly installed
Last edited by mainelymini; 12-07-2020 at 03:38 PM.
The biggest questions I have are in regards to your water/meth injection system. It seems like a lot of complexity and upkeep for the performance it gives with the disclaimer that I am not well versed with those systems, honestly. I was concerned with charge cooling and heat saturation issues with the 17% pulley so I found and installed the largest intercooler that fits under the stock hood which is from Airtec (UK) to address the problem, The Airtec unit has significantly larger internal volume than stock along with much better flow characteristics which results in an almost 40% intake charge cooling efficiency improvement - all documented in dyno testing. What type of charge cooling numbers and performance gains are you expecting to see from your system, once it's functioning correctly of course? I am no programming wizard and electronics are not my forte so those are things I avoid when possible but assuming you can get it dialed in and keep everything functioning perfectly, what were the main reasons you went this route? My car absolutely RIPS at this point with no perceptible issues related to heat saturation, engine temps, charge temps or anything else for that matter and I have no drop off in performance even after pushing hard for many miles around the back roads so I wonder what's the better path... perhaps the longer-run reliability will be the only way to know?
I am also aware of the short suspension travel which is why lots of folks go with smaller wheels and higher profile tires. You mention weight savings over stock as one reason you went with the wheels you chose. Personally, I am a fan of less sidewall deflection whenever possible if the activity is performance driving with a goal of maximum performance so I would never consider a smaller wheel diameter than 17". Building so much performance into the car's mechanicals and then installing a less performance-oriented tire/wheel setup is incongruous in my mind. I'd be interested to hear thoughts on this from you or anyone else... Even F1 is finally getting with the times and changing to 18" wheels soon
Wow, first of all, thanks so much for the thoughtfulness of your questions and comments. Folks like you are the reason I�m even still on these forums as I approach middle age.
Wonderful summary and build you�ve got going on there! I�d love to see it manifest as its own thread one day.
To answer your questions:
Water/Methanol:
I chose a meth system solely to combat the charge temps of my 17% pulley, and to be honest, almost every decision I made with this build was to maximize bang for buck. To the best of my knowledge, the cooling potential of methanol far outperforms the potential of any A2A IC.
I haven�t measured the deltas in my own car yet, but I�ve read accounts of the charge temps going from +270F pre-IC to 90F at the valves (with 90F ambient temps and stock IC). No performance IC is going to drop the charge ~180F in that scenario unless it�s liquid cooled or something.
The drawbacks of methanol in my mind are just as you mentioned though.. install complexity, added labor dialing in your injection mapping, and general upkeep/refills. I�m okay with the added complexity because this build was mostly meant for me to teach myself about these cars.
All that said, if your setup works then it works! You can�t beat the �set it and forget it� simplicity of a great IC, and your airtec look bada**. Ripping around the track/countryside is a the ultimate goal and who�s to say there�s a wrong way to get there.
Tire choices:
I�d agree with you if we were in fact building F1 race cars , but for my particular location, road conditions, and driving ability, wide but light 16s with an R compound tire have a performance potential that FAR exceeds my skill. I certainly wouldn�t call it a �less-performance� setup than a similar 17in. I personally wouldn�t gain anything by reducing my current sidewall flex, but I would sacrifice some quickness and suspension reaction time by adding rotational mass.
(And perhaps the most important factor of all, sometimes my wife goes for a drive in this car and I�d feel terrible subjecting her or anyone else to teeth-rattling 18s haha!)
Hope my thoughts are useful, and happy to talk more. Your car is a Beaut by the way! Kudos again on the work so far.
Last edited by Tragesaurusrex; 12-11-2020 at 07:10 AM.
One more point about tires... The MINI, with the suspension it has, it may benefit from having some amount of compliance in the tires and a too stiff of a sidewall can cause a performance decrease. Several years ago Car and Driver did a test on a VW Golf (pretty sure on the model) where they did a +1, +2, +3 on wheels and tires. They showed that there was a loss in performance with the max diameter wheel (I think was 19�). Also, the acceleration of the car was slower because of the added rotational mass. I know that the MacPherson strut suspension the MINI has goes through significant camber change through it travels and, without compliance in the tires, this can cause the tire to be less functional than a more compliant tire. With the quality and performance of the 200tw tires these days, I find little difference in the feel of the 205-50x15 as compared to the 215-45x17 tires, both of which I run on the track. However, the car accelerated noticeably faster with the lighter and smaller diameter 15� tires.
Edit - I found the Car & Driver test that was done and added a link to it. I did remember it pretty well. Hope this helps
Last edited by Eddie07S; 12-11-2020 at 01:57 PM.
Reason: clarified & added reference
One more point about tires... The MINI, with the suspension it has, it may benefit from having some amount of compliance in the tires and a too stiff of a sidewall can cause a performance decrease. Several years ago Car and Driver did a test on a VW Golf (pretty sure on the model) where they did a +1, +2, +3 on wheels and tires. They showed that there was a loss in performance with the max diameter wheel (I think was 19�). Also, the acceleration of the car was slower because of the added rotational mass. I know that the MacPherson strut suspension the MINI has goes through significant camber change through it travels and, without compliance in the tires, this can cause the tire to be less functional than a more compliant tire. With the quality and performance of the 200tw tires these days, I find little difference in the feel of the 205-50x15 as compared to the 215-45x17 tires, both of which I run on the track. However, the car accelerated noticeably faster with the lighter and smaller diameter 15� tires.
Edit - I found the Car & Driver test that was done and added a link to it. I did remember it pretty well. Hope this helps
I've noticed this with my car. I was running a 205/60-15 and it handled great in corners in terms of sheer grip. But they were too big in diameter and also slowish in steering input response. The big sidewall seemed to help smooth the ride and it rolled over bumps/absorbed impact very well. But being on an R50 it really struggled with such a large diameter. I went to a 195/50-15 on a narrower wheel and it completely changed the dynamic of the car. It has very very responsive steering now and the suspension responds much faster (the new wheels are almost 10 lbs lighter each). Potholes and jarring impacts are worse though. And it has a lot less grip in the corners for such a small change in contact patch. It plows very easy now (understeer). I was thinking the tire probably wasn't conforming to the road quite as well with the much shorter and stiffer sidewall. I will say though that it has gotten much colder since I put these wheels on so it may be the road/tires are just colder and not holding as well. I think I may try a 205/50-15 or a 195/55-15 next time I need tires. See if it makes any noticable difference.

 10-28-2020, 10:18 AM


 . Just having fun.


 I was picturing the x6 self tapping screws that fasten the rear arm bushing bracket to the floor of the car. Are you referring to the x2 screws that secure the bottom of the shock body to the trailing arm?
 )
)
 Thankfully, it's a project car that I can leave in various states of disassembly in the garage in order to wait for parts to arrive (like, when I break off bolts unexpectedly and need to order replacements!) or if it gets too late to finish a job in a day. That said, here's what's been installed so far:


 , but for my particular location, road conditions, and driving ability, wide but light 16s with an R compound tire have a performance potential that FAR exceeds my skill. I certainly wouldn�t call it a �less-performance� setup than a similar 17in. I personally wouldn�t gain anything by reducing my current sidewall flex, but I would sacrifice some quickness and suspension reaction time by adding rotational mass.