When you click on links to various merchants on this site and make a purchase, this can result in this site earning a commission. Affiliate programs and affiliations include, but are not limited to, the eBay Partner Network.
Hey everyone,
Spinning up a build thread to track progress on my "new" 06 R53.
Quick backstory.. I always loved Minis when I was a kid, and finally bought my first MINI in 2009 ('04 R53 IB/W). I fell in love with driving over the next 4 years. Not just driving my MINI, but driving at all. I had never before owned a car that I wanted to drive just for the heck of it, and I often went driving through horse country (rural Pennsylvania) as a way to enjoy time alone.. but oof. That car had chronic issues like you wouldn't believe. I dealt with electrical ghosts, and high dollar repairs for a few years, but I didn't yet have the DIY skills or physical space to be my own mechanic so I made the hard decision to sell the 04 in favor of a new car for reliability. Man, did I miss driving that car though.
Fast forward to Fall of 2019, I was finally at a place in life where a 3rd/weekend car wouldn't break the bank, plus now I had the room, the time, and the general handiness for a new project. After several months of looking, I found an R53 that ticked all the boxes in my checklist � bone stock, one owner, under 100k, no wrecks, no (or minimal) body or interior damage � so I brought her home in Jan. 2020. Now, I thought hard about what I wanted this car to be.. Could i keep it stock as a testament to MINI purists, and just restore things until it's bulletproof? Perhaps performance mods only, to preserve the styling of the original? What about going further into weekend track warrior territory? And boy some of these full on race car build I've followed look pretty neat...
I eventually realized that setting up some kind of rigid vision for my new MINI was counter-productive to the reason I bought her.. A fun way to improve my mechanical skills, and a worry-free drive whenever I feel like, and so my vision for this car is as follows:
I plan on having her forever (My wife named her Madeline already)
I'll do everything myself because learning (and buying tools) is half the fun. (With the exceptions of alignments or tire mounting i suppose.. Not much fun in those.)
I'll be as patient as I can and do things the right way the first time. I'm (mostly) over the childish need for instant gratification at this point.
I don't want to go so far with modification that driving on crappy NJ back roads is anxiety provoking, nor so far that I have to spout disclaimers before handing over the keys to anyone.
I'm committed to and very much looking forward to tackling my first ever track day (just for fun) in this car.
I'll do the work (and show the restraint) to keep it every bit as reliable as the day it rolled off the factor floor.
Enjoy the ride (literally and metaphorically)
So that brings me to today, where I'm at point of needing a ledger of the work I've done and what I'm contemplating in the future. Let this serve as my comprehensive mental list of things to check, service, replace preemptively, etc. should I ever take on this journey again!
I welcome all thoughts, suggestions and feedback from the community that I've learned so much from already.
Much Love,
Trag
Then
& Now
Restoration & Maintenance
Fluids & filters:
✅Mobile1 engine oil and filter
✅Redline MTL gear oil
✅TYP 200 Racing break fluid
✅Power steering fluid
✅Fuel filter & gaskets
✅Cabin air filter
✅MINI brand OEM coolant
Mechanical:
✅CSPS o-ring
✅CPS o-ring
✅MAP sensor o-ring
✅Oil pan gasket
✅Valve cover gasket
✅Valve cover bolts (all) $$$ :(
✅Spark coil gaskets
✅Power steering pump
✅Power steering reservoir
✅Power steering hose clamps
✅Power steering fan assembly
✅Coolant expansion tank
✅Subframe restoration & undercoating
✅Front control arms (the arms themselves.. mine were rusting through)
✅Front control arm bushings
✅Front outer ball joints
✅Front inner ball joints
✅Front end links
✅Driver & passenger CV axels
✅Inner tie rods (R&L)
✅Outer tie rods (R&L)
✅Upper engine mount
✅Lower engine mount
✅Wheel bearings (all)
✅Rear rotors (standard size)
✅Ceramic brake pads (OEM rear)
✅OEM Dipstick
✅WMW spark plug wires
✅Water pump housing & gaskets
✅Supercharger service & gaskets
✅Starter Motor (brand new)
✅Ignition switch (DIY reconditioned)
✅Belt tensioner assembly
✅Idler pulley
✅Timing chain tensioner
✅Radiator
✅Radiator fan assembly
✅VGS mod
✅Invidia N1 cat back exhaust
✅Alta CAI (because.. loud. And also I'm a child)
✅Alta silicone intake duct
✅ATI Super Damper (WMW)
✅Craven 17% pulley
✅Gates serpentine belt 535
✅NGK BKR7EIX spark plugs (-1 heat)
✅Bosch 380cc injectors (Audi OEM)
✅Snow Performance stage 2 Water-Methanol injection system
✅2.5gal trunk mount methanol reservoir
✅Custom WMI pilot lights by Automotive Billet Solutions
✅Custom tuned by Adrian (MPPS v18 software)
Suspension
✅BC BR series coilovers w/ Swift spring upgrade - 7k front / 5k rear spring rates
✅Shortened end links (front)
✅Whiteline 20mm rear sway bar
✅Schroth Quick Fit harness (for track day)
✅5000k Xenon bulbs (factory Xenon lamps)
✅Hella SharpTone horns (replaced OEM.. beep beep!)
✅Magnetic engine oil drain plug (will do next oil change)
I have the parts, just need the time:
⬜️Aluminum thermostat housing (OEM thermostat temp range)
❌Mishimoto silicone coolant hose kit Update: I decided not to install these and get OEM after reading more about permeability of silicone.)
Style
✅JCW-style honeycomb upper & lower grill
✅Smoked front & rear side markers (the OEM always seemed to ruin the fender lines IMO)
✅Craven stubby jr. antenna (RIP RC car)
✅Led lighting (Every dang bulb, plus resistors for the side scuttle Indicator bulbs to solve hyper flashing.)
✅DIY dual gauge pod bracket
✅Suede shift boot (black w/ black stitching)
✅Suede handbrake boot (black w/ black stitching)
Comfort
✅Bluetooth / usb inputs (HK factory setup)
✅Handsfree microphone (mounted in OEM headliner location)
✅Ian Cull auto up v6 (So stoked I found one)
Wishlist
Replacement OEM pedal covers
Helix short shift adapter? (Undecided)
Last edited by Tragesaurusrex; 12-06-2020 at 09:14 PM.
Reason: Updating completed work / Adding to wishlist
Bone stock and ready to rock. She looked really good for her age, and I was willing to wait as long as it took to find a car that the previous owner pampered.
Very clean and well kept interior
I had actually only seen these leather seats in saddle brown in a Sidewalk edition before. I didn�t know they came in black, but a very welcome upgrade. Heated and in great condition.
The exterior was in decent shape. You could tell it was garage kept by the state of the clear coat, and also had a leather bra on the front for most of its life. I actually wish it hadn�t had a bra, ironically enough, because over the years moisture collected in the bottom and caused a bit of paint bubbling on the bottom rim of the bonnet under the headlights. Oh well, for the price I paid, it�s easily overlooked.
Perhaps I�ll get a body shop to really restore the paint in a few years. For now, cutting and polishing at home will do just fine.
I was pleasantly surprised by the clarity of the H/K stereo, especially for being 14 year old technology. The �MINI h/k� EQ setting however is really terrible imo.
The amount of curb rash on the rims kind of hurt me to look at. I suppose I can call it �weight reduction�
Lastly, the exhaust sounded like it either had a small leak in one of the resonators. Being a northeast car it�s whole life, I knew 14 salty winters aren�t kind to exhausts up here. I brought my Rhino ramps when I went to test drive it and spent a while under the front. The usual suspects looked their age, but nothing was outright broken. Surface rust on most of the steel components but no structural concerns after poking around with a flathead. (More on this to come later.
The rotors were warped, but the owner decided to deduct the cost of new rotors and a new battery.
With how well the car was cared for, I decided to pull the trigger and bring her home.
Last edited by Tragesaurusrex; 05-19-2020 at 10:02 PM.
I made a conscious effort to place all my pent up enthusiasm and desire to �start doing stuff� into the cheap, quick, easy tasks. My hope was to satisfy that craving for instant gratification without over committing to anything too niche or pricy.
A crawl walk run approach for sure, but crawling as fast as possible. Haha.
It sort of worked. On one hand, it kept my wallet from bursting into flames, but on the other, it built a momentum that would be hard to tame.
Safe to say I think these covers were gone for a while.. but nothing a little wire brushing couldn�t clean up.
New led assemblies.. �so I never have to worry about these again.� (Which became the unofficial motto of this build)
I looked for anything I could replace to nip progressive damage in the bud. Prime example here under the license plate bracket.
Bonnet an hatch were tired and heavy to lift
New struts.. now you gotta watch your chin opening the hatch! It�s swinging like Tyson.
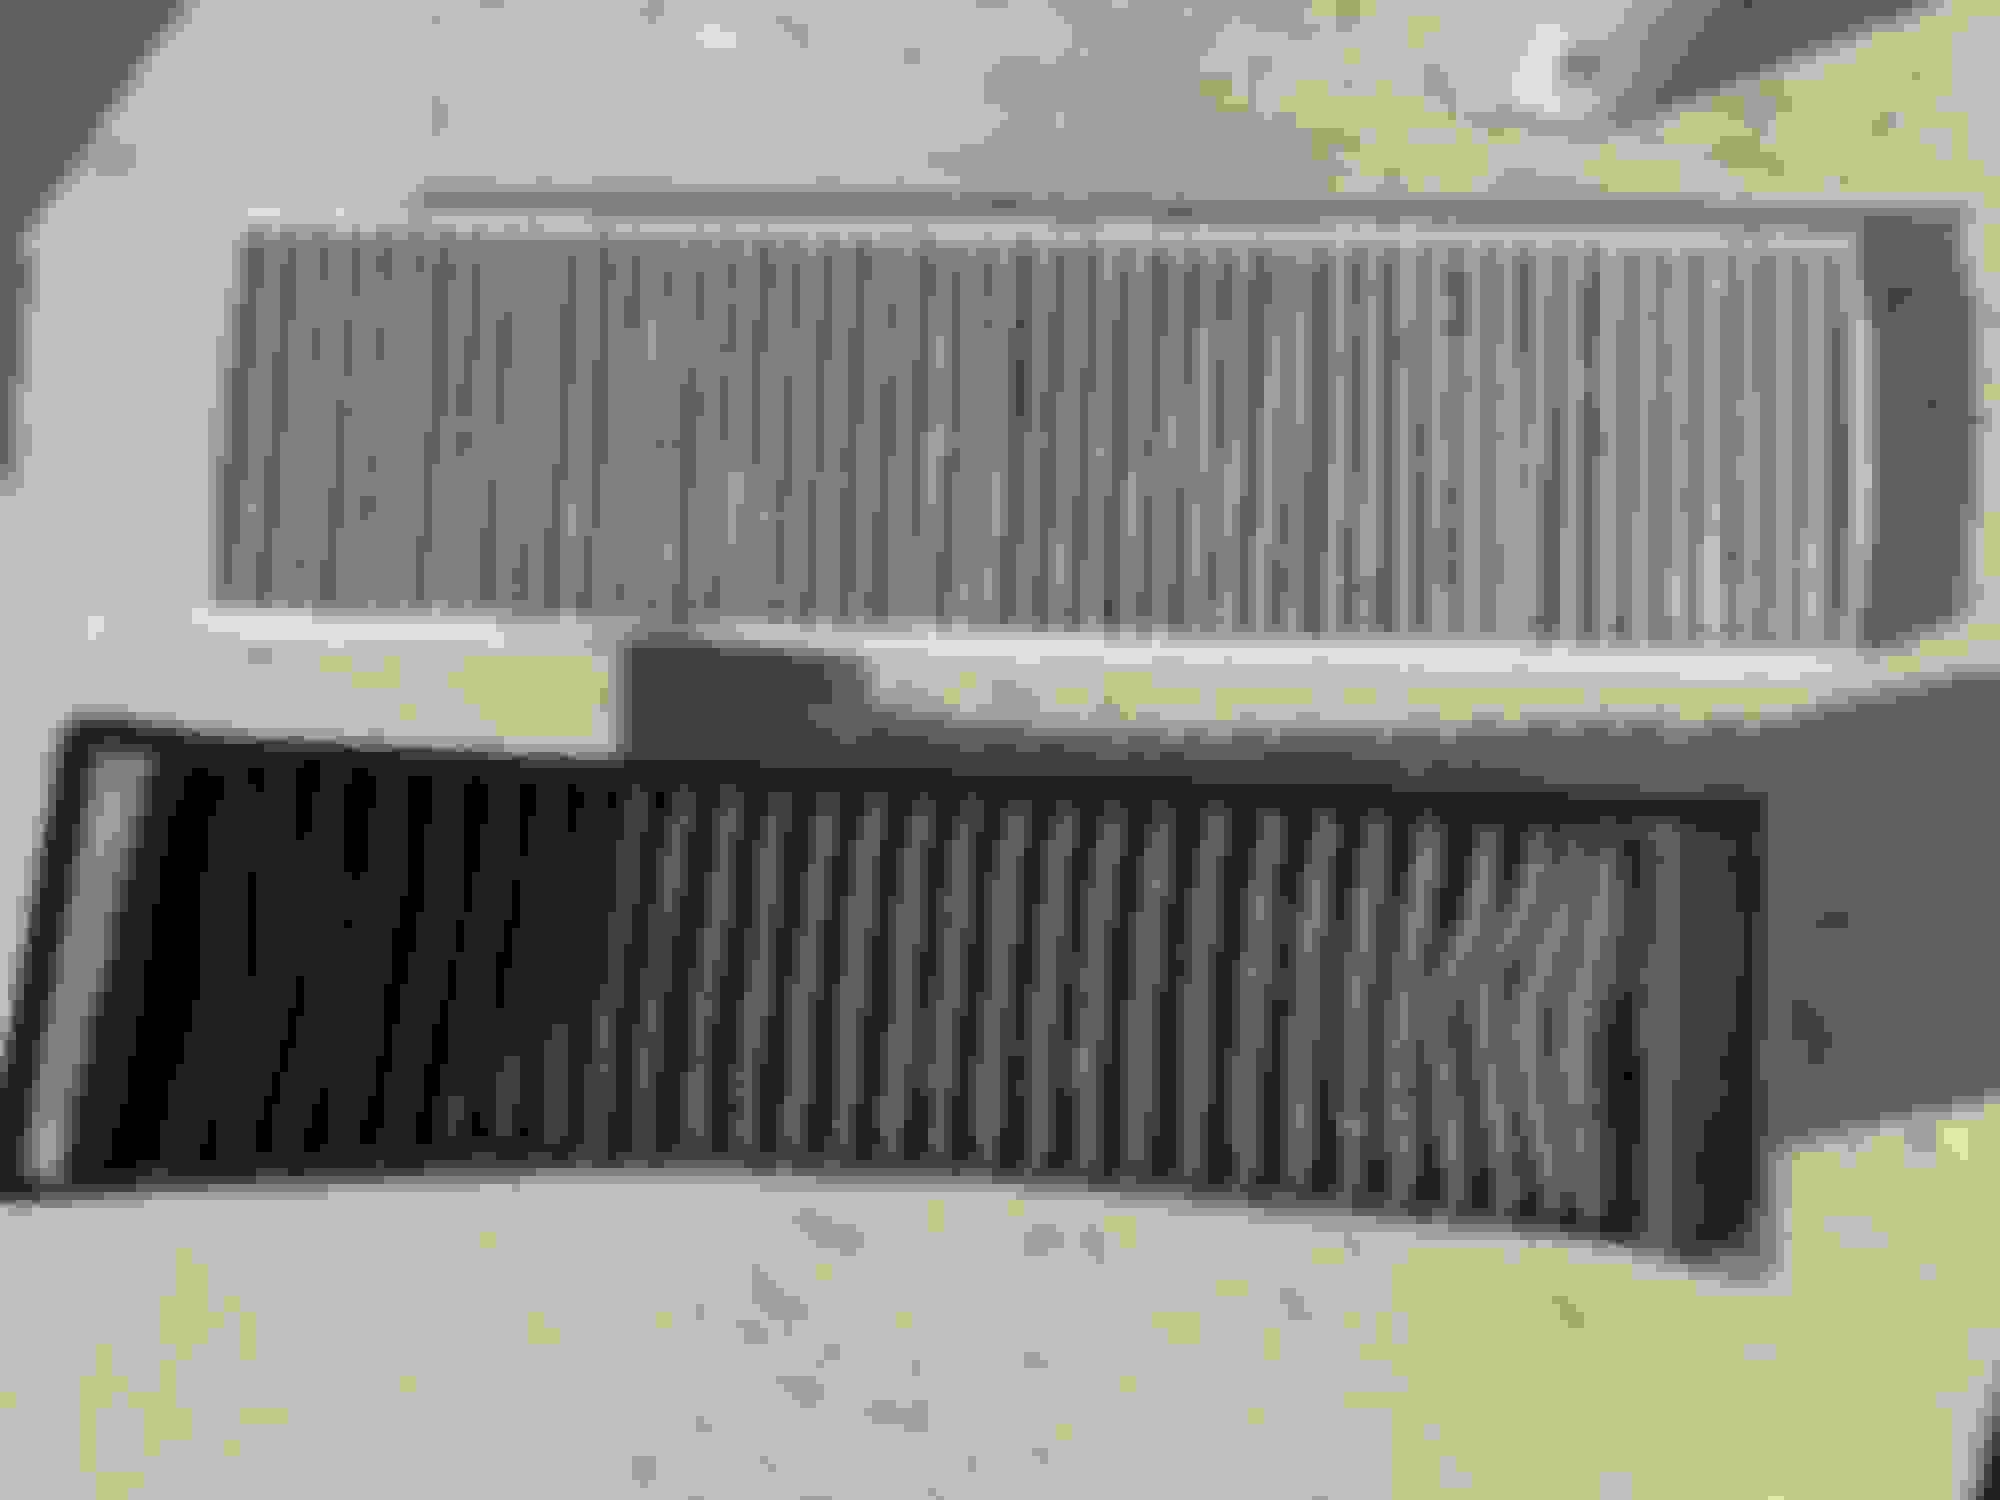
I can breathe! I wouldn�t be surprised if this was the original cabin air filter. It nearly crumbled in my hands. This photo is so satisfying.
Still in the cheap and easy phase, the front and rear light covers were pretty oxidized. I knew I was going to restore the paint later, so i picked up the Chemical guys value pack to kill two birds. I get the light cutting and polishing for my paint, plus the heavy cutting to effectively wet sand the lens oxidation.
Be sure to stretch first.. your forearms will thank you tomorrow.
Yep. Looks like 14 years.
All finished. Forgot to take a pic of the tails. Oh well.
Onto the 3rd break light. Until recently I didn�t know one of the main culprits of the infamous wet battery box on Gen I cars was a leaky 3rd brake light housing. I can�t remember where I read that, but went out to check mine right after, and what do you know. The red lens had separated from the black housing about half way around the whole thing.
I noticed a bit of dampness under the boot floor when I took out the tail light assemblies for restoration. Glad I now knew where to look to prevent it from worsening.
Separation at the seam here means water runs into the housing, down out of the bottom of the housing into the inner cavity of the hatch, and empties into the boot area behind the plastic interior paneling. = Wet battery box.
Opted for the smoked replacement to match the black roof.
Where is it?!
BONUS: Not light related, but I did it at the same time. The rubber blade on the rear wiper was completely gone, and I assume it hadn�t been changed because the arm was seized onto the wiper motor shaft.
A quick way to remove a seized rear wiper arm is to flip the locking nut around for more surface area, and use channel lock pliers to pop it off without stressing the motor or shaft.
Last edited by Tragesaurusrex; 05-19-2020 at 10:01 PM.
I�ll spare you the details on the other quick wins and little things in my list above, but feel free to ask.
I knew before I brought it home that I�d have to deal with the consequences of buying a NE car, mainly in the form of rust. In this part of the country and after this many years, it�s really very hard to find an R53 that�s been recently transplanted from a more forgiving climate. Many of the MINIs I looked at were worse for wear in this aspect, at least within my budget. I found the premium for a truly rust free version in these parts to be at least two thousand. So I made up my mind to roll the dice and place confidence in my own ability to solve serious rust issues on the car I buy for less than that. Obviously I�d still be smart about the frequent offenders - I checked under the door weather stripping, tail light sheet metal, subframe joints, etc. - and all were decent to excellent.
The suspension and exhaust on the other hand had a fairly even coating of surface rust which was to be expected. So once I owned it, my strategy was to seek out the worst rust first, assess replacements, and work backwards.
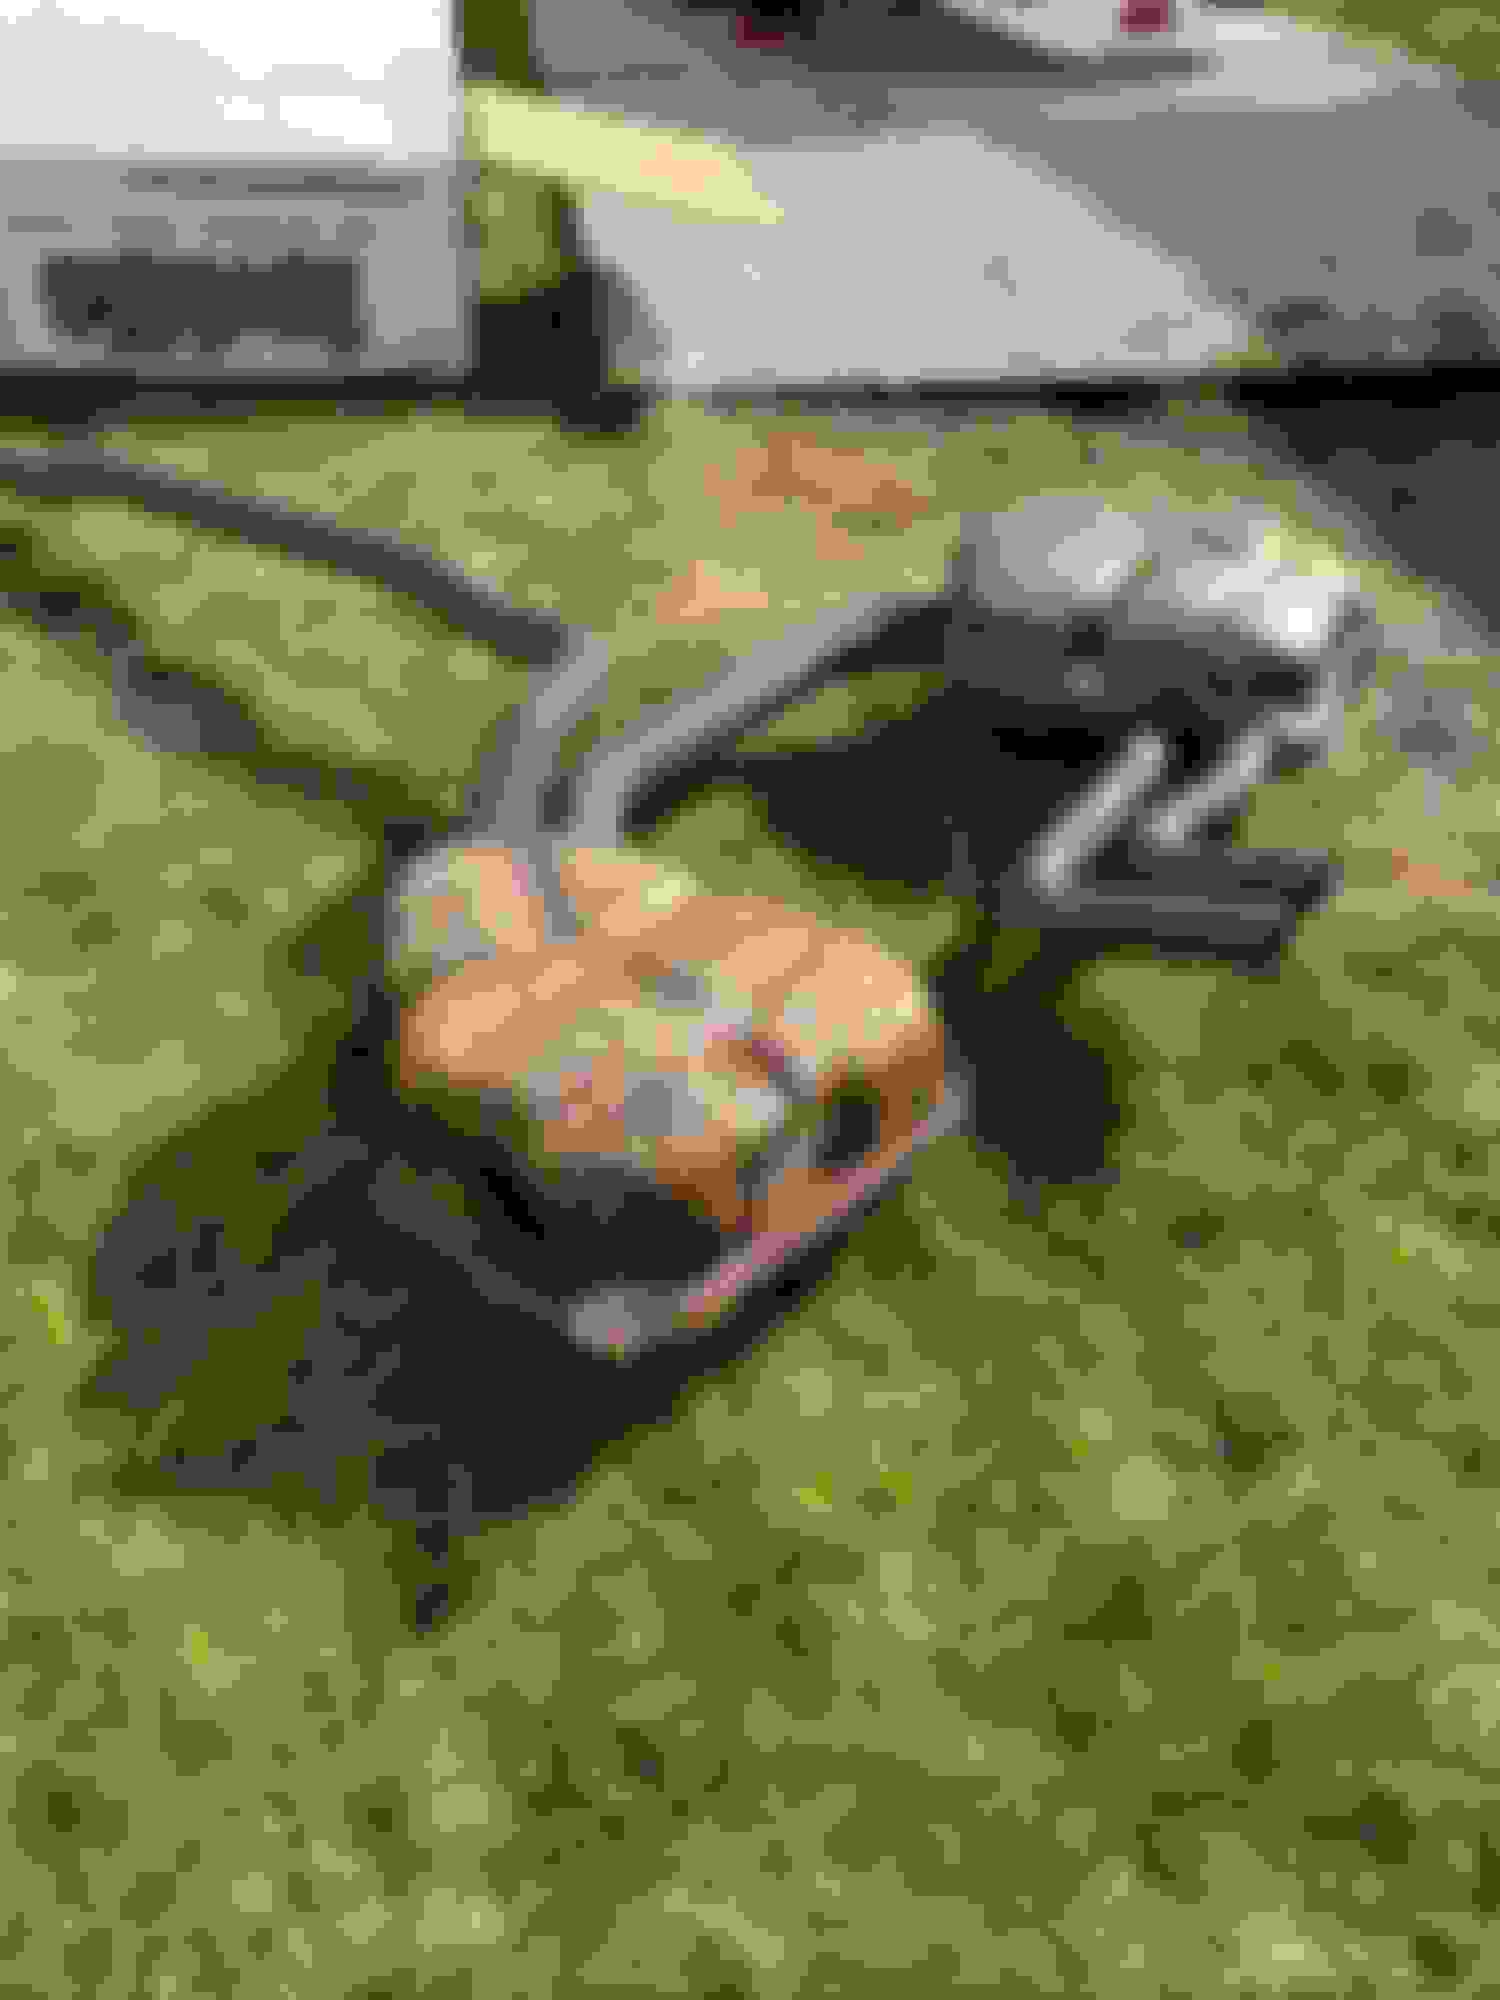
The most severe rust by far was the upper side of the exhaust. It was really leaky, with most of the gassed exiting the driver side canister. I don�t know how it stayed so quiet to be honest.
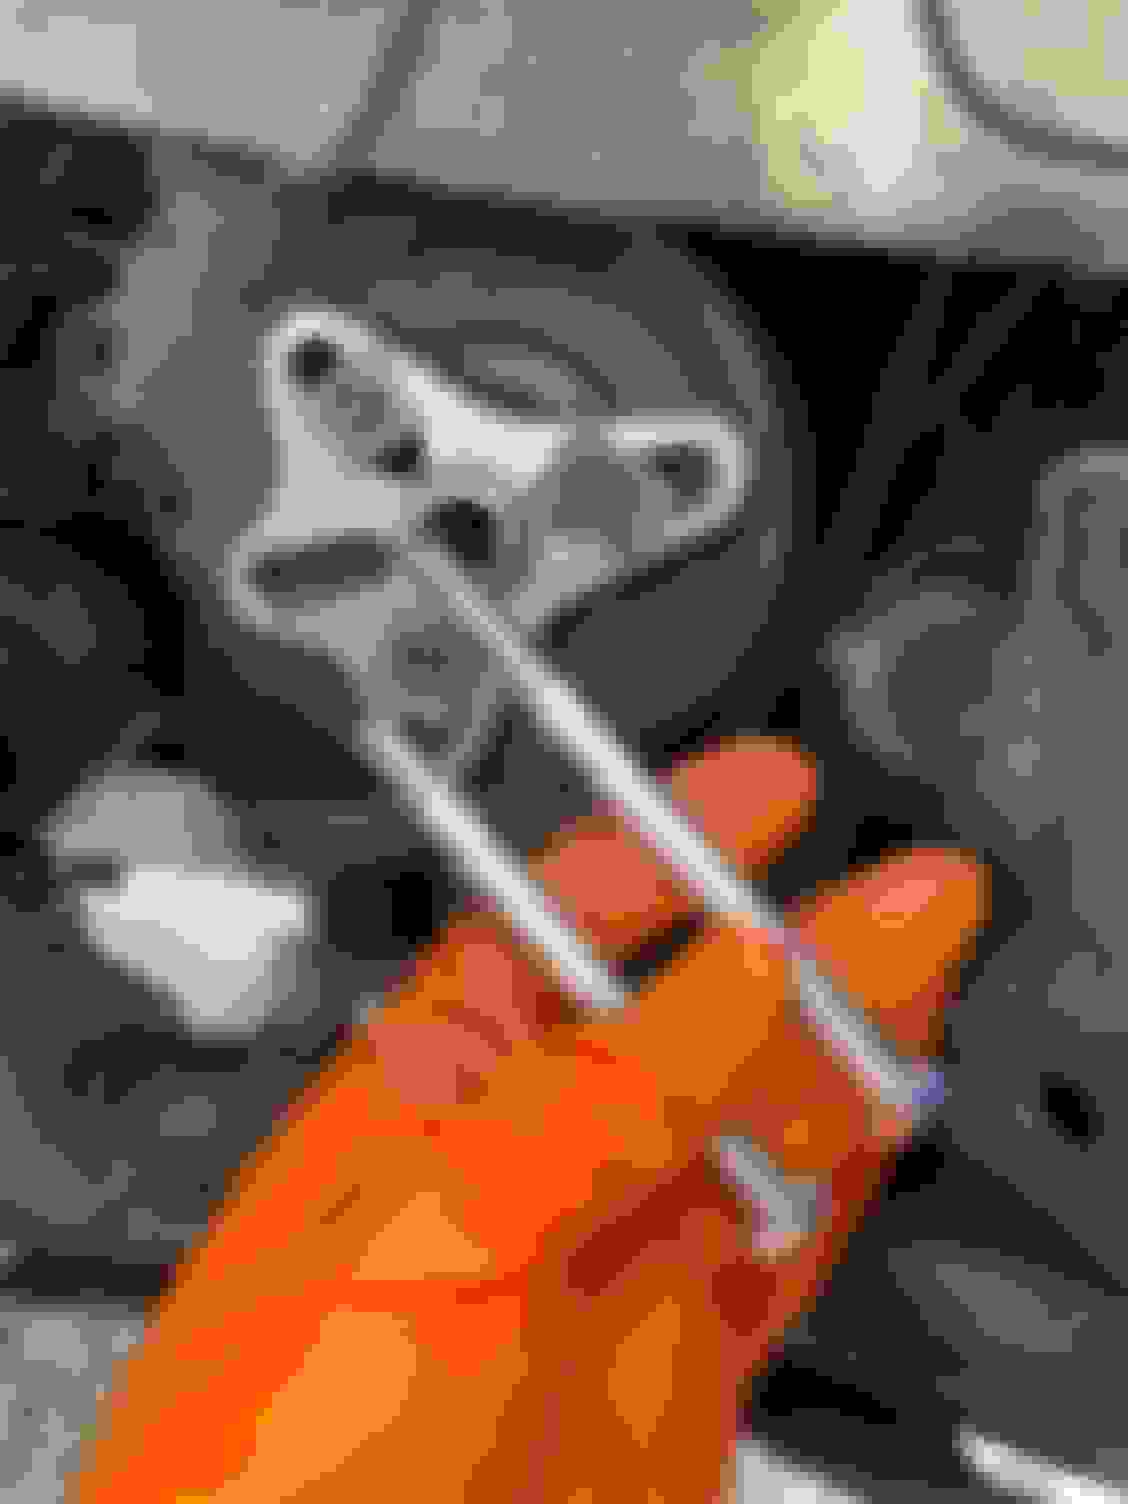
First step, drop the exhaust to assess the repair. I was immediately met with a challenge. Barely recognizable bolts at the cat flange. Now, sure I could just cut them off but where�s the honor in that??
Wire-wheeled and cut my own hex sides for a socket.
An hour later with a MAPP torch and a ginger trigger finger on my impact driver... Victory!
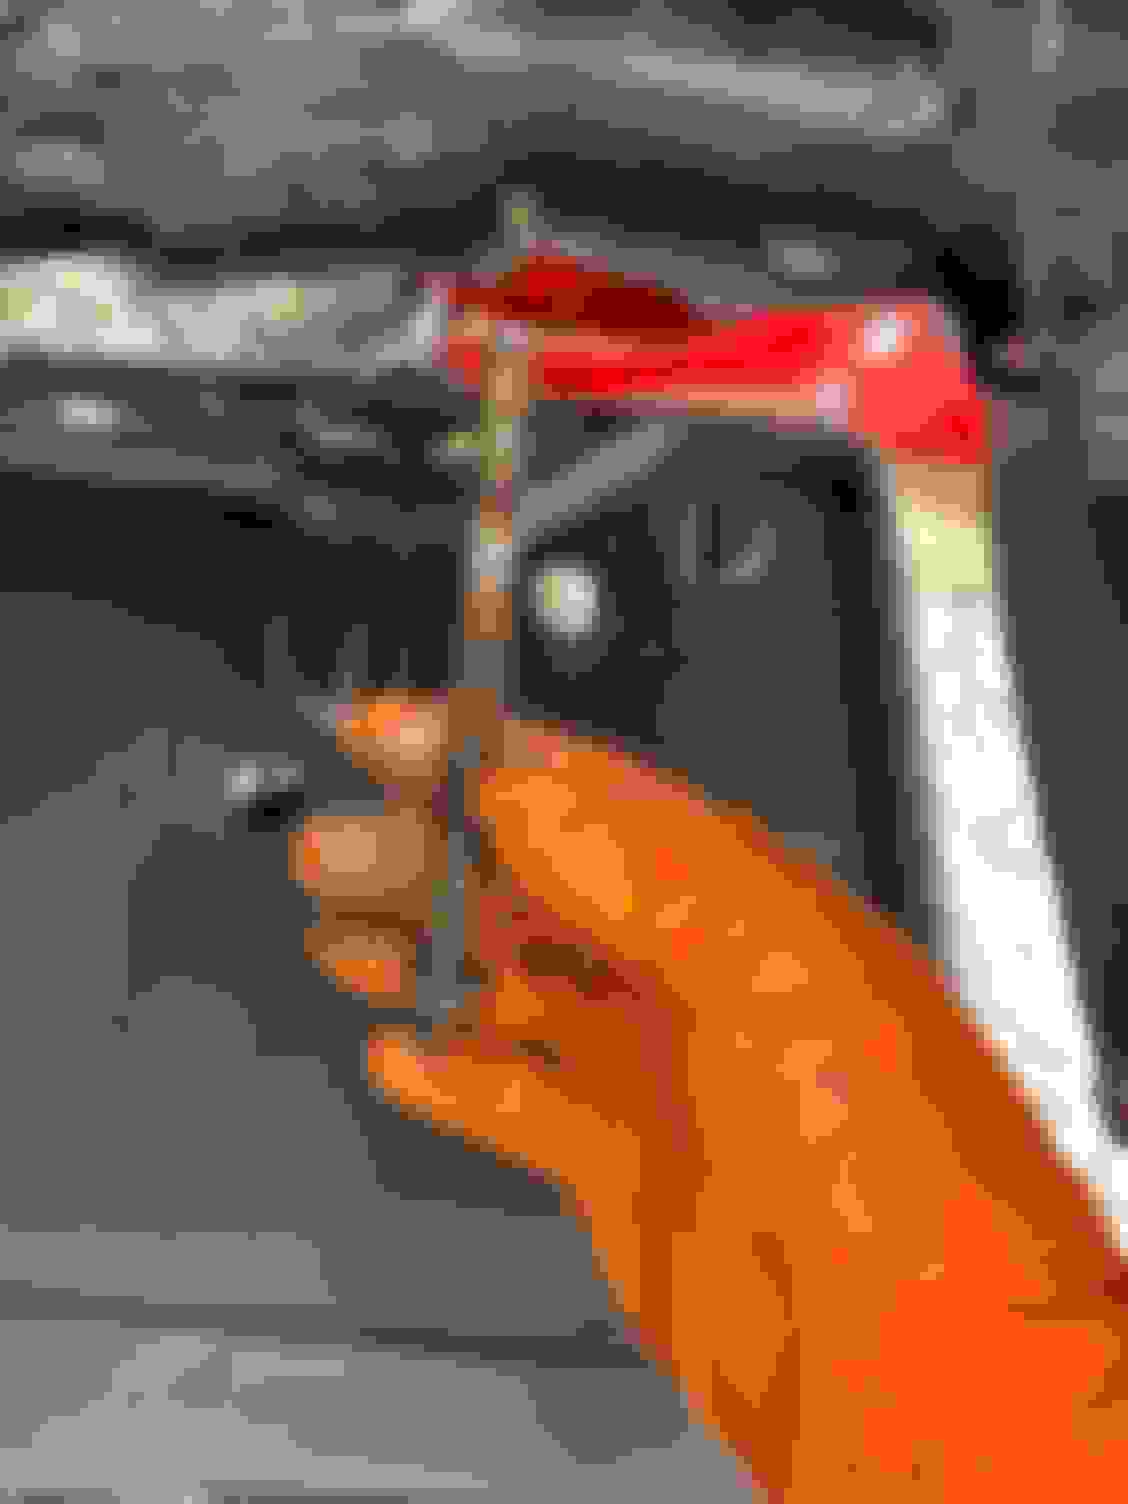
Yeah.. I should have just cut the dang thing off. Haha. The driver canister was actually crumbling in my hands when I was dropping it to the ground. Judging by the state of the piping as well, the best path forward was a new cat back system.
First big box to arrive. A JCW system was actually my first choice but was more than I wanted to spend. The Invidia N1 system with a resonated mid pipe sounded like the mildest of my options in research. It�s also obviously well revered on the forums.
Never done an exhaust job before but man this wasn�t bad! The fitment was near perfect. I did have to heat and hammer the little support tabs near the tips. Maybe they got bent in shipping, or just came from the factory weird, but without adjusting them the passenger side tip stuck out about 1/2� and was off by 2 degrees or so. Who knows.. after double checking all my mounts, it was nothing a hammer couldn�t fix. So shiny!
Last edited by Tragesaurusrex; 07-05-2020 at 08:18 PM.
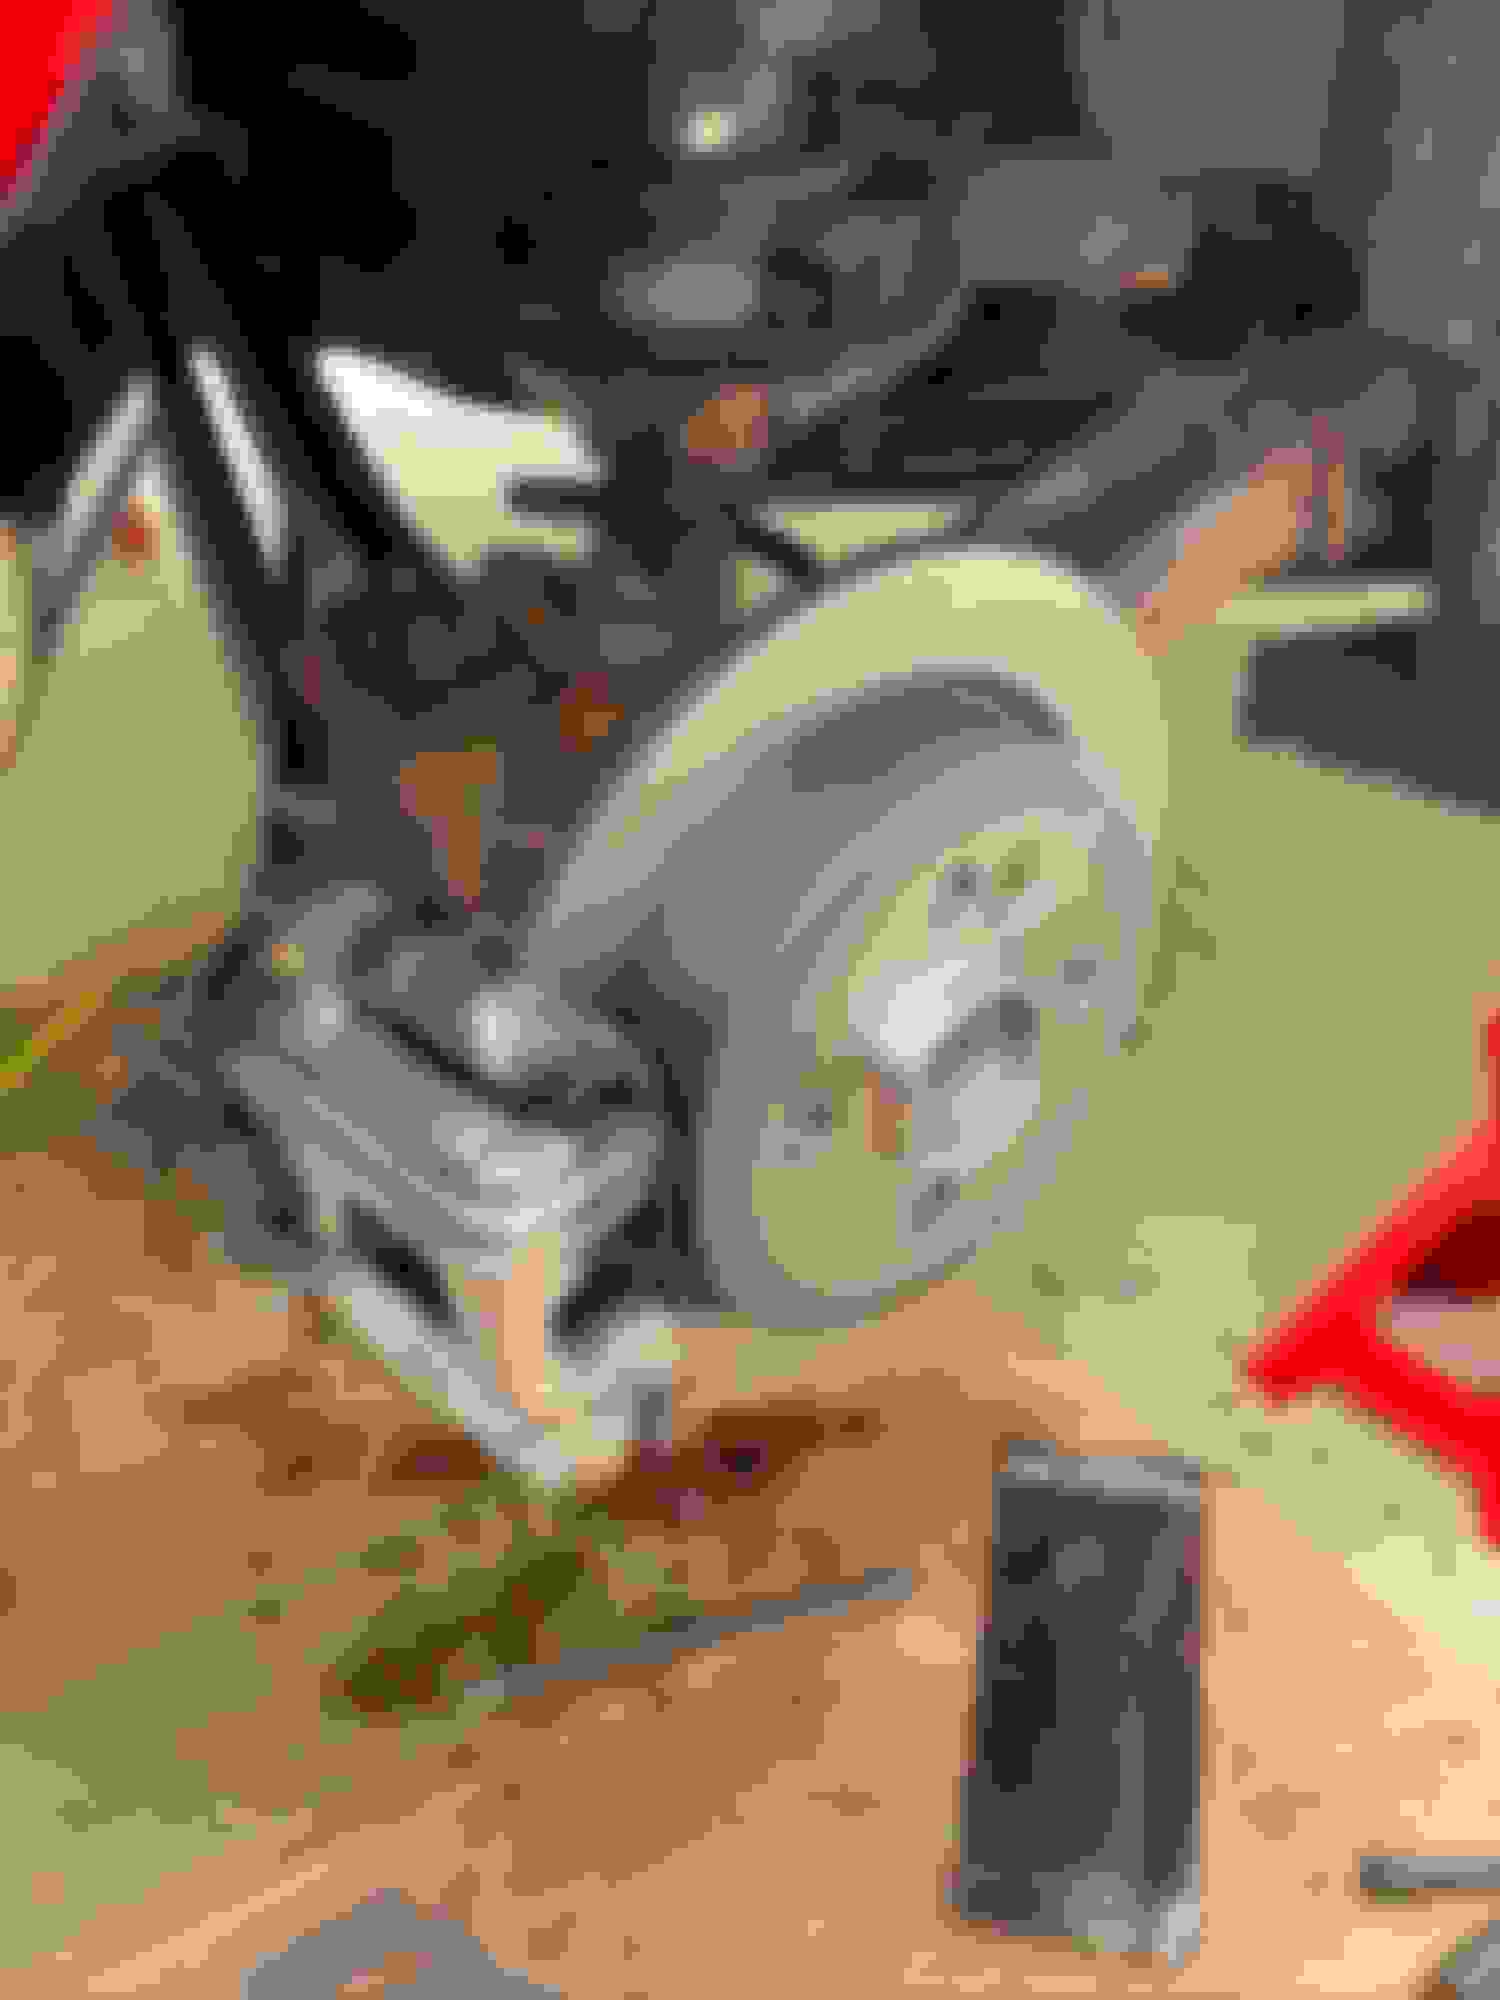
Continued... Next up was to tackle a bum left rear wheel bearing and replace the worn rotors. Of course things escalated to all new hubs and brakes, but it really was the right thing to do.
Niiiiice and seized up. Took a bit to break these bolts loose, but got them all out and wire brushed enough to reuse them all.
Wire wheeled about a pound of crunchy bits off the trailing arms and dressed the hub mating surfaces with anti seize.
Buttoned up with reconditioned fasteners, stainless lines, new hubs, rotors and pads.
The front hubs were in much better condition, likely much newer but got replaced anyway.
�Wimpy wimpy wimpy, HEFTY HEFTY HEFTY� I went for the R56 Brake Upgrade and stainless lines. All told, this kit was very affordable. Just under 500 for the lot, including some mid range ceramic pads (nothing super fancy). The stopping power is fantastic now, and I�m so glad I chose to do the whole system over just the rotors.
New hubs and brake kit installed. This was my first time using speed bleeder valves, and I gotta tell you I may never go back to a power bleeder.
All corners finished up and bled.. I wonder, if getting new wheels/tires is called getting �new shoes,� then does this count as a new pair of socks?
Note: the fisheye distortion in this pic makes car seem tilted nose down on the jack stands. It�s level in reality. Just didn�t want y�all to worry!
����
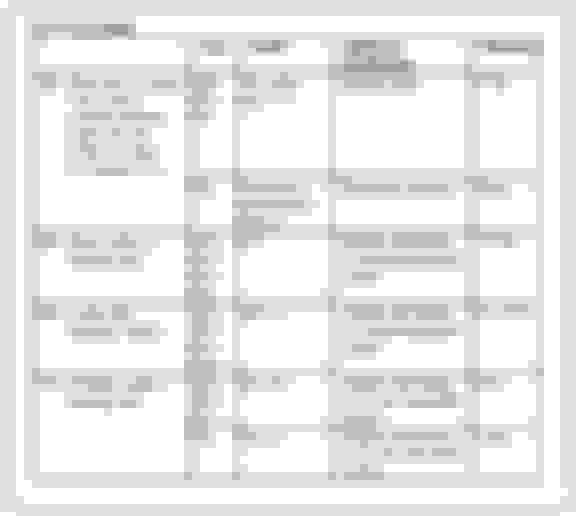
EDIT: Forgot to add these very helpful assembly specs for an R56 brake kit conversion!
Last edited by Tragesaurusrex; 07-05-2020 at 08:19 PM.
Soon after I bought her, I spent a night researching which and how many seals, gaskets, and o-rings are problem children on Gen I cars. Answer? All of them.
I mean I guess that�s the case for any car nearing 100k, but it seemed like every new gasket I searched was like �oh yeah that�s a common failure�
Well fine then, let�s head to realOEM! Here�s the list of part numbers for the �common failures� I tackled on my car. This list was gathered for 05-06 R53s. (Possibly 02-04 as well, but I didn�t vet those years):
12147514983 - csps seal (major leak in my case) 07131487232 - csps hex bolt (just in case) 13627515272 - maf seal (preventative) 12147514984 - cps seal (preventative) 11517509186 - WP flange seal (2)
11131487221 - Oil pan gasket (moderate seeping) 11121485838 - Valve cover gasket (Moderate seeping)
11127513066 - spark coil seal (4) (less common leak)(minor seeping)
..and if doing a supercharger service, these are the two SC gaskets you probably don�t want to reuse:
i didn�t take as many photos as I�d have liked to, kinda just got into doing the work and didn�t stop until it was done. But I have a few..
Again, thanks to salty winters, almost all of my valve cover bolts were corroded enough to warrant going down a socket size to remove them. No way was I going to reuse any, but dang I didn�t expect a new full set of bolts to set me back over 100 bucks! Ouch.
New gaskets in. I used a large socket (24mm?) to press in the four new spark coil seals. Easy peasy.
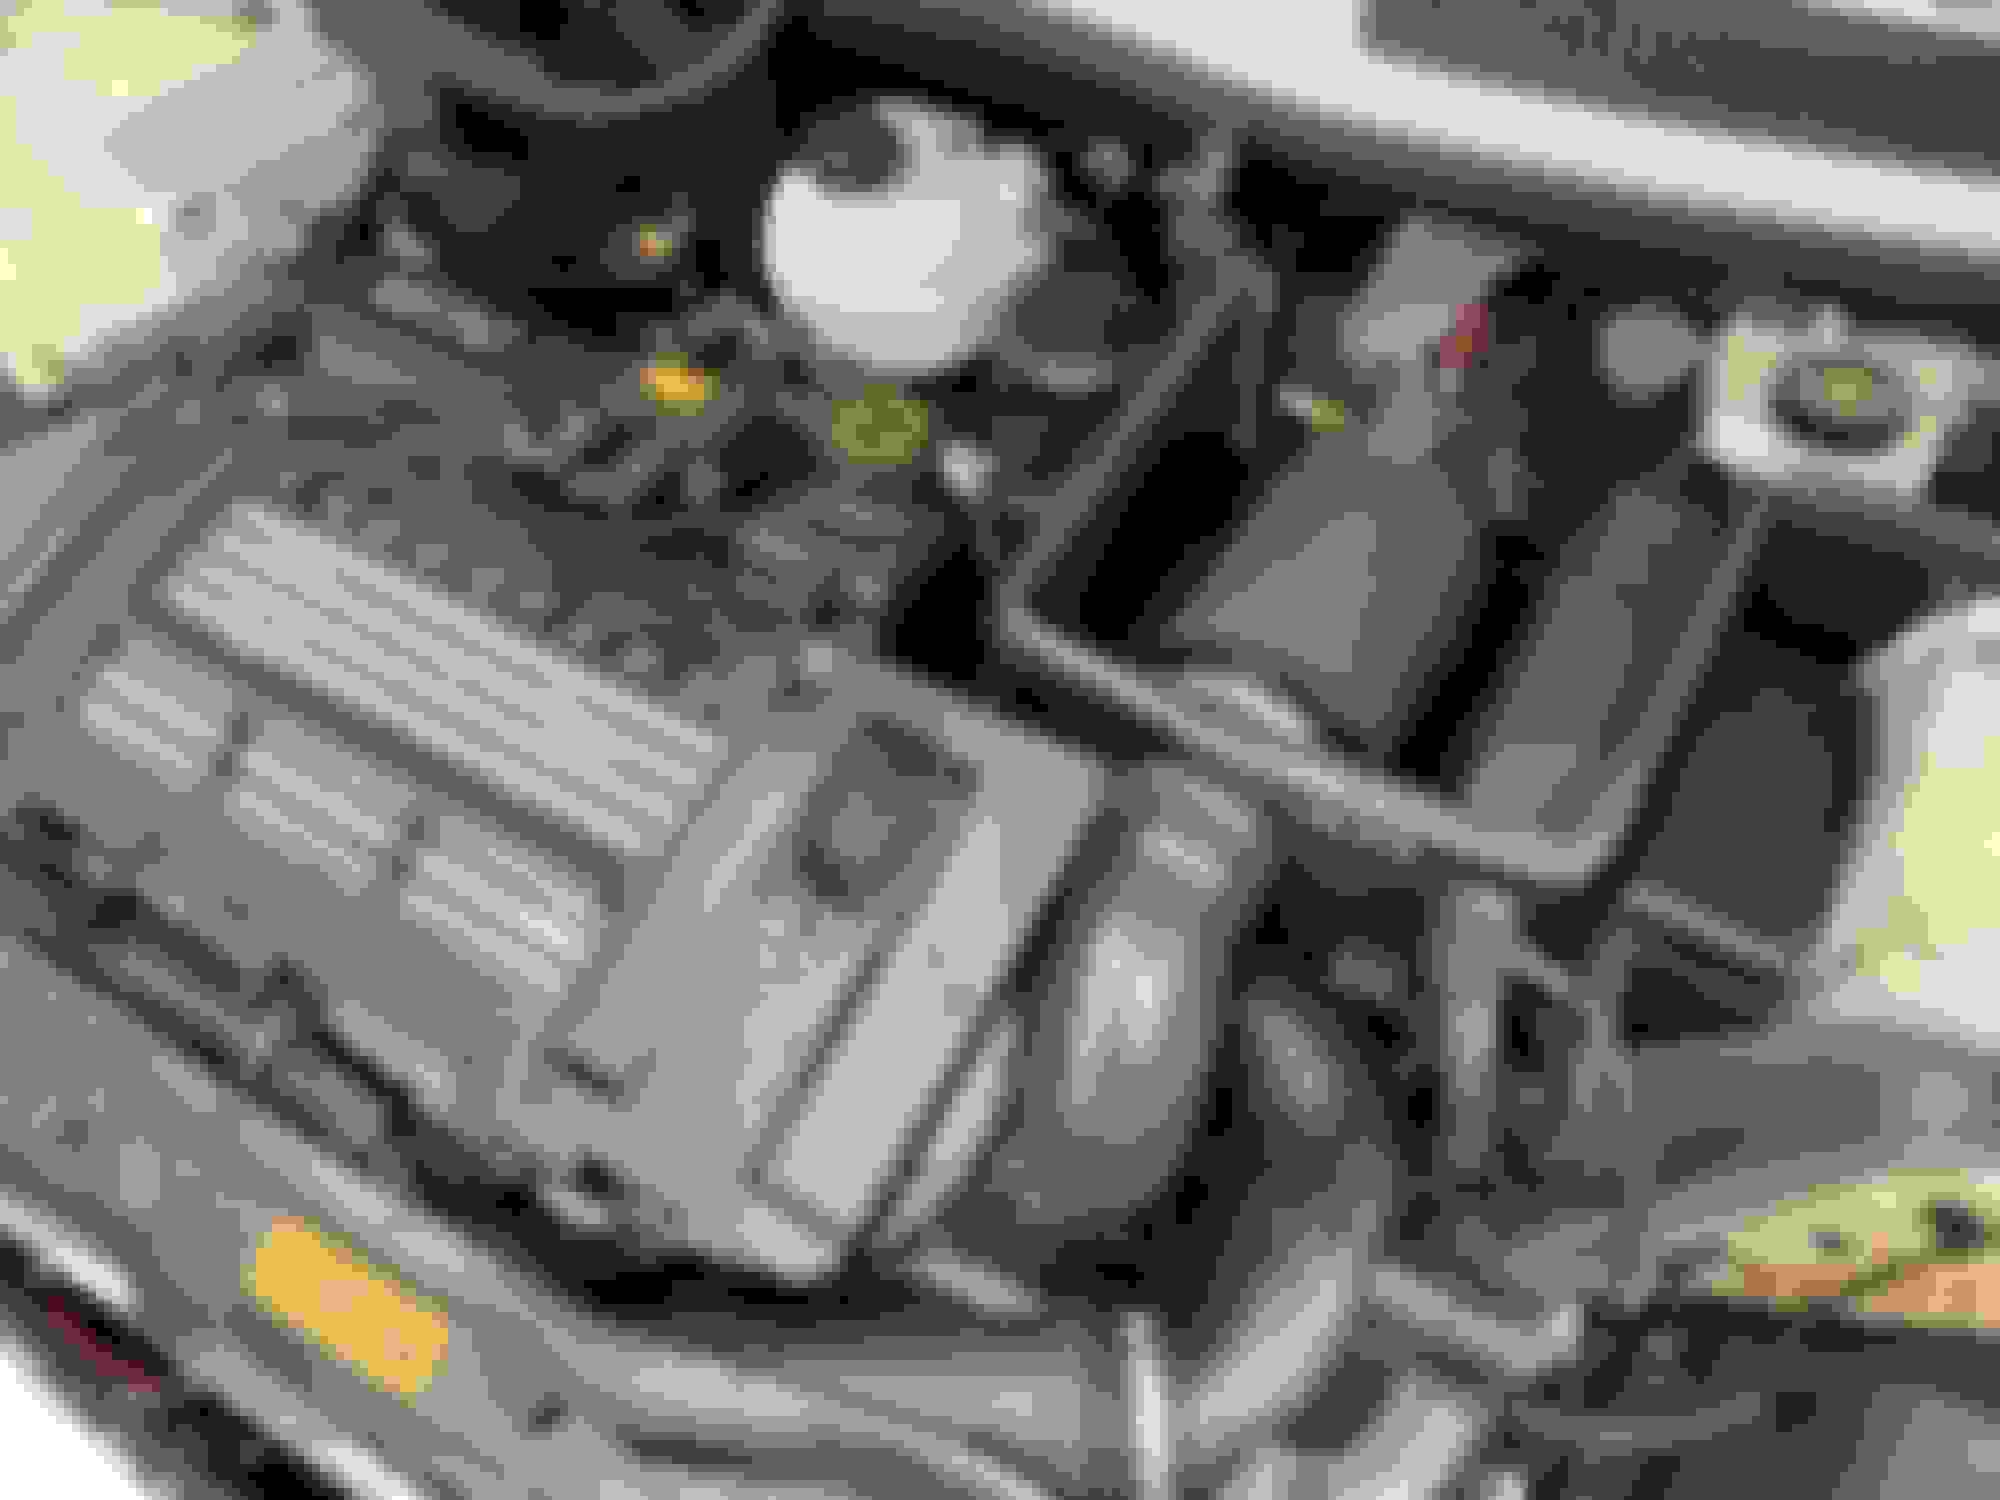
All degreased, shined up, and ready to go back in. (Also pictured, a new coolant reservoir)
One sad bit to notice here, I broke the PCV valve in the process of removing the valve cover bolts, even after telling myself �be careful with that, it�s super brittle.� Lesson learned.. I hope.
I had a new one a few days later and installed while doing the VGS mod, so all is good now.
Last edited by Tragesaurusrex; 05-20-2020 at 03:53 PM.
Interested in you impressions of the Invidia. I'm torn between it and the Milltek. Mainly concerned about drone at highway speeds. I know the Milltek is the safe bet, but I really like like the look of the Invidia tips.
Nice spec and nice build! Suggest to check out PhillyMINI. Very active club (although quiet at the moment due to lockdown)
Thanks for the heads up! Yeah it�s been forever since I�ve gone to any sort of organized meetup. That would make a fun weekend once it�s safe enough to do so.
Originally Posted by Husky44
Great work!
Interested in you impressions of the Invidia. I'm torn between it and the Milltek. Mainly concerned about drone at highway speeds. I know the Milltek is the safe bet, but I really like like the look of the Invidia tips.
Thanks! I agree Milltek is the safer bet for drone.
But what I will say is: This isn�t my daily, and I have a realllly short commute, so drone wasn�t my top priority. Basically I won�t ever be driving my MINI when I don�t feel like driving for fun, and then exhaust is all part of that experience. Years ago I had a 40mile highway commute and my Invidia does drone a little too much to imagine that being comfortable day after day.
I do, however, love the tone and contrast of the overrun burbles on the Invidia, and it�s overall a tiny bit more aggressive than the Milltek. That was the compromise that made me decide Invidia over Milltek - a bit more drone, but perfect accel and burbles imo.
By no means is the Invidia offensive on the highway, and the road drone from the crappy rear tires is even a little louder than the exhaust in 6th.. If that gives you an idea about volume.
In the effort of reliability, prepping for a track day some day and general comfort, I had always counted on (and budgeted) for a full suspension overhaul. I planned on replacing most components with OEM, but eventually decided on a set of BC coilivers and swift springs.
I knew I�d be dropping the subframe at least once, and waited until I could also swap out both CV axels and add a new power steering pump all together. The PSP wasn�t totally dead, but certainly more stiff than my old R53. Sadly, my local dealership said 14 years was too old to cover as part of any extended warranty, and I knew that was a lot to ask but figured I�d give it a shot.
Also being replaced were all front ball joints, control arm bushings, and end links. The end links were a little floppy, but probably could have stayed. I just got a full suspension kit anyway.
Something I missed while I was doing the break conversion.. My driver side strut pinch bolt was sheared off, and seemed to have been for a while. I pried on the pinch gap with a pry bar and it wouldn�t budge. I guess it�s safe enough for now, but I�ll have to drill it out to put in the BCs. Tomorrow�s adventure.
Before I ordered all my suspension parts, I really went poking around with a pick tool, which went straight through one of my control arms! I missed this when I was looking things over the day I bought it, and it made me a little nervous to think I underestimated the rust damage. I added new control arms to my order, and started pricing out whole subframes, just in case I found more like this after I dropped it.
Subframe out and ready to be stripped down. It actually looked like it was in decent shape thankfully - just a bit of surface rust to clean up. Holy hell is it heavy though.
I also had a new power steering pump, hose clamps, and a new reservoir with cap and o-ring waiting to be fitted. The steering was stiff from day one, and by the feel and noise, I diagnosed the cause as a leaky reservoir over time resulting in a now-failing power steering pump.
Forgot to take a photo of the bare subframe, but here it is mostly reassembled with new arms, joints, and new undercoating applied to the frame and front sway bar. Looks like I still needed to get the PSP and new lower engine mount on.
De-striped the bonnet to prep for paint restoration later! I planned on getting a new set of stripes after the paint was finished, but I realllly like the lines of the bonnet sans stripes. I think this is how it�ll stay.
New axels! Not much to say. They�re really easy to remove and install on these cars.
Last edited by Tragesaurusrex; 05-27-2020 at 05:58 PM.
@cooper48 Haha, yeah it seems that way sometimes. I thought the same thing about some of the cars up here when I first moved from Texas to NJ. So many rotted out fenders and side skirts driving around, especially pickups, and some that weren�t more than 6 years old! Not many folks are familiar with proper undercarriage hygiene here in the Salt Belt states.. or at least that�s my experience in the PA/NJ/NY area. I sure didn�t know proper salt care in the first year I lived here either.
Even just a few years ago, I learned that a car stored in a nice heated garage after driving in salt will rust more than leaving it outside in the snow.
Anyhoo, my experience and patience with this car will set a nice precedent for the next one I work on.
As I mentioned in the first post, the very clean and upgraded interior was one of the reasons why I chose this particular MINI. It has all the fixins, but the original owner opted for the factory iPod connection Over the Bluetooth and hands free option for the H/K system. Honestly, that would have been my choice at the time too, but so many years later the once premium 30-pin Apple connector was now a relic sitting in my glove box.
A brief search for 30-pin to lightning adapters informed me that only the long discontinued Apple brand adapters were any sort of reliable, and even those were falling out of compatibility with the iPhone X line and higher.
The remaining option was to uninstall the existing iPod connection for a multi-input unit, with USB, Bluetooth, and Aux (but who uses aux anymore?)
While removing the interior pillars and head unit, I discovered what I can only image was the remnants of a coffee claymore mine explosion behind every little nook and cranny. So I ended up pulling everything out of the console for a full and proper scrub.
So.. many.. Q-Tips.. needed.. I was really happy to have a full set of trim tools in my toolbox to disassemble the three control units. There was some really smart design work that went into designing the toggles and climate buttons to make sure any given button wouldn�t fit in the wrong spot.
I thought for a brief moment the install would be a simple plug and play. Unplug the factory iPod harness and plug in the new Bluetooth harness. It turns out, installation of the iPod harness requires modifying wire and pin placements in the connectors, so you have to reverse the pin differences in each before continuing. Once I found the MINI tech directions to install the iPod connector, it wasn�t difficult. But getting to that point took a minute.
EDIT: just in case it�s useful to anyone else.. Here�s a link to the factory iPod interface install procedure. Reverse the pin swaps outlined here and you�ll be back to standard in no time. For the facelift years, you shouldn�t have to cut and splice any connectors.
Pulling the overhead controls and headliner a bit. I wanted to use the OEM microphone location for my mic that came with the Bluetooth unit. I ended up running the line down through the drivers A pillar trim fwiw.
Last edited by Tragesaurusrex; 05-22-2020 at 08:06 PM.
I wanted to add a few gauges to the cockpit to monitor drivetrain health. I didn�t want to forego any of my vents for a third or fourth gauge, so I was limited to choosing the two gauges I thought most imperative for street driving and strapping them into a dual mount off the tach. The two I landed on were boost and oil pressure.
If I had to pick a third it would be A/F ratio, but since I�m rarely driving WOT, the ECU should be able to monitor that well enough for my purposes. If (and this is a big �if�) I end up being more serious about track days, I might swap the boost gauge for an A/F gauge to prevent unknowingly running lean for an extended period on straights.. but also I plan on getting a tune from RMW before tracking it.
In any case, this should be short and sweet. I couldn�t bring myself to spending big bucks on a quality dual mount when I figured I could make my own out of some flat bar and a bench vice.
I also picked the Autometer Ultralite series as my gauge of choice. I know the Marshalls are deemed the best option to match the MINI faces, but I just like these better. The Ultralite lineup of gauges is also very comprehensive if I ever want to add more.
First up, tapping the OEM oil pressure sensor with a Craven send unit adapter. With the price of this thing at 50 bucks, I thought about sourcing my own brass fittings, but even McMaster didn�t have the parts for an elegant solution, so I paid up. No regrets. I did follow the adapter with a 45 elbow to make the transition a little nicer.
Rather than directly mounting the send unit to the adapter, I chose to remote mount the send unit to prevent any damage due to vibration. I know this is probably overkill for a non race car, but better safe than spewing oil someday. The copper piping was an Autometer kit I found that matched the oils pressure gauge I bought. The loop is to further reduce vibration, and added insurance if I even need to trim or move the unit around.
I mounted the send unit with an anodized aluminum fuel pump mount. Nice and secure, plus it meets track specs as far as I can tell.
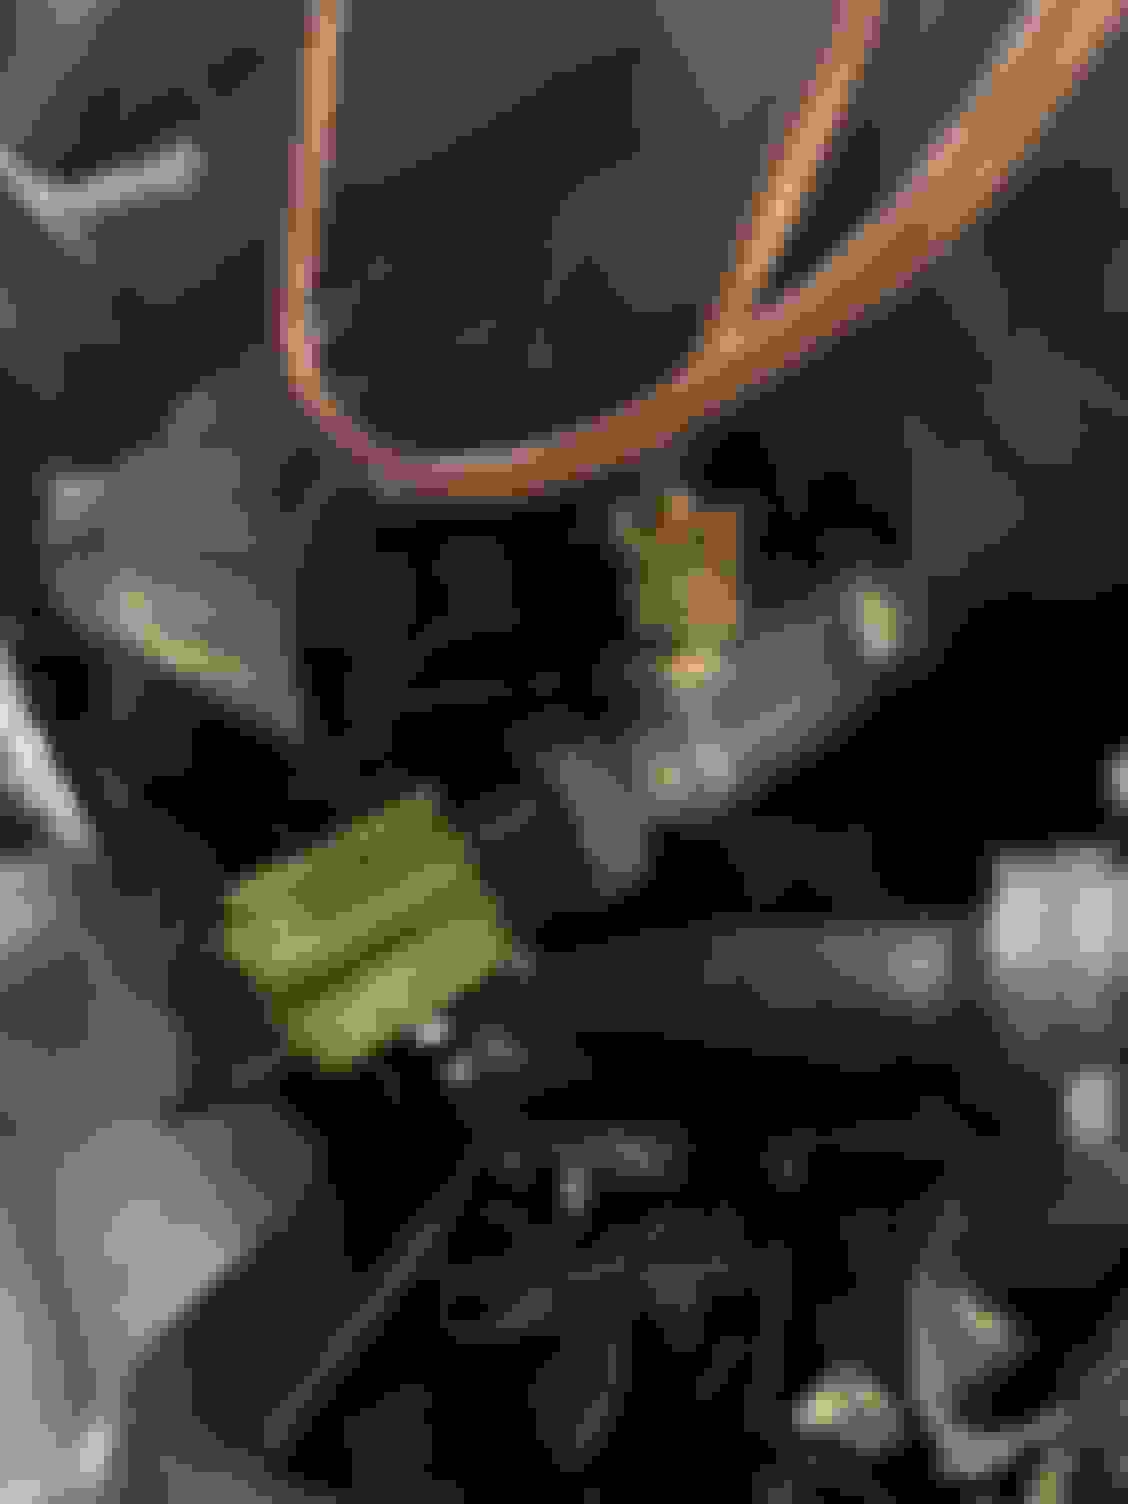
I didn�t take many any pics while running the vacuum line for the boost gauge, I figured we�ve all seen too many of those as it is, haha. I did the VGS mod at the same time, and ran all new vacuum line under the intake manifold instead of reusing the factory line with several fittings. You can see the rubber vacuum line from the engine bay teeing into the nylon boost gauge line just above the Alta air filter. I used an open brake line clip to secure the nylon boost line. Worked out well.
Routing the electrical and boost line under the steering column. I tried to follow factory routing as best I could. The one that got away was the 12v power tap from the OBD port to power the oil pressure gauge. I�ll give it a B- for effort.
Finally all wrapped up and poking through the steering column grommet (or whatever that runner curtain is called). Next thing to do was figure out a mounting solution.
Last edited by Tragesaurusrex; 05-23-2020 at 11:08 PM.
Continued... Like I said, I couldn�t bring myself to shell out 120 bucks for a Craven dual pod bracket before trying my hand at DYI solution.
I looked for a moment at the popular DIY design here on NAM, but it wouldn�t work with the matte black metal pods I wanted.
I decided I�d emulate the for-purchase mounting location to the back of the tach with some aluminum flat bar I had extra of.
3/4� aluminum flat bar was my choice. Very rigid. Very light. Easy to work with.
Measured and cut to fit the tach hole locations
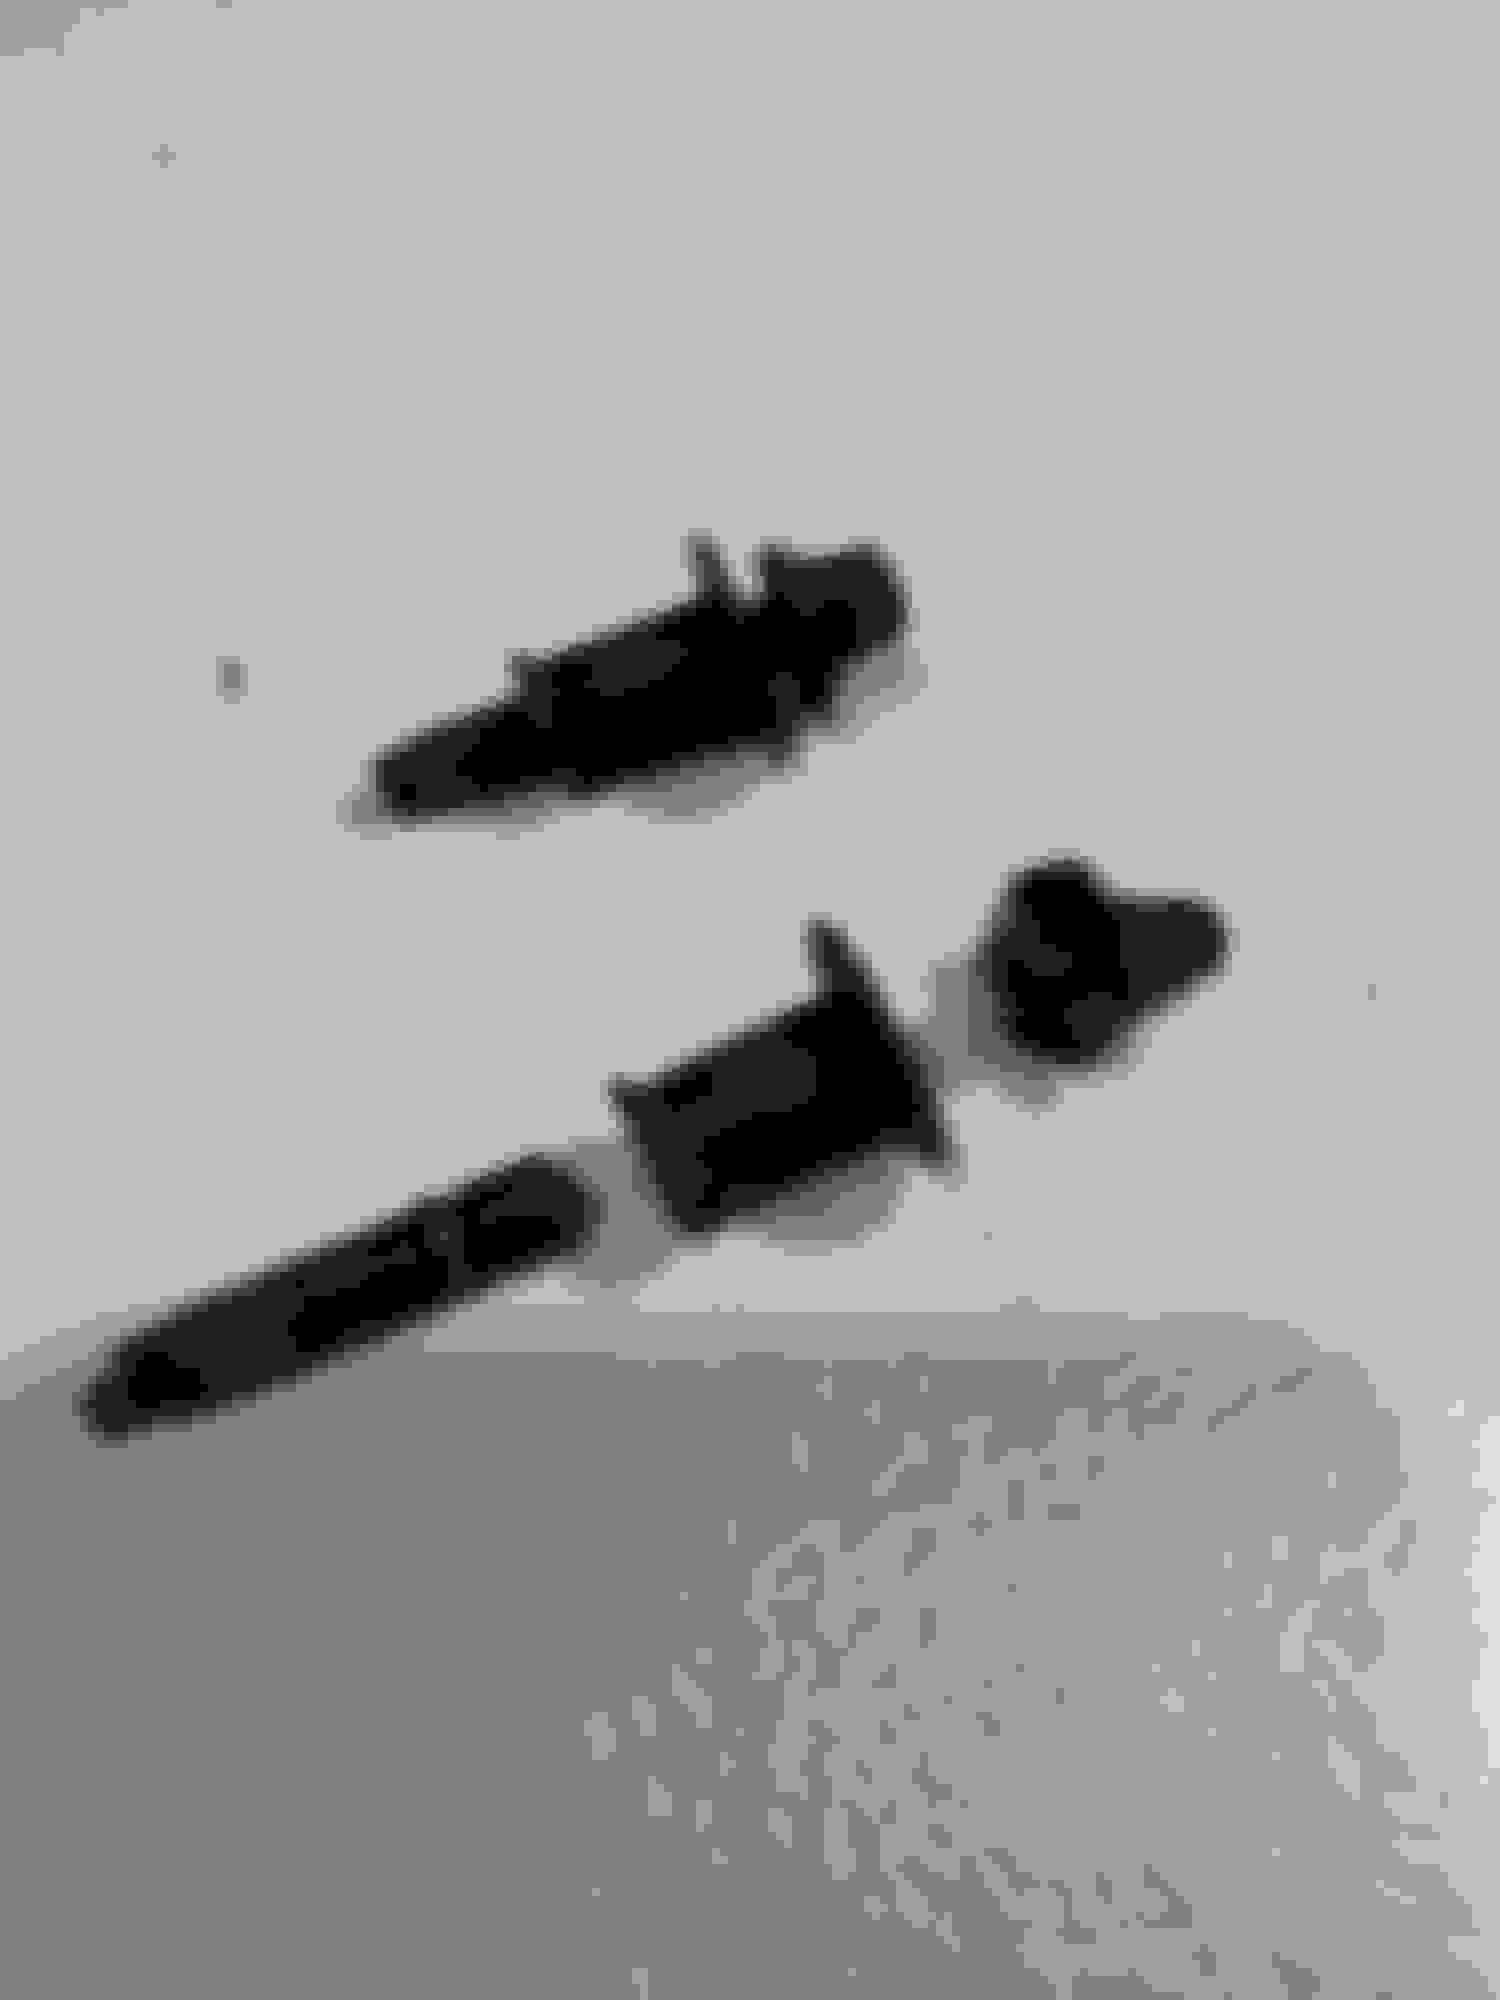
Wait.. What�s an old valve cover bolt doing here??
Now, because the back of our tach is curved, I needed a sleeve washer so the flat bar would sit just away from the crest of the tach body. Luckily I didn�t have the diameter I needed, because it forced me to use my noggin a bit. I looked through the coffee can of extras and pulled out the rusty old valve cover bolts that came with the car. Hmm, these have a super beefy sleeve on them.. so I cut one off.. could it be??
Absolutely perfect fit and length, with the added bonus of a nice collar for better contact with the flat bar. You couldn�t have designed a more perfect piece for this application.
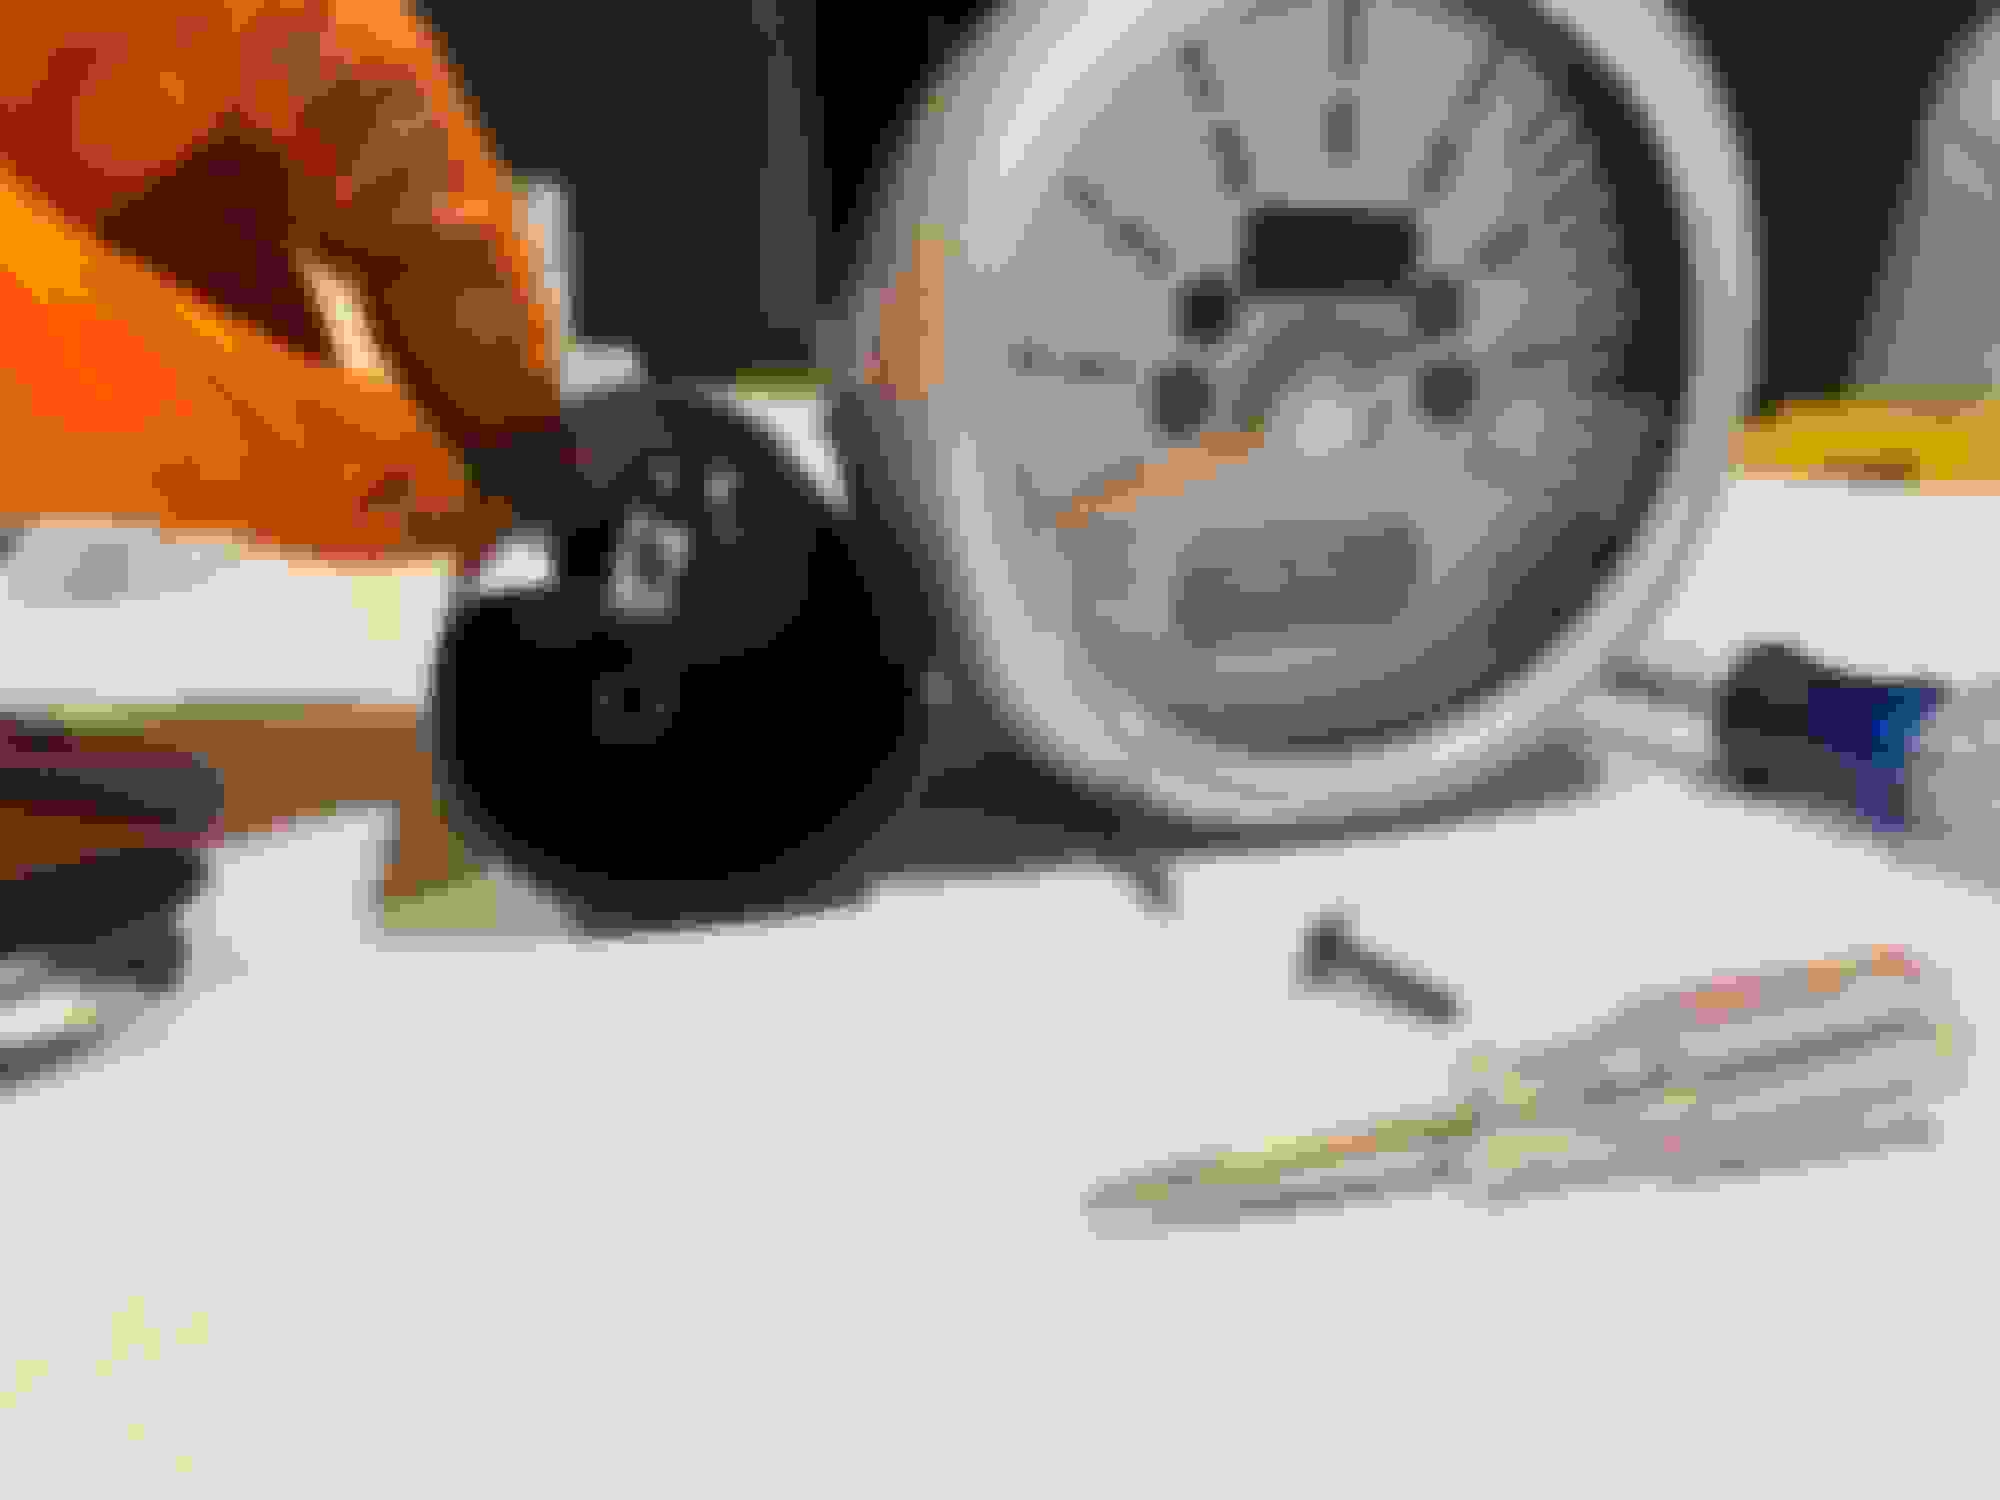
Flat bar attached, and just off the tach. Bingo.
Onto the placement of the pods. I wanted flush with the bottom of the tach face for a clean line in the cockpit.
Typical me, over designing things. I messed around with this design for a bit, but a quick test fit in the car reminded me of the tight clearance behind the tach when adjusting the steering wheel location to the extremes. If I ever wanted to adjust my steering wheel tilt again, this wasn�t going to work.
Ah, simple and functional. Lesson learned? Perhaps. Painted wrinkle black to keep reflections down. Hopefully this will �disappear� behind the pods and tach.
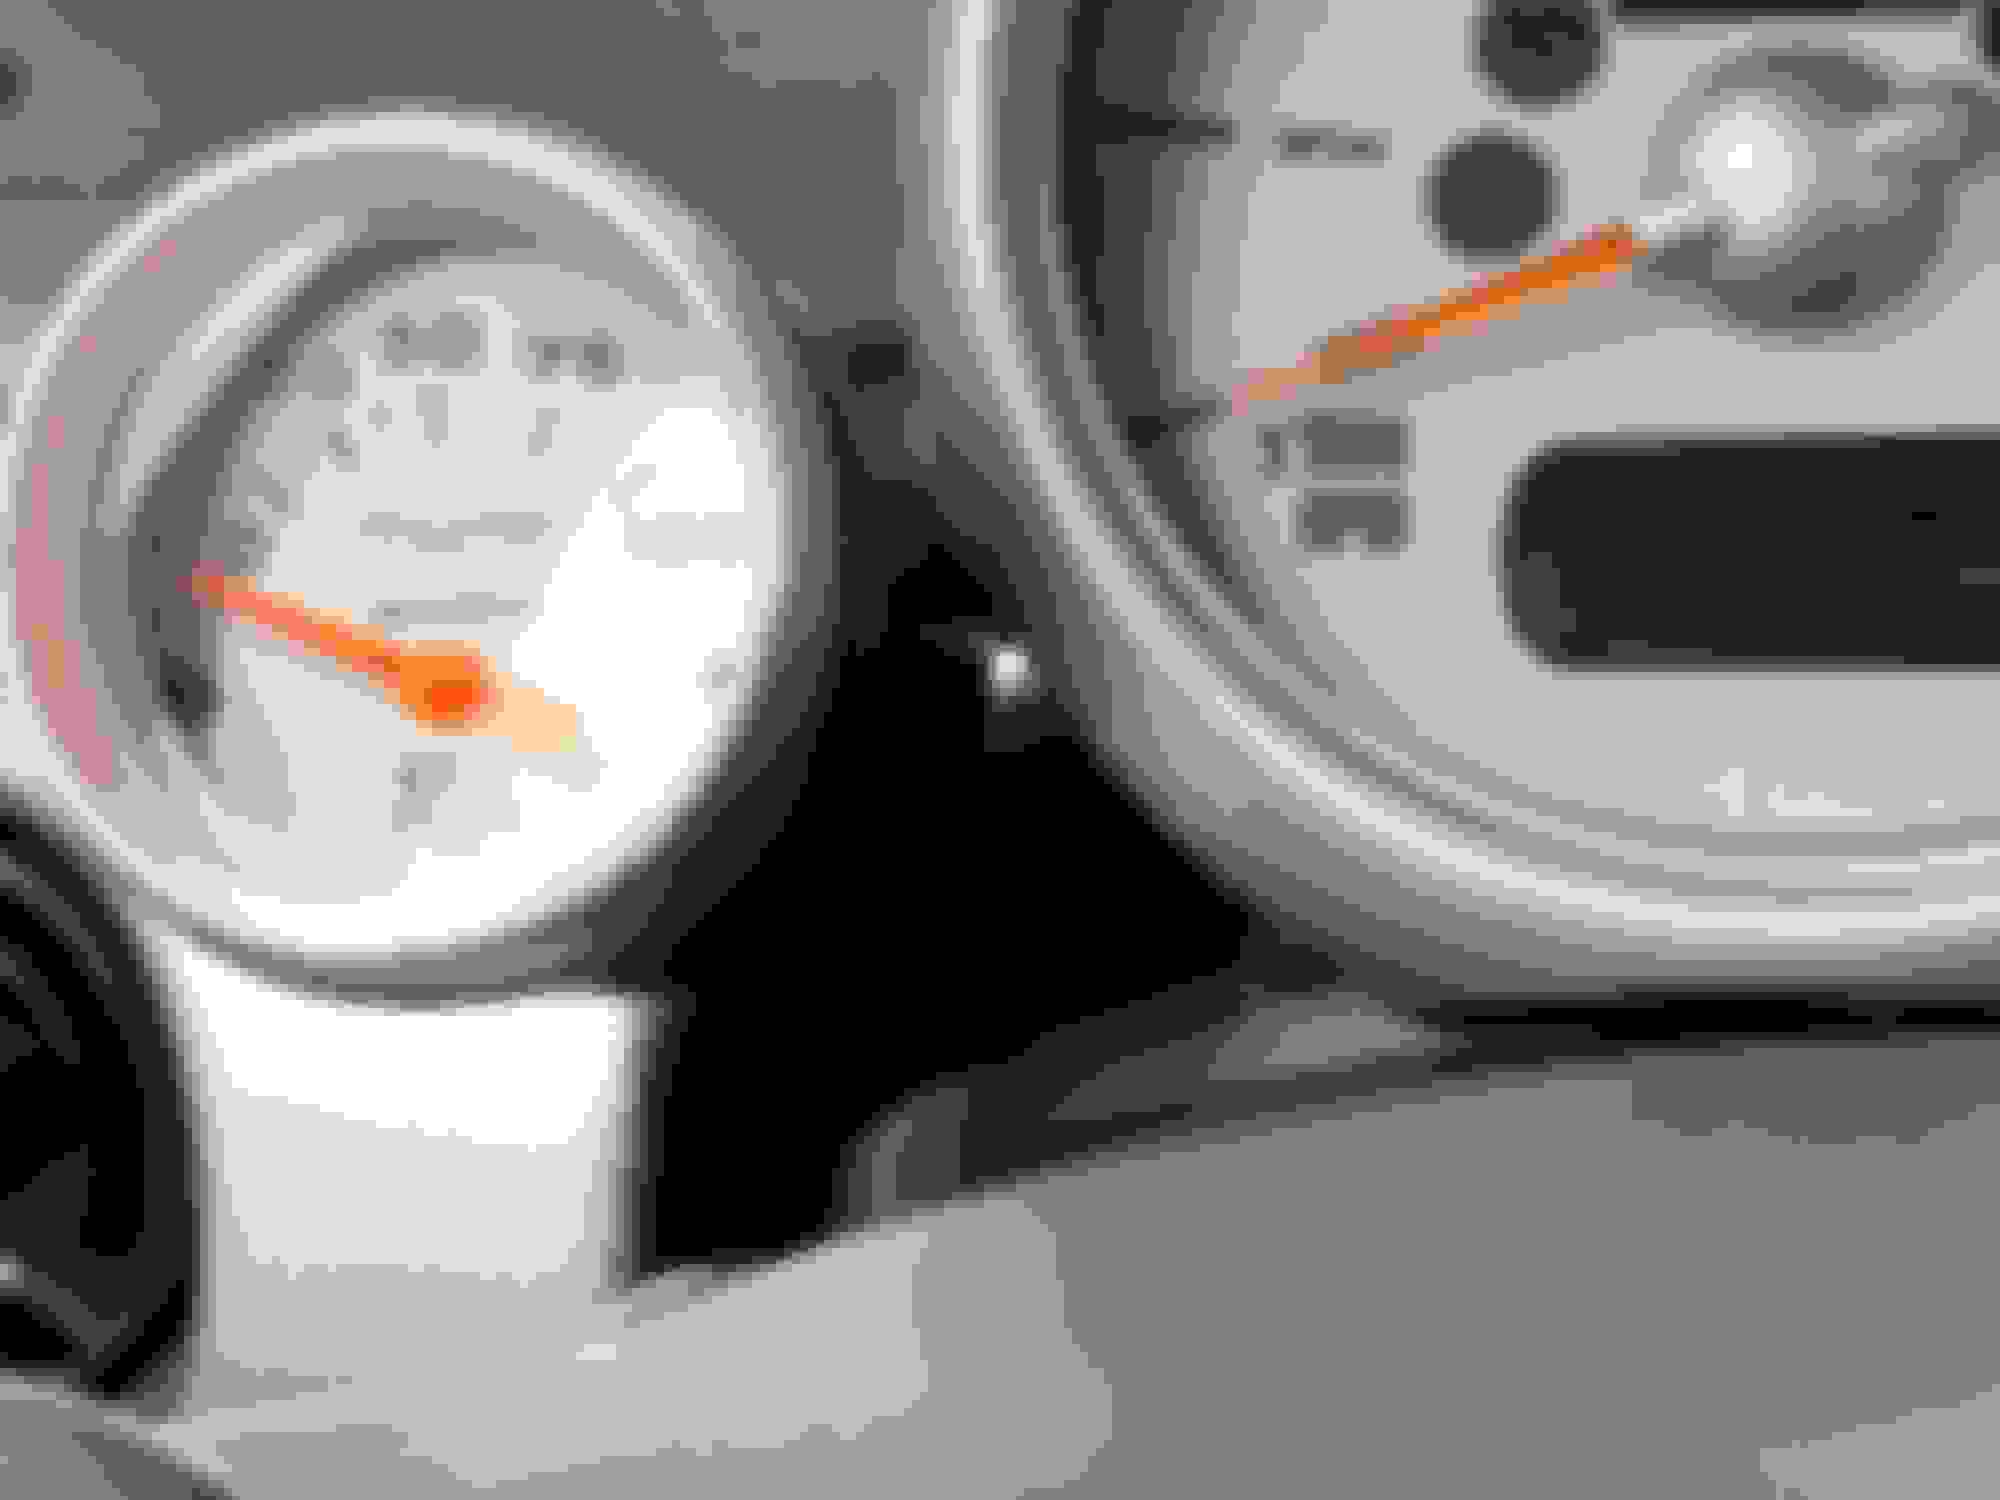
Pods fitted and tightened. They were nice and snug, but I added a small square of black 3M VHB between the pod and tach to stop all vibrations. Rock solid.
Im happy with how it came out. I fitted amber bulbs with the red bulb sleeve that came with the Autometer gauges. The color matches pretty well, but a tad too red. Clear bulbs with the red bulb sleeves were too pink.. Alas, I might try a few other bulbs in the future, but I�m happy for now. If anyone else knows of a bulb combo that matches OEM gauge hue, let me know!
P.S. The money saved with this diy job paid for most of a Whiteline 20mm rear sway bar
Last edited by Tragesaurusrex; 05-24-2020 at 07:55 AM.
A few packages had come in from Way and ECS, and it was time to do a little bulletproofing.
First order of business for the day was replacing the harmonic balancer. Needed to run out to get a few hardened M6x1.0 20mm bolts to fit the OEM pull threads. Also I kept bending my nickel washers into little taco shells, so I made a quick trip to the shed to make my own mega �washers� out of 1/8� hardened steel bar.
(Obligatory) �That�s not going anywhere!�
I used the ModMini method of two lengths of bolt to pull the stock pulley in two stages.
This was great news. The existing pulley looked like it was the original with about 100k on it, but upon inspection, it was in terrific shape! I almost felt bad about replacing it.
The front crank seal was a little oozy, so that was replaced as well. This was the first time I�d seen a Chrysler pentastar icon anywhere on an R53.. of course due to the tritec engine being a Chrysler design. Maybe there are more and I just haven�t been paying attention.
The new UNIT
I love everything about these ATI super dampers. The precision. The weight. The finish. Just a quality racing part all around.
After buttoning up the serpentine belt, next in line to replace was a pretty shot upper motor mount. My idle wasn�t exactly rough, but also not great.
Yep. it was a goner. Pulling the bottom bolt resulted in hydraulic goo dripping all over. Not sure why I can�t upload the photo of the new mount, but i replaced the old with another OEM mount.
Lastly, new 8mm plug wires from Way.. because I was still rocking the originals from 2006.
Honestly these preventative, less �sexy� upgrade days feel the most rewarding IMO.
Now I have a buttery smooth idle, and a lot more peace of mind.
Last edited by Tragesaurusrex; 05-24-2020 at 06:46 PM.
This is a quick one. My old R53 had a short in one of its horns and needed replacing. I looked around for something louder Than OEM because our cars are so small. Driving in Philadelphia at the time, people are nuts and I was constantly having to honk at people changing lanes into me.
I landed on Hella SuperTones because they were relatively cheap and piercingly loud.
Fast forward to now, I wanted to stick with Hella, but the SharpTones has come out in the time that had passed, and had a better (deeper) tone.
I also wasn�t crazy about the directionality behind the front bumper cover, so I went for a new mounting location.. that�s just a little more brash. (Subie fans rejoice)
Made some simple steel bar brackets. Getting the exact angle right was a little finicky but it worked.
All mounted up for the lower grill. (Yes I should probably replace the A/C condenser haha)
The money shot. Just subtle enough but loud as F.
Last edited by Tragesaurusrex; 05-28-2020 at 05:46 PM.
@JAB 67 I made a simple harness extension for these horns with some 14g wire and standard blade and bullet crimp connectors. Female blade connectors connect to the male terminals on the Hella horn, and male bullet connectors will plug directly into the R53 factory horn wiring.
No need to cut any part of the factory harness.
I chose to start without wiring in the Hella relay that comes with the kit, and test the volume first.
This wiring method was loud enough for me, but yes, using a 12v supply and the Hella relay will supply more power to the horns if you need more volume than the factory wiring can deliver.
One other note, you should be okay using the factory wiring if you�re replacing horns, rather than adding to the OEM horns. If adding horns, it�s best to feed the new horn with its own power supply so you don�t overload the factory power supply (fire hazard).
Last edited by Tragesaurusrex; 05-28-2020 at 06:49 PM.
Great work so far! After your R56 brake install does the pedal bite at the top of its travel, or is there some push required before you get some braking? I did my conversion with junkyard parts (decent rotors with likely lower quality ceramic pads) so I have bite in the pedal after pushing down about 20% of the pedal travel. Once it bites its super strong and is phenomenal. My future rotor choice will be a nice set of OE quality blanks and Textar semi-metallic pads for nice bite.
Great work so far! After your R56 brake install does the pedal bite at the top of its travel, or is there some push required before you get some braking?
Thanks! And no, not at all in my case.
Admittedly, all my parts were brand new and the OEM rotors and ceramic pads I picked have a smooth and consistent pedal feel. I specifically did NOT want any initial bite to my brakes. The stainless brake lines also added to the pedal consistency on my setup.
Good job on the project so far. You are brave to take on a project with rust. Being from Texas, I got spoiled working on cars with little to no rust, so I’ve always stayed away from northern vehicles. It looks like you are tackling it the right way. Can’t wait to see the end result.
The last few maintenance items i had in my list were coolant flush, supercharger service and replacement water pump (plus all new gaskets of course).
So I decided to do perform my pulley swap while I had the SC out of the engine.
It goes without saying, but this also meant new belt and spark plugs to match the 17% pulley.
Front end service mode in 14 min. I finally have the bolts memorized enough that I can just chuck everything in the magnet tray and fish them out later.
SC out and gettin a nice little tan.
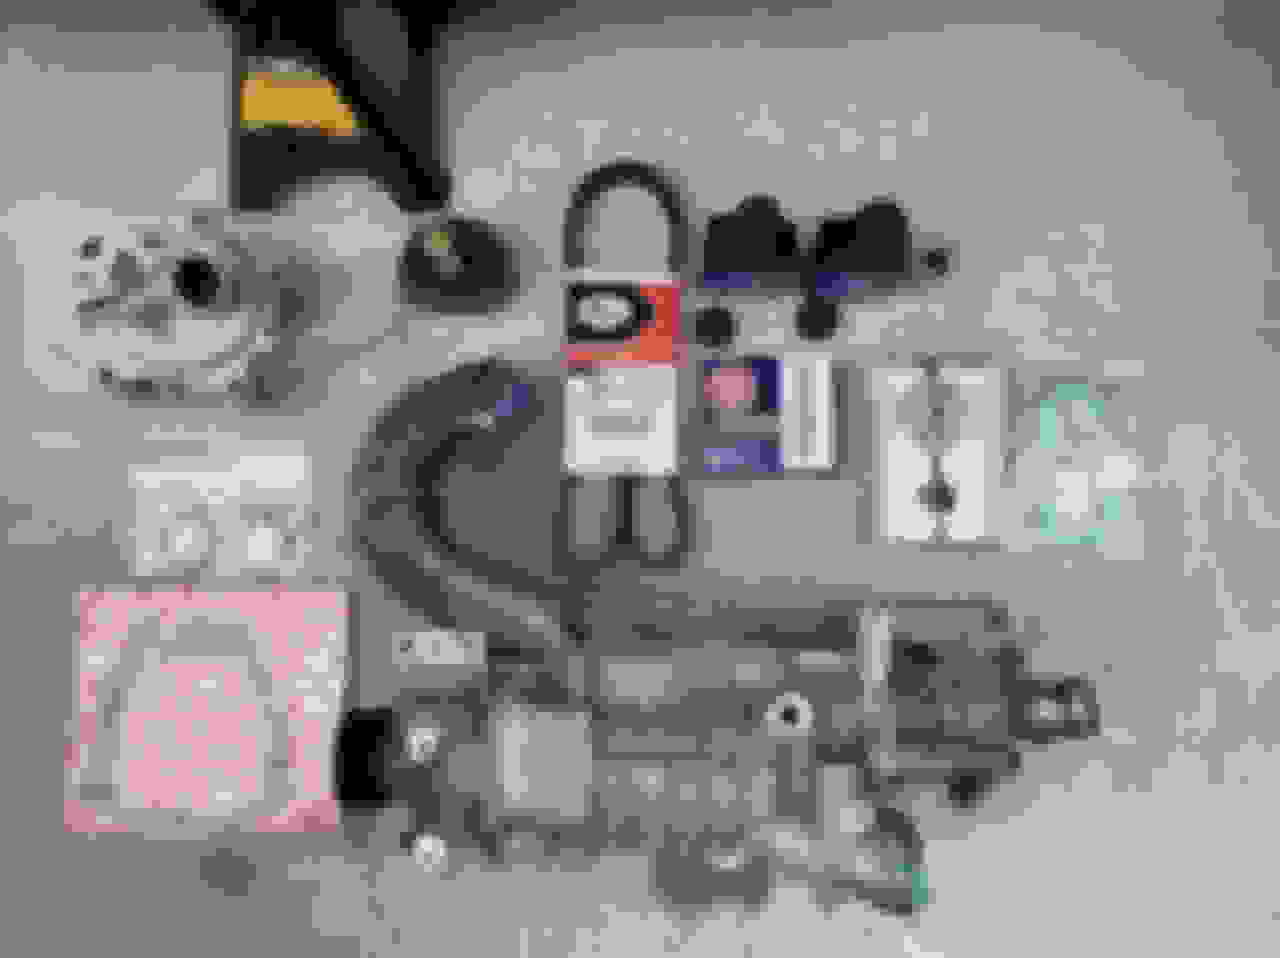
Everything lined up for the day. From left to right: New water pump assy. Water pump o-ring (2x) (the second is for the water flange gasket on the front side of the block.) SC outlet horn gasket (boost side) Craven stock pulley puller Gates serpentine belt (size K060535) ACDelco SC oil (12345982) NGK iridium spark plugs (BKR7IEX) Craven 17% reduction pulley SC inlet gasket (intake side)
I was hoping for good news and got it. The back side wasn�t completely dry, and the oil still had some transparency to it. I feel like this is a crap shoot at 100k. One thing I didn�t know.. this oil stinks to high heaven.
Let�s smooth those wrinkles out shall we?? Haha, I have a bunch of precision ink equipment from restoring an old Epson plotter a few years back. This 10ml ink syringe came in very handy. (41ml fill capacity for the water pump side)
Draining the front.
Definitely darker, but at least the oil level was still decent.
Fill er up. (4.9 oz fill capacity pulley side)
Forgot to take a photo of the water pump drive gears while I had that cover off, but they are in excellent shape with no visible wear. Snuck a quick peek through the drain plug.
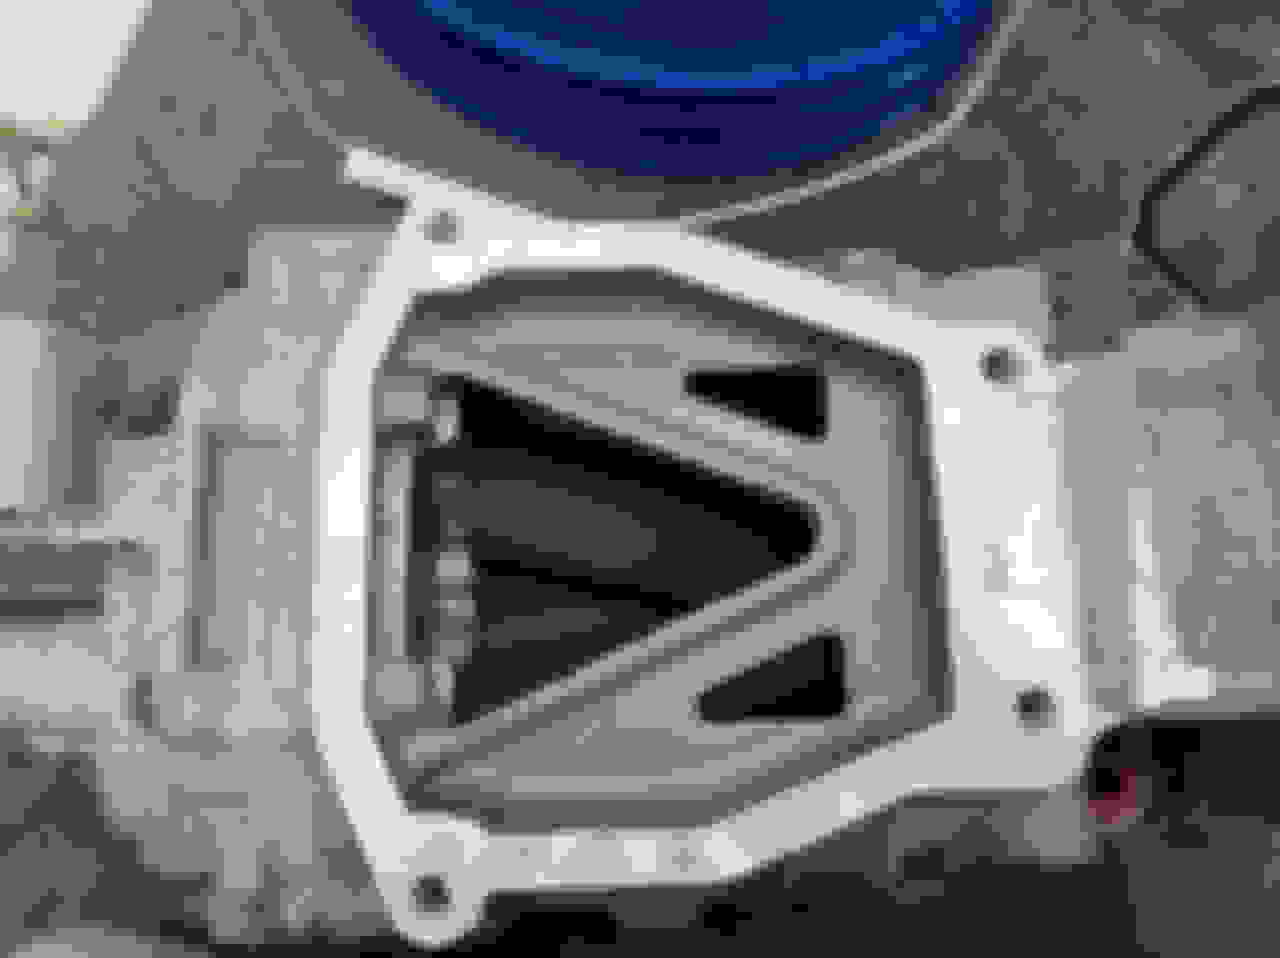
Horn removed to inspect the rotors and replace the gasket. The Teflon coating looked great, save for just a few small nicks. Must have eaten a bug or two..
Pulley off. This was the easiest thing with the SC out of the car obviously.
Took a break to clean some of the corrosion off of the horn and intercooler while I had them out. A 1:3 solution of simple green extreme got them looking better, but not brand new.
New pulley and horn gasket on.
It was definitely time to replace the block side water pump o-ring.
SC all buttoned up and ready to go back in.
Last edited by Tragesaurusrex; 07-04-2020 at 07:30 PM.

 05-19-2020, 02:10 PM