When you click on links to various merchants on this site and make a purchase, this can result in this site earning a commission. Affiliate programs and affiliations include, but are not limited to, the eBay Partner Network.
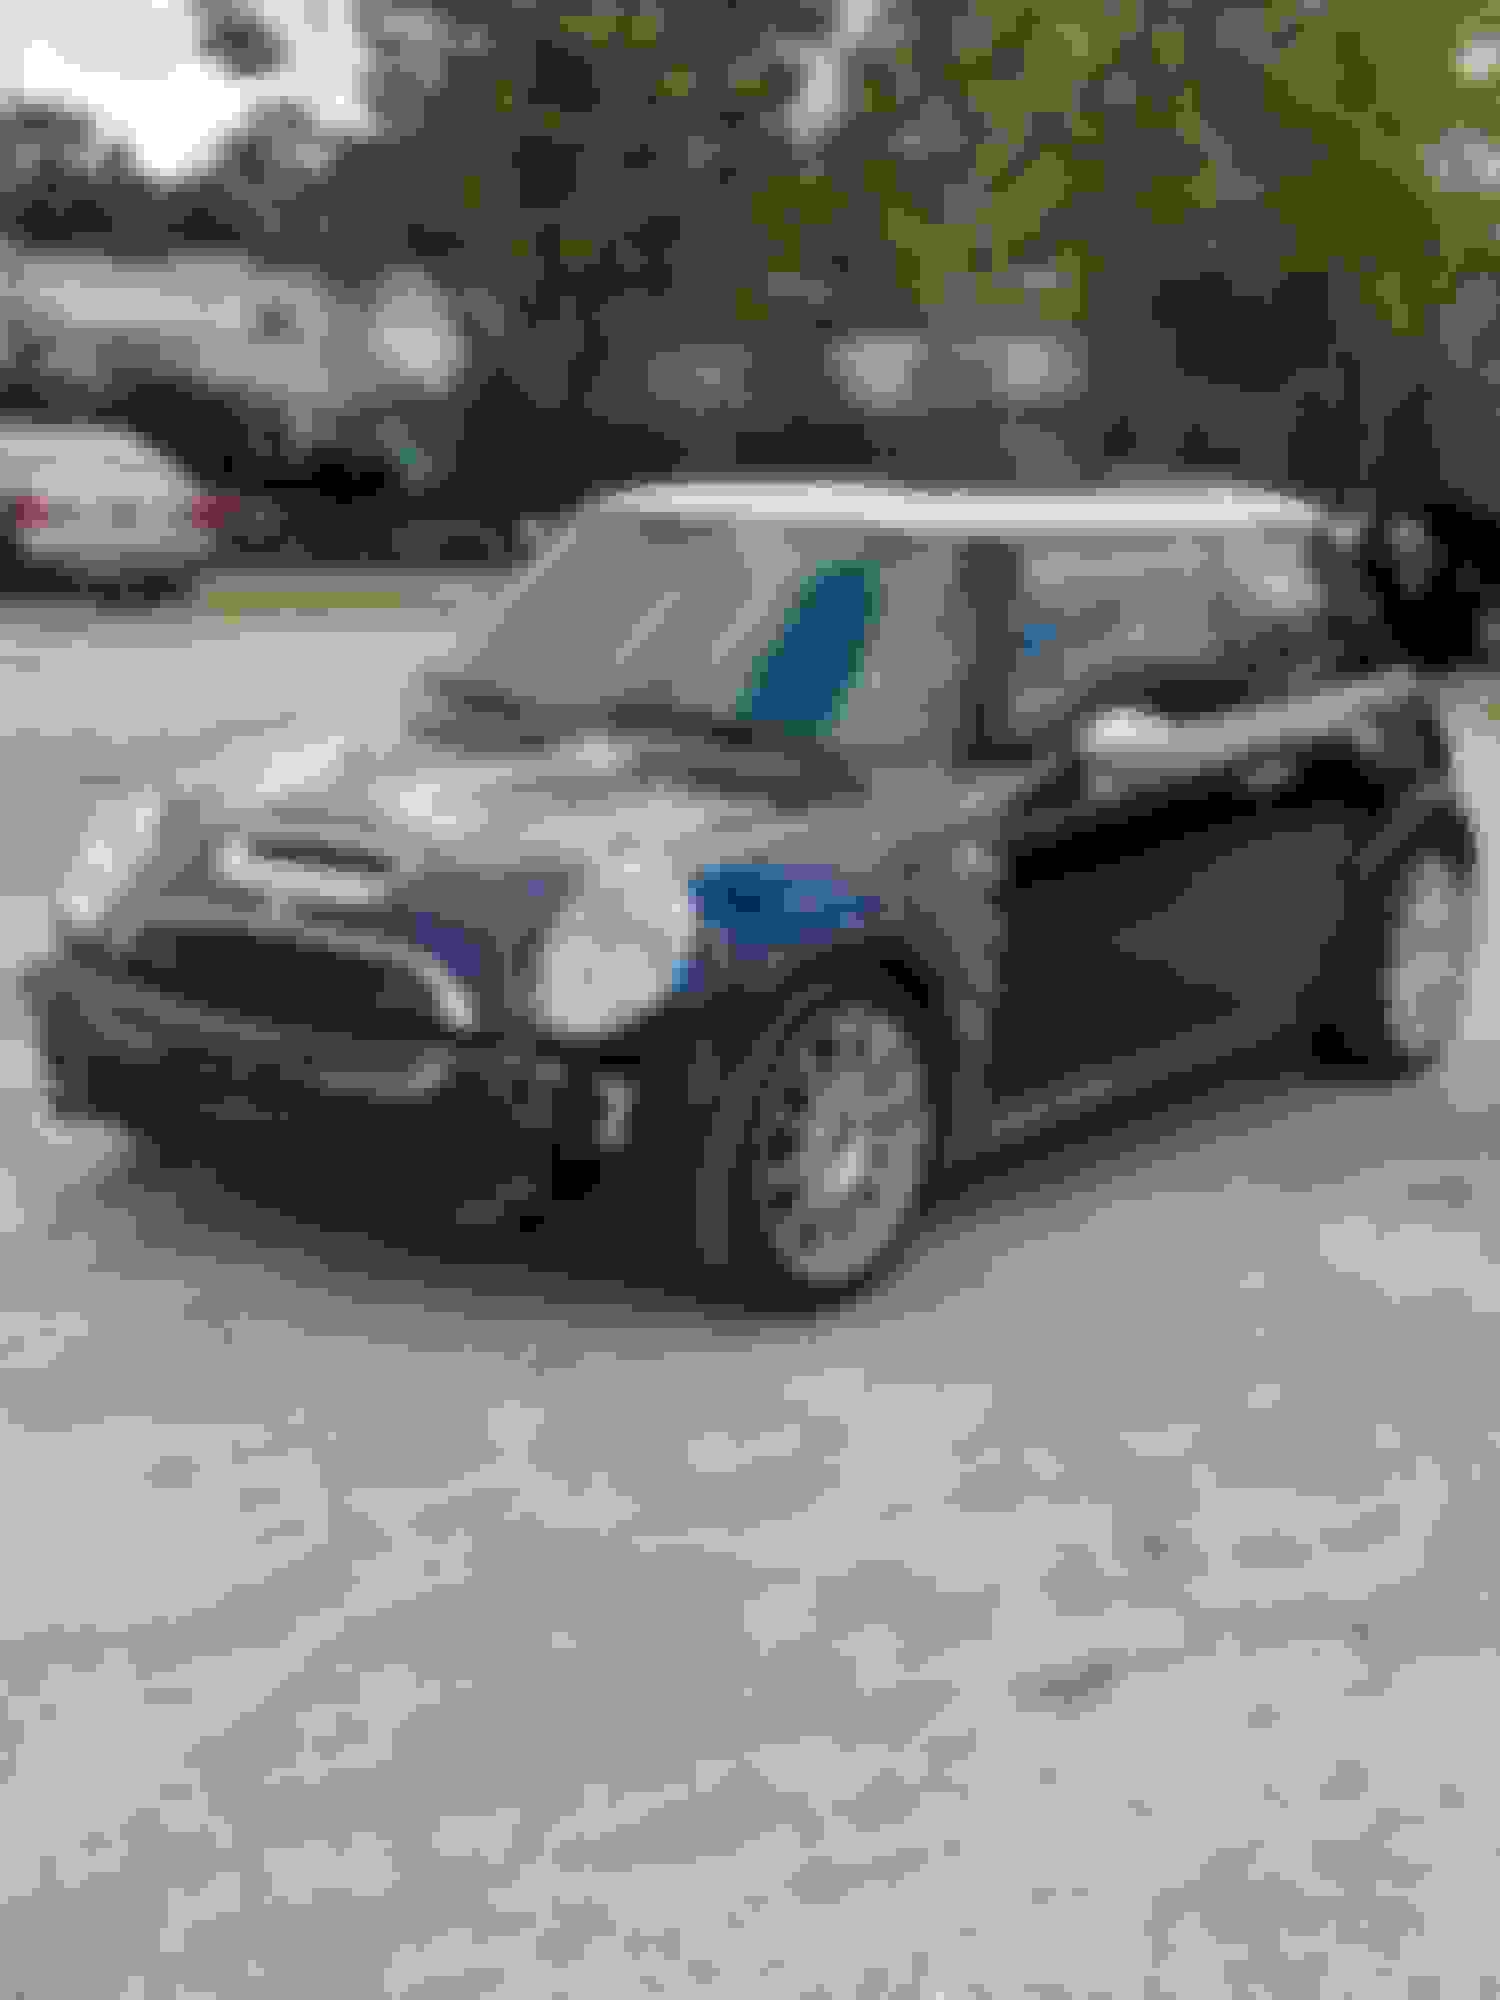
ok, so i'll reintroduce myself. spring of 2022 i bought a 2002 r53 in a pinch. it took some doin', but i got that thing running pretty reliably. i did a few entry level mods, and it's a ton of fun to drive. however, i also decided i really don't want to keep it long term. however, i did settle that i wanted a 2-dr boosted hatch with a manual transmission. working through those options i realized...the thing i wanted was right there in front of me the entire time - an r53 mini cooper.
that said, i decided to find a stock r53 to replace my red one. fast forward, i found one i really liked and was the right price. the only downside was the body damage. in the end, my son and i jumped in my trusty bronco and drive 4 hours to houston to give it a look. so the story goes, the car was for sale by a guy running a small car resale outfit. he bought the car from carmax auctions. the folks at carmax said they had taken in the mini and while on the lot, it was hit by a delivery truck.
i was still able to take the car for a test drive and it passed the test. we had an enjoyable negotiation and i bought the car at a nice discount. then, i rented a trailer and drove it back home to dallas.
this one is from the original listing and really shows the damage.
so the name of the game here is to move from the red one to the blue one all the parts i want to keep (all leas than 1 1/2 years or maybe 10,000 miles - bilstein shocks/struts, hawk brake pads, new rotors, ddm works CAI, and if i'm feeling frisky the rack and pinion. those things plus a ireland engineering strut mounts, 17% reduction pulley and a step-colder plugs and some routine maintenance along the lines of new valve cover gasket, fuel filter, new pcv, new rear shock mounts, metal oil dipstick, and oil change.
long term i'm hoping to do some better shock/struts, lowering springs, and all that and then some engine upgrades, definitely an aftermarket radio and subwoofer, and maybe a rollcage. for now, here's how it looks as i've gotten started.
in the end, the front end was worst case scenario. hood / bumper obviously, but also the core support and bumper reinforcement (crash bar). but, for paint i ended up getting a deal (hopefully) with a referral of a high school classmate. so, here it is...photo dump incoming...
Last edited by phone_cover; 11-14-2023 at 11:56 AM.
part of the reason i like to do a build thread is for my personal future reference, just a disclaimer....
part of the original gameplan is to get a replacement hood and front bumper, get it painted, and apply replacement checkmate decals. i knew there was a 2006 cooper s convertible in a fairly recent addition to a local junk yard. when i got there the engine and transmission were gone, but it still had the hood and bumper. it also had the cabrio braces, which were my first mod to the blue car. my first repair was replacing the busted glovebox with one from the same JY car.
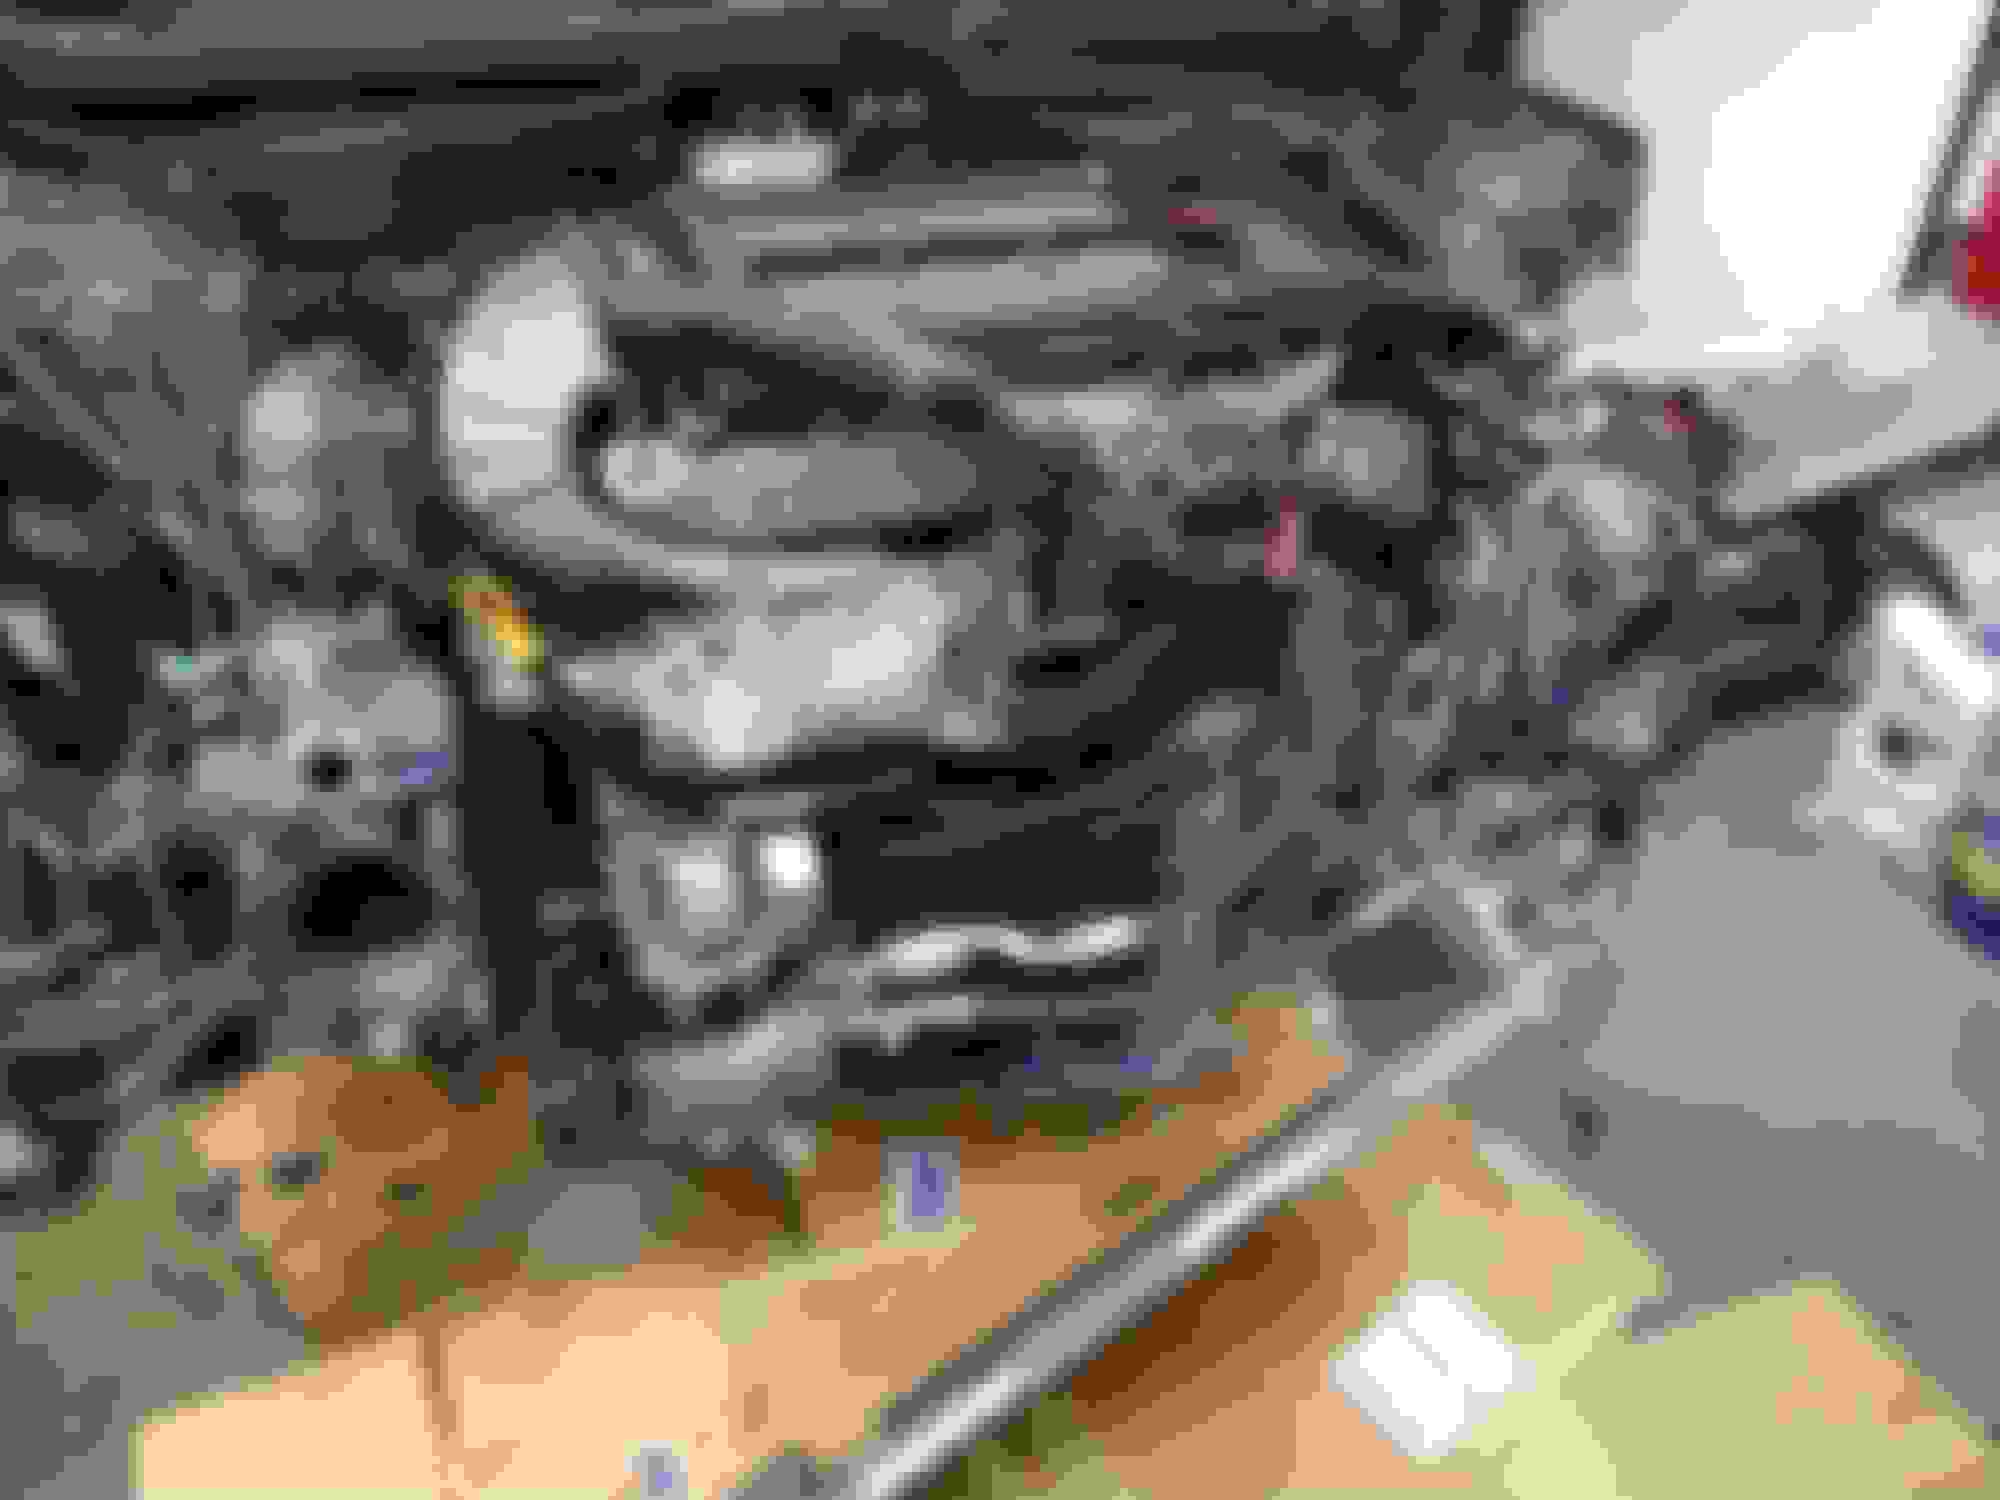
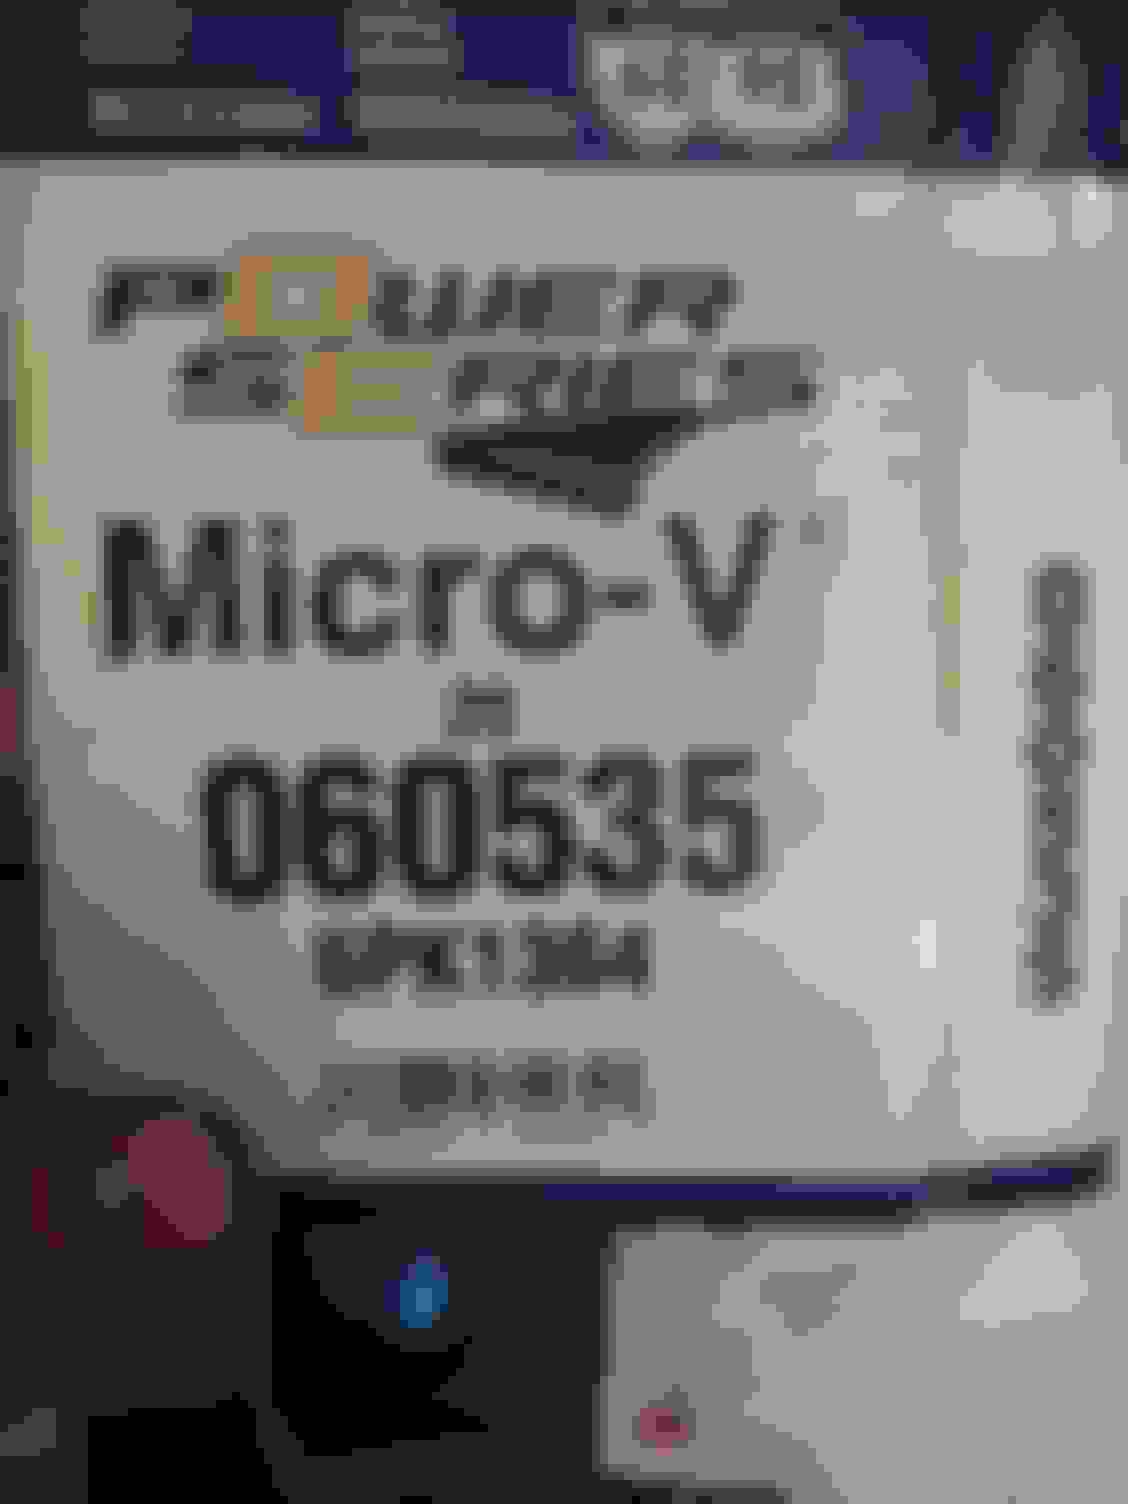
the old spark plugs didn't look too bad other than being overdue to be changed. since i'm going to install a 17% pulley i went with 1-step colder plugs. and the valve cover was leaking pretty badly, so this was as good a time as any to change it. the head looks pretty good, so that's encouraging to see.
from my red car to the blue car, i swapped my 6-month old bilstein shocks/struts. the lemforder strut mounts were already failing, so i upgraded to the ireland engineering fixed camber plates. i also swapped over my hawk HPS pads. the red one didn't have the brake pad wear sensor, but getting it out wasn't too complicated.
i award 1,000,000 internets to the person who thought to look at the pulley location. once i moved the idler pulley from the bottom/left location and relocated to the upper/right location the proper 35 belt fit. i checked the red car and it was also in the upper/right location and the 35 belt fit perfectly.
finally - i noticed there was a washer reservoir on the driver side, where there is just one on the passenger side on the red car. but, i don't have washer headlights so this is just a dual reservoir situation for extra washer fluid capacity? i haven't looked into that yet....
well it's been a busy and long couple weeks, but i've made some progress....
the other day i went to swap my bilstein rear shocks from the red one to the blue one. but i discovered the shock mount bushings i installed in the spring were disintegrating already. i used the bushings i bought for the blue one to install the shocks on the red one. then i ordered new poly bushings for the blue car. those arrived the other day and i installed them yesterday. now the blue car suspension is 99% done. i just need to finish putting in the last shock and put the wheels on it. no pics b/c i was busy working.
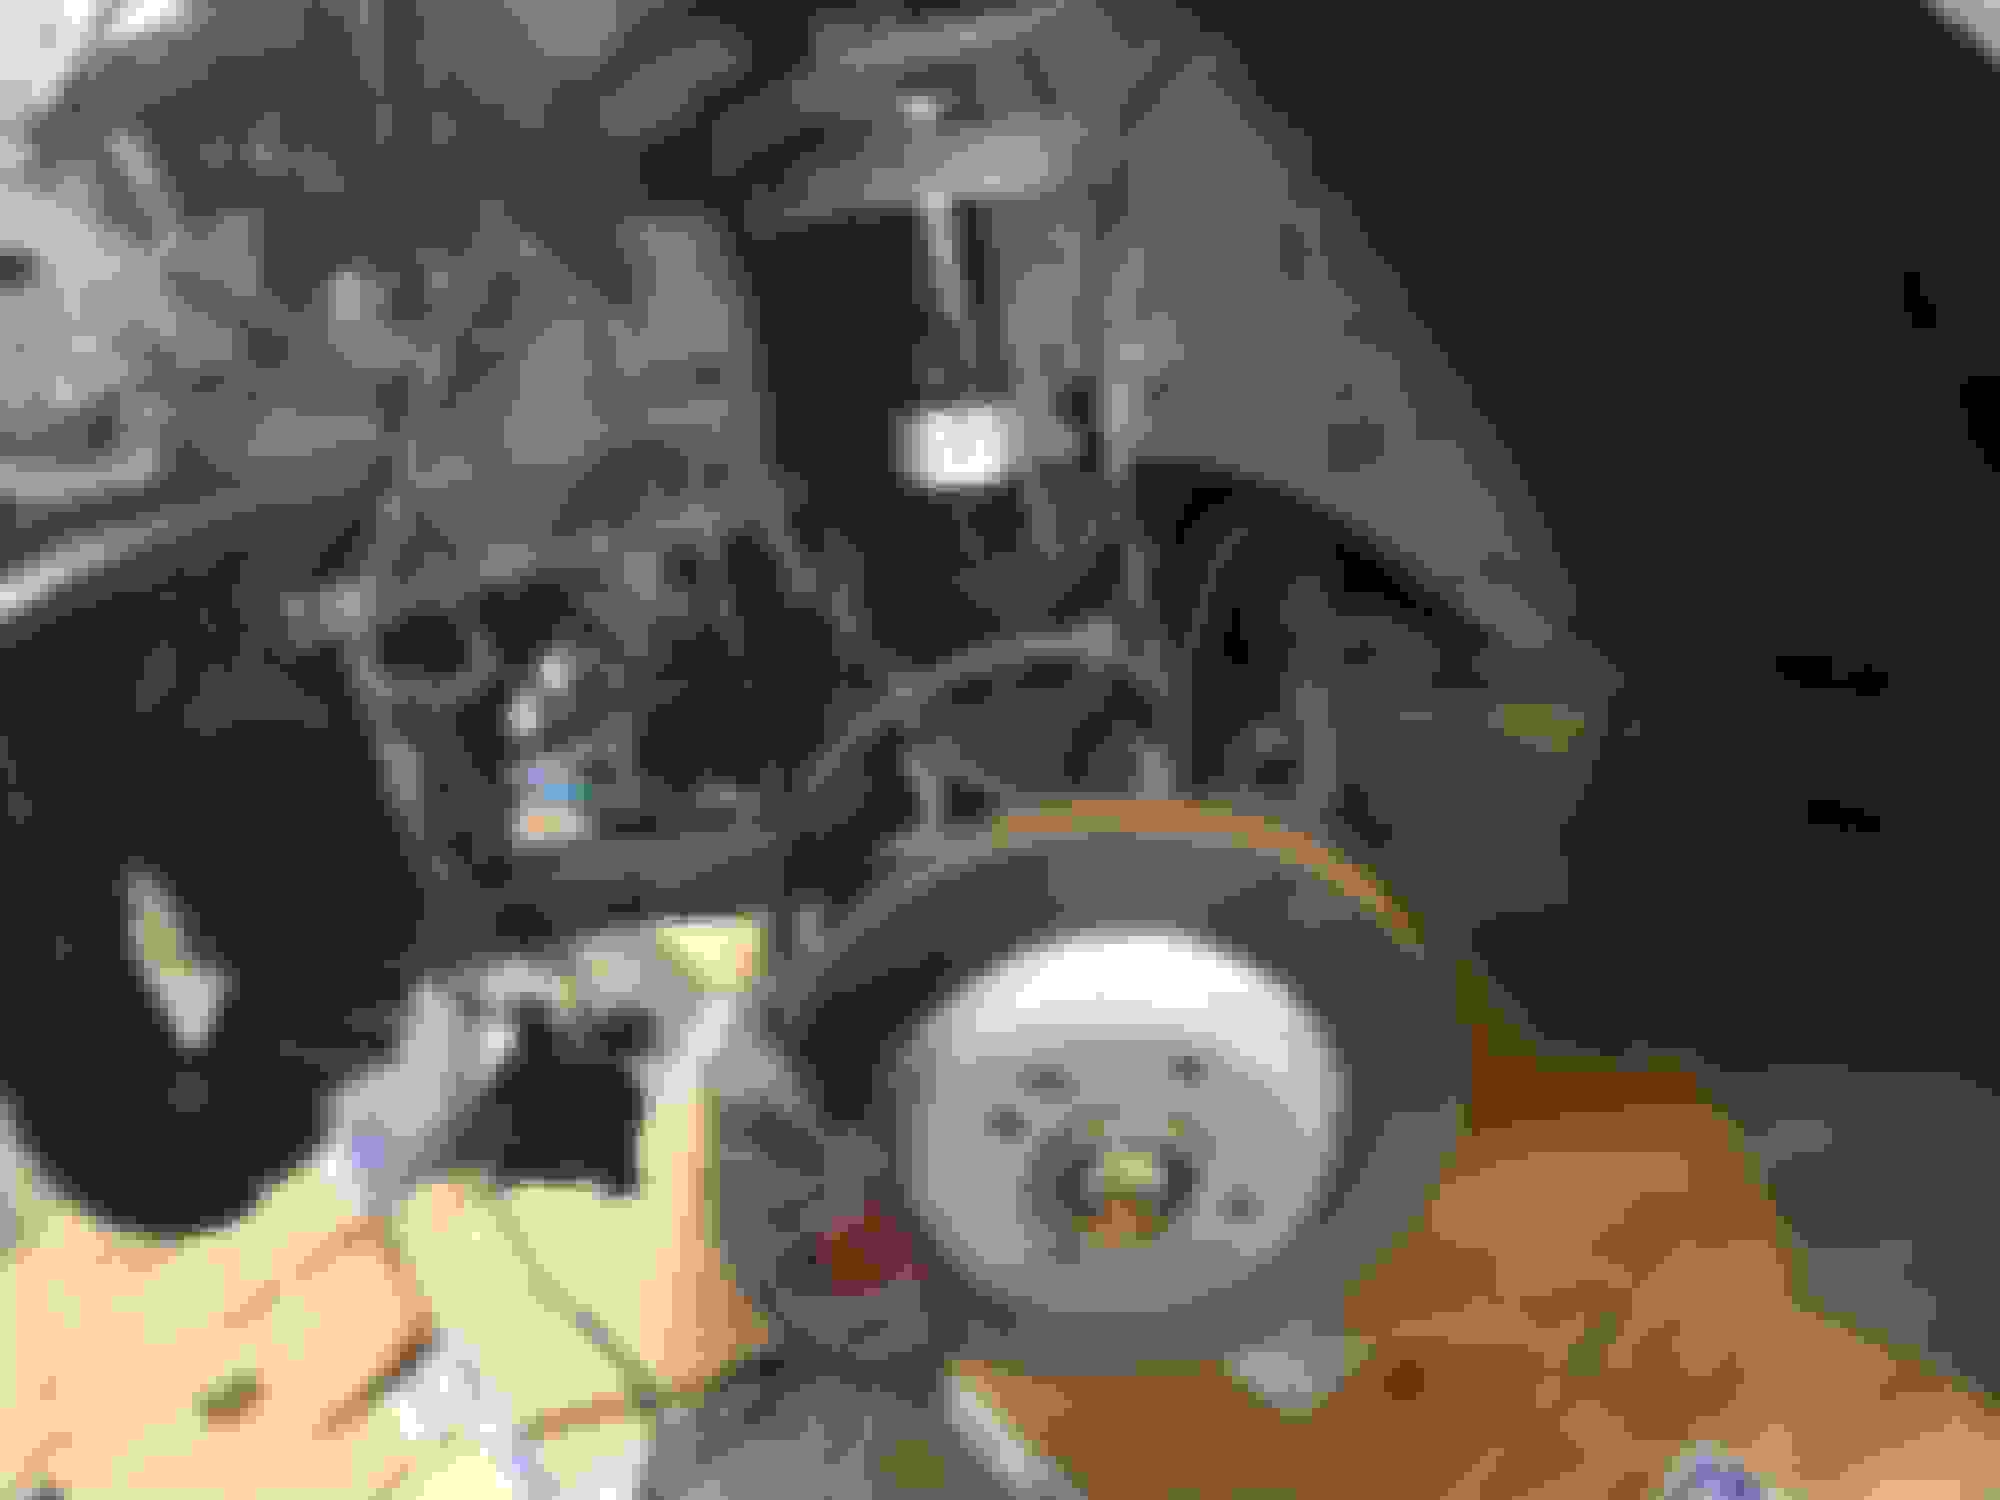
since i bought the car, the parking brake was insufficient to hold the car in place and the brakes didn't stop great. i did some research and made a thread. in the end, the driver rear caliper was toast.
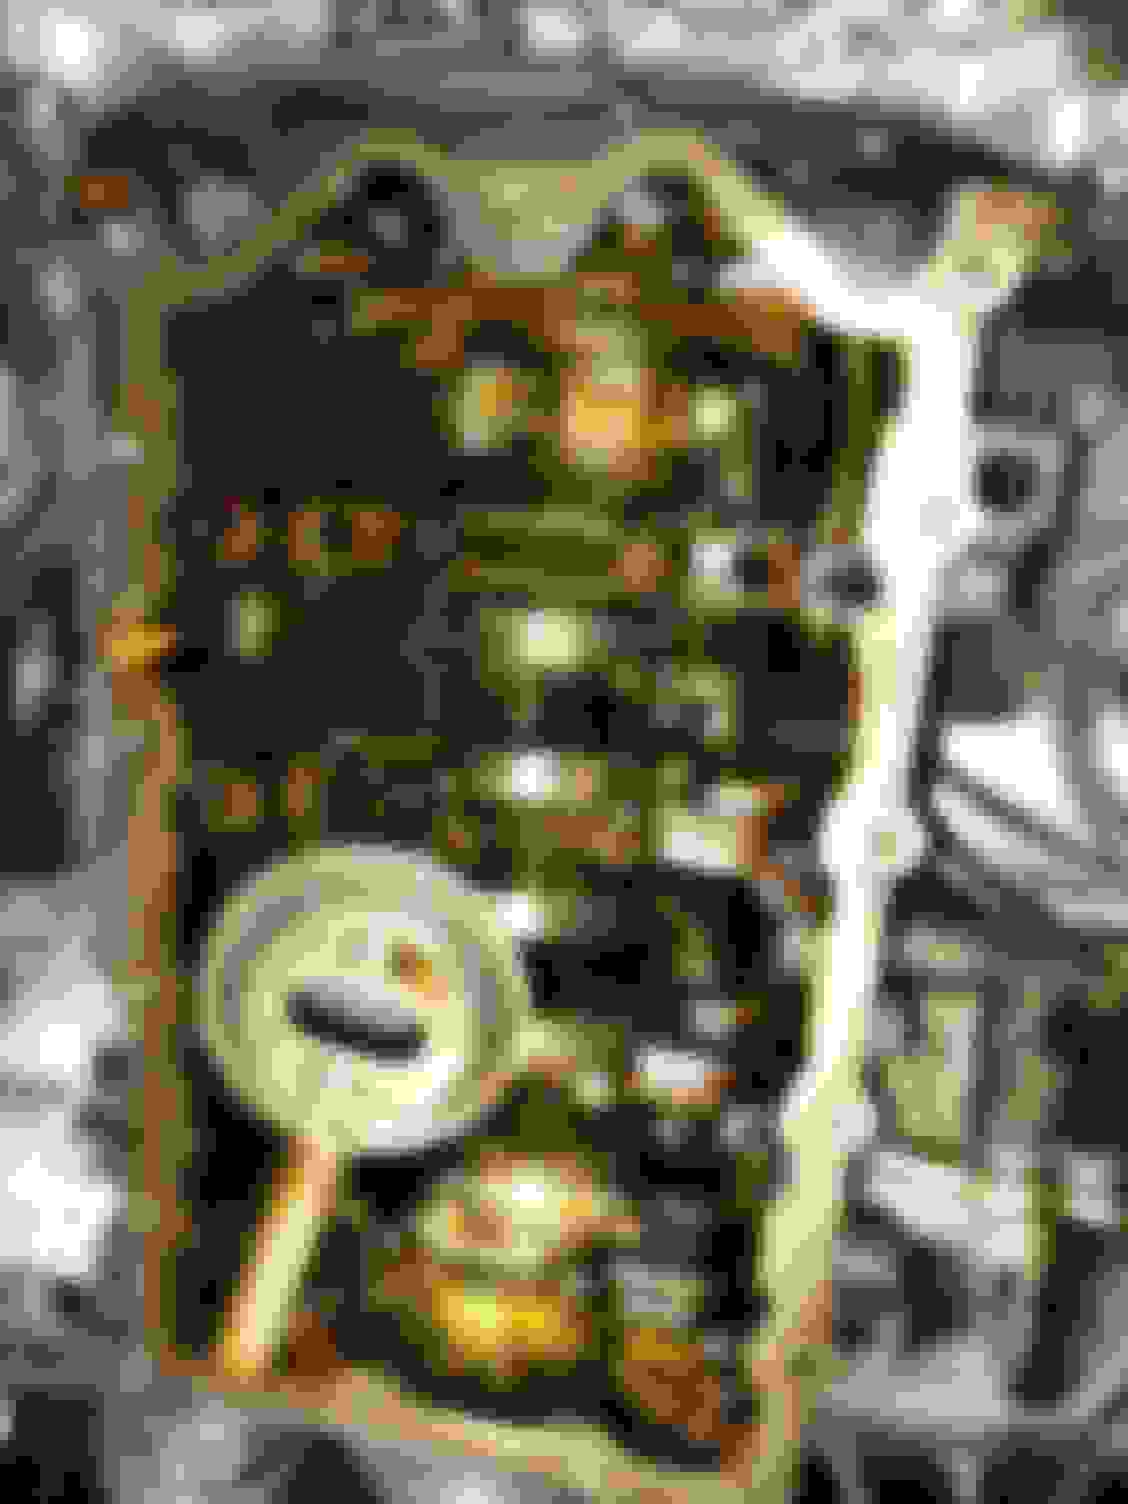
working through the new car gremlins...after i did all the work to get the car on the road, i started getting a couple dash lights.
1) CEL - i don't remember the code but it was a misfire on 1 and misfire due to low fuel
2) traction control light / ABS light
sooo...i went ahead and got a black friday deal on a foxwell scanner.
scanner told me to check the front passenger side. i did and found a frayed speed sensor.
i was trying to get this thing together for a weekend road trip, so in the name of expediency i ordered some straight-from-china speed sensors from amazon. the claims made on the packaging made me laugh but did not make me feel great about the quality. thankfully, they worked just fine. one light fixed.
for the misfire, i didn't really do much to resolve it. i just disconnected the plug wire and then reconnected it. it hasn't been back, thankfully.
then, the last thing from my initial work is the hood and front bumper. they're supposed to be painted this weekend. but, for now, here are a couple work-in-progress pictures...
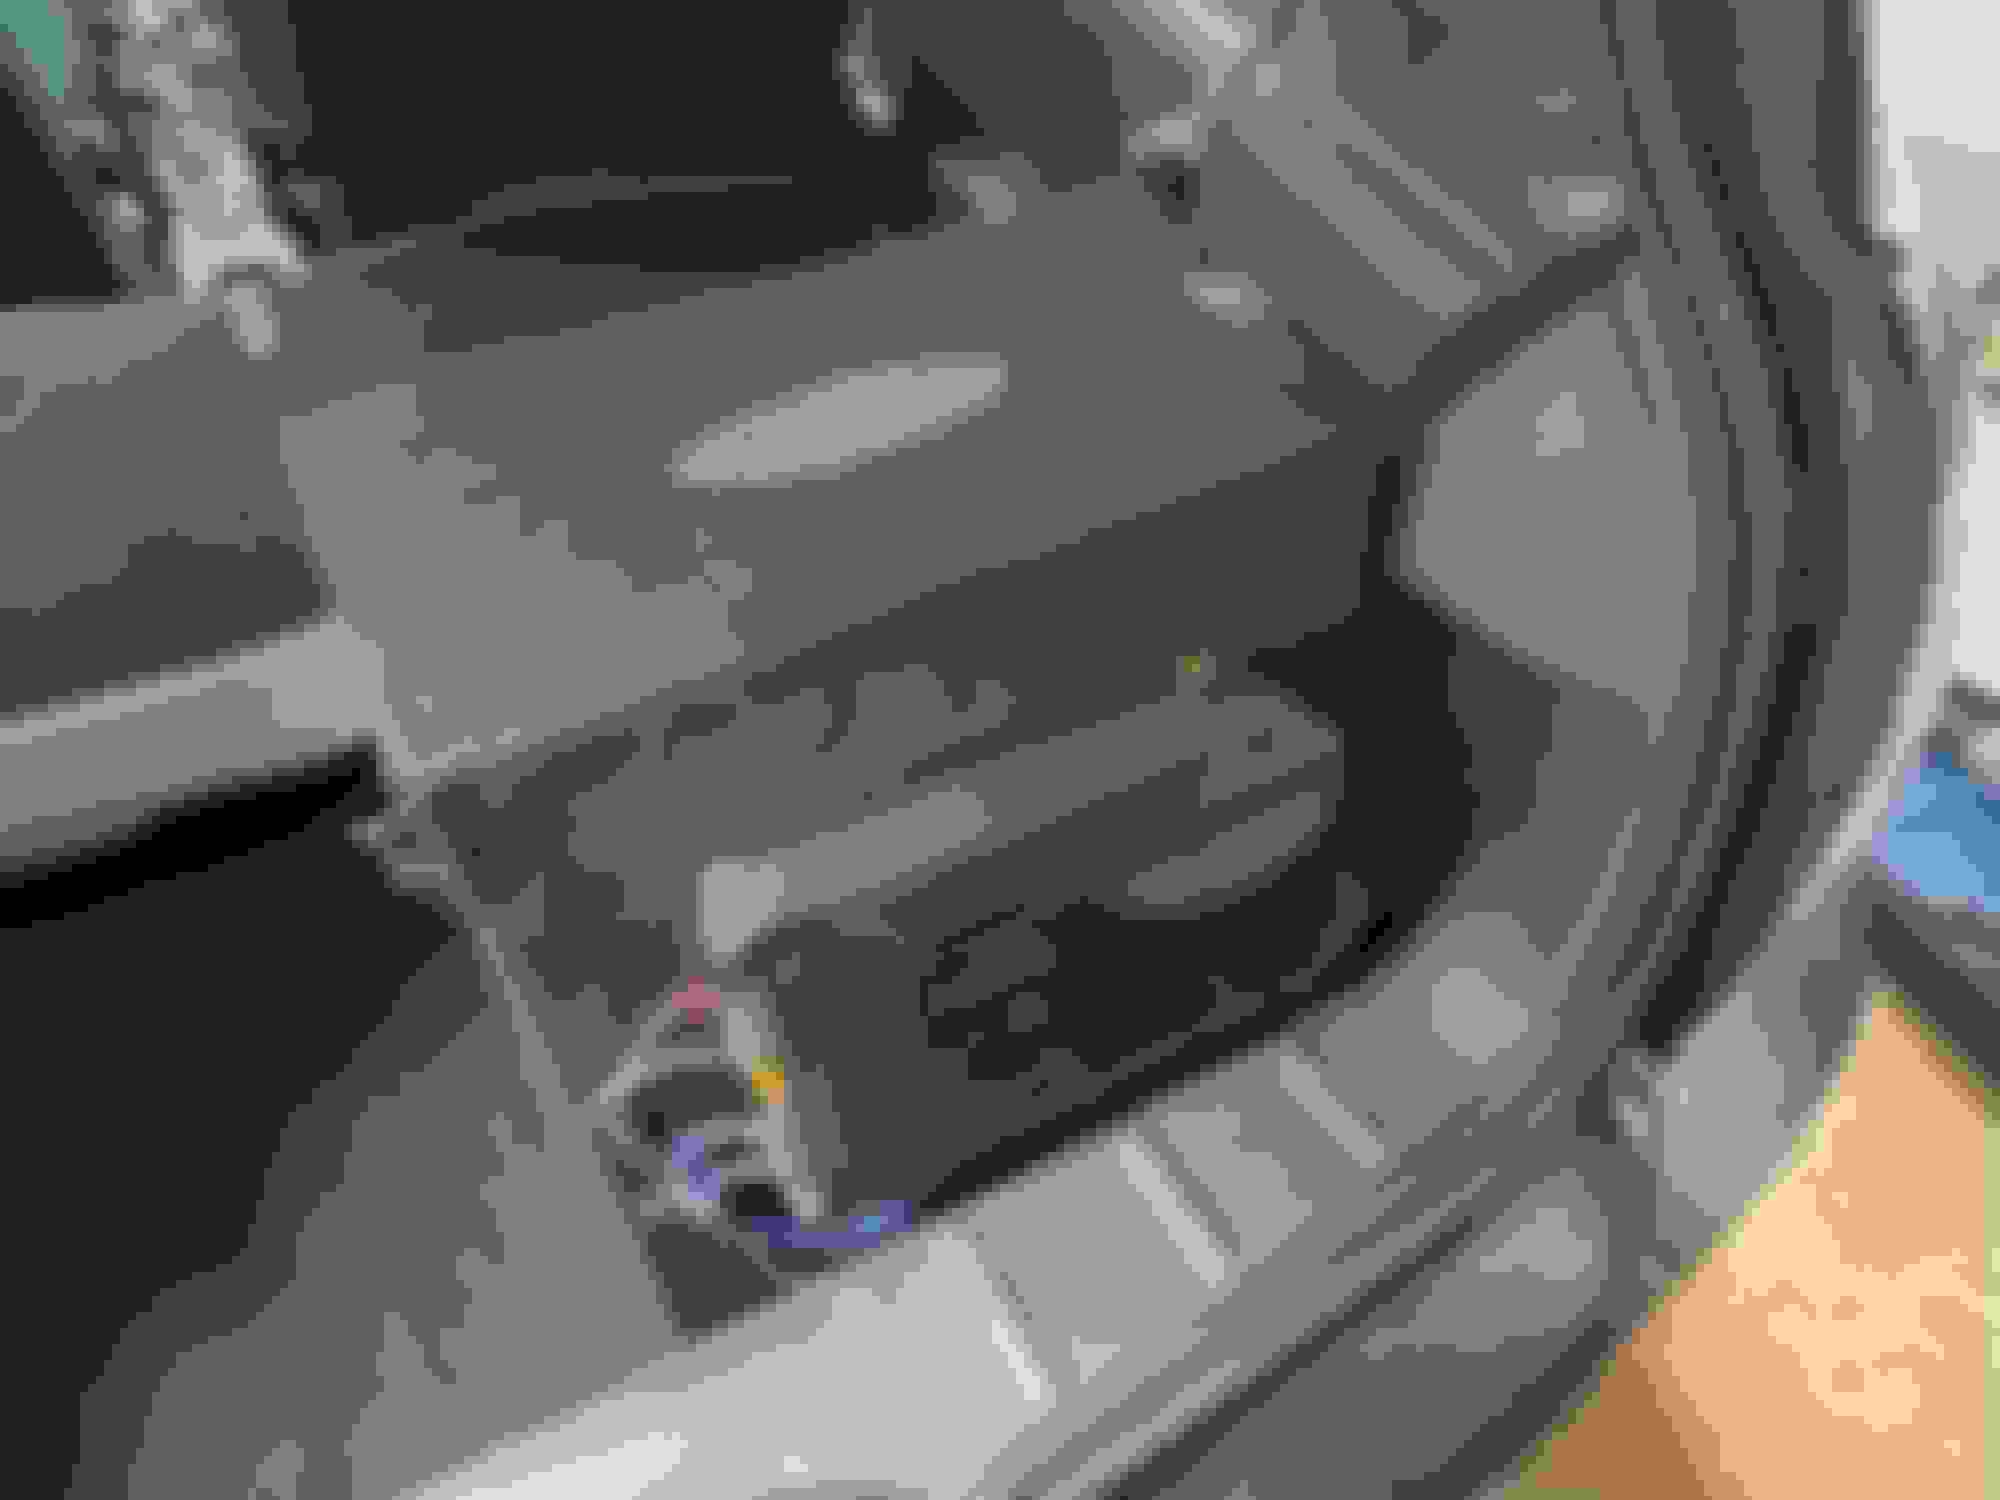
while junk yard diving for a hood and front bumper, i also scored an adapter for the harmon kardon radio and steering wheel controls. after a couple calls to axxess tech support, i had the radio and steering wheel controls working. so, i went ahead and wired in the sub/amp, too.
i've had this sub box for years now. i'm on both the second sub and second amp in the same box. that's strapped in with a metal bracket. that H/K radio with the sub sounds pretty good for my simplistic ears.
however, after getting that wired together, i had to track down a code for 5E43 ABS-DSC Steering-angle sensor, internal.
end the end, i used the scanner to check my live data. the graph was a straight line even though i was turning the steering wheel back and forth. then i was able to recalibrate the sensor, clear the code, and i was back in business. that's two wins directly attributable to the new foxwell scanner.
as importantly as anything, i talked to the mini. i tried to explain that if it would stop fighting me i'd be able to fix it up a bit. hopefully it listens.
alright, so over the weekend i did a few more things:
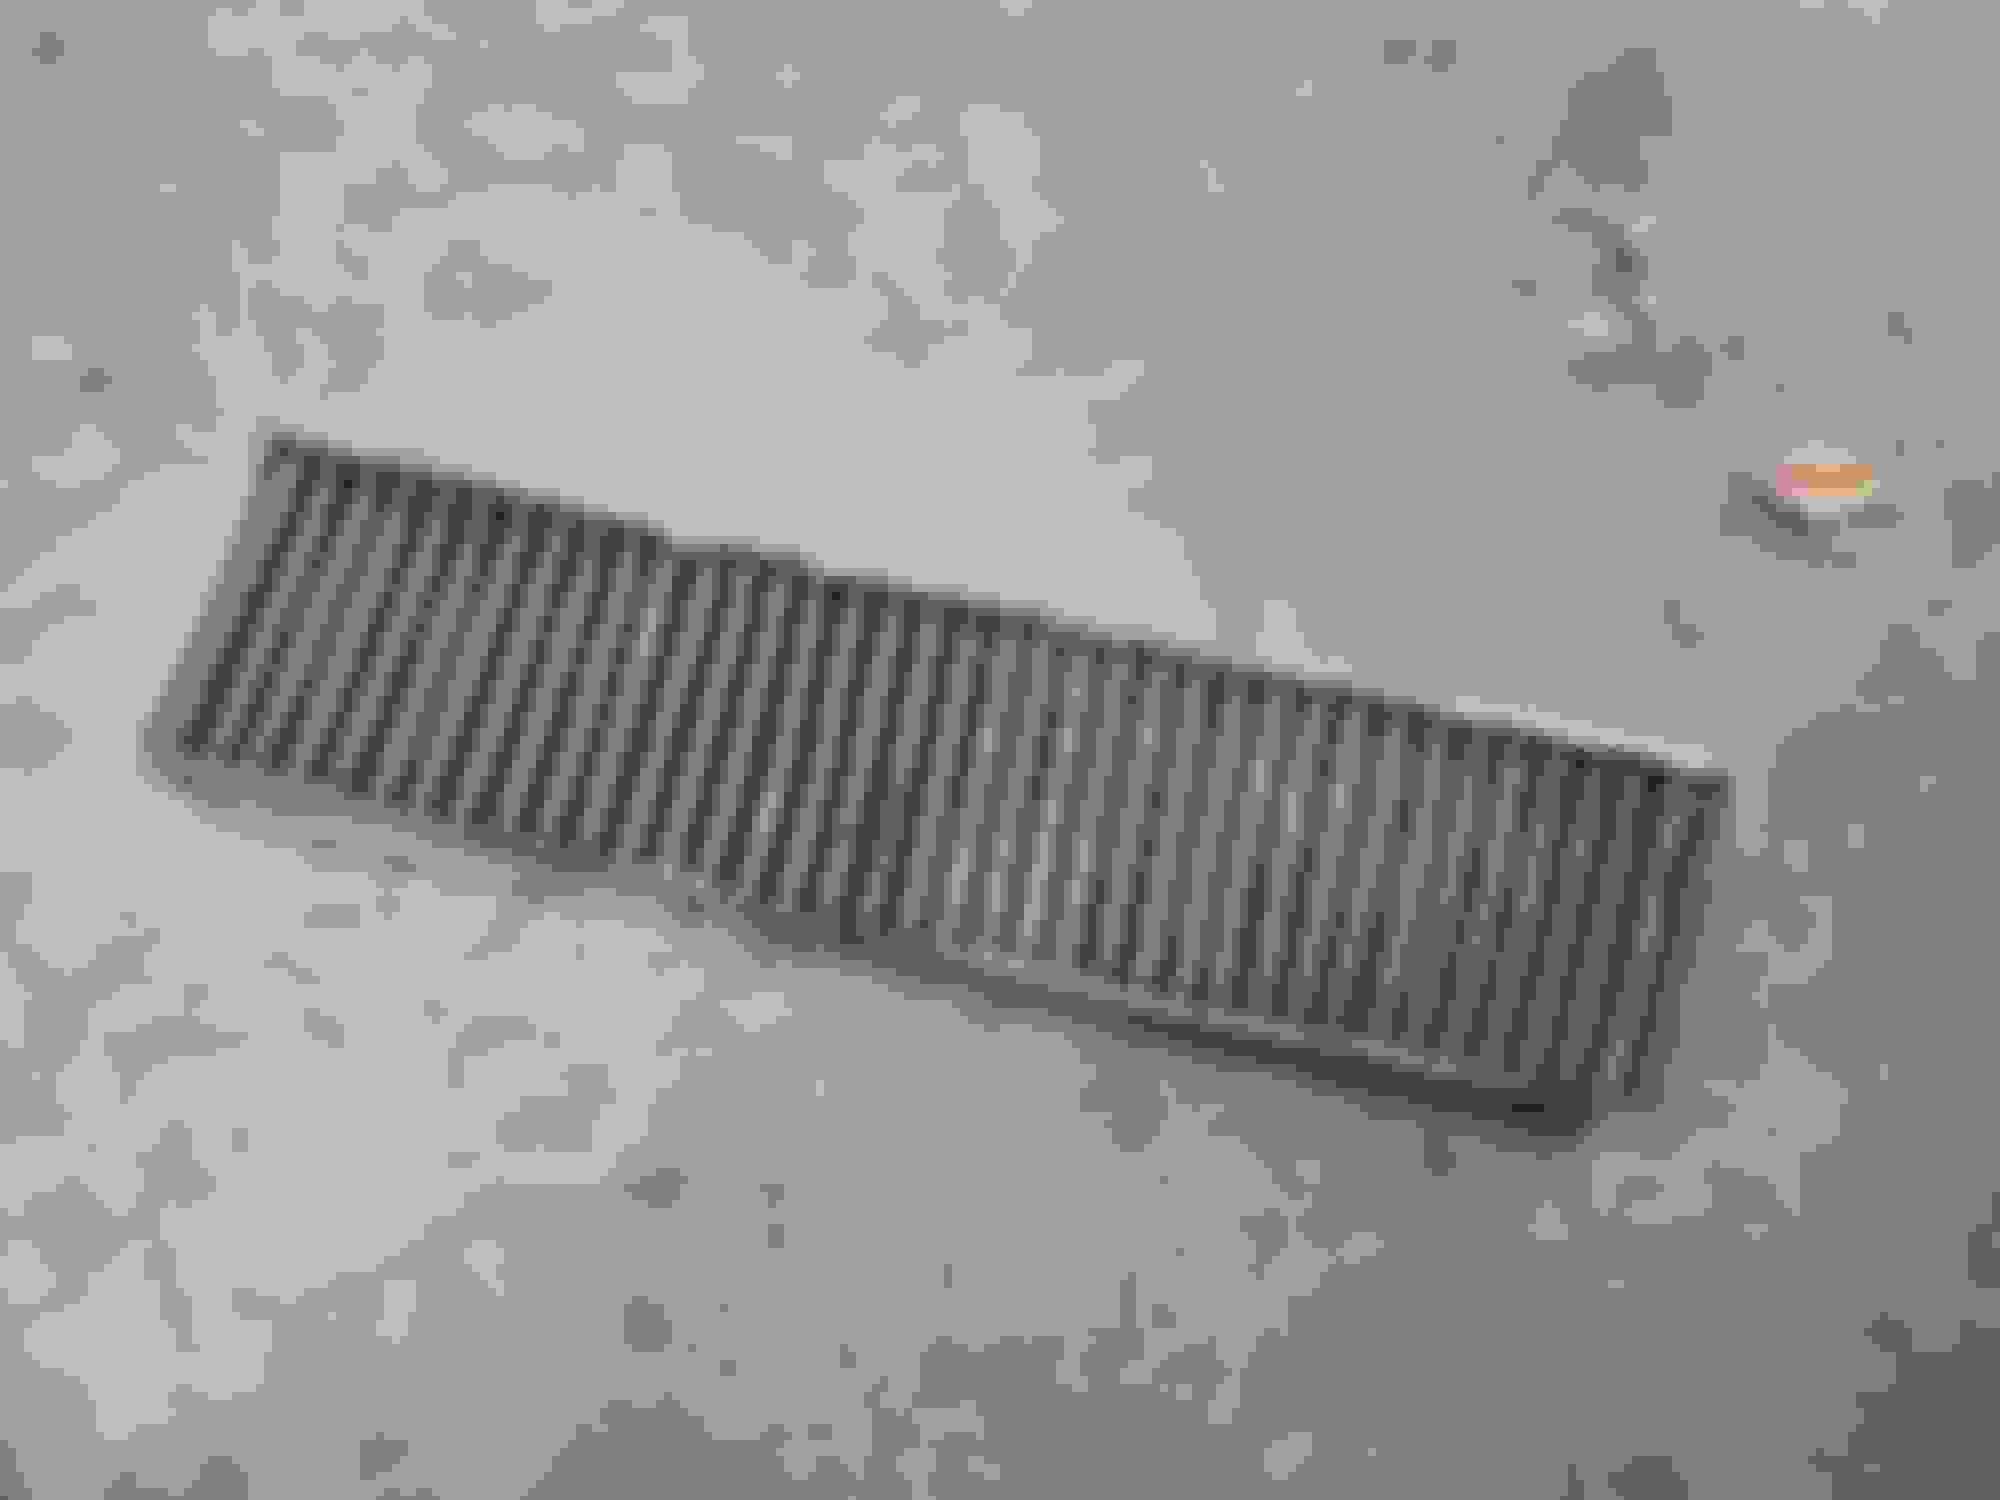
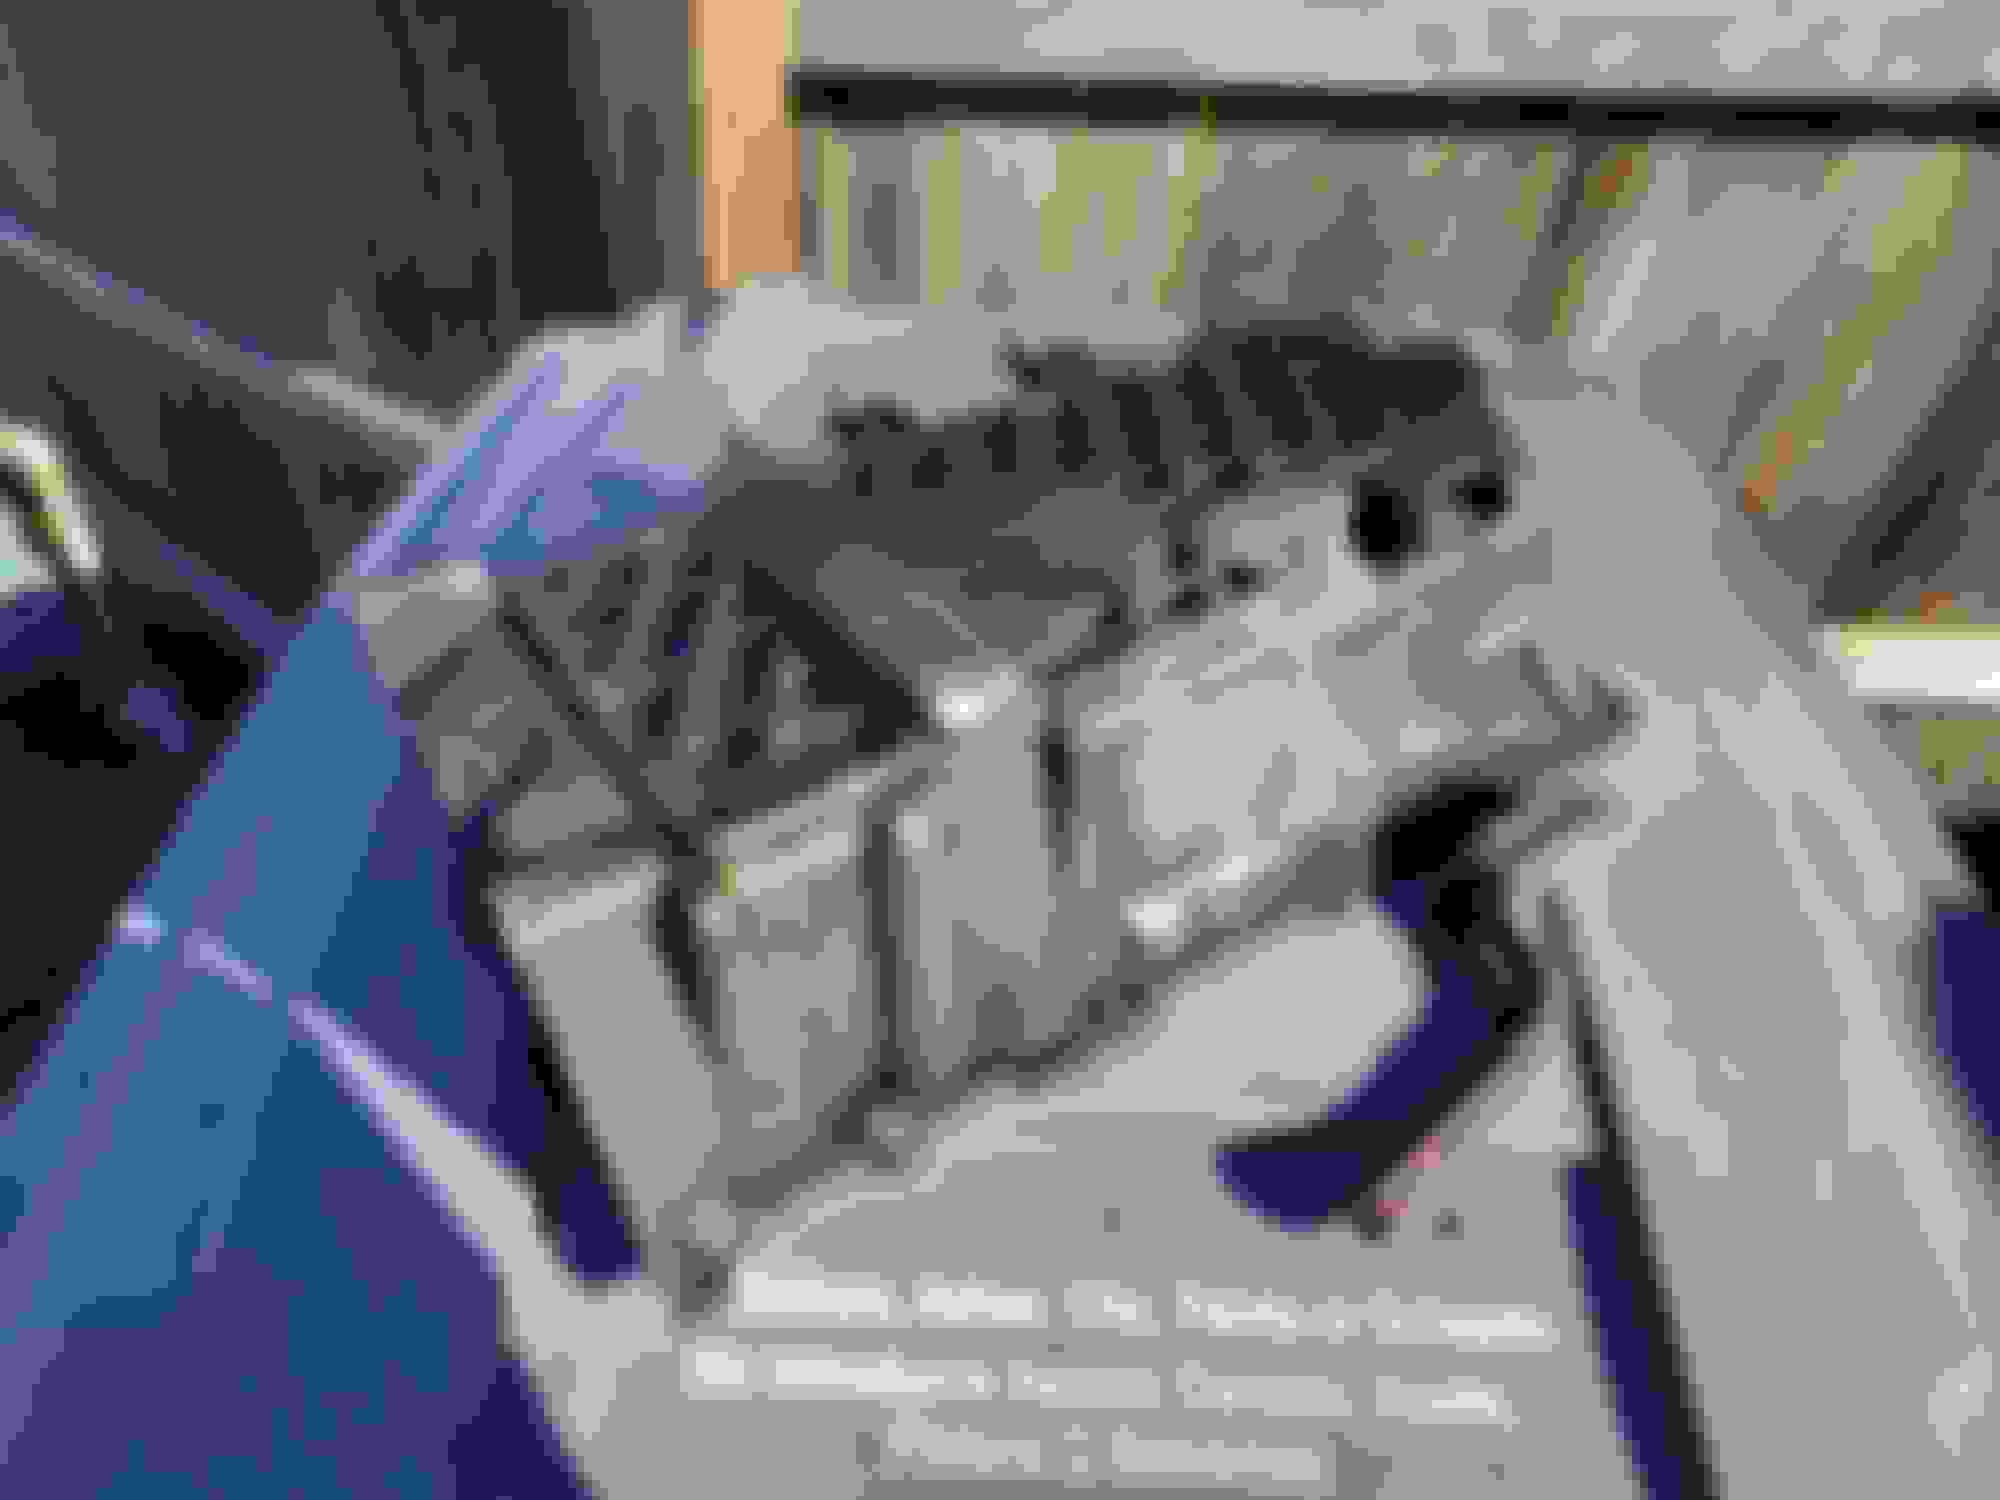
replacement 3rd brake light
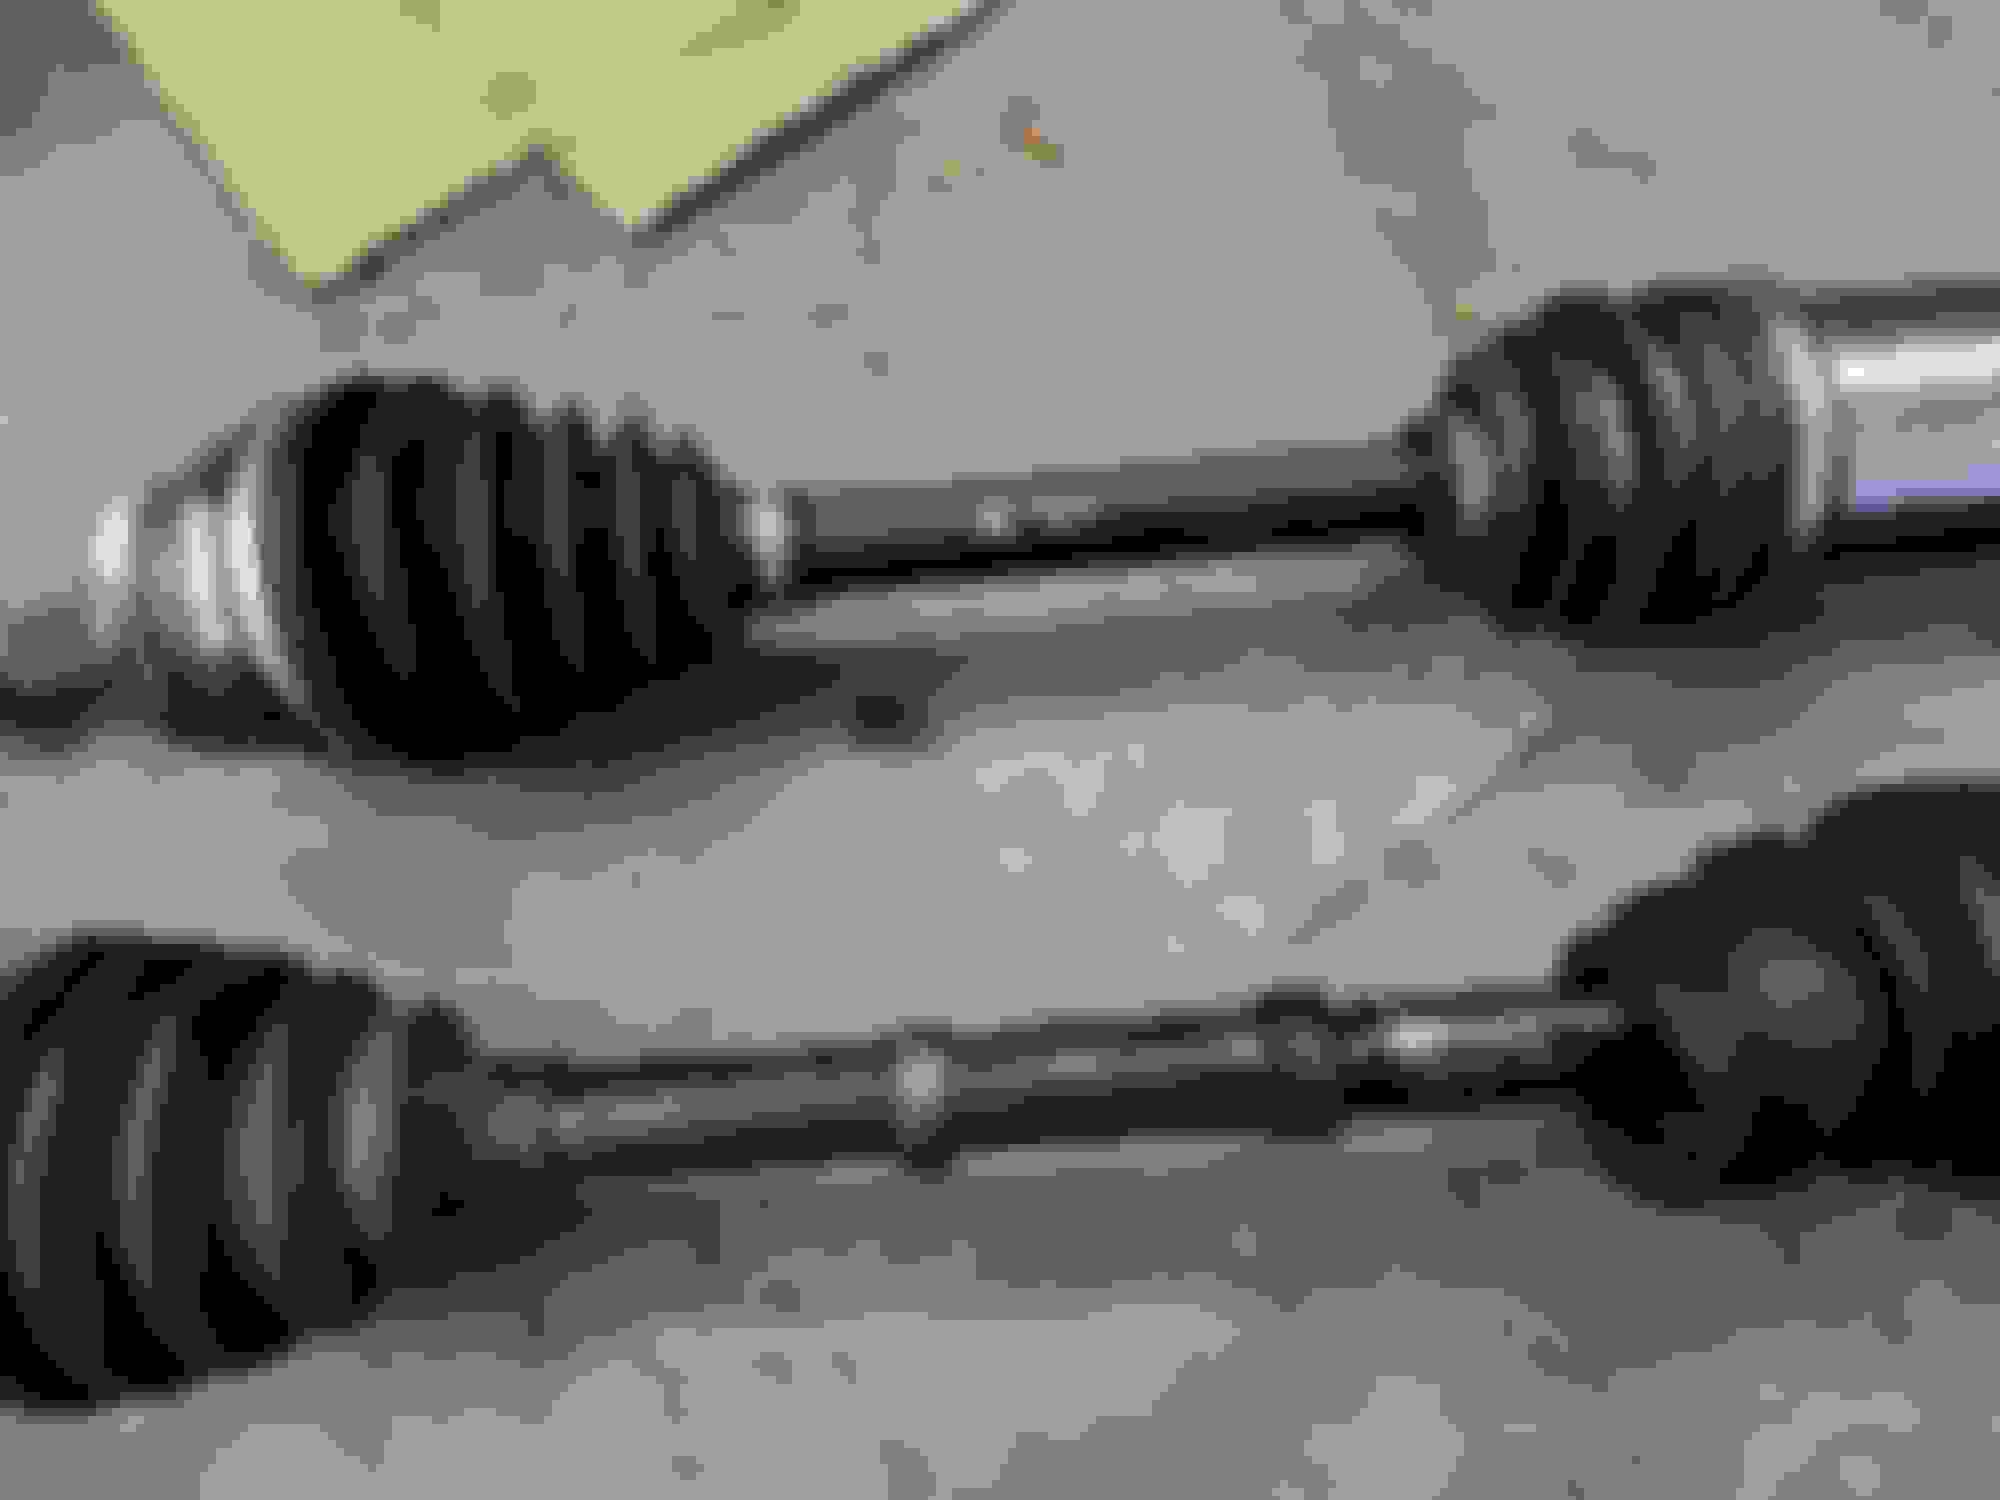
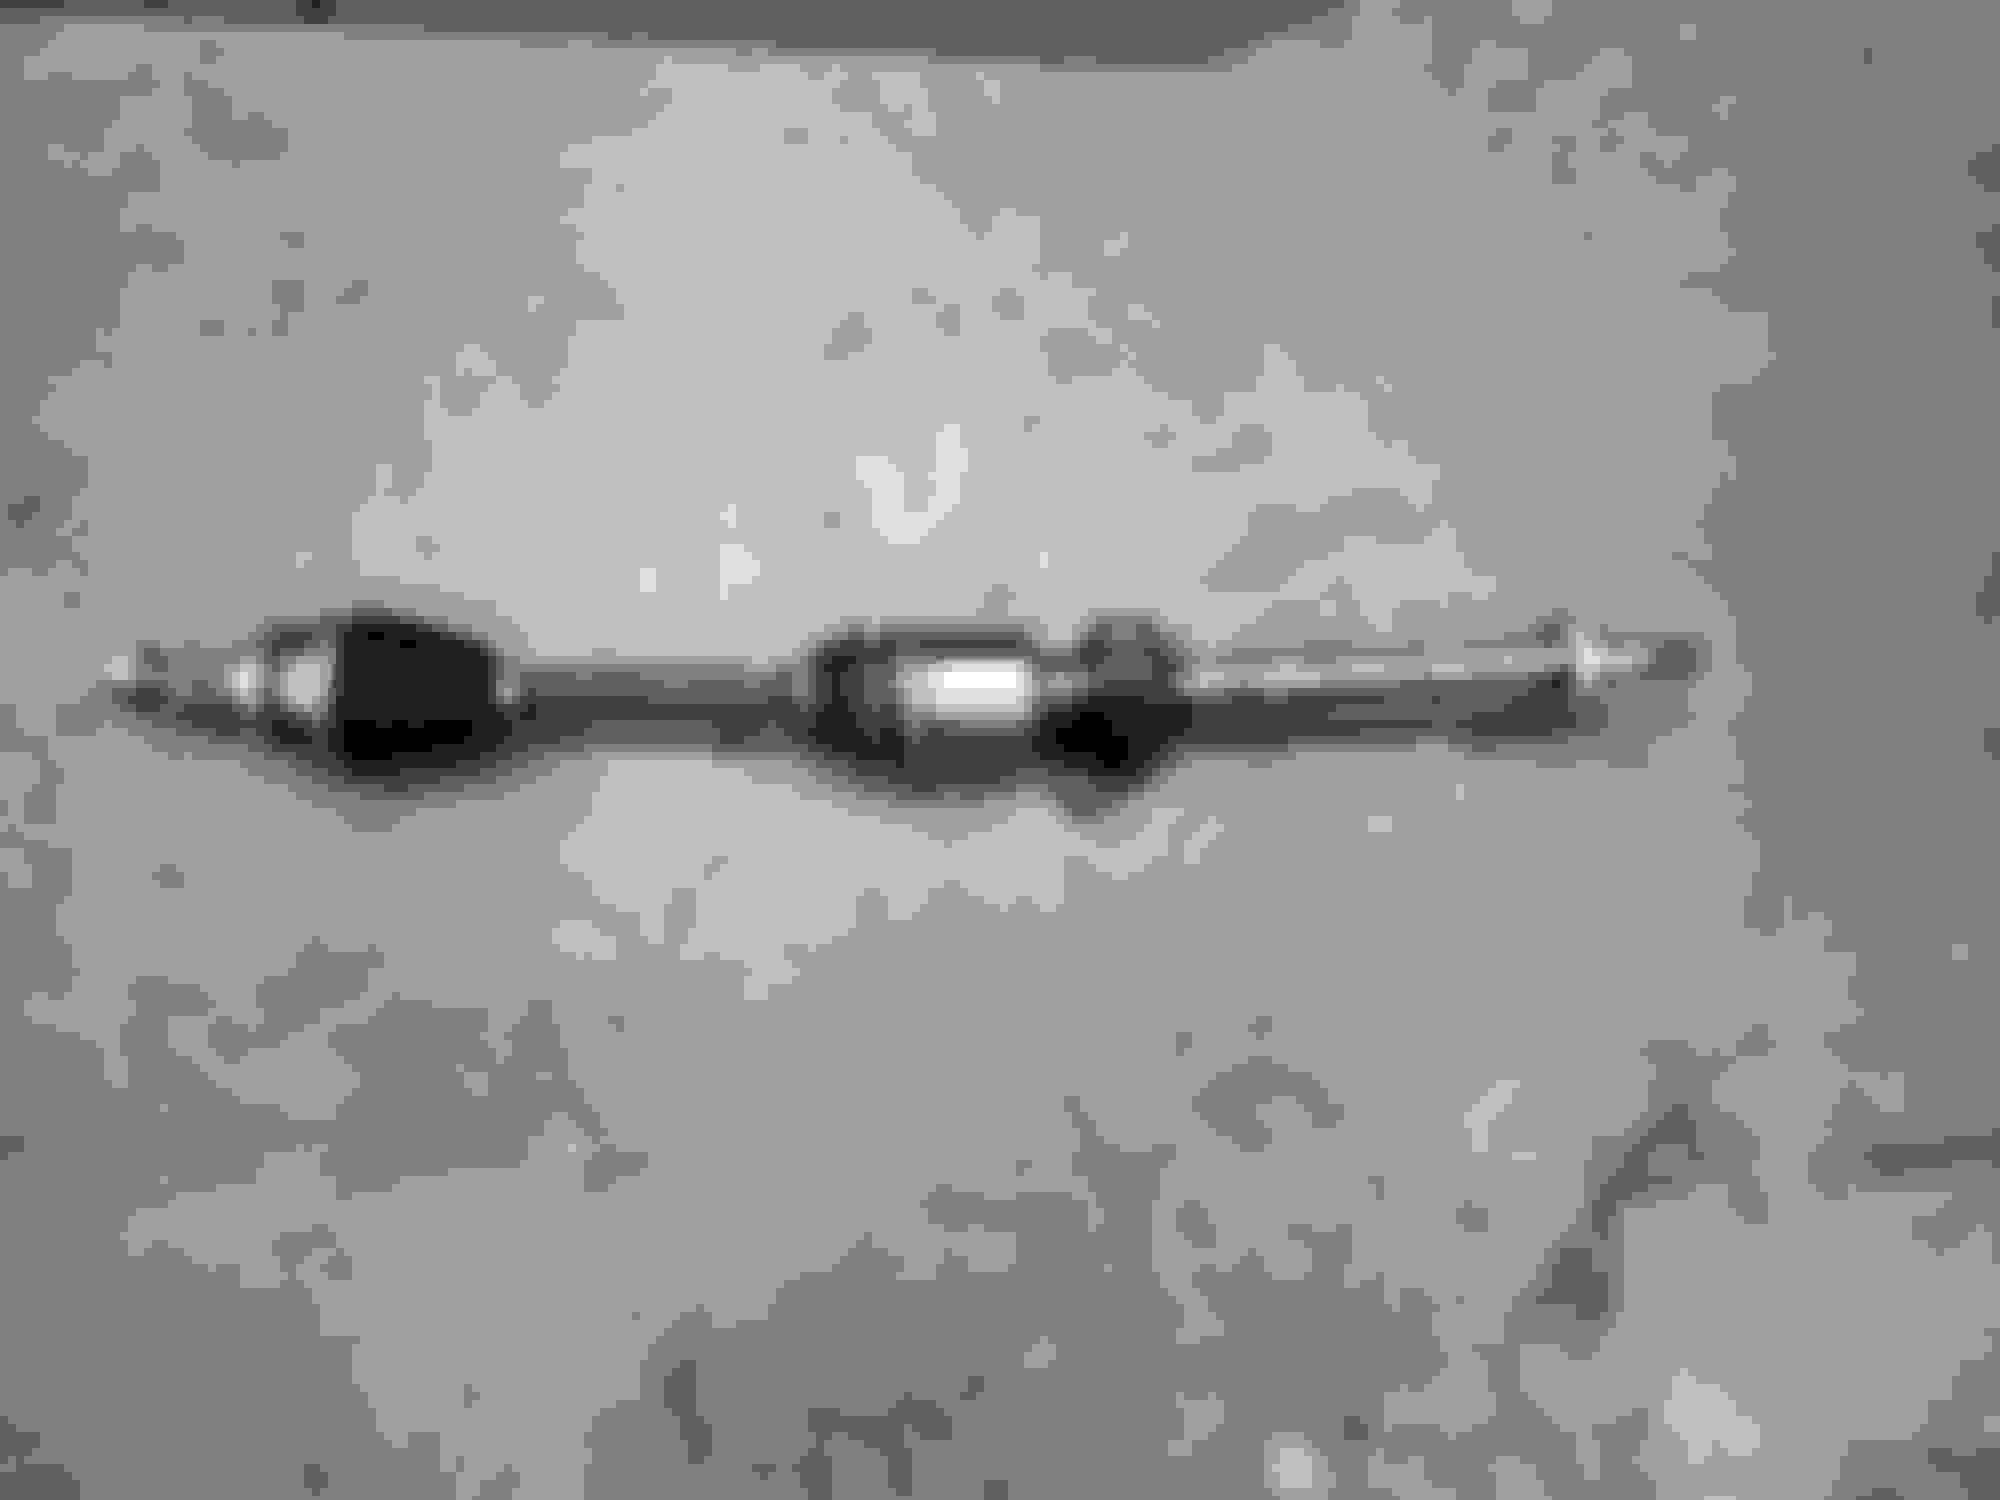
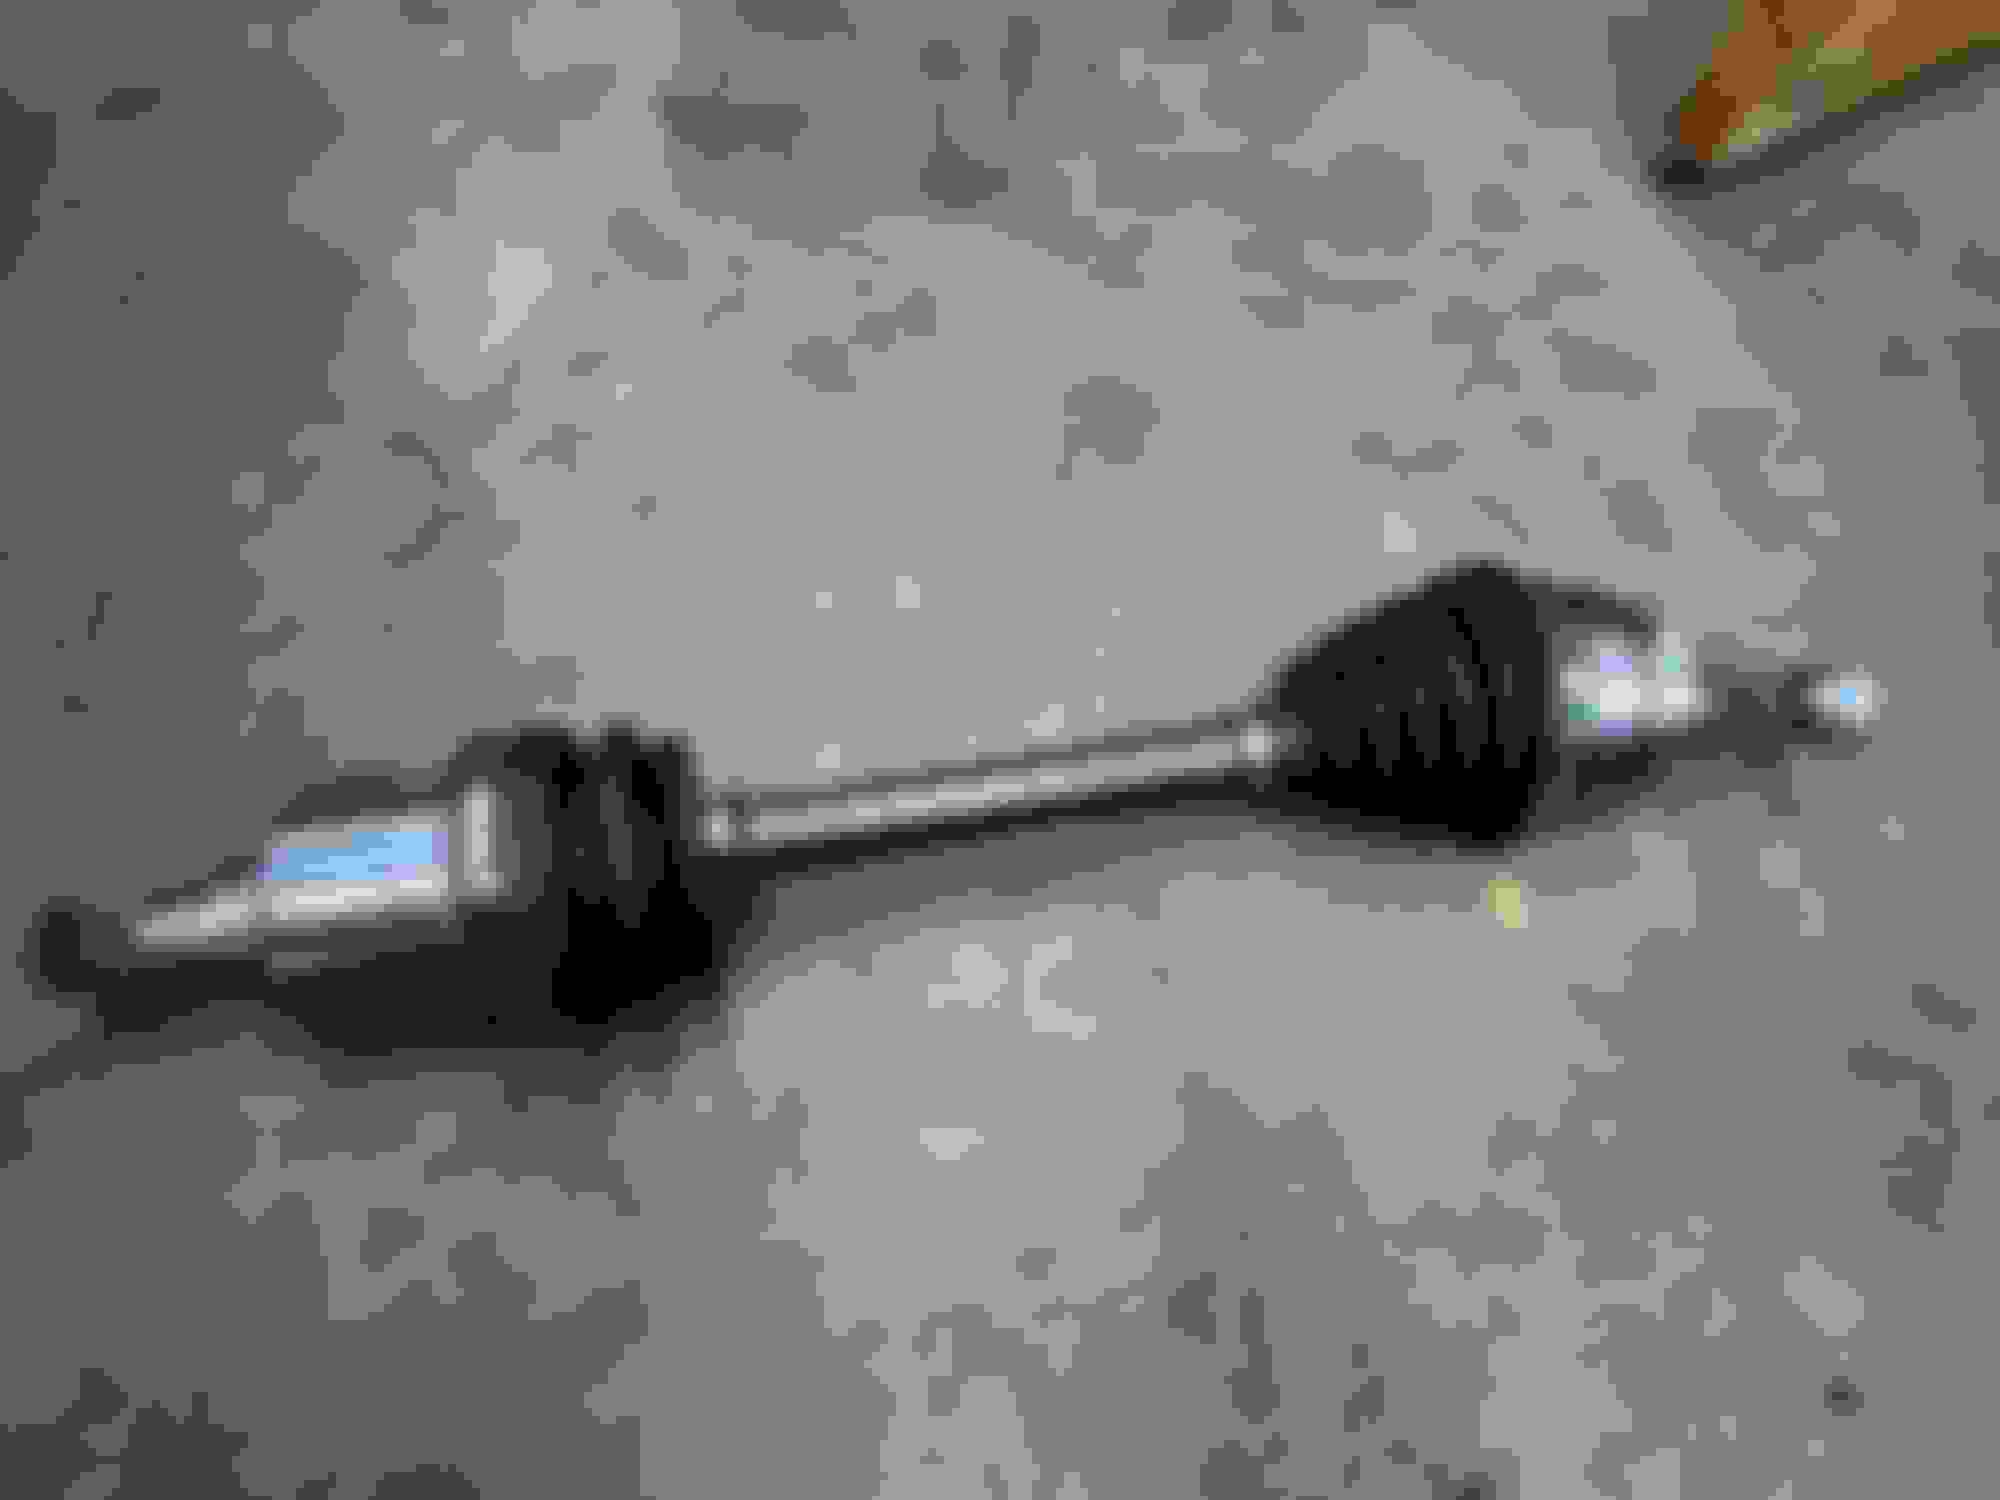
drive cv axle
passenger cv axle
oil filter adapter gasket
oil pan gasket
rear motor mount
oil change
transmission fluid change
cabin air filter
this shot demonstrates how much easier it is to do the oil filter adapter gasket when you remove the passenger axle first.
Last edited by phone_cover; 01-01-2024 at 04:12 PM.
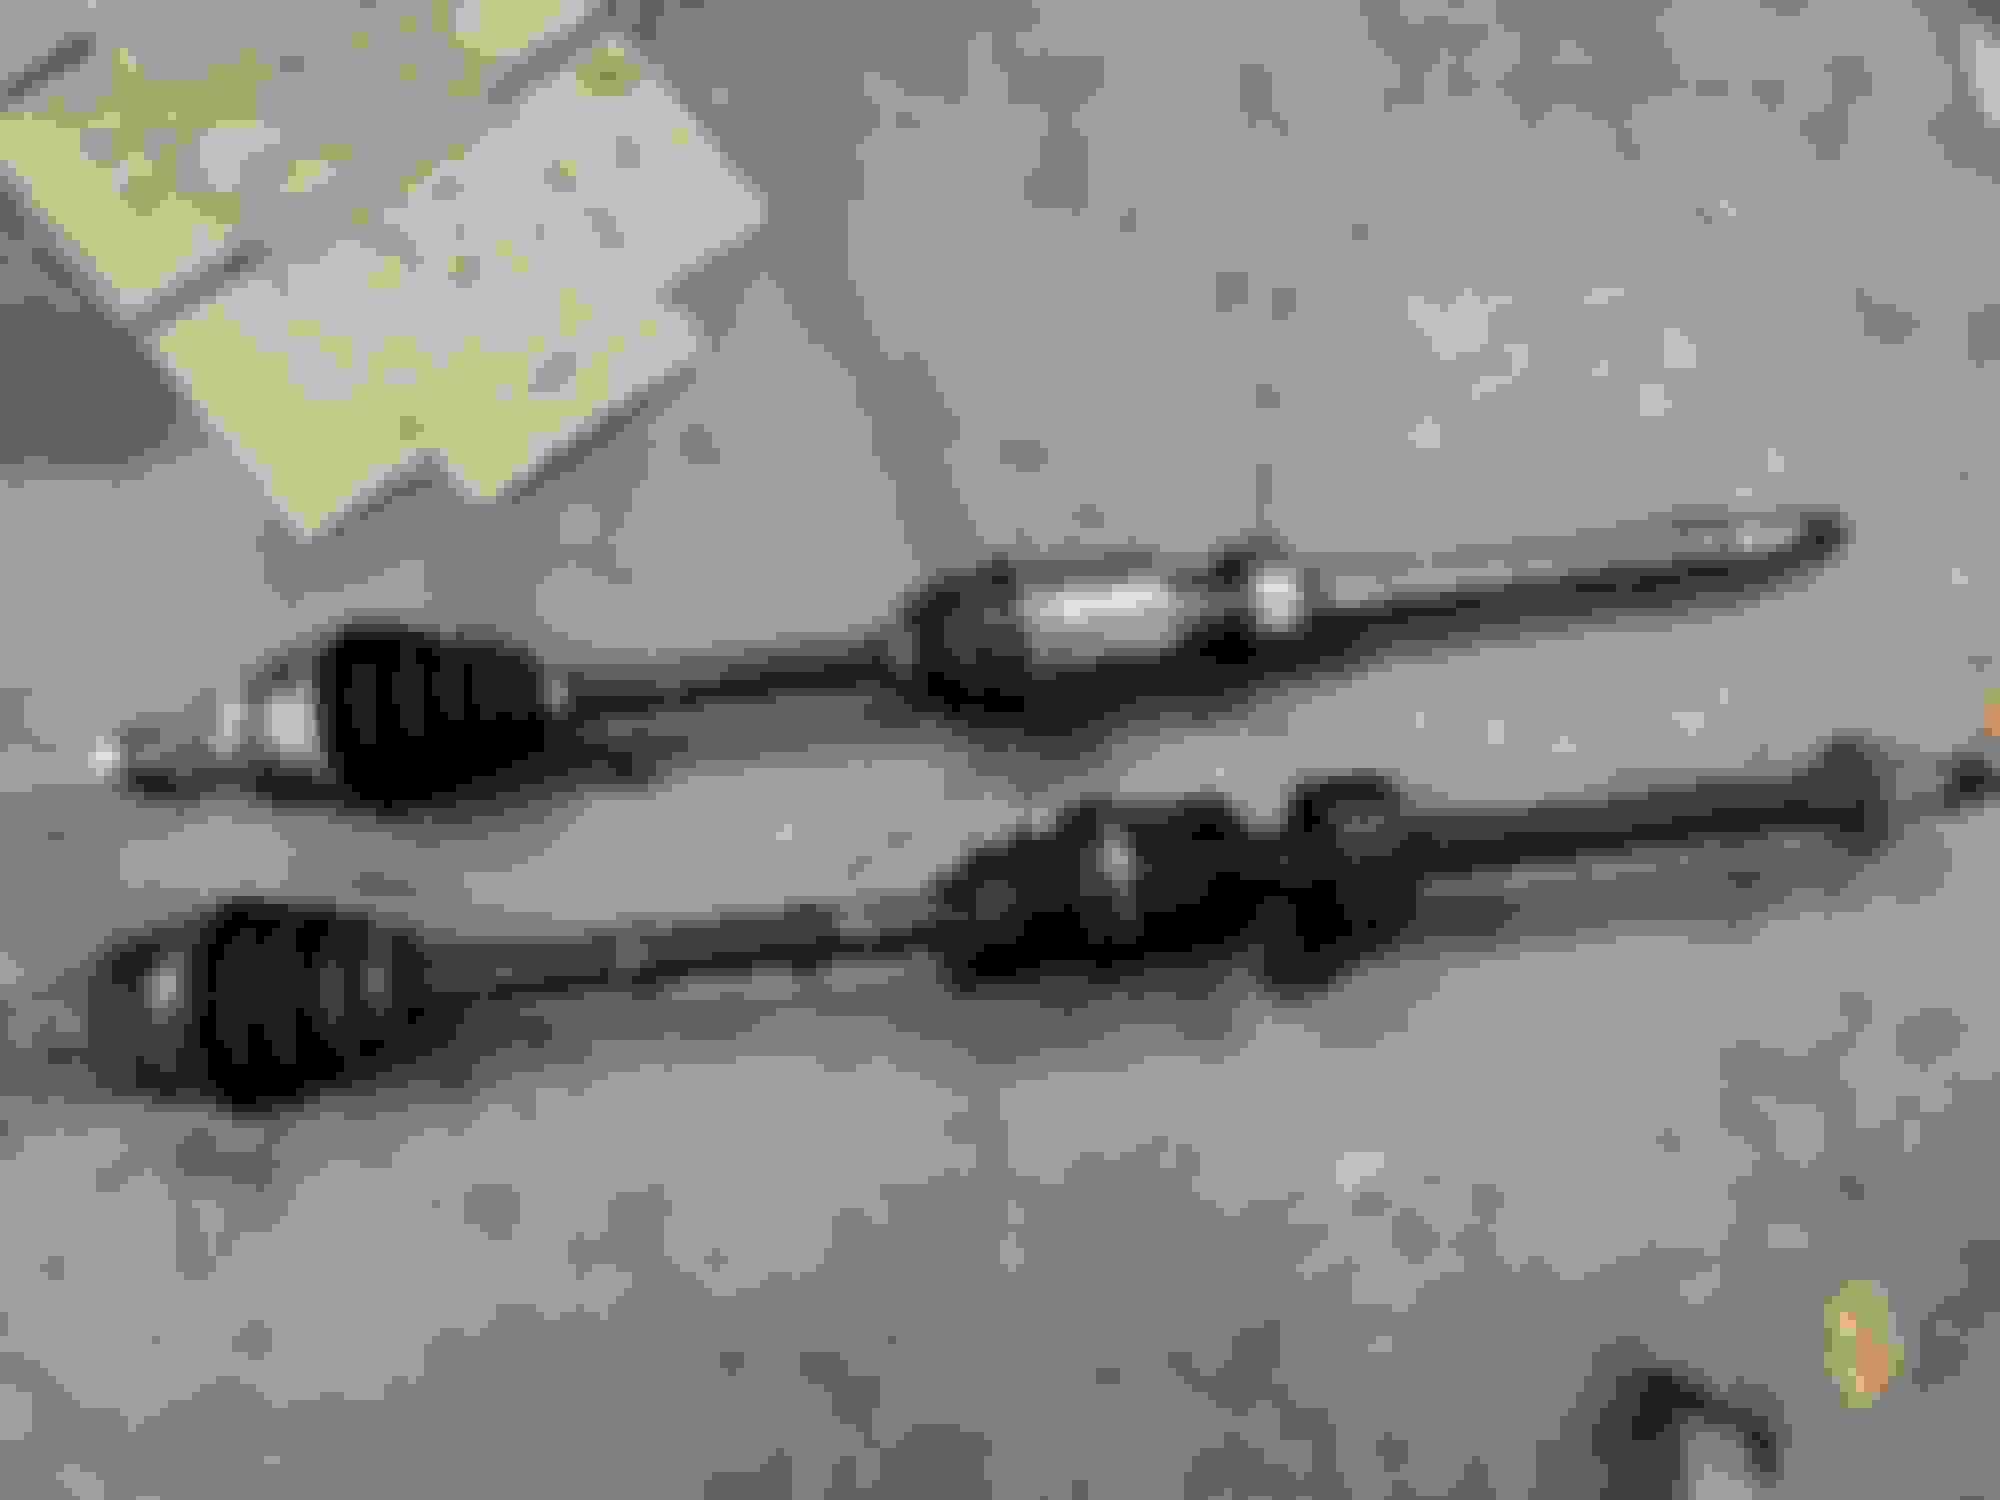
now, i am going to probably have to take the L on this one, but either the driver cv axle popped out on the test drive or i failed to get it fully installed initially. regardless, the test drive resulted in the CV axle being dislodged and i had to get towed home. very sad.
regardless, i didn't want to reuse the axle so i warranty exchanged it. this time i ended up with one from a different manufacturer, still a autozone duralast gold, though.
and while the weekend was fairly chilly, i wasn't too cold b/c i have a couple electric heaters in the garage for these occasions....
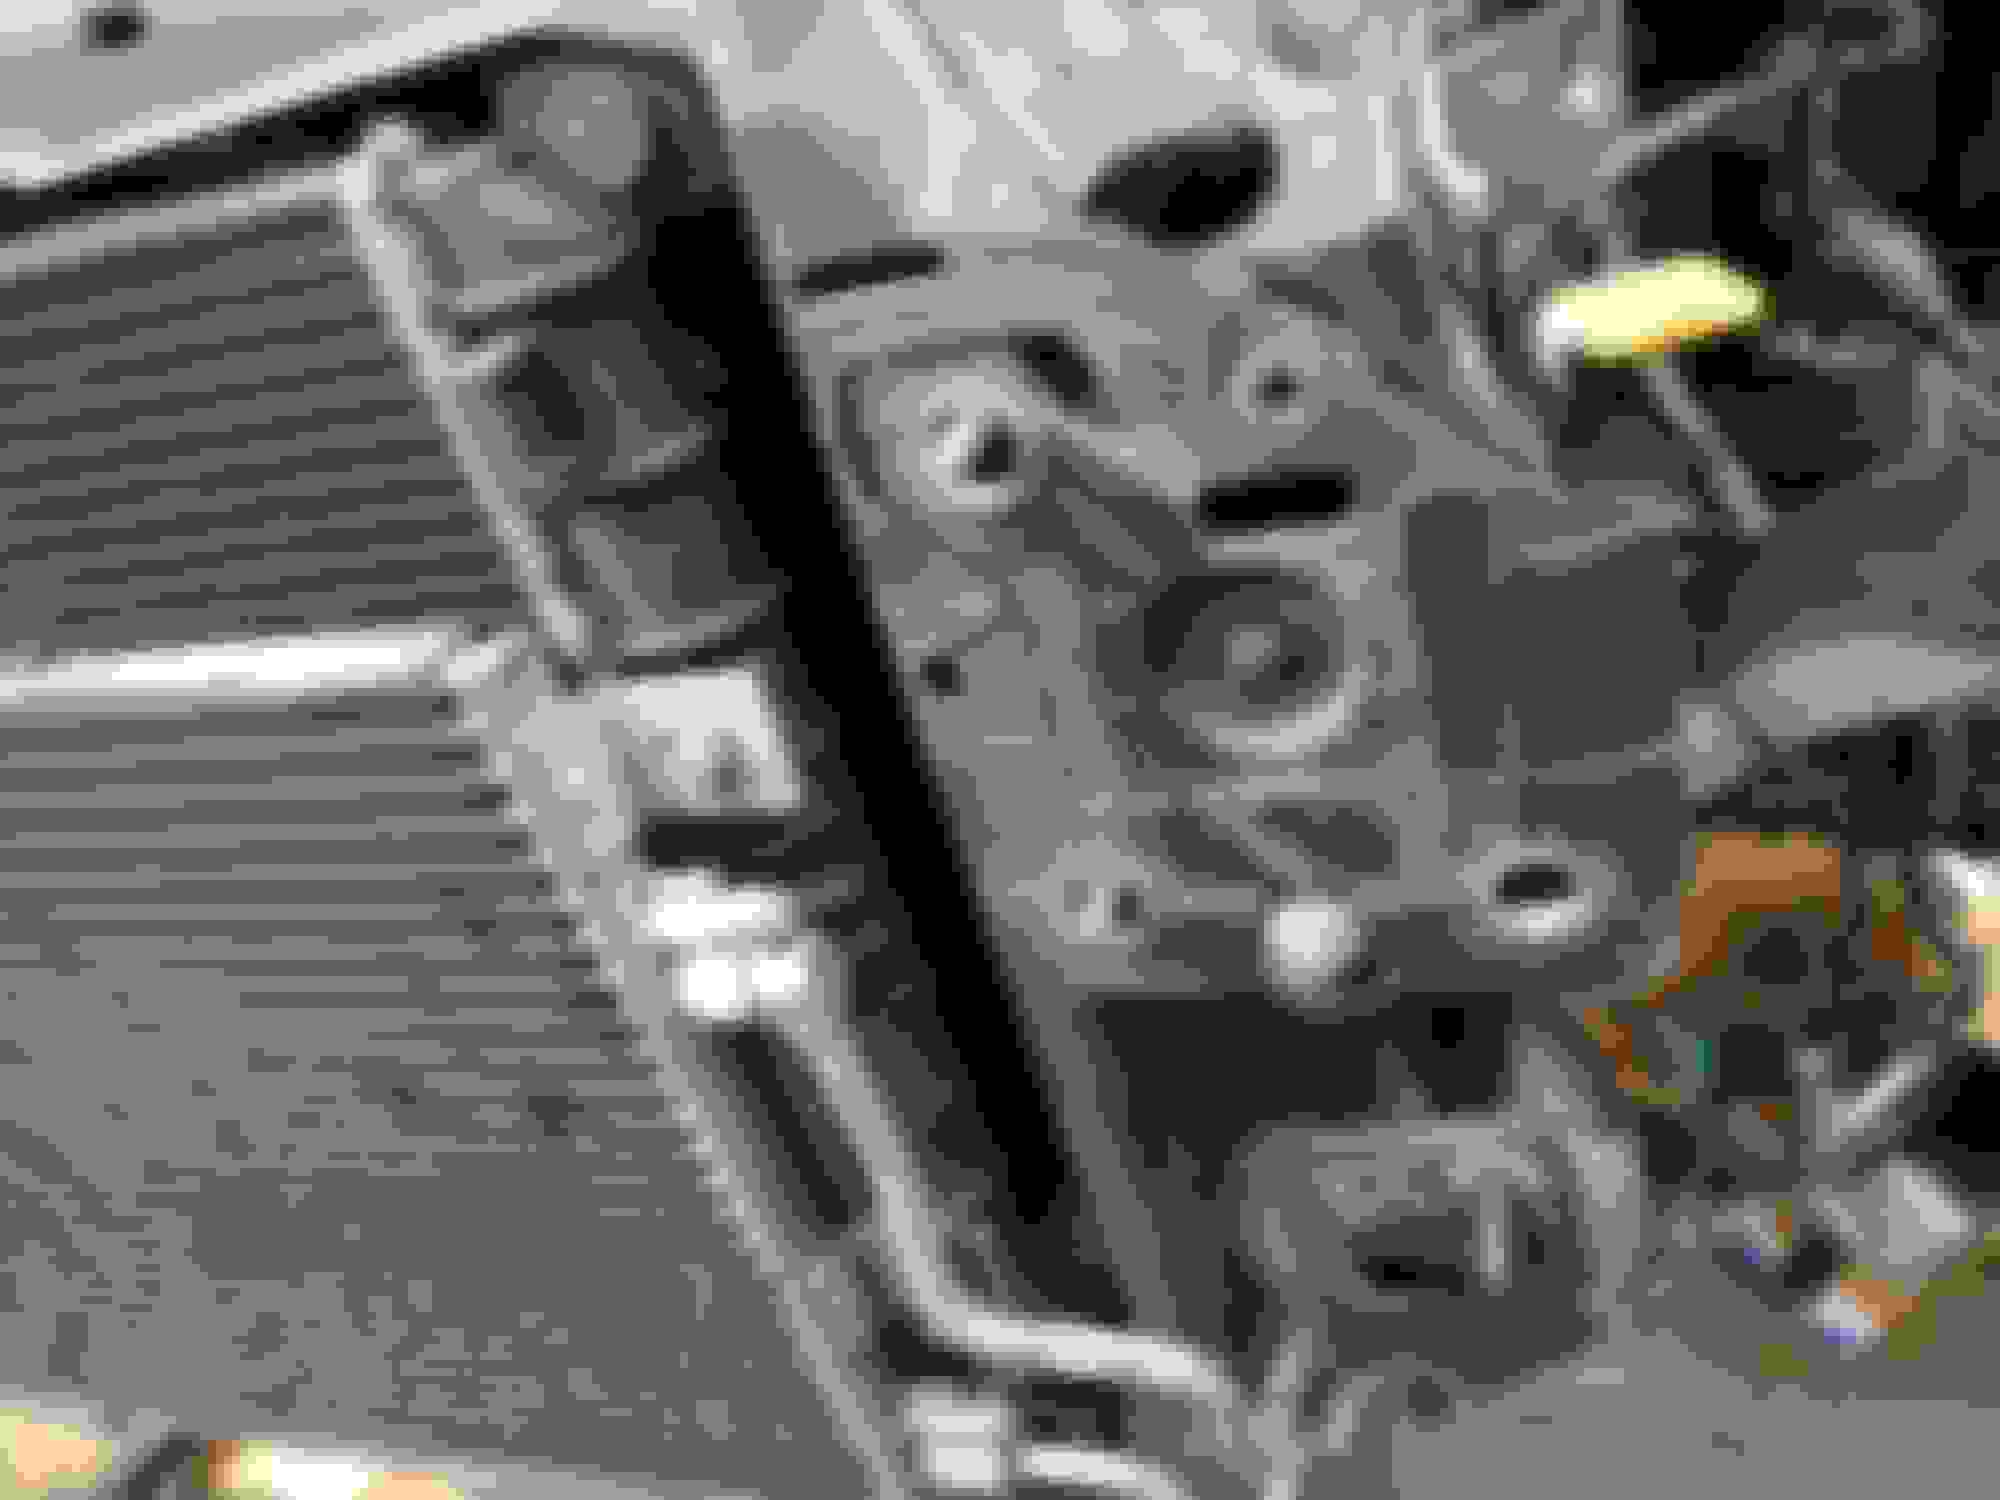
and...i still have an oil leak. it looks like the oil cooler. i'm going to order new o-rings, but just in case i've also added some dye.
After replacing the valve cover gasket, the oil filter adapter gasket, and the oil pan gasket, I still had an oil leak. However, since everything was pretty well cleaned off plus the leak dye I was able to see it was leaking from the cooler.
I didn't know those gaskets existed, but I ordered replacements and installed them yesterday. The job was surprisingly easy. I drug my 13 year old son out there with me to give me a hand.
I don't want to jinx anything, but early results are encouraging with my oil leak repairs...
I've done a handful of things this week.
Replaced a missing jack point underneath the car. Now I have all 4.
I got my non-working headlight to come on. So, now I think I won't have to replace them.
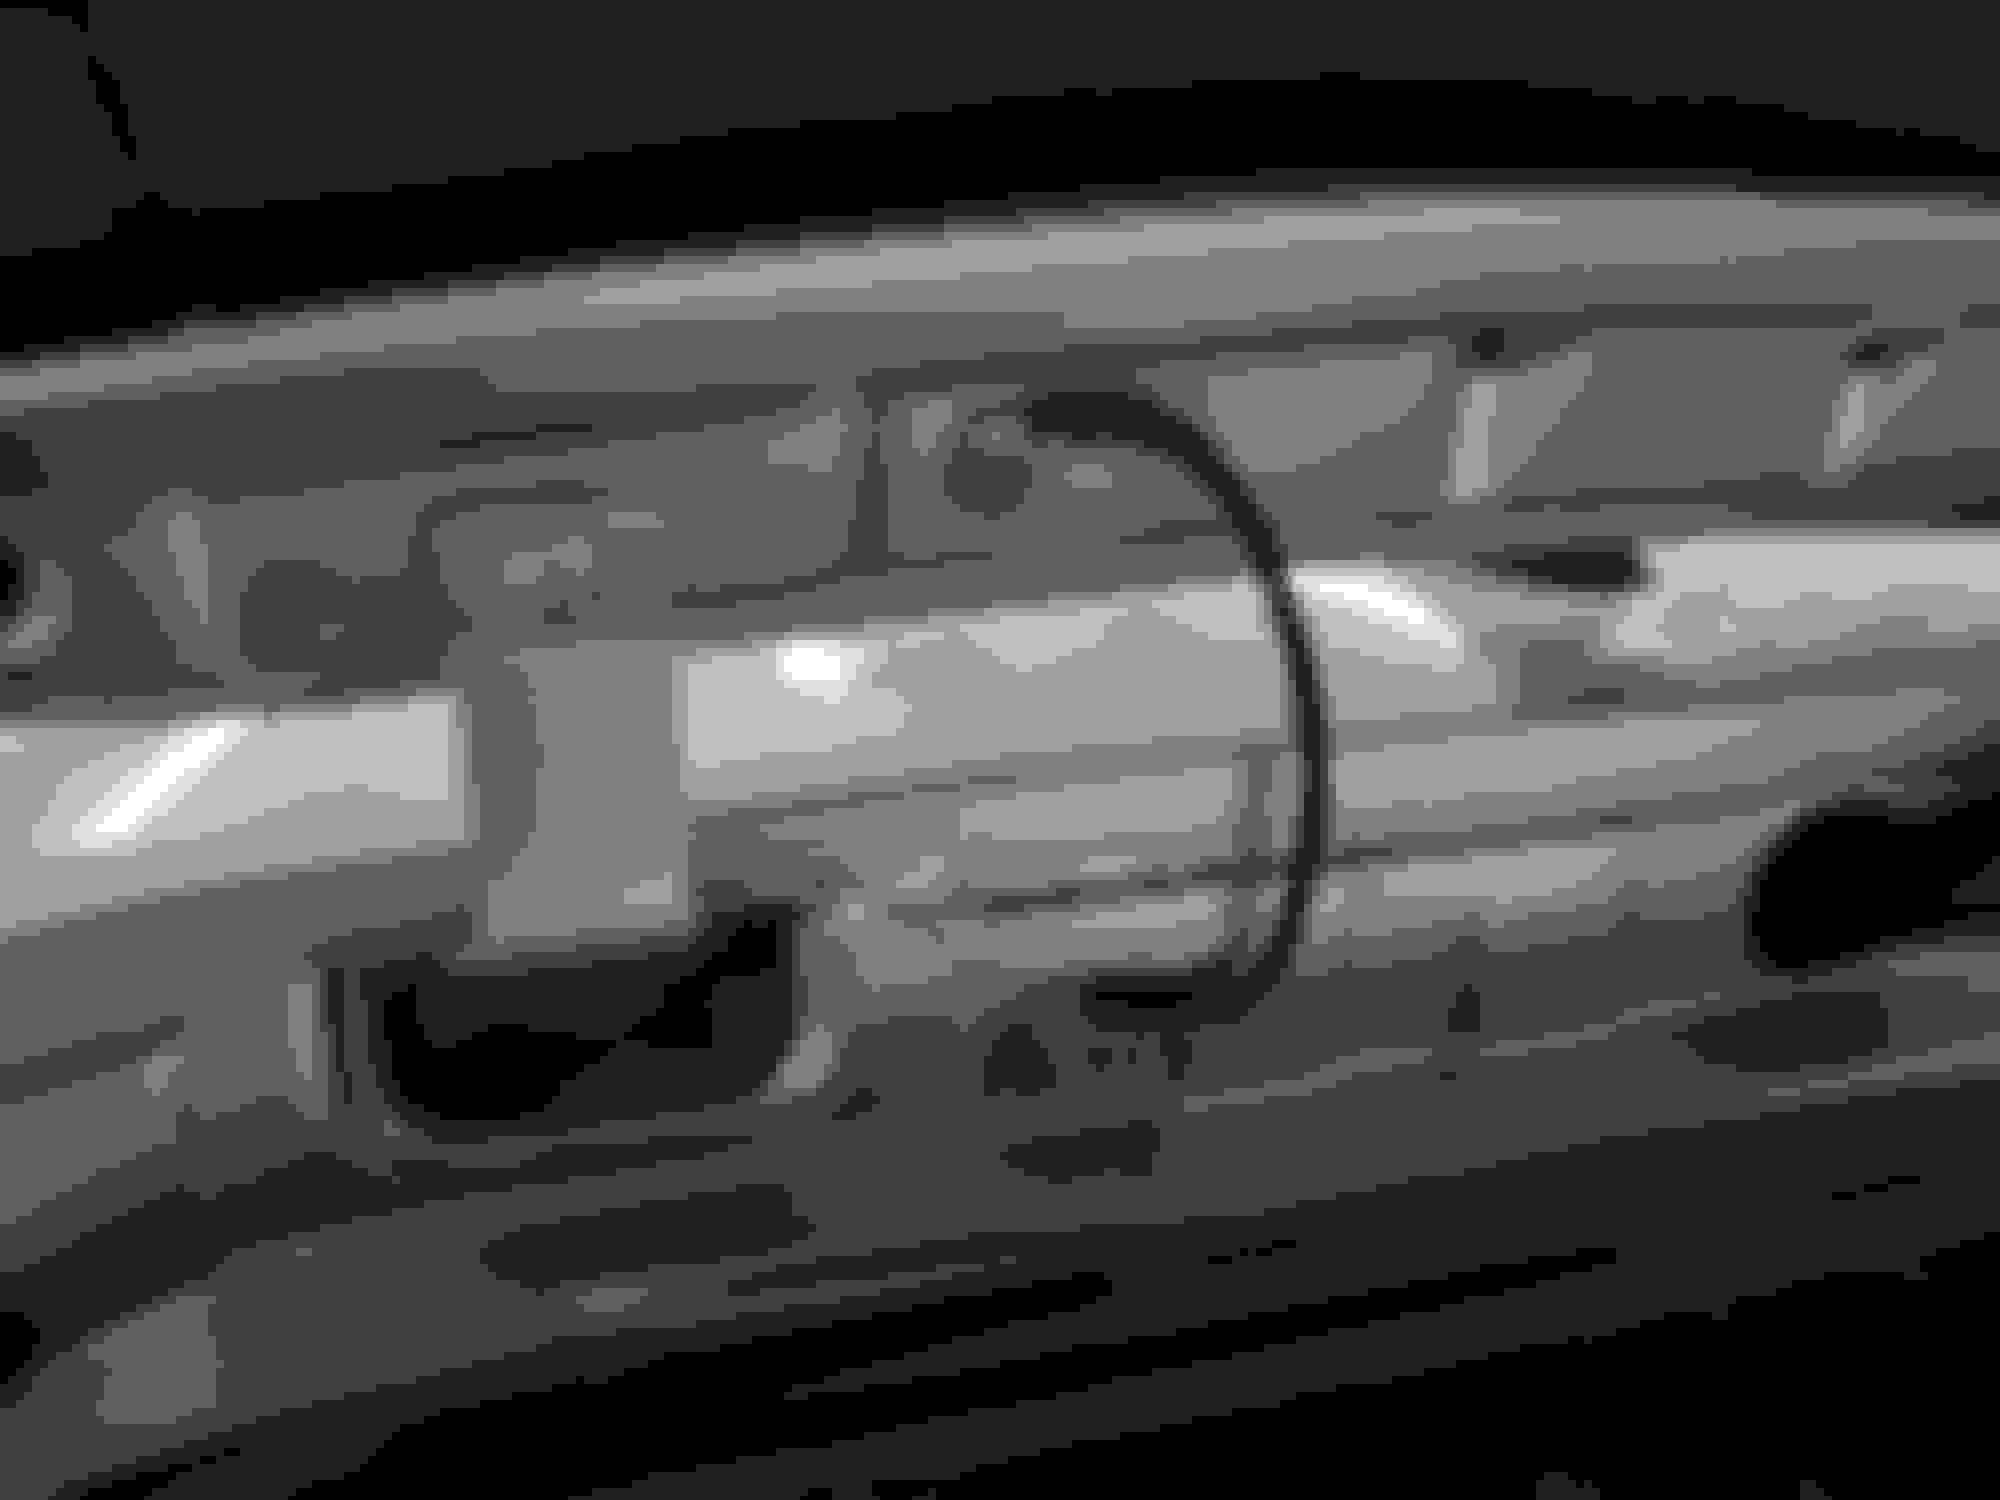
I bought a new rear wiper arm and blade. But in removing, I damaged the sprayer that goes through the window wiper arm stud on the mirror. Oops.
I went to a junkyard this weekend, though, and picked up a new wiper motor, a new center console, and a window motor/regulator. no pictures taken, but the driver side window now works. it didn't work when i bought it.
now my center console does not have the remaining bracket from the armrest. i use the cupholder and removed the armrest, so now this looks nice and clean.
this little grounding cable was cut in half on mine, but now it is complete thanks to the JY car.
new wiper motor going in
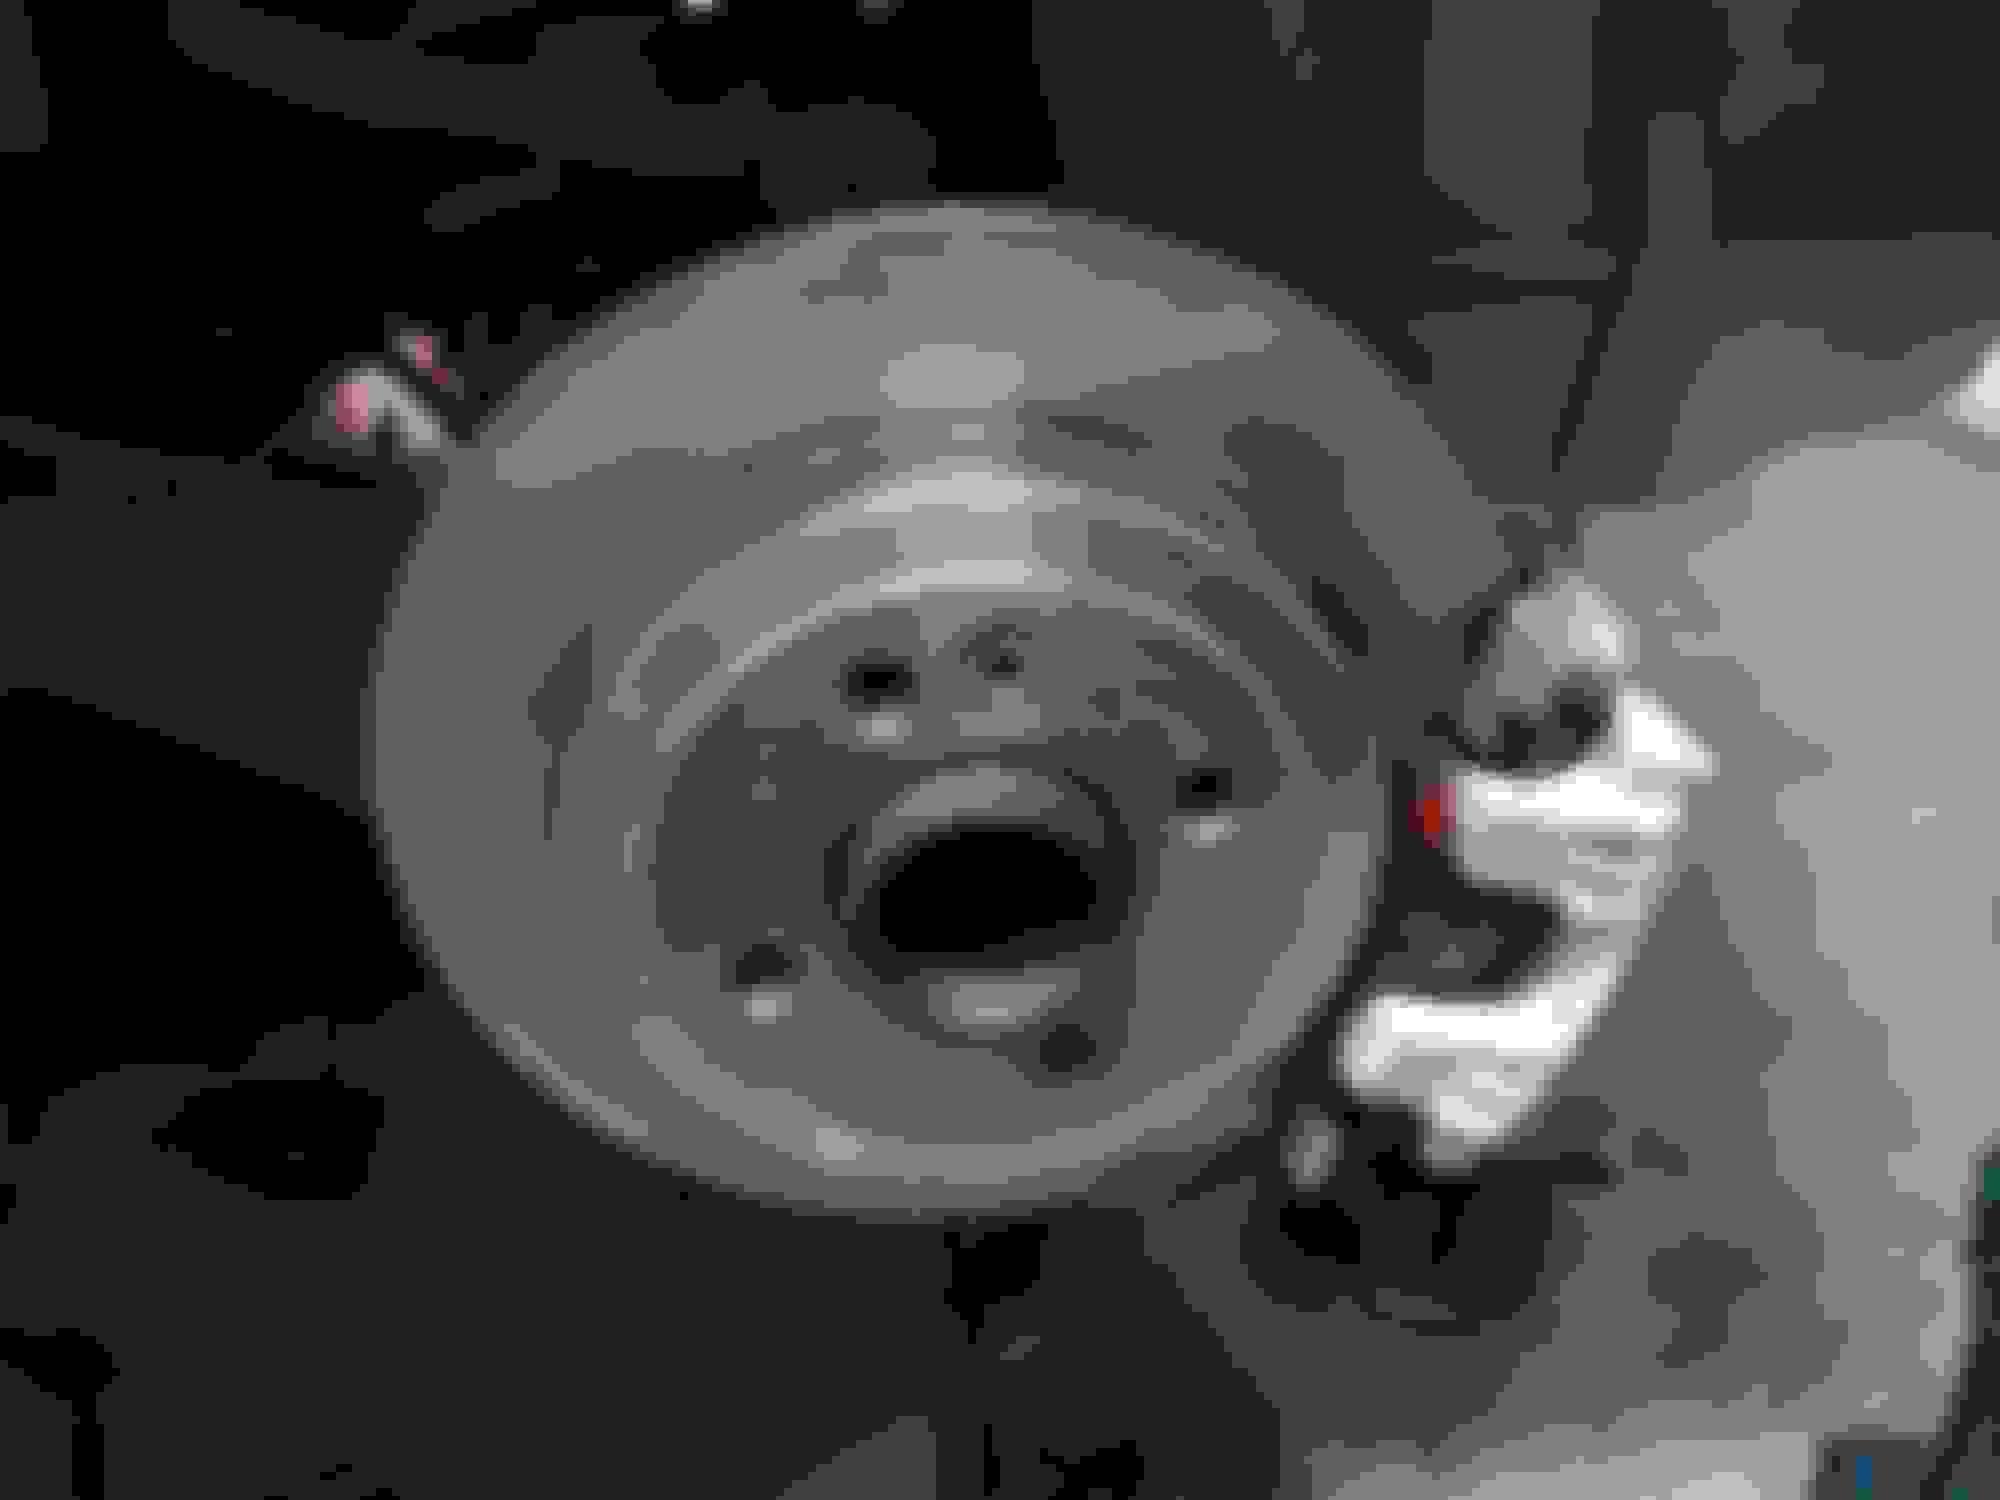
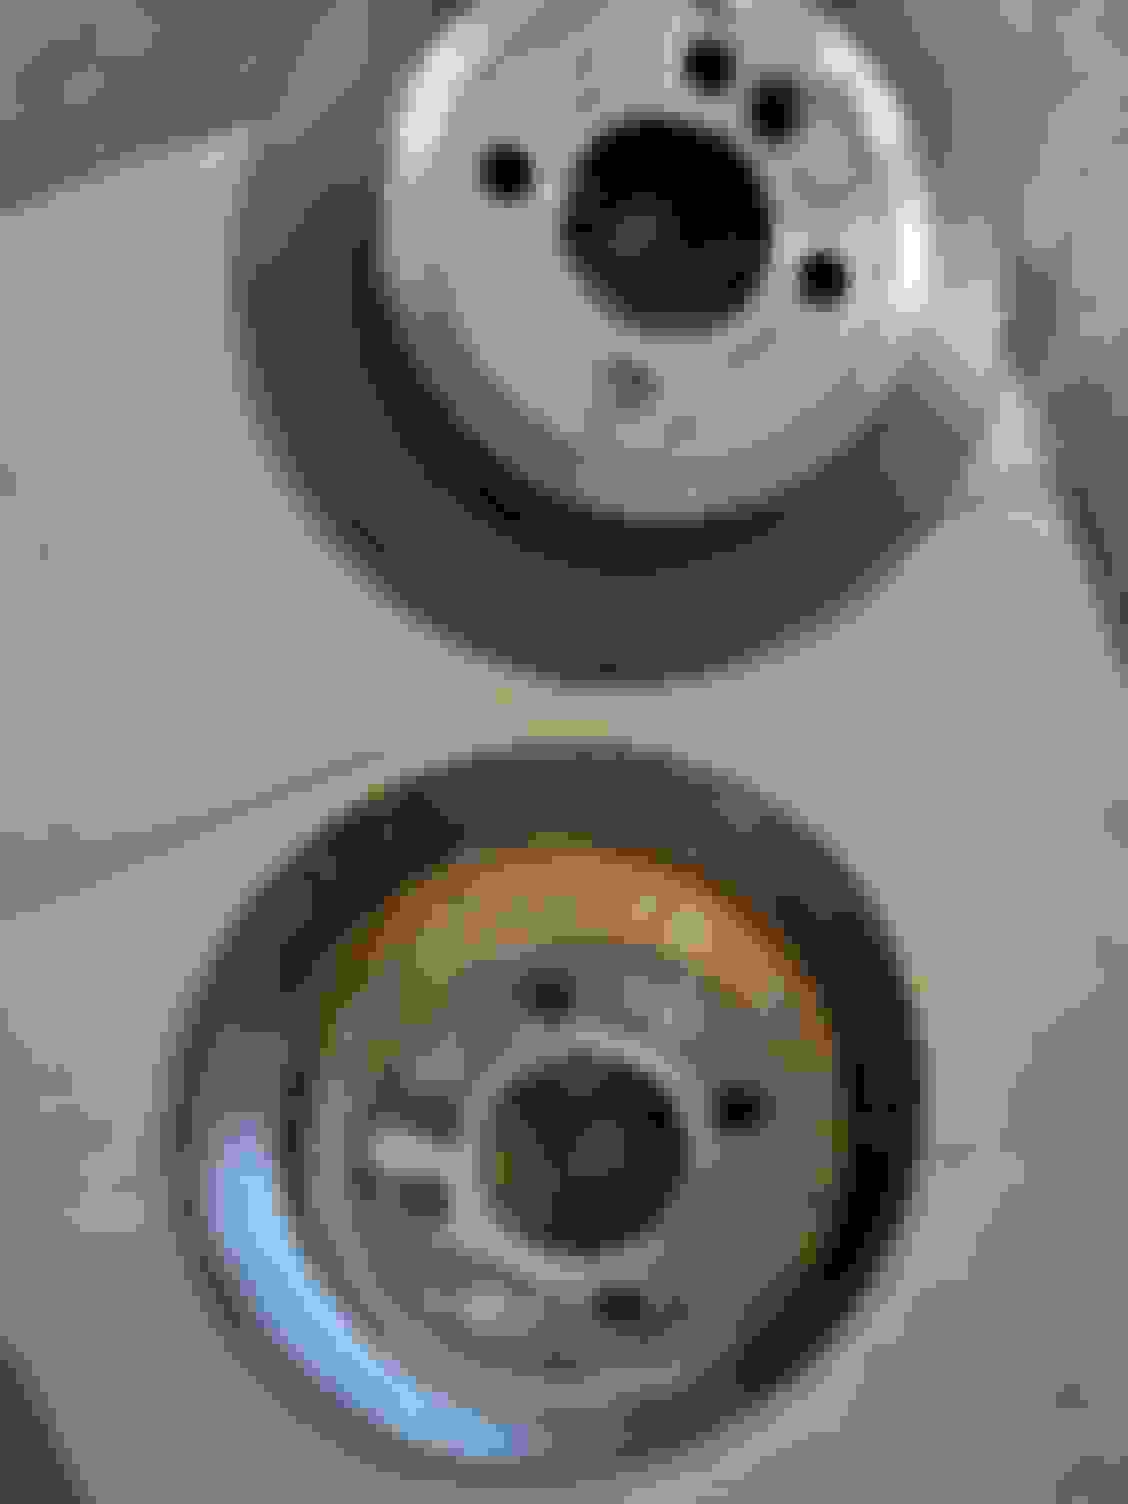
i painted my front brake rotors to prevent rust.
but i didn't do that when i initially installed the rear rotors. that's kinda the difference between an upgrade and a hurried repair job. but, since i was in the garage with the heater going watching TV, i decided to do a little more cosmetic stuff. i pulled the rear rotors and painted them before the rust really set in.
i'm pretty convinced this car was abused by the previous owners. it feels like the car is fighting me a bit and that it doesn't trust me. i've continued to tell it that i'm here to help. hopefully it starts to sink in soon.
the cheap amazon speed sensor (bought only for the speed of availability) i installed started to fail, seemingly causing some odd issues. i installed a new delphi sensor and that seemed to fix it. but, somehow, the power steering died a couple/few days later so i didn't get to test drive much.
in the end, i decided to take it to a shop and let them diagnose it. they said the fuse had blown - the big FL4 fuse. they said they put in a good one and the pump was shorted out and constantly running. that was a new problem that had not been on my radar. but, i was happy to pay and get a definite answer before i set out to find a power steering pump without taking a second mortgage.
in the end, i found a NOS bosch rebuild with a small imperfection on ebay for less than most used ones. i looked to add an in-line filter for the power steering fluid but found that there's one inside the power steering reservoir. so, i bought a uro reservoir.
URO 32411097164
when i went to install that, i found the hoses were dry-rotted / exhaust cooked so i ordered new ones, as well.
sunsong 3403751 and 3403750
here you can see the insulating wrap on the larger hose was crinkled from installation. that thing fit very tightly, even after trying to stretch it. but, it eventually went on.
the pump itself wasn't bad to replace. but, it was incredibly dirty covered with p/s fluid from previously leaking hoses. (the clamps were loose on the reservoir when i first got it)
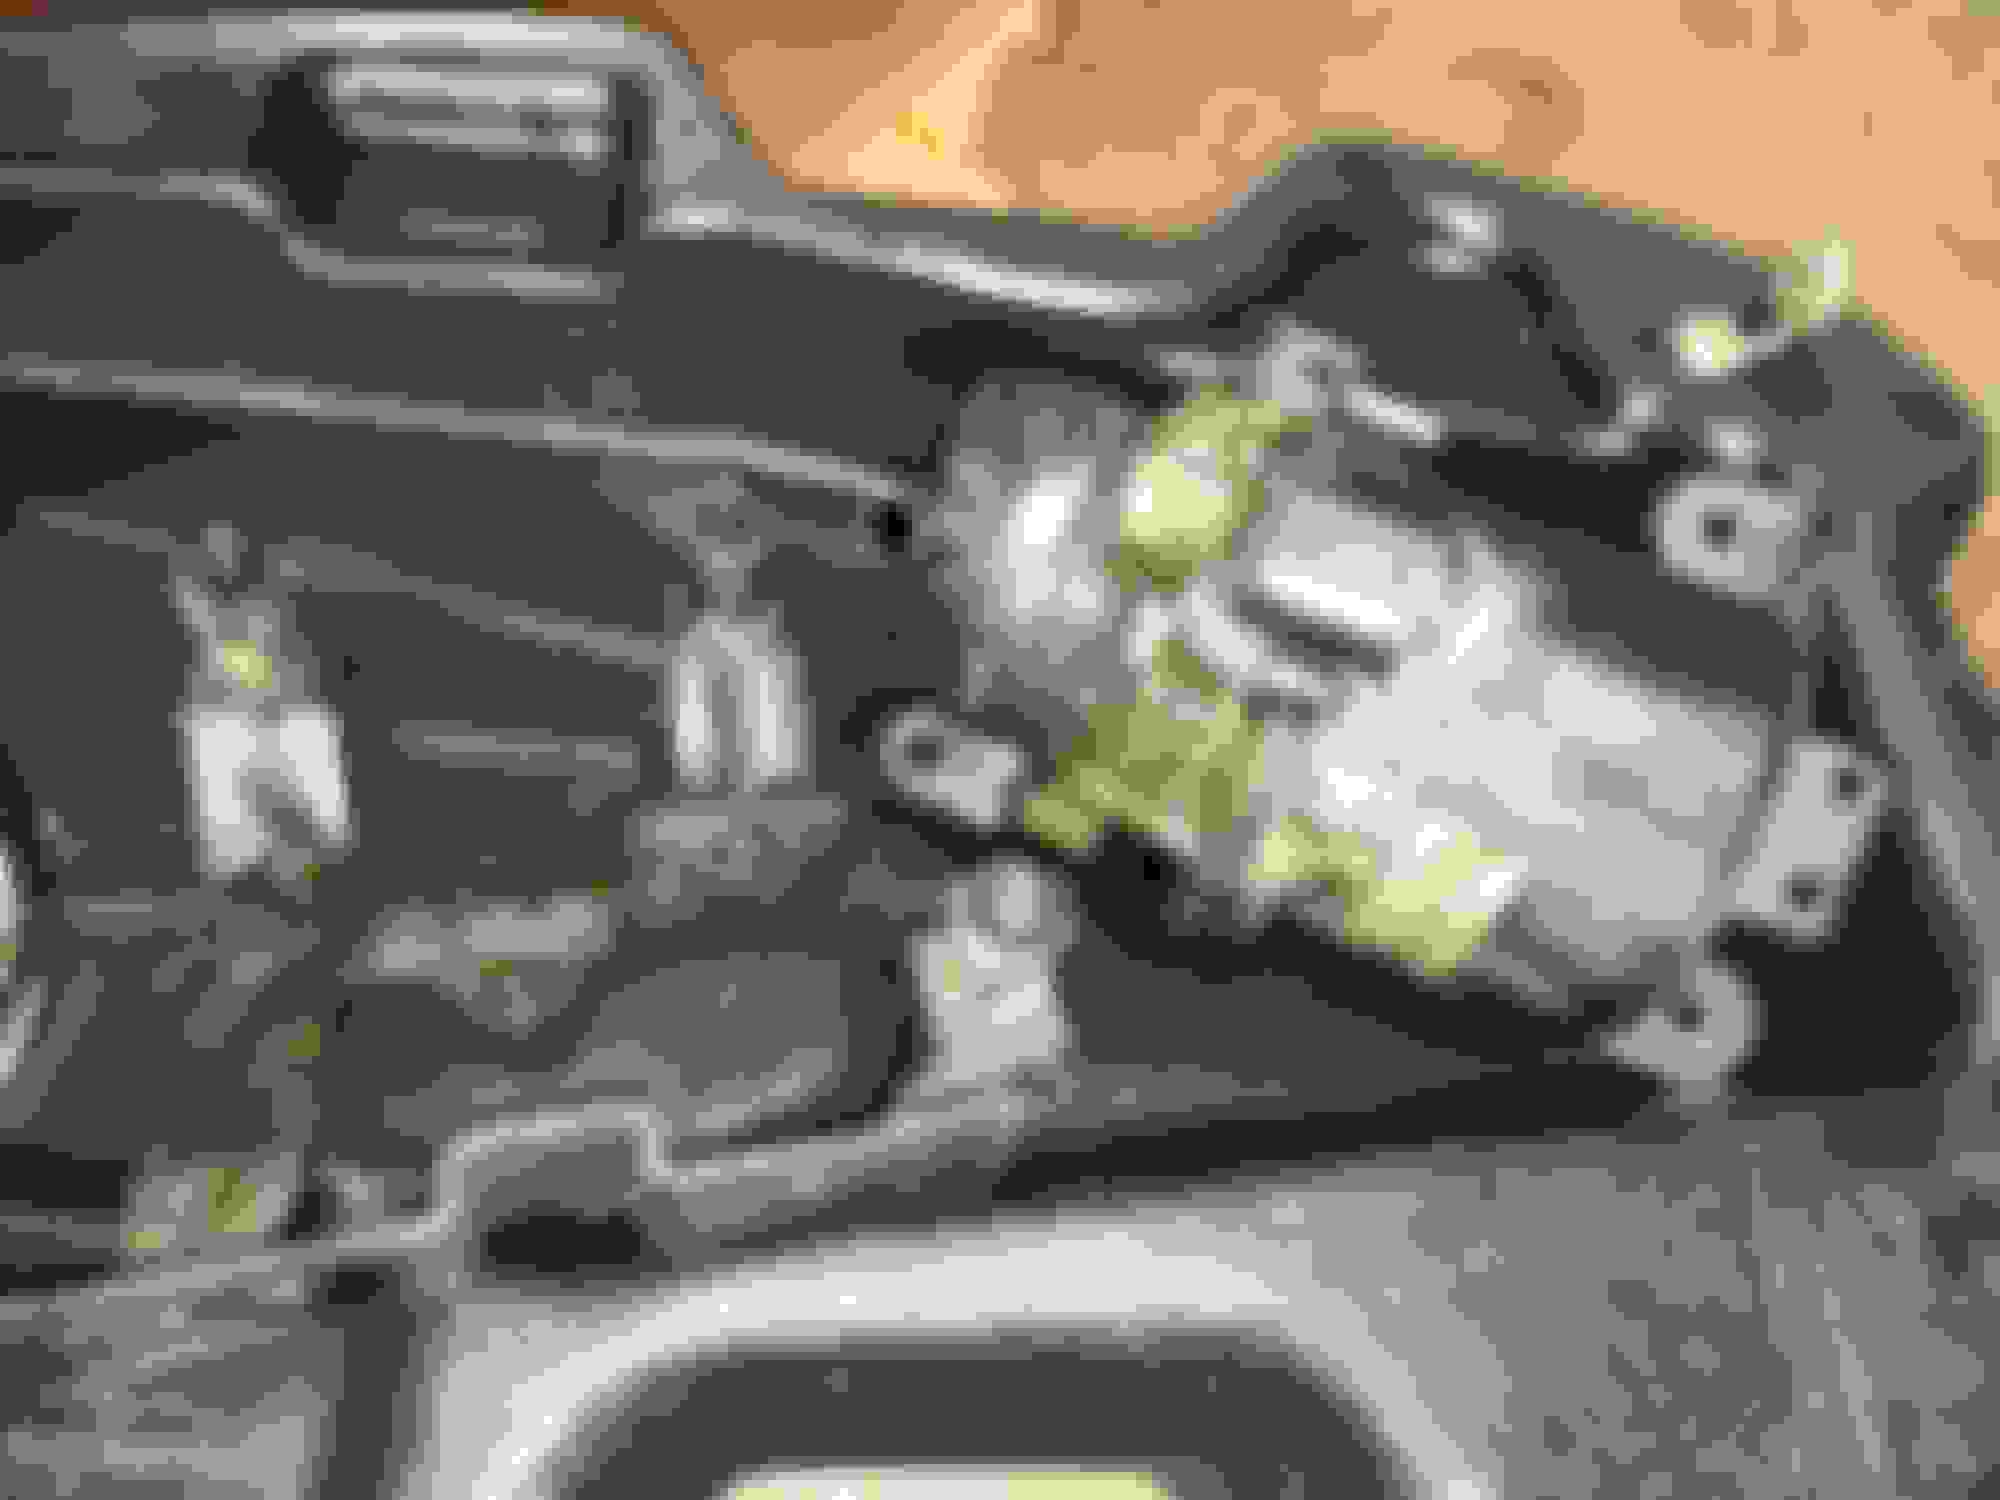
at any rate, power steering pump was just a nice and easy remove/replace. there are two bolts accessible from under/behind the rack and pinion that you have to remove to get out the pump. that was the hardest part. i removed my motor mount for more space. and on top of that, i jacked up the front of the motor to tilt it for more clearance. that made the difference right there.
old and busted
new hotness
you can see the little piece of chipped plastic right here. this is why it was discounted.
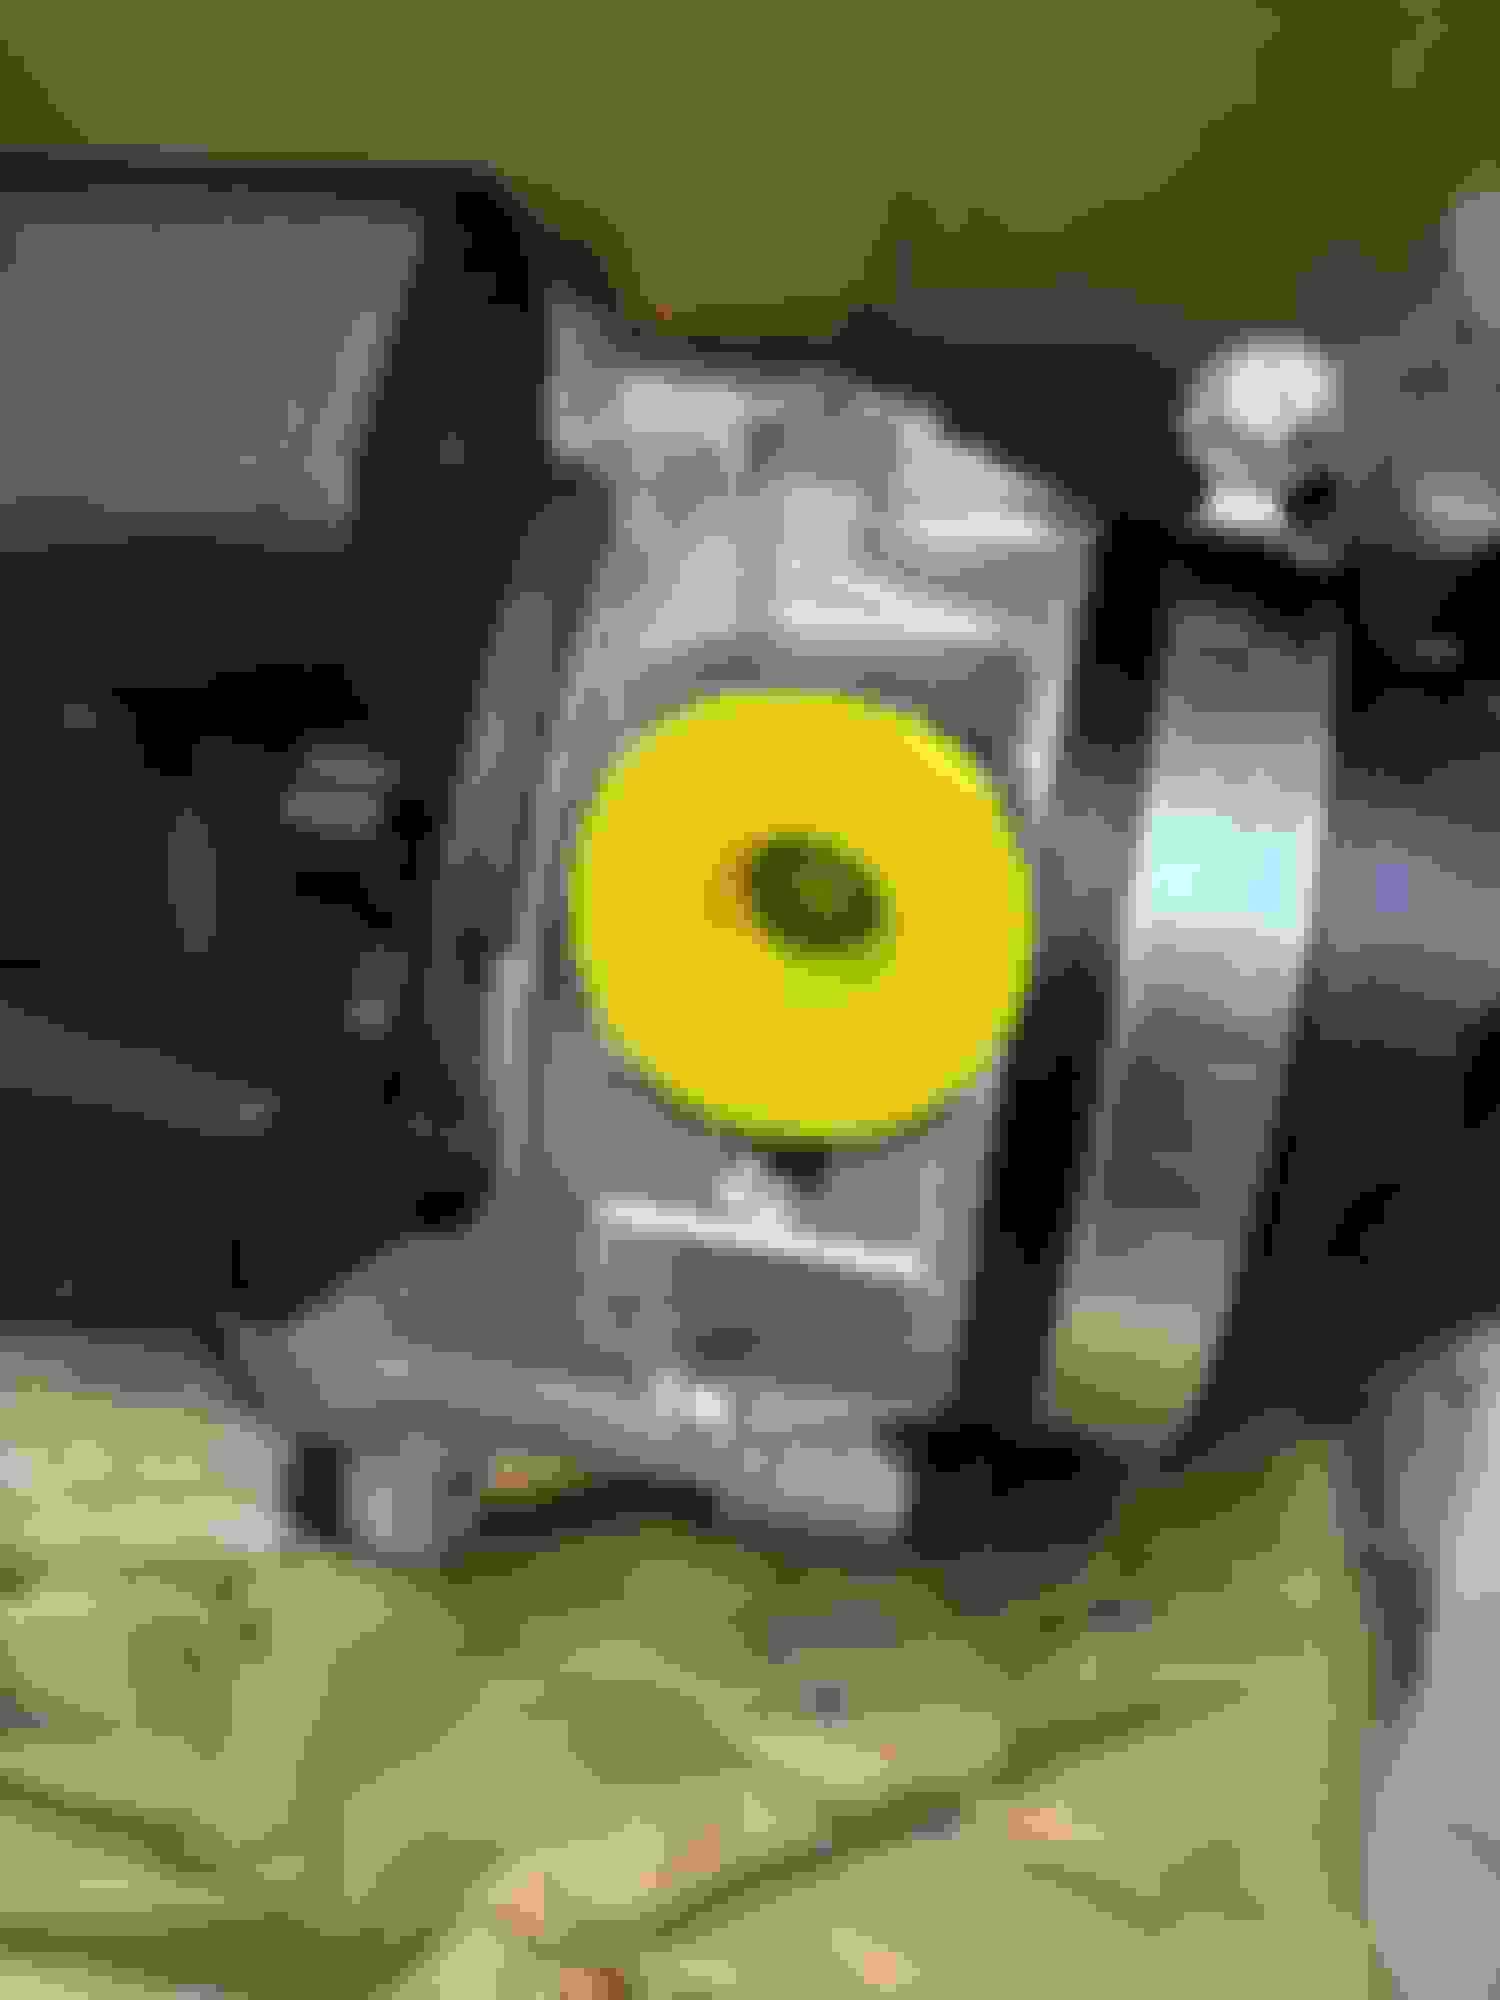
"while i was at it" i installed a new-to-me motor mount with both powerflex bushings installed. if you look at the last pic in the post above, you can see where the yellow bushing was making contact with the power steering pump bracket. i didn't want to add any more vibrations to the pump so i trimmed the bushing a little bit. i didn't get a final installed pic, but you can see what i did here. installed it's just right.
not pictured is a new o-ring for the cranskhaft position sensor. that thing was leaking like crazy and had coated the front side of my oil pan with oil, after having just cleaned the oil pan when i did the oil pan gasket.
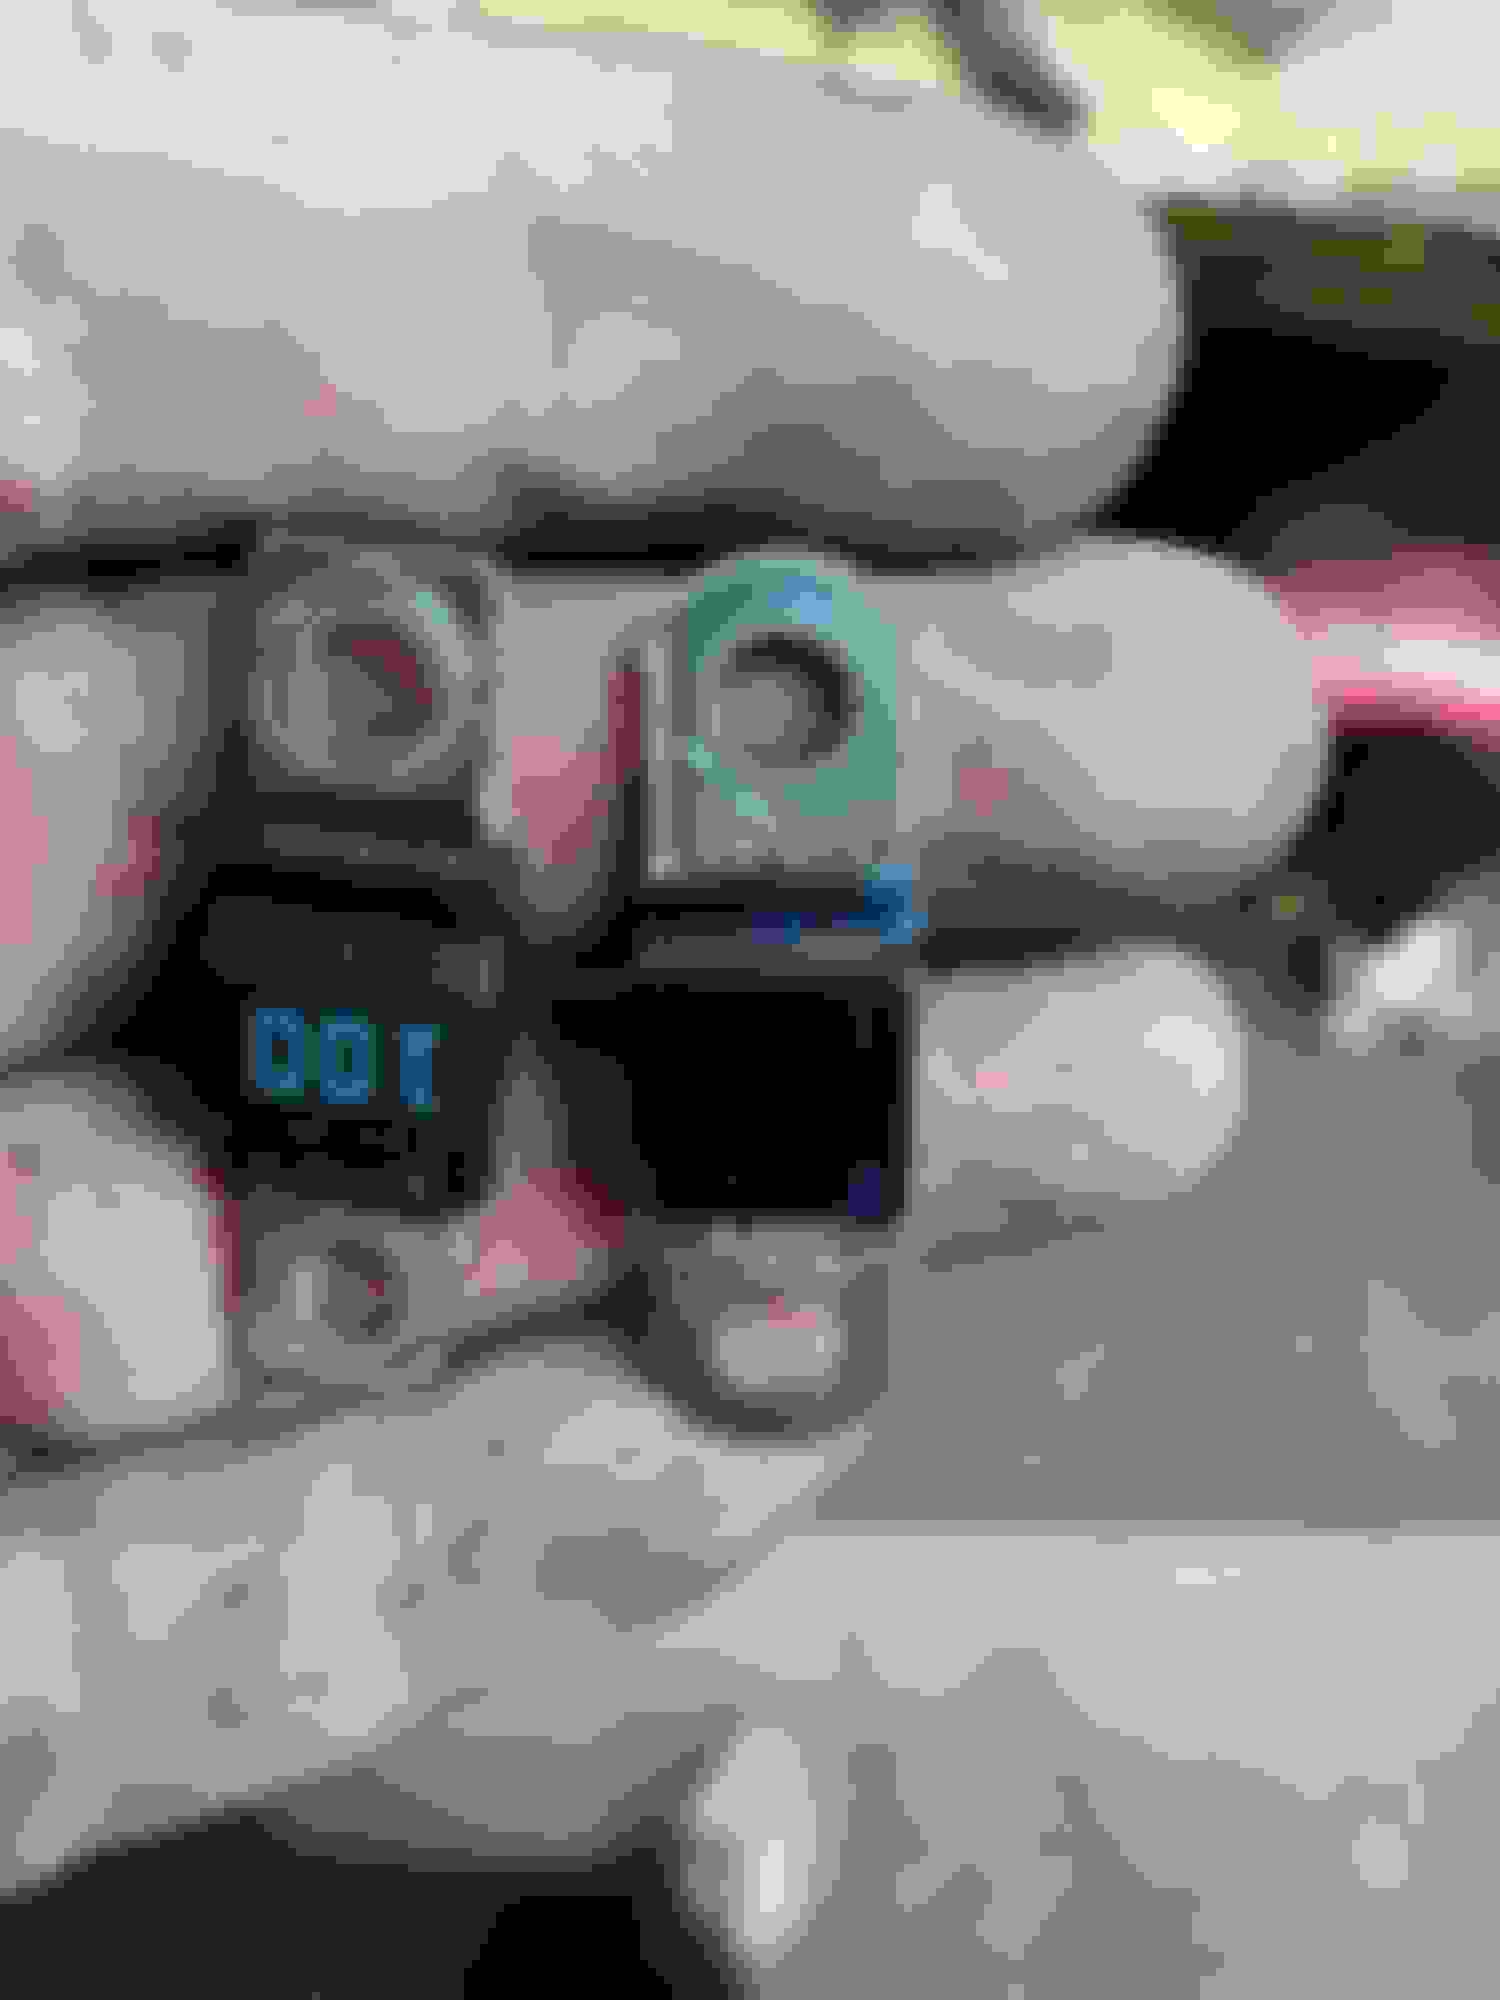
ALSO...i found a bolt under the fuse panel for the transmission support bracket was not tightened at all. i pulled it straight out with my hands.
and the fuse. it's a midi/ami 100 amp fuse. i didn't want to pay whatever the stealership was charging, but these were surprisingly sparse at my parts stores. thankfully, summit racing has a warehouse nearby so i picked up a painless performance 80124 fuse. it didn't want to fit, though, because it was a touch wide. the fuse box has little things protruding from the sides holding the littelfuse brand fuse in place. nothing my angle grinder couldn't shave, though. fear not, i filed the edges smooth before installing.
and with that, i'm back on the road until the next thing breaks!
ladies and gentlemen, lassies and lads, we have a complete car!
honestly, the hood is not perfectly aligned and i'm not sure i'm going to get it perfect. but, it sure looks so much better than it did. once i get it cleaned up, i'll get some better pics.
i was able to get the headlights refreshed and looking much better. you can see the difference between the front end shot a post or up compared to this one.
i've started going around the black trim and getting that refreshed.
one of the turn signal mounts was damaged from the JY. i was able to fab up a little bracket to get it in place. after riveting it i went back with some jb weld for plastic and glued everything together.
i had to reuse the blue piece of trim from the front bumper on my new one. when i was disassembling my JY bumper in prep for paint, i came to learn (the hard way) it was just taped in place. so this time i used my heat gun to soften the tape and it came off easy peasy.
and part of the cosmetic refresh, along with all new decals, is new badging. so the old rear badge is off and a new one is on!
up next: continue to chase oil leaks: despite replacing the valve cover gasket, oil cooler o-rings, oil filter mount gasket, crankshaft position sensor o-ring, and the oil pan gasket, i still am leaking oil from somewhere - albeit much slower. i've put some dye in the oil but haven't had a chance to get under it. headliner - the headliner is failing. i am going to pull it and recover myself since i've about run out of money for this car for now. and while i'm at it, i'm going to replace my busted radio antenna. interior cleanup: the seats are filthy and the car needs a detailing. for fun, i'm going to put it in a car show in a couple weeks. my HS alma mater has a fundraiser car show that i like to support. suspension: i've got a slew of new parts on the way for the suspension. drive drive drive: i'm really hopeful i've turned a corner. i don't want to jinx it or claim success, but good grief did i underestimate the timeframe to get this far. but now that i'm here, i feel a bit revitalized. it's nice to be reminded why i like these cars.
Check the o-ring on the cam position sensor too, it's behind the motor mount but you can see it pretty well. Have to pop off the upper motor mount bracket though to change it, easy peasy.
Does the door mirror bolt in from the back side? Have to pull the door panel off the access the bolts? It looks like maybe there are rivnuts in the door skin and the bolts are on the outside (I hope)? New paint on the hood looks really nice.
Thanks for the tip on the cam position sensor. I've started to be concerned that it might be maybe the timing cover. It may be, but I'll still check the sensor first... For sure.
The mirrors are held on with three bolts. Just fold in the mirror and you'll see them. No need to touch the inside of the door.
i really haven't done a ton lately to the car other than drive it. i have stockpiled parts, but haven't installed any. i'm half tempted to pull the engine so i can just reseal the whole thing. i dunno...
i'm not here to complain, though. a local offered up a one-ball modified exhaust for free last weekend. i snagged it and tried to install. unfortunately, one of the rubber hangers was failing so i ordered a new one. the local dealer wanted $60 (!!!) for it, so i paid $13 for a vaico from rockauto. it came today and i installed it. the exhaust bolted up without issue and i am thankful for that. i had low expectations for any change in sound so i'm not disappointed. that said, it does sound better at idle than it did. i don't hear any difference in the cabin while driving. no biggie.
i am tempted to run by a muffler shop to see what they'd charge to swap mufflers to something with a little more tone. is there any reason to save the broken hanger from my passenger side? do aftermarket catbacks use any of it?
i'll probably put the old one either on the curb for the scrappers or first list locally. i dunno.
anyway, here are a few pics
yup...it's an exhaust.
passenger side is empty, like me.
i recently noticed my exhaust was rattling a little bit. probably because the muffler strap is busted!

 11-09-2023, 09:41 PM