When you click on links to various merchants on this site and make a purchase, this can result in this site earning a commission. Affiliate programs and affiliations include, but are not limited to, the eBay Partner Network.
First...
How did you get such great pictures of the pistons?
Intake valve... Great, especially considering some of the N17 valve that I have seen pictures of.
Pistons - My initial reaction was - these are great...
Then again I look at something like that with a mental list that I compare them to
- broken with holes through the top? Nope
- cracked? Nope
- melted? Nope
- looks like someone beat the top with a ball peen hammer? Nope
And when I get to “gold/orange stuff” and “stuff”, after thinking about the above, I tend to thing this all looks pretty darn good.
My guess...
the black stuff is a little bit of oil that stayed on the cylinder wall and was incompletely burned on the ignition stroke. I don’t see any scoring on the cylinder walls which would say rings are still in one piece. That is not to say there isn’t some wear, but at this point, I wouldn’t do a tear down and rebuild.
The gold/orange stuff, my guess, deposits from raw fuel hitting the hot piston, maybe from injectors that weren’t fully atomizing the fuel. This might clear up with the new injectors.
Time to button it up and enjoy the car. Motor on...
Last edited by Eddie07S; 10-14-2021 at 11:36 AM.
Reason: Typo
Thanks Eddie07S
I used a little borescope camera. The one I have was about $40 by DEPSTECH. It has a really small end with adjustable led lights. Pretty sweet. Download the app and It connects right to your IPad or iPhone. You can take photos or video. It's actually come in handy for house projects. I think I got it on Amazon.
Could the orange/gold spots be a sign of pre-ignition or knock? Maybe I should run some octane boost when I go to the track?
I have the same borescope! Never thought of doing that with it...
Engine knock... Not likely. Part of what the ECU does is to “listen” for knock and make adjustments to stop it from happening. This is how they are able to run something like 11:1 compression ratios with 12 psi of boost. If you go back to the ‘60s when car companies like Chevy turbocharged the Corvair they ran very low compression ratios in order to keep the propensity for knock low. Nowadays computers take care of that.
Knock can produce damage really fast, especially when an engine is pushed hard for a long time, like being out on a track. I have seen damaged spark plugs and holes through pistons from knock. As good as your engine looks inside, I would say no knock.
The place I would look for issues of something being a little over taxed would be the spark plugs. If they are wearing fast or look to be burned out, then you could try a step cooler. As for octane booster... I am not a big fan of adding things to the engine that it wasn’t designed for, especially when I don’t know what is in it and what the unintended consequences might be. The engine is designed for 93 octane and that is what I use. I have seen no lead 100 octane at one of the tracks I go to, but have not heard of anyone using it in a street car and getting any benefit from it. Maybe a “stage III” tune would benefit from it, but I have even stayed away from tunes because of unintended consequences. My S and JCW are stock, engine wise...
I have not looked at the RMW shorty header.... There have been mixed feelings regarding Jan here and I have some hesitation with purchasing anything from RMW.
I have put the Header on hold for now anyway. I received a tune from Adriancl last week and I'm going to put up some more details here shortly. (after I've driven the car a few more times)
yeah.... My experience with him is that he is an odd one.
The Orranji GP wing should be here next week so I'm working on some little shark fins to cover the holes in the roof left by the OEM spoiler.
Searched Amazon for some small fins and couldn't find anything that wasn't cheesy.
So I started with the little fake carbon fiber fins on the Left. (got a 10 pack) And Version 1 on the right. I used this putty type two part epoxy that you mash together (like JB Weld but with more of a silly putty consistency) Just molded it with my hands and then lots of sanding.
There quite a bit of contour to the roof so had to build a couple more versions and figure out a way to match the arc. Turns out a 5 gallon bucket is pretty close. Used the same epoxy to lock in some treaded rod to go through the OEM spoiler holes.
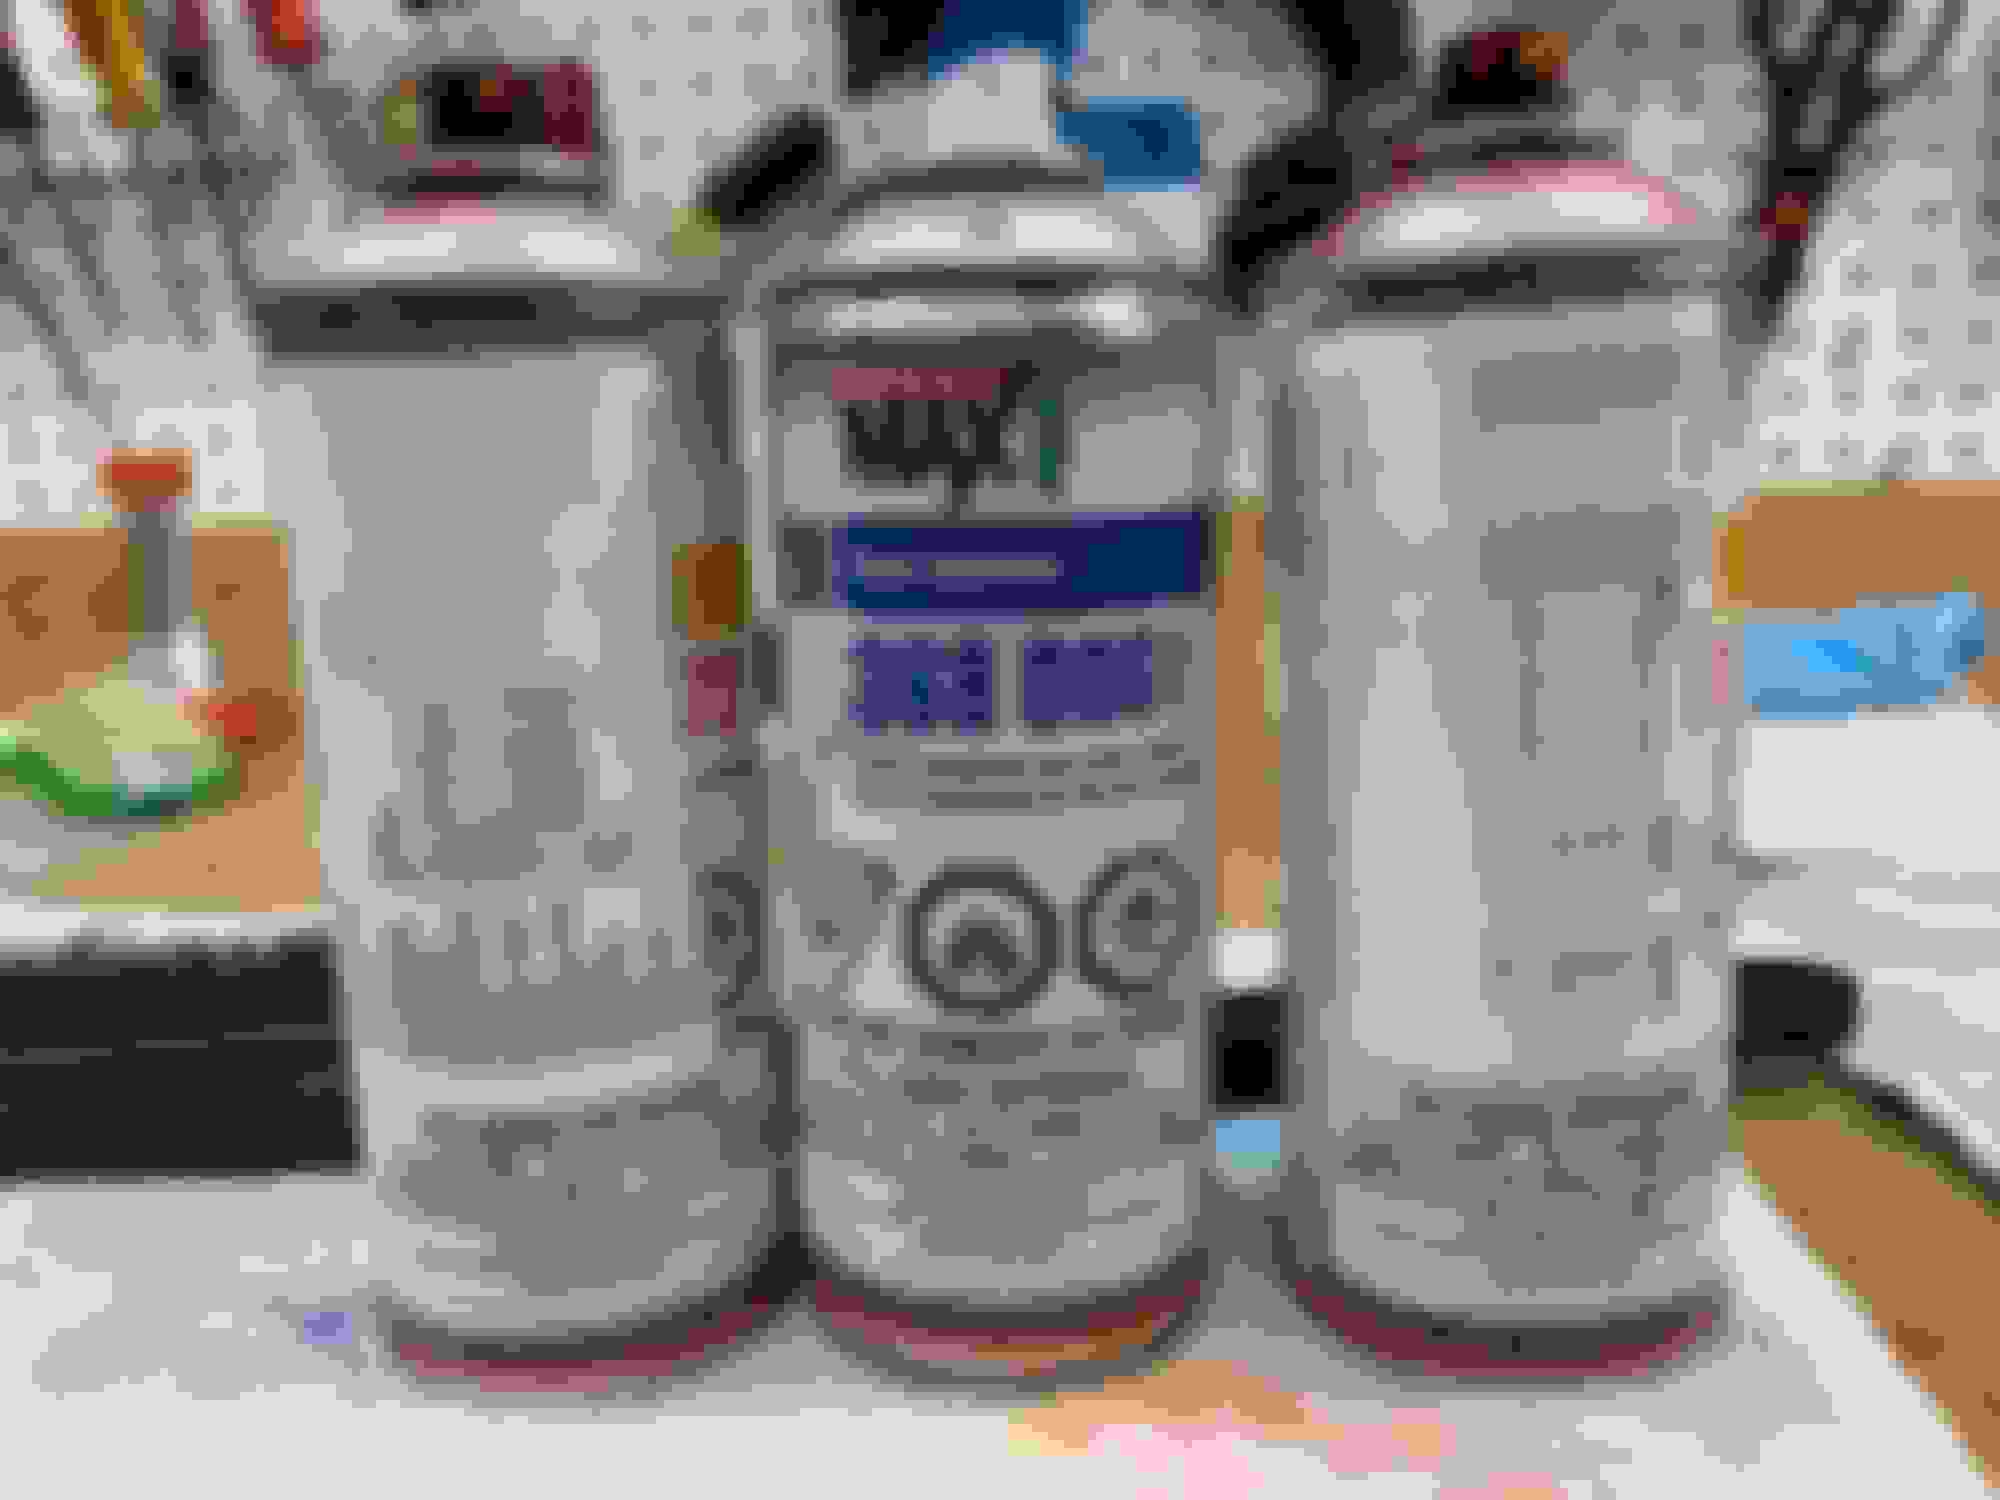
Ready for paint. Going to get some Chili Red in rattle cans. Probably use a thin coat of caulk under the fins just to keep it water tight.
To match contours I often use vinyl wrap to protect the part while working directly on it. How are you going to mount the middle fin? If by adhesive, you might want to make sure the third brake light seal is in good condition as it looks like there�s some overlap in the pic.
To match contours I often use vinyl wrap to protect the part while working directly on it. How are you going to mount the middle fin? If by adhesive, you might want to make sure the third brake light seal is in good condition as it looks like there’s some overlap in the pic.
I used some painters tape on the car and one of those wire contour tools that you press into the shape but I actually taped the sandpaper to the side of the 5 gallon bucket and kept going back and forth. Not efficient but it worked.
Yup, the center fin is really close to the brake light. I'm not sure if I'm going to keep it or not. When I get the wing on I will decide visually and I may need to sand it down a hair more. I'll stick it down with the 3M adhesive tape stuff and put it right up to the contour / indent for the brake light.
Messing around with a car's ECU and programing is a little bit nerve racking. So after having a successful rip at it, I feel like I should post "a **** first tune"
Cable and software:
I purchased this USB to OBDII cable and software of Ebay. This includes a little mini CD with Version 18 of the MPPS software that will need to be installed on your PC. This software when connected through your laptop to the OBD port will read and write to the car's ECU. *I have a facelift r53 so updated ECU... I guess it's better for tuning???? https://www.ebay.com/itm/36343841091...0AAOSw7YZgzFgQ
For a PC laptop I used and old one with Windows 8 that was sitting in my buddies closet. There were a couple tricks to get the software installed.
watch this video
The driver portion is a little bit tricky.....*Must install the driver with it plugged into the car to recognize the USB
Once you have the software installed (there are a few different versions of the MPPS software (V13 / V16 / V18 / V21 maybe more but I used V18) Software only works when receives power from the car / OBD.
While using the MPPS software:
Battery charger on car battery above 12v *use old charger on 6 amps for solid power source)
Plug in Laptop to AC don't use Laptop battery
Use car battery charger to keep the volts up above 12v
Turn off car features using power. FAN, LIGHTS etc
Don't let the laptop go to sleep!
*****AGAIN I AM NOT A TUNER OR A SOFTWARE EXPERT AND I AM ONLY LISTING THIS INFO AS TO WHAT I DID....NOT SAYING IT'S THE RIGHT WAY OR THAT YOU SHOULD TUNE YOUR CAR. I HAD MANY RESERVATIONS ABOUT DOING THIS MYSELF, BUT IN THE END IT WORKED AND I DID NOT BRICK MY ECU. *BUT YOU CAN.
SELECT>>>> MINI / Cooper S / 1.6 S Siemens EMS 2 k-line
Switch DATA OPTION to FULL
Click ECU ID first to wake up and confirm connection.
check voltage, laptop power, sleep is turn off
READ first (takes about 4 minutes)
Turn the car key off before you save the file .. MPPS will remind you to do this step.
SAVE it & add "stock.bin" to the file name
Send the file to Adrian.... For the write process I did all the above steps again (saved another stock file, just incase)
Confirm with Adrian / tuner for checksum (Adrian did the checksum before he sent me the tuned file)
check voltage, laptop power, check to make sure sleep is turn off AGAIN
Select tune files for WRITE and hit OK
That's it. Long 4 minutes but you can watch the bar at the bottom of the software to see the progress. I think the WRITE took longer than the read, I was pretty nervous and forgot to time it.
My modification that Adrian tuned to: Cravenspeed 15% pully DDMWorks Cool Air Intake with foam filter
Miltek cat back exhaust
ATI Super Dampener Bosch 380cc injectors 0280156063 NKG spark plugs (one colder) 4285 BKR7EQUP
This is what I did and it worked. Beyond what I have noted above.... I really don't know $%^&*&^%. If anyone out there would care to correct any of the steps above, I will gladly edit this.
Hey - I think you are the brave one. I have yet to take a computer to any of my MINIs...
You said it worked. Have you taken the car out for a test/shakedown run? How did it do?
I have a couple of suggested edits for the above...
READ first (takes about 4 minutes)
SAVE it add "stock .bin" to the file name
Turn the key off on the car before save.
Send the file to Adrian....
Did you mean to included a space in �stock .bin�?
I would suggest rewriting the line �Turn the key off on the car before save.� To �Turn the car key off before save.� This way you eliminate the �...off on...� which might be confusing to someone.
I would also suggest listing �Turn the car key off before save.� before �Save it add �stock .bin� to the file name�. This way, if someone is following these instructions line by line, they do the save at the correct point in time.
You said it worked. Have you taken the car out for a test/shakedown run? How did it do?
I've driven it a couple times since the tune but haven't really got to open'er up and let'er rip.... I did a few on ramp bursts but there was always some traffic / slow cars. Butt dyno says there is more UMPH in the higher rpms.... above 4000 / 5000 rpms. Feels like the RPMs are accelerating quicker towards redline. (as well as the car) Below 4000, I can't really say there's a significant difference.
I want to say that the throttle / pedal response is maybe a little better but hard to really say all things considered.
Engine is running smooth and literally no issues with the tuned file. Just uploaded it, crossed my fingers and started it up.
I'm going to make the changes you recommended now... thanks.
My Orranje wing got here from Seattle and I decided to paint it. Way easier said than done.
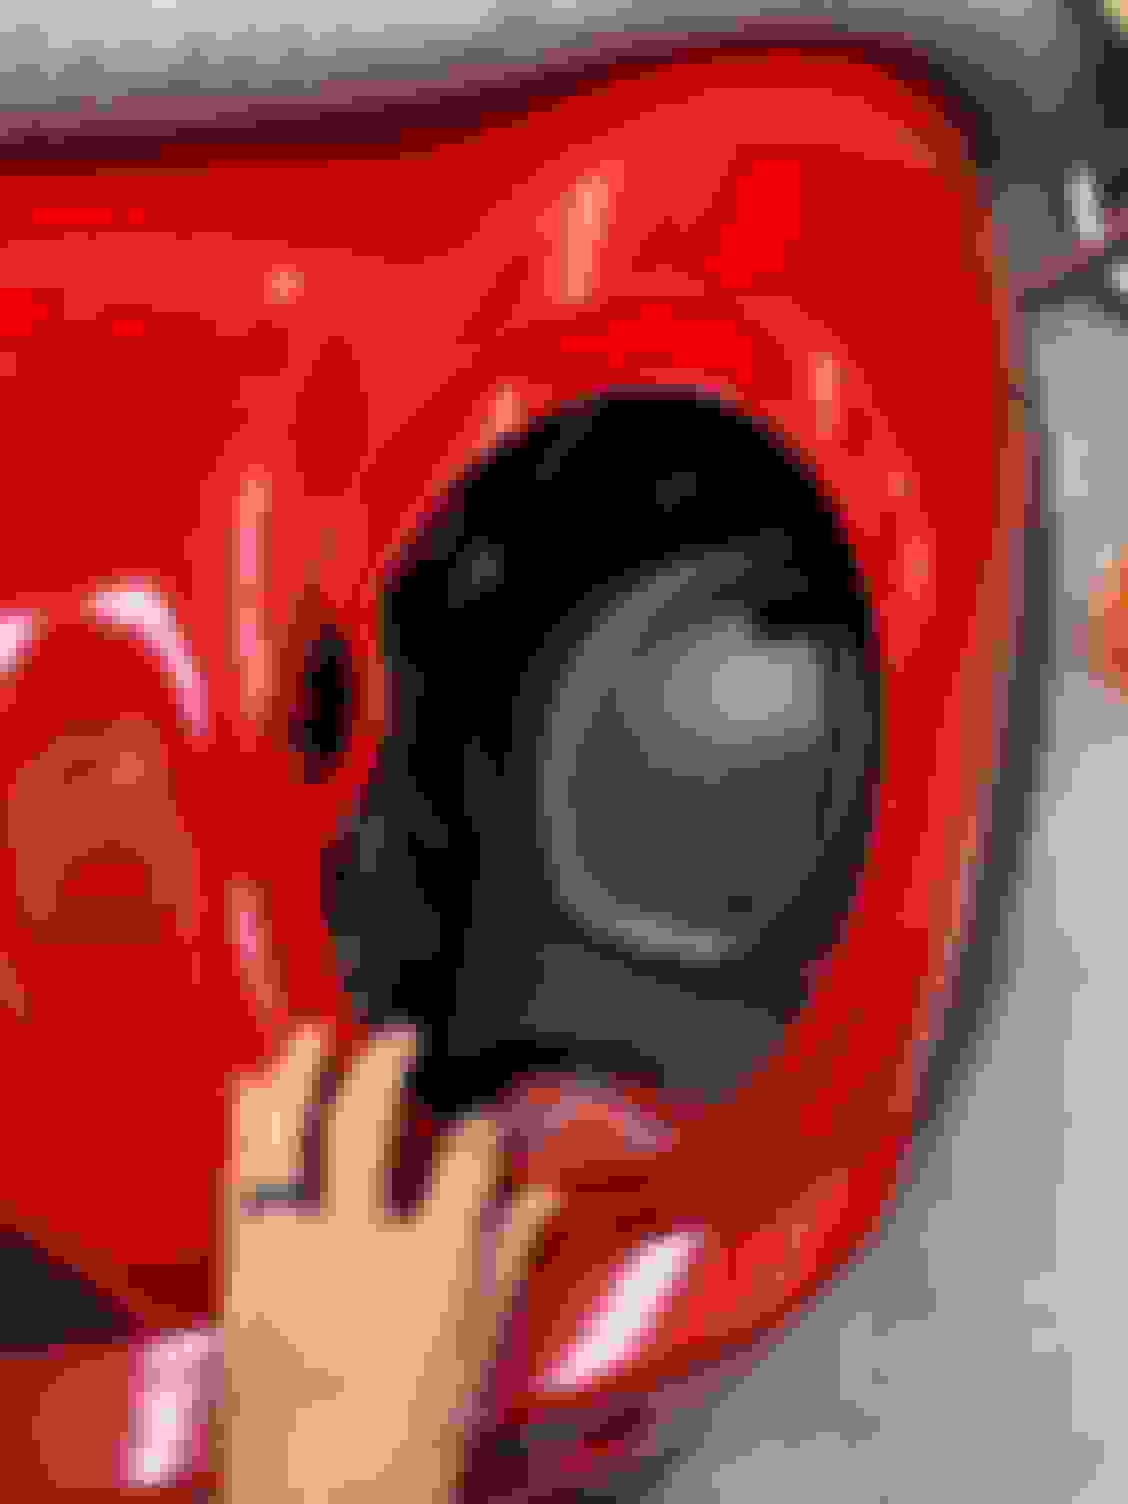
Found a company here in town that has all the codes to mix auto paint colors. I was a little leary on the color match but he said they had Chili Red 851and could put it in rattle cans so... here we go. Wing blade, fins& headlight surrounds all getting paint.
Fins are going red. Used some auto primer first, then sanded so more.
Chili Red
So if I ever do this again... I know what I used.
My head light surrounds were chrome to begin with. Then they were black which was better than chrome. Took a gamble with the color match and dang... I think we have a winner.
Take Aways:
Industrial Finishes paint match is awesome.
Painting is tedious. There are 1000 ways to mess it up and only 1 way to do it right. It helps to have the surface your painting be horizontal to avoid runs & rattle cans like to be vertical. This adds another degree of difficulty.
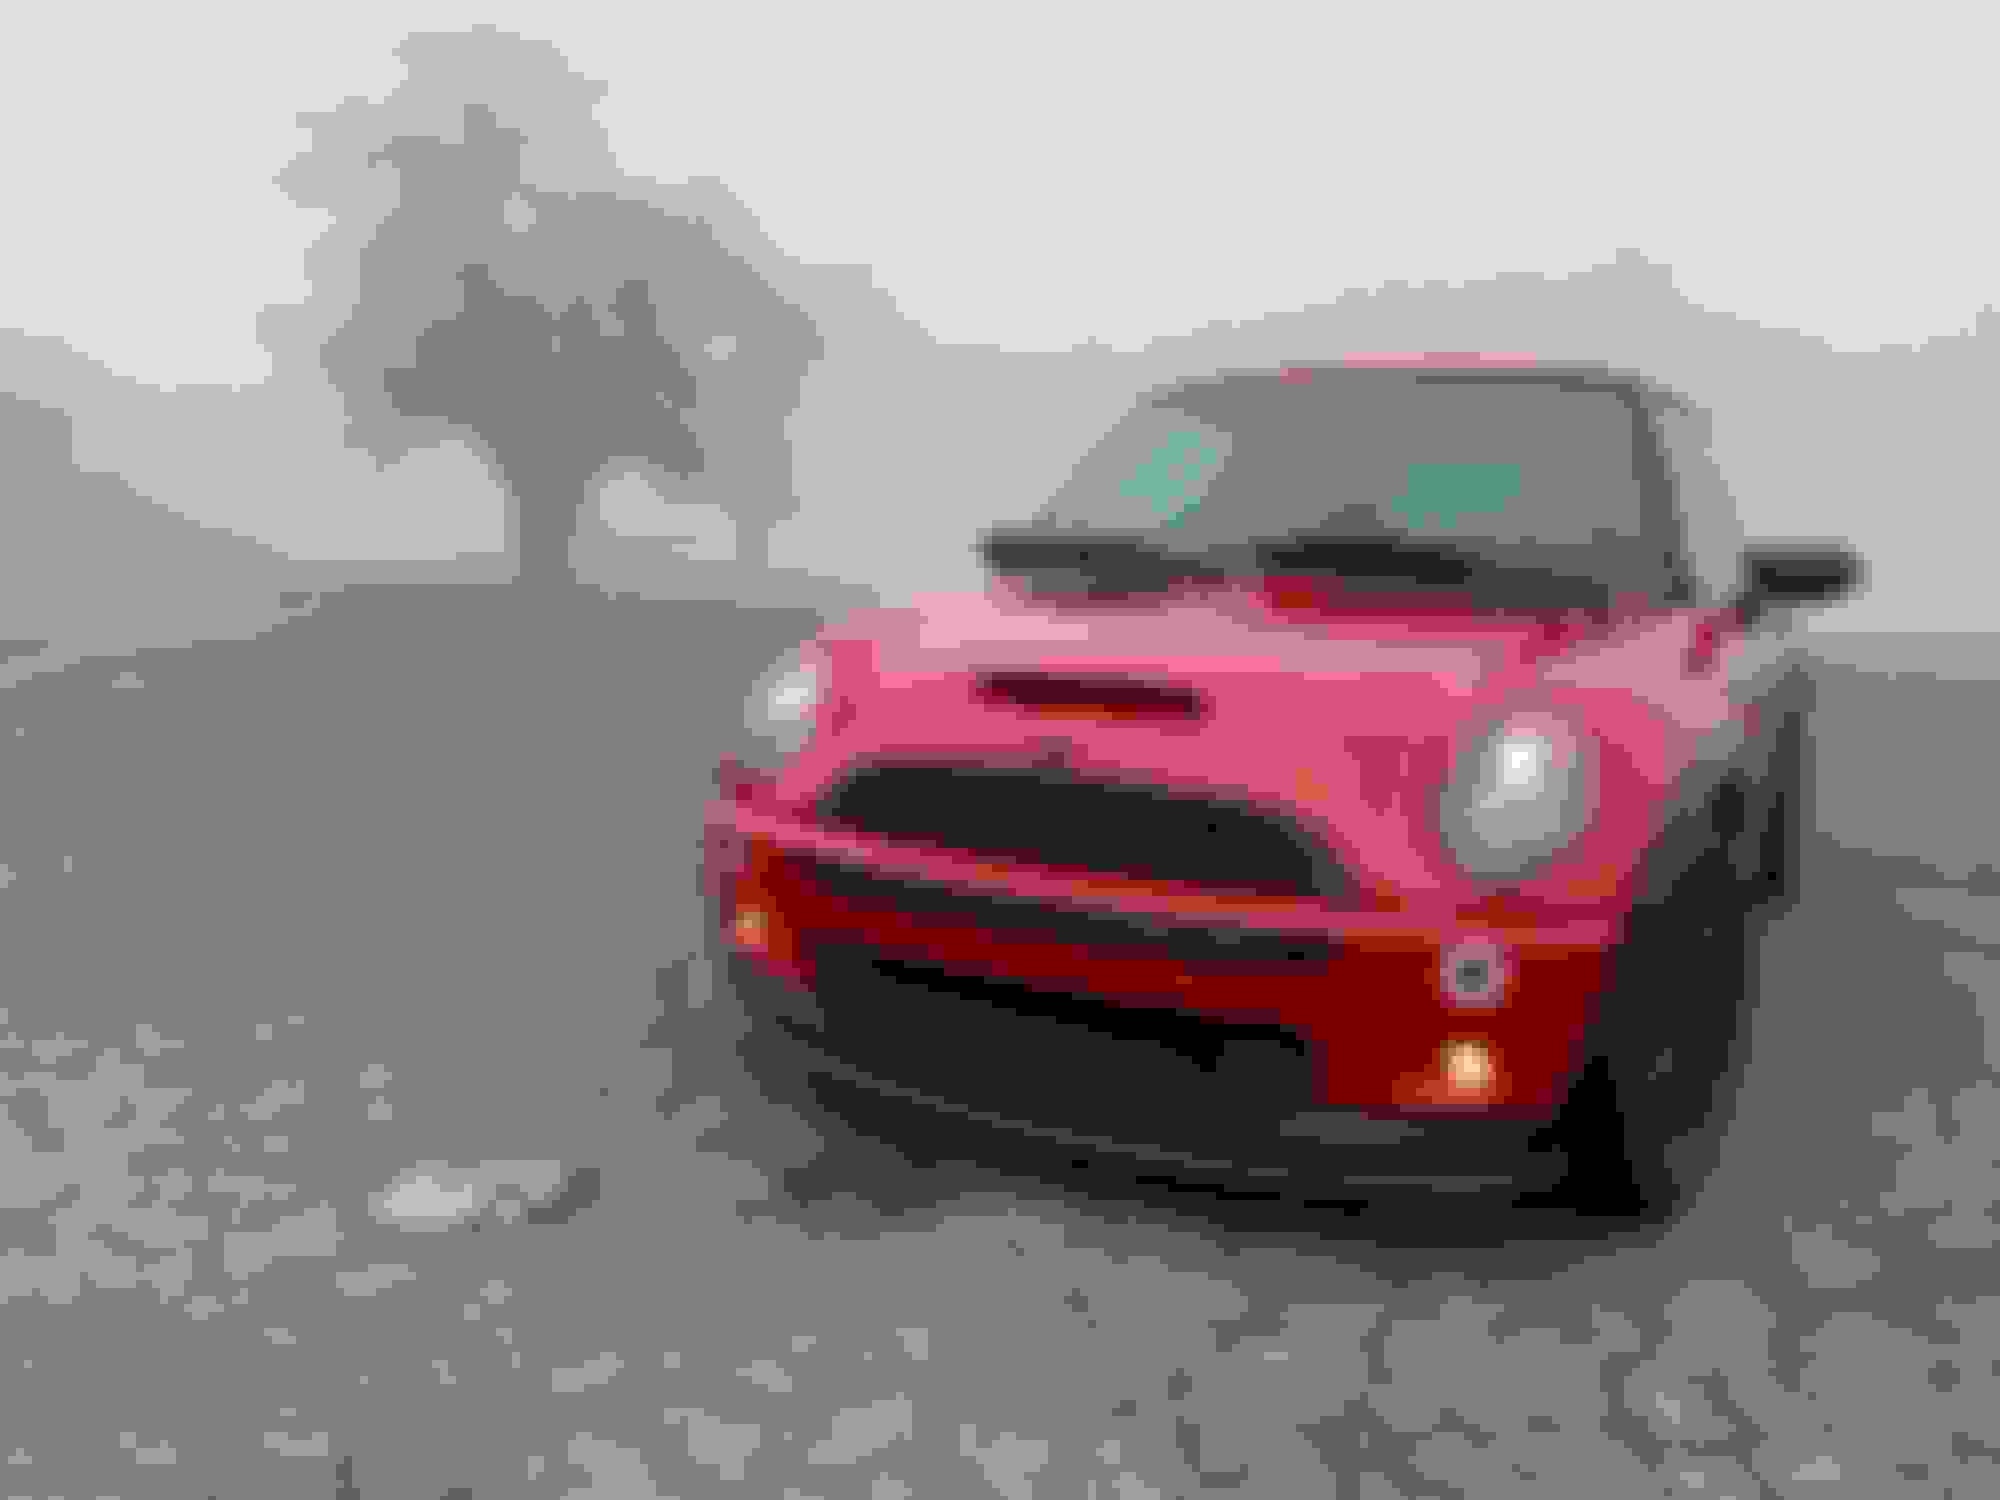
I'd rate my paint job a 7. From about 3 feet away its good. Now I need to put it all back together.
My Orranje wing got here from Seattle and I decide to to paint it. Way easier said than done.
Found a company here in town that has all the codes to mix auto paint colors. I was a little leary on the color match but he said they had Chili Red 851and could put it in rattle cans so... here we go. Wing blade, fins& headlight surrounds all getting paint.
Fins are going red. Used some auto primer first, then sanded so more.
Chili Red
So if I ever do this again... I know what I used.
My head light surrounds were chrome to begin with. Then they were black which was better than chrome. Took a gamble with the color match and dang... I think we have a winner.
Take Aways:
Industrial Finishes paint match is awesome.
Painting is tedious. There are 1000 ways to mess it up and only 1 way to do it right. It helps to have the surface your painting be horizontal to avoid runs & rattle cans like to be vertical. This adds another degree of difficulty.
I'd rate my paint job a 7. From about 3 feet away its good. Now I need to put it all back together.
Looking good! I don't know why MINI did the chrome rings-they look so much better in body color. I've done a lot of rattle can paint on mine-it's all in the prep. If you decide to start doing interior pieces, sand ALL the finish off. That plastic coating doesn't like paint.
Looking forward to seeing the wing. Wish I had seen it come up for sale. Local pickup would have been easy!
So I finally got out on some back roads to push the car a little bit. I hit a few long straights in 2nd and 3rd gear and got the RPMs up. From 4000 to 5000 probably has some more power but 5000-7000 is where the difference is noticeable. Mini's new red line is 7400 and although I won't be banging it up there all the time because it feels a little frantic, loud and hard to justify, I did get the RPMs up to 7200 just to see that the rev limiter had moved. The speed at which the engine goes from 5000 to 7000 happens fast and I can see why people use the signal lights on for shift cues. There is definitely more power in the upper range but taking advantage of that upper range power will primarily be at the track.
So my official review on the tune by Adrian is that is totally worth it.
Belated post to complement you on paint work to match existing Chili Red. Doing successfully is tough WRT pigmentation hue and gloss. Had it been me, I'd likely have taken the easy route with contrasting black to avoid mismatch but your results look stellar. I'm having a tough enough time touching up one of my Team Dynamics (UK) wheels with powder coat finish damaged by Discount Tire during mounting/balancing of new tires recently not seen until home and then too late for claim. Several light coats flat black applied to fill in scrape recess with final results TBD with perseverance continuing.
Nice that you concluded the tune was successful...
It will be interesting to hear what you think of it out on the track. Having a few hundred more revs, with the higher rev limit, is nice on occasions where it allows you to not have to make a shift. I ran into that issue with changing tire diameters on one track I go to. The 205s on 15” wheels caused me to make several more shifts than the 215s on 17” wheels. It should work out well for you...
I installed an OCC November of 2019. First time I emptied it (last Jan 2021) I removed 1.5+ table spoons of oil. I emptied the can again this weekend and got about 2 tablespoons. So for a super easy install...I'm giving the oil catch can a full thumbs up.
Sooooooo my battery is dying. I've been milking through the year on a battery charger but it's done. After reading up on the Braille batteries and looking at the cost to weight savings, I'm going for it. Probably have to put it on a battery tender for the winter months but it's in the garage anyway so it shouldn't be a problem.
Old battery. 43lbs
Braille B2618: 18.5 pounds.
Finished up the bracket for the Braille battery today. Couple thougths.
The weight difference is significant. The cost is not.... especially if you have some scrap aluminum bar stock lying around.
Old battery that came out of the mini: 43 pounds.
Braille B2618: 17.4 pounds. Weight savings of over 25 pounds. Better than Weight Watchers!!!
I used the stock attachment point for the OEM battery bracket to attach my bracket. No new holes and I can go back to the stock battery size if I want to. There is a bump out on the back wall of the battery box for the lower lip of the stock battery.... so the Braille does not sit back flush with the back wall. Makes it a little tricky to build the bracket. I also incorporated the OEM battery holder to support the carpet/pad that sits over the battery. Might have to add a little more support like a flat piece of plastic for more support over the battery and under the carpet.
Doesn't budge. Next I'm going to wire in a plug to hook up the battery tender.
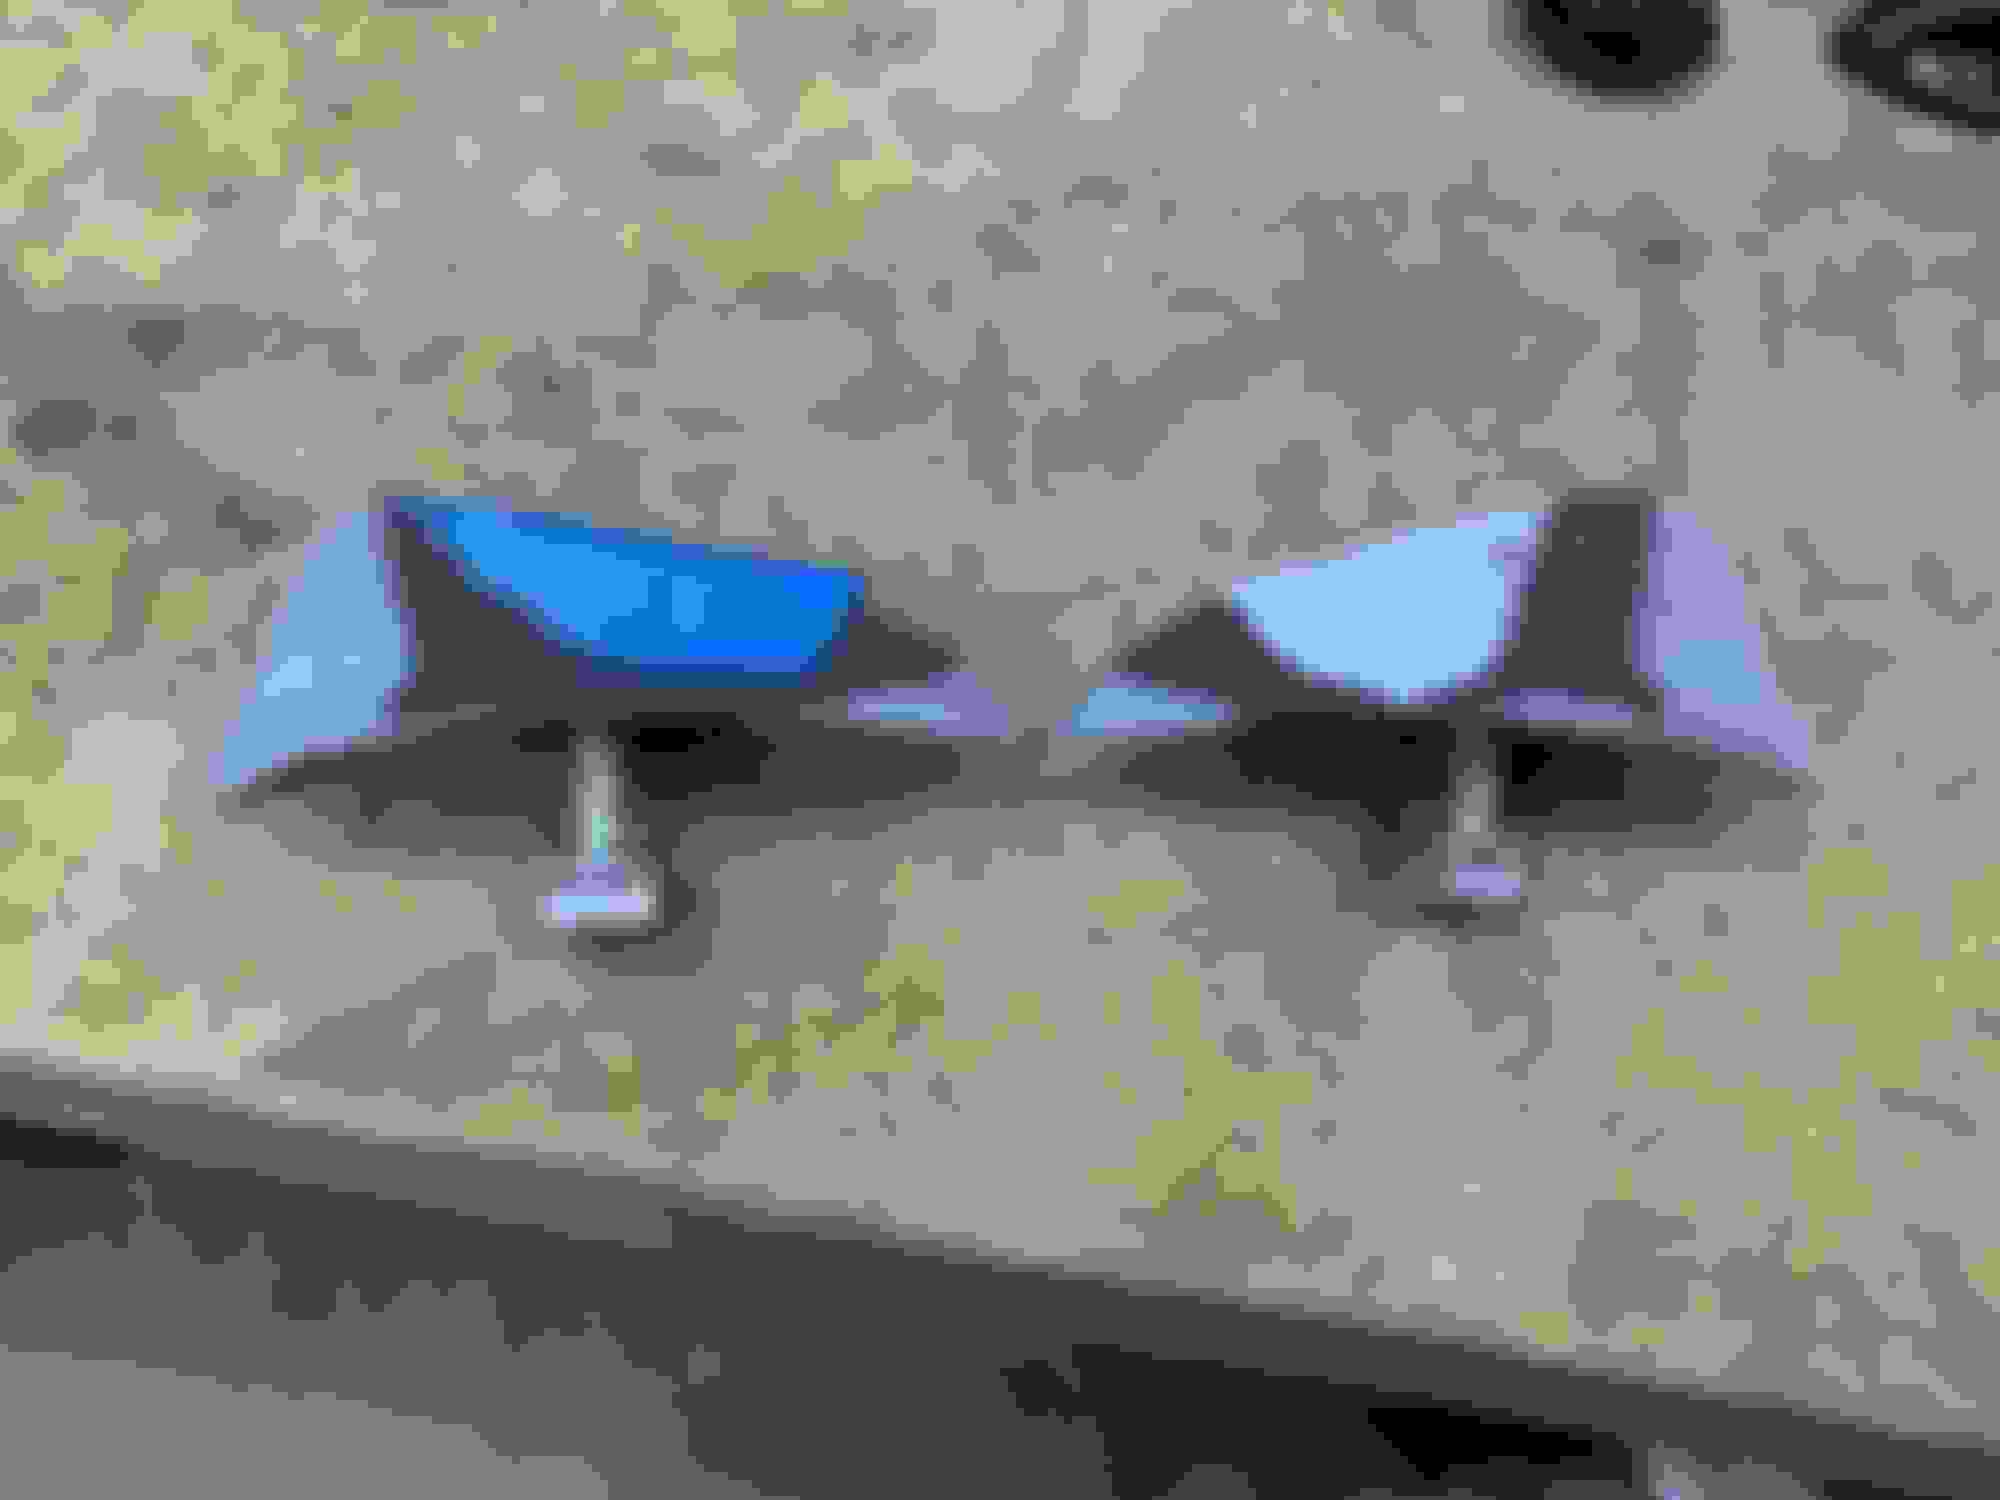
Made my life a little bit easier by adding wheel studs. Not a big project but critical to get it right... don't want the wheels coming off at the track this summer.
Couple of notes:
There are two different threads out there and I think it relates to whether your mini is a facelift version or not. Someone else can probably answer that question.
I purchased the APEX M14X1.25MM BMW 5 LUG STUD KIT ~ Leaves me with 4 extras stud/nut combos, just incase.
Stud Length: 75mm ~ I can do a small spacer now if I need to.
These studs have the 5mm hex head which makes the install little bit easier.
Here's a couple videos I found for the two different methods of installing. Hex Head and Double Lug Nut methods.
First time doing this so I used an "adequate" amount of red thread locker.... probably going to be a real %^&*(&^%$ to them out. Apex APEX M14X1.25MM BMW 5 LUG STUD KIT Stud Length: 75mm
Nicely done. And the bull nose ones are nice for threading the nut on.
Not so hard to get out. I use a small butane torch to heat the metal around the stud. That loosens the Loc Tite. It needs to be pretty hot but it works. A little harder to do if you brake a stud, but doable. Propane or MAPP gas torches would work too. I use the butane because it is small and I take it to the track with me. It is “MINI sized”
I'm late to the game seeing the paint work on your wing. Great job. I need to contact that company to get some paint for my engine bay.
I bought the paint and clear coat rattle cans from Industrial Finishes here in town. They had a paint code for the BMW/Mini Chili RED so I figured I'd give it a try. https://industrialfinishes.com/tualatin-or/
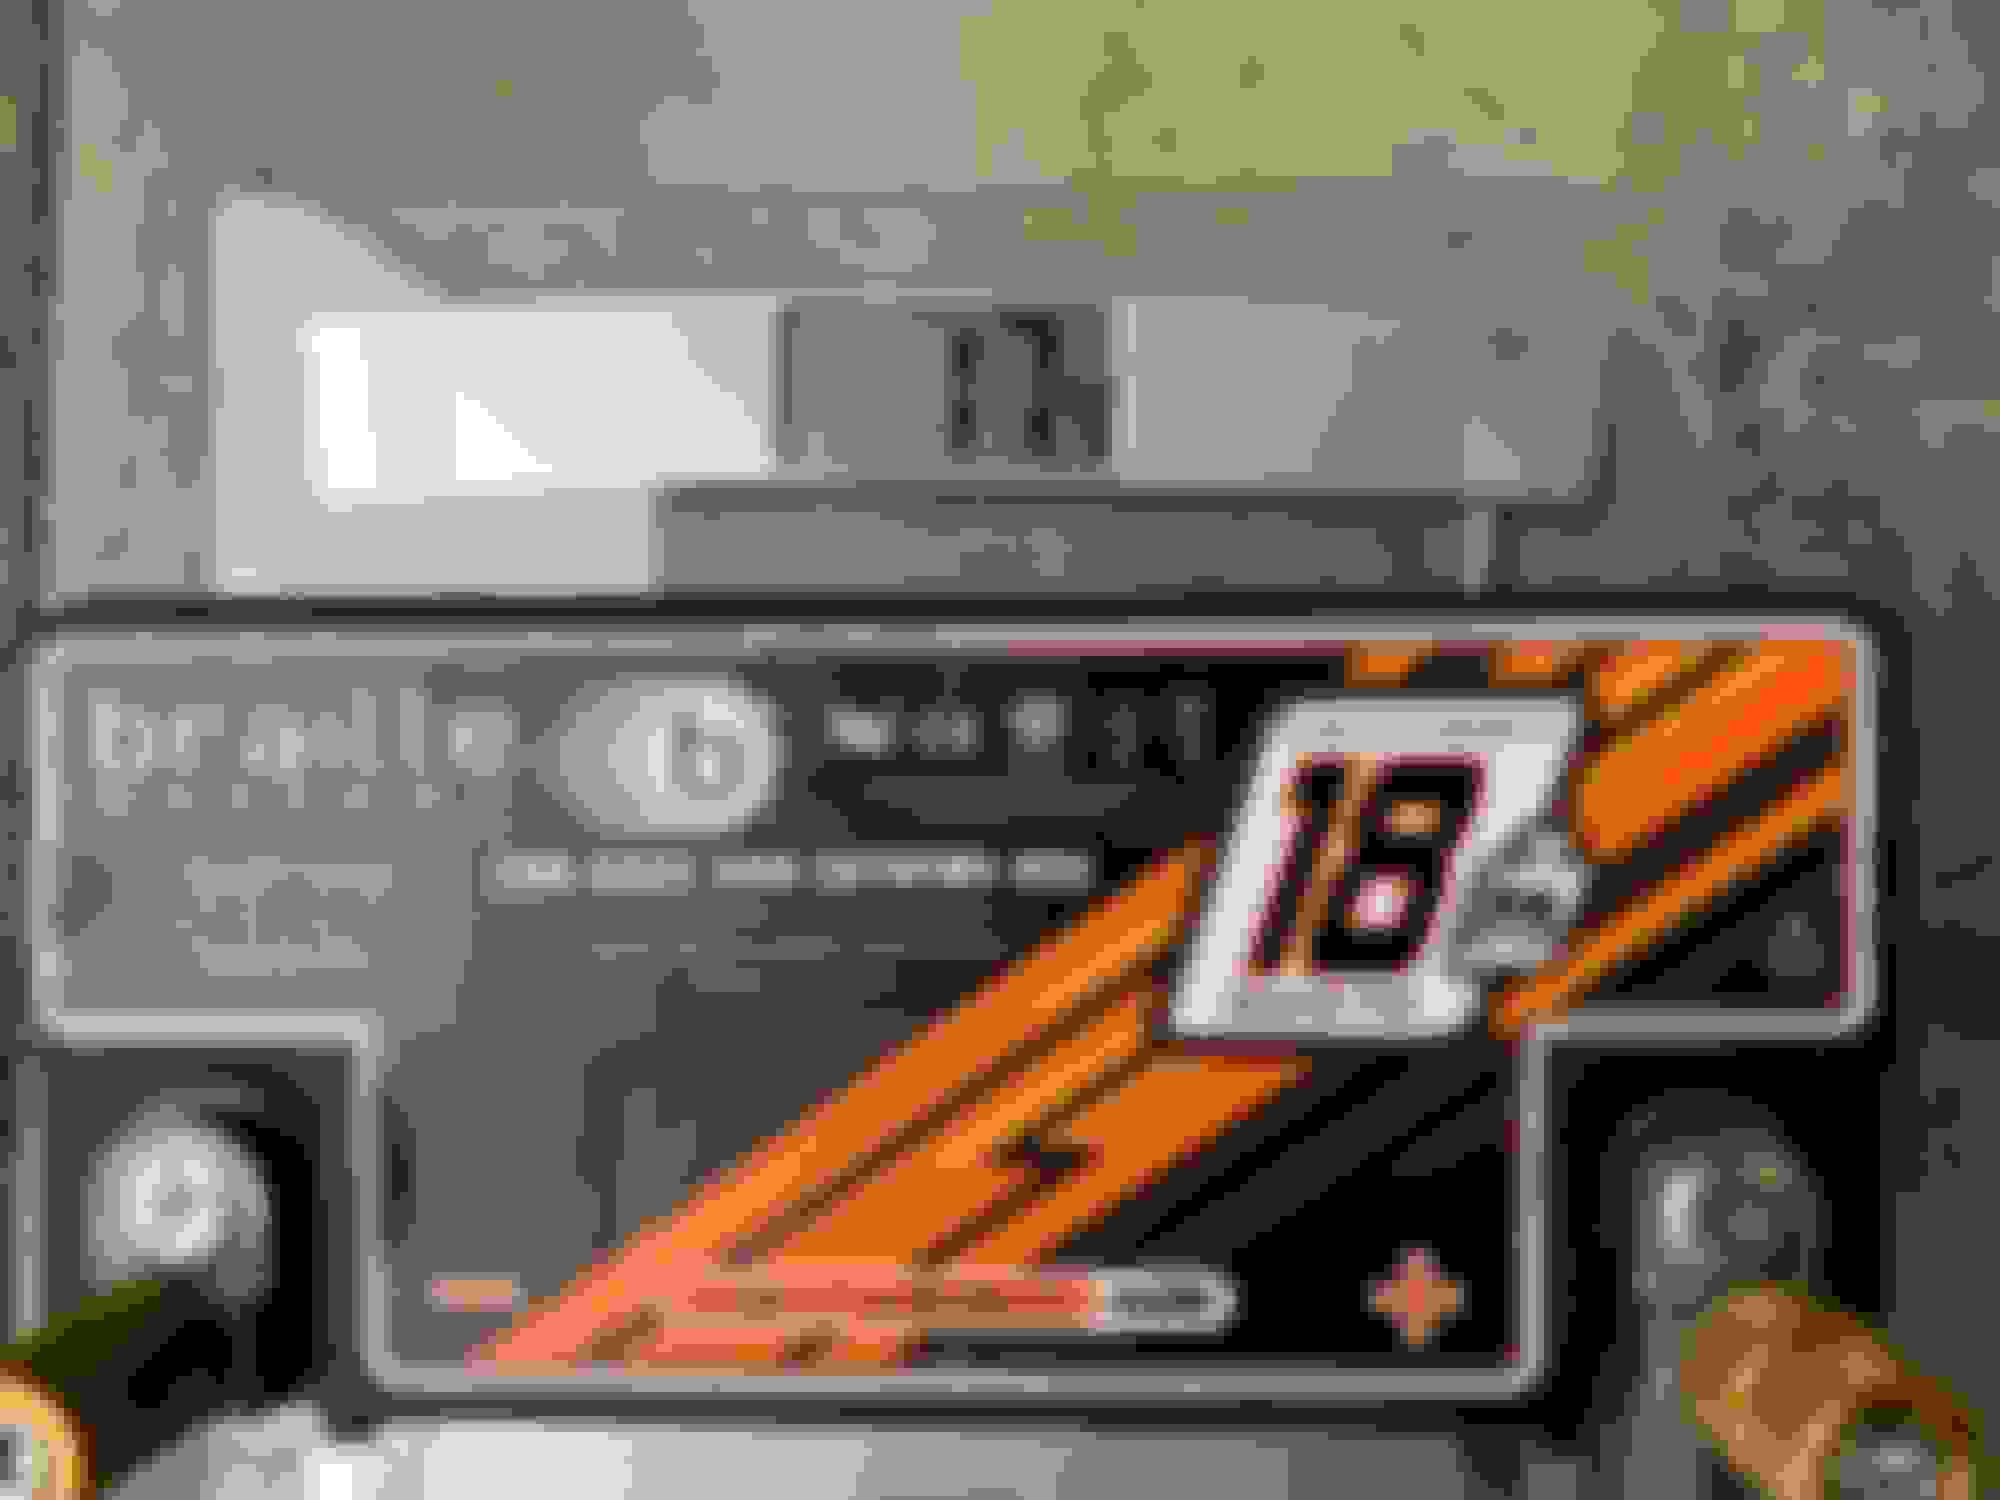
SYMPTOMS:
Same as last time) Sun roof doesn't work, turn signals don't make ticking sound, Airbag and radio don't work. Airbag and seatbelt (RED) lights came on. Seemed to be a battery issue last time, maybe a voltage drop? I do have a new Braille battery and I had to start the Mini a few times after an oil change (without giving a long charge to the battery) so maybe a voltage drop caused all this?
CODES:
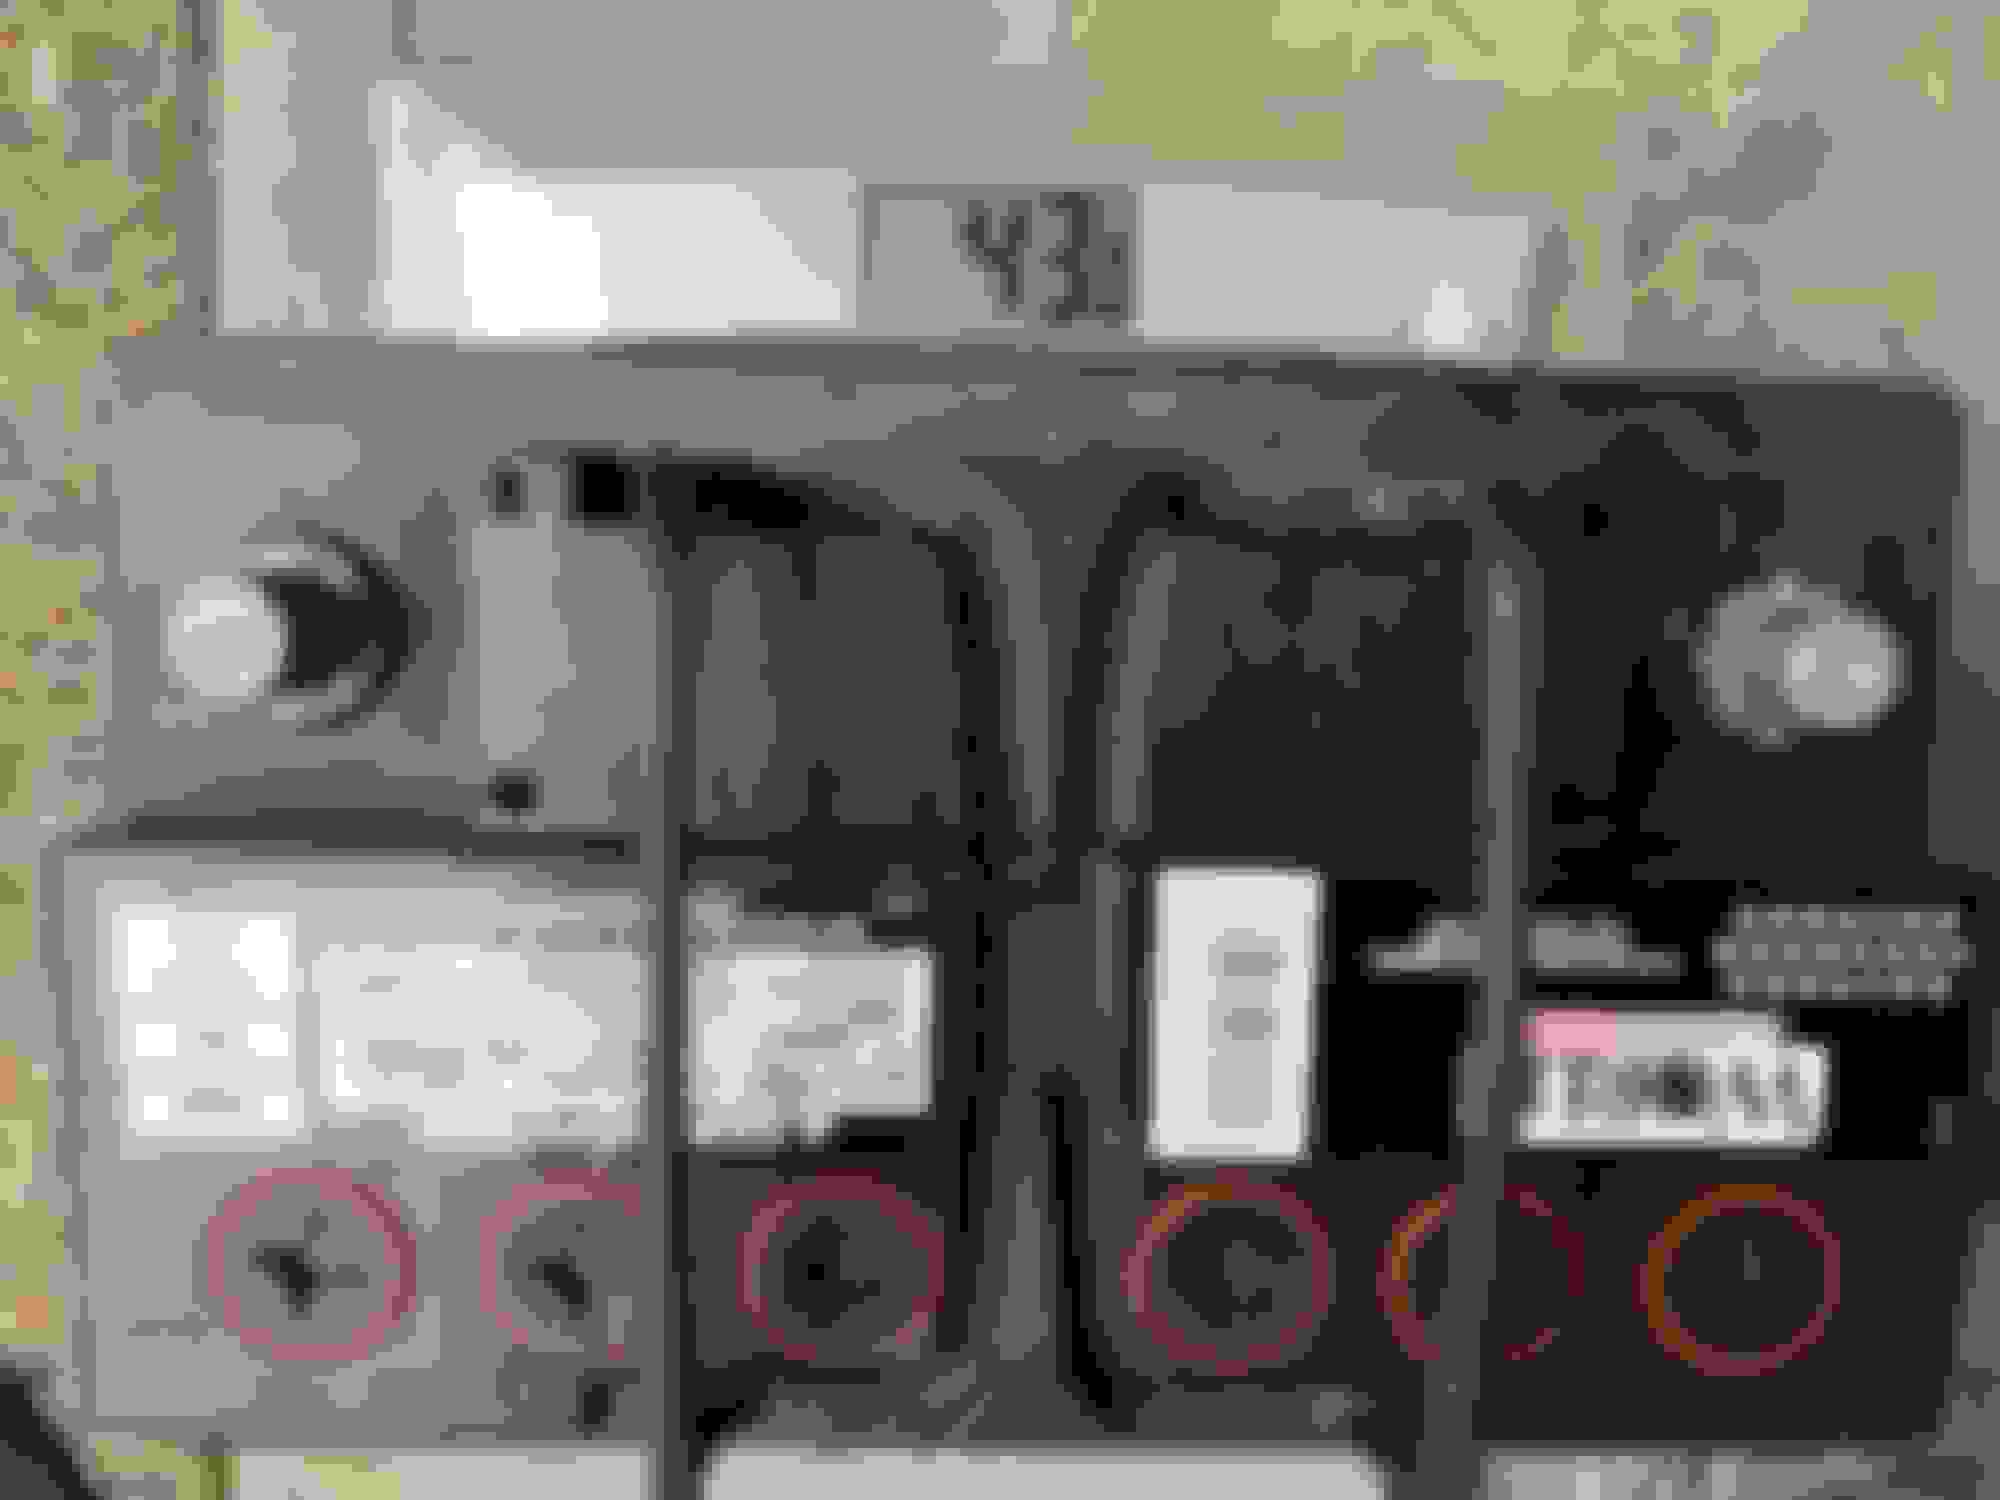
I was able to get these codes off the BCM.
***Side note that could be relevant: The OBD scanner I'm using was having communication issues with the Mini. Lots of attempts were "no communication" which makes sense with the K-bus communication codes.
I was able to connect and the the codes, then I could clear the second two (90 & 91) codes. Then re-read codes and get just 40 K-bus communication fault.
Then code 90 & 91 come back and I'm back to square one. No codes regarding the airbag either???
ATTEMPTS TO FIX:
1) Disconnected the battery completely from the car overnight and charged up the battery. ~ Nope.
2) Re-set the ECU ~ Nothing seemed to change.
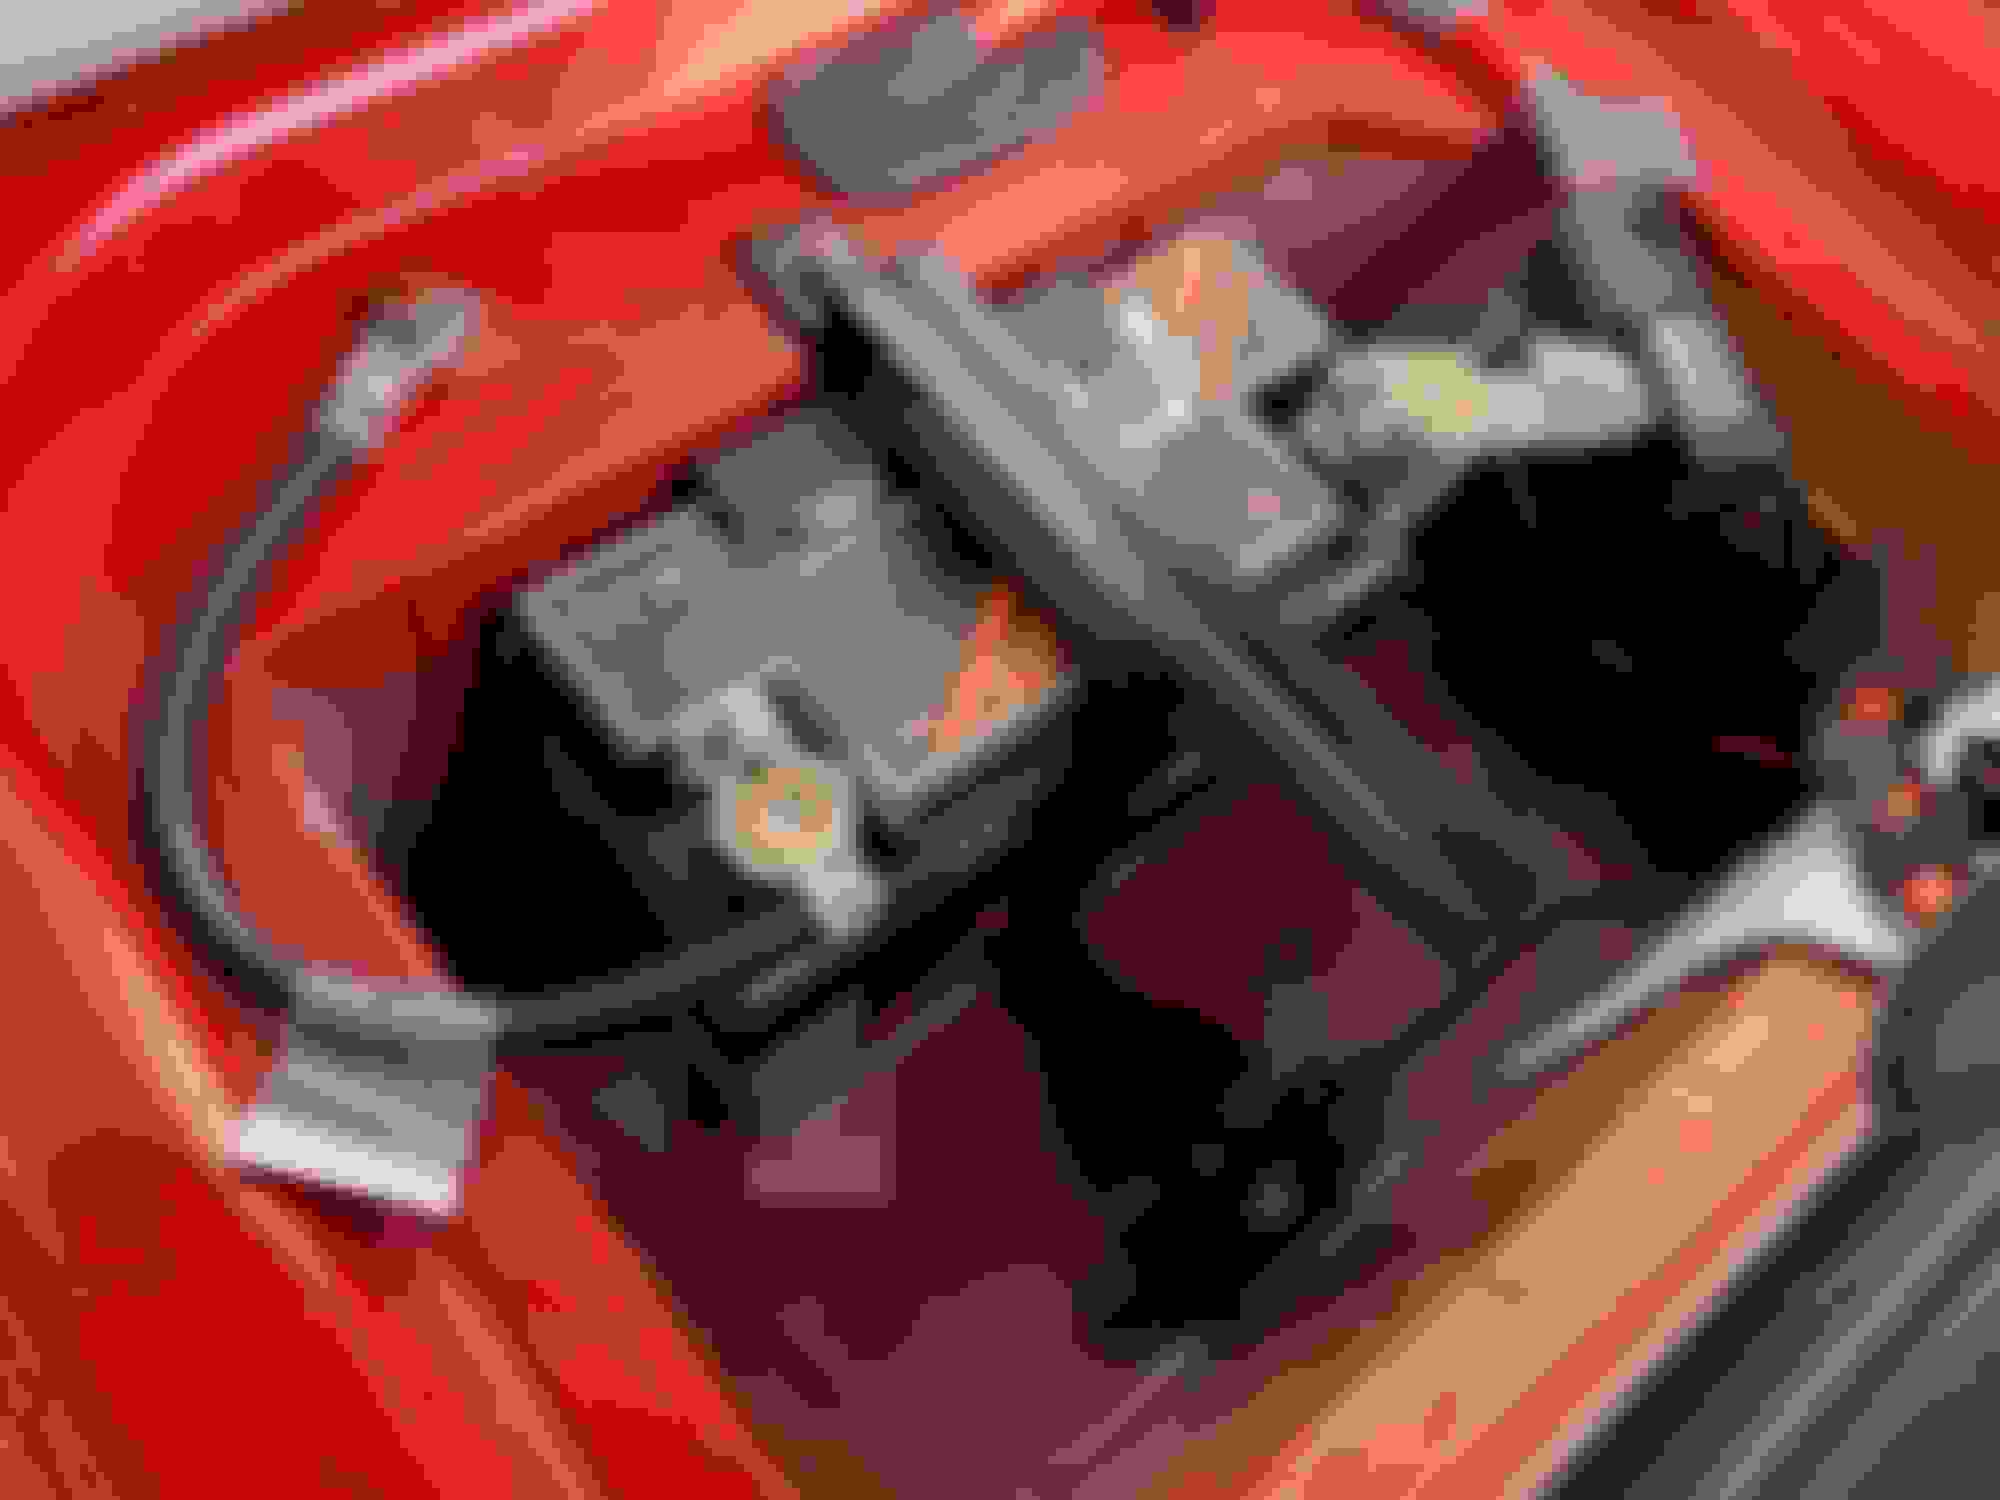
**3) Pulled the BCM from the passenger footwell. (this is where I am right now)
4) Alternator ~ Once I plug the BCM back in I can check the alternator.
5) Speedometer / BCM / PCM & ECU ~ all 3 talk together through the K-bus correct so should I check the speedometer and if so what am I checking for?
6) Wiring harness in Drivers footwell ~ is there a wiring harness behind the fuses I should check?
7) Unplug Tachometer - I seem to remember unplugging the tach and getting something to clear but I can't remember.
**3) BCM corrosion?
So reading a lot about water getting in the footwells from the sunroof drains so I decided to go there next. (I have already checked and fixed my sunroof drains, both front rubber drains were clean and connected. I secured them just to be sure) There is no signs of water/moisture anywhere in the footwell. No corrosion on anything. See pictures.
Paper sticker on the side of the BCM show no signs of moisture whatsoever.
Spotless.
So my question is where do I go from here?
Anything else I need to check while I have the passenger footwell torn apart and the BCM out?
Thanks in advance.

 10-14-2021, 11:34 AM


 I think I got it on Amazon.


 Better than Weight Watchers!!!