When you click on links to various merchants on this site and make a purchase, this can result in this site earning a commission. Affiliate programs and affiliations include, but are not limited to, the eBay Partner Network.
Here is one prime example of black mirrors just do not work. Back in 2004 MINI's online configurator had built-in rules with what you can and cannot configure. It was the most advanced at the time.
would you think chrome theme works better for this premium pepper white? ; what is most offensive is the white-out fender skirts (aka ring around the collar ) and spoiler
I don't think you can criticize the chrome mirrors across the board. It is about colour coordination as well as the graphic design, if any. From what I can infer you started with a red Mini with over the top chrome. What have you done to improve it? I cannot find a recent photo of yours.
I don't have any recent pictures, the car is in storage for the winter.
I've blacked out the chrome mirror caps and the scuttles. The scuttles have smoked lenses and the "S" is still chrome and red. The rear hatch handle has been swapped to body color. I plan on putting a black aero grill on the car, blacking the chrome body line, and the fog light bodies. Chrome left will include the filler cap, door handles, headlights, and taillights.
I think chrome is ugly, and I try and remove as much as possible from my cars and bikes. I have not seen an R53 with chrome mirrors that I thought looked good. Black mirror stems and A-pillars and then a chrome blob hanging out the side of the car. No thanks.
I don't think you can criticize the chrome mirrors across the board. It is about colour coordination as well as the graphic design, if any. From what I can infer you started with a red Mini with over the top chrome. What have you done to improve it? I cannot find a recent photo of yours.
In my view the OP's black out does not work and is a step backwards. Chrome theme works with certain body and roof colours. Black theme work with certain ones. Blacked out scoop often look cheap and embellished. Most black theme works if you put on (certain) body stripes. I would say the biggest offending elements of his (as is) is the all chrome grill and the chrome hatch handle cover.
Thanks for the sample pictures and thoughts... Whole thing is a work in progress. But I think Black and Red work together for sure.... with or without a couple hits of chrome.
I might be in agreement with you about the scoop being black... I may peel that back to red.
I do like the idea of a couple black strips but need to think about how to tie it in to whatever black I'm going to do.
I'm working on blacking out the belt line. (Which is also reversible back to chrome if I don't like it)
I do think the whole black them would work better with a black roof but one can not have everything when buying a used R53.
I'm contemplating the Joey mod... black with a red cone... not sure what to call that trim piece. I'll see if I can find a picture.
Again... this is a work in progress... it will probably take me months and months to figure this out...and I'll take any and all input along the way.
thanks guys.
If you do a google search on r53 mini cooper s there are no shortage of photos with all permutations. Then select Images. There are even categories for body colour, and even one for blacked out.
You can quickly rule out what do not work as well as those that meet your preference and sensibility. Some schemes only work well with certain viewing angles and lacking in others.
Most blacked out all pepper whites are just plain awful. You have to add a wide black stripe to balance out the black that is added.
I agree that the scoop should be back to body color. It's a big black dot in the middle of your hood that doesn't follow any lines.
I personally don't like the way modified headlights look, I think the mix of lenses, chrome, and various colors is hard to get right. The headlights are one of the parts of my car I plan to leave chrome.
Your blacked grill looks OK but it is chunky looking in black. I think black grills are better looking, I'd swap out for an aero grill.
I like Minis with body color roofs, I wouldn't change that and don't plan to on my car.
Ultimately is really personal preference and I have to admit I don't have the best eye for aesthetics but I've found if I keep it simple I have success.
Took me a while but I've got her closer to the look I'm going for. Blacked out: two front grill pieces, rear view mirror caps, headlight rings, inside the headlight/Joey mod, gas cap, belt line, side scuttles, (I think that's what you call them) grab handle on the back hatch. Still need to black out the door handles and I like the idea of a couple black strips but I think we are good for now.
Looking great. How do you like the ride with the FSD shocks?
Thanks everyone... It's been fun. I also did the Home Depot DIY Front lip... you can kinda see it in the last pic. Going to try and add the boost gauge next to the tach next.
How do I like the FSD shocks? Well, this is my first mini and they were on the car when I bought them so I don't really have any thing to compare them to. But I do think the car drives great and I don't plan on changing anything to the suspension.
I personally like the look you are going with your Mini, I am doing something similar, just going with the carbon fiber look. I still need to get the head lights done, ECS has a set with my name on it, and get decent pics once the weather clears! Oh, and wash her!
I personally like the look you are going with your Mini, I am doing something similar, just going with the carbon fiber look. I still need to get the head lights done, ECS has a set with my name on it, and get decent pics once the weather clears! Oh, and wash her!
Yup... very similar cars. You can do the belt line with the black vinyl from out motoring. (at least that's where I got it.) Makes a big difference IMO. I'm to much of a cheap bastard to go carbon fiber. Maybe wrap the dash in fake carbon fiber vinyl some day.
I like your front grill...is that the aero grill? Did you do your door handles?
.... I'm to much of a cheap bastard to go carbon fiber. Maybe wrap the dash in fake carbon fiber vinyl some day.
I like your front grill...is that the aero grill? Did you do your door handles?
I am cheap to Look at MYDIPKIT.
Yeah, that is aero grill and I am planning on getting to the door handles and belt line done, just not sure when.
Originally Posted by Derek86
I think this looks pretty good. I just think the black hood scoop is a big ugly zit in the middle of the hood.
My scoop was faded and looked like S...! So until i grow tired of it or find a good looking red one, I guess she will be a teenager with a zit on her nose!
So it was a little bigger project than it should have been but I installed the boost gauge.
For those of you interested in the process I've added a few of my findings, successes and fails.
I could not make the cup/mount that uses the autometer cup mount work. When I raised/lowered the steering column... it crimped the wire and tubing in the back of the cup.... tried new holes and filing down to get the cup forward but no go. I butchered it up pretty bad before I gave up.
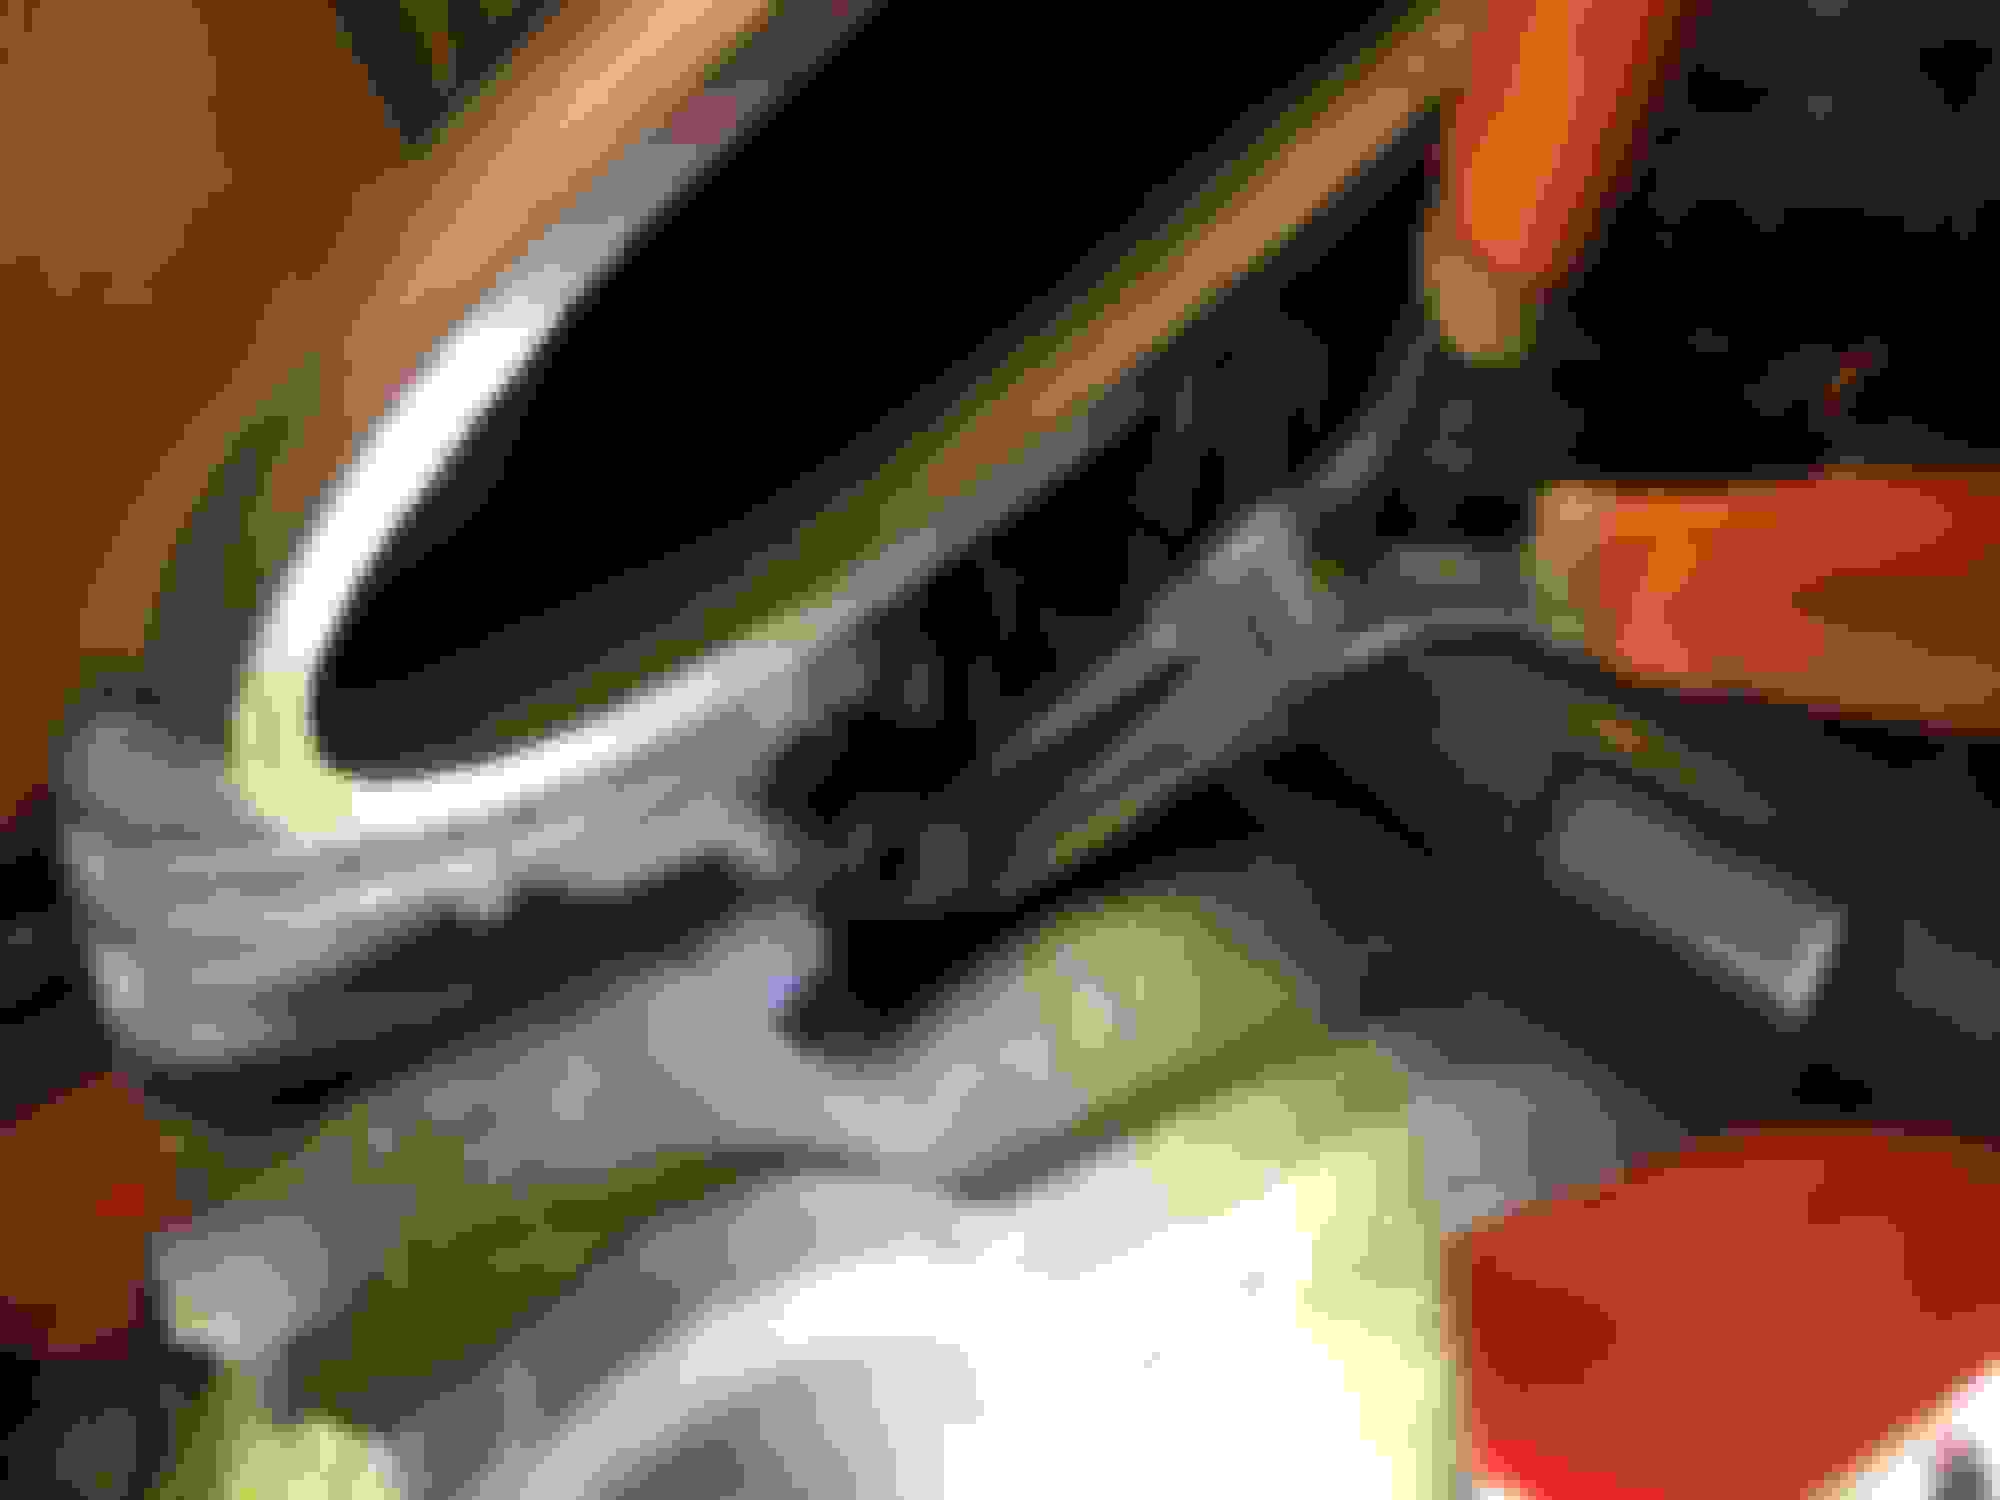
So then I started in making my own out of 1 inch aluminum flat bar.
Put a few bends in it and seemed to be coming along. Time consuming but worth it.
At first I had the mounting bar going straight across the back of the tach. After looking at it through the steering wheel I changed the angle of the bar to lower the boost gauge.
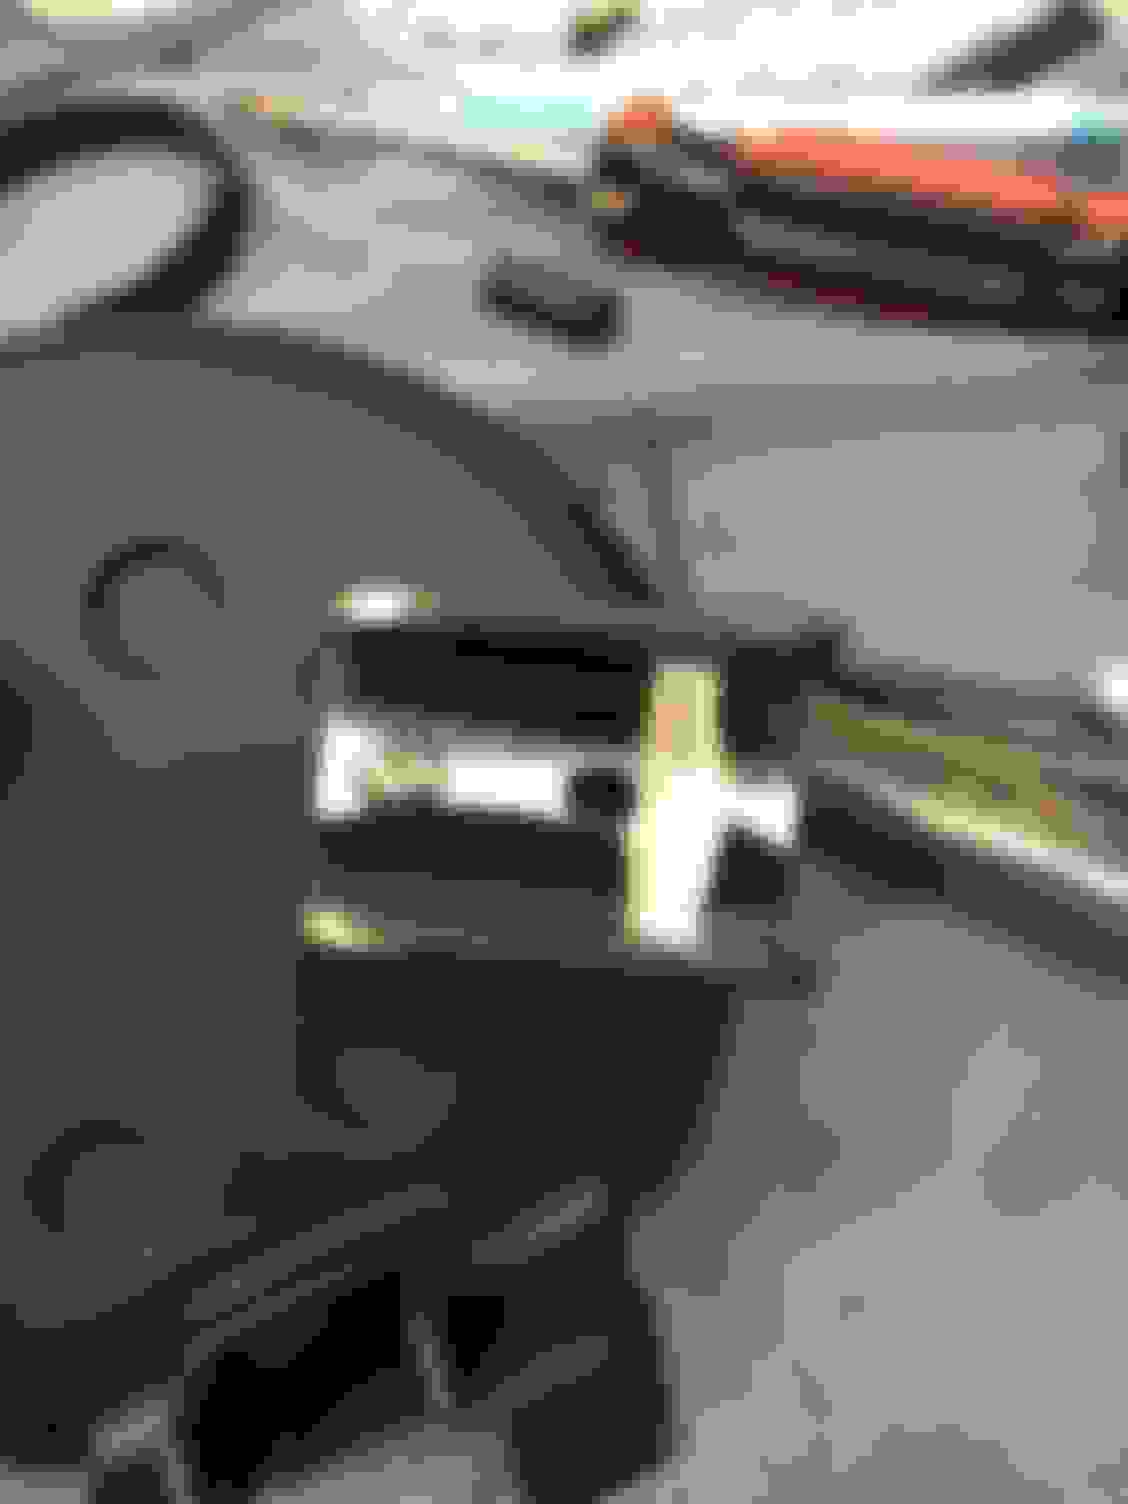
There's not a lot of pictures out there that show the rubber hose that comes off the Super Charger that you T into. Here's the best photo I could get. It is way easier to pull the intercooler to get to this. The T goes in to this rubber hose and your shot piece of rubber line goes on the nipple that's on the super charger.
There are no real good pictures of the little nipple in the firewall either... so here it is. Best way to get to it is to take out the air box and the back panel (not sure what it's called) but here's a video from Madness Motorworks that was super helpful.
Once you get the back cowel off you can actually see back to the firewall and find the nipple. I have a hanger going through it in the picture.
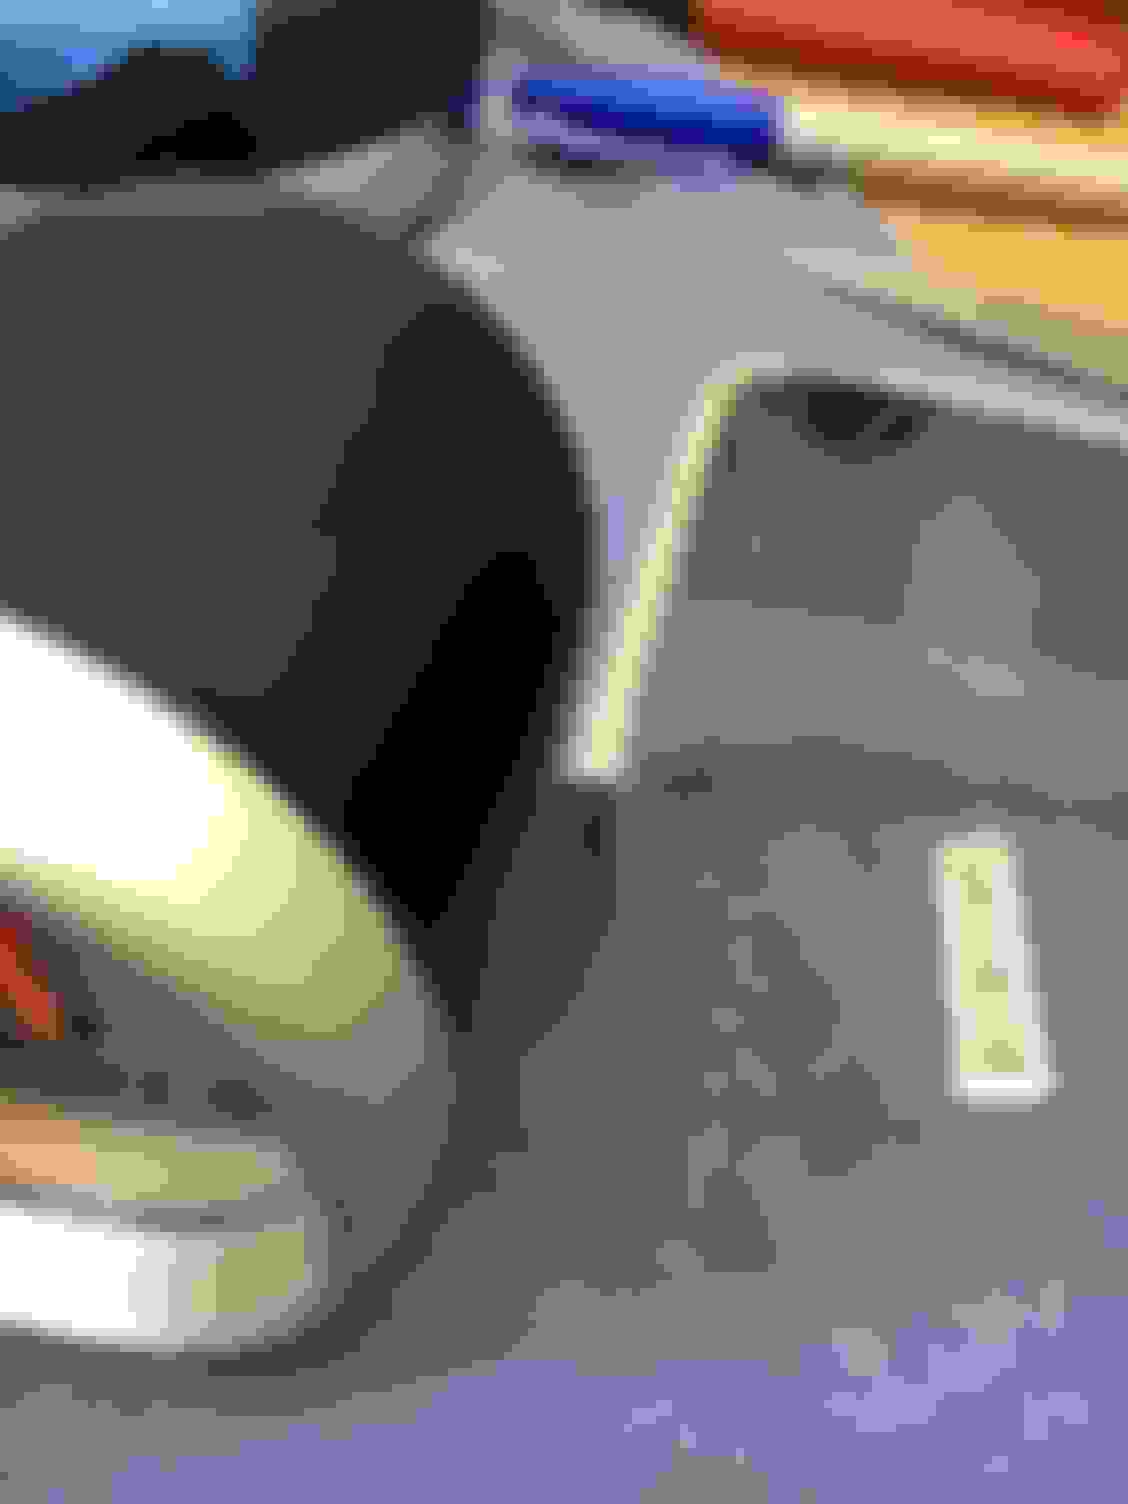
To get the boost line through the cowel I snuck it through with the black hose (no idea what it's for) that goes through a rubber grommet on the lower left corner of the towel. A little grease and it slides right though.
Also... the middle wire (grey and pink) on the wire cluster that goes to the tach is perfect to power the bulb in the gauge. It dims slowly with all the other lights. Go get a little amber bulb (autometer comes with red and green) Not sure where I found that little bit of info but it worked great.
Here are a few more links to helpful pages.
Hope this helps someone else with this project. Again... I am no expert on any of this crap but I hacked my way through it and it came out pretty good. Feel free to ask questions or point out stuff I did wrong. I'll post some pictures of the dash mount when I get it all painted black.
Last edited by bump32; 11-27-2018 at 06:15 AM.
Reason: more links
Congratulation and kudos for the photos. Installing the boost gauge is harder than it look especially if you try to save some money not to buy the boutique gauge pods. When I bough the Autometer boost gauge 13 years ago I also bought the gauge cup with the intention to make it work by the tachchrometer. In the end I decided that unless I fabricate a elaborate metal adapter it would not work. I ended up going halfway in getting the Alta gauge pods as they are very reasonably priced. Alta is local and give walk-in discount.
I did not like the idea of putting all that stress on the two plastic screw bosses inside the tachchrometer so I fabricate an AL support to relieve the stress.
pwnR53S - I read through your post as I was doing my boost install. It was very informative and helped steer me towards making my own bracket and finding the correct hose to tap into. THANKS. Anyone looking for the correct hose to tap into should look at your pictures for sure. I never did find the 90 degree piece that you use for the air tube out of the back of the gauge. It was very tight for the wires and air tube against the dash, especially when raising and lowering the steering wheel.
I did get the bracket painted black and it seems like the right spot for my eye-line through the steering wheel.
Car looks great. I have both a boost and a temperature gauge that I made my own brackets for. I will have to borrow my wife's smart phone to take some pictures.
Smart phone free since I said goodbye to the rat race.

 01-15-2018, 12:44 PM


 ; what is most offensive is the white-out fender skirts (aka ring around the collar
  ) and spoiler


 Look at MYDIPKIT.