When you click on links to various merchants on this site and make a purchase, this can result in this site earning a commission. Affiliate programs and affiliations include, but are not limited to, the eBay Partner Network.
Eddie07S probably has way more experience to answer this question that I do. I found some of my notes from after my first track day with the new set up and here's the short version:
I had Hawk HP+ pads on my stock front brakes for the track days. This was OK for the first few HPDE days. By the last couple they were overloaded and did not feel good. PIR has long front stretch into heavy braking. Too much heat and fade and I may have boiled the brake fluid... I don't know for sure.
R56S front brake conversion:
Carbotech CT1204-XP10 pads and Centric plain rotors for OEM R56 S front brake calipers.
R56s Calipers - Power Stop S3320A - rebuilt R56s from Rock Auto
Stainless Steel Brake Lines R56 Brake Conversion Kit - Way Motor Works
I'm using ATE Type 200 brake fluid and changing it more often.
Not a cheap setup but less than a BBK from Willwood.
In summary, there is a significant difference on the track. To try and break it down part by part is over my head but the total R56S front brake package is for sure better. No fade, braking is much more consistent and even & I can brake harder and later without scaring myself. If I had to guess, the XP10 pads might be the most significant of the upgrades. The only downside I have right now is the pads take longer to change out. I bought some Carbotech CT1204 pads for the street because driving around town with the XP10s, they feel a little light when they are cold.
I've been following these brake conversions, but...does anyone change the master cylinders?
Are they identical r53 = r56?
And changing to a larger piston area on the front without a corresponding change in the rear- does that change the brake bias?
thanks.
You don't need a different master cylinder. Remember the JCW R53 had the same caliper size as the R56 S that you are converting to. So bolt the kit on and go.
Eddie07S probably has way more experience to answer this question that I do. I found some of my notes from after my first track day with the new set up and here's the short version:
I had Hawk HP+ pads on my stock front brakes for the track days. This was OK for the first few HPDE days. By the last couple they were overloaded and did not feel good. PIR has long front stretch into heavy braking. Too much heat and fade and I may have boiled the brake fluid... I don't know for sure.
R56S front brake conversion:
Carbotech CT1204-XP10 pads and Centric plain rotors for OEM R56 S front brake calipers.
R56s Calipers - Power Stop S3320A - rebuilt R56s from Rock Auto
Stainless Steel Brake Lines R56 Brake Conversion Kit - Way Motor Works
I'm using ATE Type 200 brake fluid and changing it more often.
Not a cheap setup but less than a BBK from Willwood.
In summary, there is a significant difference on the track. To try and break it down part by part is over my head but the total R56S front brake package is for sure better. No fade, braking is much more consistent and even & I can brake harder and later without scaring myself. If I had to guess, the XP10 pads might be the most significant of the upgrades. The only downside I have right now is the pads take longer to change out. I bought some Carbotech CT1204 pads for the street because driving around town with the XP10s, they feel a little light when they are cold.
awesome. That is my developing plan. My most recent setup has been ebc yellows, motul 600 and stock blank rotors. With mini mania brake ducts.
My plan is to switch to r56 Front calipers and Carbotech xp12�s in the front and xp8 or xp10 in the rear. And keep the fluid and ducts. I�m running Hoosier R7 slicks so I think that is contributing to the problem, but also the fun factor.
any thoughts on Carbotech street brake pads? How�s the dust level?
awesome. That is my developing plan. My most recent setup has been ebc yellows, motul 600 and stock blank rotors. With mini mania brake ducts.
My plan is to switch to r56 Front calipers and Carbotech xp12’s in the front and xp8 or xp10 in the rear. And keep the fluid and ducts. I’m running Hoosier R7 slicks so I think that is contributing to the problem, but also the fun factor.
any thoughts on Carbotech street brake pads? How’s the dust level?
Any racing slick will cause brakes to be overheated without a good race pad, especially with pads like the Yellow Stuff. I found the XP10 pads to be far superior to those. The XP12s will probably be ok, maybe a bit of an overkill with those brakes, but should not be a problem. On my R56S I run matching pads front to rear. My most aggressive setup is Hawk DTC-60s front and rear. This helps to take some of the load off the front brakes. I tried lesser pads in the rear, included XP10 front and XP8s rear, it wasn’t as good as I have now.
For street pads, I have used the Carbotech 1521 (I think that is their “street” pad) and really didn’t like them. No dust, but no bite. I think a lot of people went with the AX6 (not to be used on the track) which is their autocross pads. I also just leave the track pads in the rear pads in all of the time; never change them. I only change out the fronts for the street.
Motul is good; I like it better than the AT200.
Last edited by Eddie07S; 12-10-2020 at 11:52 AM.
Reason: Edit
Do you have a source for the Hawk DTC-60's I haven't been able to find them for the R56 Calipers.
I now have Wilwoods up front, and the stock calipers in the rear. I was able to find DTC-60�s for both ends, but I don�t remember where. That was a few years back. There are a couple of popular racing supply places and I got them from one of those. It might have been Summit Racing, but not sure. Sorry.
A note about the DTC-60s - Hawk pads are noted to be hard on rotors. For the track I originally got them for they were fine; no unusual rotor wear. That track is really hard on brakes, so a lot of heat to deal with. Then I found out the hard way at a different track that, if the track doesn�t put enough heat into them, they will eat a set of front rotors in no time. For me that was a 2 day event. So, I now have different pads for different tracks. That is easy to do with the Wilwoods. One reason I really like the Carbotechs is that they seem to work well on any track and they are easy on rotors. A bit more money, but worth it in my book.
https://www.ecstuning.com/Mini-2007-...Braking/Pads/2 R56 MINI Cooper S DTC 60s , they are an aggressive pad so the more aggressive the more it usually chews up the rotors. Oh hawks on sale and a rebate so that helps.
In my original pass at blacking out all the chrome, I used Plasti Dip on a lot of the parts and pieces. It's great and works really well if 1) You go slow and put a bunch of coats on to make a thick coating. 2) Don't touch the piece everyday 3) Eventually want to go back to the Chrome.
Well I'm for sure done with the chrome so I finally got around to fixing the door handles.
Probably to much info and pictures for a set of door handle covers but whatever.
The really good thing about Plasti Dip is even after a couple years it still peels right off.
Back to Chrome.
I test fit the covers and they do "clip" onto the door handle but the tape is probably a good idea. Kit comes with 3M double sticky strips.
Look great. Should have done this years ago.
PROS: They fit well and seem to be made well. The gloss black matches the black on the A pillar. 3M tape seems to be holding well.
CONS: They are a little expensive at $60. The gloss black does not match the matte black that I have been wrapping with. (I have a mess of gloss and matte black now)
That's one of the reasons I haven't used these covers for any of my blackout work--they are only available in gloss black. I'd have spent the money of I could have bought flat black.
Thanks for doing the writeup. My other hesitation was how well they fit.
My 3m wrap is holding up well enough for now on my door handles, but I'm probably going to paint mine when I need to redo.
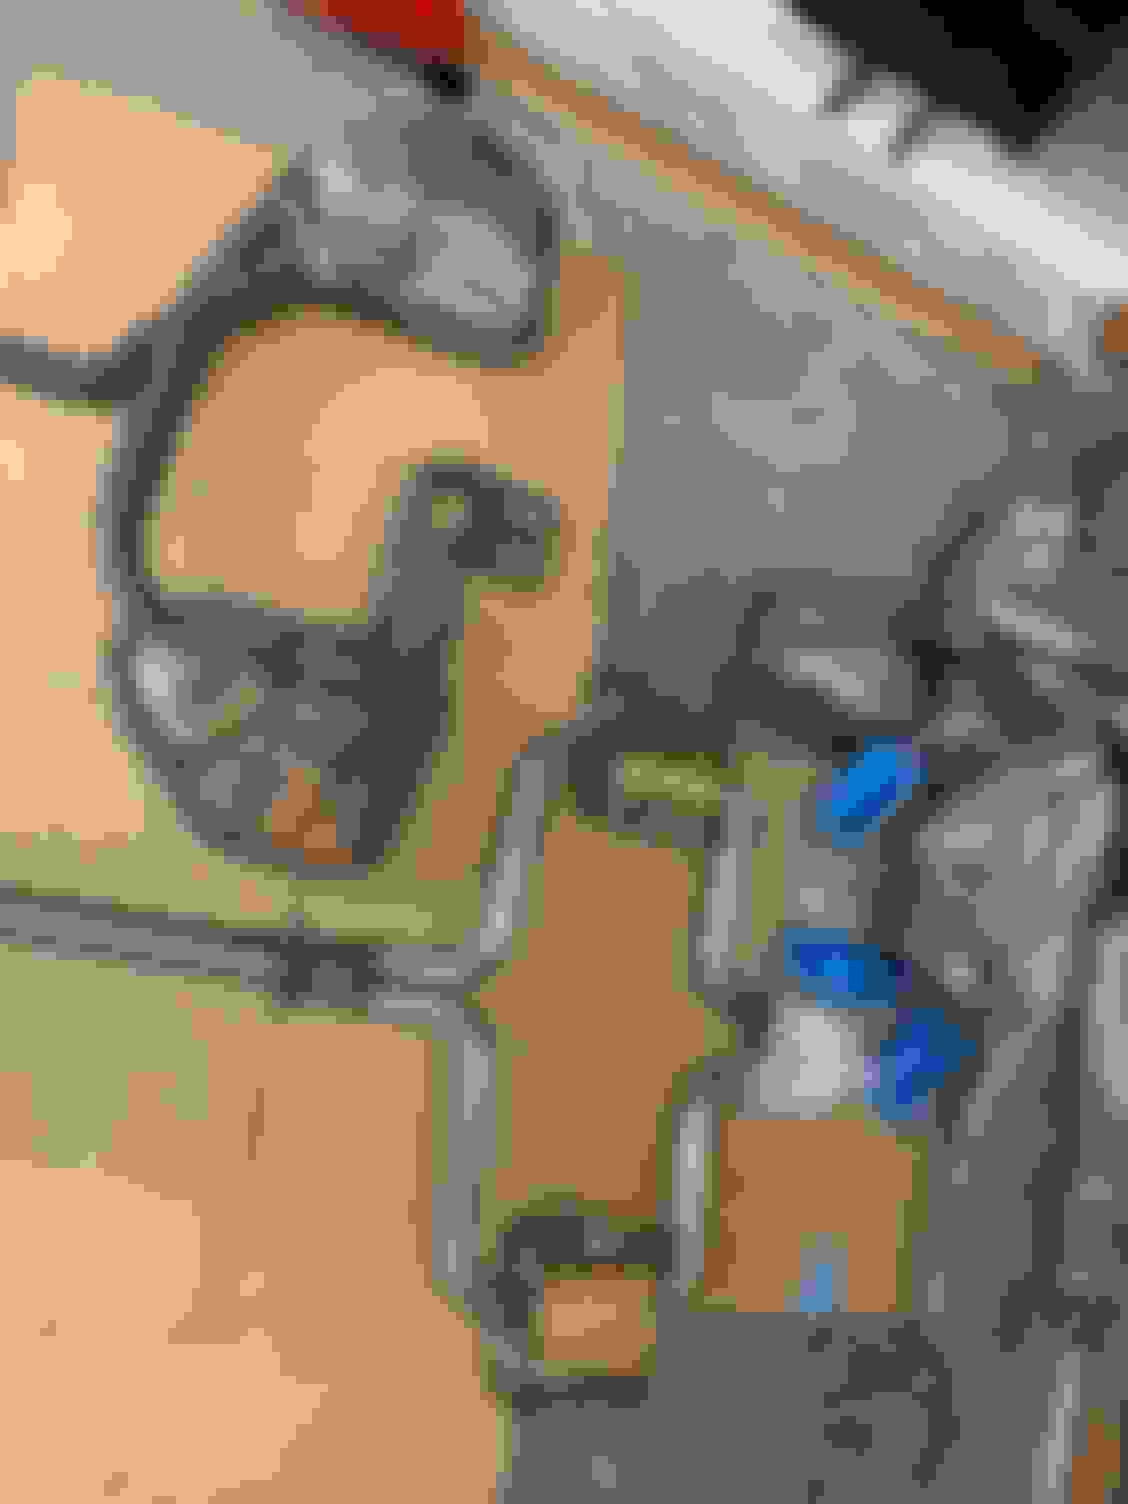
November of 2019 (a little over a year ago) I installed an oil catch can. Well today I opened it up to see what I "caught".
Hard to tell how much oil in the picture and the metal scrubber was completely coated...... but I would say about 1.5 Tablespoon's worth. Which is 1.5 Tablespoons that didn't end up going back into the system, so I consider that a win.
Thanks for the update--Any idea how many miles that was?
Also, where did you end up installing?
I have my can ordered, but not installed yet--had pretty much given up on a good install location. Scrolled back through this thread, and saw your installation post. I'll need to go back out and look, but wondered how much struggle it was to unscrew the reservoir to drain it?
Husky44
Looks like it was about !000 miles of spirited driving. The Mini is not a daily driver and sits in the garage most of the winter. One other thought on the mileage: I did not drive any HPDE days last summer, so those miles are only street driving. This summer, I plan to do a couple HPDE days so we'll see if that changes the amount of oil in the can.
As far as removing the catch can: It's not too bad. I remove the nut from my DIY bracket, slide the whole thing off the bolt with the hoses still attached, wiggle it up and out of the compartment, then unscrew the bottom of the can, stick a rag under the top/lid while I cleaned out the can. I could remove the hoses but it wasn't that much of a mess with most all of the oil already in the bottom of the can.
Reason I asked about miles, was that I was surprised how little you had over 11 months. Not surprised at collecting that much over 1000 miles.
I was hoping you had discovered a location that allowed you to empty without dismounting. That was what had held me up on install-I can't find a place that will work well. Mimes a DD, although my mileage is still low-about 5k/yr. I just k ow from my last car with a catch can that being able to drain it conveniently is important to me.
Finally got the Exhaust in last weekend and we had a few sunny days here in Portland to take the Mini for spin.
Initial thoughts: I made a good choice.
1) Resonated Cat-Back is not that much louder. It sounds much better too...Maybe could have gone for the non-resonated but I'm an old guy and it sound great.
2) Easy install. Initially it was press up tight against the rear bumper plastic but a little heat and some slight bending to the back hangers and it came down to where I have a about a centimeter clearance.
3) The "Butt Dyno" says we have a little more mid range torque. Really? ahahah who knows??? Eventually I may put larger injectors in and see about a can JCW tune or something from adriancl
4) No more little exhaust tips.
5) Saved a few pounds... but then again I have two huge pieces of glass sitting in my roof so the 15 +/- pounds I saved in the back end is not going to be significant.
Finally got the Exhaust in last weekend and we had a few sunny days here in Portland to take the Mini for spin.
Initial thoughts: I made a good choice.
1) Resonated Cat-Back is not that much louder. It sounds much better too...Maybe could have gone for the non-resonated but I'm and old guy and it sound great.
2) Easy install. Initially it was press up tight against the rear bumper plastic but a little heat and some slight bending to the back hangers and it came down to where I have a about a centimeter clearance.
3) The "Butt Dyno" says we have a little more mid range torque. Really? ahahah who knows??? Eventually I may put larger injectors in and see about a can JCW tune or something from adriancl
4) No more little exhaust tips.
5) Saved a few pounds... but then again I have too huge pieces of glass sitting in my roof so the 15 +/- pounds I saved in the back end is not going to be significant.
Last look at the OEM exhaust tips.
Your description of how it sounds is the same as I would describe my friends R53 JCW with that system. Glad it worked out for you. I would not be surprised that you may be felling a bit more pull from the engine. That stock piping is a mess and really restrictive compared to the Milltek and the Milltek looks to be really nicely made.
I sympathize with your �older� likes. I tried an aftermarket exhaust that everyone said was really nice and not too loud. The boom inside the car at cruising speed was really annoying...
Finally got the Exhaust in last weekend and we had a few sunny days here in Portland to take the Mini for spin.
Initial thoughts: I made a good choice.
1) Resonated Cat-Back is not that much louder. It sounds much better too...Maybe could have gone for the non-resonated but I'm and old guy and it sound great.
2) Easy install. Initially it was press up tight against the rear bumper plastic but a little heat and some slight bending to the back hangers and it came down to where I have a about a centimeter clearance.
3) The "Butt Dyno" says we have a little more mid range torque. Really? ahahah who knows??? Eventually I may put larger injectors in and see about a can JCW tune or something from adriancl
4) No more little exhaust tips.
5) Saved a few pounds... but then again I have too huge pieces of glass sitting in my roof so the 15 +/- pounds I saved in the back end is not going to be significant.
Last look at the OEM exhaust tips.
Glad you finally got it installed, and are happy with the sound!
I didn't realize you were Portland. I'm only 2 hours up the road in Tacoma. We'll have to do a meet up some time and do a side-by-side comparison of res vs non-res, and then give expert old guy opinions. 😁
Eddie07S
I would highly recommend the Milltek. Seems to be well made/ not cheap, (so you get what you pay for). But if you can get it on sale (WMW) it's easier to stomach.
Husky44
Yup.... Some time this summer we should make a point to cross paths.
Finally got the Exhaust in last weekend and we had a few sunny days here in Portland to take the Mini for spin.
Initial thoughts: I made a good choice.
1) Resonated Cat-Back is not that much louder. It sounds much better too...Maybe could have gone for the non-resonated but I'm and old guy and it sound great.
2) Easy install. Initially it was press up tight against the rear bumper plastic but a little heat and some slight bending to the back hangers and it came down to where I have a about a centimeter clearance.
3) The "Butt Dyno" says we have a little more mid range torque. Really? ahahah who knows???
4) No more little exhaust tips.
5) Saved a few pounds... but then again I have two huge pieces of glass sitting in my roof so the 15 +/- pounds I saved in the back end is not going to be significant.
All you said is all 100% corrrect and why we like it the most.
It will for sure increase the torque as we have dyno tested it and have gained as much as 10 ft lbs on a stock car
It it weights just less than 20lbs less than the stock exhaust
Last summer I tried to tint the windows in the Mini. It's harder than I thought.
I did a bad job.
Had the windows done professionally last week and it is much better. No HP gains on this post but it LOOKS faster.
Last summer I tried to tint the windows in the Mini. It's harder than I thought.
I did a bad job.
Had the windows done professionally last week and it is much better. No HP gains on this post but it LOOKS faster.
Looks good! Now for a question you normally don't get... what the heck type of shingles are on your roof? Are they just architectural shingles photographed at an odd angle? Or is it an Oregon shingle thing?
nd-photo.nl
OH Yeah... I like that. Where did you get it??????
smschriefer
Hmmmm I don't know much about shingles but it they are nothing special. I think it's just the angle of the camera. They are a square overlapping pattern. It's a full on icy mess here in Portland right now so I can't even go get you a normal picture.

 12-10-2020, 06:50 AM