When you click on links to various merchants on this site and make a purchase, this can result in this site earning a commission. Affiliate programs and affiliations include, but are not limited to, the eBay Partner Network.
First day above the freezing point of water in quite some time, so kept busy today. Was under the back end of the car for an hour or so cleaning up the underside and getting it ready for paint (POR-15 rubberized undercoating) while I have everything out of the way. The rusty spots I had I scraped and sanded down, and put a light coat of the regular POR-15 on as a little spot primer/sealer in those couple of very small spots. Got one side done pretty nicely, will take care of the other side tomorrow, and then I just have to wait for my new muffler hanger inner replacement brackets to get here.
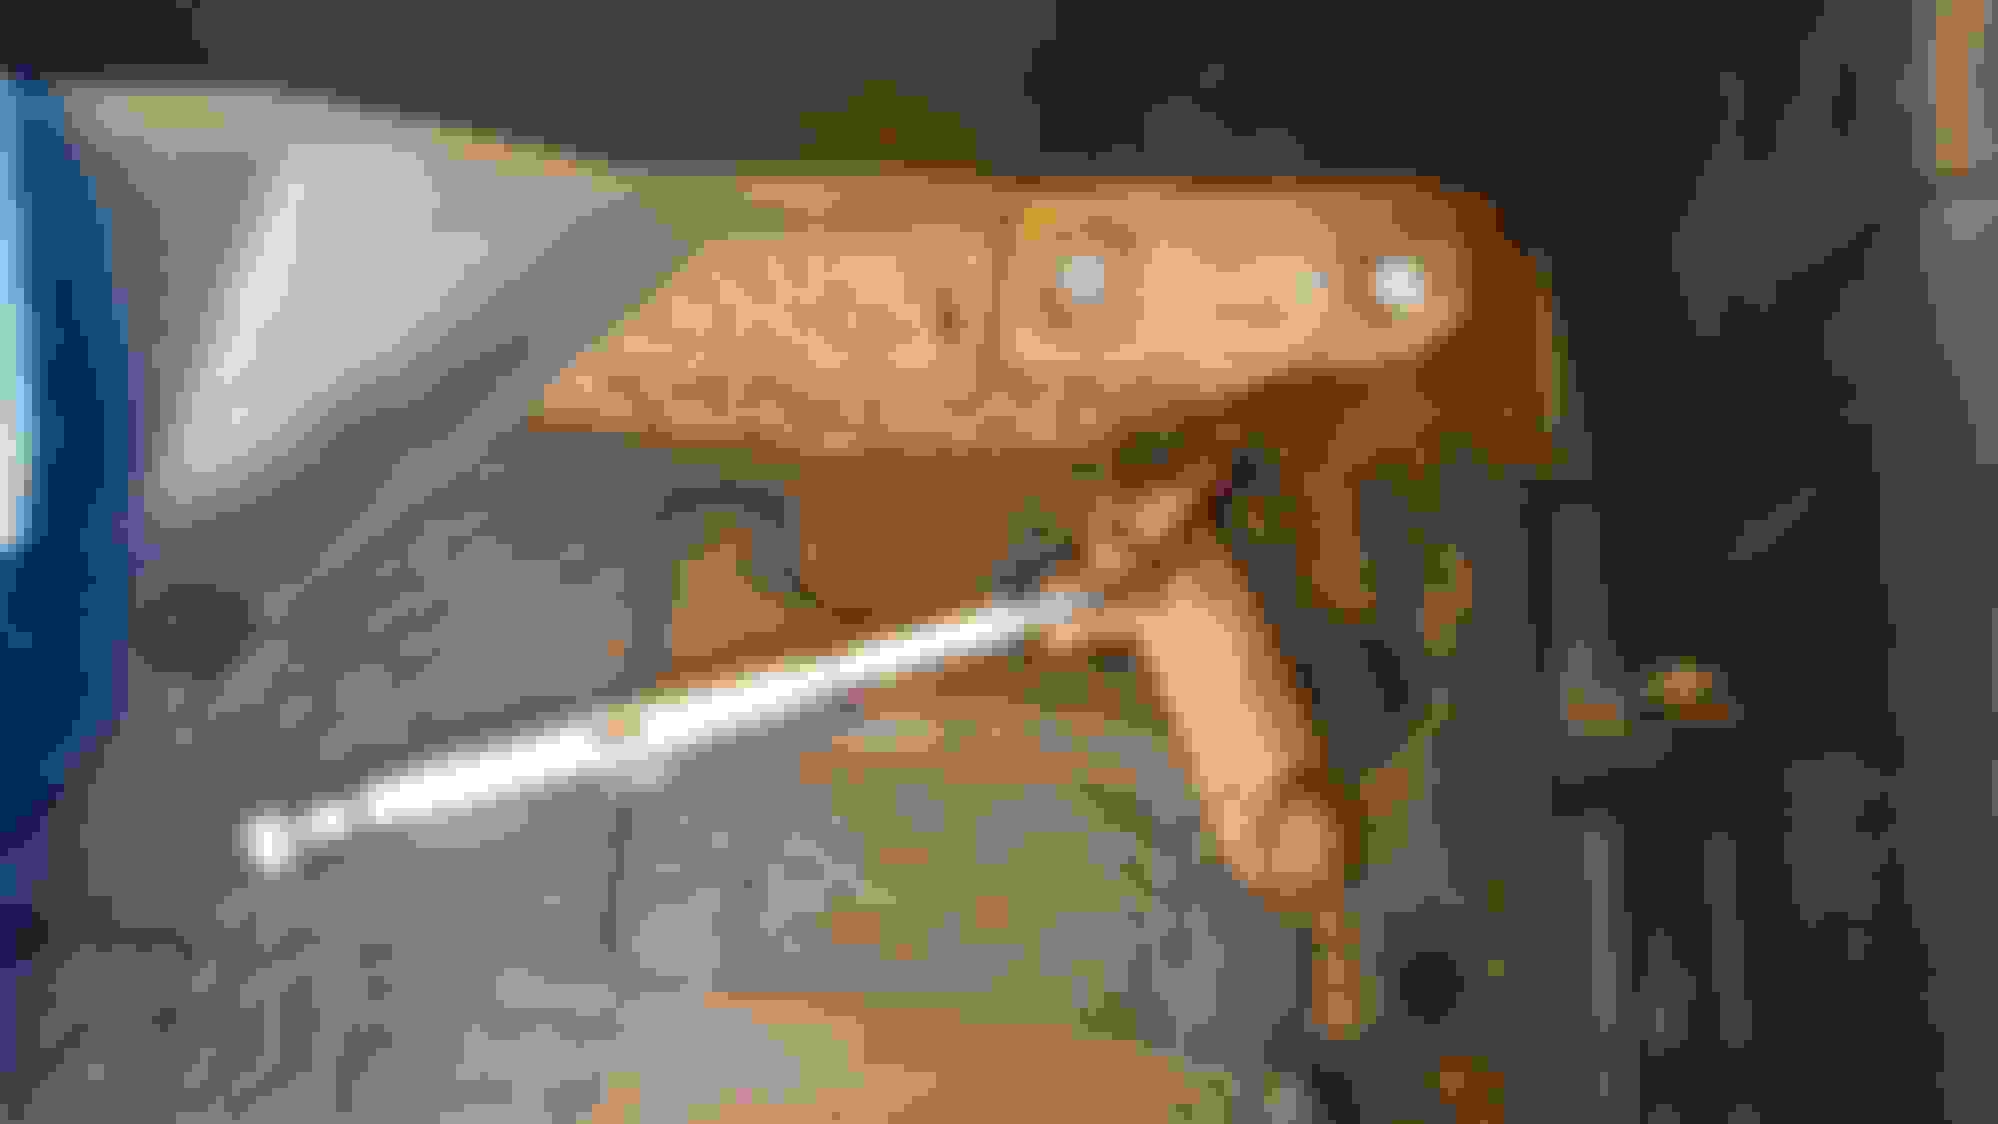
That was the second thing I took care of today. Removal of the broken stud inner muffler hanger bracket wasn't that tough. The brackets are located under a patch of sound deadening insulation at the very back corners of the boot area - you can see a sort of raised rectangular area under the sound deadening. First thing I did was to pound on both the broken and the intact stud for a few whacks. That got the sides started enough for me to get a large flat head under the edge and start to gently pry upward. It is spot welded in two places just inward of the two studs, so once I got the edge high enough, I grabbed the bracket with a pair of vice grips and wiggled it up and down until the spots let go. Took maybe 10 minutes per side. I got one hole where the spot weld let go on one side and both welds made holes through to the exterior on the driver's side. I am going to mix up a little epoxy and plug the weld holes with that, and then I will undercoat from bot above and below. When the new brackets get here, I am going to attach them with a bed of the rubberized undercoat from the top, and tape up the threads on the bottom and spray a good coat of the undercoat where they come through from the inside. Once I have those installed, I will tape off the area I want to undercoat from the bottom, paper off the sides, and then spray the entire cleaned area and battery box underside with a nice new coat of POR-15 undercoat.
Bracket out!
The other thing I needed to take care of is my battery box. When I lived in CA, I had to move a small coral reef aquarium I was keeping after putting all of the corals and fish and critters in a big plastic bin. Unfortunately, I took a corner a bit too vigorously, and had a pretty significant splosh. Ended up with a gallon or two of saltwater in the battery box. Cleaned it out as best I could at the time, but I have a bit of rust in there that has been bothering me (and I have a broken stud for the underside cover that bolts to the bottom of the battery box). So I drilled out the broken stud, and sanded the rusty areas off pretty well and degreased the entire battery box bottom and vacuumed out and that is ready for paint now as well. I will give the bottom of the battery box a couple coats of POR-15, and then the entire box is getting a coat of the undercoating on the inside as well. I will put a small cone shaped divet in where the new stud will go. I plan on using a stainless steel flat head coarse thread something that has a similar thread. Don't care if it's perfect as those plastic nuts will thread onto pretty much anything in the right neighborhood. Will rough up the back of the head of the screw and then epoxy it in with 24 hour epoxy. It won't go anywhere and the epoxy will seal the hole edges nicely.
Braum just sent me an email yesterday. Another delay because of the lack of workers at the port in Long Beach. The estimated delivery date is March 15. I can wait now that I know the seats are as I ordered them. They have offered me a free set of 4 point harnesses to make up for the delay. Thanked them and told them to send me black. Dunno if I will ever use them or not, but nice gesture.
Finished cleaning up the floorpan bottom on the passenger side today. It's kind impressive how little rust there is down there - three or four small spots and a couple of edges. I've 'primed' all of the rust spots with POR-15 and will give each of those spots a small blast of undercoat, and that's probably going to be it. I thought about trying to color match the pale blue under most of the car, but that is probably just the primer and an overspray mist of the indi blue base coat. And, in any case, it's going to be covered up by my nice shiny new heatshielding.
Over on the left there is where the new exhaust hanger bracket will go - that will be undercoated and primed and the previous weld holes filled with epoxy.
Did the battery box today as well. I did a based coat on the bottom yesterday... The discoloration you see toward the bottom is not rust, but is discoloration from the water having sat in there for a couple of days before I got to it. Cleaned it up multiple times before I painted the bottom.
And after a coat of the undercoat material was applied. I ordered a new hold-down bolt as mine was all rusted - the hold-down bracket, though, was surprisingly nearly perfect. I scraped out the old sticker sealer stuff that had been on the two holes you can see there at the bottom. I need to source a couple of body plugs in the right size now. O'reilleys has quite a selection - should be able to find some there I hope. Dries to a matte finish. The pic below was just after spraying it.
When I saw that the axle carrier looked pretty clean and was from Texas, I hoped to myself that it was from a Texas car that had lived it's entire life in Texas. Turns out that it was, and it had. I spent 10 minutes with a bottle of simple green and maybe 6 or 8 paper towels and this is what it looks like now...
There are maybe 3 tiny little rust spots on it. Just going to dab a little bit of POR-15 onto those spots and call it good. It's essentially as-new. As a bonus, the two brake line clips (that I ordered 4 of for $20) are intact, and it has the headlight level sensor in a different place on it's own bracket. Mine was on the driver's side upper control arm. Hope I can make this location work - not sure what the bracket on the other end of the sensor arm attaches to on this year's car, but hope I can make it work. Super excited - I can start putting the back end back together tomorrow. Still waiting on the new control arm bushings (went with the Powerflex ones as the PSB ones wouldn't send me info about a flat inner spindle), so won't be able to get that far, but should be able to get the axle remounted and the new control arms set and installed and a few other misc things. Bushes have shipped though, and I sprang for the quicker shipping, so should only be a few days there.
No, level sensor is in the same place, just the orientation threw me off. Have to figure out how to mount that on the new hexagonal cross section of the new control arm. Maybe a custom aluminum bracket...
Not sure I would do aluminum next to steel. The aluminum/steel combination makes a pretty good battery and the aluminum will want to corrode when it gets wet. It is worse with salt, but plain water will do it too...
Do you have a place called “Metal Supermarkets” near you? If you do, look them up. They are a dream store for metal DIY’ers. Ours sells “scrap” for cheap; much cheaper than HD. I know you are only looking to get a small piece, but they would be worth looking into for other things...
Well, the kid was in an accident this morning in the snow. She's fine, other driver is fine, she knew the cop who was at the scene. Radiator fluid on the ground, bumper cover cracked. Didn't get a chance to look under the hood, so not sure about the damage. Older Rav. Anyhow, morning was messed up enough that I was away from work until nearly noon, so took the afternoon off to blow off steam working on the Mini.
I got the new Progress 22 mm sway bar mounted up, the rear axle carrier remounted, strapping for the fuel tank rebolted, the brackets for the e-brake cables back up, new rear brake lines put on, and sized up the new aluminum adjustable rear control arms (using the old lower and upper with bolts through the bushings to get the size perfect) and installed those. Definitely felt better afterward.
Just a note, if anyone installs a Progress 22mm bar, the weld tab side on the bar end should face downward. (Not my image, but shows the proper orientation). Quality is nice, powder coat is nice, welds are very nice. Made in CA and less than $160 shipped. Only two adjustment holes, but that's probably all I will ever need.
New trailing arm bushings should be here tomorrow. If I can find the right spot, I should be able to press the sleeves in with my floor jack. Not sure though. Might have to take them to my machinist. That means at least 2 more days... Ugh. We'll see.
Do you have a place called �Metal Supermarkets� near you? If you do, look them up. They are a dream store for metal DIY�ers. Ours sells �scrap� for cheap; much cheaper than HD. I know you are only looking to get a small piece, but they would be worth looking into for other things...
No, I do not - checked Maps, but nothing. HD or Menards have bar stock pretty inexpensively. Don't really want to - but I may for now - zip tie it onto the control arm just to get it installed for now. Dunno what I was thinking anyhow - the control arms are aluminum... my brain is mush today.
Well, the kid was in an accident this morning in the snow. She's fine, other driver is fine, she knew the cop who was at the scene. Radiator fluid on the ground, bumper cover cracked. Didn't get a chance to look under the hood, so not sure about the damage. Older Rav. Anyhow, morning was messed up enough that I was away from work until nearly noon, so took the afternoon off to blow off steam working on the Mini.
Sorry to hear there was an accident... And glad to hear everyone is fine!
And the MINI is looking better for all of the effort...
Quick Q - away from my wiring diagrams ATM... on the heated seats, the three wires... is the arrangement a common ground, one wire to the butt heating pad, last wire to the the back pad? The two settings (low and high) are just low voltage to both pads and higher voltage to both pads? Alternatively, I suppose it could be that there is a ground, and the pads are linked with the first wire energizing half of the heating elements and the second wire energizing the rest. Anyone have insight into this?
Starting to think about seat install stuff, and the new seats have only a butt heat pad and not a back one. Need to look into this some more later, but hoping I can just dead end the back heating pad wire without detrimental effect.
Looks like one wire is a thermistor to monitor temperature and the other is the only power wire to the elements and a ground. Need to dig in to the diagram some more though.
In other news, my machinist was able to press in the new sleeves for the bushings! I can get the rest of the back end put back together now!
Will report when it's back on the road and I've driven it for awhile. Quality seems very nice. The inside of the split poly bushing pieces have a nice textured surface to hold onto the grease, so should hopefully be nice and quiet.
Right now, am stuck again though. Forgot to order the bottom shock coil spring insulators and my 17 year old ones are torn. So, I measured up the diameter of the old one - was just about 2 1/8" and a bit short of 3 1/2" outer diameter and found something with a similar size on amazon in poly. If this one fits well, I'll give the sub number, but it's a nice looking part and is only about 13 bucks shipped (per pair) if you're a Prime member. Right now, though, I'm waiting for that part before I can do much else. Can't hang the trailing arms without the shocks to hold them up. I'll probably wire brush my wheel bearings, replace my inner exhaust hanger mounting plates, and size up the end links. The bottom inch or so of the springs are rusty, so I have time to take care of that now. Man, I hate stupid stuff like this hanging me up!
I'm curious to know how those trailing arm bushings perform. I've been considering changing mine one of these days.
Originally Posted by jcolletteiii
Will report when it's back on the road and I've driven it for awhile. Quality seems very nice. The inside of the split poly bushing pieces have a nice textured surface to hold onto the grease, so should hopefully be nice and quiet.
I have the PowerFlex bushing on my front LCAs and they noticeably improve handling. I would expect the rear to also help. The thing you will also notice is an increase in noise and vibration. IMHO not anything significant, just noticeable.
Originally Posted by jcolletteiii
Right now, am stuck again though. Forgot to order the bottom shock coil spring insulators and my 17 year old ones are torn. So, I measured up the diameter of the old one - was just about 2 1/8" and a bit short of 3 1/2" outer diameter and found something with a similar size on amazon in poly. If this one fits well, I'll give the sub number, but it's a nice looking part and is only about 13 bucks shipped (per pair) if you're a Prime member. Right now, though, I'm waiting for that part before I can do much else. Can't hang the trailing arms without the shocks to hold them up. I'll probably wire brush my wheel bearings, replace my inner exhaust hanger mounting plates, and size up the end links. The bottom inch or so of the springs are rusty, so I have time to take care of that now. Man, I hate stupid stuff like this hanging me up!
I feel your pain...
Story of my life. If I want to start a project, I have to figure on 5 things that need to be done prior to starting in order to actually start. And rarely do I get through a project without a trip to the store (or like)... Hang in there, you�ll get there...
I have the PowerFlex bushing on my front LCAs and they noticeably improve handling. I would expect the rear to also help. The thing you will also notice is an increase in noise and vibration. IMHO not anything significant, just noticeable.
The keyword with polybushing is "balance", and this balance is different for everyone and also depends on what you want with your car.
I will probably not add too much Poly in the Mini as I already think the ride is quite stiff to begin with. Totally different story with my other car, the comfortable Volvo S80. I have added quite some polybushing there as the ride was way too comfortable for my liking. Now it has better balance (comfortable vs sporty) which is what I wanted.
I have the PowerFlex bushing on my front LCAs and they noticeably improve handling. I would expect the rear to also help. The thing you will also notice is an increase in noise and vibration. IMHO not anything significant, just noticeable.
I actually didn't notice any extra NVH from my front LCA bushings, but I suspect that's mostly a function of my fairly high tolerance for NVH and the fact that my camber plates lack any sort of vibration isolation. Also the poly engine and tranny mounts.
Hmm... I've heard the poly engine mounts were the biggest contributor to additional noise and vibration.
I'm not really super concerned with the noise part... my car is LOUD: Cowl DIY airbox CAI intake, OBX header, Borla race exhaust, ripped out hood blanket, and no rear seats - it makes some noise. But additional vibration might be bothersome. Although, I did go to 50/17 tires, and that does quite a bit to help with road vibration, so that might really help out with some of these issues.
In my case, the powertrain mounts are definitely the biggest contributing factor at idle. I have a Powerflex insert in the trans mount, the full Powerflex replacement bushings in the lower engine mount, and a Vibra-Technics upper engine mount. All are the street mounts, not the race ones.
I just put the Vibra-Technics in after I killed my third upper mount in only 7k miles. It hadn't leaked yet, but it was getting close. My cat was starting to hit my underbody x-brace on occasion.
As far as ride, I have Swift springs, so it's not soft.
There is still less vibration than my old Audi though. 034 density line engine mounts and a really aggressive cam make it a lot less refined than the Mini.
Hmm... I've heard the poly engine mounts were the biggest contributor to additional noise and vibration.
I'm not really super concerned with the noise part... my car is LOUD: Cowl DIY airbox CAI intake, OBX header, Borla race exhaust, ripped out hood blanket, and no rear seats - it makes some noise. But additional vibration might be bothersome. Although, I did go to 50/17 tires, and that does quite a bit to help with road vibration, so that might really help out with some of these issues.
�The term �vibration� is used somewhat loosely here. It would be better described as less isolation from road irregularities, noise and whatnot. In my case it was something that I notice when I first put the polly bushings in, but now don�t think about it. To me it is definitely not something that is at all irritating and they make handling so much better. Anything like a little noise/vibration disappears when I dip into that first corner and I get to feel how good the car is. And, I doubt you will notice it over the Borla exhaust.
Mmm... that perhaps changes my inclination. I was wary of maybe using the Powerflex front arm bushings when I take apart and restore the front next winter, but from your description, doesn't seem like something that will bother me all that much. I like feeling the road.
Today was about miscellaneous cleanup items that need to be taken care of. Spent 30 bucks at the autoparts store this morning on mostly new nuts and bolts, but also some 3m pads and a can of auto touchup paint that looks like it will be a very close match to the pale blue color (very little top coat) on the sheet metal and undercoating below the car. Then I used a stainless machine screw to repair my missing stud on the lower exhaust shield. I epoxied the machine screw into the hole that I had drilled out in the corner of the battery box, let that harden up, then sprayed a little undercoating over it. When that dried, I sprayed a coat of primer over the whole battery box to clean it up and get ready for the paint color and hopefully a close match (it looks really good from the duplicolor can cap). So one thing down.
Next up was cleaning up the wheel bearings. I replaced on maybe 5 or 6 years after I bought the car - developed the telltale speed-dependent intermittent noise on the passenger side rear. That one was a little cleaner, but not much. Both rusted pretty good. Took the wire brush to them a bit to clean them up. Not coating them - this car isn't going to see much moisture going forward, so not concerned all that much because these are wear items anyhow and will need replacing at some point. But, they did clean up pretty good.
While I had the bench grinder set up with the wire brush, I cleaned up the caliper brackets as well. These are steel, no aluminum like the calipers, so after brushing and degreasing and prepping for paint, they each got two coats of POR-15 silver caliper paint - almost an exact match to the raw aluminum surface of the new ATE calipers. This caliper paint needs a metal prep step if you're painting aluminum calipers, but on steel you don't need that step. They came out nice.
Let's see - also did:
repaint on the welded on exhaust hangers under the car with POR-15 (2 coats)
epoxied the weld holes in the locations where I had to remove the old exhaust hanger brackets from the inside of the boot, primed those areas, and installed the new brackets
sanded the rust off of my battery holder bracket, and primed those spots with POR-15. Will give that a second coat when it cures, followed by a light sanding and a new coat of black paint
remounted the wheel bearings to the refinished trailing arms
wire brushed the rust spots on the springs and coated those with POR-15.
I think that's all. I briefly contemplated ordering new springs, but I think I will put that off a year and then order an entire set of new sport springs (not lowering springs - I think the Mini looks great with it's normal stance and my slightly larger tires fill the wheel wells just that tiny bit better, IMO). It's getting close. Need to tape off and prime the new exhaust brackets on the top side, get a coat of undercoat around the bottom side, prime all of the black bits under the car and then reassemble after I get the new lower poly shock isolators.
After today, most of the miscellaneous stuff is taken care of though.
How many miles (or km) did you get out of those rear bearings? I think mine were not as bad as I thought they'd be because the car lived the middle third of it's life (so far) in California and the third third of it's life in ND (which NEVER salts any road, they just let the snow pack down into a glacier on the roads). I replaced one around 50k miles and the other is still the original one and still going strong.

 02-20-2021, 06:28 PM