When you click on links to various merchants on this site and make a purchase, this can result in this site earning a commission. Affiliate programs and affiliations include, but are not limited to, the eBay Partner Network.
Been waiting on one damned part for the MINI, and it showed up today... needed a lower bushing for the new rear shocks, failed to order one when I ordered all of the other rear suspension parts. Got the shocks replaced and everything mounted up and torqued down today. Both were leaky, and one had about an inch of lengthwise play in the shaft into and out of the piston - yikes! New upper and lower bushings, new upper caps. Put on the refinished trailing arms after that and connected up the new heavy duty end links from the new sway bar (22mm diam, old stocker was only 16mm). Got one caliper replaced and the left side completed.
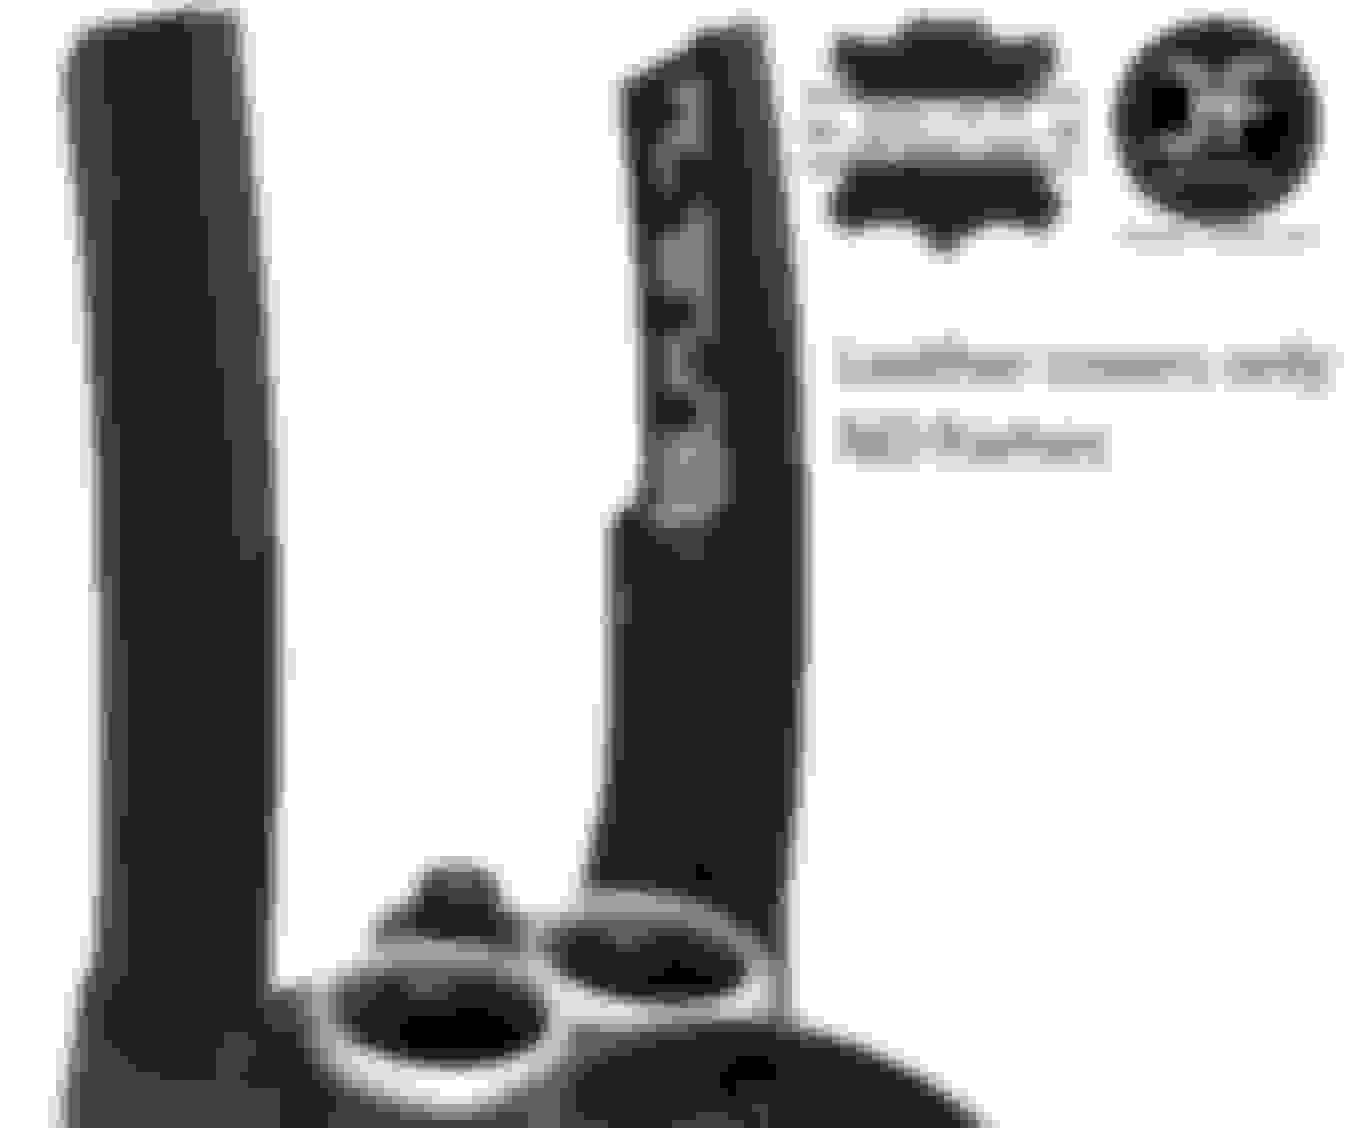
Old VS new.
Left side.
Tomorrow, I have to mount the right caliper, pads, and rotor and then bleed the brake system. Bought a power bleeder that I am really itching to try out. Will open both rear bleed valves and pressurize the reservoir and wait for the bubbles to go away. The the wheels go back on the rear and then I'll bleed the fronts as well.
You are really going to like the new shocks. The MINI shocks are crap. Even new they are crap. I kept reading that and could not believe it and figured people were just whining. But, they are crap as I found out when I replaced mine. It will be a different and very likable car with the new shocks.
By “power” bleeder do you mean “pressure” bleeder? Or is that something different? At any rate, I would suggest that you bleed one caliper at a time; the right rear first, then left rear. Then do the fronts; right front first then left front. I understand this works any entrained bubbles out from the longest line to the shortest which ensures they all get out.
Yep, pressure bleeder - pressurizes the reservoir - I think the one I got is called 'Power Bleeder', but you're right. Yeah, really looking forward to both the shocks and to see what everyone is on about re: the sway bar. I did the front shocks last winter and did notice a difference, but really excited about having all four corners done now. Yeah, makes sense to do one caliper at a time so not to be wasting time running back and forth. I suppose bubbles could also act to slow down the fluid going to one side. Anyhow, thanks for the suggestions - will let you know how it goes!
Wow, man - that Power Bleeder is slick. Put a liter of new DOT4 fluid in the reservoir, screwed the cap onto the reservoir, pressurized it to 20 lbs, put a piece of hose on the nipple going into a small plastic jar that I drilled a couple of holes in for the hose and a tiny air hole. Open the nipple a quarter turn, let out all of the beautiful caramel colored old fluid and bubbles, waited until I saw new fluid, and tightened up the nipple when the bubbles were gone. Super easy. Did the driver's side first, then the passenger side.
Put the wheels back on and took it to the school parking lot down the street (no rear exhaust on yet, so LOUD). I've got a bunch of new bumps and clunks I didn't have before. I'd imagine that is going to be bushings kind of seating and moving around a bit. Drove perfectly straight, but it was a pretty short drive (not insured during the winter). Pretty happy with how the work has come out and with the projects completed this far this winter. Hopefully my seats will be here in time to get those put in over spring break, but not holding my breath. Put the back end back up on the ramps so I can recheck all torque values one more time, remove the rear bumper cover and get the new heat shield trimmed around my functional rear bumper vents and maybe get some LED brake lights in the rear housings (did the blinkers, but not the brake lights).
Bumps and clunks... Sway bar end links... My first guess. I have had a tun of problems with those over the years. I had to crank the snot out of the nuts to keep them from banging. I threw the torque wrench away for those... Of course it could be those new fancy control arms with little to no bushings... Glad to read it is going as well or better than expected.
Could also be the fact that my exhaust was just dangling... Lol. Bound to be some new sounds with all of the stuff I changed. Got the rear end up in the air, and when I pull the bumper cover I will check and re-torque everything. Also just set the end links to the same length as the old ones, so I will also check those and figure out how best to adjust them.
Checked and re-checked all torque values except the trailing arm bushing to trailing arm (ran out of oomph and have to take a a couple screws out to get access to that bolt - will tonight - 120lb-ft on that one). I even untorqued the upper control arm bolts and retorqued them so that any preload on the bushings from installation when I put them on in approximately the correct orientation. All bolts are properly torqued. Added the new brake line clips and got the brake lines clipped in. Put a couple of miscellaneous clips in (including a new snap in connector holder on the passenger side that holds the connectors for the ABS and brake wear sensor). Have to put a couple more wire holders back in to finish the wire routing. Took off the rear bumper cover to get ready to properly cut the new heat shield for the functional rear vents. Will take the vents out and put the bumper back in place and mark the cutouts with a sharpie and then very carefully cut the holes. Reinstalled the one exhaust bracket that I repainted and the other new one and added four new rubber exhaust hanger rubber blocks. It's CLEAN under there!
WIll check the last few torque values tonight. Need to recheck the front shock mounting bolts and the 'spigot' bolts from the trailing arm bushing to the trailing arm. So far, they were all torqued to spec. Will also take the wheels back off and check the end link torque values after it's off the ramps.
Got the heat shield mounted and nicely trimmed - carefully measured, cut, and slightly reformed to fit around my functional rear vents this week, and re-mounted the rear exhaust section with new rubber blocks. I have the new mid-exhaust mounts as well, but have not put those on yet. Short ride and everything sounds as normal again. I had re-checked all of the torque values and they were all where they should be (I'm pretty methodical when I work on things). Just have to mount the rear bumper.
Seats WILL NOT be here next week. It's not a problem with Braum, but with the port at Long Beach being super backed up, unfortunately. If you all ever get the chance to get to long beach on the right Sunday, the best flea market in the world takes place over by the college. FANTASTIC thing to check out and loose half a Sunday on.
In other news, the Davies Craig electric water pump has stopped working. I am super bummed about this because I feel like unloading the supercharger really made a difference in how quickly the car revved (it really did feel faster revving). I don't know yet why it failed - whether it was the relay, or the pump itself, and I don't really care. The lack of reliability means that I would always be worried about taking it on long trips and not having any indication of the health of the water pump until the temperature shot through the roof and hopefully I saw that it was. I was doing my short drive around to check for bumps and thumps in the rear suspension when I noticed that I did not hear the water pump typical whine. I turned off the car, and there was no 2-minute run down cycle going on. EXTREMELY disappointed - if anyone is reading this thread and thinking about the EWP mod I did several pages back, I have to recommend against it now with the lack of reliability that I have experienced. Ordered two new hoses, a new water pump and a new flange last night, and that will be my spring break project. Darn... Could have been a lot worse. I could have taken it for a high rpm rip up the highway.
Sorry to hear about the electric water pump issue. You could put a current meter in line with the pump and have that give an indication on the dash as to whether it is running. I know, it doesn�t solve the reliability issue, though. I seems that they shouldn�t have that problem, but they do. The auxiliary water pump on the R56S has been known to burn out easily. Too easily in some cases.
Curious to know why it stopped chooching too. Installed mine last summer, but barely drove the car as the misfire got worse (suspect head gasket or a burnt valve). Mine is wired directly to a 12V ignition switched distribution panel inside the car, so completely off the factory wiring.
Dunno - but put less than 600 miles on last summer/fall, so not due to abuse. I'm not willing to chance my motor on longer trips with this kind of reliability though. Will give it a test when I get it out of the car next week, but going to try to get at least a partial refund. We'll see how that goes...
I follow a guy who has had the aux water pump go out several times on his R56. He thought it was the heat. He had removed the heat shield from around the exhaust, which on the front of the engine on the R56, and the pump is between that and the block. Maybe a heat issue on yours? I know the exhaust is on the back of the engine on the R53, but still it gets hot in there....
Could someone with a 2002-2006 with the Harman Kardon system please post a photo of either of your rear lateral trim panels (the rear plastic side pieces with the speaker covers) so I can see how those differ from the non-HK cars please?
Couple of things to report. I found a left side new rear lateral trim panel in panther black for not a bad price. My rear lateral trim panels are toast. Three dogs and lots of mountain biking back in the day and that produced lots of gouges and deep scratches. The standard rear lateral trim panels are astronomical now - they must be close to out of stock on both sides. However, some of the other options are still affordable. The lateral trim panels for the GP1 are still around 300 bucks each, for example. I found the left side for the Harman Kardon for under 200 bucks, so I picked one up. I have looked at a LOT of photos and can't see any difference other than the speaker grills. So I will take the grills and the storage compartment off of my current panel when I put that one on. The right side is much pricier - inventory must be lower on the that side...
The other thing is that I finally got around to replacing the right side power lock actuator. Both of my door lock actuators crapped out a few years ago, and I picked up a used right side one to try last year some time, but never got round to putting it in. Actually, I was a bit nervous to put it in - there are three separate cables that need to be attached while the thing is still in the door to get it back together. Well, as I am currently waiting for the last piece for my water pump install, I had some time today, and thought what the hell. I followed the first half of the excellent write up here - https://www.northamericanmotoring.co...ctuator-430939. Had it done in about an hour with no skinned knuckles, no blood, and not a single expletive. Almost every time I open a door to do work inside, all three of those things typically happen, so I was rather pleasantly surprised. I also found that the door lock actuator was unplugged - not sure how that happened - must have done it when I fixed the mess that the Autolight guy made when he replaced my window years ago - that was the most messed-up 'repair' I have ever had the misfortune of trying to fix. He left all of the broken glass in the door, ****ed up the window regulator, never got the widow levelled (it was crooked back to front) - just an absolute botch job. So, I went in there last year to finish fixing that, and I must have unplugged it. Anyhow, I plugged it back in to check it was dead before replacing, and yep - it was toast. Super excited to have power locking on the passenger side! Off to find the driver's side on ebay now!
I will have to challenge you to a dual of worst repair jobs....
Mine was having a shop install my LSD and a front sway bar. Weeks after it was done I found the flexible brake line wrapped around the swaybar link. Fortunately it had not worn through when I found it.
I will have to challenge you to a dual of worst repair jobs....
Mine was having a shop install my LSD and a front sway bar. Weeks after it was done I found the flexible brake line wrapped around the swaybar link. Fortunately it had not worn through when I found it.
I feel your pain, though...
I nearly did that with the back - not to that extent, but when I was reinstalling stuff, I misrouted the driver's side flexible rear brake line. I saw what I had done, and fixed it though. It wouldn't have fit in the little holder in the shock otherwise! I think I recall you telling me about your experience with the differential last year - maybe when I was bitching about my window install.... LOL - I guess we're both bitter old men!
Anyhow, the Safelite saga... such bad memories.
The window had blown out due to a super hot day - it must have been 112 or 115. Glass everywhere - inside the car, outside the car. It was just a mess of glass on the passenger side. Coverd it over with plastic and Safelite said they would be there the next day - kudos for that, guy showed up on time. That is where the good ended. Two hours after the guy got there, he knocks on the door asking if I know how to adjust the window. He has the new window put in, but he's having all sorts of issues adjusting it. I had to tell him how the final window adjustment from the computer works when the door is closed and that he'll have to adjust it until you just barely can't see the edge of the window under the rubber seal at the top of the door when it closes. He's out there for another hour. He comes back to the door and asks how the door card goes back on. So I go back out with him again, the window is still not properly seating at the top edge, I show him how to put the door card back on. I tried to operate the window at that point and it was noisy. He says he'll look at it again. An hour later he comes back to the door and says that it's done, but that it's still not perfect. At this point, I kind of lost it a little and told him to just leave it. I called up Safelite later and told them the story and they said they would have someone check it out the next day, asked where the car would be. I left it unlocked and assumed someone else had looked at it. The noise wasn't as bad. Fast forward to last year when I finally got fed up with the damn thing not rolling up right...
He never vacuumed out the inside of the door - glass was literally everywhere. He never put the window track back to where it was supposed to go, in fact, he never even put the bolt back into the track at all! But, the thing that made all of the noise wasn't the track being misaligned, it was the window regulator cables being all sorts of messed up. He broke all of the clips that hold the cables along the upper door edge. So every time the window was put up or down, it was rubbing on the regulator cabling. Every single clip! When I was in there last time, I added zip ties and have the cabling held on that way for now, but it was all sorts of messed up. Dunno what all the other guy did that went to look at it afterward, but it certainly wasn't correcting the first guy's job.
Just had a new windshield put in last summer, and the company that my insurance called up was, you guessed it - Safelite. Anyhow, that guy did a bang up job. I told him I was restoring the car, and we chatted for a while, he told me about all of the broken clips along the windshield. He did a FANTASTIC job - so it's the luck of the draw I suppose, and they need to hire new people, but, wow. I don't think he even vacuumed the interior... the window guy, not the windshield guy.
EDIT: Woops, called it Autolite above. Was Safelite.
Replace Water Pump WITHOUT Removing the Supercharger
And it's not even all that tough. Only one small cut...
Car is in front end service mode with the radiator removed, so access to the front is unfettered. Did not want to go through the extra hassle of removing the S/C, intake horn, etc. So I took off the air intake hose from the right side, unbolted the throttle body, and pulled the TB up and out of the way with the vacuum hose still attached - hung it from a bungee to keep it out of the way. Instead of installing the flange and then mating the water pump to it with a hammer, I mounted the flange to the waterpump outside of the engine bay. Then it was a relatively simple matter of making sure that the water pump drive gears mated with the SC PTO gears.
Now, I know what you might be thinking - how do you access the bolts to the block flange to tighten them down? Well. glad you asked. Ever wonder why the water pump has all of those little cut outs all over the place? What seems like a convoluted design for the WP, might have actually made assembling the engine a bit easier - just make sure the rubber o-ring is seated, wiggle the water pump-flange assembly in there with the flange approximately lined up with the bolt holes, get the SC gears engaged, start the water pump bolts - which you have plenty of access to via a long extension from where the throttle body was. I finger tightened the three WP bolts up, then used a long flat head to rotate the flange enough so the bolt holes were lined up, then it was a nice straight shot.
Not wanting to drop the bolt getting it in there, I started both flange bolts with a magnetic tool - and as soon as I got a couple of rotations of the threads, I put in my long extension to tighten the bolts down. Then I tightened up the WP-to-SC bolts, reinstalled the air thingy onto the green gasket, remounted the throttle body and put on the new lower radiator hose. After I figured out my plan of attack it only took an hour or so.
Waiting on putting the front end back on - ordered an A/C coil and want to get that on while I still have things torn apart. My A/C clutch turns nicely, but I got warm air only. Figured I would take care of one of the possible culprits while I was in here. Fingers crossed that is what it is. My low side pressure isn't bad, and I don't have the tool to check the high pressure side. If it does not work, that is the next tool on the buy list.
Had been a big proponent of j-f customs on ebay - they make some really unique interior pieces for the R53 - I got my blue stitched shift and e-brake boots from them for around $25 shipped to the US. Really nice quality leather, nice stitching. Was going to order a set of leather down tube covers from them in the blue stitching as well, but they are obviously price-gouging on the shipping. Free shipping on a shift boot/e-brake boot, and $45 shipping for two leather tubes that can't weigh much more and certainly won't take up any more space. When I asked them about the price of shipping, they said: Brexit has increased shipping prices. The boot package still ships for free... and I can't imagine they are shipping out items that they are loosing money on. Price gouging on ebay just rubs me raw.
So guess its either Redline or DIY. I don't like the Redline design as much as the J-F design because there is a crease in the middle of the inside piece, and they do not offer anything near cobalt blue in the stitching color. They also want me to buy their entire sample kit to get a sample of their black and charcoal grey solid leather swatches. I also don't like how their covers go in to the bottom part of the center console requiring grinding the opening for the tubes to get them to fit.
I have some leather tools, stitch hole spacing tool and a few others. I might just pick up a small piece of leather for a few bucks and DIY my own with a velcro back and the correct color thread. My wife also has a heavy duty sewing machine that can easily go through two layers of leather. Might be a fun project.
I agree. Nationalism, in the context of open borders, free trade, and especially currency and exchange, makes little sense in Europe. I am surprised the GBP didn't tank, I was ready - I had a list of stuff I was watching on ebay. There must be some pretty serious manipulation going on behind the scenes to keep the pound sterling where it is.
I thought Brexit officially kicked in only a little while ago and the EU did a little dealing with them. So, this may be a wait and see thing. Also, as you say, things maybe happening behind the scenes which will keep them propped up for a while and give them enough time to get their act together. Hopefully they do. If nothing else I would hate to see MINI and the aftermarket supply chain take a hit on this.
A bunch of small parts came in today - a new plastic nut for one that got lost from my exhaust under shield from ECS, a new pair of circlip pliers, and a new A/C clutch coil. I had that thing removed and the new one installed in 15 minutes flat. And then I tightened down the T-30 bolt holding the thing on. I had meant to switch my impact driver to the low setting, but I failed to do that and - pling! Off with its head. It snapped off maybe 5mm into the shaft, so going to Menards to grab a pack of their lefty drillbits and a set of the extractors that they have in the hope of being able to get the bolt out that way. Hopefully, with the head gone, there won't be any strain holding the bolt into the threads and it will come right out. But I may have to drill it out and re-tap. Which leads to my Q: Does anyone know the actual bolt size (thread pitch) of that A/C clutch bolt? (the one in the center of the A/C clutch assembly). It's not listed in the parts catalog because the compressor and clutch are a single part number... anyone know?
Was hoping to have this dang thing put back together by tonight... yeah, probably not.


 03-06-2021, 11:06 PM


 Of course it could be those new fancy control arms with little to no bushings... Glad to read it is going as well or better than expected.