When you click on links to various merchants on this site and make a purchase, this can result in this site earning a commission. Affiliate programs and affiliations include, but are not limited to, the eBay Partner Network.
So kudos to Braum - they sent me 3 separate Fedex RMA shipping labels. Things go back tomorrow. When they get things wrong, they will accept the fact and pay for the return. Great job to them for doing that. And they are *great looking seats* - they just don't meet my specs.
I just completed a fun little moral booster this evening. I restitched my steering wheel in a contrasting color (blue) to match my shift and brake boots (and eventually, me seats). Well, I did the bottom part - still need to do the upper 2/3 longer part. It's REALLY easy, you just need some patience, #150D waxed flat leather thread (about 10 bucks for more than you will ever use from Amazon in a bewildering array of colors. Just make sure you get the 150D 1mm wide, FLAT stuff - you don't want round. This is the stuff I used...
I used a fairly thin needle that I had that would fit the thread through the eye - don't want a super thick one as it will open up the holes and this leather is pretty brittle after nearly 20 years. I suggest a good deep clean and condition a few days before doing this, and maybe a second application of conditioner a day before. I cleaned my wheel a dew days ago, and then cleaned the lacing side again just before starting this with a toothbrush and leather cleaner in a back front to back motion in the direction of the threads to get off the maximum grunge. Then I unlaced half of the wheel and cleaned under where the threads had been.
The stitch used on the MINI wheel is pretty basic - in through the top, under both pieces, up through the top hole that is one hole over, then repeat. The result is a set of parallel stitches.
I started by tying a knot in the end of a piece of thread that was about 5 times longer then the length of the wheel part I was working on. You don't double this thread up, but just put it through the eye, pull a few inches through, and you're good to go. I made a mental note of where the knot was tied off when I opened up the stitches on the left side of my wheel. The knot was to the rear hole closest to the left edge on the inside. That is where I started. I looped the thread out toward me through the steering wheel opening, and then through the first outer hole - the first 4 or 5 stitches are not parallel to the rest - same thing on the other side. Don't pull the stitches tight, and try to make sure the thread is laying flat, and has not twisted. I did 4 or 5 stitches before starting to tighten up the thread at the start. If you tighten up each stitch as you go, you will not be able to lift the leather up with the needle to find the next hole on the back side.
I worked 5 or 6 stitches at a time, and then went back to the last stitches I had tightened up and worked forward, leaving a few untightened stitches at the end. This coated waxed thread won't loosen up when you tighten it down, which is pretty convenient. Pull each stitch upward from the back, but don't overtighten - this is old leather and the thread can cut through the leather if you overtighten! I used a zip tie to help pry the threads up and out of the way so I could advance along. Every so often I would cut off the threads to make removing the stitches easier. Each time I removed some of the original, I would clean where the old threads had been.
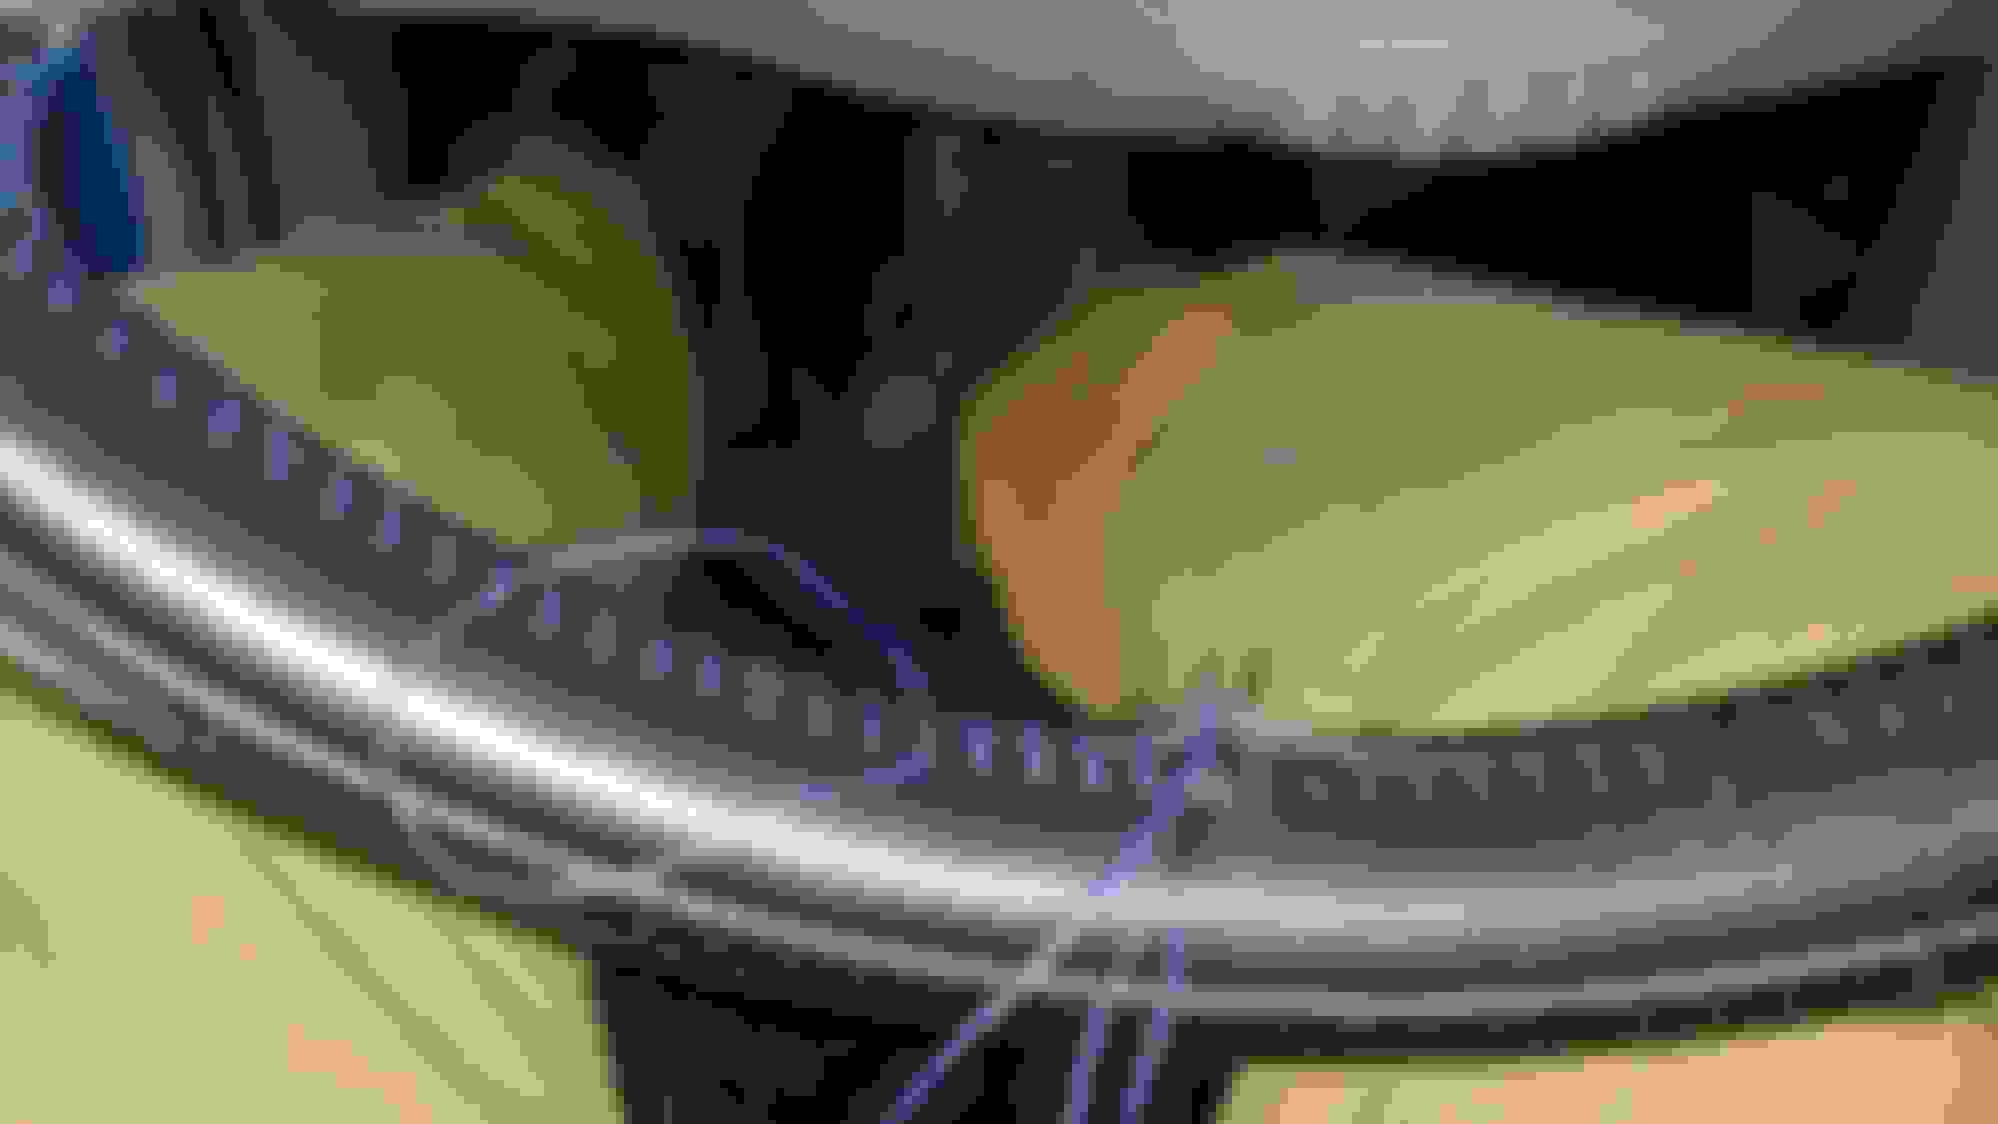
About a third of the way along by this point. I liked to pull the thread toward me before pulling it through when tightening the stitches up so that I could make sure that the tread was as flat as I could make it - if the thread is twisted in one of the stitches, you will see it and it will drive you nuts. Be patient and this will come out great!
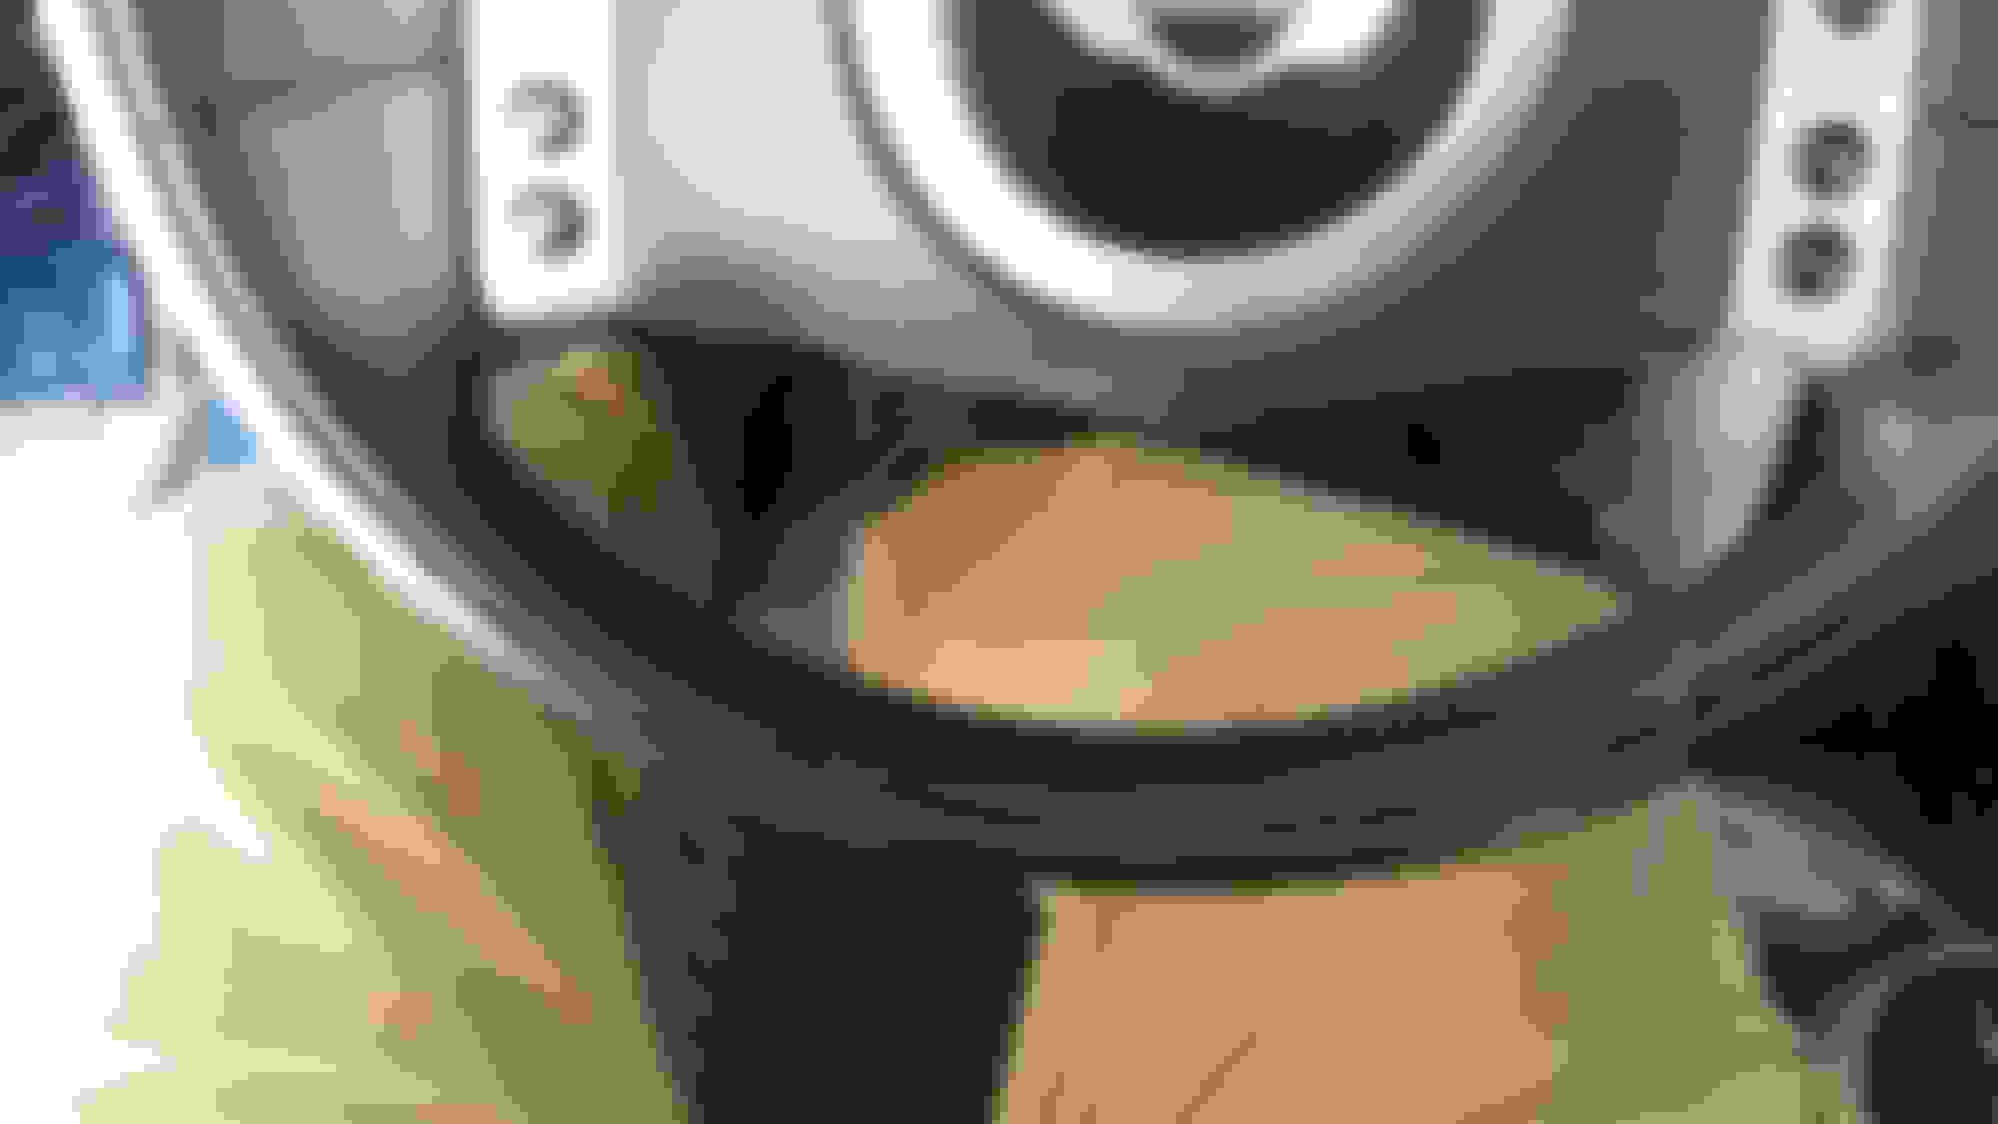
Here you can see the stitching progress and the 'straight through' simple stitches. About half way at this point. Keep pulling those stitches nice and tight and cleaning as you go. The end at the right is where it gets tricky. The space kind of closes up, and the leather is glued down with some sort of rather weak adhesive when you get toward the end. You have to gently pry up on the leather at the end to release it up as you cut away the last few stitches. The zip tie end worked great for this again. I had to bend my needle a bit to get the last few stitches through. The last stitch I doubled through the last two holes - I went through once, and then looped around back through the same two holes, and then tied it off from the back with a couple of simple knots. Can't really see them because they are toward the rear. I am sure there is some special hidden upholstery knot that you could use if you were a boy scout. I wasn't - I spent all my time out in the woods with my friends doing crap, not having an adult tell me what to do (which I always thought was a bit odd).
Anyhow, you can see how tight it starts getting over there on the right side. Just take your time. Really, the waxed thread helps keep the stitches pretty tight. This was overall, much easier than I though it would be, but I did stab myself in the tongue with my needle while holding on to it in my mouth.
So far, I just have the bottom bit done. Still have to do the upper 2/3, but I think it came out really nice - matches up nicely with all of my other blue-stitched details!
This brings back some memories. Years and years ago, back when steering wheels were skinny and made of some sort of brittle plastic, I did something similar. There were leather steering wheel wraps that could be purchased. The ones I remember putting on were real leather and expensive for the day. They were stitched on in similar fashion and much the same process of stitch, stitch, stitch, align things and tighten. As you said, patients is key.
Not loving how some of the stitching didn't come out completely straight - have to redo some of it. Stay tuned.
In other news, have been looking at seats again... (sigh).
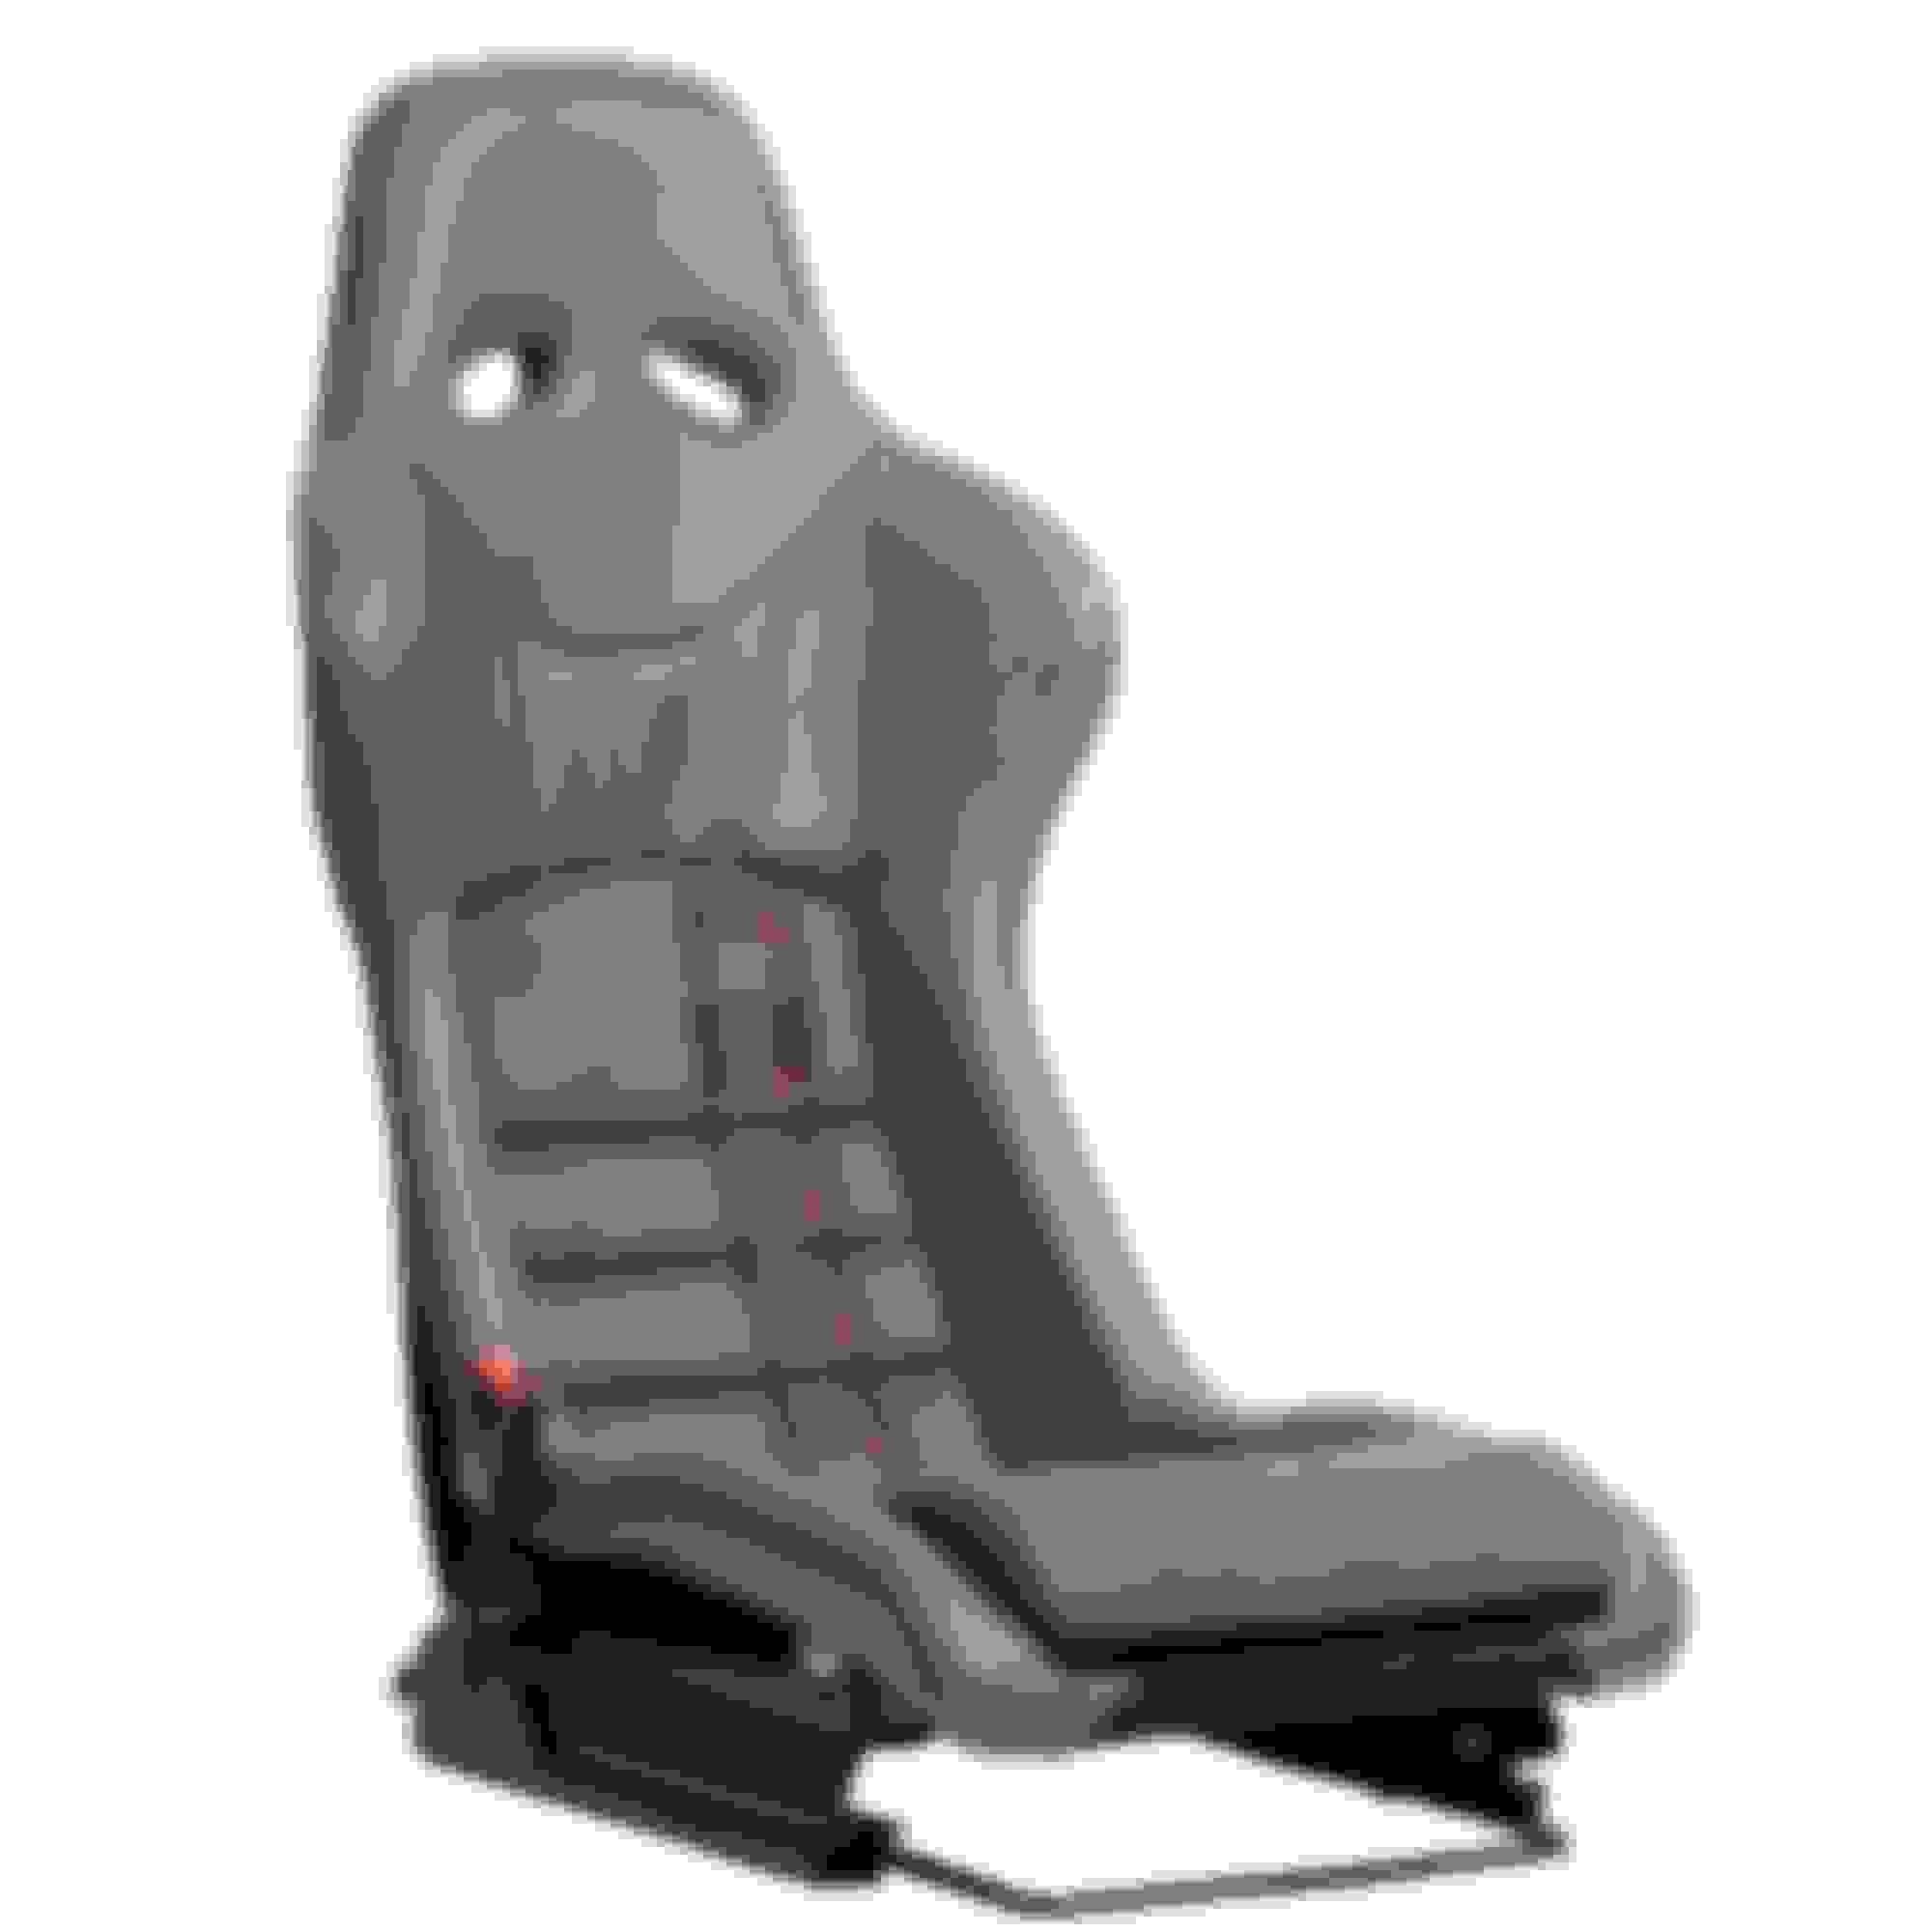
Just asked Cobra what they would charge for this basic design... but with blue stitching around the edge, dark stitching everywhere else, and blue tartan for the stripe. Love these seats, and from everything I hve heard they are exceptionally comfy.
Option 1: Blue GTI style plaid stripe with blue border stitch around seat margin and plaid stripe.
One vote for option 1
Can the stripe be continued on the bottom too? Would have to see some renderings at different perspectives but it might make it look more complete, or it might be too much. Either way, option 1 over 2.
Planning the stripe for both seats or driver’s side only? Driver’s side with a matching exterior stripe would be an interesting concept to photoshop.
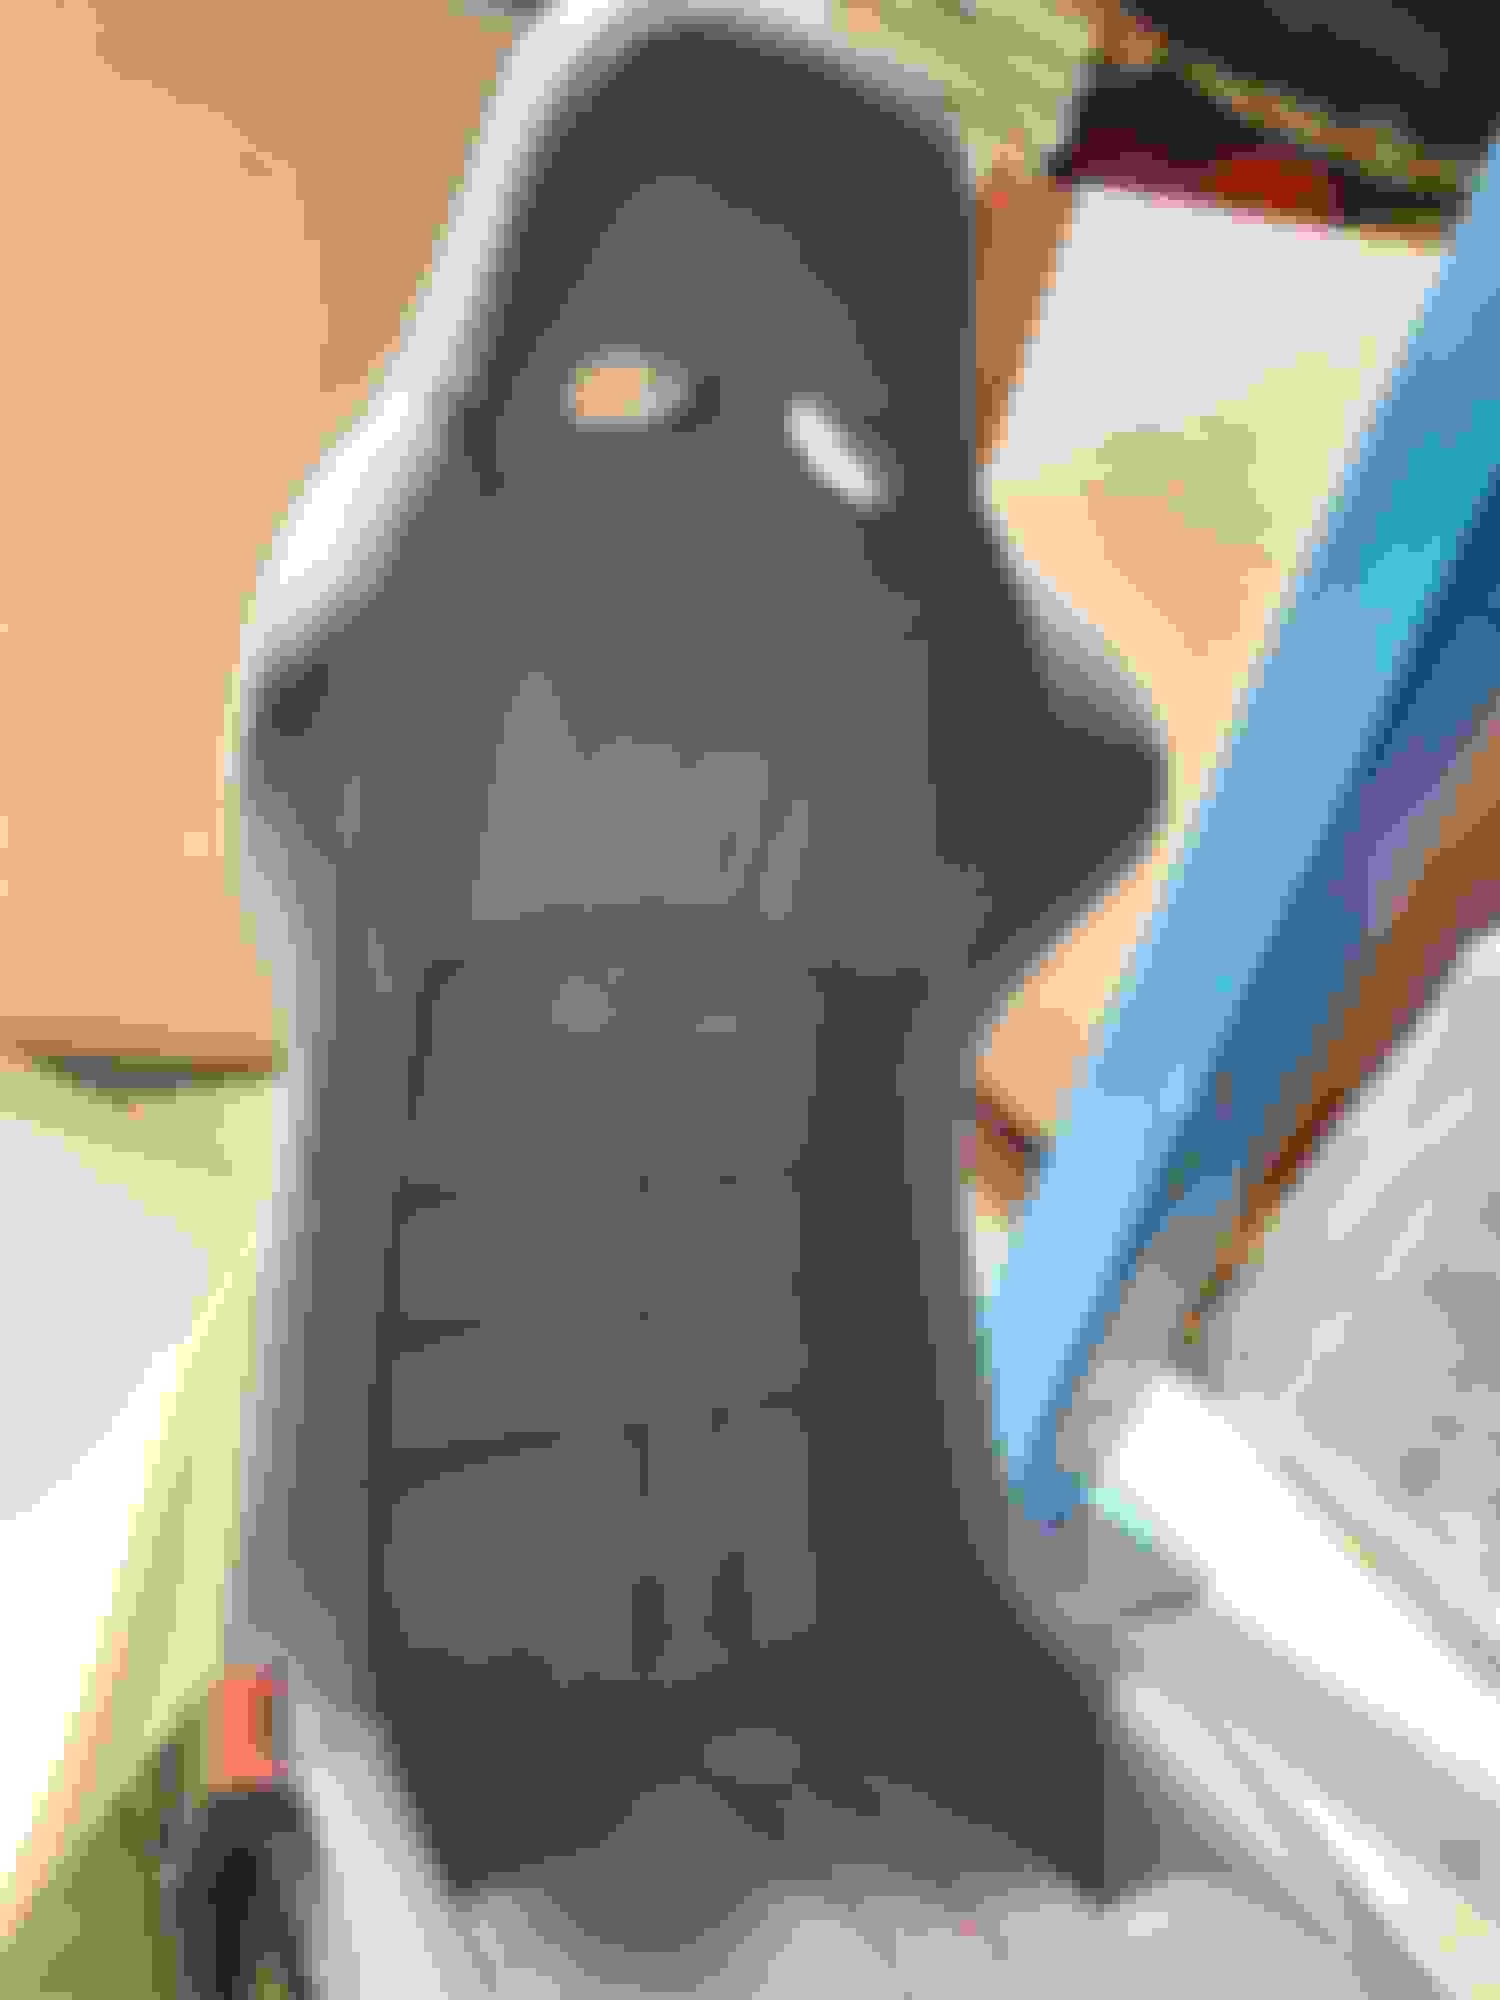
Yes, the stripe will continue down, it just doesn't continue into the back-of-the-knee bolster at the bottom of the seat. This photo shows how the stripe would be on the seat bottom better. Would be the same with the solid tartan center cushion - extending down to the last large cushion of the base.
I like that the stripe is only covering part of the seat as shown.
Could the stripe be put on the outboard side of each seat? Yes this would make them a left and right hand set of seats. But I think a mirrored symmetry would look good.
The damned seat saga continues. Tracking shows the brackets were delivered, but the seats have been on the truck for delivery for 2 days now and now fedex tracking shows no delivery date. Either he delivered them and didn't scan, or the driver took off with them. Scan shows they were loaded onto the truck on Wed at around 6am, but no scan after that. I have asked Braum to confirm that they were indeed delivered, but of course, they have not replied to my question.
UGH.
Also have been working on tracking down the suspension noise in the back end. I have removed and re-checked and reinstalled both shocks. I was worried that that I had possibly put that tapered washer on upside-down. Nope,was fine. One of the shock lock washers wasn't torqued down tight enough. I followed the instructions for the end links precisely, giving them the final adjustment on the ground. But I did the adjustment for no pre-load. I could turn the shaft of the link on either side a good half turn with no resistance before tightening them down. After that I tapped on every single component I had changed, loosened, etc., and they are all noise and rattle-free. Took it for a short drive around the block and MOST of the noise is now gone. There is a much quieter double tap when I go over bumps and it seems to be coming only from the driver's side now, and is in the area around the wheel (like where the end link is...). So will go hunting again this weekend.
Last edited by jcolletteiii; 04-08-2021 at 07:47 PM.
My replacement left lateral interior panel showed up yesterday. This one is brand new from BMW in Germany. I ordered the panther black one for the H-K audio system and changed out the speaker grill to my original one. This panel is right around 200 bucks, but all of the other panther black interior panels are right around 500 due to limited stock. I will be finding my right one in a junkyard somewhere hopefully. LOOKS SOOOOO GOOD. The interior is almost completely restored. Just need that right panel and seats...
NEW left lateral trim panel. Looks sooooooo good.
Old right side. Pretty beat up.
I have also redone the stitching on my down tube cover project. I got the stitching down now. I did the stitching the first time with two needles one stitch at a time. The problem was that some of the stitches would come up or go down on the wrong side leading to a not perfectly straight stitch line. In reality, with this style of French stitching, the stitches are never straight - each stitch is angled to one side, and every stitch is angled in the exact same way. My first attempt did not achieve that. However, on my second attempt, I did all of one stitch row first - so up, over one hole, down, over one hole, up, and so on. That made half of the stitches with one empty stitch between each sewn one. Then, I went through a second time and filled in the missing stitches being very careful to come up from below on the same side of every stitch and go back down on the opposite side of the next stitch. The result is fantastic! So I sewed each piece of leather with my seam 3/4" from the front edge, then marked the back side 1/2" from the front to give me a total spacing of around a half inch between the blue stitched rows. when the blue stitched rows were done, I sewed them together at th 1/2" from the edge line.
Installation is with spray adhesive. I spray the down tube with one coat, let that tack up, align the stitched area at the bottom, stretch it just a bit along the front to the top so that the stitches are lined up well, then stretch the sides around - but not too much. If you overstretch, you will lose that beautiful leather grain and end up with a smooth black cover. when I get to the back, I lay both layers overtop of one another and use a sharp razor blade to trim through both pieces. Remove the excess and then peel them bac a bit and spray adhesive a bit of the leather back side so it will adhere nicely. I then put both layers together. there is some persnickety trimming and wraping along the top edge. The excess just gets tucked up into the tube on the bottom. I used a razor saw to cut the back of the tube 'receptacle' on the base part, so that the thicker leather coverd down tube slides right down into it. Works slick. One installed, one to go.
Well done. My first reaction is "waaayyyy tooo much detail work and time for my preference" then I think about how long it took me to get all of my interior bits painted the way I wanted, and think it's probably a wash, time wise.
Looks fantastic.
That shift **** looks very out of place in that interior.
Just got finished. Pretty happy with how it turned out. The whole reason for the DIY approach is that redline wanted to charge me $20 to send me their full sample repertoire when all I wanted was to see their 2 near black colors. The leather I used cost what they wanted to ship me the samples. I hear you on the shift ****. The airbag cover also bothers me because it's so beat up looking.
This noise has me flustered. Not the level sensor rubbing, disconnected the arm and noise was still there. Feels like something flexing and popping - like a snapple cap.
Well, will have the wife help out this afternoon and I will put my hands on everything while she rocks the car, hopefully will be able to get it diagnosed.
That is an odd one. It is interesting that you can make it make the noise by just bouncing the car. Also interesting that it didn’t start until after the car was bounced a few cycles. Bad shock? Just a wild a** guess. The last noise I had to deal with would only happen when the car was moving. Turned out my issue was swaybar end links. That was a PIA to find. Sorry not much help here.
Well, will have the wife help out this afternoon and I will put my hands on everything while she rocks the car, hopefully will be able to get it diagnosed.
Nice of her.
Do you know how to use a screwdriver as a stethoscope? Put the blade end on the part you want to listen to and put your ear on the handle end. That is a great way to hear where sound is coming from in parts.
I figured if it makes that noise over smaller bumps I could replicate it by bouncing. Anyhow, should be able to get it figured out with the wife's help. I would imagine that with such a pronounced clack that it will make a pretty good vibration when I put my hand on all of those components!

 03-31-2021, 09:23 PM


 I did a similar thing not too long ago. You will need to have patience, else you will not succeed hahaha