When you click on links to various merchants on this site and make a purchase, this can result in this site earning a commission. Affiliate programs and affiliations include, but are not limited to, the eBay Partner Network.
I like this. You do good work with leather; I don't have the patience for it.
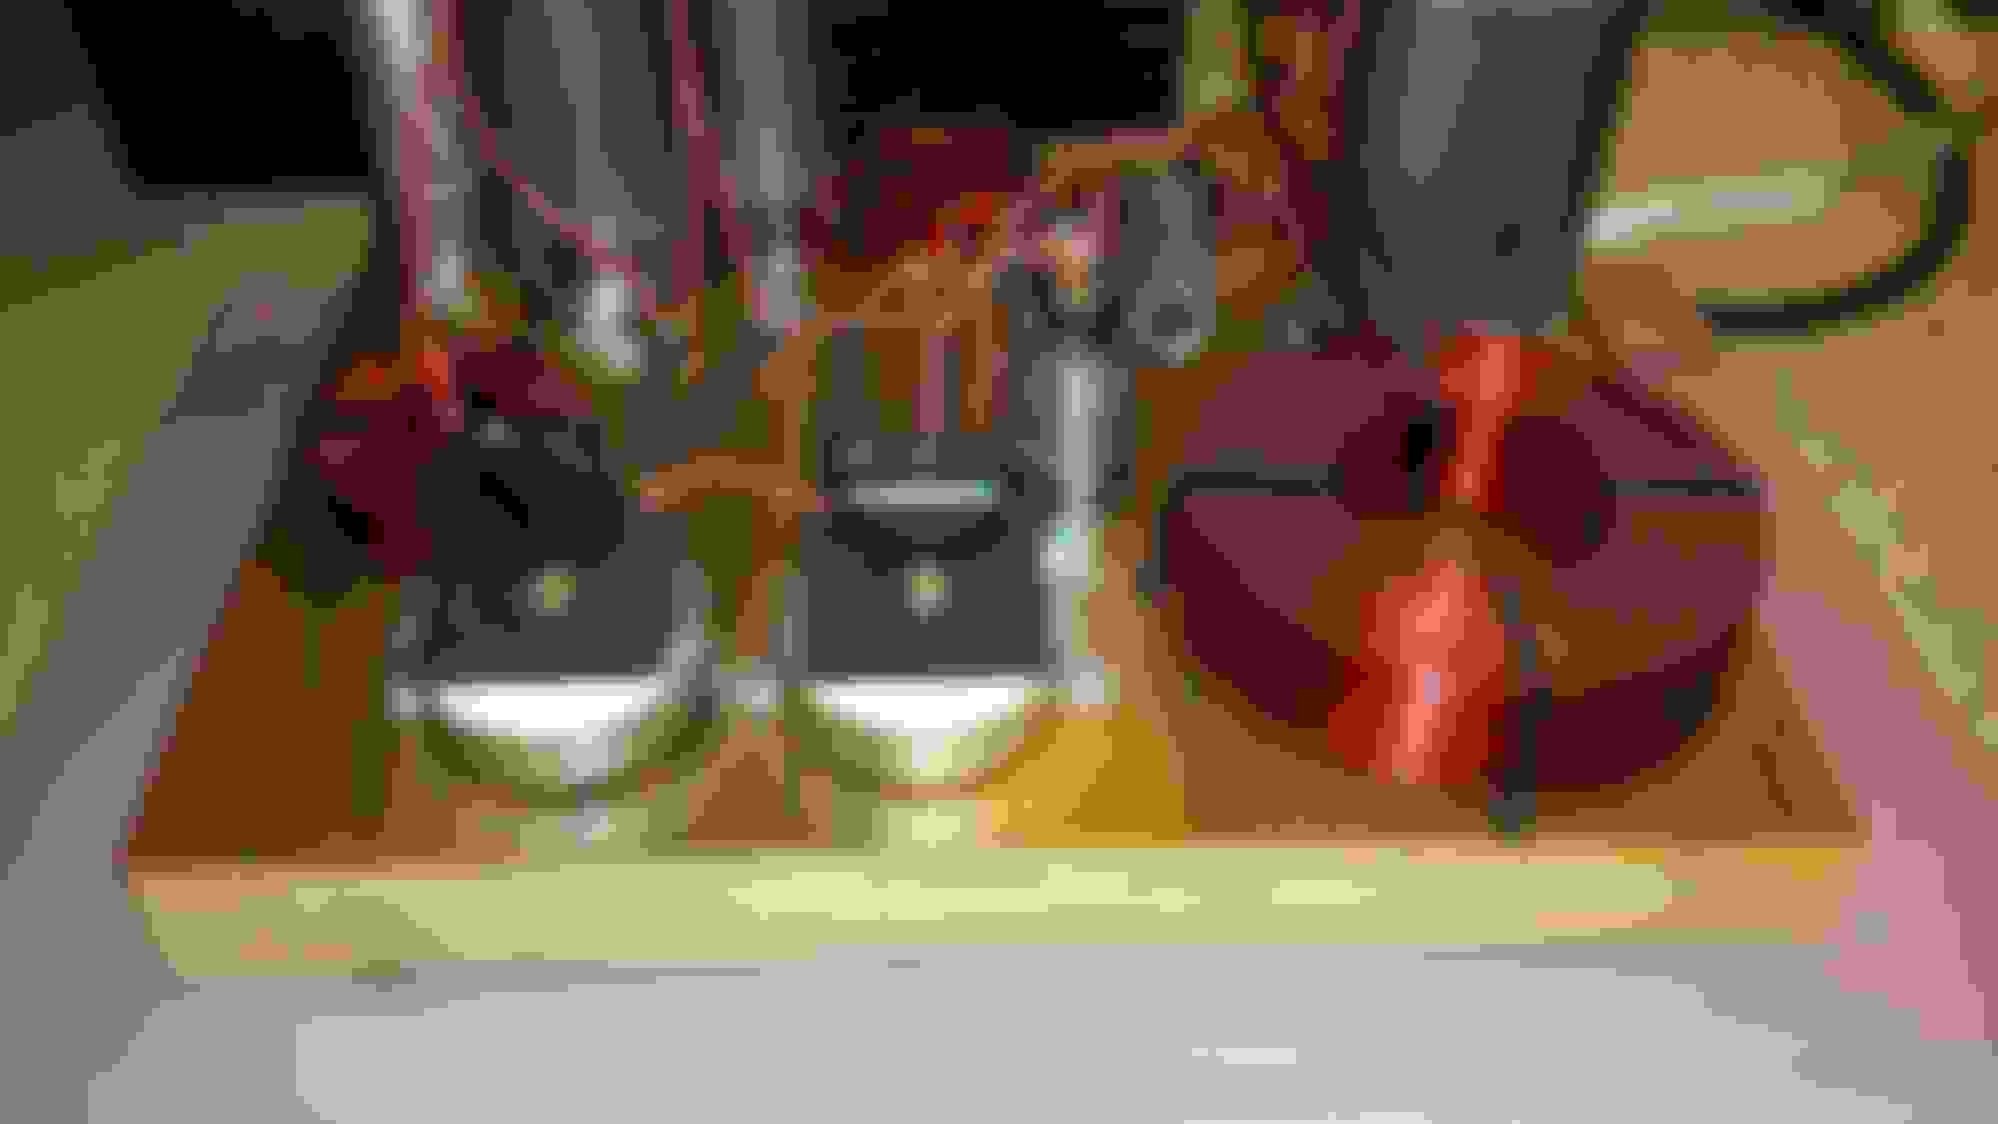
I tried to refurbished my stock ****. The one on my 06 was already missing the leather, and the ball itself is different. It's some sort of hard plastic, with 4 vertical grooves for the stitching. I continued my interior theme of painting body color blue with red accents. I'm sure if I had put more effort into the prep work, I could have made, the paint adhere better, but a shift **** gets a LOT of surface wear, so I gave up.
My Raceng **** doesn't seem to have quite as much bowing to the gates as the one pictured above.
That sounds like the same **** my wife's 2006 had. I think they tried to cut costs a bit here and there, and I think the earlier ***** were a more expensive part. Her **** (and it sounds like yours) had a chrome plated plastic upper part and the lower part was black plastic over an aluminum core. Hers did not have any indication it had ever had a leather cover - some of the Mini ***** are just sold as plastic ones. I bet even the $80 leather **** I just bought her for hers is the same plastic construction underneath.
I am leaning toward ostrich right now for the lower leather part. I have to find a small sample piece though - those bumps might be really distracting!
Mine had leather on it when I bought the car, but it was coming apart so I tore it off. Also was crappy plastichrome on top. Generally a POS.
I would think the ostrich might be a little strange on such a small piece. It seems to me that the spacing on the bumps is far enough apart that it would look really random on the small sections. I would think a lizard of some sort would work well. I'd probably avoid snake skin. It doesn't wear well and the scales will eventually lift. Look for shark skin. I had a pair of boots made of shark skin back in the day. Bulletproof, interesting pattern, and a tight enough grain that it should look good an a small piece. Might be too thick to work well though.
Bought a small piece of black ostrich and a piece of black stingray embossed cowhide - I can't contribute to that market. The 'stingray' leather looks promising and the texture is gorgeous. I know a leather guy, and he *hates* working with real stingray. The hardness of the texture makes getting the stitching holes lined up nearly impossible.
Bought a couple of 3" Kolpin Rhino Grips a few weeks ago for an extinguisher mount, but have only just managed to get them mounted up on my RSD today. I think they look nice and understated. Mounted just behind passenger seat for easy access if the need ever arises. Just have an el cheapo extinguisher in there for now, but will be ordering a black 2.5lb H3R one as soon as I get around to it. In the mean time this is 100% better than none.
Since my seats were ordered from Cobra through HMS Motorsports 6 weeks ago, and I was told 8 weeks by Cobra (I am anticipating longer than that but have asked for an update on my spot in the queue), I figured now was a good time to take the car end wiring harnesses that I bought months ago and turn them into plug-in resistor pigtails so that when the seats get here, I'll be good to put them in as quickly as possible.
There are all sorts of numbers on the internet about what resistor value to use for the seat airbag spoof resistors - I've seen 2.2 up to 3.9Ohm, but most folks who say that they have had long term success with the airbag warning light not coming on used 3.9ohm, so that is what I went with. I do a lot of electronics work (building and restoring audiophile tube and solid state gear from the golden age of audiophilia, so I have a lot of components on hand. I used some 3.9Ohm 1/4W cf I had in a drawer (metal films would probably have been better, but I had these, so... Note that these are 3.9 OHM, not 3.9k Ohm - there is a BIG difference.
Tools and supplies needed if you decide to replicate this: Pigtails from the seat wiring harnesses, resistors, wire stripper, needle nose pliars, soldering iron, solder, heat shrink tubing. This should do it.
I cut the connectors off pretty short - I suppose these could have been shorter, but I can bend them if need be. I stripped about a quarter inch off of each wire, and twisted the resistor legs around the wire as much as I could to increase surface area and make the solder joint stronger. These joints probably won't receive much if any mechanical stresses, but better safe. I soldered them, and then slipped a piece of heat shrink tube over the wires and then heated it up by holding it over the soldering iron on all sides until nice and snug. Oh yeah - I pre-tinned my wire leads - makes the soldering of the resistor go a lot quicker.
Next, I disassembled the connector to get the other wire out - this does not need to be done, but I wanted my heat shrink tubing to cover as much of the assembled pigtail as possible. You can do it without disassembly, just cut your piece of heatshrink short enough to slide down out of the way until you need it. The connectors are not tough to take apart, there is a pink retainer clip - you just pry the small end up, push the connector out of the way, push a small screwdriver down on the exposed wire through the connector body and it will pull right out of the connector. Solder the other wire, heatshrink it, reinsert the wire through the connector, put the clip back in, and voilla!
Don't worry about matching the resistor values, nor about checking them with a multimeter and getting close as possible to 3.9Ohm - low value resistors are incredibly difficult to measure accurately. My pro meter measured values of 4.04 on one and 4.11 on the other. And on such low value resistors, those numbers are probably wrong. to get accurate resistances on very low value resistors you need a VERY expensive meter. So don't worry about the values on your meter (if you have one) being a bit higher.
Took about an hour or so to put together, and now I have one less thing to do when my seats get here. I'll probably be out of state visiting my parents when they arrive, but it will be pretty exciting unboxing them on my return!
I do a lot of electronics work (building and restoring audiophile tube and solid state gear from the
You do realize that is cheating...
You need to have none of that knowledge so you agonize endlessly over how to do all of this, worried that something will go wrong and the ECU will barf all over the engine just to get even with you for doing this sort of thing. If it can’t be fixed with a hammer, then leave it alone. I have yet to see a tube amp that could be fixed with a hammer... So, in the end the new fancy seats sit in the basement, their plastic bags, waiting for some love...
Not that I would do this...
But that is not to say I can’t solder 2 wires together... (you should hear the audiophile speakers I have built and I am currently building).
Ok - a lot of that is made up but has a grain of truth...
I like the way you think and lay it out for everyone.
PS: I have a friend whose son-in-law restores old jukeboxes.... Something to be said for old school...
Last edited by Eddie07S; 06-08-2021 at 10:23 AM.
Reason: Edit wording
Yep - the axiom 'They don't make them like they used to,' is true in audiophile land more as it is in most other areas. I have some transformers in my moving coil step up device that were smelted from ultra-pure material in a vacuum by faeries. Okay, maybe that last part isn't true, but I bough my mine when it was only about 25 years old for about 400 bucks. I couldn't afford to buy one now. Same with my TT - I have a dual arm Luxman PD-444. Thing is a beast - it must weigh about 80lbs, and the platter is partially magnetically levitated on the spindle to reduce friction and vibration. Thing of beauty, but holy cow, if they made that TT today it would easily cost 10k new. I bought my Harman Kardon Citation II for a couple hundred bucks because it wasn't in great running condition. Completely restored it. Another thing I couldn't afford to buy now. Man, this stuff has been appreciating fast.
Did you build a set of speakers? Getting OT here, but I built a pair of Altec horn 2-ways that were sublime. Man, you should see the pair of crossovers I built for them. We're going to be building a smaller off-grid house though, so I let them go. Shipped to an audiophile in Israel. All paper-in-oil caps, super quiet military-spec resistors, the whole circuit used solid copper binding-post type connectors so the components were all interchangeable and 1940's era Western Electric heavy gauge cloth covered wire. MASSIVE woofer inductor to minimize skin effects - OMG did those things sound good.
Anyhow...
Another afternoon project done. Replaced the boot lid original emblem with a shiny new one.
Pleasantly surprised - no fading that I could see at all between the paint that had been under the emblem and the surrounding paint.
Brian from HCS tells me my seats are getting close to the top of Cobra's build queue. They are on schedule for a 10 week delivery he says. That means less than 4 weeks to go! Starting to get excited (again...)! My re-chromed shift **** should be done around the same time! Woohoo!
The highest compliment I can give them is that my wife likes listening to music on them...
I grew up with my father�s Scott tube pre amp and amp and AR 2ax speakers.
Awesome! Nice looking speakers, sure they sound awesome! Scott - cool - I have an old Scott integrated amp that I picked up dirt cheap awaiting a go-through on the bench in the garage right now. This was my old system (below). I've since pared it down to a McIntosh SS pre for tone/control with a Schiit headphone amp with the TT in the pic below. Entire system now fits in/on a 1950's Paul McCobb credenza.
The sound was superb - especially for jazz. I think if I build another pair down the line, I'd definitely do something more compact. Probably with a horn tweeter though. Love the sound of horn highs.
That is a great looking setup!
And your listening room is impressive as well... Wall treatments that few people know to do. And a tape deck... How many of those does one see today.
Tube systems sound great, I know. But, my fear with tube systems is longevity. My dad’s Scott system only lasted a few years before internals started to go... Tubes and capacitors I remember him saying. I am sure that was a big reason for solid state taking over in the ‘70s. Plus cost... But, now look, they are back, along with vinyl. Good you are able to care for and enjoy them.
I was blown away by how good the speakers I built are. No pitchy highs, no missing mids and bass that goes surprisingly low, and is solid.... And that with less than ideal equipment.
Woohoo! Just found a brand new rear lateral right had trim panel for not stupid money. Had to buy the navigation package specific one, but so far as I can tell, there is no difference visible on the outside face of the panel. This should complete my interior restoration: Headliner recover, new left and center rear plastic panels, now new right one, new rubber mats, and new seats (when they arrive from Cobra). She's getting there!
Well, Seattle MINI just cancelled my right lateral trim panel without any reason or notification, so the part must be NLA - but the cost wasn't ludicrous, so that makes no sense. May ask BMW of Atlanta to look into this part number for me and see what they come up with. Bummer.
However, on the positive side, we are getting rain, so hopefully our drought is drawing to a close. And my M7 strut tower plates came in today. My towers were pretty flat, so they went straight on. One bolt on either side took a bit to tighten down, so they were not perfectly flat, but I feel better about the tower longevity with these on the car now.
AND the embossed cowhide 'stingray' leather sheet I ordered as one potential covering for my shiftknob restoration project came in. It's nice looking stuff, and being upholstery grade, it will definitely be flexible enough for the project. The 'ostrich' embossed piece will be here tomorrow and will see what that looks like. I really like the look of the stingray material though - I think that will probably win the contest. Plater says I should have the re-chromed **** back by the first week of July - hopefully around the same time that the seats arrive. Lots coming up!
I vote for stingray without even seeing the ostrich sample.
Did you call Seattle MINI? They're pretty good about working with folks over the phone. Let me know if there is anything I can help with-they're about 45 minutes away.
Finally did get a terse email from them. "No longer available, that is why it was cancelled." That is odd to me because this part is listed at an affordable price. Usually, as MINI and BMW parts get fewer, they start jacking up the price. The regular right lateral trim panel is still available, for example, but it is now $1,234 because it's close to NLA. Definitely disappointing - thought I had finished the large interior stuff off.
Finally managed to get my A/C system sorted today. It had multiple issues.
I believe (but am not sure now given the low pressure of the high side) that the coil was no bueno. When initially assessing the condition of the A/C system, the compressor was not spinning up. At that time, I thought this could be either a bad coil or a bad pressure switch, or low pressure in the system. Could have been 1&3, glad not 2. Replaced the coil when I had the bumper cover off for something else a few months ago. Pretty easy job.
Both low and high sides had a low pressure situation. But car is nearly 20 years old and A/C had never been topped up or serviced - ever! Not too bad! Low side was 20ish, and high side was 80ish psi. I don't think that was enough pressure to turn on the compressor. No compressor, no cooling fan...
Anyhow, bought a good gauge set so now I can check the pressures on both the low and high sides. Ambient temps were in the 75-80 range when I topped it up, and I managed to get the low side up to 35 or so psi and the high side to about 125 or so psi. I think it could use a bit more gas, but I was not able to get more gas in - can had cooled and that reduced the pressure in the can maybe? Anyhow, with A/C on full, my pre-recharge vent temps were 95F - yuck! After recharge, my vent temps were around 52F - much more pleasant!
Super excited that I could get this repair done myself, one more thing to check off of the list!
Keep getting small things checked off the list. New chrome ebrake handle showed up yesterday, so I did a bit of practice with the 'stingray' leather.
First thing I did was to remove the vinyl sleeve from the plastic grip tube. These are not leather covered, but textured vinyl. The vinyl tube slips off pretty easily, but have to be careful to not damage the plastic clips on the end.
You can see that there is a flat side on the plastic tube in the image above - that is not the top or the bottom - it's the driver's side. No matter, it'll disappear. I cut a piece of leather the same front-to-back dimensions as the vinyl tube and wide enough to give a gap of approximately 2mm or so. I then punched the holes for the thread using a hole punching tool for leather.
The next step is not to sew the sides together like you might think. It's actually double-stitching both edges. This is a two needle technique where you get a line of stitches on both the front and back. If you were to look at the back side, you'd see the same thing, but in suede. I left the thread long on one side so I would have an easier time getting the ladder stitching going.
I also used a little rubber cement to partially attach the leather to the plastic to help position the pieces. The seam is going to be on the bottom, so made a line and got things lined up and ready to go, then took my long string and started to ladder stitch the pieces together. The picture below shows how the stitching goes. In reality, you have to use your thumb on each stitch, pull tight, place thumb, stitch, pull tight, move thumb. Repeat.
And it will eventually end up looking like this...
If I was doing this again, I would alter the shape of the leather a bit - I would add a bit of material at the stitched ends - see how it kind of pulled in at the end of the rows a bit? A bit of added material right there would have helped. No matter, really - this is the bottom! Yep, all that work and this is the underside... practice for my shift **** restoration!
Anyhow - this is how it looks installed. Fun little project. Took maybe 2 hours once I figured out how to get the vinyl tube off the handbrake and then which side of the tube was which. Has a nice feel in the hand. Can't wait to get my rechromed shift **** back now!
Incidentally, Monday will be 9 weeks to the day that my order to Cobra went in... last I had HMS check, they were on track to have them done by 10 weeks... hope this will be the be all and end all to mt seat saga...
This has to be one of the more unique MINI mods I have read about on NAM, the leather work. Very nicely done! Not a usual anymore, if it ever was. And thanks for the details of how you are doing all of this...
Thanks man. I think a lot of people don't realize how doable a lot of this stuff is given a bit of time and patience, and a bit of digging on the internet and on youtube. There is a guy on youtube under the name cechaflow that I have learned a lot from by just watching. He does some pretty amazing work.
+1, Cechaflo�s videos are the best I�ve found. Even more amazing considering how much info and detail he conveys without speaking or using captions. I�m hoping to successfully apply his techniques to a custom steering wheel project.
*THINK* I have completed my chromeline retro - found part# 62116977371 (just the chrome tach ring) for around $40 bucks. Hopefully it's not NLA and I'll get a shipping notification soon.
Monday is 10 weeks since my order went in to Cobra for the Nogaros. Just asked HMS if they could ask when my shipping date might be. I can't wait to get these darn seats! I think once those are in, it's time to turn my attention to the exterior. I've been ogling this Fuji 4 stage HVLP system... the Fuji guns are supposed to be excellent. I've got a bit of rust on the door skins, I am sure I have some on the sills (but haven't looked), and one of my tail light surrounds needs some work. Going to strip each panel off the car (except the quarters/sills), do the body work one panel (or panel pair) at a time and really take the time using the best materials I can find.
Should have the **** back from the plater soon as well - he says shipping on Friday.
That is one tiny sprayer...
It is amazing how this hardware has evolved.
It sure is. Two-stage turbines used to be on wheels just a few years ago. Was thinking about getting one of the 5 stage slightly larger ones, but for an extra 1 psi, there is a lot of extra compression-generated heat. Most folks say that even a 3 stage is fine as long as you use a smaller tip (0.8mm for HVLP compared with 1.3 for traditional guns for both base and clear).
Seats currently due to be completed July 20th. UGH...

 06-05-2021, 10:22 AM