When you click on links to various merchants on this site and make a purchase, this can result in this site earning a commission. Affiliate programs and affiliations include, but are not limited to, the eBay Partner Network.
Unfortunately, the car is not currently road worthy (Borla exhaust hanging on by a thread because it's corroded away), a couple of cracked tires (still holding air), and brakes need attention. I also don't have a local Mini dealer, unfortunately, or a BMW one. Nearest Mini dealer is over 500 miles. There may be a BMW place in ND, but that would also be over 100 miles :-(
I'm not sure about that. I'm nervous about turning my car into a brick! I may have to do some youtube-ing to see what all is involved in this! Thanks for bringing it up! What does the software update address specifically, and when was it issued? I think the software may have been updated around 2014 when I was last at a Mini dealer for service. Maybe... have to dig out the service records though.
Might be fun to keep track of the parts replaced so far also.
1 x set valve seals $34.00
1 x cylinder head gasket - Fel-pro 26382PT $40.82
1 x valve cover gasket - Fel-pro VS50731R $13.78
1 x cam position o-ring $7.00
1 x Bosch 72223WS oil filter $4.71 (not impressed with the quality of this one)
1 x 5qt Mobile 1 5w30 oil $18.00
1 x Vaico fuel filter kit $24.25
1 x PMD cam locking tool $35.00
1 x Motorad 718-195 thermostat and gasket $28.90
1 x set of head bolts Fel-pro ES72272 $31.41
1 x Bilstein timing chain tensioner 37587 $30.07
4 x NGK BKR6EQUP platinum spark plugs $7.57 each
1 x M7 blue silicone intercooler boots $29.92
1 x NGK 54058 plug wires $30.60
1 x set 2 Rear Door Hatch Liftgate Lift Supports $19.96
1 x OBX header, 1.6l Mini $296.00
1 x NGK O2 sensor $85.00
And a lot of misc supplies - bolts that the engine ate, assembly lube, valve spring tool, head re-decking, welding, etc...
+ a lot of time!
On the list:
repair / get Borla to warranty exhaust
driver's power window
supercharger service, 15% pulley, belt, water pump
front r56 brake retrofit after full restoration on calipers, new pads, calipers
strut tower bearings - both are cracked - might do new shocks/springs at the same time
That's the higher priority stuff... then it's:
tune and colder plugs (not too long after pulley) - probably will do one of the remote or canned tunes
body work - think I will do the hood first (maybe this winter) going to have louver welded in and the whole thing resprayed
seat reupholstery (in leather)
redo headliner
replace rear plastics (they're all thrashed)
That's the current plan anyhow...
hope you bought all this from FCPeuro because of their lifetime warranty even on consumable parts
Unfortunately, the car is not currently road worthy (Borla exhaust hanging on by a thread because it's corroded away), a couple of cracked tires (still holding air), and brakes need attention. I also don't have a local Mini dealer, unfortunately, or a BMW one. Nearest Mini dealer is over 500 miles. There may be a BMW place in ND, but that would also be over 100 miles :-(
I'm not sure about that. I'm nervous about turning my car into a brick! I may have to do some youtube-ing to see what all is involved in this! Thanks for bringing it up! What does the software update address specifically, and when was it issued? I think the software may have been updated around 2014 when I was last at a Mini dealer for service. Maybe... have to dig out the service records though.
If you had your MINI into a dealer in 2014, then you should be able to check with them about whether the SW was updated.
Another option might be to contact someone like Way Motors about doing a SW update. I know know he does tunes where the ECU is mailed to him. Maybe he does the same with the basic MINI SW. Just a thought.
Thanks for all of the suggestions everyone - much appreciated. I will have to check my service records and see what I had done. When was this new software for the R53 issued?
Does anyone know if there is a sticker for the center section of the wings bonnet and boot ornaments? Both of mine the center section has peeled or nearly peeled off of.
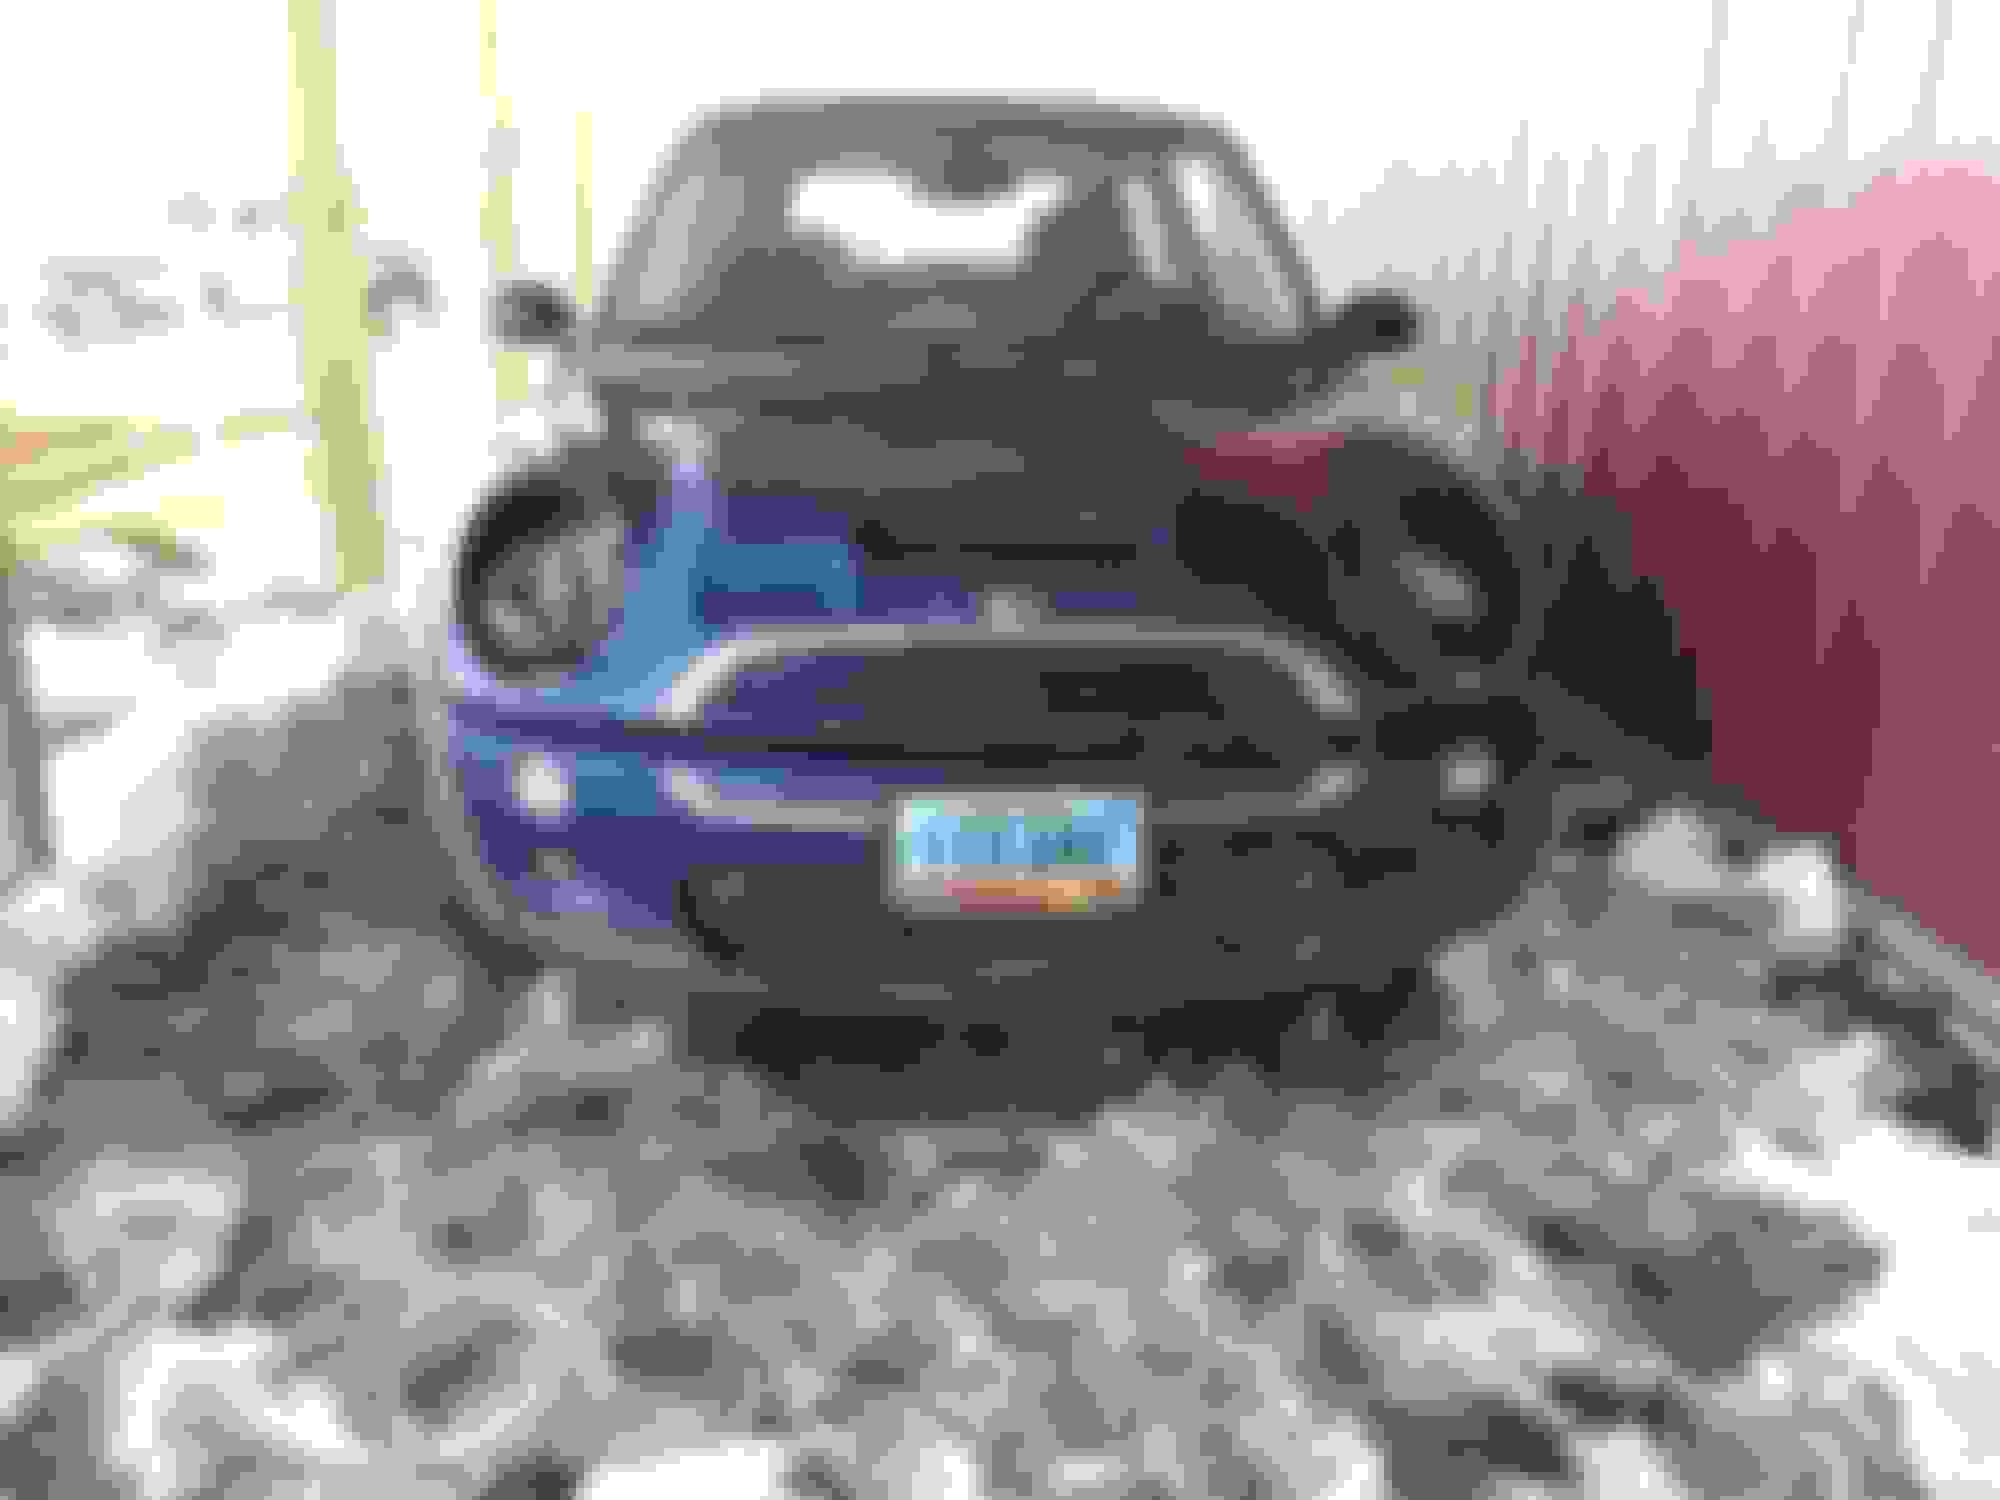
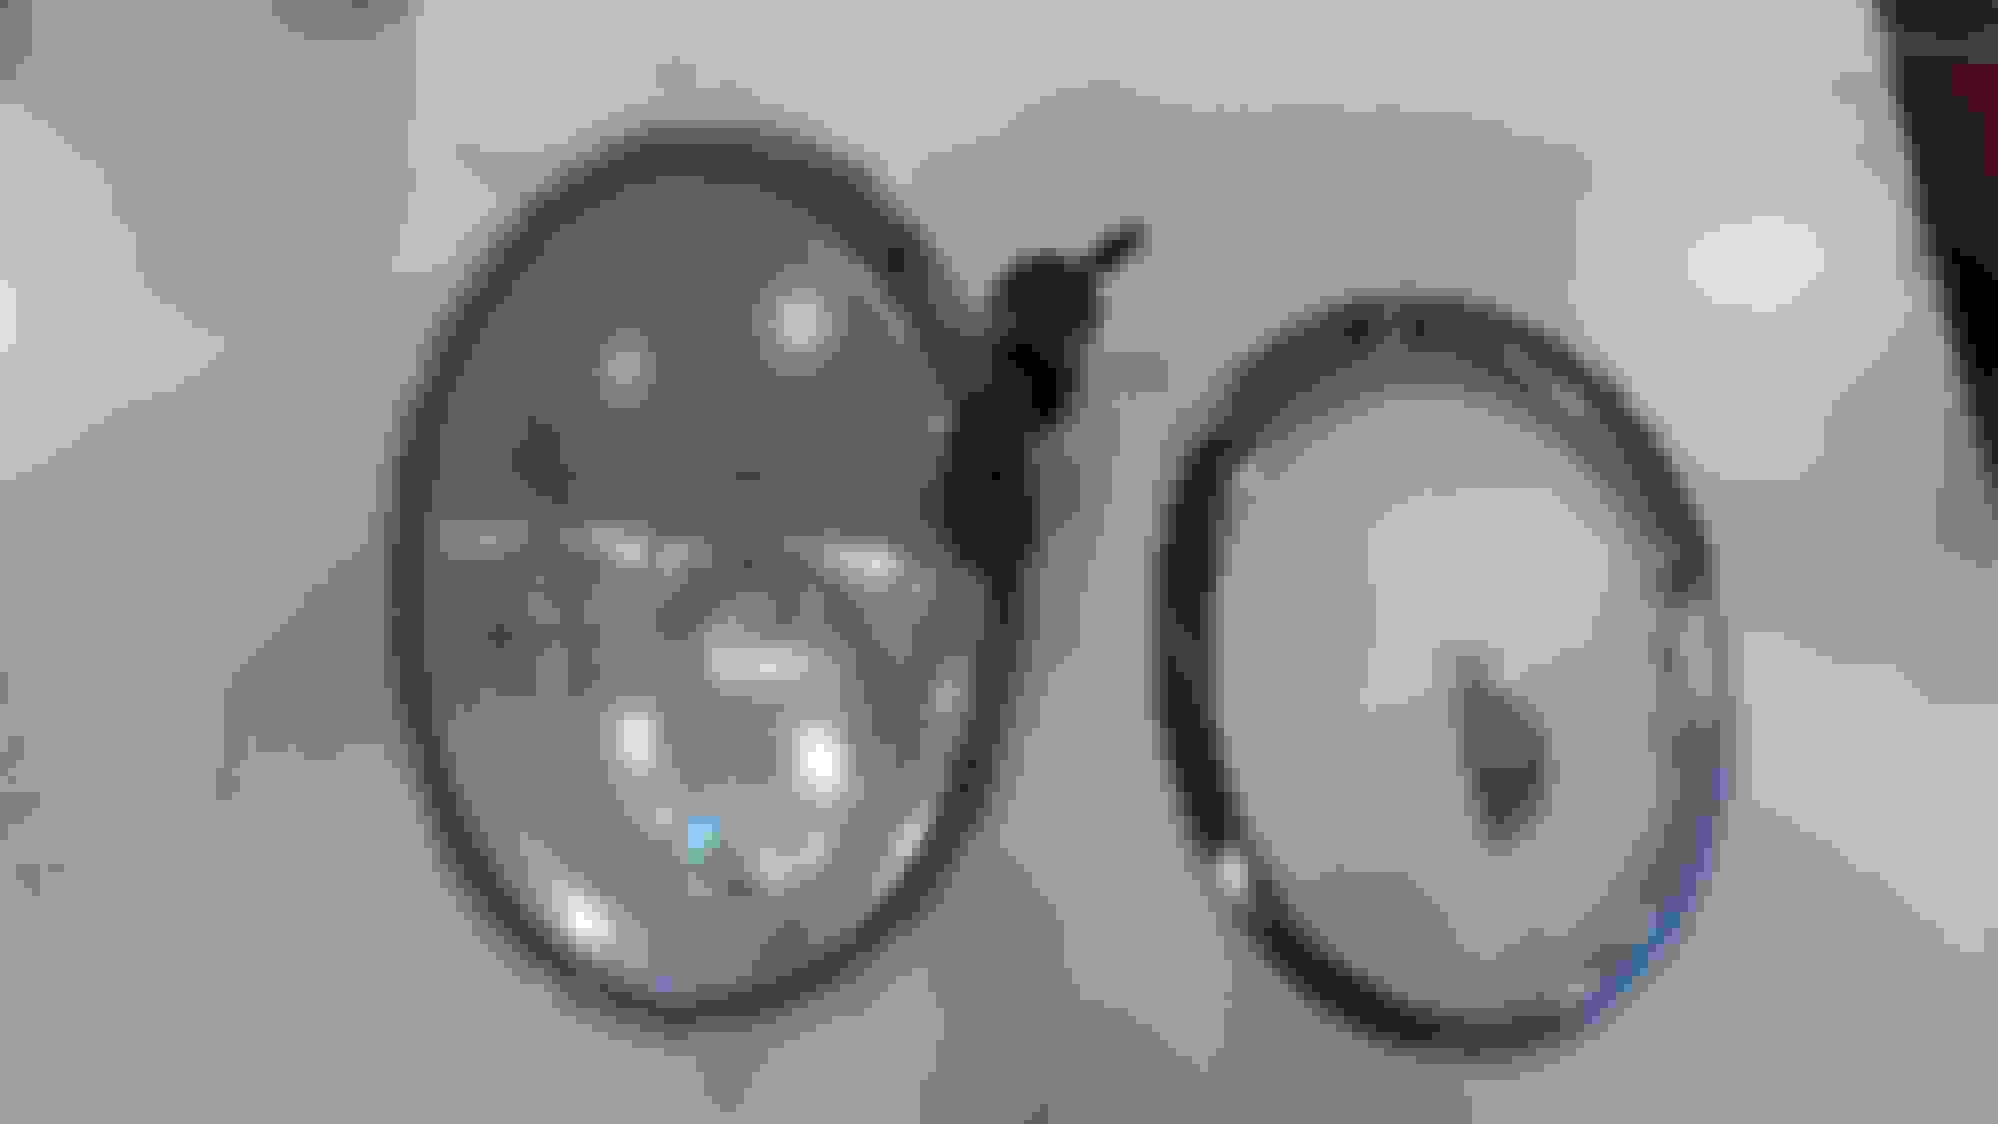
Can't afford a new exhaust system at the moment, so taking care of some miscellaneous things that have been driving me nuts. Today was the headlights. Like a lot of other Gen 1 people, the pitted, yellowed headlights are offputting and dangerous - you don't get that much light out of these when they are all abraded. So today I disconnected the spray line, the wiring connector, and took them out. Here is what the car looked like before...
Yep - that's fresh snow on the ground. Weird fall up here this year.
I didn't want to sand all of the clearcoat off this time, so I went with the Maguire's Ultimate Compound method and I picked up a 6-pack of round terry cloth covered applicators from the autoparts store as well. More on these in a bit. So the plan was to take the trim rings off so I wouldn't have to worry about scratching up the chrome. Was pretty simple - there are 6 or so little clips on the back side of the trim rings that can be released by prying *very gently* between the plastic of the lens and the clip on the trim ring. Once you get a couple off, the rest come off much easier. Careful not to snap them off - they look pretty fragile. Then I extended the power washer out and unclipped the side with two of the little tabs and got that trim piece off. Those trim rings are high quality - I though they were plastic. They seem to be aluminum with a thick chrome coating... some heft to them.
That lens looks awful!
So what I did is I carefully and very lightly sanded the worst pits by hand with 1500 grit - just in the places where the pitting was worst and where the clear coat had lifted along one side. Then I took my el cheapo terry applicator pad and stuck that sucker onto my random orbital sander, dropped a big gob of the Maguire's compound on there, and went to town. After 5 minutes I checked and the bottom half already looked great - nice and smooth. The top was where most of the pitting was though, so that side took quite a bit longer - maybe 15 minutes or so. Cleaned it up with a paper towel. Was going to put some wax on, but can't find it right now. So here is a before and after...
What a difference! It's not perfect if you look up close, but for right now it is good enough. Still need to get out the metal polish and take the water marks off the trim pieces, but an quite pleased. This may not last all that long, bit for right now - it's a massive improvement! Next time I do this, I will do the wet sand, take it down to mirror smooth, then rubbing compound, then a clear gloss vinyl wrap, but for now this is great!
Last edited by jcolletteiii; 10-13-2019 at 08:26 PM.
Reason: pictures
So, not being satisfied is a thing I have, so when I took the trim off of the second headlight 30 minutes ago, I said screw it to myself got a bowl of water and grabbed a little piece of 800, 1000, and 1500 wet sandpaper - really no more than a 3" square of each. I cleaned the grime off of the surface and sanded all the way around the lens with the 800 paper once - making sure to keep the lens plenty wet. Cleaned that off and saw a nicely frosted surface with some scary looking swirl-shaped scratches (I sanded in circles). Too late now. Into the water with the 1000 grit, same thing - sanded all the way around making sure to hit all the way out to the very edges, and then filling in the middle. Cleaned it off with a paper towel. Still a couple areas with a lot of sort of bubbled or pitted texture, so I did a second sanding of the surface with the 1000 grit. Then I hit it twice with the 1500. After the first sanding, the surface went from 'privacy glass', almost back to the kind of surface I started out with in terms of opacity - it started to clear up somewhat. I was thinking of hitting it with 000 steel wool at this point, but I thought I would try the polish. So I put on a blob of the Maguires ultimate compound and did an el-quicko hand buff - no more than about 45 seconds, circular outside perimeter, then filled in the middle. Wiped it off. Literally 45 seconds of hand buffing. I almost didn't believe what I saw. After 45 seconds of buffing, this lens looked better - easily - than the one I did yesterday using only the buffing compound. Nearly all of the pitting is gone - there are still a few deeper pits and a couple of scratches that I'd have to sand to China to get out. So I did a second buff (again by hand) but for 2 - 3 minutes this time, making sure to get the whole surface nice and even. I brought it up to show the wife - "Holy crap - that looks brand new!" she said.
Total time on this second one - no more than 20 minutes. Will order some clear vinyl headlight wrap before I reassemble these. Hopefully, I can find something with UV protection built in to help stop the yellowing. Sometimes, CDO is good.
great job, i'm waiting for pads for the drill to do this to my headlights.
if you ever wanted to upgrade to the 05/06 hid headlights. i have a set for sell.
Thanks guys - they really did come out great without any power tools at all. I will probably give them one final buff by hand again before a cleaning with denatured alcohol when I put on the headlight film. I ordered some of the wet application Vivid film - has some UV protection built in. Should be here by Saturday hopefully.
I prefer the look of the pre-facelift headlights, but thanks for the offer!
Well, I didn't end up adding film for now - I think I am going to go with some UV protectant and just polish them each time I wash the car. Came out pretty fantastic!
Before
After
Took both upper grills off as well. Going to start building the grillwork soon also. Will try popping that big dent out this coming week also. Might be a few weeks until I get to it though. Tenure file due on November 1. Ugh.
Took both upper grills off as well. Going to start building the grillwork soon also. Will try popping that big dent out this coming week also. Might be a few weeks until I get to it though. Tenure file due on November 1. Ugh.
What are you doing to the grilles?
Also, if you're still looking for new badge decals, there are a lot of options on eBay, including different colors. I re-did mine in red, to match my stripes and belt line.
I hate the look of the new cheap knockoffs of the old JCW grills, and I also don't care for the zip-tie method for the 'ultimate' grill. There is also very little support for the lower part of the hood without the plastic grill backing installed. So I think I am going to do a hybrid between the stock grill and something like the 'Ultimate'. My plastic backer is damaged where some ******* in a pickup backed into it, but I have the plastic piece that is missing. I think some gorilla glue or ABS cement will take care of it. Then the tentative plan is to rework the black plastic support - taking out of the slats in the middle, but leaving the one at the bottom and the piece in the middle. Basically to make the black plastic into the same shape as the bonnet grill opening with the center piece. Then I will clean the plastic piece well and plastic spray paint it silver or maybe a dark charcoal. Then over top of that will go a cut piece of Customcargrills' Hexagon XXL aluminum grill material in anodized silver. At the bottom, the mesh will have rubber channel all the way around it, and that will be mounted to the bottom plastic part (once repaired). That will be trimmed to the size of the black plastic insert, then the chrome trim will be trimmed slightly along the bottom side to allow the grill material to go under it and then the trim piece reattached. At least that is the plan right now. Oh yeah - and drill out all of those stupid plastic nubs with the self threading nuts and install proper fasteners.
I hate the look of the new cheap knockoffs of the old JCW grills, and I also don't care for the zip-tie method for the 'ultimate' grill. There is also very little support for the lower part of the hood without the plastic grill backing installed. So I think I am going to do a hybrid between the stock grill and something like the 'Ultimate'. My plastic backer is damaged where some ******* in a pickup backed into it, but I have the plastic piece that is missing. I think some gorilla glue or ABS cement will take care of it. Then the tentative plan is to rework the black plastic support - taking out of the slats in the middle, but leaving the one at the bottom and the piece in the middle. Basically to make the black plastic into the same shape as the bonnet grill opening with the center piece. Then I will clean the plastic piece well and plastic spray paint it silver or maybe a dark charcoal. Then over top of that will go a cut piece of Customcargrills' Hexagon XXL aluminum grill material in anodized silver. At the bottom, the mesh will have rubber channel all the way around it, and that will be mounted to the bottom plastic part (once repaired). That will be trimmed to the size of the black plastic insert, then the chrome trim will be trimmed slightly along the bottom side to allow the grill material to go under it and then the trim piece reattached. At least that is the plan right now. Oh yeah - and drill out all of those stupid plastic nubs with the self threading nuts and install proper fasteners.
You've definitely got my interest! I hope you do a "how to". I'm wanting to change up my grille, but want to go black. I'm trying to get most of the chrome off my car.
Thanks - I always forget about that stuff. I may superglue that broken part in first then, and then apply a thin patch of the JB Plasticweld stuff and then smooth that out when it's set up. Great idea!
This is probably all I'll have the chance to do until after Nov. 1. All I've done here is dremel out the slats and open up the solid plastic sides along the edges that parallel the hood cutout. I then smoothed out the cuts with a coarse dremel sanding drum. Need to clean it up a bit more and medium and then fine sand, but hopefully the concept makes more sense now - dunno if I explained clearly enough before what the plan was.
If there is room for it, you can add a bit of chopped fiberglass to the epoxy to give it more strength. May not need it here, but it might be helpful elsewhere.
I used some army-green chicken wire that I painted with satin black Krylon Fusion paint with good results. This was used in my lower bumper opening as I did go with the cheapo JCW knockoff grilles haha.
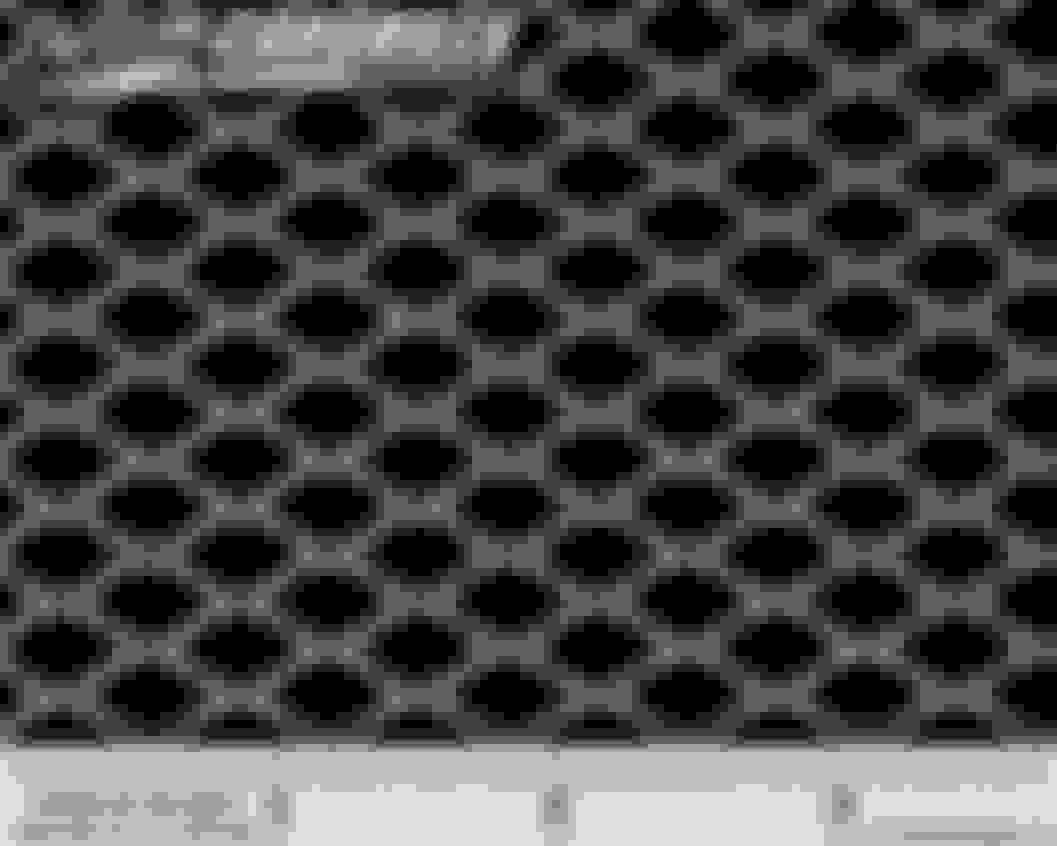
The piece that I ordered for the upper grill arrived today from customcargrills. It's nice looking stuff - even better looking in person, and it's also very robust. Was well packaged and arrived completely flat! Have not yet had time to get into the meat of this, but I think you'll get an idea of the finished product from taking a peak at this picture...

 10-09-2019, 06:25 AM