When you click on links to various merchants on this site and make a purchase, this can result in this site earning a commission. Affiliate programs and affiliations include, but are not limited to, the eBay Partner Network.
Suppose it's time to start keeping track of materials and tools for my repaint. All of the panels are going to be painted off car, so that I can 1) really make sure that the quality I want is there, so that I can wrap the paint and clear around all of the edges and partially on the back, and 2) so I can really clean deep behind and under the panels when they come off. So far, I have the hood completely prepped, and I just finished filling the last (I hope) of the rock chip on the front bumper. Going to pull the cowl this afternoon and start prepping that. I'm probably $150 in already in fillers, prep sprays, spreaders, etc.
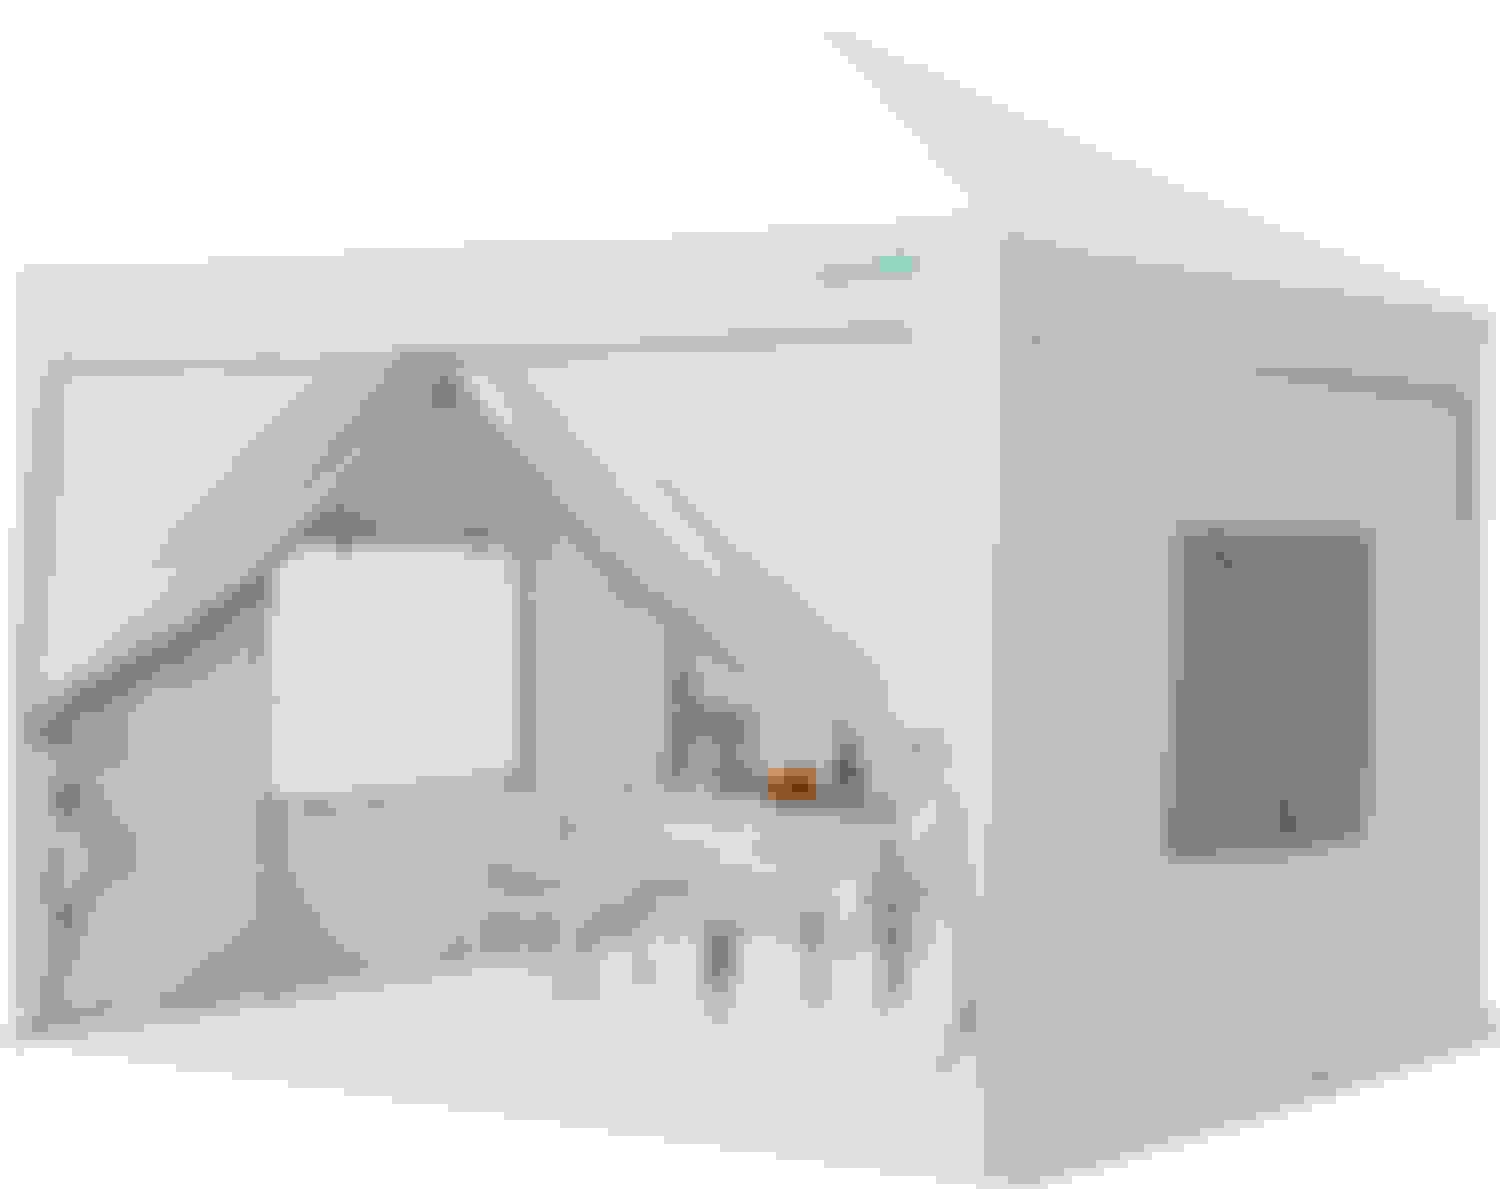
My spray boot is going to be a 10x10 canopy tent with white walls and two opposite windows. A tarp and plastic will go on the ground and be duct taped together to be as dust and bug proof as possible. One window will get a box fan and a furnace air filter. Spray 'booth' has cost: $170 but I will be able to use this for years. Will have to add $30 for a box fan and maybe 20 in filter material. Subtotal for the booth will be around $220 - much cheaper than an inflatable spray booth.
The sprayer I will be using is the Aerojet R500 - or the new version called the A610. It's an LVLP (low volume low pressure) type that can operate for long periods at 4cfm - so you can spray an entire car with a decent 20 gallon compressor. I have yet to find anyone say anything bad about this sprayer with most reviews stating that is sprays much better than brand name guns costing many times the price. Will be nice with the low overspray in a small booth as well. Bargain at $80 with three paint tips 1.3, 1.5, and 1.7 - so if I need to use the same gun for primer I can (I plan on sealing, not priming tho). I will spray through an oil/water separator and may add a dedicated particulate filter as well. The dryer filter is this one from HF - https://www.harborfreight.com/38-in-...ter-58180.html for $70. Need to pick up a decent quality shorter hybrid hose - there is probably $50, add another $75-100 for a good regulator. I bought the HF PPS cups and their adapter for $20 more, and bought a HF account for $30 bucks because I am there so freaking much. Already saved $12 by doing so. Their version of the PPS cups are SOOOOOO much cheaper than the 3M version. Subtotal for the spray setup (minus the air engine) around $320.
The compressor I am going with will be a 110v 20 gallon quiet oil-free quiet 5cfm 150 psi upright wheeled jobbies. Let's say $400 with tax.
Misc stuff that I don't yet have: I'll need two separate pump sprayers, maybe $40 for the two. I need a panel holder. I think HF has those for around 50 bucks. May just hang the hood from the supports for the roof of the canopy if they'll take the weight. Have a respirator, but maybe a cheapo paint suit $50? I'm probably in for about a hundred bucks in sand paper and sanding blocks. So maybe around $290-300 in misc prep costs.
Material - this will be significant. Going with Tamco products. The IB 862 unreduced base is $267 and the Tamco HR-1380 reducer is $62 bucks per gallon - it's a 1:1 mix. Tamco HC4100 clear with the slow hardener will round out the finish coat for $168. For sealing, I am going to go with HP3500 tintable sealer. Can be reduced if needed with the HR-1380. Will have it tinted dark blue I think. Sealer is $180 per gallon. HR397W water based grease and wax remover adds another $50, and the HR398 solvent based final wipe adds $40. Subtotal material cost - $767.
I'm sure there will be more stuff I need, but this list is a great starting point to keep track of what I will be spending. About $1600 all tolled at this point. Can't wait to be done with the panel prep work! Back to it.
Just about there. I have to dress up the edge a bit where I cut out the upper stock grill for my M7 grilles. Probably use a dremel bit to do that tomorrow. Did have to do one plastic weld on one of the tabs. I think it came out pretty good. Time will tell.
Hands pretty beat up today, but still wanted to get in there and get that cowl panel off. Eight hours of fencing out at the horse land yesterday. Transitioning our pasture setup to summer 'mode'. We have an asthmatic horse who has to be on a special diet during the winter - he's allergic to dust, and get this one - to grass. He's generally okay with grass if it's 1) fresh - like growing in a field; or 2) it's washed. Remi would have been turned into dog food if he didn't end up with us. He's such a good, sweet boy.
Anyhow, even with my torn up hands, pulled the cowl today. Holy fasteners, Batgirl. This panel was connected with no less than 14 fasteners - 5 on each end (one very nicely discretely hidden requiring 2 long extensions and a wobble end for the 10mm that I cannot figure out an easy way to retighten) and 4 along the middle. Not in bad shape considering the crap job MINI did painting this one. Like most of the rest of the engine compartment interior, no clear on the entire front edge. No rust though that I can see. This one has a lot of curved edges, but it's in pretty good shape - just a couple of large nicks to take care of. Will sand the old clear off the upper surface, give the lower side a quick sand and this one will be ready in no time. I say 'no time', but I'm OCD, so probably like 8 to 10 hours. Then will pull the wing panel front fender panels - whatever those are even called. They're pretty much perfect, but I am not sure whether I am going to wrap them in matte black or leave them IB. I may leave them for now and try wrapping them to see if it's a look that I like or not.
Dusty, mainly, from the sanding. It's actually not in bad shape....
... other than the crappy paint job on the inner edge. Also, the thickness of the paint on this panel is much less than on many other panels on the car. In the areas adjacent to the cowl vents, there is a sandblasting effect from bugs and road debris and you can see the tan primer coat underneath. Even on the front of the hood that was not there. I suppose they had to keep costs down however they could. I am still amazed that this car was only around $20k new.
Got my new lower bumper lip in today as well. Love the smell of fresh OEM plastic! The rest of the new plastics for the bumper get here tomorrow. Will probably order my sealer this week, and get these parts in sealer next week. The nice thing about the Tamco sealer is that it stays 'open' indefinitely. Unlike other sealers that you have to shoot base on top of within 24 hours, this stuff retains it's adhesion no matter how long it cures. Going to get the sealer tinted dark blue to give a nice even color for the base to sit on.
Today, got around to cutting up some vinyl. Made my own pattern for a union jack scuttle panel design the other day and today I cut out the jigsaw for both the driver's and passenger side scuttle panels and put it on. Came out pretty good. Will see how these hold up. I worry a bit about all of the sharp corners on the vinyl bits. If it doesn't, will grab one of the scuttle union jack decal sets, but wanted to try it and I think it looks pretty good! Can't wait to see how it looks all put back together. Should be puting my paint order in this week and hope to start spraying next week some time!
Thanks! I threw the trim on there and the scuttle light and it does indeed look nice!
Been cleaning out the bits that I won't easily be able to get to once the hood is back on. Been working on the lower pans under the ABS and brake masters up agains the cowl. It's amazing how much crap is down there after 20 years. The drain on the passenger side below the traction control pump was plugged and man was there a lot of crud on that side. Unplugged and vacuumed all of that crap out and then cleaned all of the plastics back there.
I finally stopped waffling on wheels too.
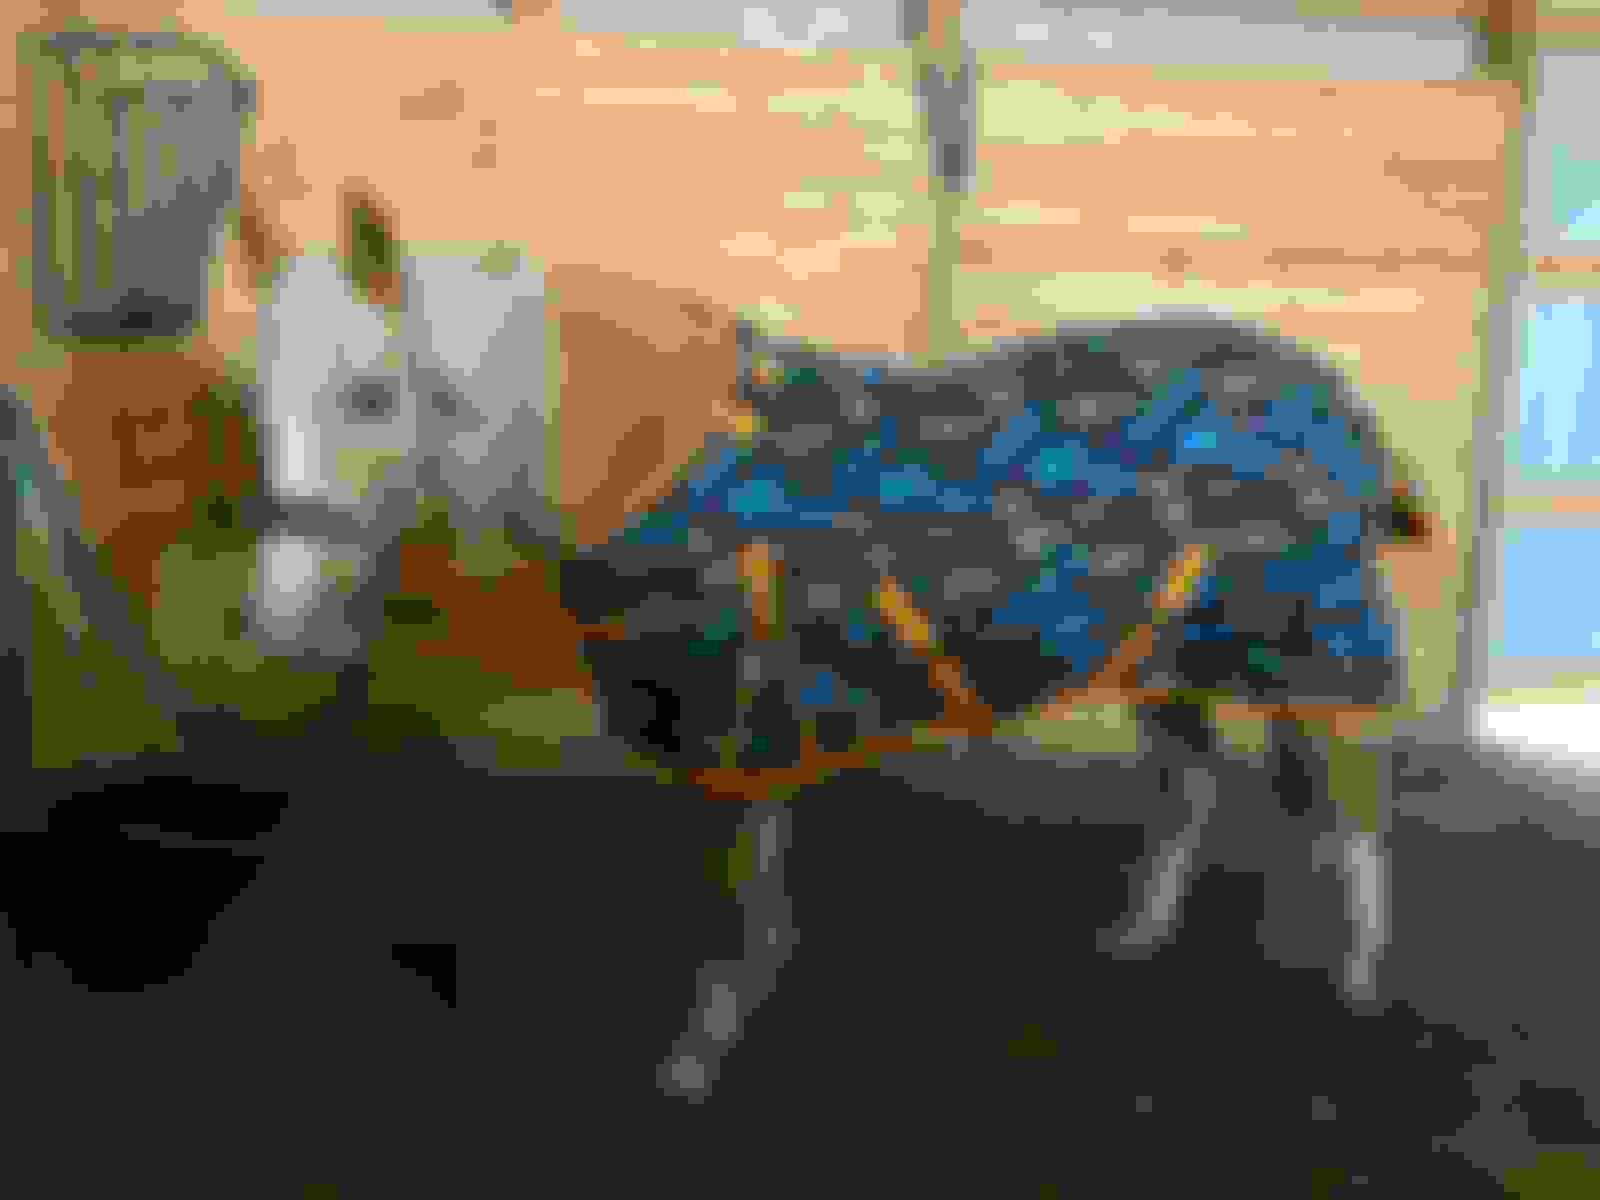
I had been considering a set of BBS ultra light weight forged jobbies. The leading contender was the RF - weighing in at 14.5lbs each. But, I looked at the back sode of the wheel in photos, and those webs are just sooooo damn thin. Then I was thinking about potholes and wanting to actually drive my car around, and thinking about enjoyment versus lightening... so BBS was off the table.
This was the picture that took the BBS RF wheels off the table for me. Look at those webs!
Then I started looking at JDM stuff - because there is some cool stuff in the Japanese domestic market that we just don't see that often - in addition to the ones that I see way too often (PF01 comes to mind). There is an awesome Watanabe classic eight look-alike being made in Japan now under the name "Eurodesign Classic Eight" that look very nice - posted a photo in @Oldboy Speedwell 's classic style wheel thread when I found them. I asked the seller about offsets and weights, and he let me know that the bolt pattern was indeed 4x100 and the offset was 40, but would not give me a weight figure, so I passed. It's a pretty close copy of a Watanabe classic 8, so it probably weighs around the same and I don't want to worry about clearance on my new front brakes. They sure are pretty though... and would look 'right' on an R53 for sure.
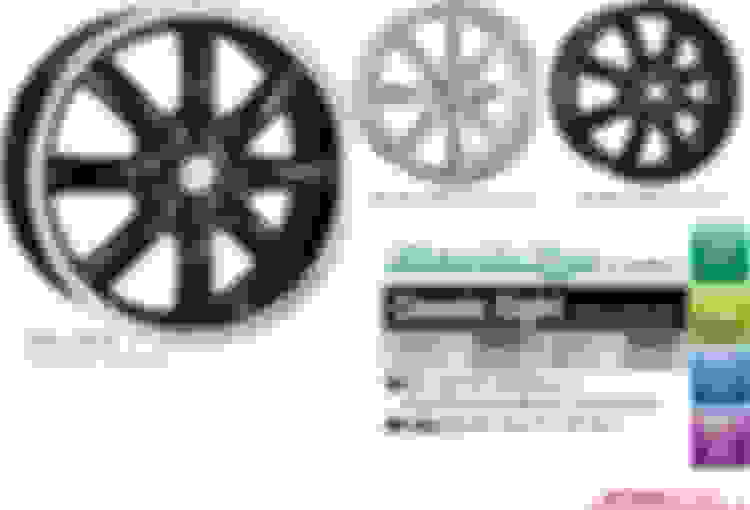
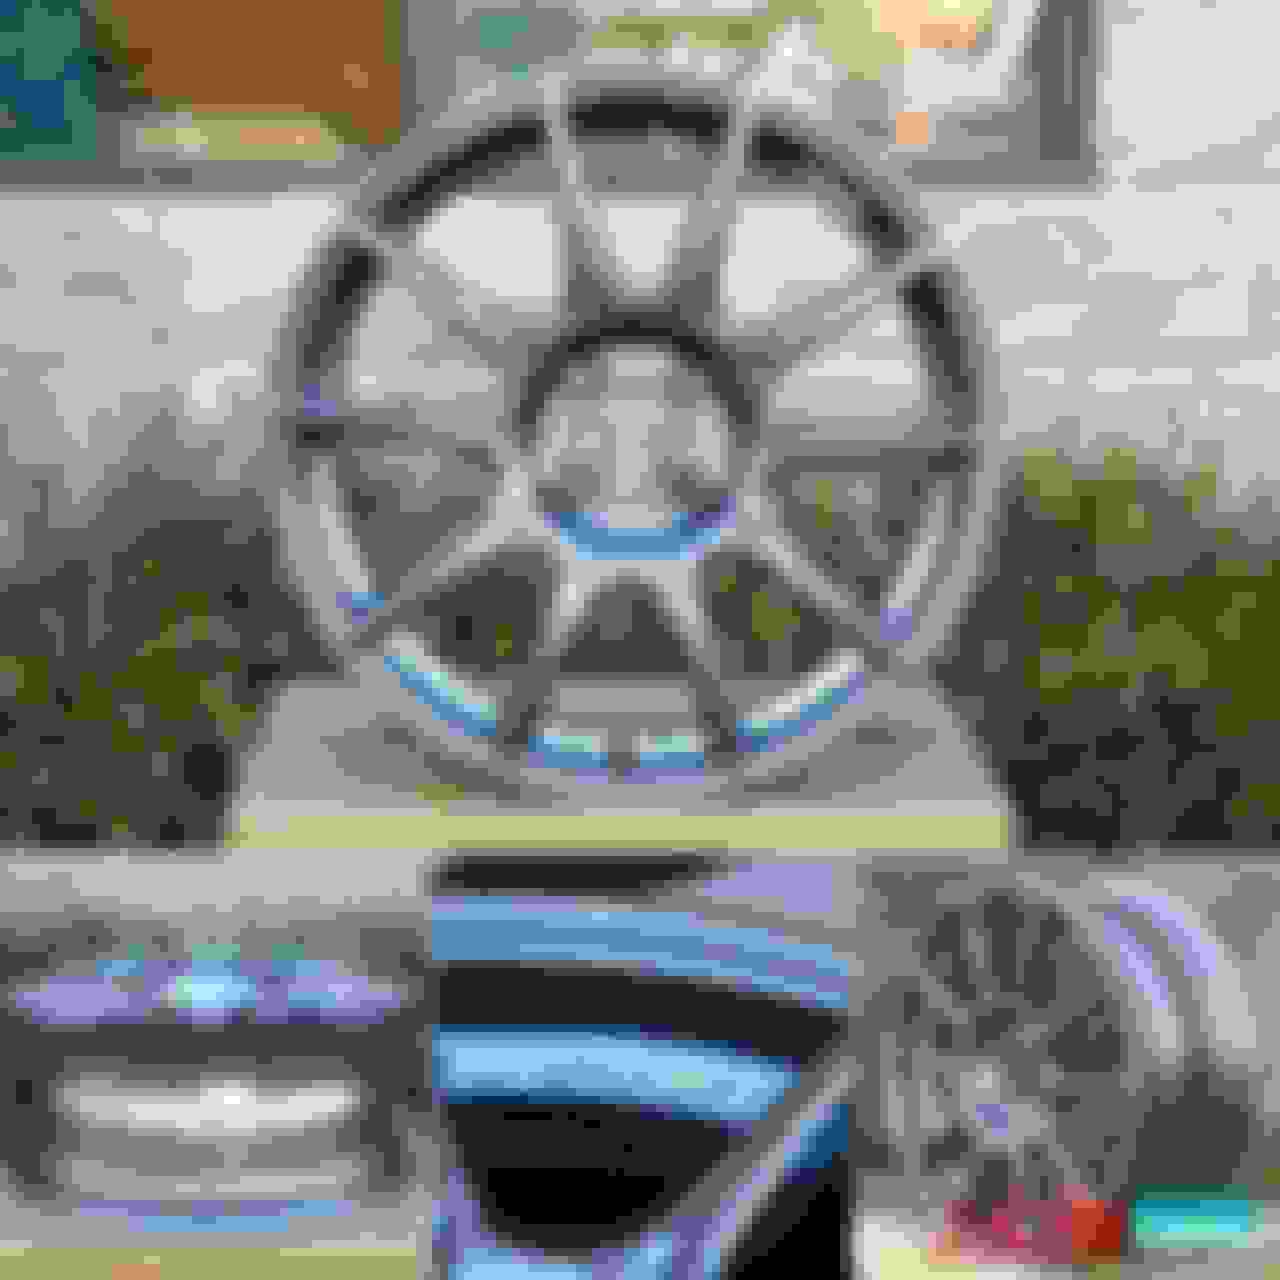
And then I was thinking about the Ze40's that I have always liked, but again, at that price... I would be afraid to drive over a speed hump (that's what they call them in ND) - so I was looking at similar wheels. Narrowed it down to a Rota (Titan), an NM design (Rse05), and an SSR design (GTX01). The Titan looks a little less graceful and there was the problem Rota had with clearcoating a few years back. I like the look of the NM, and like how it comes in a gunmetal color, but the 5 spokes and the 4 holes bothers my OCD. So, the choice eventually became the SSR. I really dig how it has the scooped center part - for me this was one of the things that I really liked about the Ze40, and really like the look of the similar feature in the GTX01 wheel.
I kinda dig the little indents at the inner part of the wheel webs too! I looked all over hell for info on the wheel stud bore diameters because I know a lot of the JDM stuff is speced out with 12mm wheel bolts. So, I may have to take these to my machinist for a bit of an adjustment, but we'll see. The center bores are 73mm, so none of the MINI center caps will fit, and holy hell are the SSR ones pricey ($140 per set), so I'll have to source some appropriately-sized MINI domed gel stickers to pop on there.
In other news, I've ordered some of the MK7 Golf tartan to make some bolster protectors for my Cobra Nogaros. This is the same fabric that I had Cobra make the offset stripes out of for my seats...
Fabric isn't cheap at $35 a linear foot (by the width of the fabric bolt which is usually around 50-someodd inches), so I ordered two feet - should be enough to get the pattern match right on both sides. Will probably do a DIY write-up when I do that just in case other people are in the same boat. The leather on the outer bolster on the driver's side is starting to wear, so this will be a little sacrificial insurance in keeping it in good shape.
Putting in my paint order this week as well - had to go through the datasheets of all of the products I will be using from Tamco - and found out that bacause I am using their phenolic 'forever seal' sealer, the base has to be hardened at 16:1 - glad I read those! Got my spray gun, my ppg adapter, hoses, air filters, water/oil filters. Picking up the compressor and panel holder and misc supplies this week. Should be able to start spraying next week. Getting excited to put the car back together! Got all sorts of panel and trim clips on the way. You would not believe what 20 years (my car turned 20 years old this month!!!) of shitty Safelite windshield replacements do to the original trim clips at the bottom of the windshield. I had 3 left that weren't broken. Last installer used sealant to glue the trim on! UGH. But, I suppose I have probably gone through 7 windshields in the last 20 years... I have all new plastics for the bumper on hand, and may order new ones for the sides of the hood too - not sure on that one yet.
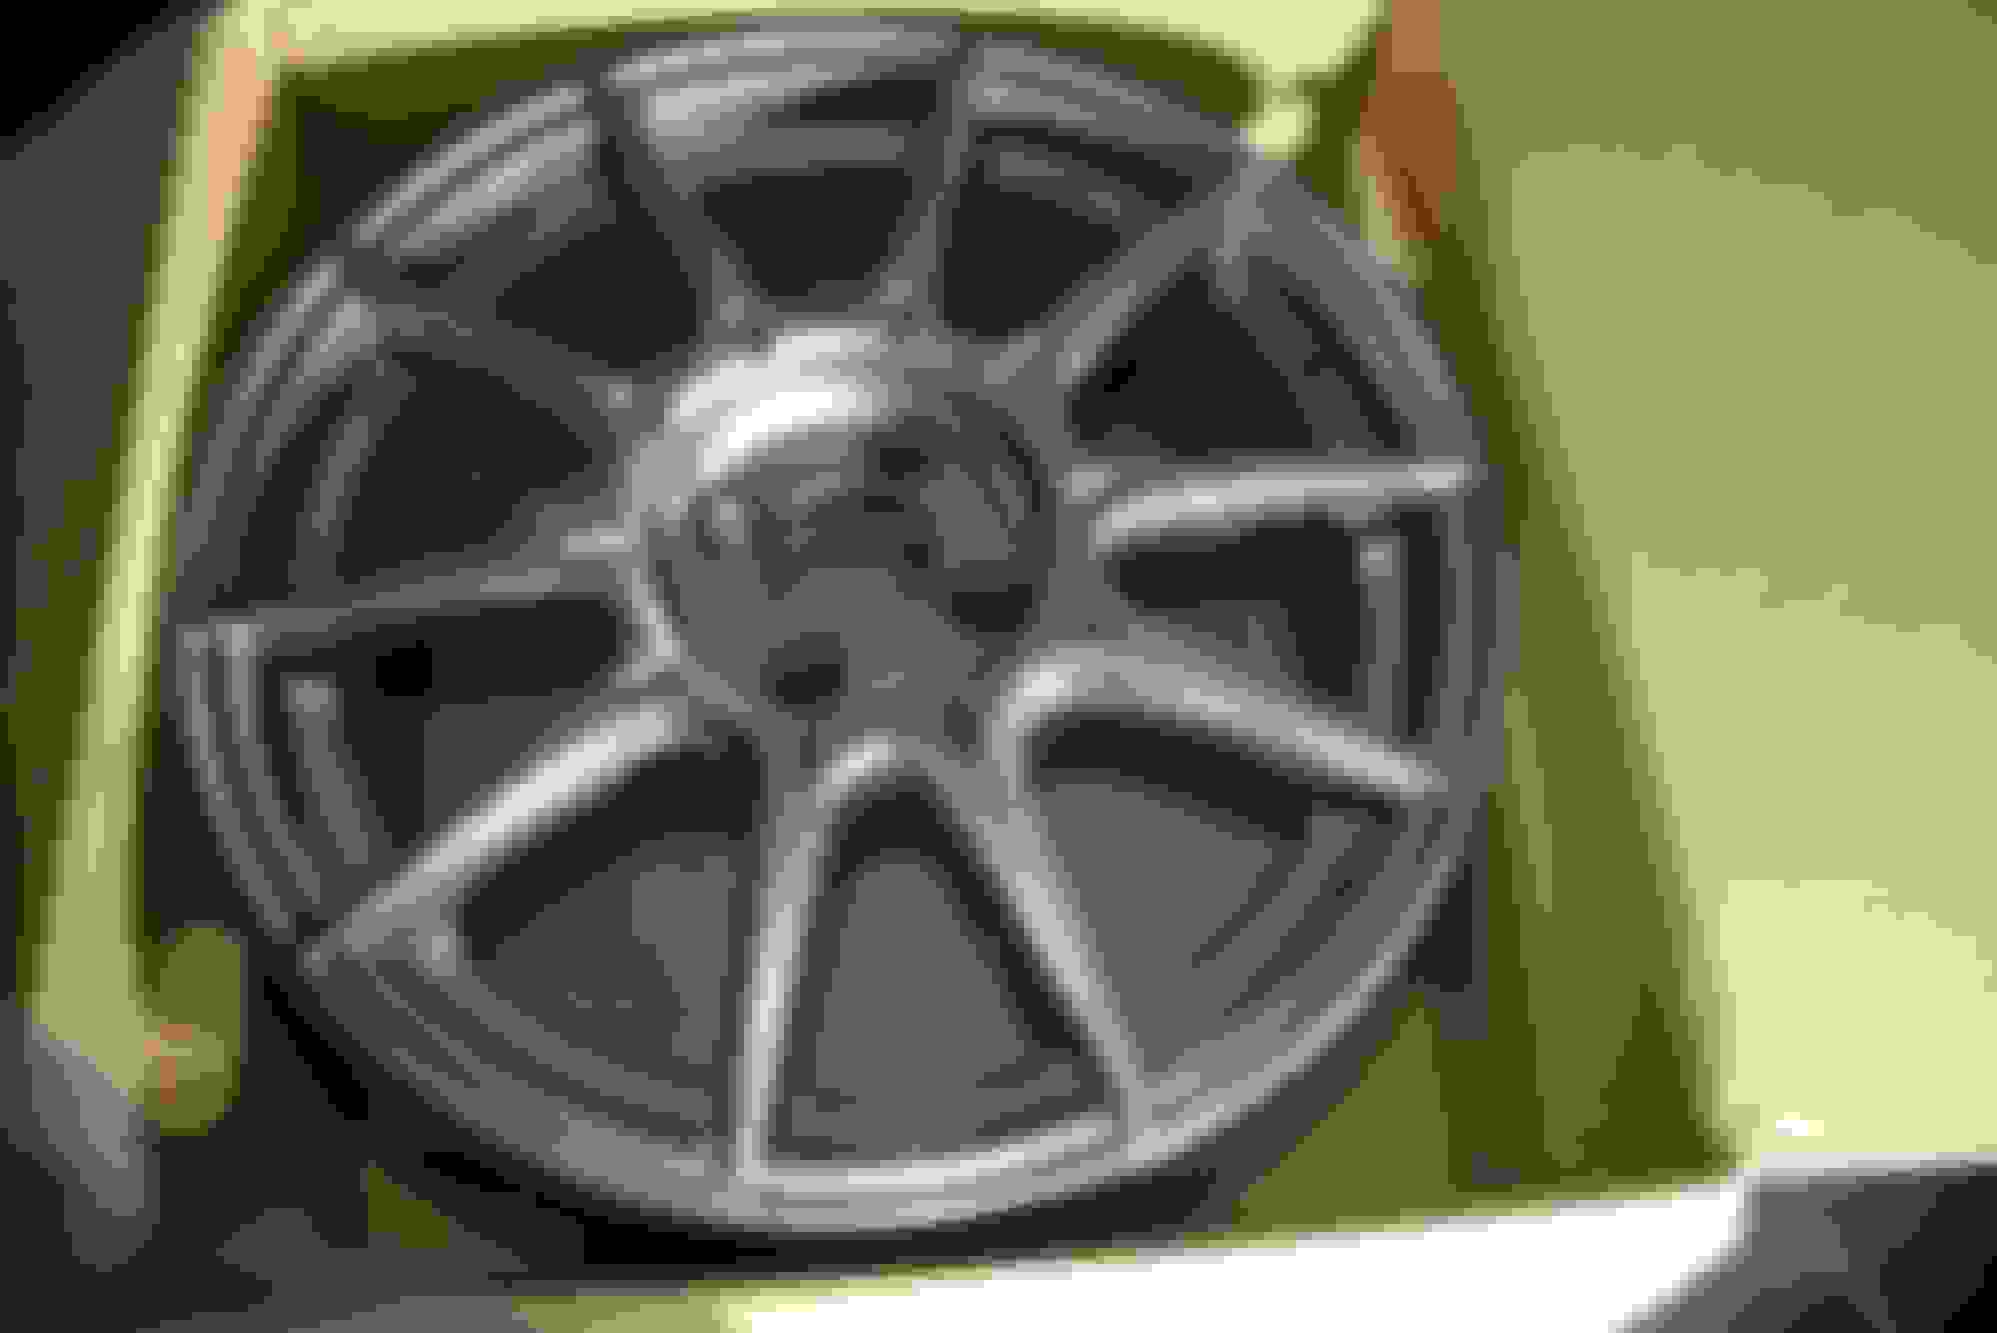
...just came in via FedEx. Man, are these things LIGHT. I have not weighed one to satisfy my curiosity yet, but I will do and then I will weigh an actual genuine MINI r112 as well - because I can't find a single photo of one on an actual scale and I think they weigh more than the 23lbs figure I find online.
Some initial observations.
First, and most importantly, these JDM wheels take standard wheel bolts. I was a bit worried that I would have to convert to 12mm bolts or wheel studs, but nope - they do indeed take the standard conical MINI 14mm lugs. So that is nice!
Second, the color is amazing. It's called dark silver by SSR - it's not like MINI r50/52/53 'dark silver', but it is darker than the silver used on the MINI OE wheels... comparison between my r112's and the GTX01's below.
I think the color is very similar to the 'tungsten' color of the 6UL wheels. It's a really nice, slighly darker and slightly more metallic silver than the silver MINI uses on the OE silver wheels.
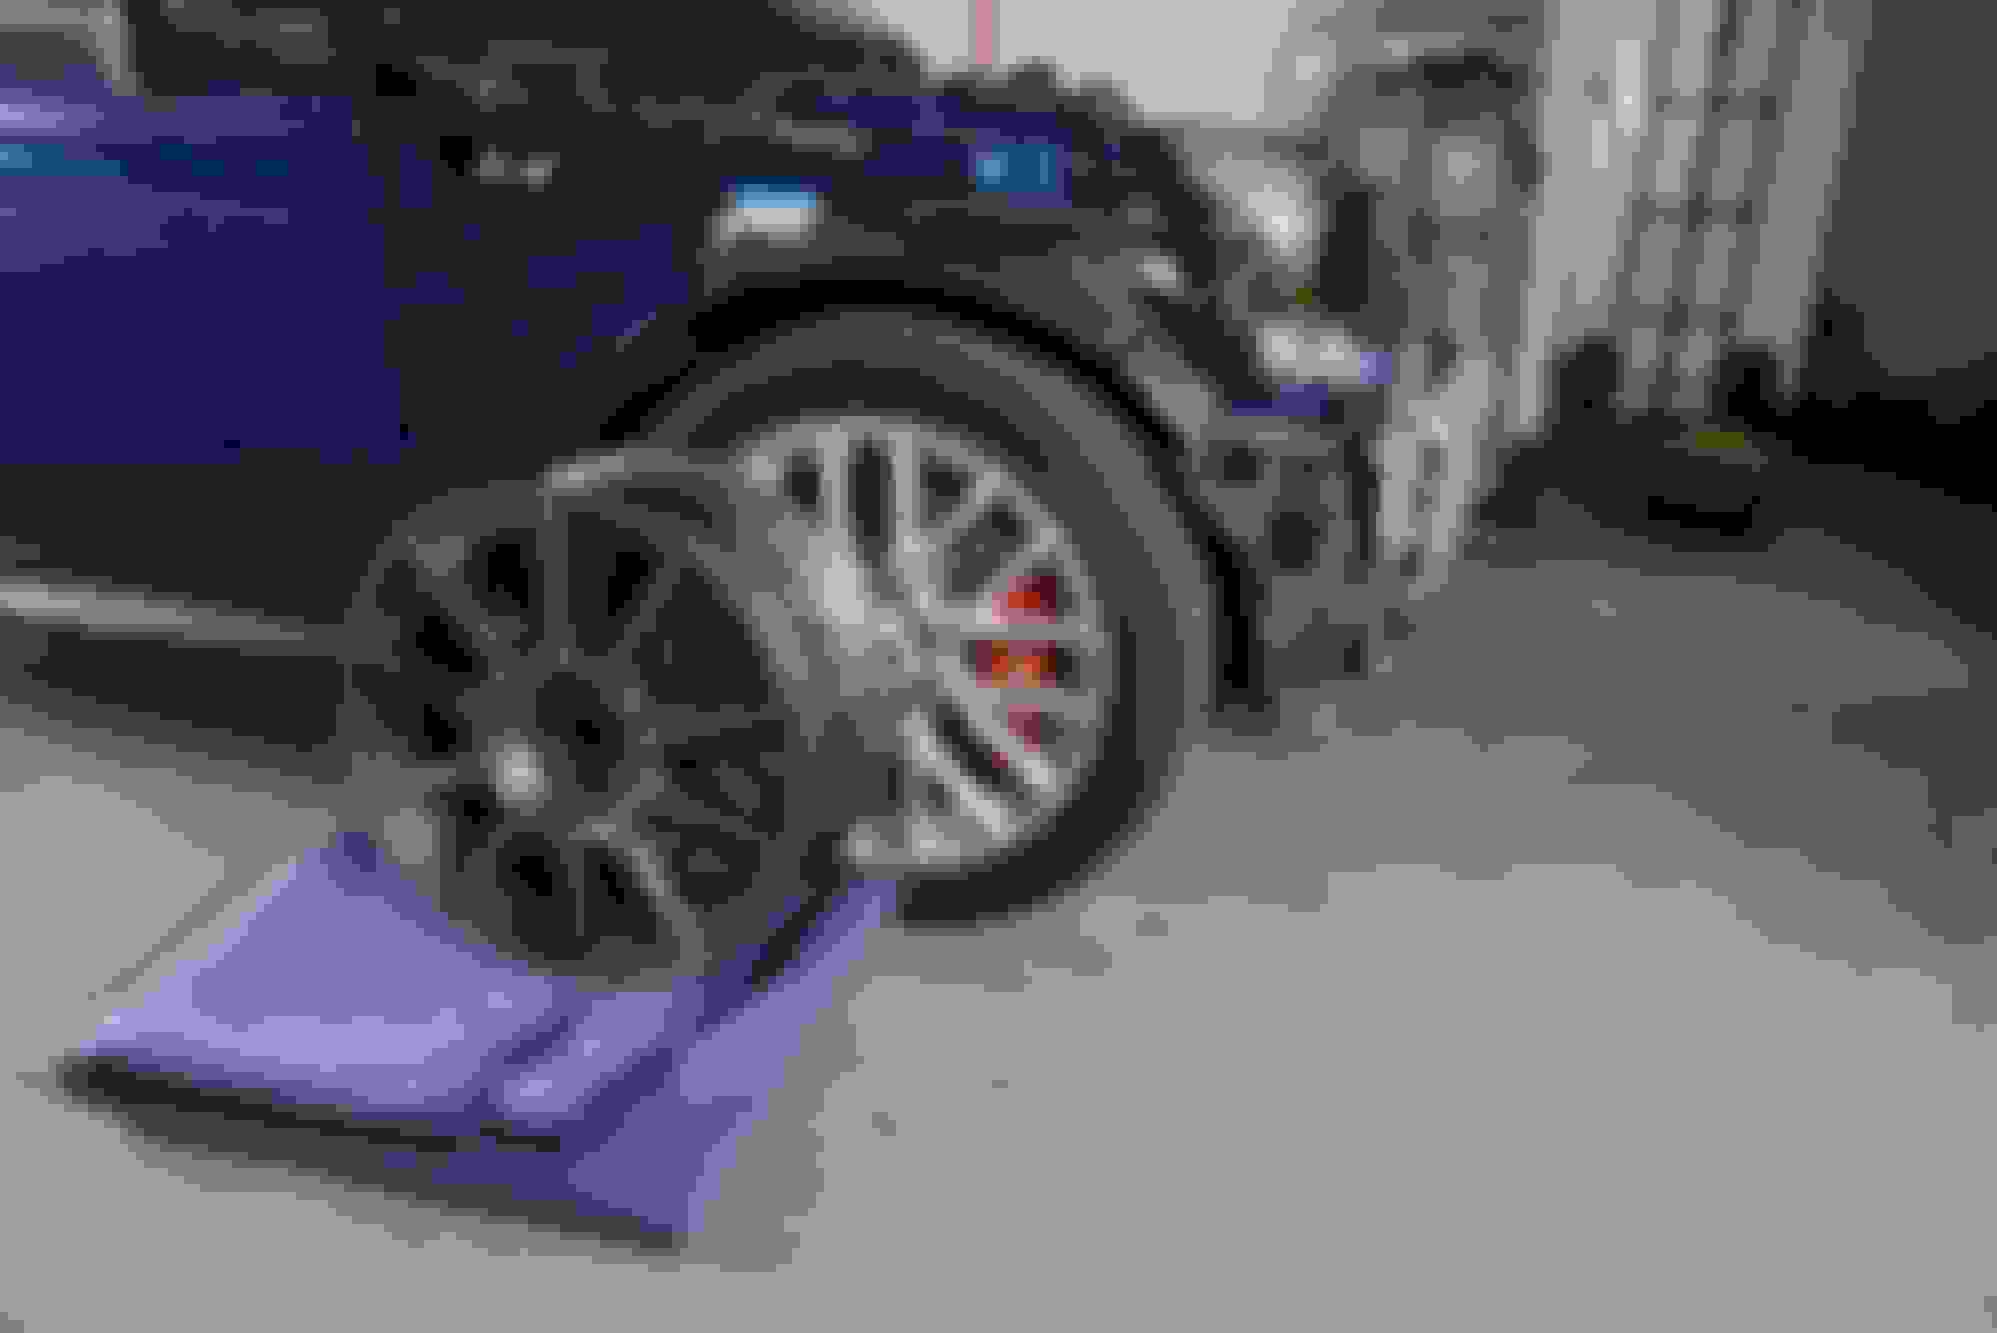
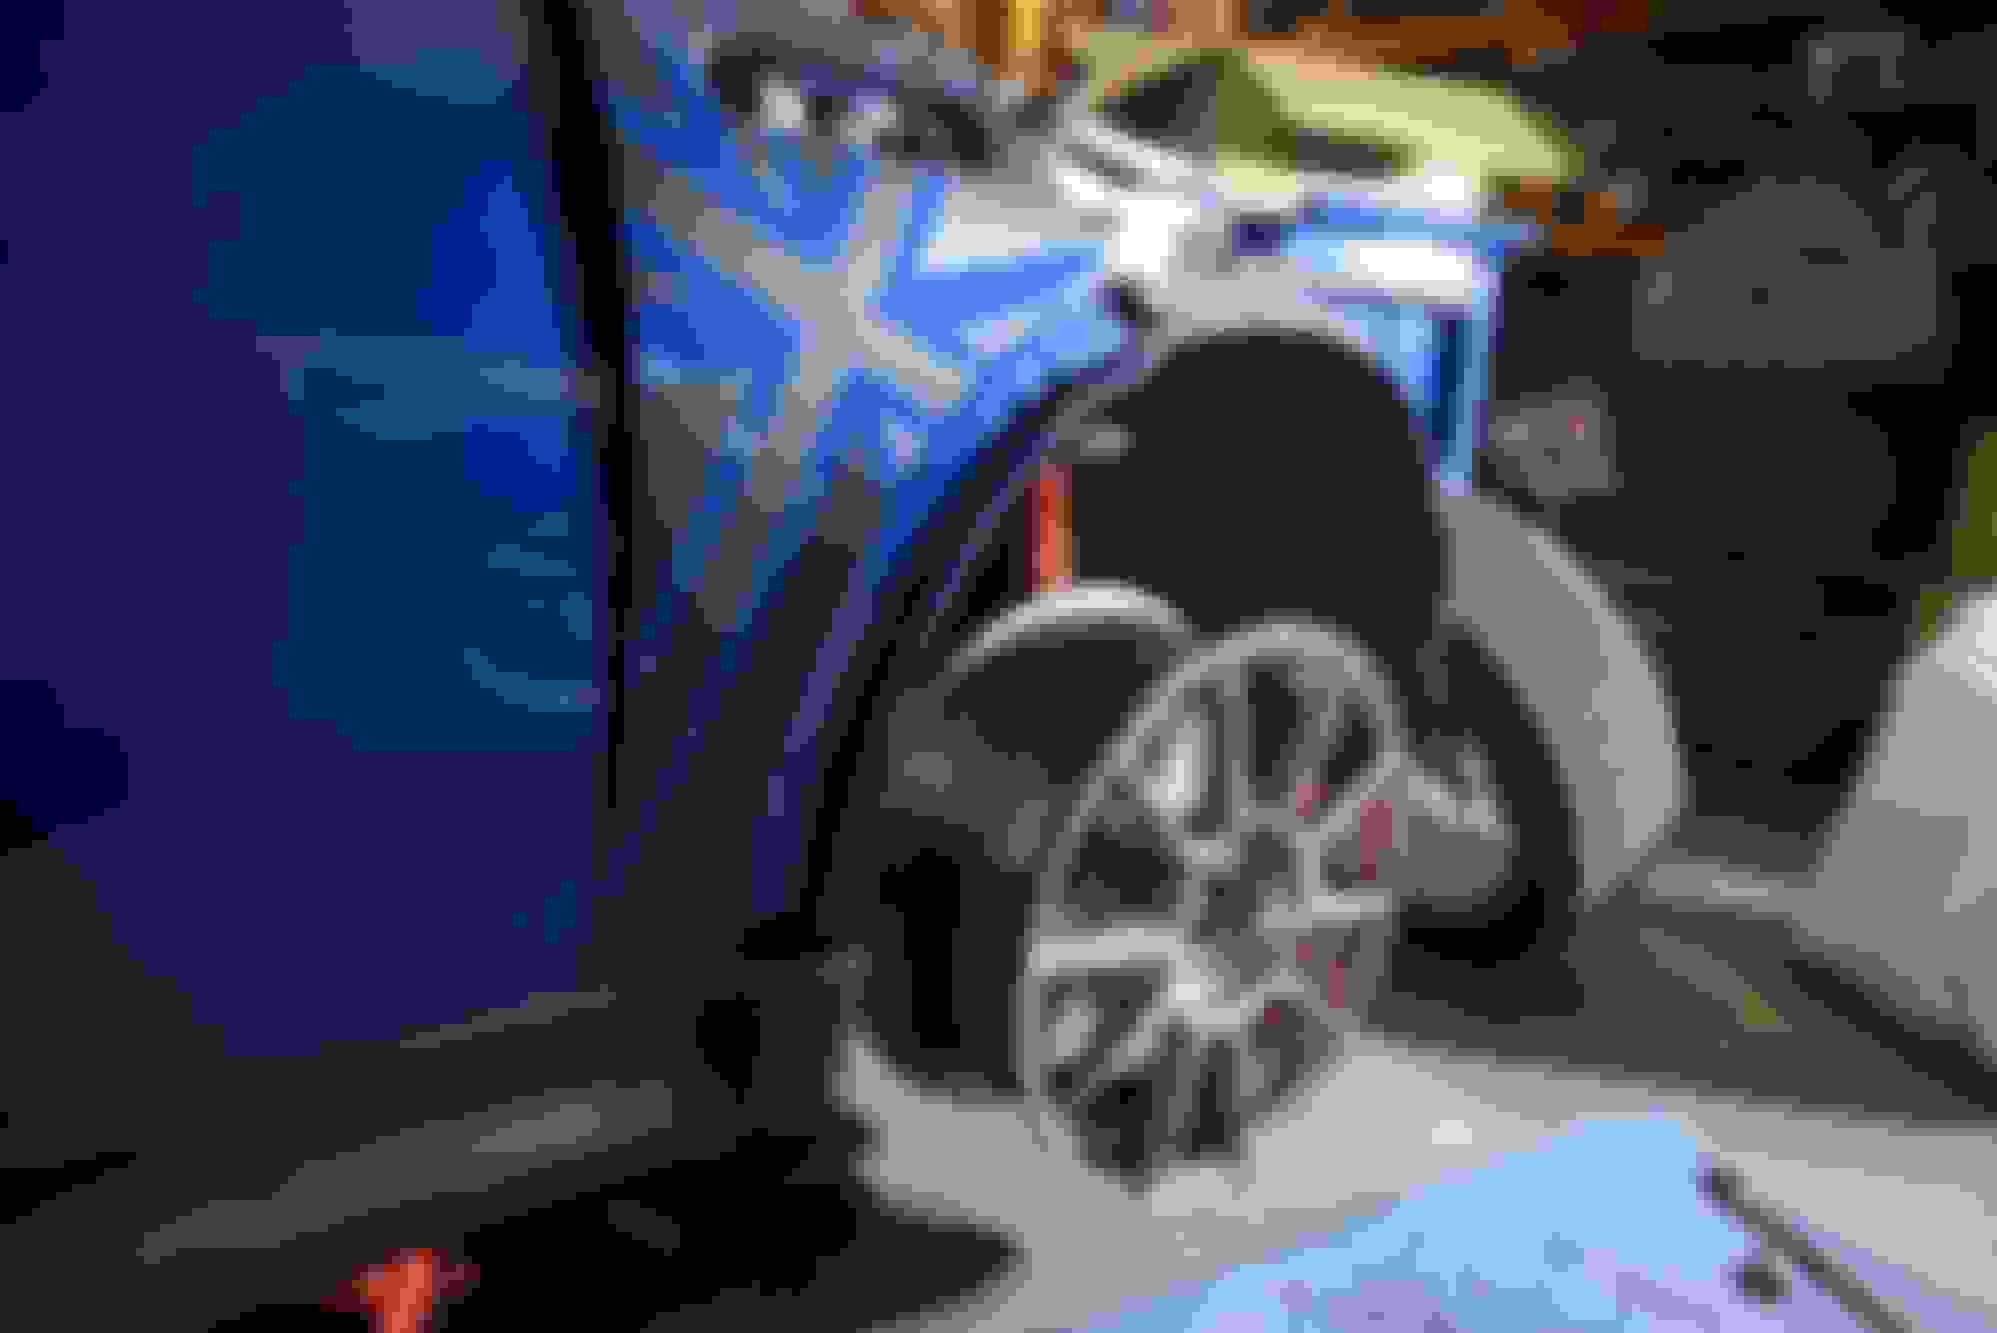
Third - these are gorgeous, Amazing finish. Cannot wait to get this mounted up! Probably won't happen until after I get the paintwork on the front panels done - perhaps late next week depending on what the weather is going to be like next week. I don't want to spray if it's going to be too windy, too hot, or too humid. Stoked! With this addition, my spreadsheet (based on the published curb weight for a sunroof car) indicates I will be 160.8lbs ligher than stock, or around 2517lbs.
Like the color a LOT. These will blend with the IB/matte black look with the stock exterior chrome trim wicked good (yep, I'm a M*******). They look great with the @ECSTuning titanium wheel bolts just about perfectly too.
As promised, here is the weight of one of the SSR GTX01 wheels in 17x7" 42mm offset as measured by my postal scale... just about as advertised.
Damn glare. Reads 17lbs 1.4oz.
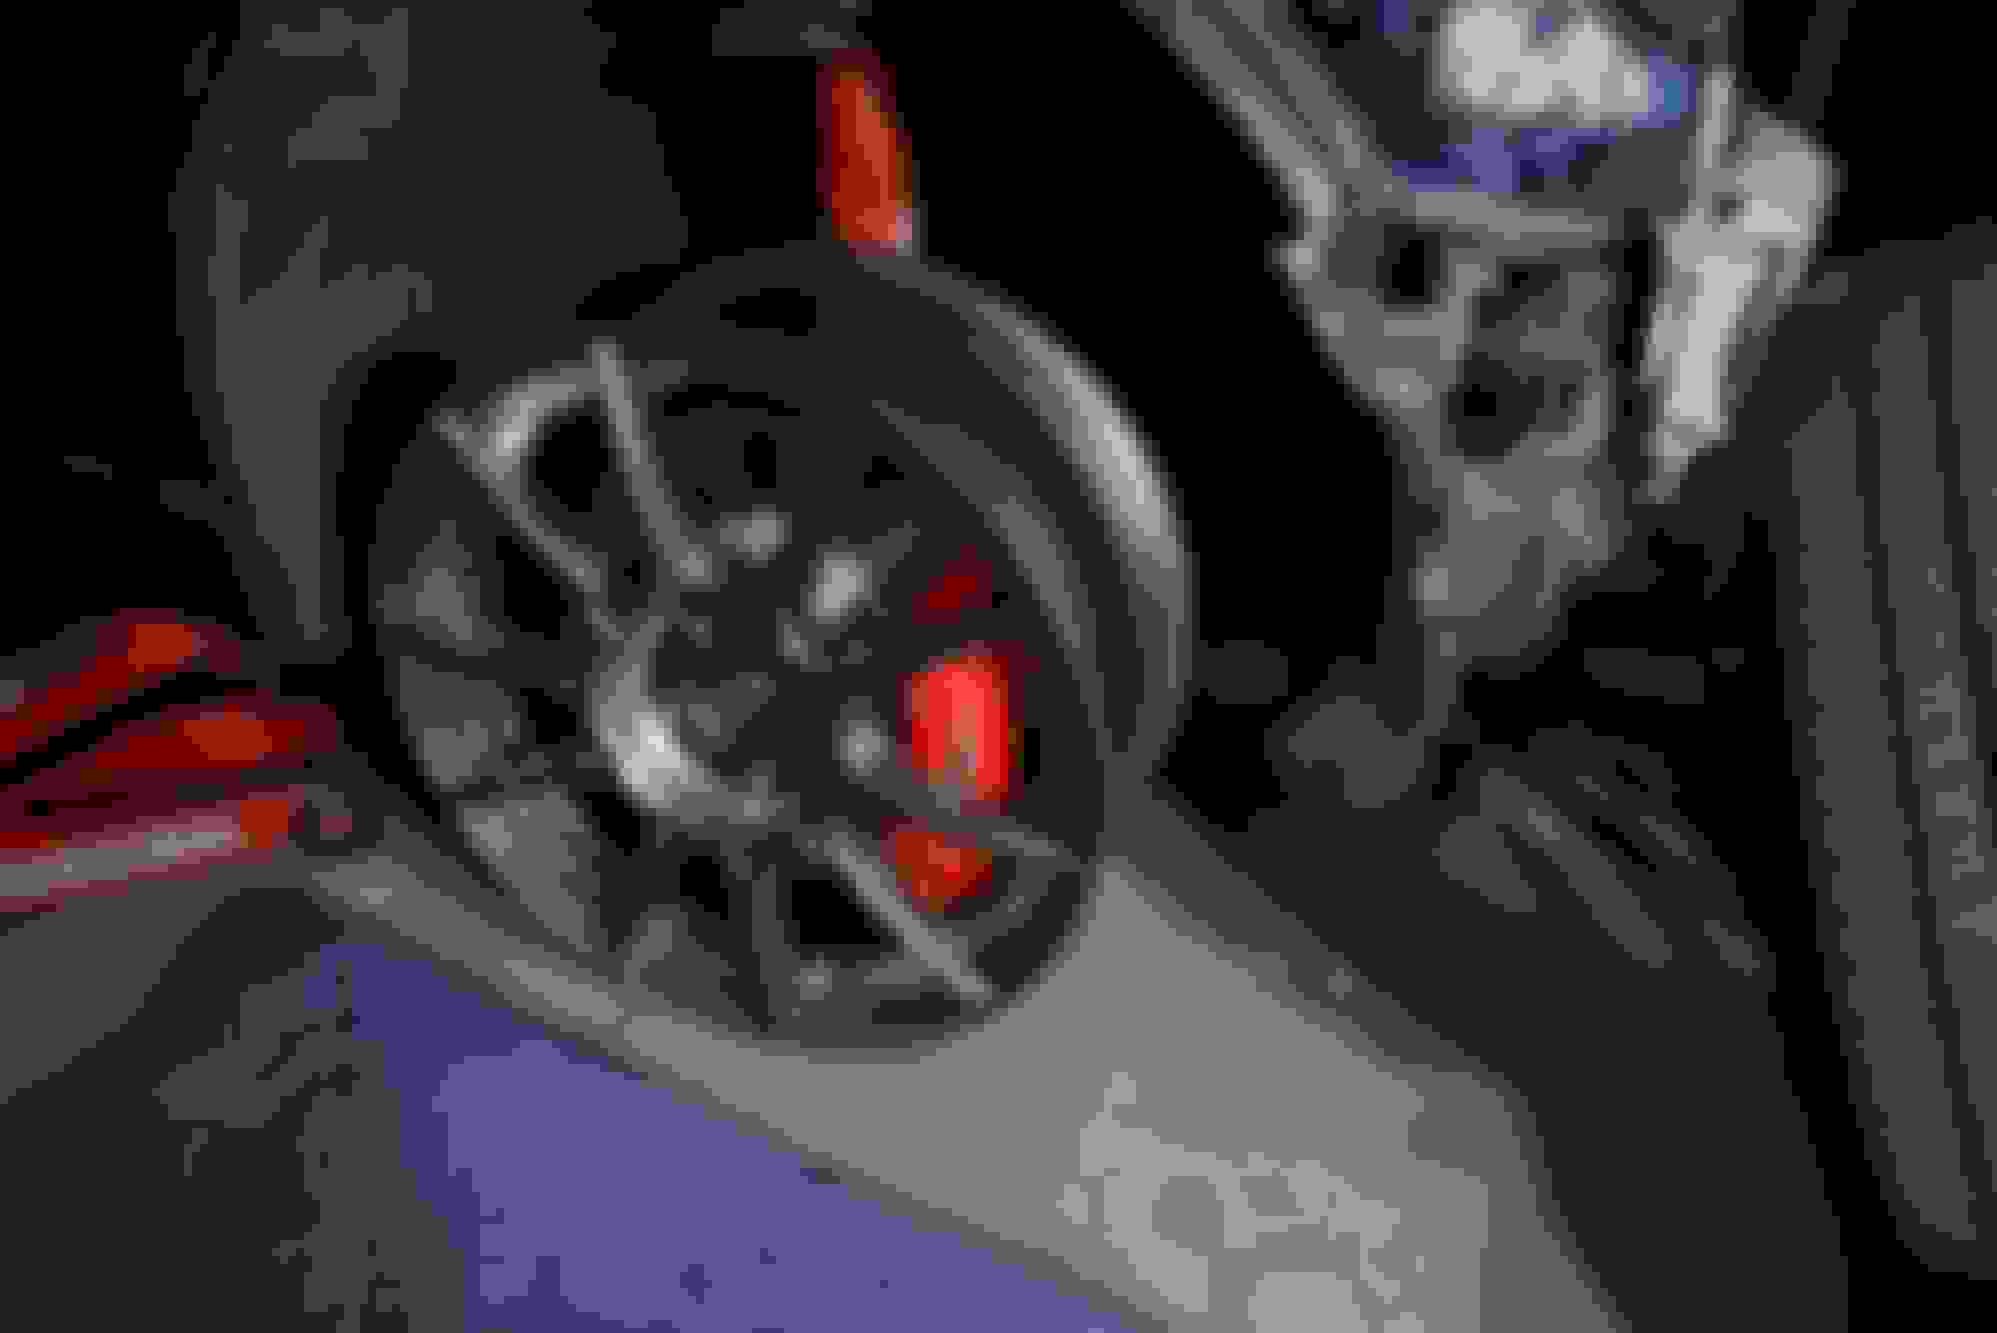
Last thing to report on from the trial fit is the clearance for brakes. Yeh. No worries there... my big sausage finger between the caliper and the wheel web.
This morning I got up nice and early, and set up my make shift paint booth. I used a 10x10 pop up shelter, with a cheapo set of window sides from Amazon. It was a PITA to set up (not the pop-up, but the sides) and I ended up duct taping them to the legs and to the garage floor. My garage is too short to allow the sides to go up, but the center has plenty of height and spraying my three panels was no problem in the space. In one window I had a box fan blowing through spun furnace filter material. Was too windy to set up in the driveway today, but the temperature and humidity were perfect.
Today was just the sealer. I used an Aeropro A61 - which is the new version of the R500. Just a fantastic piece of gear - super easy to adjust and flows fantastically well. For (I think) all of my materials, I am spraying around 24psi with a full fan and fluid about 3 turns out from closed. I have my tank regulator set at 60psi, which keeps the pressure at the gun steady at 24 after letting the initital burst out of the gun at half trigger (air, but no fluid). All panels were cleaned with water based cleaner and degreaser first, allowed to dry for 15 minutes, then hit with clean air. Then the panels were cleaned with solvent-based cleaner prior to another drying and a final tack ragging to get rid of any dust on the surface. The bumper got a 3M disposable sponge of adhesion promoter on the areas of bare plastic just before I started on the hood.
My very first panel was the underside of the hood. I was definitely nervous, but also pretty keen. Checked the pressure one more time, and then dove in with the edges and all of the cutouts from multiple directions to get some sealer up under there. Then the inside of the headlight cutouts and then I dove in to the panel doing half (one side) and then the other. Looked it over when I was done, and it looked great. Then on to the cowl and bumper with similar results. Great coverage, tried to maintain 75% overlap, consistent distance and speed. I let it all flash for 20 minutes and then went to check my work. Hood looked great, cowl too, but a couple of runs on the bottom edge of the bumper. So will be blocking that out. Put a second coat on everything and after another 20 minutes, went out to turn the hood over to start on the top. Put two coats of sealer on the hood. Came out great!
Hood after two coats of Tamco Forever Seal.
Good product - has great coverage and came out silky smooth. In exactly the right light, I can still see a bit of a subtle low spot where my repair work is. Not sure if I am going to address it or not. It's very tough to see, but the clear coat gloss might make it stand out a bit more, so I probably will put one more thin coat of glaze on there, dunno yet.
Cowl and bumper after two coats and a good single coat on the cowl underside.
Bumper and cowl came out really great too. Not a single fishey in anything - pretty stoked about that. The one run on the bumper bummed me out a bit, but I can block it out and put one more thin sealer coat on the area if need be. This sealer is sandable, so no issues with that.
UGH - the runs!
I have a set of soft rubber blocks, but need to pick up a hard block for blocking this area out - just want to knock down the highs and leave everything else around it with 600 or 800. I think I'll order one of the Tolecut starter sets off of Amazon or eBay - wherever I can find it cheapest. I hear those blocks are nice hard rubber and the sanding films that come with are really very good.
One thing that worked really great - my air filtering system worked awesome. Oil/water separator/filter --> air dryer --> 5 micron filter. Nice clean air and no fisheyes. One thing that didn't work so great - the compressor kicked off twice. Not sure what is going on there, but need to get that figured out before spraying again. Good thing it had a nice big reserve of air, and good thing this gun only requires 3.5 CFM of air. All-in-all, my first experience spraying automotive paint (not out of a can) went off mostly very well. Not going to do base and clear until I have had the chance to block out the runs and have diagnosed the compressor issue.
Its great following along with your work.... and thank you for putting all the time and effort into your posts and photos.
Take a look into these blocks (my 2�).... much better than any of the rubber blocks on the market... I use them in my work on classic wooden boats and in my own car work... they truly do make a difference in the final product.
Years ago I tried my hand at this sort of thing, much like what you are doing. At best it was just ok. I can appreciate the effort this is taking.
So, nicely done!
Originally Posted by jcolletteiii
�.
One thing that worked really great - my air filtering system worked awesome. Oil/water separator/filter --> air dryer --> 5 micron filter. Nice clean air and no fisheyes. One thing that didn't work so great - the compressor kicked off twice. Not sure what is going on there, but need to get that figured out before spraying again. Good thing it had a nice big reserve of air, and good thing this gun only requires 3.5 CFM of air. All-in-all, my first experience spraying automotive paint (not out of a can) went off mostly very well. Not going to do base and clear until I have had the chance to block out the runs and have diagnosed the compressor issue.
Maybe the motor is tripping out on thermal overload? Not much else that will make a motor quit, especially if it restarts on its own. This could be that the motor is being overworked, or the line voltage is low. Maybe try setting the on-off pressures 10 or 20 psi lower. Just my 2 cents�
It will be interesting to read what you find out�.
Its great following along with your work.... and thank you for putting all the time and effort into your posts and photos.
Take a look into these blocks (my 2�).... much better than any of the rubber blocks on the market... I use them in my work on classic wooden boats and in my own car work... they truly do make a difference in the final product.
Thanks! I spent some time on their site and those are definitely some different looking blocks! I like the 'Cadillac block' that requires two people to use! If I were going to go into this field as a side gig (which I am definitely NOT interested in doing, I think I would definitely look into those. My hard rubber larger blocks do a really good job with large flats and even gentle curves, but I am looking for a small hard block for stuff like runs and dust nibbing, and they make only large ones... at least that I could see.
Originally Posted by Eddie07S
Years ago I tried my hand at this sort of thing, much like what you are doing. At best it was just ok. I can appreciate the effort this is taking.
So, nicely done!
Maybe the motor is tripping out on thermal overload? Not much else that will make a motor quit, especially if it restarts on its own. This could be that the motor is being overworked, or the line voltage is low. Maybe try setting the on-off pressures 10 or 20 psi lower. Just my 2 cents�
It will be interesting to read what you find out�.
Thanks! I *think* it may have been the extension cord. My house was built in the 1950's and that older wiring is not as robust as modern wire - so that may have something to do with it. I do need a short extension, so I plugged a smaller gauge and shorter one in and that seems to have done the trick. I need to put some cycles on it and test whether this did the trick or not.
I was a bit nervous with the sealer being the first time I have ever painted a car, but I have rattle canned a lot and it wasn't too bad. I got a bit of dry spray I had to block out and a couple runs on the bumper that I also blocked out. I'm not super nervous about the base coat because it's so thin, but man am I nervous about the clear. There is always blocking and buffing, but I really want that 'right' amount of orange peel to look OE.
...My hard rubber larger blocks do a really good job with large flats and even gentle curves, but I am looking for a small hard block for stuff like runs and dust nibbing, and they make only large ones... at least that I could see.
I guess it couldn't hurt to sacrifice one of your large blocks and cut it in half or to the size you desire? ....After all you know where to get the larger blocks if needed.
'got a bandsaw?
Thanks! I *think* it may have been the extension cord. My house was built in the 1950's and that older wiring is not as robust as modern wire - so that may have something to do with it. I do need a short extension, so I plugged a smaller gauge and shorter one in and that seems to have done the trick. I need to put some cycles on it and test whether this did the trick or not.
’50s wiring should be ok. May actually be better than today. All USA made copper. But, 14 ga which is good for 15 amp.
If the motor cutout issue seems to be the extension cord, then the likely culprit is starting current. Motors draw a huge amounts of current when starting which heats the motor. If there are losses in the extension cord, then line voltage drops when the motor starts and the current goes even higher. So reducing the amount of voltage drop when the motor starts will reduce the heating of the motor. If you continue with motor cutout issues, see if you can find a short 12 ga extension cord. I believe I have found them at one of the big box hardware stores. (HD maybe). Or take a longer 12 ga extension and cut it down. Just make sure you correctly wire the replacement plug.
Also, make sure the socket it plugged into is staying cool. My test is if I pull the plug right after something is running, I should be able to pinch the prongs with my fingers and hold them there with no issue. If not, replace the outlet with a new heavy duty one. Those connectors in the outlet can be a source of voltage drop also.
Today was the day - or to be more precise, the first day.
It didn't start out great. Spilled about $50 worth of mixed IB paint on the floor, still having intermittent cutouts on the compressor. I got a 25' 12 gauge extension yesterday, and that didn't do the trick. I think it may be either due to the hose air conditioning being going when I am painting drawing too much current for the old circuits or the pressure regulator on the compressor. But I found ways to work around the compressor issue for now.
Painted the back side of the hood and cowl panels first, and was a bit tricky getting the material on the panel correctly because of the very dark color and being hard to see the wet edge. I definitely was putting too much material on or not moving quickly enough because I got one area of wrinkle - an indicator of too thick a coat. So I need to sand that area down tomorrow, re-base, and then clear the whole underside of the hood (and the cowl).
OUCH!
The cowl panel came out fantastic. The base went on well, not too much dust, but I really tried to keep it down - I had air filtration along one side of the garage, an industrial exhaust fan blowing overspray out the far window, and I wet the floor down prior to spraying. It all worked pretty well. I will have to nib out some dust particles, but not that many. I wanted to let the clear set up pretty good before hitting the underside with clear. That will be the first thing on the agenda in the morning.
Just the right amount of peel. Looks OE.
The top of the hood came out really pretty great. There is one area with a bit of dry texture, so I will need to put a third coat of clear on tomorrow. I thought I checked it all really good with my light too!
Oh so smooth!
The bumper had one spot that I was a bit worried about with the base coat. There was a bit of reaction on the part that comes forward from the engine bay - I cleaned it really well too, but a second light coat sealed whatever reaction was going on. That area did have a bit more texture in the base than I wanted, but clear can cover some of that, so I went ahead and sprayed two coats of clear on the bumper cover, and for the most part, the texture evened out. It has just a smidge more texture than an OE finish, so I will be wet sanding the bumper before buffing to cut down on the texture a bit. I think it will be mostly that upper edge than I need to wet sand and buff - the texture on the rest came out great! Coupe of dust areas to nib out, but no biggie.
Overall, a great first experience, and I am very happy with the results. Didn't see any edge buildup, not a lot of garbage to nib out, and other than the two areas of reaction (both my fault) pretty smooth and glossy. The hood and cowl really do look fantastic - except for that one dry area. Will make sure to eliminate that tomorrow!
The color match is pretty spot on - which is somewhat surprising for paint that has largely sat in the sun for two decades. The Tamco paint does have ever so slightly larger metallics, but you have to look close to see them. I am very impressed with the Tamco products - that clear flowed on like water on top of glass - the clear was much easier to spray than the base was by a mile. Much easier to see the wet edges and it just laid out super flat.
Today was going to be a scuff and third coat of clear. Most base and clear coat finishes have a limited open time - the maximum time between coats until you have to scuff or sand before the next one. Tamco base has an 8 hour recoat widow, and the clear does not specify in the dataseets. So, I needed to scuff the clear just to be safe and I had to sand down that wrinkled area. So I did that first. Turned the panel over and sanded to 320 on that spot. I hit metal in a couple of places, so Upol etching primed it, and it started wrinkling again. I cleaned before priming. So, hit it with 320 again down to nearly all metal there. Water based degreaser and then solvent based final wipe, dried and then it took a coat of the Upol. Phew.
Turned the hood back over and looked at it good. One dry spot by the front passenger headlight. Looked at the bumper - a bit too much texture for my liking and didn't want to worry about it telegraphing through. So I spent about an hour on the bumper wet sanding 600 and then 1000. And did the dry spot on the hood with 600 wet and then the whole hood to 1000 wet for about another hour. In my experience refinishing furniture, the top coat is only as good as the coat immediately below it.
Bumper after wet sanding. Streaks are solvent cleaner drying off.
Hood after sanding.
This extra step really made a big difference in the bumper and probably in the hood as well. I cleaned everything down one more time and mixed up 12 or 14 oz of clear. Gave everything a good tack and started on the bumper. Had my headlight on as well as a good work light, and really took my time to check every area after coating to make sure there weren't any dry spots. I did find one or two and gave them a couple more passes.
I tacked the hood down again because there was some overspray texture on there - came off with the tack rag. Same thing. Took my time with the spraying - it's a big, flat, dark object with some pretty complex curves in places. It is HARD to see that wet edge. I went slowly and methodically trying to keep to 75 or 80% overlap. Did half of the hood at a time and the front all in one pass. After spraying each side, I looked for dry areas and laid down a couple of extra passes when I found a couple. Hood came out great too!
Next step is to wait for my new OEM scoop to get there. I think I have enough color for the scoop and one more coat of base on the underside of the hood. Once that is done, I can clear the underside of the hood with a couple coats and same for the cowl panel. Then I can start putting things back together.
The other thing is that I much more critically looked at the color today in the light - the Tamco color is darker. Not a ton, but it is definitely noticeable. I am not too concerned because I will be repainting the entire car with this color and it is probably due to fading over 20 years. Will make sure to document when I get the car reassembled.
Last edited by jcolletteiii; 07-15-2023 at 08:39 PM.
On a related note, I unplugged the garage fridge and the compressor has been working fine. Maybe a bit too much load for a 1.6HP motor when the fridge is on!


 06-10-2023, 03:00 PM