When you click on links to various merchants on this site and make a purchase, this can result in this site earning a commission. Affiliate programs and affiliations include, but are not limited to, the eBay Partner Network.
Great work so far. I really admire that you're taking this on and doing it so well.
Thanks! Youtube is a fantastic help for learning how to do pretty much anything. Garageoise, Paint Society, and Underground Paint King have all helped immensely and given me the info to even think about trying this.
I had a bunch of new parts for the front end following paint that have been up on the parts shelf for months. New lower lip, lower bumper trim, side bumper trims, and the entire mounting hardware kit. Today, I started reassembly.
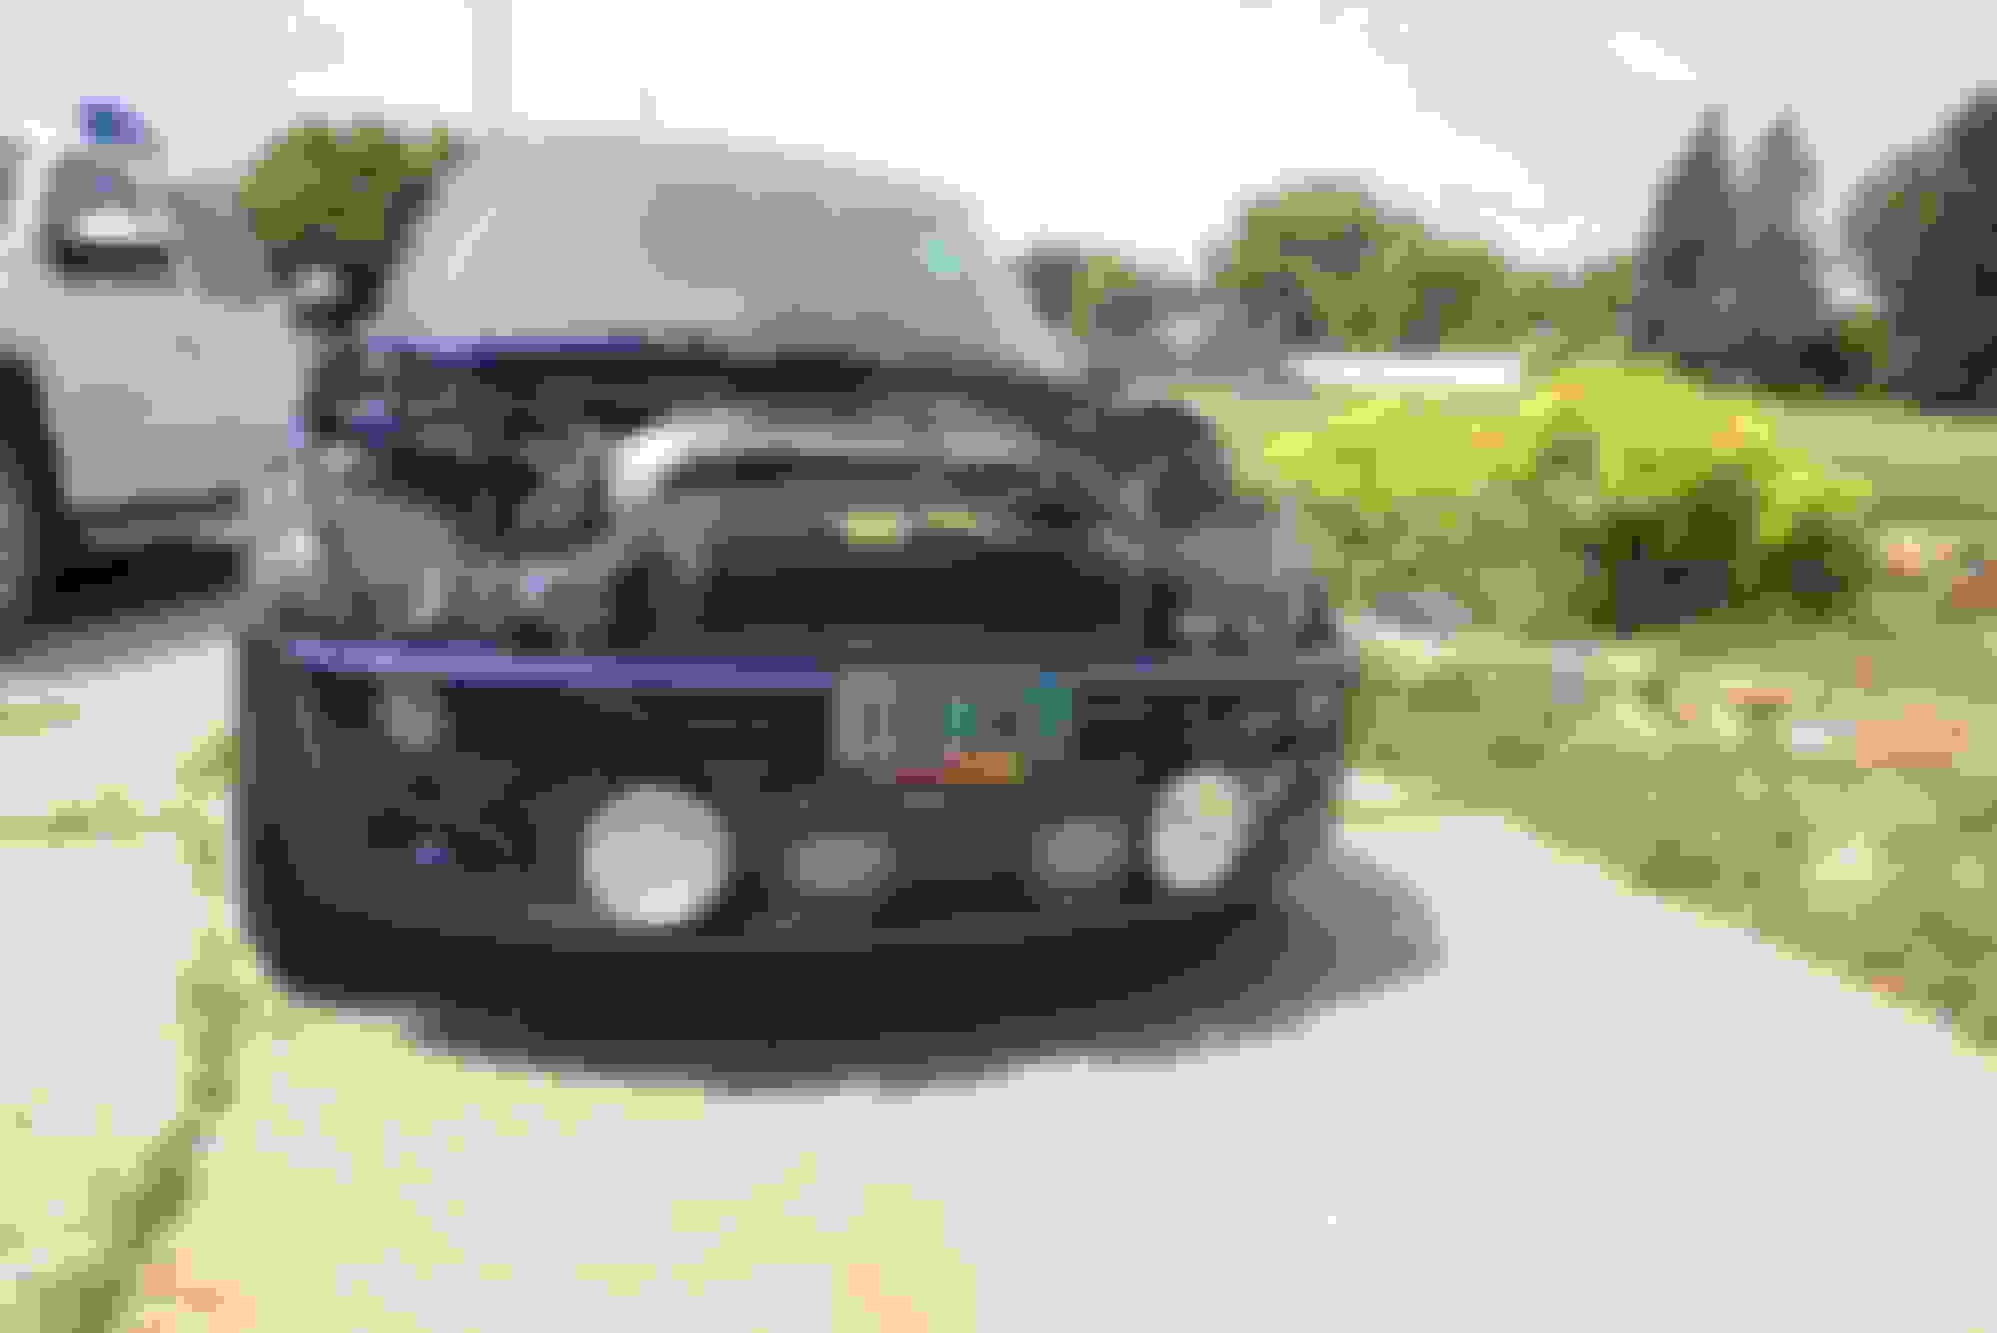
I LOVE my DIY light bar - I think it gives the front of my car exactly the right look. I like the space between the lights, like everything about it - other than mounting it. The main cross member lives in the bumper cover, and the lights are permanently wired to connectors through the lower stainless grille. So, when I took it all apart, I kept the lower entire part of the bumper cover together with the grille. Putting it all back together took a bit of time, especially because I wanted to make sure I didn't scratch anything. The bumper has so few dust nibs that I can cut and buff the small areas I need to after it's mounted.
So, had to do some templating to get the mounting holes in the right places, then drill all of the holes and then drill the access holes for the nuts on the bottom of the lights. It was a process.
But, eventually I had the lights tightened onto the bar through the new lower trim piece. The whole bar-light assembly bolts up to two thick steel brackets bolted to the aluminum bumper. It is very stable and the lights don't jiggle around at all like some aux light mounts do when you hit a bump. The grille zip ties into place using 5 holes adjacent to the rear lip of that trim piece and a few holes on the bottom surface of the opening on the bumper. It is very secure when mounted. Added the front directionals and the side markers and that's where I stopped for this afternoon. Will probably do a bit more this evening, clean the fog light lenses, and then mount it up to the car before adding the new lower lip and screwing the lower and side trims together.
Not even going to attempt to aim the lights until everything is mounted back up.
Today was finishing up mounting the bumper - started on it last night, but only go so far before my eyes got bleary and I stopped for the night. Sounds sorta like a line from a song. Anyhow, use most of the new hardware I got to mount it up. I was starting to get frustrated that the new lower bumper trim wouldn't mount up closer to the side pieces, until I looked as some pictures and saw that the gap is in all of them - spent an hour on something that is supposed to be that way. Live and learn. Once I got my light bar started on the mounting brackets and plugged all of the indicators and my aux lights back in, it mounted right up. Tightened it all down and it really does look fantastic. I counted three nibs that will need attention once everything is back together. Not bad at all!
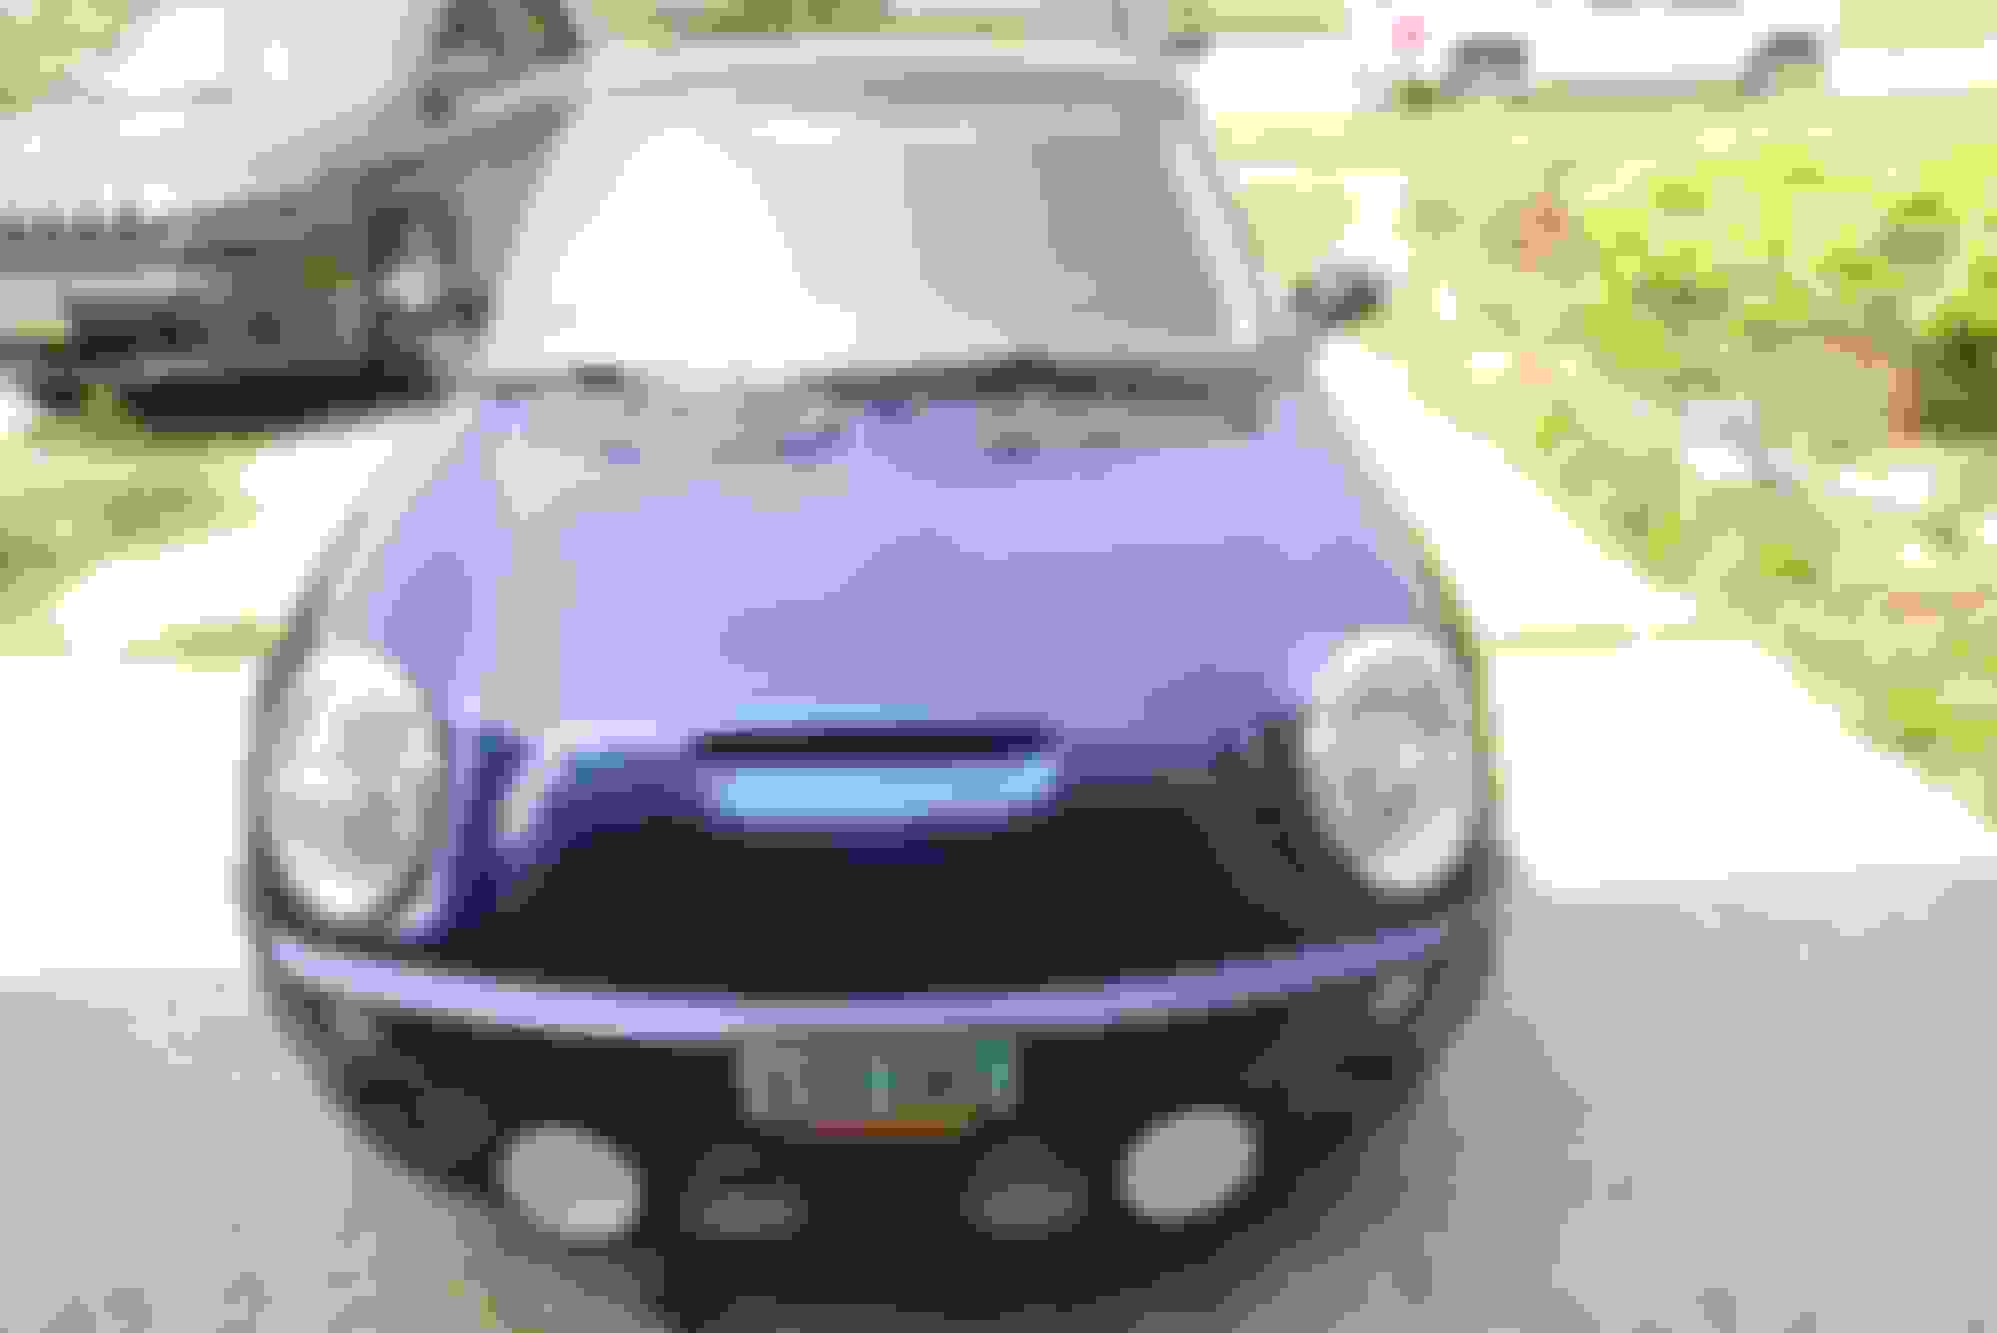
Look at that gloss!
In the sunlight, the color difference that I mentioned yesterday can also be seen. But, I am less and less convinced it's incorrect and more and more convinced it's fading. Here is the side in the sunlight - compare the side of the cowl with the scuttle and door.
Anyhow, taking a between clear coats break for flashing. The paint. The OE scoop came in today, so I prepped it, the underside of the cowl and the underside of the hood. Did the basecoat a few hours ago, and laying down the clear right now.
Yeah - Paint looks Awesome! / Nice work
Correct me if I'm wrong; I assumed you were intending on re-spraying/painting the entire car rather than paint correction?
Even so, the color looks like a pretty great match judging from your photos.
Color is definitely a good match, just documenting the very slight differences. Yep, entire care will be done in three (or four) phases.
Today is a work day, so probably not much will get done. I need to start nibbing out the dust particles and working on wet sanding a few areas that came out dry or had some overspray. Mostly dust nibs. I have a couple 6" polishing pads, but need to pick up a 2 or 3" one for tight places. And pick up some polishing compound. And I need to pick up one of those rubber wheel things for removing old 3m foam tape on the A pillars. Will be a process.
Goldmember's line was much cooler, and with an awesome 'Dutch' accent, but I started buffing parts yesterday. Spent about 4 hours nibbing, wet sanding from 1500 to 2000 to 3000 around the nibs and any rough spots on the underside of the hood. Yep, you read that right - I'm that guy. I figure what the hell - I can. So I did. Came out really nice. Using a 2 stage buffing approach after the 3000 grit - Maguires cutting compound, and Griot's polishing compound. Was looking for the 3M cutting compound locally, but couldn't find any, It's coming out really well.
I did the hood underside off the car because once the hood is mounted that wouldn't be easy. The rest of the panels will be nibbed, wet sanded and cut and buffed where needed after they are mounted back up to the car. Now I just need to start remembering where all of those little clips go!
Just ordered the front windshield trim and a couple clips from you guys - hopefully that can go out ASAP! It's the last of my rubber and chrome weatherstrips that I haven't yet replaced and you can imagine the job the windshield 'repair' people have done on those clips over the years.
Cowl and hood are back on. No pics for tonight - just got done with the rough mounting the hood. I still have my original hood gas compression shocks and they work just fine. But I lost the passenger side spring clip that slides into the socket end to hold it onto the ball. Anyone have any idea what these are called and where to possibly get one?
I'll have a look around the garage tomorrow, but I saw no hide nor hair of it on a cursory sweep.
I would go to a place like advanced auto and if theirs has the same clip and use the clip off that on your good MINI part.. These are inexpensive enough that I doubt you will find the clip by itself. Buying a cheep version of what you have may not be much more than the clip alone.
Yeah - I tried every combination of 'shock clip strut hood gas lift spring hatch retainer clip doodad' and could find nothing. I think I will do as you suggest and see if anyone has one in stock locally.
'shock clip strut hood gas lift spring hatch retainer clip doodad'
Been there; done that many times…
Everyone has to “reinvent the wheel” and make it unique so no one else’s will fit. MINI does really well at that. However, as the whole strut goes, I’ve done well with NAPA and the like.
Junkyard? Buy a used strut and use only the clip? Shoot, if you are a frequent visitor sometimes they’ll just give you little things like a spare wheel bolt, or clip.
McGyvered a solution for now. Cut the clamp side ends off of a compression type hose c-clamp, reshaped it slightly, and slotted that in to the end. Grips the ball side just fine and prevents it pulling off.
Today was a water sampling day on one of my research projects, so not much more done. Will be plugging away tomorrow. Over the past few evenings, I've managed to get the hood back on the hinges and my rough fit appears just about exact in terms of side-to-side and all around gap. I re-ran all of the spaghetti on the underside of the hood and am now tracking down all of the miscellaneous connectors that either I broke taking stuff off, or were broke from age, Mini techs or glass people - and there are a lot of little connectors and fasteners.
When I was mounting up the hood, I used several blankets to protect the hood underside and make sure nothing got damaged. Was super careful - or so I thought, but apparently there was too much bulk on one side and that sprung the hood enough under its own weight to telegraph the front edge of the driver's side hinge clearly through the sheet metal. I was so mad. I found this just as I was finishing installing all of the stuff back onto the hood. Grill, lights, all of it.
**** happens. I think I'll drive the car for a few weeks, then I'll tap that area down - no possibility of getting a dolly in that area and it's a sharp crease - PDR ain't getting this out. Sand it down to metal in that spot, fill and blend it. So, that was a real bummer.
Going to try getting my tires mounted n the new wheels tomorrow, so that is a positive.
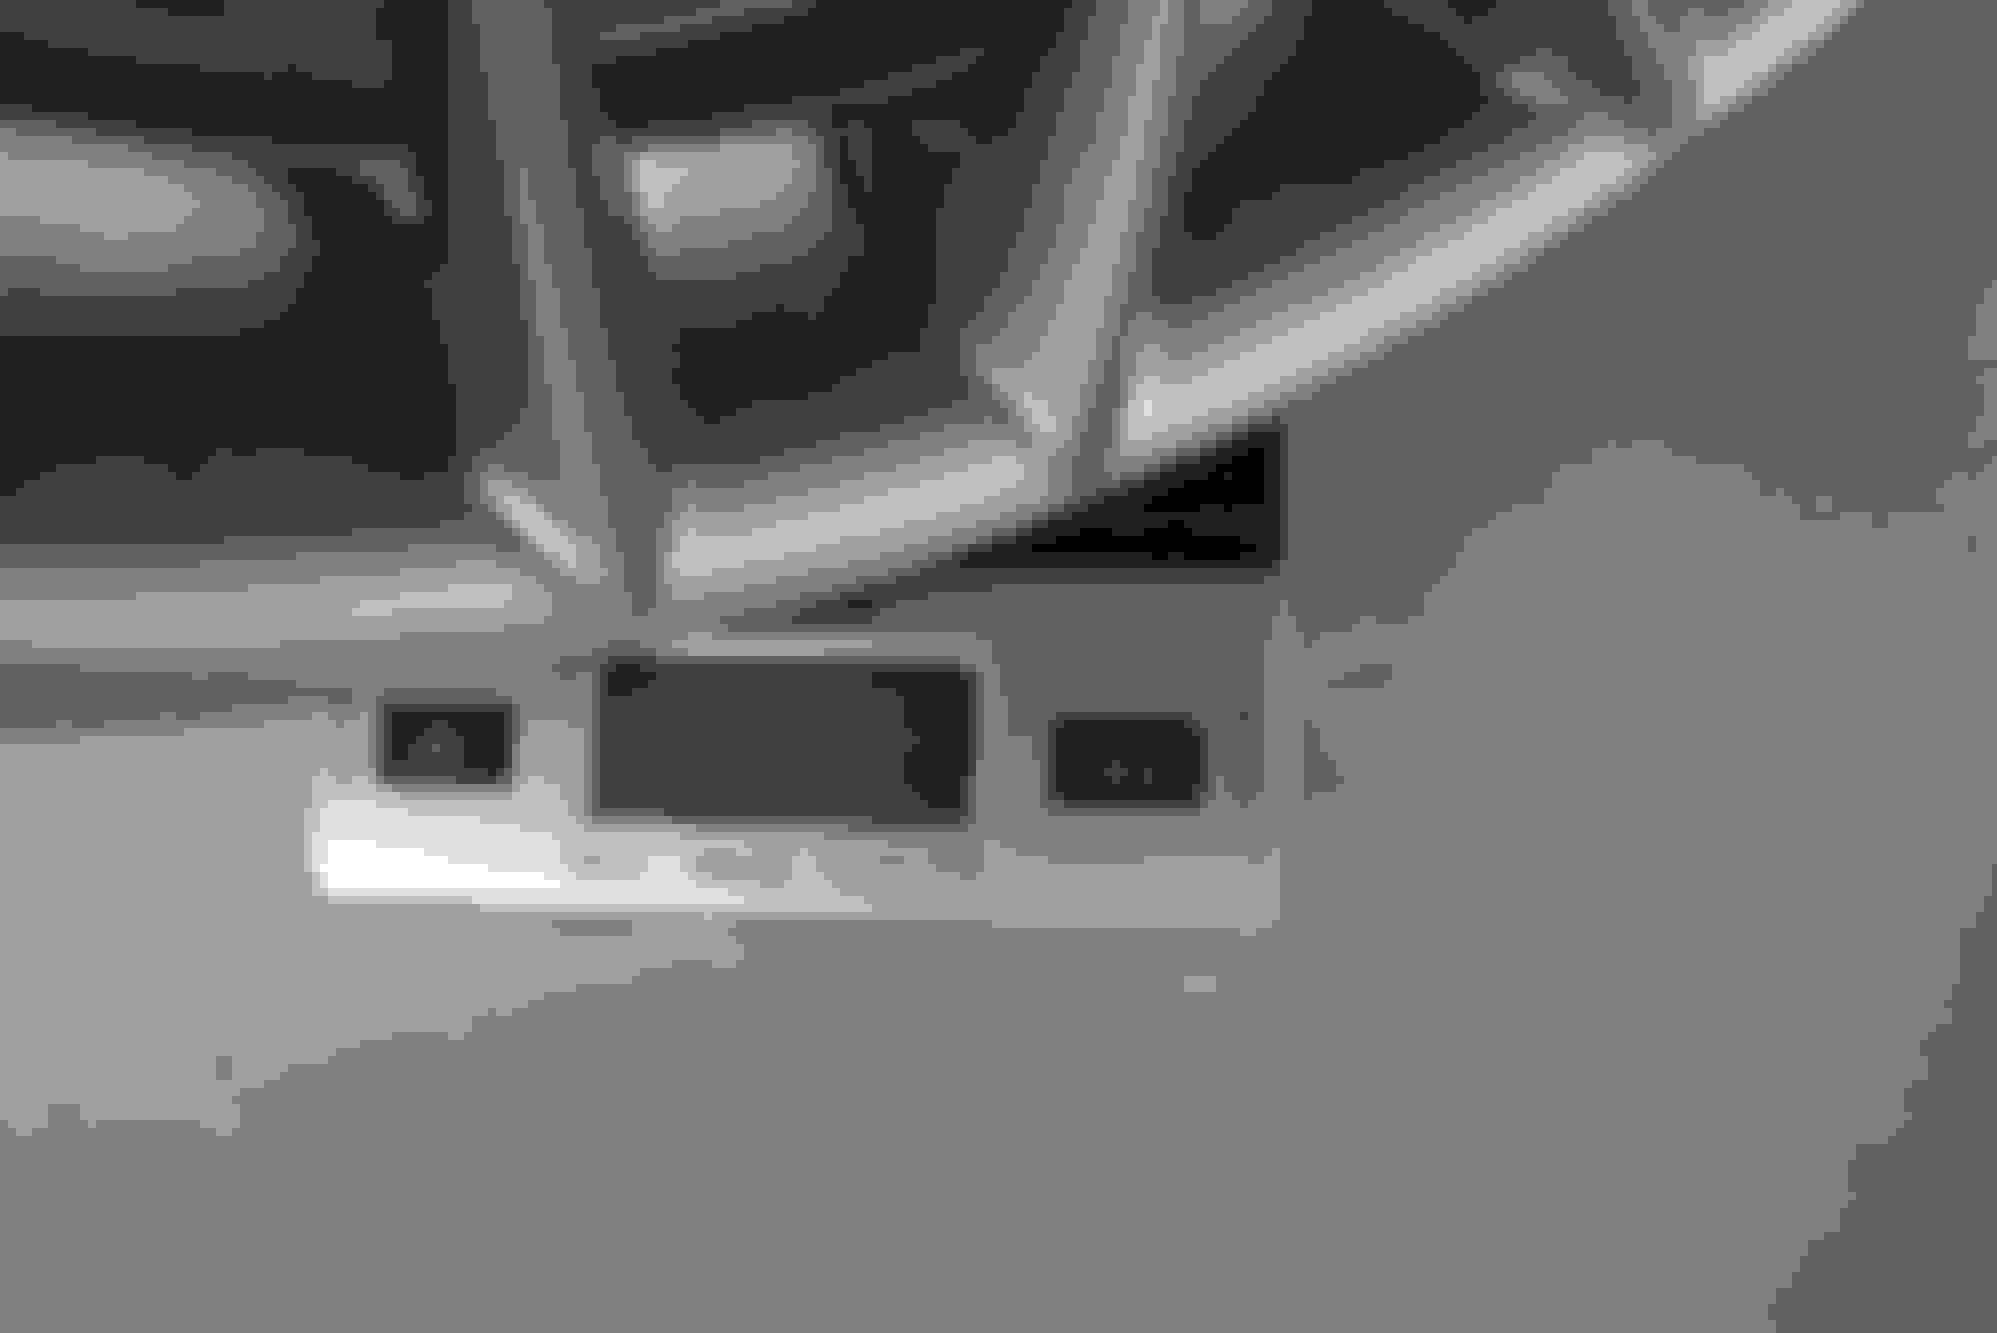
What do MINI R112 JCW Cross-spoke Wheels Weigh You Ask?
The answer might surprise you: Not as much as you think. I was expecting these bad boys to weigh in at 24lbs plus. I had 23lbs in my weight tracking database, which with the GTX-01's has my car weighing 2525lbs.
Anyhow... the proof.
Dunno why it made my picture go all sideways-ey. If you can't read the number, see below.
So, R112's tip the scales as a few ounces shy of 21lbs each, 20lbs 13.3oz, or if you're a decimal type 20.8lbs. I'm still saving significant weight at each corner - nearly 4lbs per corner (3.72 lbs). That's not bad. Some of the forged 2 or 3 piece BBS wheels in 17" weight that much, and most of the BBS cast web-types weigh over 23 lbs.
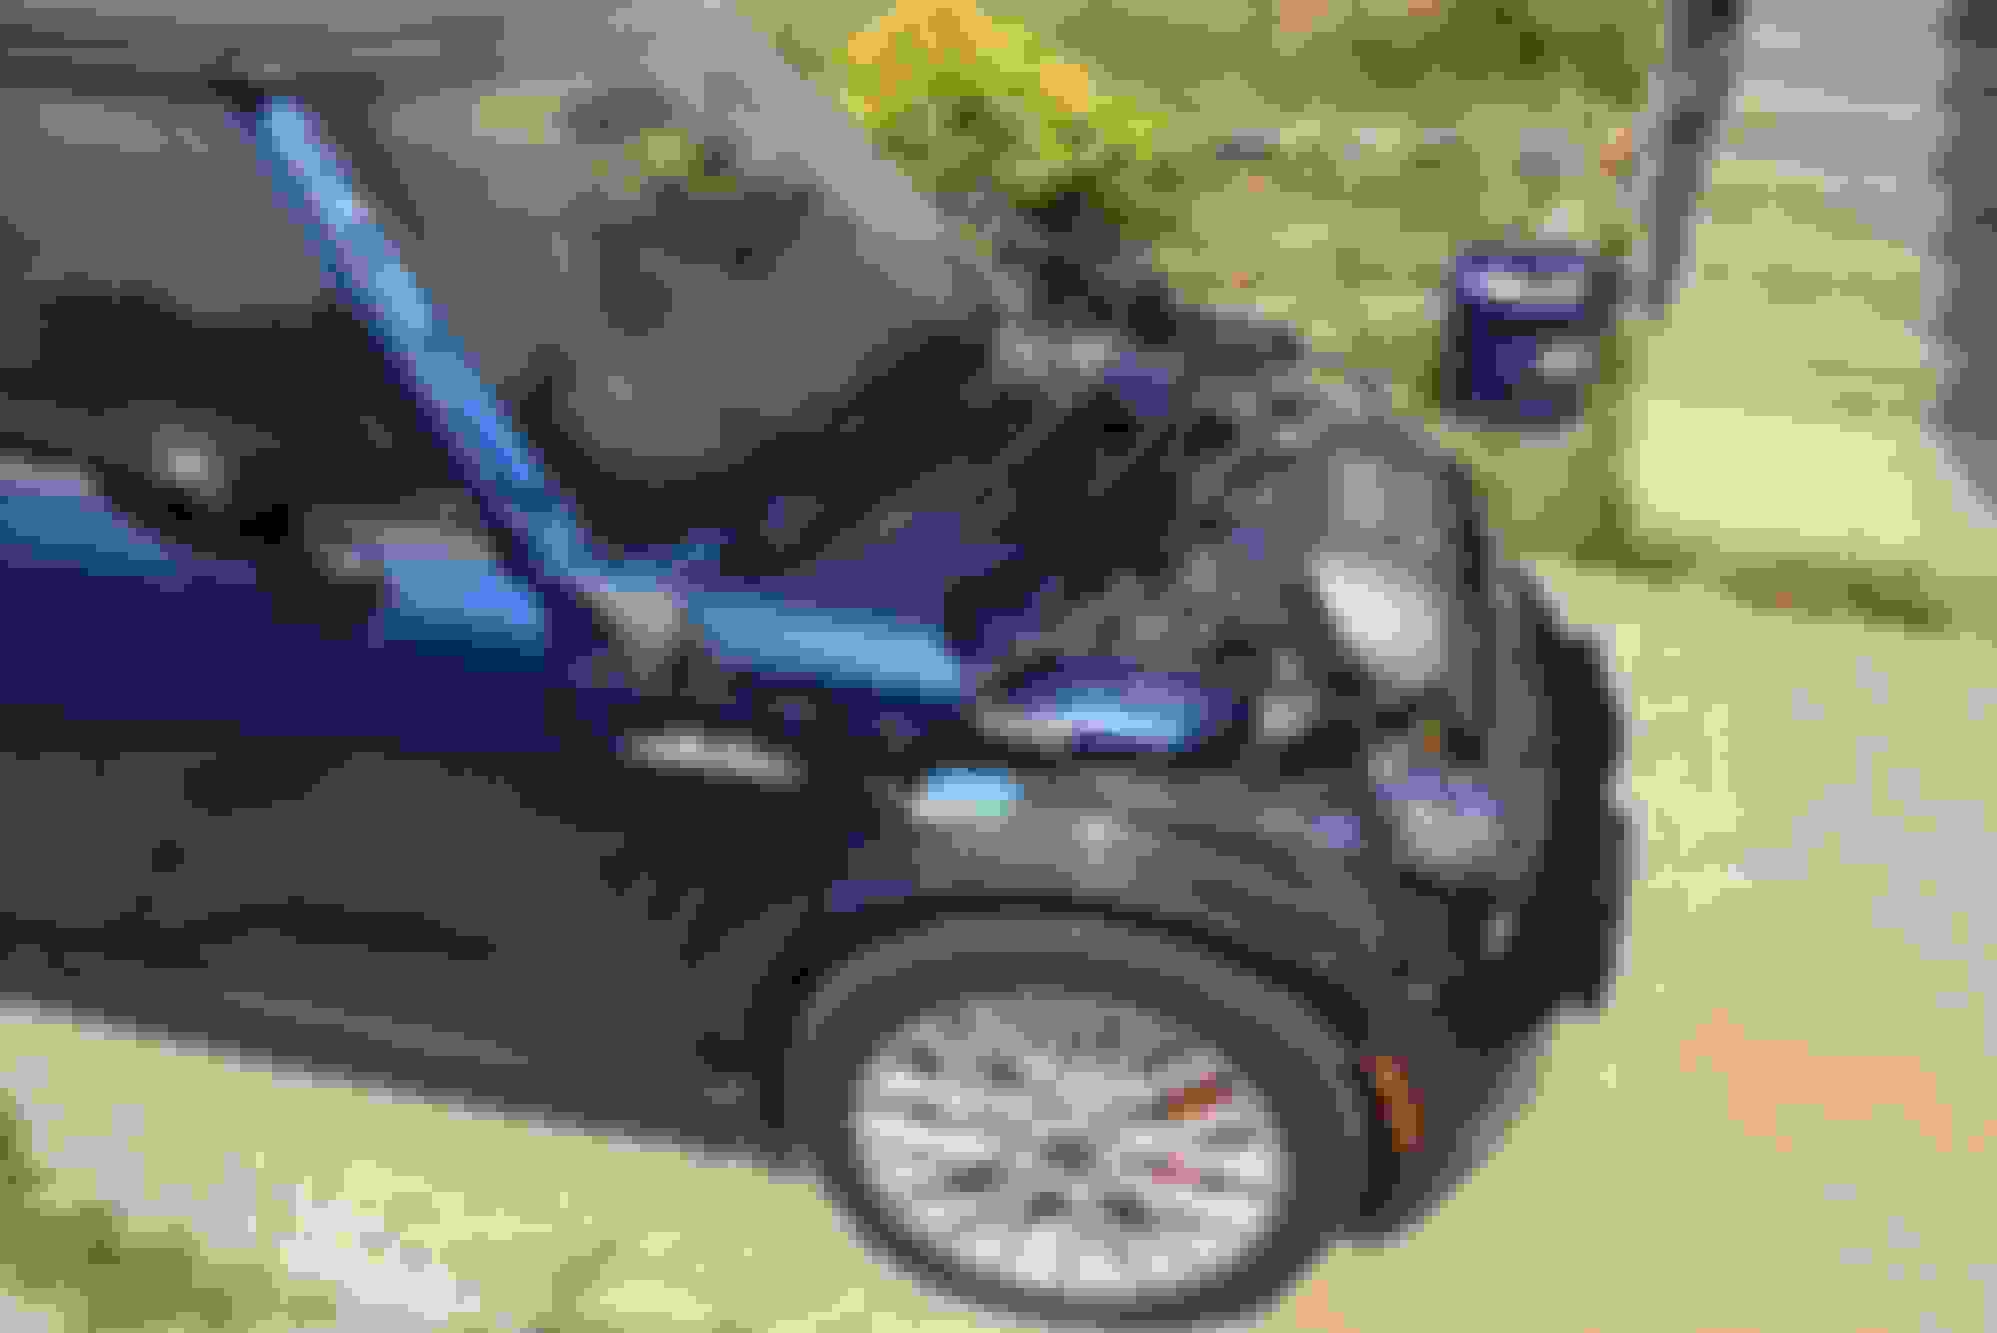
Had tires mounted on the new wheels today. Spectacular.
Still waiting on the center caps.
Can't see the offending spot on the hood from this image, but I'll give it a few pings with the body hammers to knock it down, sand it probably to 200 or 320 and feather that out a bit, do the filler work, block, sand the whole hood top with 600, seal the repair and blend it in - all on the car this time. Then fresh clear. I'm not really too upset anymore. Crap happens - gotta just roll with it. More practice honing my paint and body skills.
My guess would be that they are heavy for strength and cost.
And then Mazda can get cast wheels made for the Miata that come in at ~17lbs for a 17x7... Heck, my old 2001 Protege, the basic economy car, had 16x6 wheels that tipped the scale at ~16lbs. Minis 16" wheels are lucky to break 18lbs...
I suppose beefy wheels with nice thick barrels and webs have a pretty low likelihood of bending or breaking, and to limit liability issues caused by wheel breakage and tire deflation? These cars were sold with the same wheels in places with relatively good roads like AZ and CA, and places with a pothole jungle, like MA, NY, and IL. Makes sense to sell them with stock wheels that are bulletproof.
And then Mazda can get cast wheels made for the Miata that come in at ~17lbs for a 17x7... Heck, my old 2001 Protege, the basic economy car, had 16x6 wheels that tipped the scale at ~16lbs. Minis 16" wheels are lucky to break 18lbs...
The difference between German and Japanese sense of liability?
And, yet, the MINI 15� Holies that came on the R50s were only 11# and were highly sought after for stock class autocross.
My 17� Enkei Racing wheels for my R56 are 14.5#. My 17� OEM wheels on my JCW are like lead bricks. The 17x7.5 Sparco wheels are about 17#. So, yah, the MINI wheels make little sense weight wise.
A week or so ago, I started another thread about brake light flashers. Basically, I want to take any possible insurances that I will have this car forever, and I want to avoid anything that will lead to that not happening. So adding visibility in the land of F250's and F350's is important to me, and I really don't care about annoying other drivers (a brief rant here).
<RANT>
I understand the whole internet-facebook culture where people don't realize there is a thing called civility and that short-tempered, short-sighted, myopic trolls live in the real world and not just behind their internet-insulated, bud light miller swilling, guns and ammo, drink horse wormer but don't trust vaccines, wild west culture that is North Dakota. That being said, I don't care if I **** a driver or two off. I can drive away. It's pretty sad that I have to worry about adding a third brake light because it might offend someone. I'm an evolutionary paleobiologist (paleontologist) and I'd love to put a Darwin fish on the back of my car. But I don't - because I *KNOW* - I know this: If I did some Christian would deface my car. Have I the disrespect to do that to their car? No. Do I think religion is made up - yep. But I have enough respect to keep my hands off of other people's stuff even when it offends my personal sensibilities because I was brought up to respect other people and their stuff. The dolts who snap at a minutes notice, who can't or won't see anyone else's side of things because they lack empathy because they have been raised to think it's okay to say whatever you want because they're insulated from real reality by alternate facts can go screw. This isn't about offending them anyhow, it's about keeping the car that I love - that one of the kind of people I describe above backed into with their double ball on the back of their giant pickup truck leaving a giant dent in my hood - from getting rear-ended.
</RANT>
Okay, now that that is taken care of - I bought this third brakelight flasher that is supposed to be made in the USA from Amazon for 18 bucks shipped >
The installation documents are attached to this post in case anyone else is interested in what's involved in adding this, or what the device is all about. Super easy though. There are three wires that you need to worry about on the flasher - black is ground, red is power in to the flasher, and yellow is power out to the brake light. The white wire is used to adjust the flash rate.
What is in the box. Two male bullet connectors, two female bullet connectors, a three-way ground splice, the flasher module, and the link to the instructions I attached above.
The third brake light is held on by three torx screws from the back of the hatch. Remove those. I used a plastic body clip pry bar to break the gasket loose after 20 years of stubbornly clinging to the brake light and hatch.
Once free, the connector to the brake light gets disconnected. There are two wires - the ubiquitous brown rodent-attractant that is the ground and a striped yellow. The striped yellow is the power. Cut the pigtail that is attached to the vehicle wiring harness. I cut both the ground and power because I didn't like the looks of the three-way splice connector. Strip between 1/8 and 1/4" of insulation off of each end of the yellow striped wire and crimp a female connector to both ends (or a male, doesn't matter). Then strip the same amount off of the yellow and red wires from the module and crimp a male connector to each end. The yellow striped wire coming FROM the car wiring harness gets connected to the red wire into the module. The yellow wire from the module goes back into the yellow striped wire that is terminated in the connector to the brake light.
I did not like the 3-way connector supplied, so I just stripped a bit of wire off each end of the ground wire I had cut, stripped a bit more off of the black wire from the module and used a double ended crimp to secure them. The finished assembly is below.
Then just throw some electrical tape around the crimps, attach the connector back to the brake light and step on the brake!
It flashed much too quickly for my liking when I tried it out. To adjust the flash rate, you will need someone to step on the brake repeatedly while you ground the white wire as it is flashing. I attached some jumper cables to the battery ground point and used that. Took 10 seconds to get the rate I was after of four blinks in about a second and a quarter. Then I just put a two way crimp over the bare end of the white wire to protect it. Then back together. Total time maybe about 30 minutes - but I could not find my crimping pliers, so some of that time was searching for tools.
This will make me feel better when stopping at lights and stop signs. But, my time as a motorcyclist has trained me to always be looking in the mirrors when slowing or stopping. Still - a bit of additional visibility in the land of pickups makes me feel better.
Your rant makes the installation of the flasher understandable, and I feel bad for you that you have to live with that (part of the reason for me leaving Idaho 40+ rears ago and I am sure it is more wonderful today ). But I still don�t like them.
The intent of them is good; the application is bad. Not too long ago I was behind a person with one of these installed and he was on and off the brake every few seconds. It was dangerously distracting to me. It was continuously flashing and I couldn�t concentrate on what was going on around me, which I needed to do to avoid what the other driver was trying to avoid.
In my mind, it would be much better if these had a slight delay before flashing (couple of seconds, maybe?) on the initial brake application, then a long delay (10-20 seconds?) between brake application before it will allows flashing again. This way, in stop and go traffic it isn�t just sitting there rapidly flashing for a half hour because traffic only moves a couple of feet at a time between brake applications. That would be nuts if everyone had these. Stop and go traffic would look like a bad rock concert light show, and it would be really bad at night�.

 07-16-2023, 01:18 PM