When you click on links to various merchants on this site and make a purchase, this can result in this site earning a commission. Affiliate programs and affiliations include, but are not limited to, the eBay Partner Network.
pulses on first application for a few seconds then has a time delay of 15 seconds or so during which reapplication of brakes will no start flashing again. Have considered adding one to Alex’s JCW.
Last edited by Onizukachan; 07-24-2023 at 12:33 PM.
While I may not care for the pulsing brake light myself. - I get it.
Whether I am in front or behind - I am more adverse to "driver"s (or the lack there-of) too busy updating their FB status or watching some absurdity on TicTok on their cell phones to pay attention to the road/conditions.
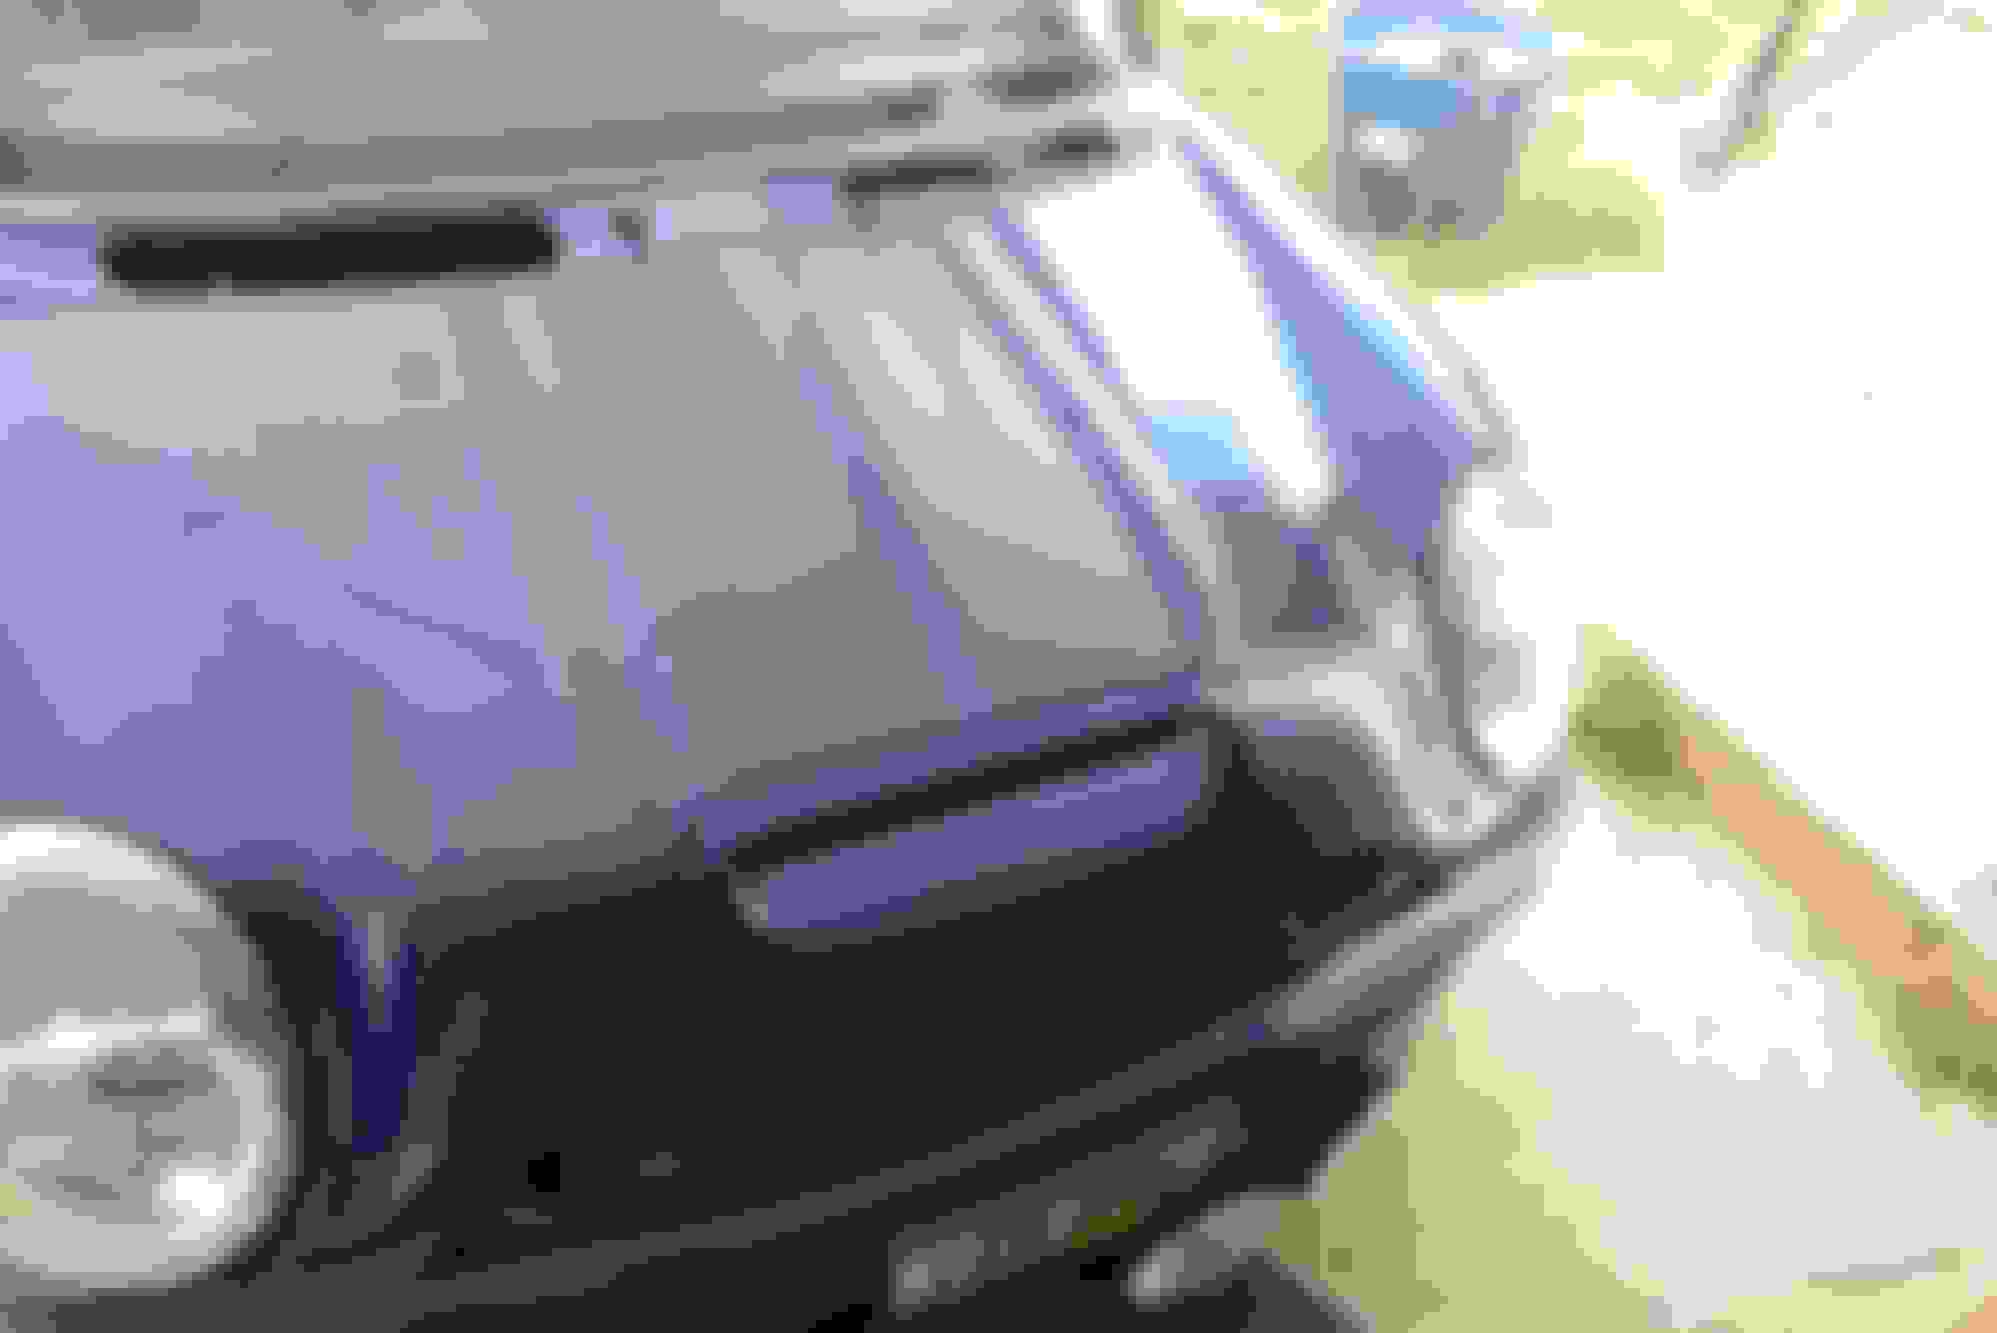
Case in and to your point @jcolletteiii....v v v
^^^pictured above: No - The damage was not caused by the wrecking yard^^^
A bit of an extreme perhaps (considering the damage caused to your hood); but this is the kind of damage that can ultimately land a Mini to it's final resting place after having an unfortunate impact with the *** end of a pickup truck and trailer hitch.
After all the hard work/ body work you put into your beloved Mini - I don't blame you for taking the added preventative measure .
After all - We all know how much "people" can't resist bulling = tailgating a smaller car. Mini's seem to be the favorite in my current metro area.
While I may not care for the pulsing brake light myself. - I get it.
Whether I am in front or behind - I am more adverse to "driver"s (or the lack there-of) too busy updating their FB status or watching some absurdity on TicTok on their cell phones to pay attention to the road/conditions.
Case in and to your point @jcolletteiii....v v v
^^^pictured above: No - The damage was not caused by the wrecking yard^^^
A bit of an extreme perhaps (considering the damage caused to your hood); but this is the kind of damage that can ultimately land a Mini to it's final resting place after having an unfortunate impact with the *** end of a pickup truck and trailer hitch.
After all the hard work/ body work you put into your beloved Mini - I don't blame you for taking the added preventative measure .
After all - We all know how much "people" can't resist bulling = tailgating a smaller car. Mini's seem to be the favorite in my current metro area.
Yep, definitely a thing. I know some people don't like them because they can be annoying. But annoying things get attention. And as far as I am concerned, in the environment I drive in, with people who think the biggest vehicle at a 4-way stop is the one that goes first? That's a huge win.
So, I ordered another half gallon of Indi Blue from Tamco last week and it was supposed to be here on Friday. However, FedEx says that when the box got to KC, te label was unreadable and they printed up a new on, and then the box went back to Virginia. I like ow when stuff like this happens, none of the carriers bothers to call either the shipper or the receiver to make sure the new label is correct. So now, the new paint won't be here until Tuesday. But, I had masked off the hood yesterday and I had a few ounces of paint left in the can... wasn't sure how much, so I measured out 1 oz of reducer and added it directly to the can and stirred it all up really well. Poured that into a paint cup, and ended up with about 2 oz of reduced paint. This paint reduces 1:1 so the ratio was good, but would it be enough...
So, the casual reader might recall that when I was mounting the hood back up to the hinges, I overextended one side and creased the metal - something I didn't see until a day later. I refused to take a photo of that because I was so mad, but believe me when I say that it was a good sharp crease the exact width of the hood side hinge end. I. Was. Mad. But, trying to let things like that go for my blood pressure and overall well-being, so I resolved to have to repair and respray the hood top. So earlier this week, I used my body hammers to very slightly lower that creased area, used some Rage filler and then some glazing compound, sanded, and re-sealed the repair. The offending spot was again, perfectly level and inconspicuous.
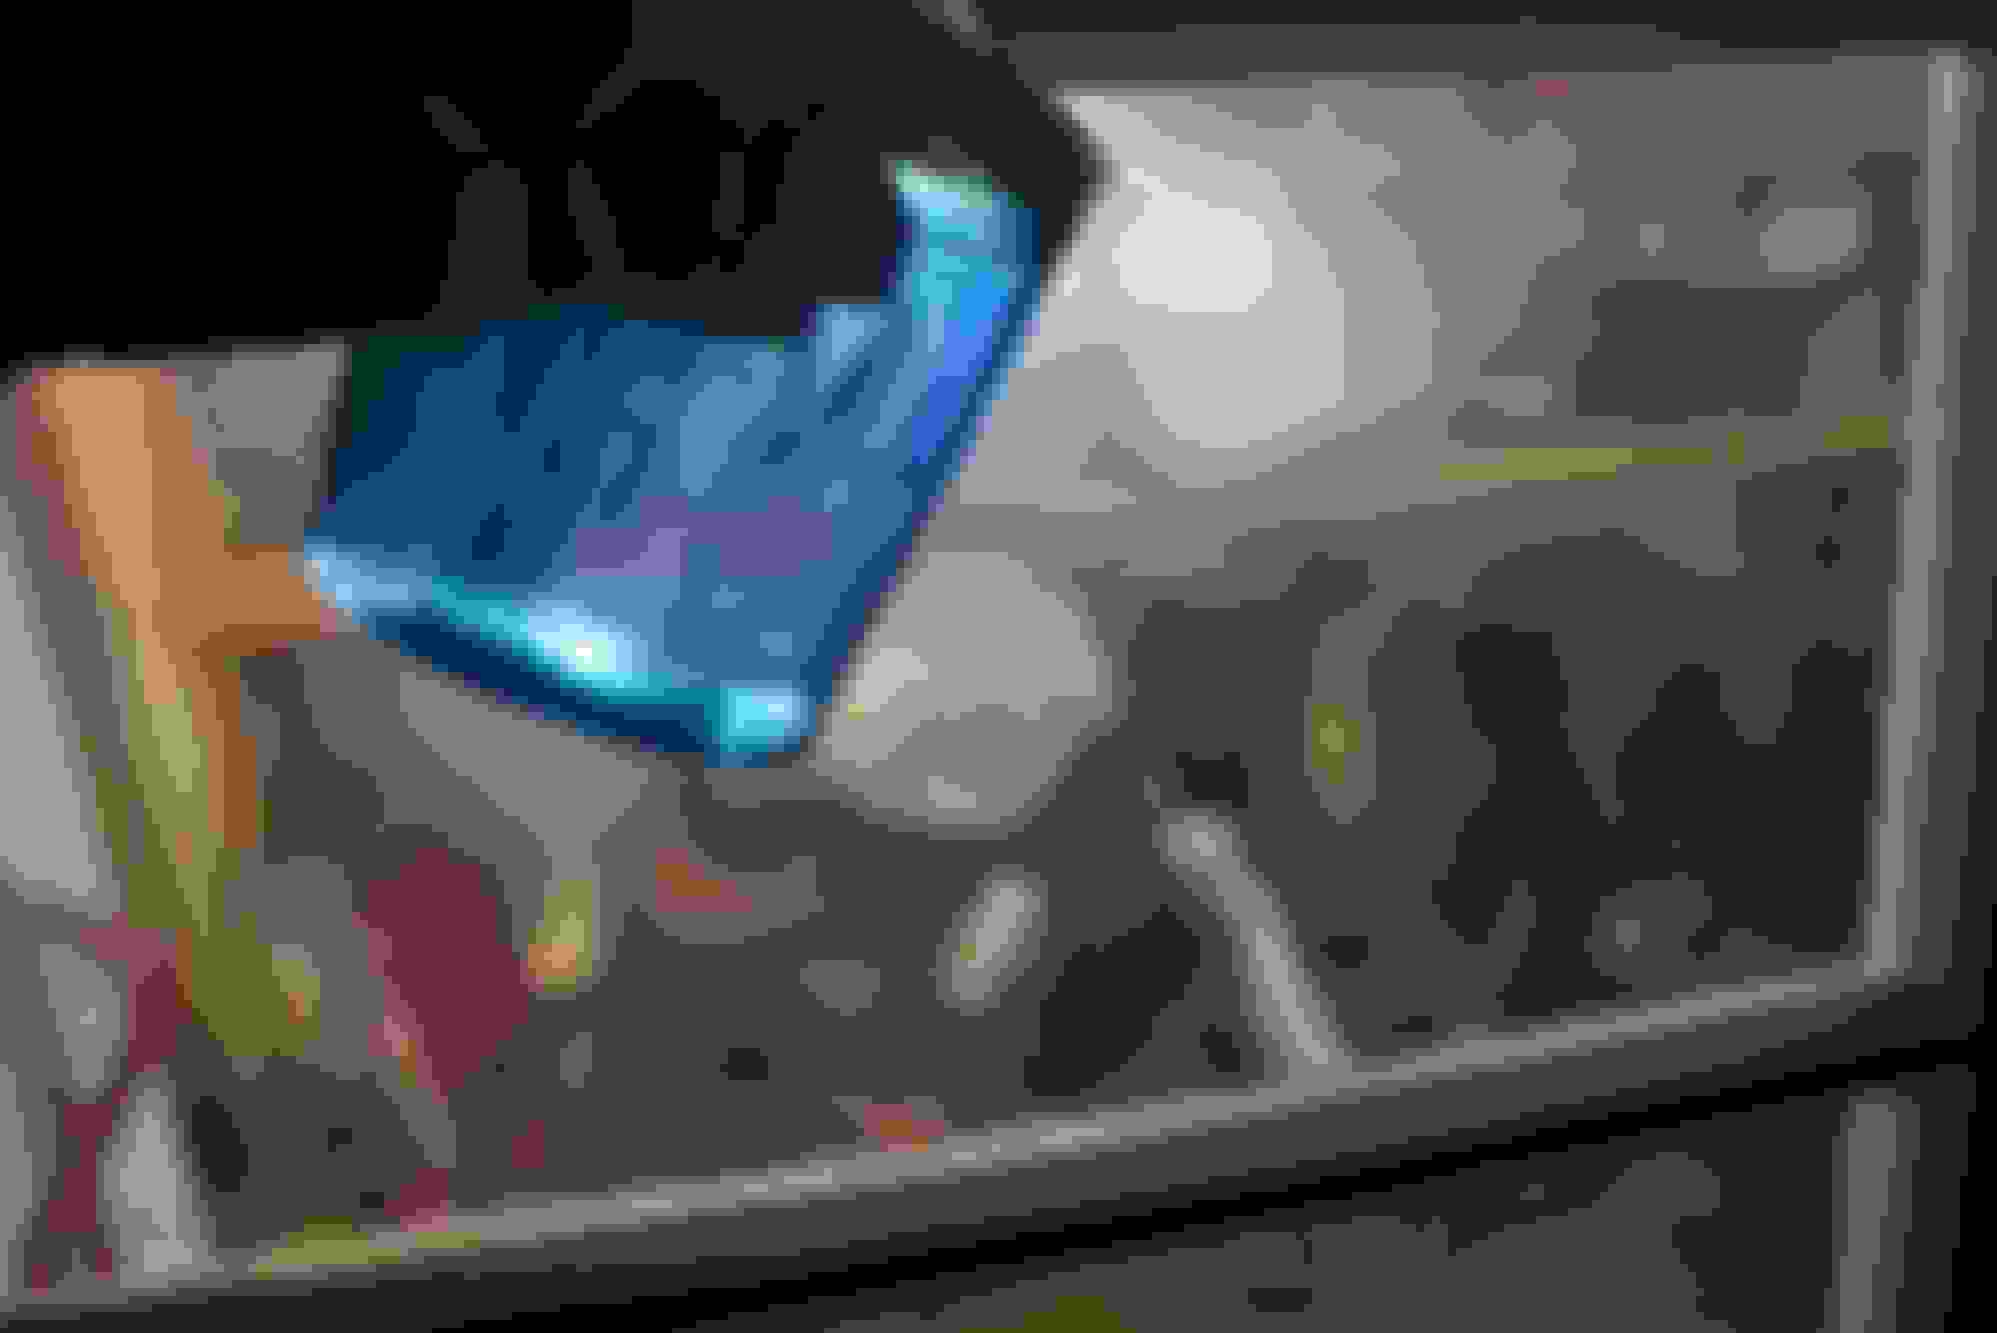
Thursday evening (because the paint was supposed to be here Friday), I back-masked, plastic-sheeted, and then top masked the hood section. I made sure when back masking that the tape was pulled away just a bit from the rear of the panel to allow some clear to wrap around the panel where I had scuffed. This morning, I bit the bullet and hoped that the 2 or 2.5 oz of paint I had would be enough! I dialed the fluid back a bit on my gun, and closed the fan pattern down a bit to minimize wasted material and overspray, and laid down the first coat over the sealer. Let it flash for a good 15 minutes and then shot a good, heavy coat a bit further out. Let it flash and then sprayed a third coat and a minute or so later, did a light drop coat to blend out into the hood just to make sure that the metallics wouldn't be detectable around the repair where they had laid differently. just as I was finishing my last stroke of my x-pattern drop coat, paint stopped coming out of the gun! It was that close!
After base. The apparent color difference is due only to the semi-gloss of the new paint after flashing laying atop the sanded and scuffed matte of the old paint.
This is all that was left in my paint cup liner after spraying the patch and blending. PHEW!
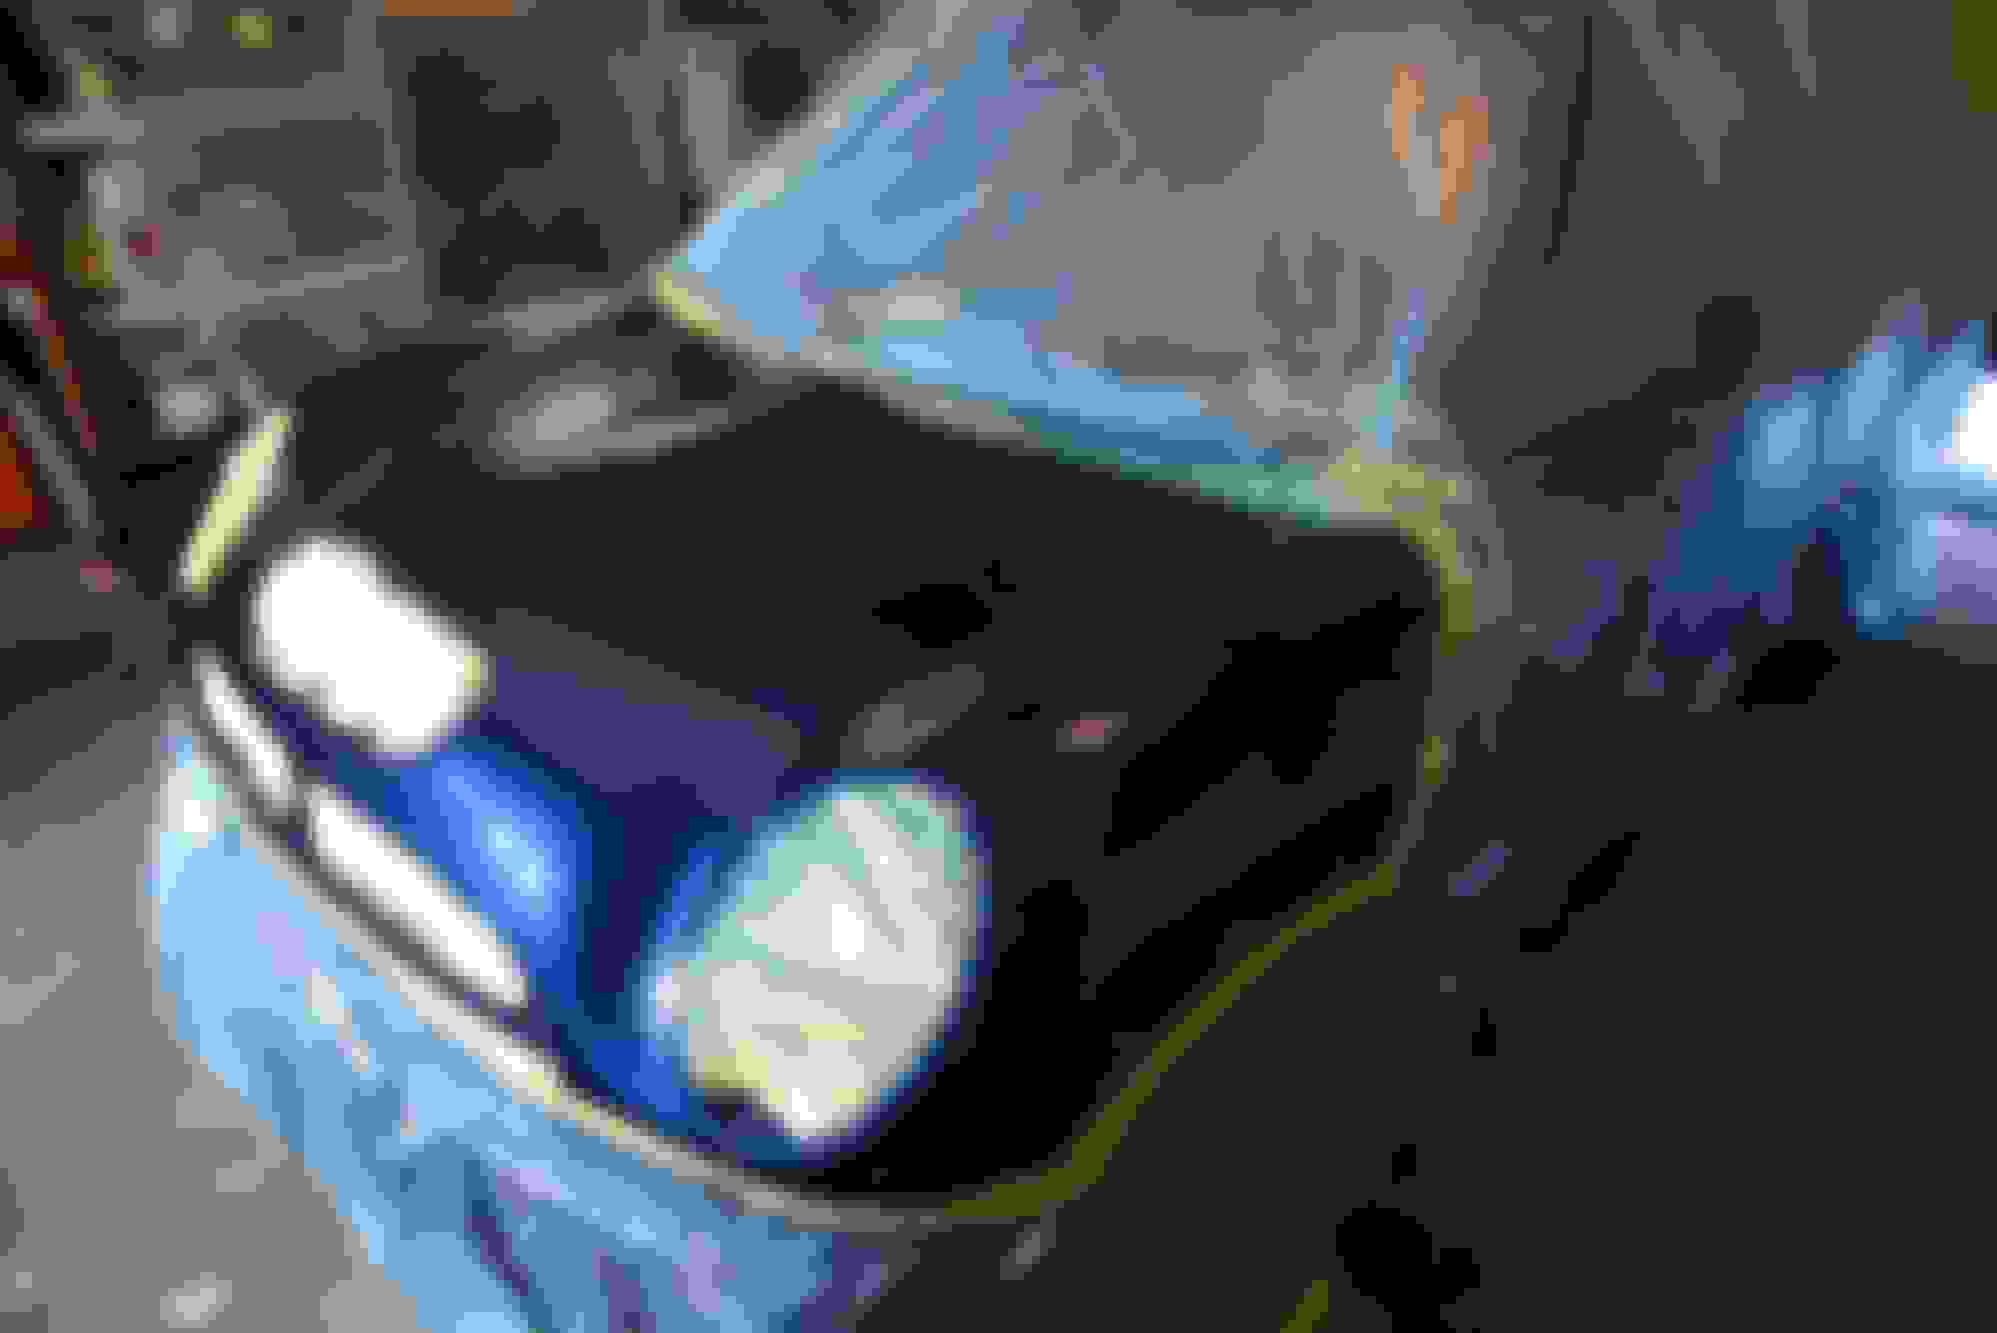
Satisfied with the blend over the repair (and not being able to do anything if I hadn't been), I cleaned out the gun and mixed up 3/4 of a paint cup worth of clear - probably 12 or 14 oz I suppose. The Tamco 4100 series clear mixes 4:1 by volume like many clears do. They consider it a low solids clear, but at 45% solids, it's still got more solids than many manufacturers high solids clears - did some research when I was deciding which paint system to go with. Adjusted the fan, fluid, and pressure back to wide open, 2.5 turns out from closed, and 30psi, and sprayed the edges and then started from the repair side front to back across the panel with around 80% overlap at about 5" off the panel. After the first side, I really took some time to look to make sure I didn't have any dry spray areas. It looked good, so went around to the other side and started spraying at my wet edge finishing off at the passenger side headlight. Again, really took the time to check for dry areas. Found one on the right side and gave it a bit of a spritz. It looked fabulous - a good, fairly wet coat, glass-smooth. Let that flash for a good 20 minutes and then shot a second, fairly wet coat. Satisfied there was no dry spray areas on the second coat, I evacuated from the garage to let the fan pull the overspray out for a few minutes before checking again for dry areas and then cleaning the gun.
This clear is utterly phenomenal. It flows out exceptionally well. I am using a slow reducer which helps with the leveling out - the slow reducer is recommended for temperatures from 80 to 90 or so. The TDS says you can spray the slow reducer down to 75 degrees, which is great because it was slightly cool today. I had to wait to spray until the temp came up to 76. But, because it was so cool, it really flowed out flay and glassy. It flowed so well, in fact, that I have a couple of runs that I will need to block out when it dries. But, runs are pretty easy to take care of with a good, flat, small, hard block and some patience. Minimal dust as well. I saw a couple little fuzz bits and maybe 7 or 8 dust particles, so very minor cutting and buffing as well. I did keep the floor wet while I was working and I put dust filters up on the edge of my garage door and had about 16" of dust filtration along the bottom garage door edge and a high power fan pulling exhaust out a far side window. Once again, I am super happy with how this turned out.
All slicked out after the second coat of Tamco 4100 clear.
This paint line makes this total noob look like a pro. I had never painted a car prior to starting this project, but I did watch a metric s#i+ ton of videos on how to do it - mainly Paint Society, Garage Noise, and Underground Paint King on youtube. These guys helped me to have a good overview of the process, the importance of prep and of being prepared, how to mask, how to prep, how to lay down base and clear, how to set up my compressor, how to set up the air filtration, and I think most importantly, how to properly set up a LVLP gun to get the best results. I cannot say enough good things about the Aeropro A610 (the new version of the R500) - it's inexpensive (around 75 bucks) and comes with 3 tips and needle sets - a 1.3, 1.5 and 1.7 IIRC. I used the 1.3 for sealer, base, and clear. I sprayed the sealer and base at around 24psi with the fluid 2.5-3 turns out from closed and the fan wide open. Clear atomized perfectly at 30psi and the same fluid and fan settings. But, I really think my success is down, mostly, to the Tamco 4100 series clear. It flows out fantastically well. I wasn't super happy with the texture I got with the base - it had a bit of 'sand texture' after the 3rd coat until I bumped up the pressure just a bit (I had started at 20psi). But the clear was magic to spray - it really was. The clear was actually fun once I got the first few nervous coats out of the way. The other great thing about the Aeropro gun is that it only uses 3.9cfm of air. Many 20-30 gallon compressors run on the higher side of 4cfm - which means you can spray an entire car with this gun without having to worry about having enough air. Just great products.
So, I will let the clear set up for a few days, then start nibbing, wet sanding and buffing any areas that need it. There won't be many though - it came out smooth. I may pull the doors and hatch and paint those this fall too maybe toward the end of September if temperatures keep high enough. Or maybe I will order a faster reducer so I can spray at 70 degrees. Overall, this has been a mostly very positive experience - so much so that I would encourage anyone with the patience to sit down and watch a bunch of youtube videos to give it a try!
Putting the underside and hood trim back together today after a fresh paint de-nibbing, buff, and polish. Found homes for everything except these foam blocks and I can't find the diagram that contains them on RealOEM. Not in any of the photos I took to remind myself where things go when reassembling, either.
I know they go under one of the cross-members, and I think they go under the rear one adjacent to the wiper squirter nozzles somewhere, but not sure exactly where. Could someone take a look under the bonnet and let me know how far inboard or outboard of the squirter nozzles they go?
I tried out of curiosity to see if I could see anything. Not at all visible without removing the blanket. I even tried with a borescope. The blanket is pretty tight against the hood and I couldn’t get very far without fear of scratching paint (didn’t want to start a rust spot).
Odds and ends today. Was raining so my usual Thursday water sampling project was a no-go. Wet sanded the cowl - had just a bit more light orange peel surface texture than I wanted, so flattened it out. Cut out the new stripes. going with a wide double with a 2" gap in the middle and then outer side stripes with a slight radius curve near the scoop in matte black. I believe this is an F-model design.
Got them cut out, but can't install until my polishing supplies arrive from Chemical Guys. I picked up 5 different 'grade' pads and their cutting and polishing 4 grit set. I had been using Maguires' cutting and Griot's polishing compounds, but I am getting more swirl than I want, so going to try the Chemical Guys system and pads and see how it comes out. Also started on a pattern for a vinyl protector strip along the front bonnet edge at the top of the bumper to prevent abrasions to the finish. That will be in the same flat black vinyl as the stripes. Shouldn't be visible at all when the hood is closed and I think will provide a nice bit of contrast when the hood is open. We'll see.
What do you all think about the combo below? Too much? Same tartan in the seat stripes. Would take the cards apart, spray adhesive in, trim and reassemble. Not sure if it would be too much though.
Last edited by jcolletteiii; 08-10-2023 at 09:28 PM.
The tartan looks great! Only issue would be making sure the lines appear straight.
do you use DA or rotary polisher? I’m apparently a natural with the rotary, and can literally one step with one pad and one compound (p34) from scratch /max swirl to final polish… but DA I still struggle with. Of course everyone said DA were easier and safer, so that’s what I bought. Turns out I hate em. Lol.
So Fedex Suprised me with my box from Chemical Guys today. I bought the whole line of cutting and polishing compounds that come in a set from 32 to 38 in 2 step increments. Also got a bottle of the VRP, and five grades of pads from cutting to three grades of polishing and a black wax applicator when the paint is ready for wax in 114 days.
Chemical Guys haul: 38 (finest) to 32 (coarsest) grit cutting and polishing compounds, black, white, blue (on my D/A when this was taken), green and orange pads, and a bottle of VRP.
I had already cut (compound) the hood with the Maguires cutting compound, so I jumped right to the 38 polishing compound and the blue pad. Love the smell of CG products and this one didn't disappoint. I was not expecting it to be so thick - this stuff is more of a cream than the typical bottle-based cutting or polishing compounds. Wet the pad a bit and added four good size (dime) splotches, dabbed it around, and started out at 3 on my DA and then upped it to 4. Made around 3 passes with decent pressure over the first quarter of the hood and then one pass with barely any pressure. All I can say is wow. Never used CG's polishes or pads before, so I was not sure what to expect. I was underwhelmed with the Griot's polishing compound that seemed to be more akin to swirl compound (an not to getting rid of them, but to leaving them!), but this stuff is the real deal. One set of three passes was all it took to completely eradicate the swirl marks, even on this dark color. Outstanding stuff, really. I did have to stop to add more compound 2 more times on that first section because the new pad didn't have enough in it yet, but it really did the job! Wife came out while I was working on it and she is the one that commented that it was like water with a super deep shine.
Came out like water. Camera was having a hard time focusing, because it was trying to focus on the reflected image.
When I had the hood and cowl finished, I wiped it all down good with a clean microfiber, used a bit of cleaner on the middle part of the hood to make sure any residue was gone and then did the layout for the stripes. My two center stripes are each 5.5" wide, with a 2" middle gap. The outer stripes are each 1." wide and there is a 1.5" gap between the inner and outer stripes. The outer stripe tapers for approximately 8" very gently along the outer front edge before ending in a 3/4" rounded front termination. Layout was simple. I found the middle of the hood using the center of the hood ornament middle hole and the midline crease in the lower windshield trim. Stretched a 1" tape line between those points, and that was the layout. The rounded front of the side stripe is even with the hood scoop bodyline, so another piece of tape extended outward from that along the body line.
Half a stripe with layout lines.
The other side was laid out exactly the same way. Added another center tape line, did the second 5.5" stripe, measured out 1.5" from the edge, put another tape line down, and added the final narrow stripe. I used the same Vvivid matte black air release vinyl as my other stripes - love the stuff - super easy to get the air pockets out. Smoothed it out with a velvet covered squeegee.
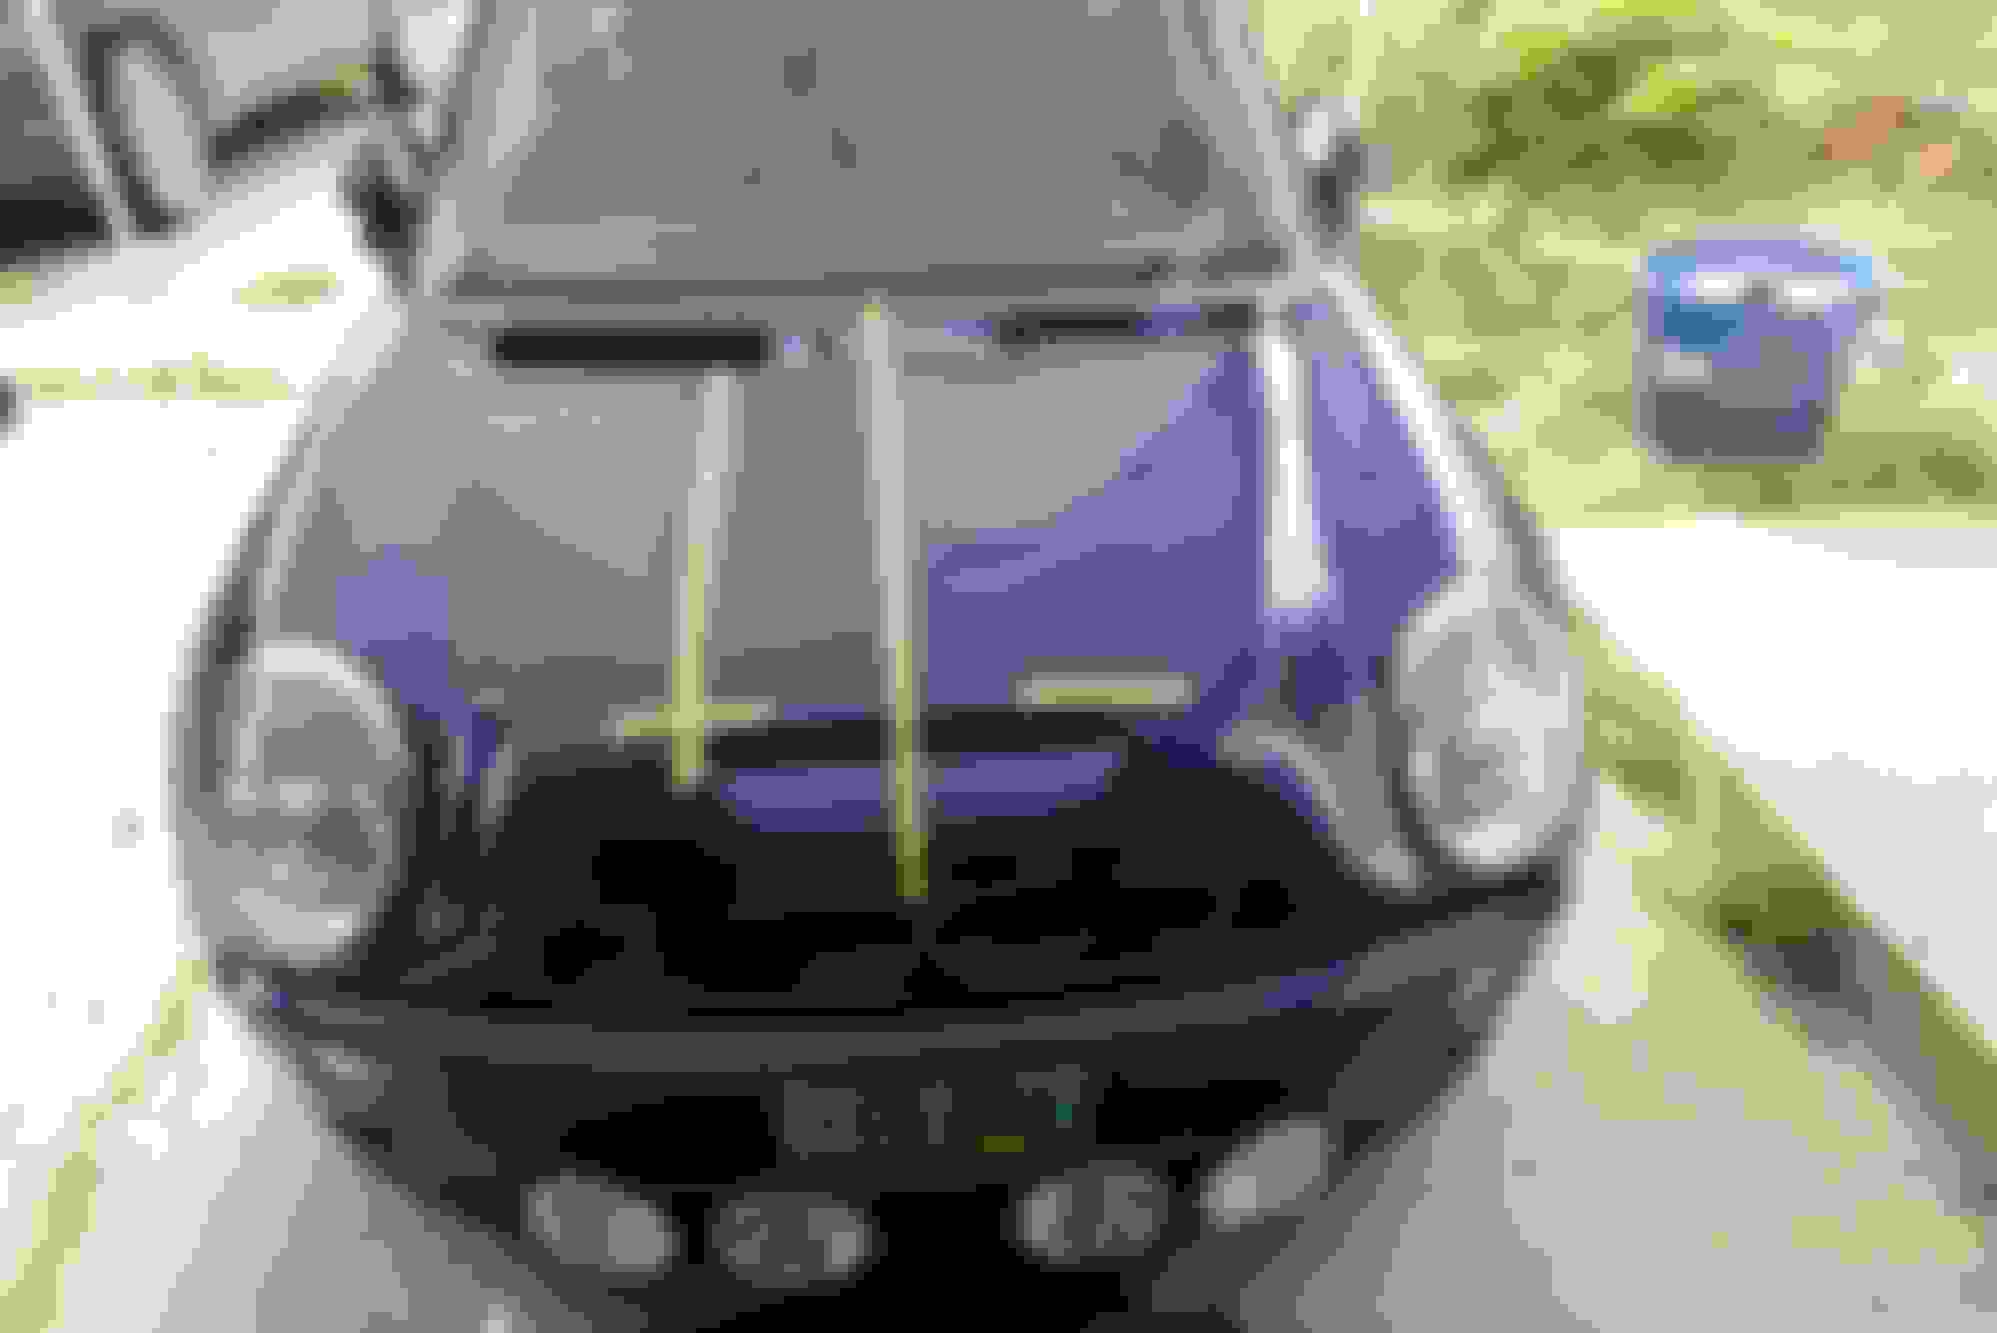
The combo looks amazing - the matte black stripes seem to just float on this liquid blue moat - the effect is subtle, but also somewhat forward in a sort of passive-aggressive way. Put the wiper surrounds and wipers back on and took some snaps. Came out awesome. All I could say to myself when I was done was 'Holy crap - I did that.'
Need to clean up the compound residue in the cowl recesses, and then I will re-polish the bumper and get the grille re-installed. I am a big time Zaino guy for wax. I may have to re-evaluate that when the time comes. This CG stuff is just that good!
Q: Anyone ever seen posts on how to completely disassemble a door card? I thought I remembered seeing one, but can't seem to get the search terms right to find it. I've taken the cards off plenty - can do that in my sleep, I'm talking about taking the big y-shaped handle an lower 'basin' off. Complete break down.
Q: Anyone ever seen posts on how to completely disassemble a door card? I thought I remembered seeing one, but can't seem to get the search terms right to find it. I've taken the cards off plenty - can do that in my sleep, I'm talking about taking the big y-shaped handle an lower 'basin' off. Complete break down.
I did, but don't remember where. My takeaway was "I ain't doing all that." 😜
IIRC, they are heatstaked permanently in place, so effectively you would drill off the head of the “rivet” to get apart, then reattach with screw and washer.
Nice thing about the v series stuff, it breaks down as you work it, so 8it effectively becomes a finer and finer c9mpund as you work it, as long as it stays Moist and you aren’t adding more coarseness with new compound dots added.
Started to do this yesterday, but the wife's Element needed the driver's door lock actuator changed out - ended up dominating my garage time.
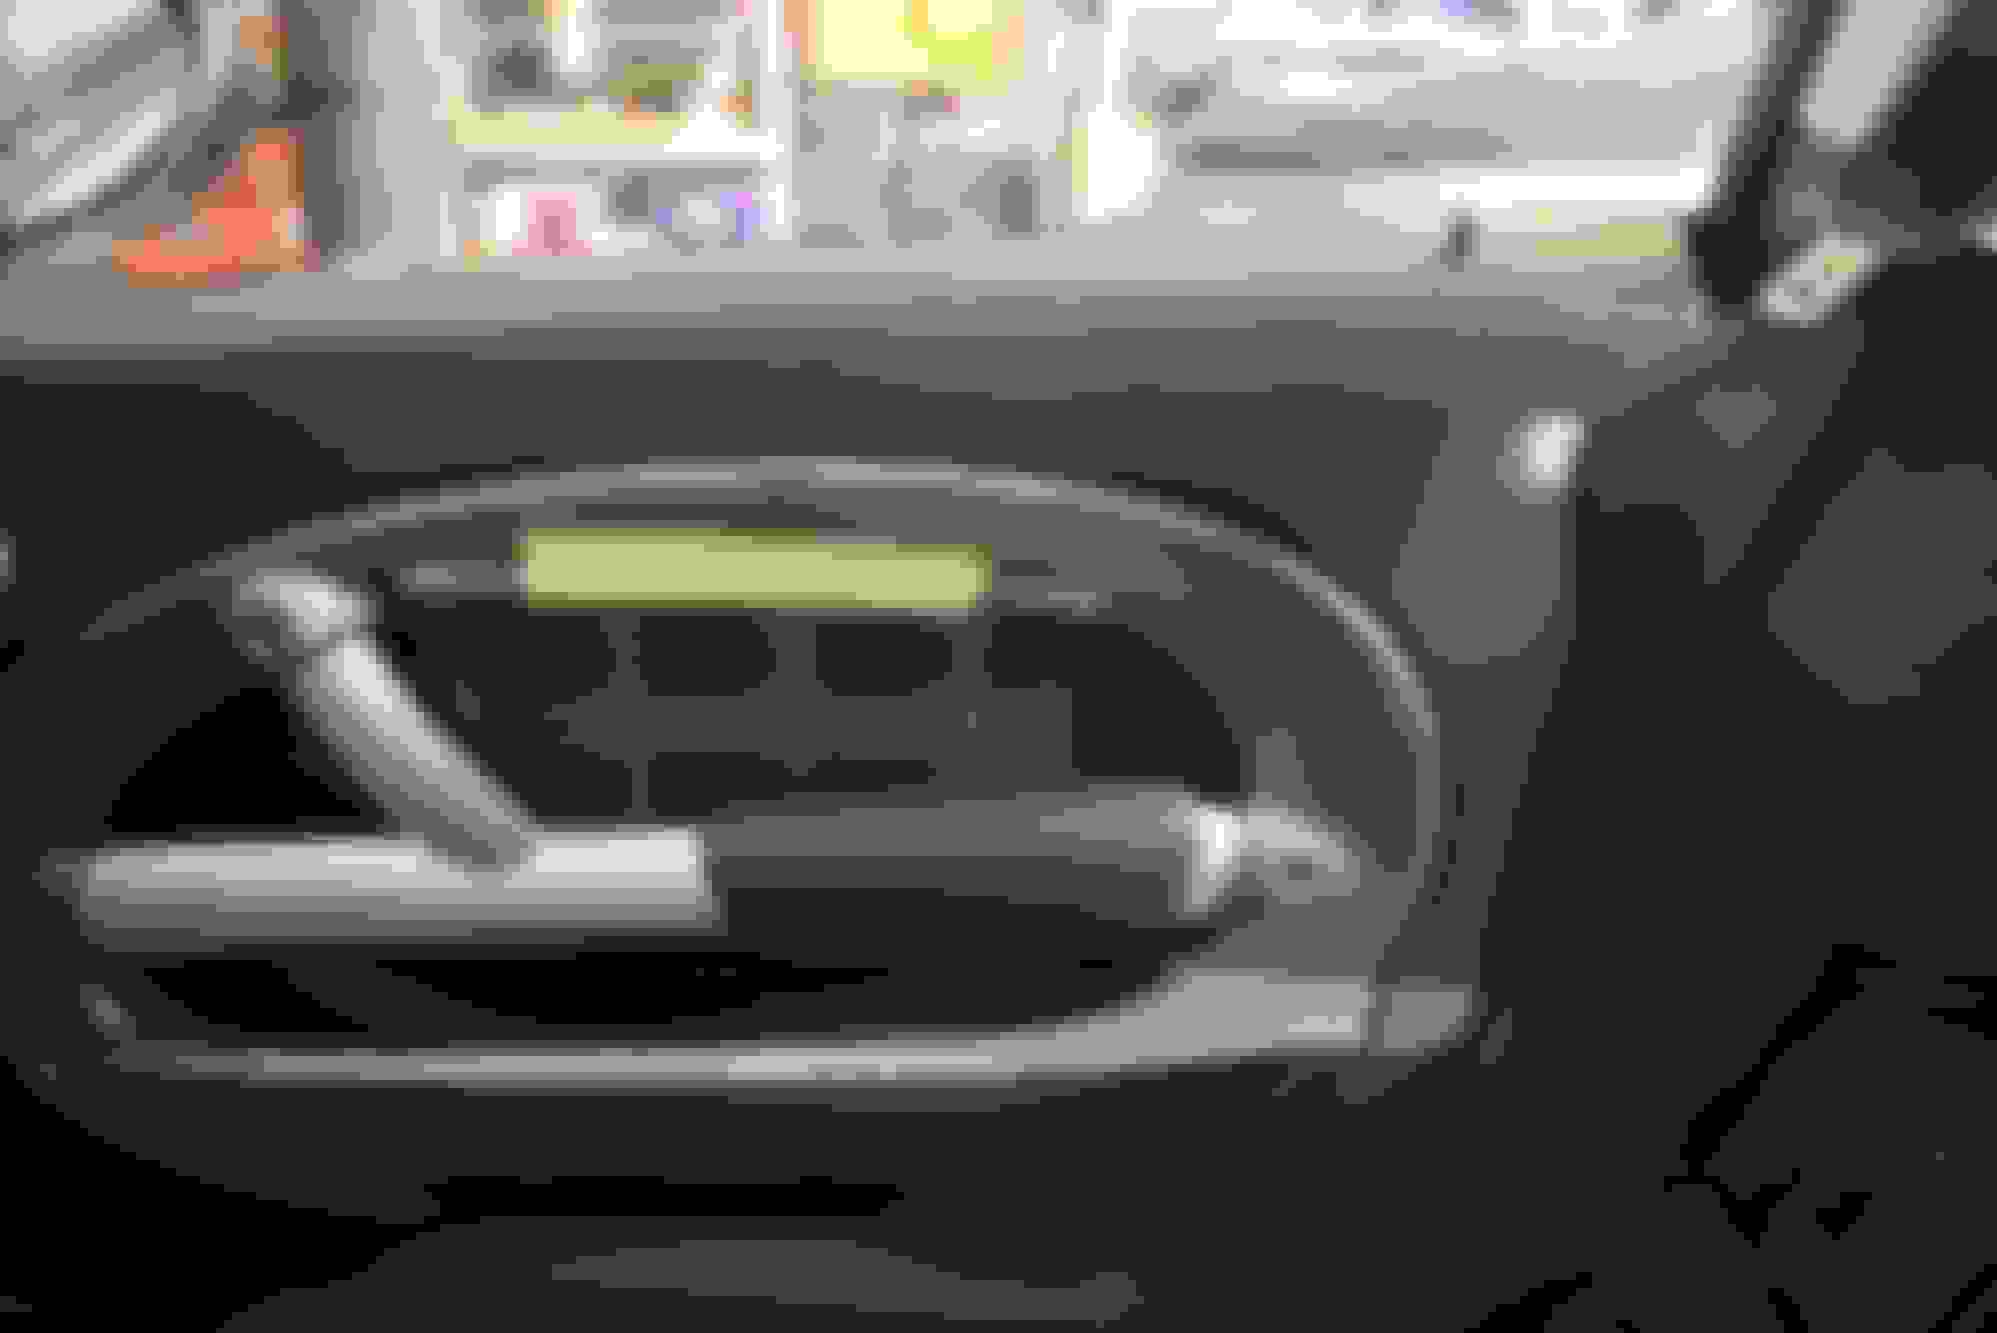
Chemical guys make some pretty awesome products (not a fan of their foam cannon green soap - leaves one hell of a residue), especially their pads and polishing compounds. Going to try their wax products when my paint is ready for wax in like another 3 months. Was time to do the black trim - which I usually do a bit earlier in the summer, but three summer research projects and five research students have kept me busy this summer. I typically use Maguire's Back to Black - which works pretty well and is easy to apply. Lasts a few months before it noticeably begins to dull down. CG's VRP has a near cult following online and here as well, so when I ordered my polishing compounds recently, I added it to my order to try.
Like pretty much all CG's products, this stuff smells great. The bottle was full right to the top like most CG products are. If the bottle says 16 oz, you're not paying for 15.1 oz and 0.9 oz of air - they are stuffed right to the top. Also, like many other CG products I have used, their applicator top bottles still leak through the tops. I wish they would fix that. Has the consistency of a thick lotion - and actually feels like some sort of lotion-type product as well. Because I am generally pretty careful with products and paint, I taped off all of the paint before application and left the tape on until after the final buffing step. The application procedure is apply, work in, let sit, and buff off the excess (if desired). They suggest using a sponge or microfiber applicator pad, but I used a blue shop towel folded up 4 times to produce an applicator pad-like thing. Before applying, I cleaned well with one of my go-to products: Spray away glass cleaner - stuff works awesome and leaves no residue. If you have never tried it, pretty much everywhere carries it, and works awesome as either a glass or surface cleaner, or a first step paint prep. For grungy stuff, a bit of Dawn in some warm water and a toothbrush. I did manage to get the front bumper lower trim and one hood arch done yesterday, and it came out great, but today was all of the other trims.
Front wheel arch done with GRP. Compare with the 'fender' arch immediately behind which had only been cleaned at this point.
Stuff went on really well. I let each trim piece absorb the product for at least 30 minutes before buffing whatever was leftover off with a clean blue shop towel. I like the blue shop towels for stuff where scratching is not a worry. They are relatively lint free, cheap, and I don't have to worry about persistent chemical compounds getting into my microfiber cloths.
I think this stuff works pretty well. It can give a slightly splotchy appearance when it is buffed off in some areas, but it does make minor scratches less obvious. It is maybe just a bit glossier than I would like, but I can live with that. I would say that since my three front trim pieces are brand new, this stuff does not make the trim look 'like new' as some folks say - it is much too glossy and the new trim is just a clean matte black. This stuff does do a good job at making the trim look clean and detailed though, and minor blemished sort of recede from view for sure. I look forward to seeing how this stuff ages over the next year or so.
Finished product. Nice, even color. Made all of the blemishes harder to see. Will be replacing all of the arches soon, and the rear bumper lower trim when I paint the rear bumper. For now, it does look good though.
Question: There is a dearth of 93 octane super in ND outside of Fargo and Grand Forks. I am wondering how many people have tried octane additives and which ones have you liked? I know octane boosters only add about a point per bottle when added to a tank full, but I only put in a third of a tank or so at a time, so conceivably I could go from 91 (all we have here) to 93-94ish with a bottle - if it is what it says to be. I feel like a lot of automotive additives are snake oil, so trying to gauge others' experiences with this.

 07-24-2023, 12:24 PM