When you click on links to various merchants on this site and make a purchase, this can result in this site earning a commission. Affiliate programs and affiliations include, but are not limited to, the eBay Partner Network.
Well, I got the entire system burped. Let it warm up to normal engine run temperatures, heat on high fan on low. Coolant temperature was just below the midline - so the thermostat should have definitely been open at those temperatures, but I had no pressure in the upper radiator hose at all. When I tried to bleed it, I had air being sucked in to that line, not fluid being pushed out. I replaced the thermostat as part of the engine refresh when I did most of the engine gaskets when I had the head off. All I can think of is 1) the thermostat is bad; or 2) I installed the thermostat backward and it aint going to open.
So, looks like I'm going to be draining the cooling system and rechecking the thermostat.
The cold-start lag is still there as well. Positive pressure in the crankcase. I checked the PCV valve by doing the blow-through test, but I suppose I will order a new PCV valve. I'm starting to think I may have to drop the oil pan and do a ring job. Need to check if there are puffs of positive pressure or if it's more constant. Time to pick up a compression tester I think.
Last night I took the PCV valve off and decided to give it a good clean. It's basically just a ball-check valve and there really isn't much to a ball-check valve to go wrong. I thught just be some old oil and grunge preventing the valve from fully closing, so I took some of the milder orange-based degreaser I have and squirted some in both ends and let it sit for awhile. Then I shot some more in and shook the ball back and forth. Did that a couple more times then gave it a thorough rinse in warm water and dried it out well. Now the glove test works just as it should - get good vacuum in the crankcase. One less thing to worry about. I am pretty sure my cold idle issue is not related to a vacuum leak. I checked the lines and replaced all of the boots that I could get to when I had it in front end service mode. There is a new green jam gasket, and it is seated well. The couple pieces of sketchy hose I found I replaced. I will have to explore other options for the cold start issue...
The thermostat was installed correctly, but it does not open at the stated temperature. It didn't really start to open until the water boiled. So I went and got a new one from autozone. Same thing. Supposed to open at 195 (I believe the stock one opens at 190). So I replaced the thermostat. Rebled the cooling system and then let the car warm up for 15 minutes. Thermostat still did not open.
So someone please confirm this is how the Mini cooling system works. When cold, the thermostat is closed, engine starts, water pump starts pulling coolant from the lower radiator hose and heater core. The block warms the coolant in the engine and head, that warm water seeps through the weep hole and into the heater core. When the thermostat warms past its opening temp, it opens and flushes the engine and head with the now warm water that had come through the weep hole/heater core. That is when the upper radiator hose will be under full flow and that is when, if the upper bleed valve is opened, coolant will squirt out under pressure. Correct so far?
How long should it take for the engine to come up to full running temp at idle? I've left it going for 15 minutes so far and no opening from the thermostat. I'm a bit nervous that there might be an air bubble on the block side of the thermostat, but the weep hole should prevent that, correct? I suppose that the new water pump is pushing more water than the stock one, so more flow is moving through that weep hole and it's taking longer than expected to open the t-stat. The fan hasn't kicked on, even a low speed, and the temperature indicator has not moved above the midline. I guess I'm being a bit paranoid. Anyhow, pretty excited about the vacuum in the crankcase, so no ring job - for now anyhow.
I'm not sure on minutes, but I think when I bled mine it took 15-20 mins for it to completely come up to temp. (196�F) I think your understanding of the flow of water in the cooling system is correct. Are you using an OBD monitor to measure the temp? or just the gauge on the dash? The gauge on the dash won't move until it's over 220 (or something like that) and pretty much is more of an over heating light than a temp gauge.
Do you think you still have a bubble in the cooling system? Is the heat working in the cabin?
Awesome thread ! Stumbled across it whilst looking for info on the electric Mini - no idea why this one came to the top. Anyway, my Rodan is a 2004 Indy Blue that I also bought new. Added the 15% pulley, ECU and Milltec exhaust early on so having some flashbacks reading about your adventures. 94,000 miles so far but almost all Las Vegas (except he went to college in Cali for 5 years) so no rust or corrosion issues. Thanks for sharing your experience !
Thanks guys! Sorry it's been a while, but it's been colder here - too cold to work in the garage even, so things have taken a bit of a backseat.
I think with the increased flow over stock with this pump, that the water being diverted to the heater core is keeping the water temperature down because of that increased flow. I do still hear some bubbles at startup in the heater core, but I think I had the level in the reservoir a bit low, so some air maybe got sucked back in - will top it up a bit higher next time and let it run for a good half hour and report back - maybe this weekend - it's supposed to warm back up to nearly freezing.
But I am still accumulating things to install. The leather boots from England showed up today, and they look fantastic. Was a bit unsure of how good a color match the black leather would be with the interior, but it is more of a charcoal or graphite color, and is just about a perfect match to the vinyl of the dash. In the picture below, it rendered a bit pler than it is in person because of the lighting earlier today. The blue stitching is also much more vibrant in person.
Also, just got my notification that the warranty replacement exhaust has shipped from Borla. It should be here on Tuesday this coming week. Now I just need the temps to warm up.
I�m not one to talk. I just spent the afternoon in the detached garage, with 2 propane infrared heaters going, in order to fix the snowblower. 22 deg outside. Ugh...
Hope it does warm up for you and that it goes together well for you...
Lol - 22 degrees would be warmed up! No - today it came back up into the mid teens. When you are used to the negatives, that actually does feel warm! The weekend will be in the 30s - I may have to put on shorts...
Anyhow - had to slightly reposition the shift boot. It's a PITA to get over the upper flat piece of the shift lever - I got one side started and kind of 'screwed' it on. The hole at the top of the boot is too tight to go over that piece of the shift lever - makes a good snug fit when it's on there. I initially used only one zip tie to secure it, but it was moving around a bit, so I repositioned it and added a second zip tie and ratcheted them both down as tight as possible. I think it looks fantastic! Now I have to evict some mice... again. The front is up on jack stands and the rear is on ramps. I'd love to see how the hell they're getting in there... Anyhow... might do the ebrake boot tomorrow.
Finally had both the time and the temps to get the warranty replacement exhaust from Borla put on. I posted a couple pages back on my difficulty asking Borla, but then went through Summit and got it replaced. All of the hangers except 1 had broken away from the mufflers, the muffler welds were about to fail, and the connections between the sections of pipe were spalling away and 3 of the band clamps had failed. They had to build me one of the older hanger style. Anyhow, it was very nicely packaged and went together and installed really quickly. Had the old one off and the new one on in a couple hours. Had to cut the last hanger off so I could pull the broken hangers out. Still have 920,000 miles left on my warranty!
Old versus new.
3 Broken hangers and 1 cut. Check those Borla hangers...
Assembled but not tightened up yet, ready to go on. I slid it up under, supported the front in approximate place, lifted the back up to the rubber blocks, hung one side, then the other. Was done in about 30 minutes once I was here. Adjusted the tips and tightened it all down. Good to go for hopefully another 16 years!
And it looks good, for now. Sorry to say, but nothing about the old one looks to be SS, at least not any SS I know of. Hopefully the new one fares better...
I didn't start it up yet - I need to add a bit more coolant to the tank so that air doesn't get sucked back down into the cooling system. The muffler bodies do look fairly good, and the hangers are clean - probably the cleanest part on the entire old system. The problem is that the hangers are welded to the thin edges that stick out a bit from the back of the mufflers and the stresses lead to failures there. I do recall that when the old one was new, it wasn't as shiny as this one is - it seemed to be mostly unpolished. The mufflers were definitely not polished.
Wow - what a break. I'd meant to have quite a bit more done by now, but shifting labs and classes online has been an utter PITA, and keeping students from falling off the bus has been tough. Anyhow, finally found time to get plugging on this a bit.
I ordered my front struts, went with the Koni red. Ordered new bump stops, boots, disks, pads, and strut tower bearings. Also saw both CV boots leaking, so picked up some new drive shafts as well. Driver's side went in pretty well - that damn torx bolt was a pain, but got it out. Did the strut and bearing first, then the drive shaft, then the brakes. Couple hours on the driver's side. Yep, got the pad wear sensor on order.
Driver's side CV axle... yuck.
Then it was on to the passenger's side. Did the axle first - what a f*****g pain in the *** to get that upper bearing mount bolt out - holy crap. Got the old shaft out, new one in. Maybe an hour and a half there. Did the brakes - new rotor and pads. Then I started taking apart the suspension for the pass side strut. Ball joint came off, got the sway bar end link, then was time for the knuckle pinch bolt. Nothing. I put penetrating oil on several days ago in anticipation. Hammered all around it, gave it a few whacks. More penetrating oil, from both sides. Breaker bar. That did it - snapped the nut in the knuckle. Ah well. Was hoping to be washing off some of the undercarriage grunge tomorrow, but now it'll be on jack stands until a replacement knuckle gets here from Allmag and a new pinch bolt from Amazon hopefully later this week.
Was kind of mad, but nothing had gone terribly wrong and the car is nearly 20 years old. Was thinking about taking it to a machine shop, but that'd be a week and probably would be a significant portion of the used part cost.
This week, after I get caught up on grading and final exams, I'm going to tear out the back panels, do a deep clean and try to find out where those freaking mice are getting in and seal it. Will probably pull the headliner at the same time. I have the sunroof clun and need to relube and check the drain up there anyhow, and I'm sure the damn mice have been up there too.
You said that you snapped the nut in the knuckle. What I have read is that typically the bolt snaps off in the threaded part of the knuckle. Is that what happened to you? I ask because an option, if that is what happened, is to just drill through the bolt and make the hole the same size all the way through. Then get the R56 pinch bolt and nut. The R56 got rid of the threaded knuckle and replaced it by a bolt and nut, and that works on the Gen 1 MINIs. Or get a replacement from AllMag...
Thanks, and good to be back at it! I was thinking about just drilling it out and not worrying about the thread also, but man - that is a LOT of bolt to drill through! it is entirely is place - the bolt head and maybe 1/16" of an inch of bolt shaft popped off. Definitely putting some anti-seize on that one when it'e been sorted (and the one I have already done)!
So much to do on this car! I need the window regulator on the driver's side too - anyone have any good recommendations on aftermarket replacements?
Oh, that is crappy to have the head pop off like that.
I suppose you could cut the bolt at the split and then only have to drill out the one half or just drill from the threaded side. But still, your point is valid, it is a lot of bolt to have to drill through. Just passing along stuff I have read. Your way (AllMag supplied) is likely the easiest and maybe the best.
I love never seize (or whatever you want to call it). I just replaced an exhaust band clamp that had rusted out on our R50. I had never seized the bolt when I put it on originally and the bolts came right out, with the rest of it falling apart. When I use that stuff I will wet the bolt with a thin spray oil before putting the never seize on it and I find that allows it to get into everything really nicely.
Hey, for the window part - Don’t know about aftermarket, but did you check the Marketplace on NAM here for someone parting out a first Gen MINI?
Over the past week or so, it's mostly been waiting for parts.
The knuckle shipped quite quickly from Allmag, and the new pinch bolt got here on the same day - Thursday this week. I was mostly done with grading as of Thursday afternoon, so I was super excited to get the Mini back on it's wheels. Took off the the remaining suspension bolts for the ball joints on Friday, and tried to take out the ABS sensor. No luck. Squirted it with penetrating oil and tried wiggling it to get it freed up. Nada. Worked on slowly trying to coax that sucker out of there for 45 minutes and then it snapped. Ugh. Well, at least then I could drop the strut, put the new Koni on that side, spring back on, new rotor on, pads, etc. Got it all back together Friday afternoon, and ordered a replacement front ABS sensor from O'reilley becasue it said they would have it here by this morning. Came in this morning - the photo online showed the correct blue color boot, but the new part came with a black one. Looks like the correct part otherwise and the connector fit, so in it went. Front suspension and brakes - done.
Also on Thursday I tore into the interior to see what kind of a house had made Mr. Mouse. Was hoping things would be salvageable behind the panels, and (hopefully) above the headliner. I managed to capture the little sucker last week and rehomed him. As it would turn out, I should have wringed his scrawny little neck.
I had noticed a vague smell that I couldn't put my finger on - I thought it was probably from the little bit of water that I had sitting in the passenger footwell (got a plugged sunroof drain maybe) that had made some mildew, perhaps. No. It was mouse droppings. And urine, and nest.
This is what I found upon dropping the headliner.
And behind the rear plastics.
Unfortunately, the headliner shell is not salvageable. A combination of a couple of leaks and the remodel that the mouse had done (combined with the ammonia from mouse pee) meant it was a total loss. Damned mouse! Looking around online a bit and the price of new replacements is *ludicrous*. Going to have to do some digging to see if I can find something worthy of a strip and recover in a junkyard somewhere nearby. Not going to pay $650 for a new one. Cheapest I found one was for around $480, but with more than $100 for shipping.
While on the topic of expensive stuff that I need, got a quote from leatehrseats.com for just the fronts in leather with the contrasting blue stitching that I want - $750. OUCH. Katzkins whole set is that price. I emailed them to see what their price for just the fronts would be - have not heard back yet.
Anyhow, while the interior was disassembled, I completely cleaned the back and the overhead front. Fortunately, there were no chewed wires that I could see. Cleaned up the carpets a bit with some carpet cleaner and the interior is looking a lot better (and smelling a *LOT* better too! My rear plastics are in pretty poor shape - they are scratched to hell and just beat. New replacements can still be had from Mini, but they're around $400 each (holy crap!). So I'll be looking for a set of those in good shape from a salvage yard as well.
Anyway, put the wheels back on, and dropped the Mini off of the jackstands and ramps that it has been on for the past 5 months. Been trickle charging the battery for the past 2 days - reconnected the battery, let the fuel pump do its thing for three cycles, and then turned the key. It started *perfectly* on the first try, and there was absolutely no hesitation or bog when depressing the accelerator at all! Super excited about that. Backed it out of the garage into the sunlight for the first time in a while and gave it a bath to get the dust off. Here is where I'm at right now.
The Mini is nearly road worthy at this point. I have new clips somewhere for the bumper cover, and as soon as I re-register it and get it on the road the first place we're going is a DIY pressure wash station with my ramps. Going to completely cover the underside in citrus degreaser, let it soak over night, and then blast the entire undercarriage to get all of that old grease and oil out of there. I'd hate to be whoever uses that bay after me! Then the next stop will be the paintless dent people to see what they can do with that big honking hood pop. I think the body work is going to have to wait for next year, but I am looking at hoods and bumpers from Revemoto.com as they do prepainted and use decent materials according to their website. I have not found a body shop up here that has great reviews, and I figure if I get parts that were painted off of the car, there is a better probability that the back sides and corners will have a decent coating on them. Although, if I was to have my hood done locally, I'd take it off and make sure I told them to do the back side (I have no hood liner - I like the engine noise this car makes!).
Right now, I need to regrease and check the sunroof (I have the clunk); check the sunroof drains; replace the upper weatherstripping around the roof (THAT is expensive as hell too - it's actually MORE expensive than the beltline trim!); think about some tires (at least one has cracks from sitting in the driveway) - although I may have bought the warranty - but in CA. I can live without a headliner for awhile. Two of the wheels are rashed, so I will probably pick up one good wheel, and send one off at a time to have recoated.
Starting to get excited about having this car back on the road. It's been too long.
Much empathy for the critters. I just went through a similar effort with my car.
If you haven't already, check things like the air box and the cabin filter. Those were the other spots mice found on my car, besides under the back plastics.
Front sunroof shade is toast - the spring has weakened so much that it will not retract. Everything in this car gives me sticker shock when looking at OEM parts. For a set of front and rear sunroof roller shades - the same technology that has been around since the dawn of home roller window shades since the early 20th century - the cost is ~180 bucks. Ludicrous. Shot @ALLMAGAutoParts a request in their request thread and someone on ebay an offer. We'll see what I can come up with,
I am sure I used to be able to find a thread here on NAM devoted to the sunroof *CLUNK*... I cannot seem to locate that thread anymore. I've had that clunk for quite a while and now with the headliner removed and slightly easier access, I want to take care of that. From what I can recall the issue was due to a misalignment with the little fingers that grab the front of the sunroof and pull it into the fully closed position - or has the collective position on the clunk changed?
The clunk was pretty easy to sort out. The passenger side 'finger' that grabs the front of the sunroof and pulls it into the closed position was slightly misaligned. The misalignment was not front-to-back, but side-to-side. The 'finger' was slightly overlapping the bracket on that side. So I put a screwdriver into the bracket on that side and gave it a few quick, sharp pops with my palm. That moved the bracket inboard enough so that the finger and the bracket are not overlapping. The loud, sharp "CLUNK' is no more!
The clunk was pretty easy to sort out. The passenger side 'finger' that grabs the front of the sunroof and pulls it into the closed position was slightly misaligned. The misalignment was not front-to-back, but side-to-side. The 'finger' was slightly overlapping the bracket on that side. So I put a screwdriver into the bracket on that side and gave it a few quick, sharp pops with my palm. That moved the bracket inboard enough so that the finger and the bracket are not overlapping. The loud, sharp "CLUNK' is no more!
Hey, thanks! Our 2004 has that same clunk and the dealer was never able to fix it... Woo Hooo!
Turns out that the sunshade was easy to sort as well!
All it turned out was that the spring was not preloaded enough. Which is really strange to me, because I have never taken the sunscreen out as far as I can recall. Perhaps the dealer had taken it out for something? I would think that the dealer would know that the spring would have to be rewound before reinstalling. Strange. Anyhow, I preloaded the roller and it works just fine. The fabric is a bit stretched out (kind of droops in the middle) and needs a good cleaning, but it is also now in working order also.
Right now, am waiting for my driver's side window regulator, have to go into the passenger side window because a shattered window was crapily replaced by safelite years ago. It's slow to go up and just isn't smooth. The driver's side regulator should be here Friday, so will probably tackle both sides then. Also replacing the idler pulley. After I get the engine running, I've noticed a distinct high pitched non-supercharger whine that varies with engine speed. Should have replaced it when I did the S/C service, but spun it by hand while I was in there and didn't seem to be problematic. Ah well.
After that, I think I'll start looking into re-registering. it and doing some road testing!
I am unimpressed with the lithium grease that I got - too runny. Doesn't really stay on the places in the sunroof track where I would like it. It definitely helped, but I think something a bit more viscous would be better. The sunroof clunk remains gone as well.
Today was all about the windows. My new window regulator from Amazon came in. It did not have any of the clips, but that's okay - I had the black push in cable clips, and my white ones were not needed (couldn't figure out where they went, and broke one trying to put it somewhere it obviously didn't belong. No problems though. There are a few places where zip ties could be routed into the door and back out, and the cables are nice and secure. Swapped the motor from the old regulator to the new, folded it up, put it in, bolted it in place, and my driver's window now works perfectly! Reset the up position and it works flawlessly. Best $28 bucks I've spent in a long time!
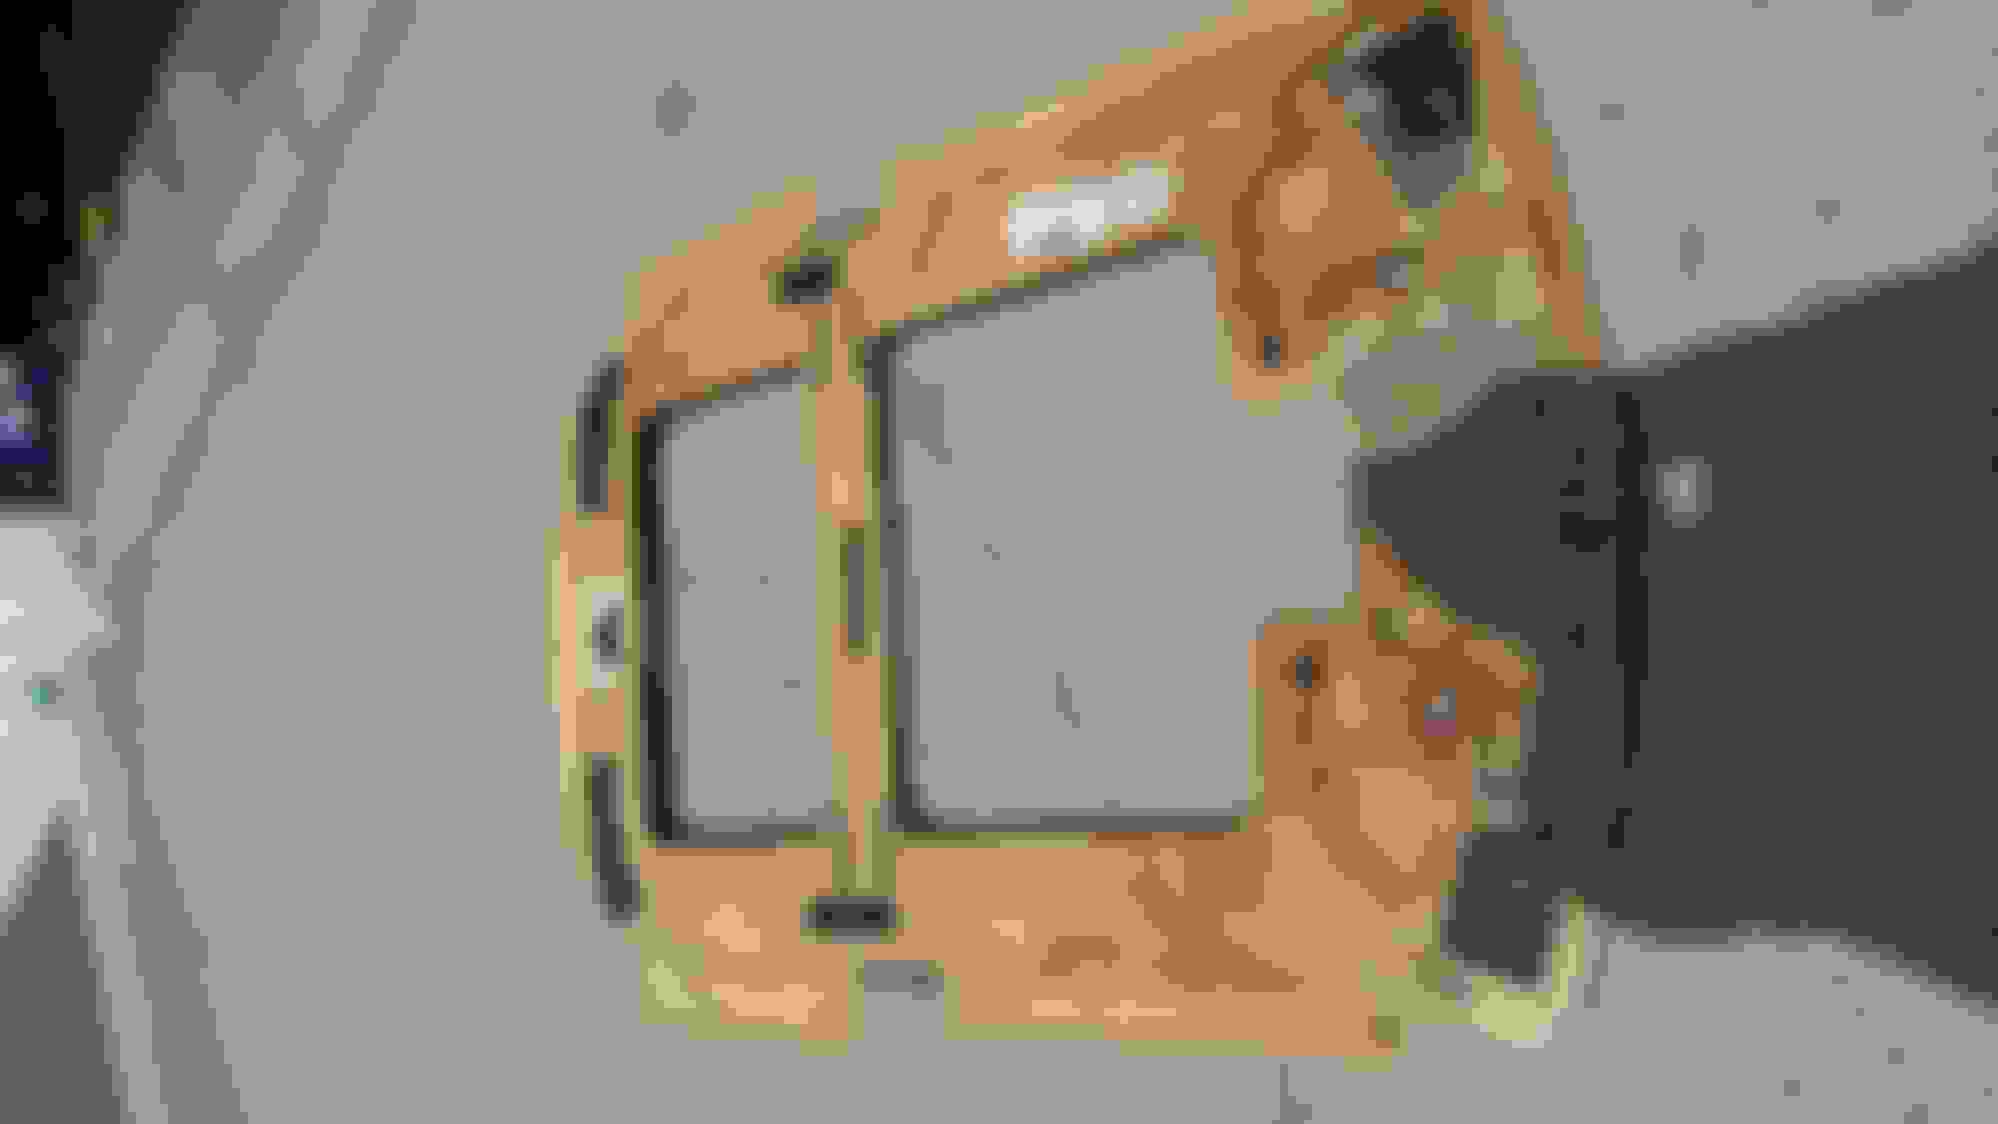
Now, on to the passenger side. The last year I lived in CA, during one very hot day, the glass on that side shattered. Called Safelite, guy came down, fidgeted with the window for like 5 hours, and never really got it right. Said he'd come back, never did. Somehow let it slide. I was defending my PhD that year, getting married, and moving cross country for a new job - probably why it slid. Anyhow, I took the door cards off both sides last night to get ready for today - knowing I was going to take care of the passenger problems too. After Safelite botched the job it was always slow to roll up, seemed like there were alignment problems, and there seemed to be a rub somewhere. Well, what I found makes me suggest to everyone reading this to *NEVER* in a million years trust Safelite to do anything with your glass, EVER. For starters, all of the cabling was completely loose - no cable brackets, no cable ties, nothing. So the two top cables were drooping down onto the glass and squeezing by every time the window went up or down. That was the good news. The bad news was that the Safelite guy didn't even fully install the front rail.
Oh, he put it in alright. In the photo above, look at the bottom bracket for the front rail. That black 'foot' is supposed to be resting in the white plastic adjustment spacer between the two sides. See the bolt sticking up? That is supposed to be in the middle hole of that black bracket. Holy crap, batman - what a tool. The entire rail was so far to the back due to it being out of place that it was pushing the cable back and it was pushing back *hard* on the window glass.
Pulled the upper bolt out, seated the rail properly and reinstalled it. Cable tied the cables to the upper inside door at the top, reinstalled the side cable clamp, and vacuumed out the glass in the door bottom that the Safelite guy had just left there - thought there was a weird rattle from that side. Hmm... Anyhow, put it all back together and now it works like a charm. One of the cable's insulation is nearly worn through from the rubbing, but it works great. So happy to have two properly working windows now!
I am saving this thread for when I need to work on my R50...
Nice work and I appreciate the write-ups and links.
From my experience, I think the moral to the story is:
”If you want something done right, do it yourself”
I had a “Highly qualified BMW/Porsche” Indi shop put the Quaife into my R56S. About a month after doing the job I was prepping the car for a track day... You won’t believe what I found... The flexible hydraulic brake line hose was rapped around the sway bar link and that had worn through the outer cover and was wearing the SS braid. And for a year, I was finding stuff they missed or screwed up... Needless to say I was less than pleased with their work.
While I am handy with a wrench, I don’t have the wherewithal to do some work. I am fortunate that my Dealer has a good shop. It may cost a few bucks more than the Indi shop, but their work is at least 4 stars...
Wow - highly qualified indeed. Did they fix their work? Yep, I keep finding small things that I know I didn't do - must have been various service techs at the Mini place in Ontario or Albany. Couple of bolts sitting on top of the block that I know I didn't drop, along with a couple that I did. But, it's nearly 20 years old, and people drop stuff. But that window was the most egregious example of ineptitude I've seen by far in this car.
Not sure I would tackle a job as big as an LSD, but once you do a couple of the 'bigger' jobs, it really makes getting back in there to do other things fairly straightforward. I really enjoy wrenching on this little car! Just sent a text and photos of my hood to the most regarded local paint shop. If they come back with a price that is lower than the prepainted hood from revemoto.com, I may do that in a couple of weeks. I think they're still shut down for another week or two though. We'll see. The hood is the body panel that bothers me the most, but now I know that there is rust at the bottom of the doors, that might be my next winter project.

 01-03-2020, 12:40 PM