When you click on links to various merchants on this site and make a purchase, this can result in this site earning a commission. Affiliate programs and affiliations include, but are not limited to, the eBay Partner Network.
My plan is to disconnect the battery and wait a few hours. Remove seats, solder in resistors across the two leads in the yellow connectors, install new seats, reconnect battery. I currently have stock seats and no fault code.
Are you saying that doing it this way will still generate a fault?
Not sure if this helps, as it was on an R56, but when I switched seats on my 2007 Cooper S, I disconnected the battery, did the seat swap, air bag seat to a different airbag seat, and no codes or lights when I hooked the battery back up. The computer should see the resister the same as the air bag and know no difference.
That's what I would have thought - the point of the resistor is to make the airbag controller think that it sees the airbag circuit. What's the point of putting in a resistor if doing so results in the very thing you're trying to avoid?
Seats are in town, but my local UPS office doesn't have any weekend hours - so frustrating! They'll be here on Monday, so expect at the very least some photos of them then. Probably won't get around to pulling the old seats and fabricating adapters for the stock sliders sometime later in the week.
I had a Groundhog Day moment this past week. On Sunday last week my Mini hit 111,111 miles. So I pulled over and snapped a photo. By the time I got home I was 111,113.
Went out later in the week on Wednesday or Thursday to go to the store quick, but the battery was flat, so I threw it on the charger for two hours or so. Got in, going down the street, and a mile or two down the road in the *EXACT SAME PLACE* that I pulled over to take the first photo, I hit 111,111 miles again!
Weird. Makes me wonder if the mileage is 'reported' to the computer periodically and a flat battery can interrupt that? I still had enough juice in the battery for it to crank though, so that doesn't make any sense. Weird.
This afternoon was productive. I got my Dave F intake done, epoxied, and wrestled it in. The flexible rubber piece really gives you the wiggle room if your cowl piece hole isn't in the ideal location. I had long ago cut a hole in that piece to allow more air into the airbox setup I was preciously using (a Rogue Engineering one). Haven't had the opportunity to drive it yet because I immediately started on my RSD panel.
The carpet that I used is a very close match, but is just a bit lighter than the stock carpet. I may do a very light dye down the road to match it up better. The stuff I used was unbacked pro-flex in the graphite color. To the eyeballs, it is closer than it looks in the pictures. This is the second of this style that I built - no idea where the first one went, but I had never gotten around to carpeting that one. I don't care if the tray is flat - I actually like that little lip to contain things that might roll around. So I built my platform so that it would rest right on the four brackets for the seatbottom and would have a slanted piece that would have carpet on it to hide the bare metal of that back piece. I am going to use some sort of quick release pins on the front to keep the tray secure and probably some sort of bungee on the back to keep it in and useable as a lift-up storage compartment.
I primed the plywood before carpeting so that I wouldn't possibly be able to see the light wood through the carpet. The carpet is fairly thick stuff, but didn't want to take any chances. Then I tackled the spray adhesive and carpet job. Took a few hours, but came our pretty darn well. I used a block of nice smooth walnut to press it down nice and firmly and seat the carpet into the adhesive (on both surfaces). The block did a nice job getting the carpet into that corner. It needs vacuuming already!
And fitted. I think I am going to look for some sort of plastic dress up grommet with a trim detail for the holes to dress them p a bit. Pretty happy with the look. I am looking for a boot tray as well, so may not be necessary to dye the new piece to match as I won't be able to see the rear boot carpet anyhow.
Sorry for the pic quality - it was pretty dark in there when I took these photos.
EDIT: Quite a few small things to do in the next few weeks. Take out the rear seat belts, the bottom side brackets for the rear seatbacks, want to source a rear plastic piece - you can see mine is pretty beat, and eventually the rear side pieces as well. Need to get some bluetooth in there, the new seats that come on Monday, rear suspension. Lots to do! So far my weight loss spreadsheet will be at 121 lbs less than stock when I get the new seats in. I'm going to weigh one of the fronts when I take it out. I did the math from realOEM on all of the individual parts of the fronts and they each totaled up to 40.8lbs without the sliders. We'll see. The new seats are supposed to be around 19, not 12 as I previously mistyped.
Last edited by jcolletteiii; 10-10-2020 at 10:49 PM.
The Cobra RS-Forty seats were delivered today. Rushed home to unbox them. Fairly well packaged, and lighter weight than the numbers indicate. I did not weigh the one seat that I took out of the box, but it is definitely sub 19lbs. Absolutely stunning looking seat.
Even threw it into the car quick to get a picture of how it might look...
... if I was going to install them. Which, unfortunately, I will not be doing. I think these seats are gorgeous, and they are quite light. But they are just about 4 inches too short to support my upper back and neck. They are a smidge on the narrow side as well. My butt and lower back fit well, but they feel quite narrow up by the shoulders (or where the shoulders should be). I'm just too tall for these seats at 6'2" - I think they'd be fine for folks shorter than 6 feet, and man they just look like they belong in the Mini.
Thought about getting leather covers made again - and still thinking about it, but they are so heavy... Ugh - back to looking for another pair of seats.
That stinks that they don't fit. I know how much you've been drooling over them.
I'm on the hunt for seats as well. I don't think mine have enough lateral support, and the seams in the DS bottom are starting to separate. Would love Recaro, but can't afford to buy them unless they come installed when I buy the car.
Really wanting to get my hands on some Gen 3 sport seats and try to fit them in my car. I saw recently thst someone had them in a Gen 2, so I'm thinking it's possible.
I have seen those, and they do look great. I think Paul chimed in somewhere above with his really great looking B roads custom pair. I have emailed them about doing either a pair of the RRB or Evo II's in a custom graphite vinyl with rows of grommets and cobalt stitching around only the outside perimeter of the seat (and shipping charge to the states). Will see what they come back with.
I've looked into Status here in the states as well, but they seem to be perpetually out of their reclining models. I think Braum does custom wor also, but not sure I like the look of many of their models.
Been talking with Braum about a custom pair of their Advans in all one color leatherette - none of the CF-look or the textured stuff near the shoulders. They have been pretty accommodating - they wouldn't do the three rows of grommets on the back cushion though. They've sent me samples of both their black and charcoal leatherette materials to see which is the closest match for the panther black interior. Will post up some pictures when the samples get here. So, the seats will be all charcoal or black leatherette with just the outer double stitch in cobalt blue and all of the other stitching in black, and have the Braum logo deleted. It should be a fantastic match to the car and the interior trim pieces I have already added. They could do a lot more custom work than what I wanted (different color strips, center of seatback and bottom, etc.), but I want subtle.
The price is nice too. $249 extra for the customizations I want, $149 each seat for adding in the seat heaters, and $280 for the planted brackets. Total cost should be a smidge over $1500 and shipping is included in the price. NOT BAD at all, IMO. Lead time is something like 10-14 weeks - so when I agree to a color and ask them to build the seats, will still not arrive for quite some time. At 23lbs, they are around half the weight of the stockers, and I will post actual weights as I remove things and add things back in.
Working on finishing up my RSD as well. I found some parts at home dumpster this evening that I thought would finish things up nicely - one worked awesome, the other not so much. I was after a grommet/finishing ring to put around my through holes for the metal brackets at the front of the back seats that will come up through the holes and be held by spring clips. I found some 1.5" desk wire hole covers at home dumpster. I was hoping that they would be the two piece ones that had a bottom trim ring and a separate wire holder part on top, and indeed they were. The diameter is nearly perfect, and with the top part removed they really dress the holes up nicely!
The spring clips, unfortunately have a shaft diameter that is just a bit too large. They would not fit through the holes with the panel in place, so I will have to source slightly thinner ones.
The paint on the seat brackets was pretty awful - factory primer with a hint of Indi blue overspray, so I cleaned them up, and sprayed them with a couple of coats of Indi blue. They'll get a couple coats of clear to protect them a bit, and I'll probably heat shrink the spring clip shaft to protect the paint and to minimize rattling when I find a spring clip with a thinner shaft. Interior coming together!
Finally got around to making up a mockup to send Braum to make sure they understand exactly what I want in my seats. They sent me a sample of their black and charcoal grey leatherette materials. The charcoal was very close, but a bit too light, and the black is pretty close, but just a smidge darker than the current seats. But it is an excellent match to the Panther Black on the door cards and dash, so I think this will be a great match to the car. Measured the interior up as well, and the shoulder area will be quite tight, but they should fit in the car with a half inch to spare near the interior pillar trim piece.
Will have plenty to keep me busy soon. Rear suspension, new rear brakes and rotors will start this winter off as well as any bushings I can get to while doing the suspension work. I'd like to drop the front sub frame and do all the bushings there as well, but not sure - I don't have a lot of space. May just pull the bushings I can get to and drop the subframe next summer. More cleaning, bluetooth... probably no paint this year. Would like to find a headliner donor...
Still waiting on photos from production from Braum - they said that they would send some, but none yet.
Did make my first change of the winter repair season today though. I ordered a brand new rear sill cover and installed it this morning. The old one was all sorts of scratched up from the abuse this car took during its mid-life. Slowly working to undo some of that damage. This piece is nice an clean and scratch free. I don't think there are that many of these pieces left in NOS, but totally worth the 65 bucks I paid for it. I have also located a headliner donor that I am going to drive and pick up the Monday or Tuesday after xmas - so that is nice. Will check out the 2003 donor car they have and see what the back lateral trim panels are like - mine are pretty scratched up and would like to replace those if I can find a nice pair in near mint condition for not silly money.
Finally had time during the intersession to take car of some projects.
HEADLINER - Been looking for a headliner donor for quite some time. Not too many salvage yards up here, and with Minneapolis the closest dealer, not a lot of folks around here with Minis, so used parts are few and far between. Been looking on parts-search every so often to see if there might be something not super far away, and recently found a 2003 sunroof headliner donor... about 100 miles west of Minneapolis. So on Monday, I made the drive, and found a pretty decent headliner donor for $100. If the 188,000 miles 2003 electric blue MCS that now resides at Jack's Auto Parts in Sauk Centre, MN used to be your baby, I know this one part, anyway will continue to be loved in my car. I am always sad to see a first gen Mini broken for parts.
Drive was pleasant enough. Left at 6am and was home by 6:30 pm. The headliner fabric that I had bought from Joann Fabrics had been folded, and had permanent creases in it, so I went to see what they had at Hobby Lobby. Luckily, they had exactly the same fabric - sort of a light-medium gray, a bit darker than the stock fabric, but not too dark. The image below shows the stripped off original fabric next to the new stuff for some sort of reference. White balance on my phone is awful, so the colors are not accurate, but it'll give you an idea of the value at least.
Used a long handle steel bristle brush to remove the old foam material - the sort used for taking peeling paint off of houses before repainting. Took about 15 minutes to get rid of the old foam and have the liner cleaned up. It had a few issues - corners peeling, water spots, and a few creases from being taken out fairly rough I would imagine (the entire interior of the electric blue donor was full of parts that had been taken off the car when the engine was pulled. It was stacked almost to the ceiling). Anyhow, cleaned up.
I used an entire can of the 3M headliner spray adhesive. A thin even coat on both sides, two coats on the edges of the headliner side. Dry and tacky to the touch before starting to press it down. Started at the middle dome light area between the two panels and worked frontward, pressing it down firmly as I went. Gradually worked frontward pressing in to all of the nooks and crannies as I went. Then I sprayed the rear half and repeated with that side. Came out pretty good. Have only one crease, but that is because of a crease in the headliner in that spot. Stretched the fabric a little more than I would have liked to in a few places, but you can only tell if you look very closely. All-in-all, not a bad redo. Now that I have done one, I think the next one would come out substantially better were I to redo it again at some point (way) down the road. Again, the color temp of the image below is awful.
Definitely broke the clips on the inside C-pillar on one side getting it into place. Need to figure out how to pull that pillar cover off to check the damage. I can get the A, and the B, but that C pillar cover is like one of the physics secrets of the universe. All tolled, start to finish, I think it was about 4 hours. Took another hour os so the next day to get the trims back on. Not a tough job, but lots of patience required.
I also ordered some new mats. I only needed the driver's side as it had worn through in a few places - my passenger side mat is still in great shape. I discovered that the quality of the original mats is better than the mats that they are making now. Definitely thinner rubber - I'd say that the new mats weigh about a third less than the old ones. Ah well - the first set lasted me 17 years - if I get half of that out of the new ones, then so be it. Wish they sold these individually though.
Started converting my lighting to LED as well. Started with the front parking lights and the center map light (the one that came with my headliner had the LED module replaced by the previous owner. I bought some Hella W5W-type 12v 1W LED bulbs in 5000k color temperature to replace the parking lights to start getting rid of the fried-egg look of the parking lights. I have always hated the fact that when the headlights on the Mini are on, there is an in-your-face color difference between the headlights and the parking lights. Some of that is because of the big orange blinker bulb in there, and some is because of the color temperature of the 5w halogen which is super warm color. I found a lot of people saying that the xenon colr temperature is around 4500K, and these were the closest I could find to that in a brand-name W5W type bulb. So, put those in and the color temp is much better. No hyper flashing - these seem to be a pretty good fit in terms of temp. They do appear to be brighter. Now I need to find a blinker LED bulb without an orange lens to get rid of that egg-look once and for all. I tried to do a before and after comparison photo, but the white balance on my phone made those essentially useless. Anyhow - the bulbs that I used.
Still no photos of my seats in production. Will shoot Braum another email in a few days to see where they are at. I did order my rear shocks, and I have some parts in my shopping cart at ECS (shock bumpers, new bushings, rotors) - any other easily replaceable bushings on the rear end that I can get to during a rear shock replacement without too much additional work?
Working on updating the lighting lately. Did the 5000K LED in the parking lights, and the color is much better. As mentioned previously, the bulbs do not rapidly blink and are a much BETTER color temp match with the stock xenons, which I think are more than bright enough for normal night time driving around town. As you can see below, the 'fried egg' look is still there because of the giant orange globe directional bulb in there. I ordered some LED indicator bulbs for the front as well with a built in resistor. If those don't work well or don't look good, I will pick up a pair of the silver mirrored yellow indicator bulbs to get rid of the 'fried egg' look in front. The bulbs I used for the parking lights are these Hella 5000K >
. There is enough room to get into the parking light housing with the hood open without having to do surgery (remove bumper cover, etc). It's tight, but I have big hands and I could do it. I did take out the blinker bulb first to give myself some room though. Can't wait to get rid of that 'yolk'.
I was thinking about LED's for the front, but I have wanted to try amber/yellow fogs for a long time, so I just also ordered a pair of Hoen H11 55w standard yellow fog bulbs. Never been all that impressed with the stock fog bulbs - the color does not match the color temp of the low beams, the high beams, or the parking lights (THREE color temperatures of 'white' light on the front end of the R53 is just a thorn in the otherwise excellent design ethos of the G1 Mini). So, with the parking light color temp corrected (pending the 'yolk'), I decided on yellow fogs to help throw more light when needed and help penetrate through the weather. Pretty excited about that. The bulbs that I ordered are the Hoen 55w 'Endurance' ones here > http://www.hoen-usa.com/fog.htm. I may replace the stock high beams down the road if I can find a good throw LED (or perhaps just a standard H7 HID-match bulb?) that is a close color match to the xenon low beams.
In the interior, I am still waiting on the footwell replacements that I bought off ebay based on some good reviews and photos that I saw (I think on here somewhere)... https://www.ebay.com/itm/LED-Footwel...72.m2749.l2649
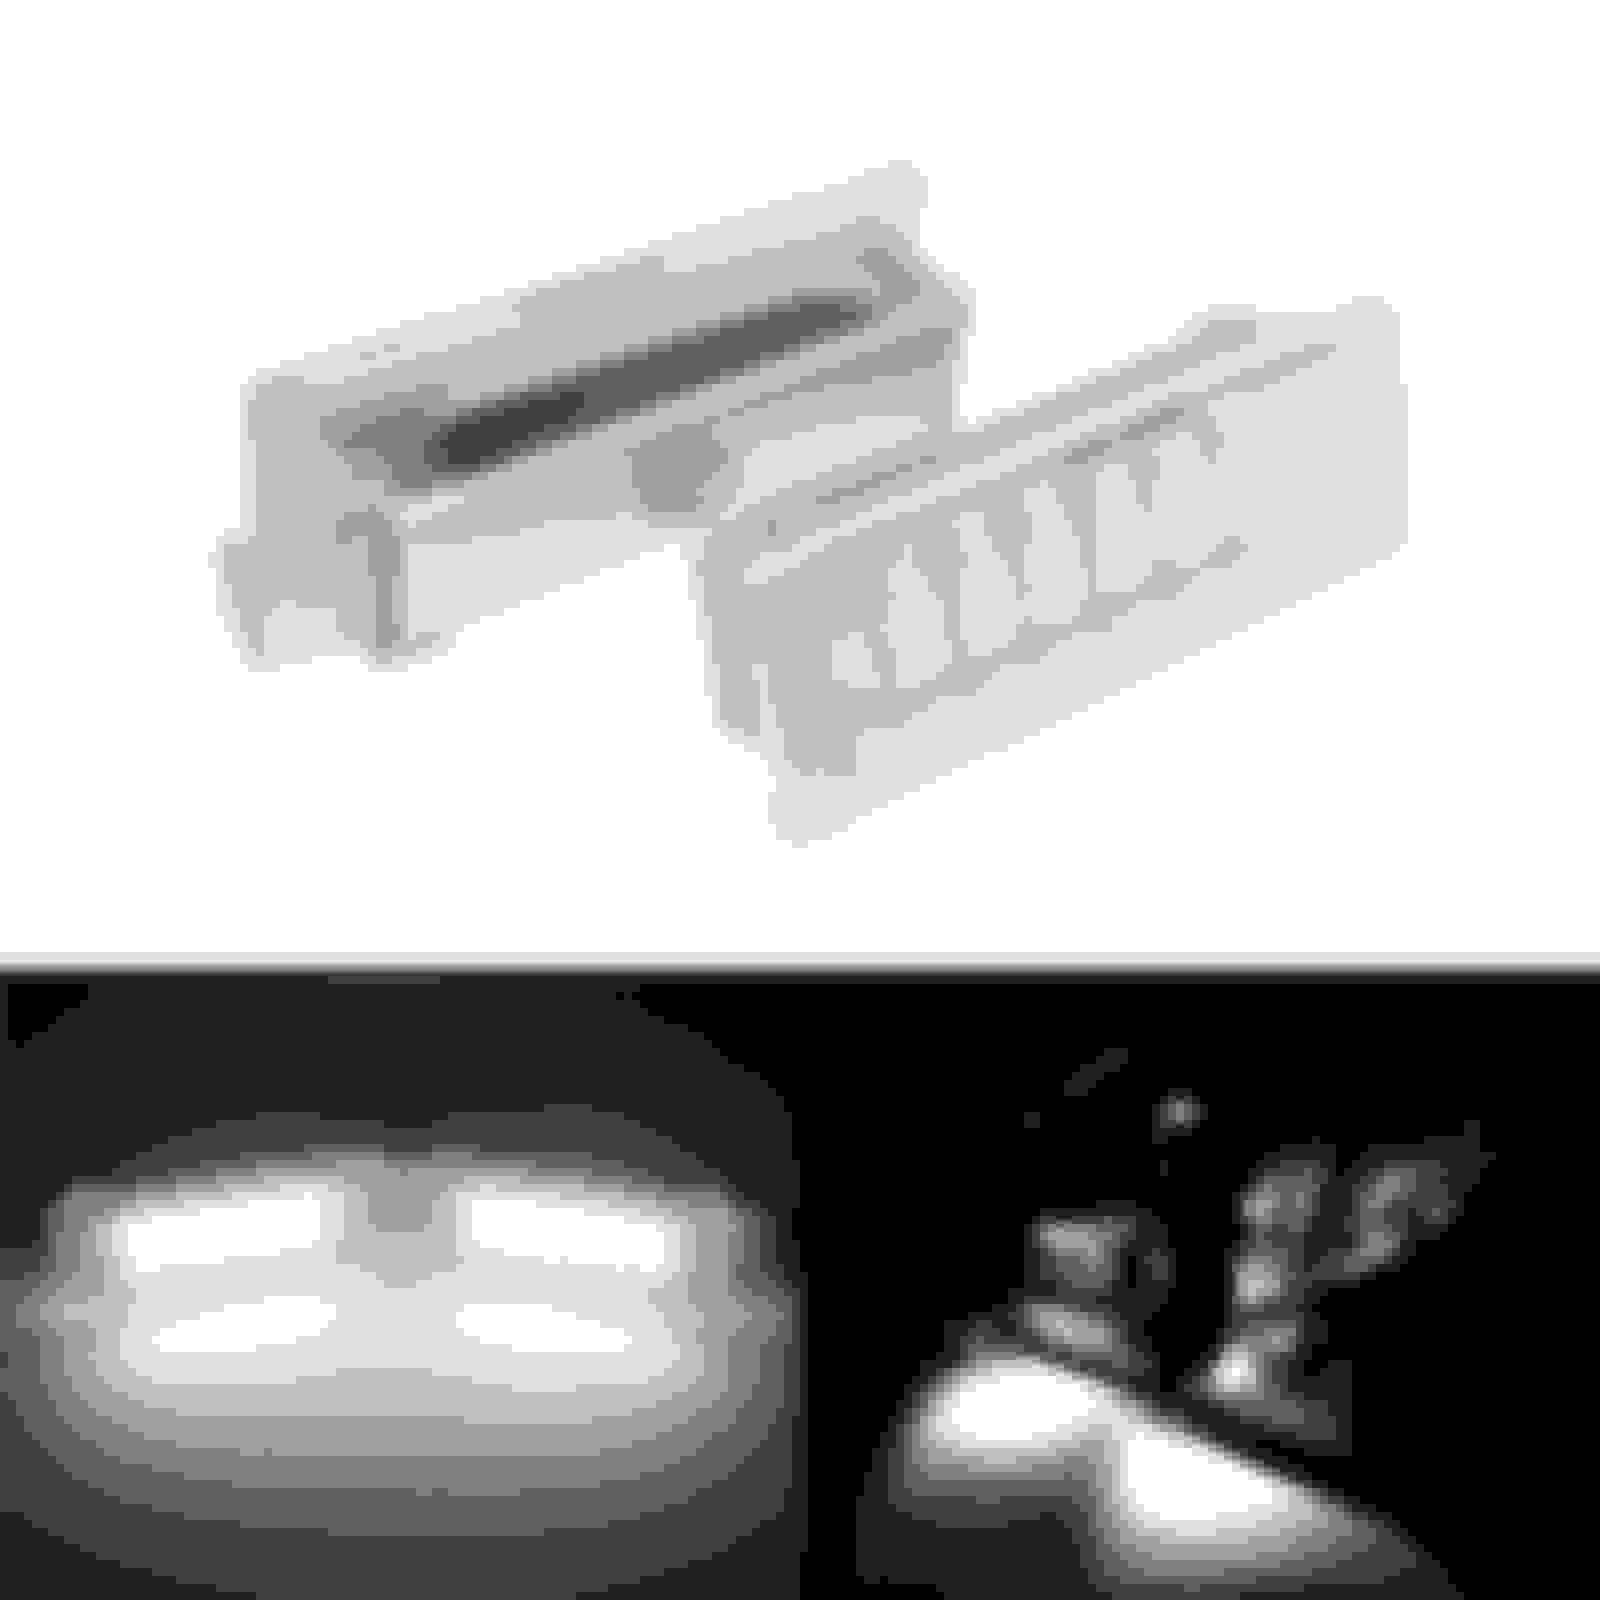
I replaced the two map lights on either side of the main dome light with Sylvania 6000k LED 194 bulbs (as previously mentioned, the dome that came with my headliner donor had an LED module installed already, so I switched to that dome light when I put the headliner in). The ones that I used I found in stock at O'reilley, but I think I have seen them at autozone also - 15 bucks or so. They really do throw quite a bit more light than the stock bulbs do - definitely enough to read a map by at night for sure. Below is a side-by-side of one new and one old installed. Works with the voltage fade perfectly as well when the lights fade when you lock the car. No problems with any of these lights not working exactly as the bulbs they replaced. If you replace the bulbs and they don't work, the polarity is wrong, take them out right away and reverse them.
For the boot light and the plate lights, I used these resistor-installed ones that have good ratings on Amazon and nice robust aluminum heat-sinked bodies. Note that the stock bulbs for these locations are 38mm festoons, and these are 39mm, but they do fit, and work perfectly. Ones I bought...
They come in a pack of 4, so I was able to do the boot light, and both plate lights. I could have used these on the footwell lights as well, but I found the footwell units before I had found these. Anyhow, they REALLY brighten up both areas nicely. The light in the boot is much brighter and more crisp than with the stock 5w festoon - easily enough light to find something by at night now, and the plate lights are now way brighter as well. The pic below is a side by side - LED on the left, standard on the right. No comparison in terms of brightness.
I think the only bulb replacement that I still need to do is the reverse light. Q: Would like to find a super bright 1156 replacement. Anyone do the reverse light LED replacement? Which bulb did you go with and how was the brightness compared to the stock bulb?
FUTURE LIGHTING PLANS.
I mentioned that I feel the stock xenons are perfectly fine for around town driving. But, up here in ND, there are a LOT of deer. I love this car, and want to keep it forever - which is why I insure it for $20k (so it can't be automatically totaled by asswad insurance companies). So, seeing what is up ahead and maybe more importantly, what is off to the sides, is important. I have been thinking for a long time about some rally lighting - I think these cars look particularly good with a well done rally set up, especially down low. So, think I'm going to go with a Palo Uber bar because I don't want to cut through my lower stainless grill and I like the totally invisible look of the mounting system. It sucks that it will make bumper removal tougher, but there are tradeoffs with everything. I like that the bar comes with a wiring harness as well and that it is stainless. I also like that it has a bit of a break in the middle - I think that is a neat styling touch.
For the lamps, I am thinking Hella 500's - a pair of fogs on the outside angled ever so slightly outward, and a pair of driving lights on the inside. Bulbs will be color matched to the xenons - something like Hella's extreme white which they say is close to xenon in color temp.
That should cover night time driving on country roads pretty nicely. Anyhow, not my photo below, just for reference.
I definitely like the look of #2 better, and I think the amount of light will also be pretty amazing. But, some of those newer LED bars really have a lot of throw as well!
The thing that will be tough with the #2 option will be the front plate. ND is a front plate state, and the tow hook holder won't work because there will be a lamp body there, and the whole look of #2 would be ruined by smaller lamps. I may be able to fit the plate in sort of 'behind' the two middle lamps if I take the bumper mount plate holder off and direct mount the plate to the bumper. I know that I definitely do not like the 2 lamp look though, and would rather go with #1 if that is the only workable option. UGH.
I've tentatively designed a Palo Uber-type steel DIY that should be rock steady and absolutely devoid of any vibration, and pretty cheap and easy to build. Quick disconnect wiring harness behind the bumper and all to facilitate getting the bumper cover off in reasonable time. But I can't commit to the build because of the stoopid front plate.

 10-07-2020, 12:06 AM