When you click on links to various merchants on this site and make a purchase, this can result in this site earning a commission. Affiliate programs and affiliations include, but are not limited to, the eBay Partner Network.
Installed oil pressure and temperature gauges from SpeedHut. Not 100% done yet, but close. I made some small aluminum brackets that attach to the bracket that secures the tach. I'm not sure if all models have that bracket, but it seems to be set-up for left and right gauges even though I had none. Used directions from Alta for wire taps, which worked well.
The gauges are clamped to the small aluminum bracket. I put a radius in the small bracket to roughly match the 2-inch diameter gauge. So simple and surprised they work so well. Have ordered some black hose clamps with small screw mechanism. And, I'll paint the aluminum brackets black although they are really only visible from outside the car (looking through the windshield).
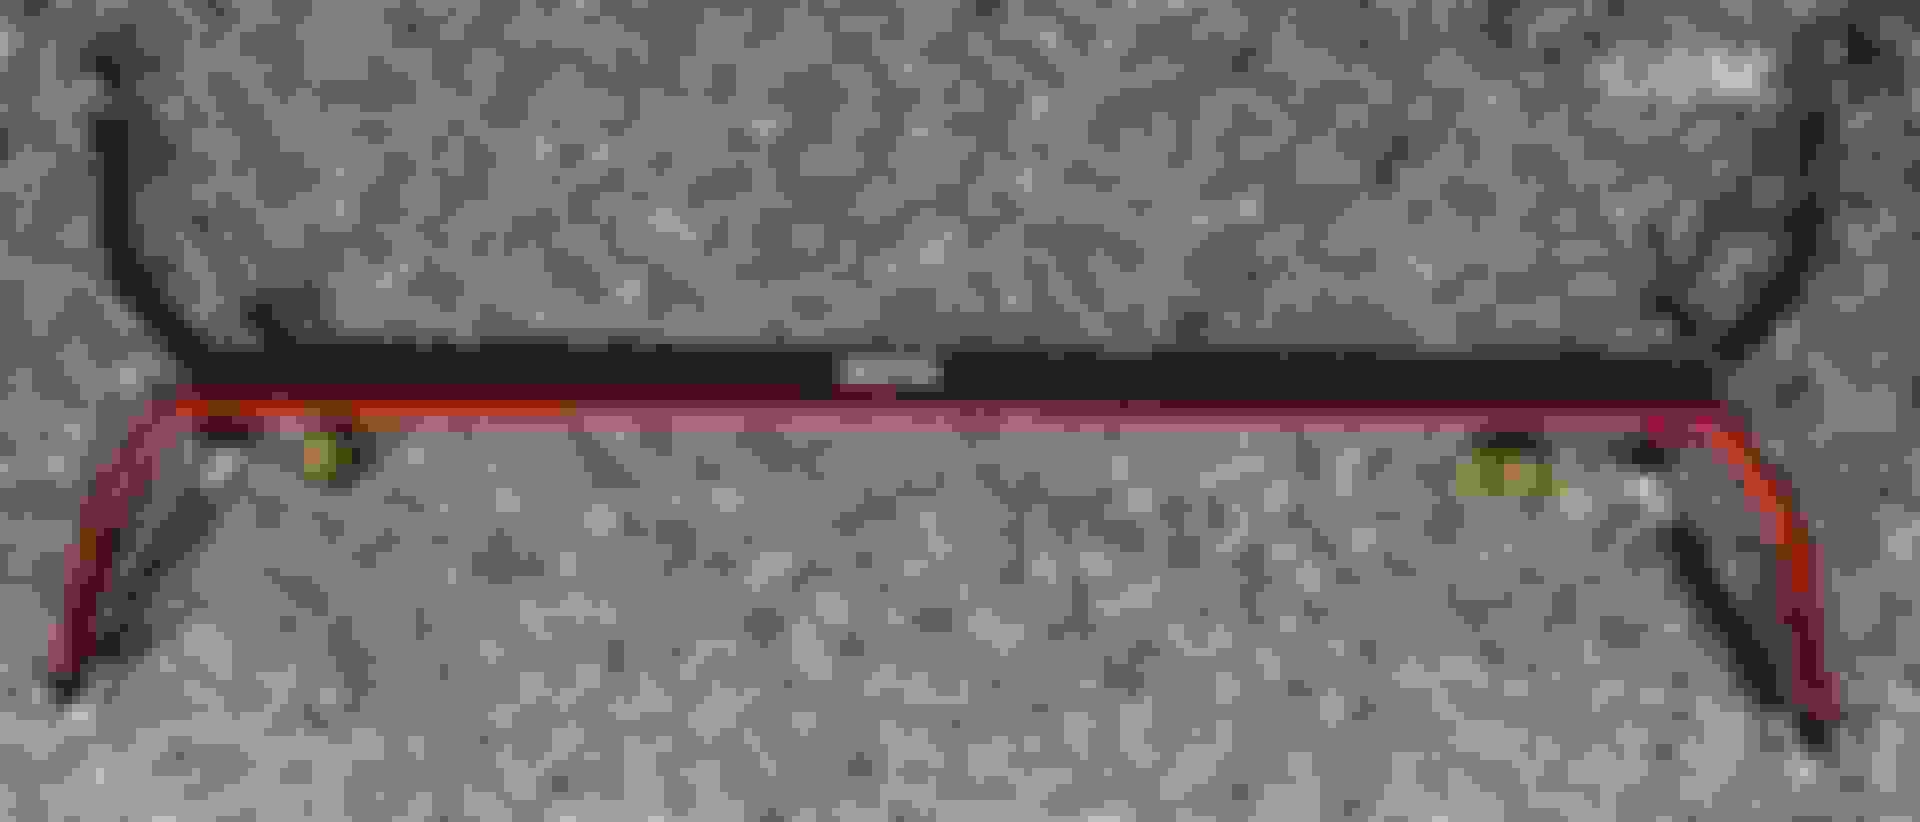
I had a question on the sway bar, so posting a few things on that...this is out of chronological order - did it in June 2019. I used the Alta instructions, that are pretty minimal, but seemed to be enough to get me there.
----Remove
1. Raise rear of vehicle onto jack stands or use commercial vehicle hoist.(NEVER WORK ON A VEHICLE SOLELY SUPPORTED BY A JACK!)
2. Remove both rear wheels.
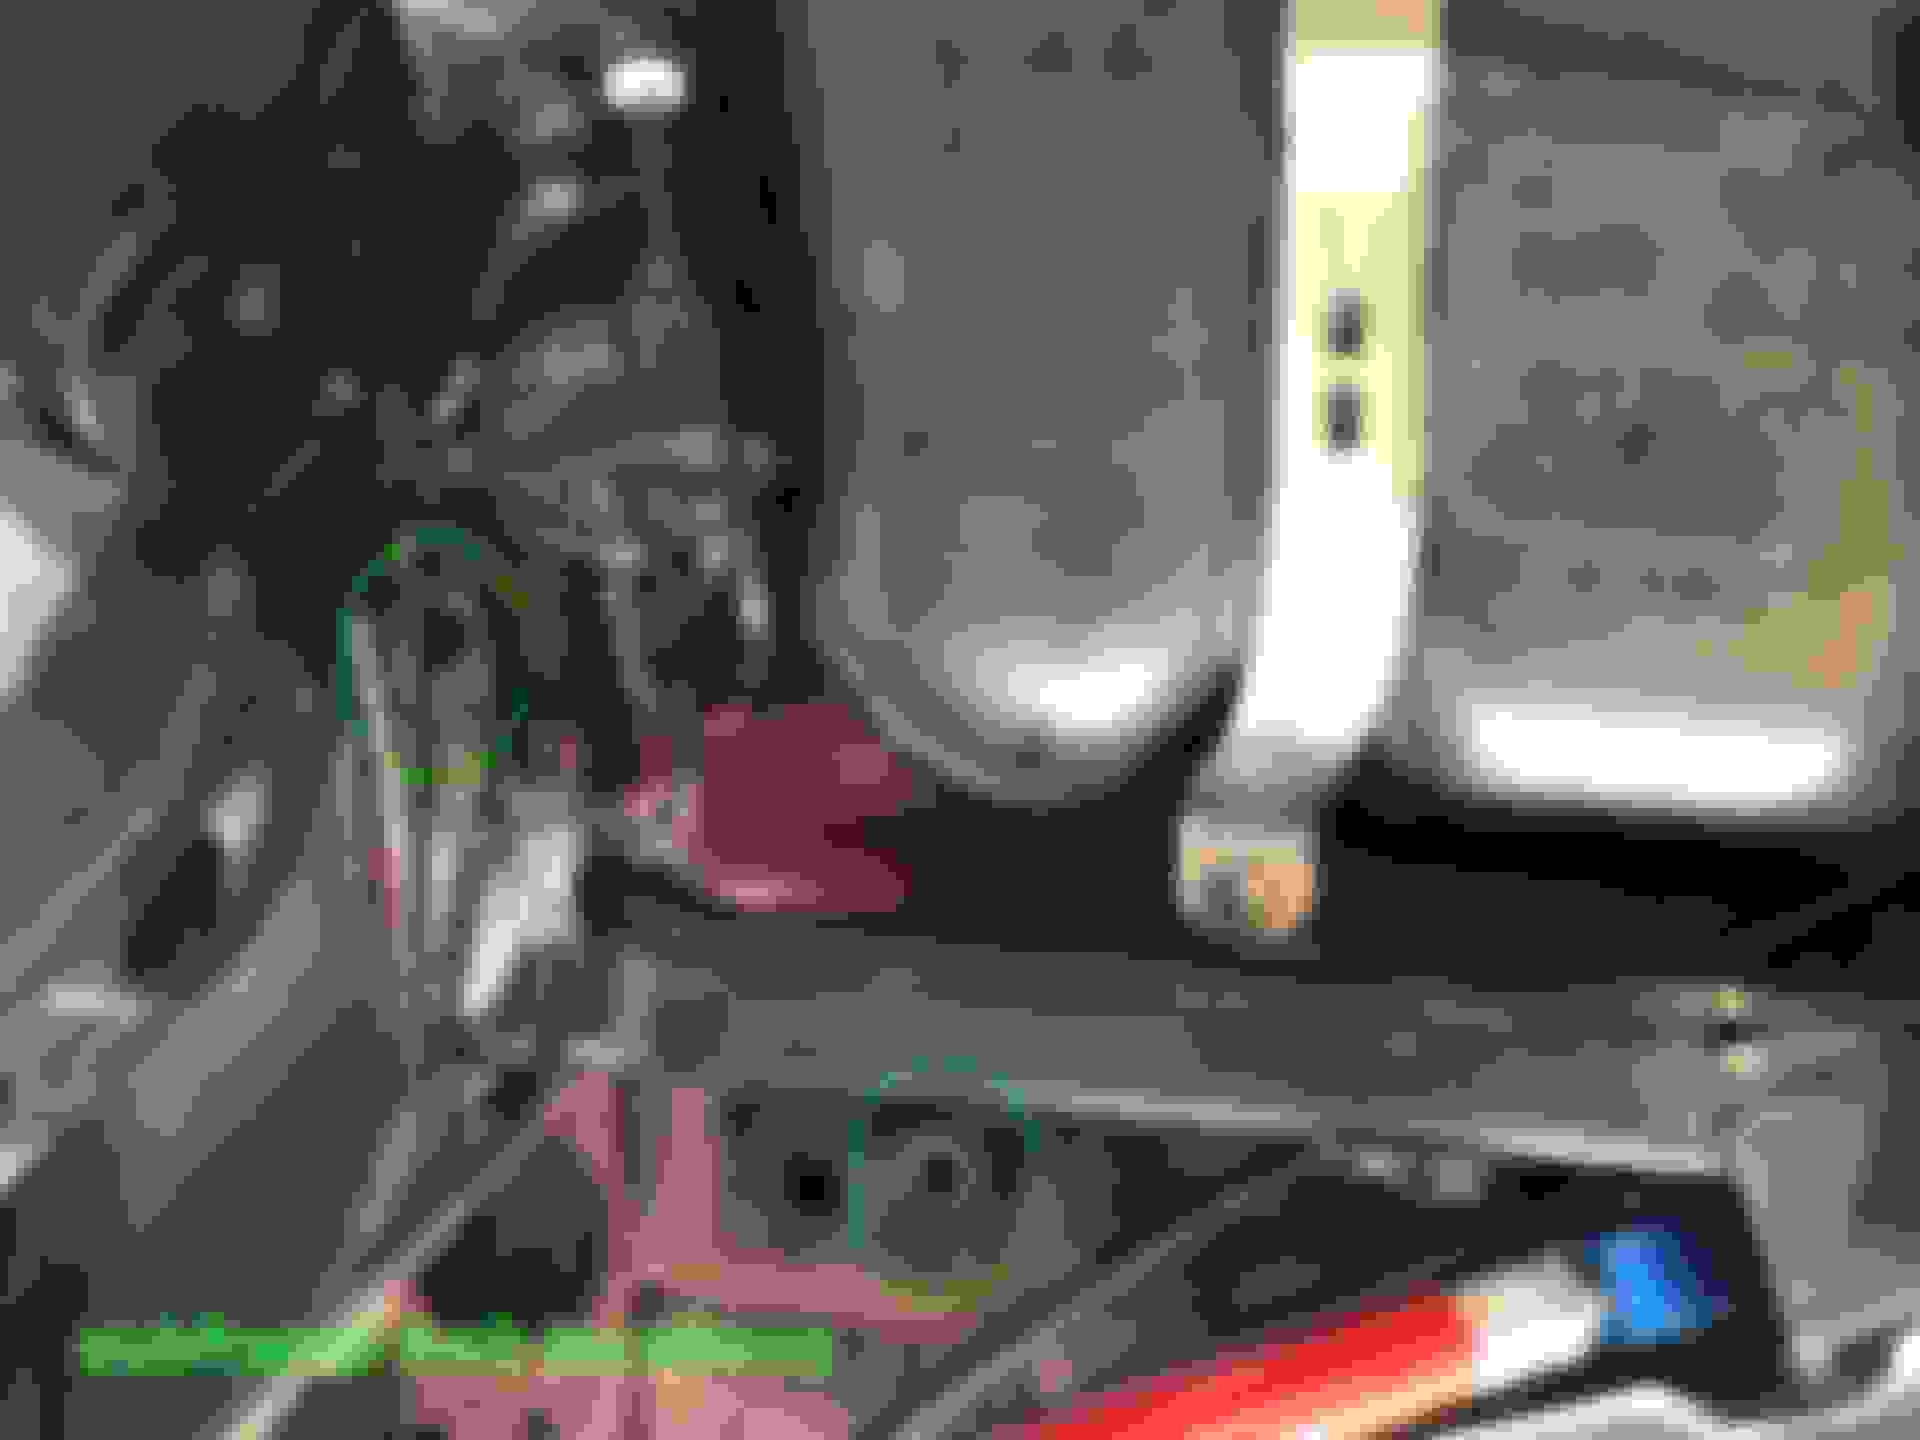
3. Remove factory end links from both sides of vehicle. Endlink is indicated in left picture below.
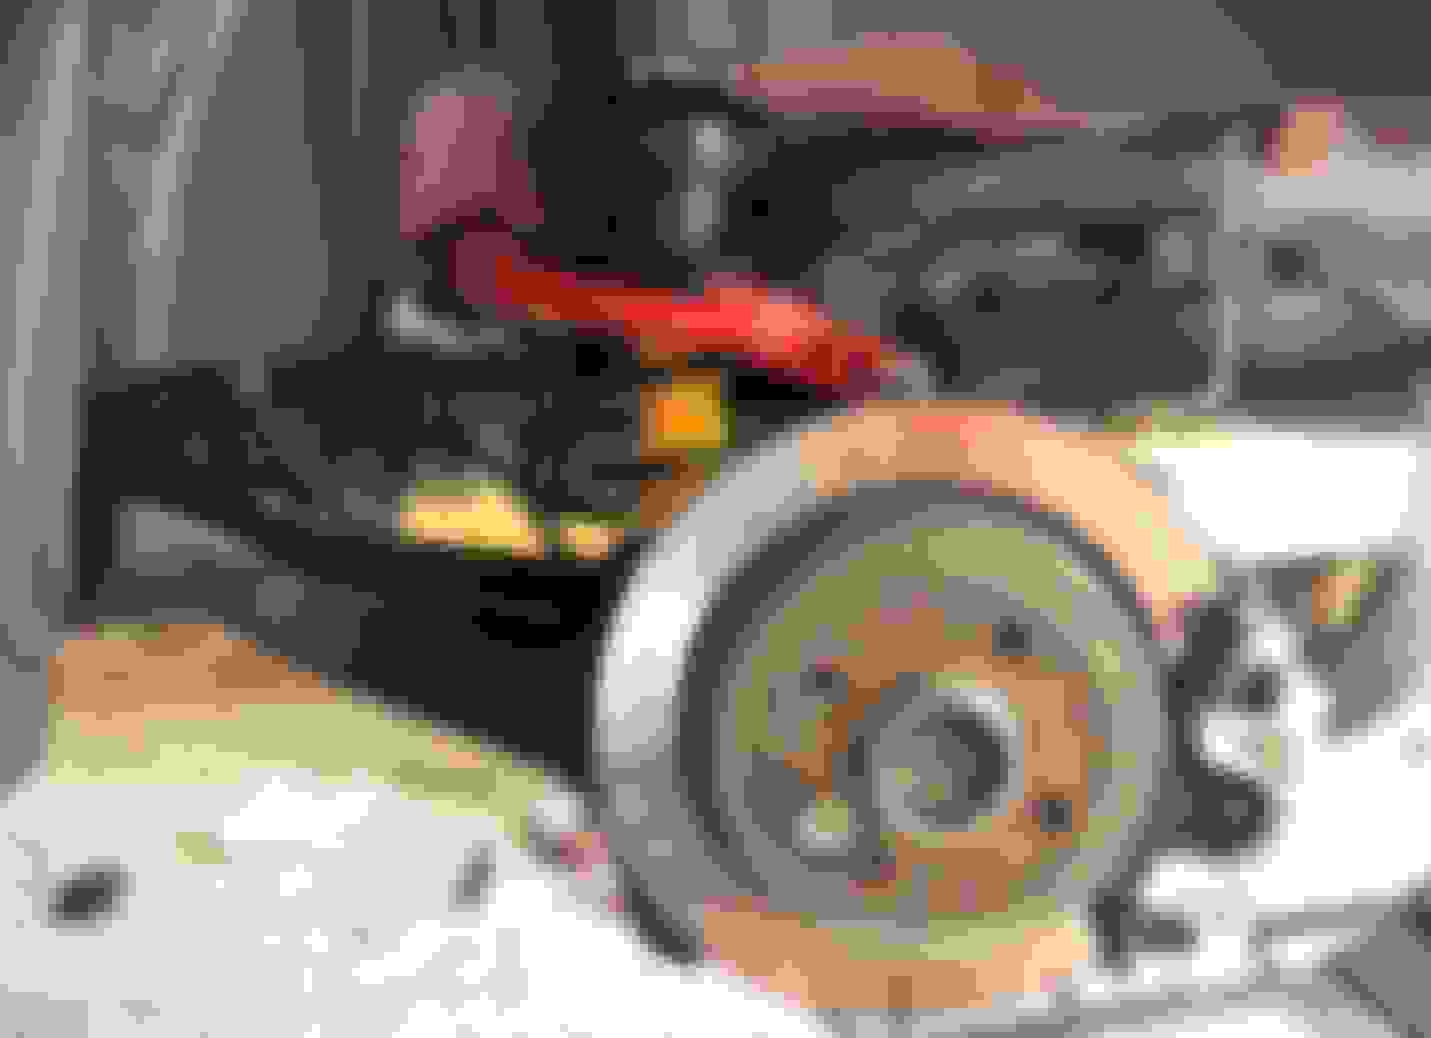
4. Remove passenger side strut/spring assembly. (2) 13mm bolts and (1) 21mm bolt. Use care when disconnecting ABS and brake fluid lines from clips on strut. Repeat strut removal on driver side. Left picture below shows strut.
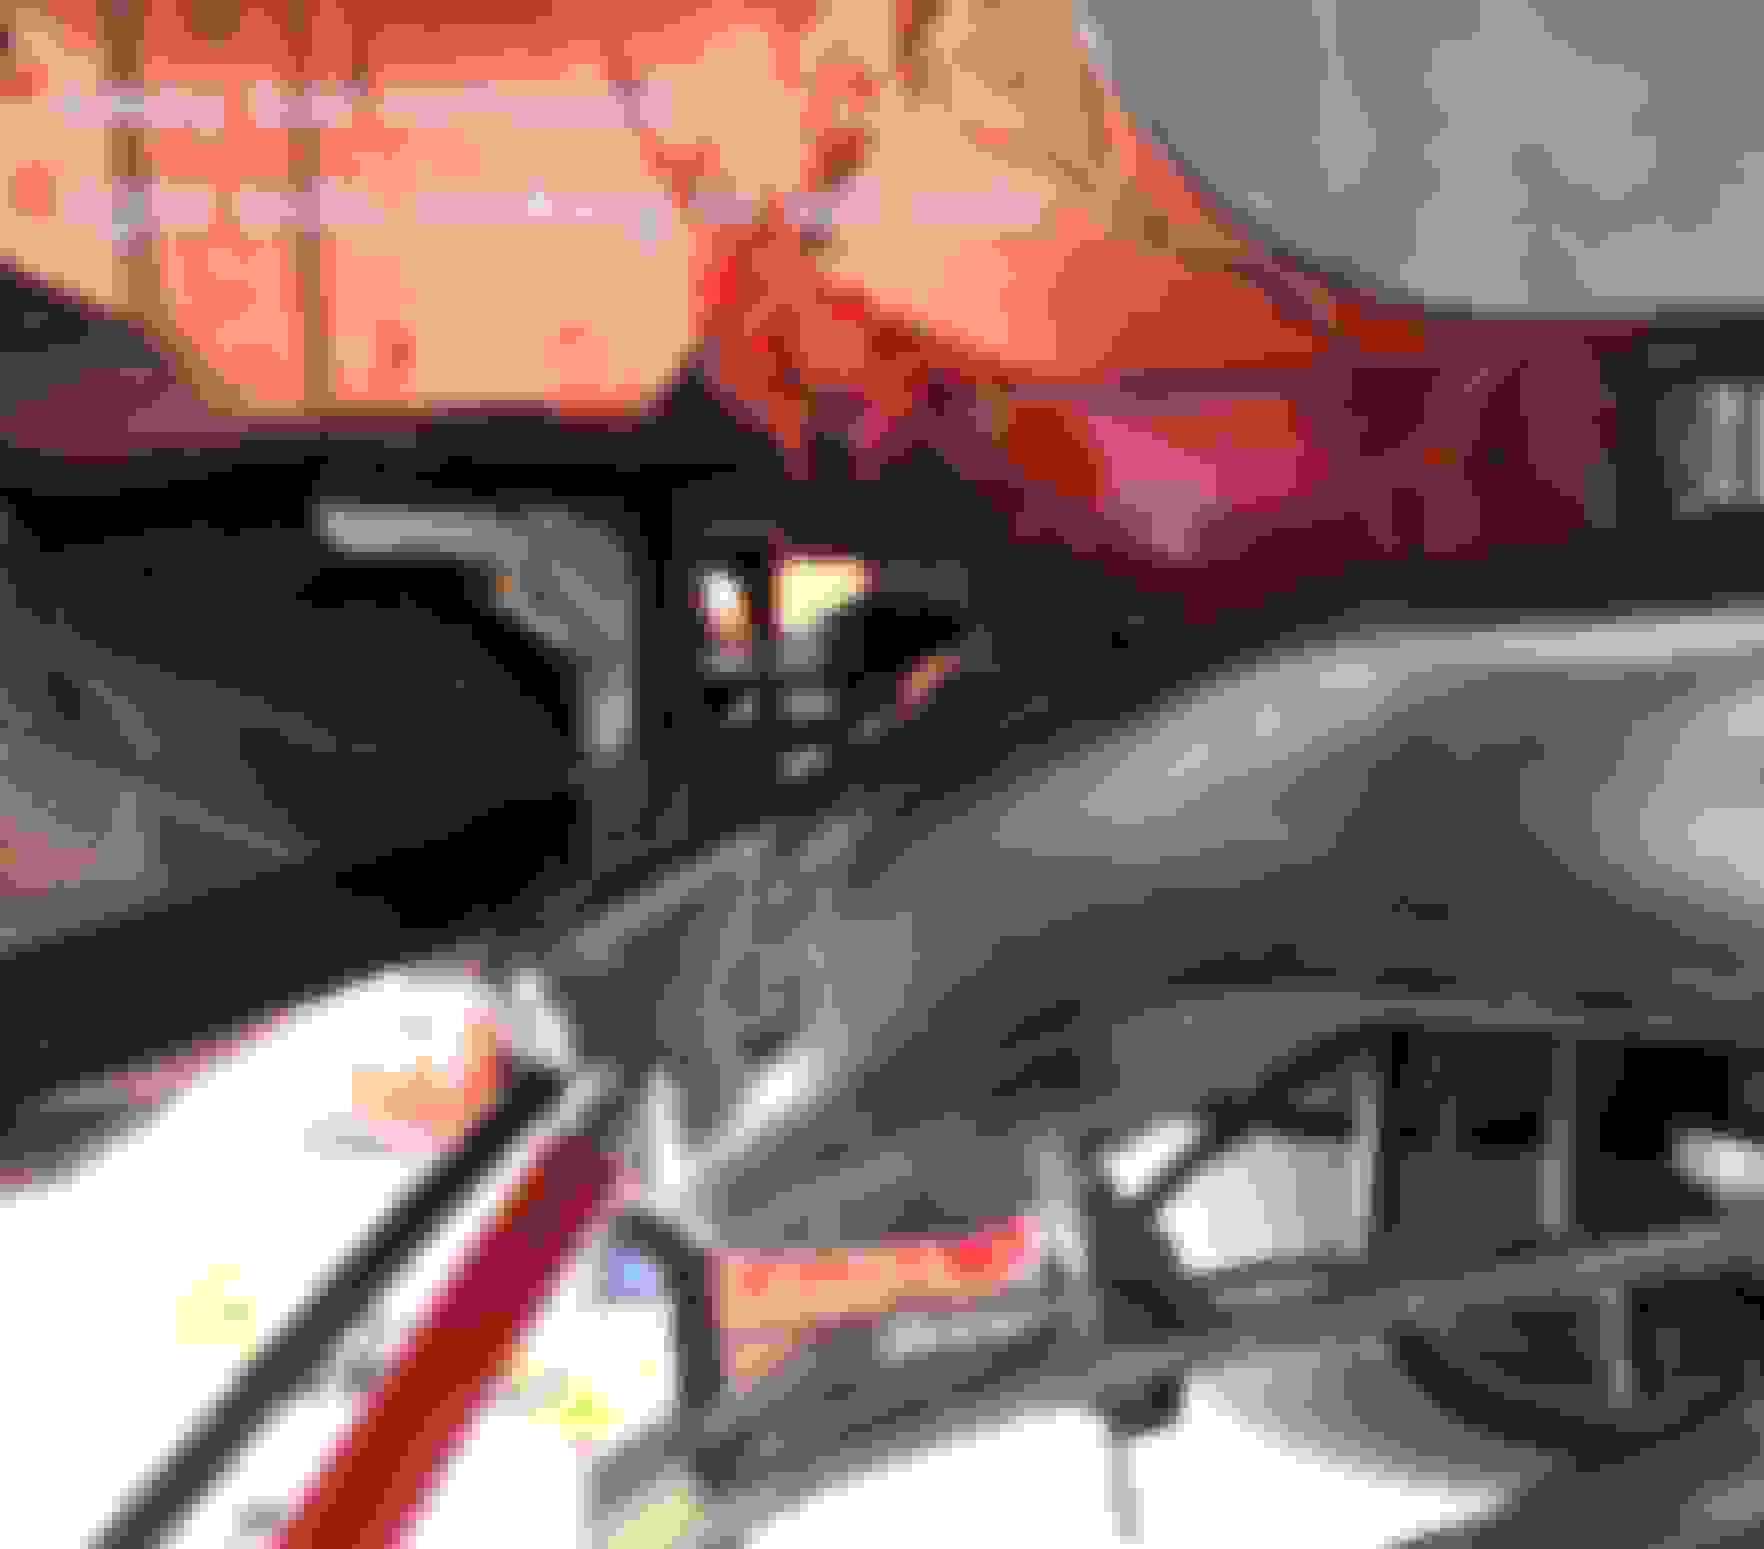
5. Remove (4) 16mm bolts connecting rear sub frame to chassis. Right picture bellows indicates bolts to be removed. NOTE: Convertibles have one extra bolt securing sub frame to chassis that needs to be removed. This is located in the center of the sub frame.
6. Remove sway bar bushing clamps from both sides of vehicle.(2) 13mm bolts each side. Left picture below indicates bushing clamps.
7. Remove sway bar through drivers’ side of car. Use caution not to snag wire harness. Note: Rear sub frame may need to be pulled down to help facilitate ease of removal. Right picture below indicates, wire harness, and how far sub frame needs to be pulled down.
Install
1. Route new bar through same area as stock bar was removed. Again, rear sub frame may need to be moved to help ease the installation, and use care around factory wire loom. Install sway bar as shown in the picture below, with small flange on top.
2. Place new bar in the approximate final installed position.
3. Generously lube each bushing inside and out with supplied grease and place each over new sway bar. Note: Place each bushing in same position as factory bushings removed prior!
4. Install new sway bar bushing clamps over new bushings using factory hardware removed prior. (2) 13mm bolts each side.
5. Re‐install (4) 16mm bolts through sub frame and into uni--‐body. Tighten to factory specs prior to proceeding!
6. Re‐install both strut/spring assemblies removed in step 4 above. Note connect both sides to the body (2) 13mm bolts each side before connecting (1) 21mm bolt each side to sub frame. This will aid in installation and tightening of sub frame in step 6 below. Tighten all fasteners to factory specs.
7. Connect factory end links to desired position on sway bar. There are 3 settings to the sway bar. The hole closest to rear of vehicle will result in less oversteer, settings closer to the front of vehicle will result in more oversteer.
8. Re‐install rear wheels and tighten lug bolts to factory specs.
9. Lower vehicle and test drive! If squeaks are present in the rear of vehicle after install, add additional lubrication to sway bar bushings.
----
A few photos:
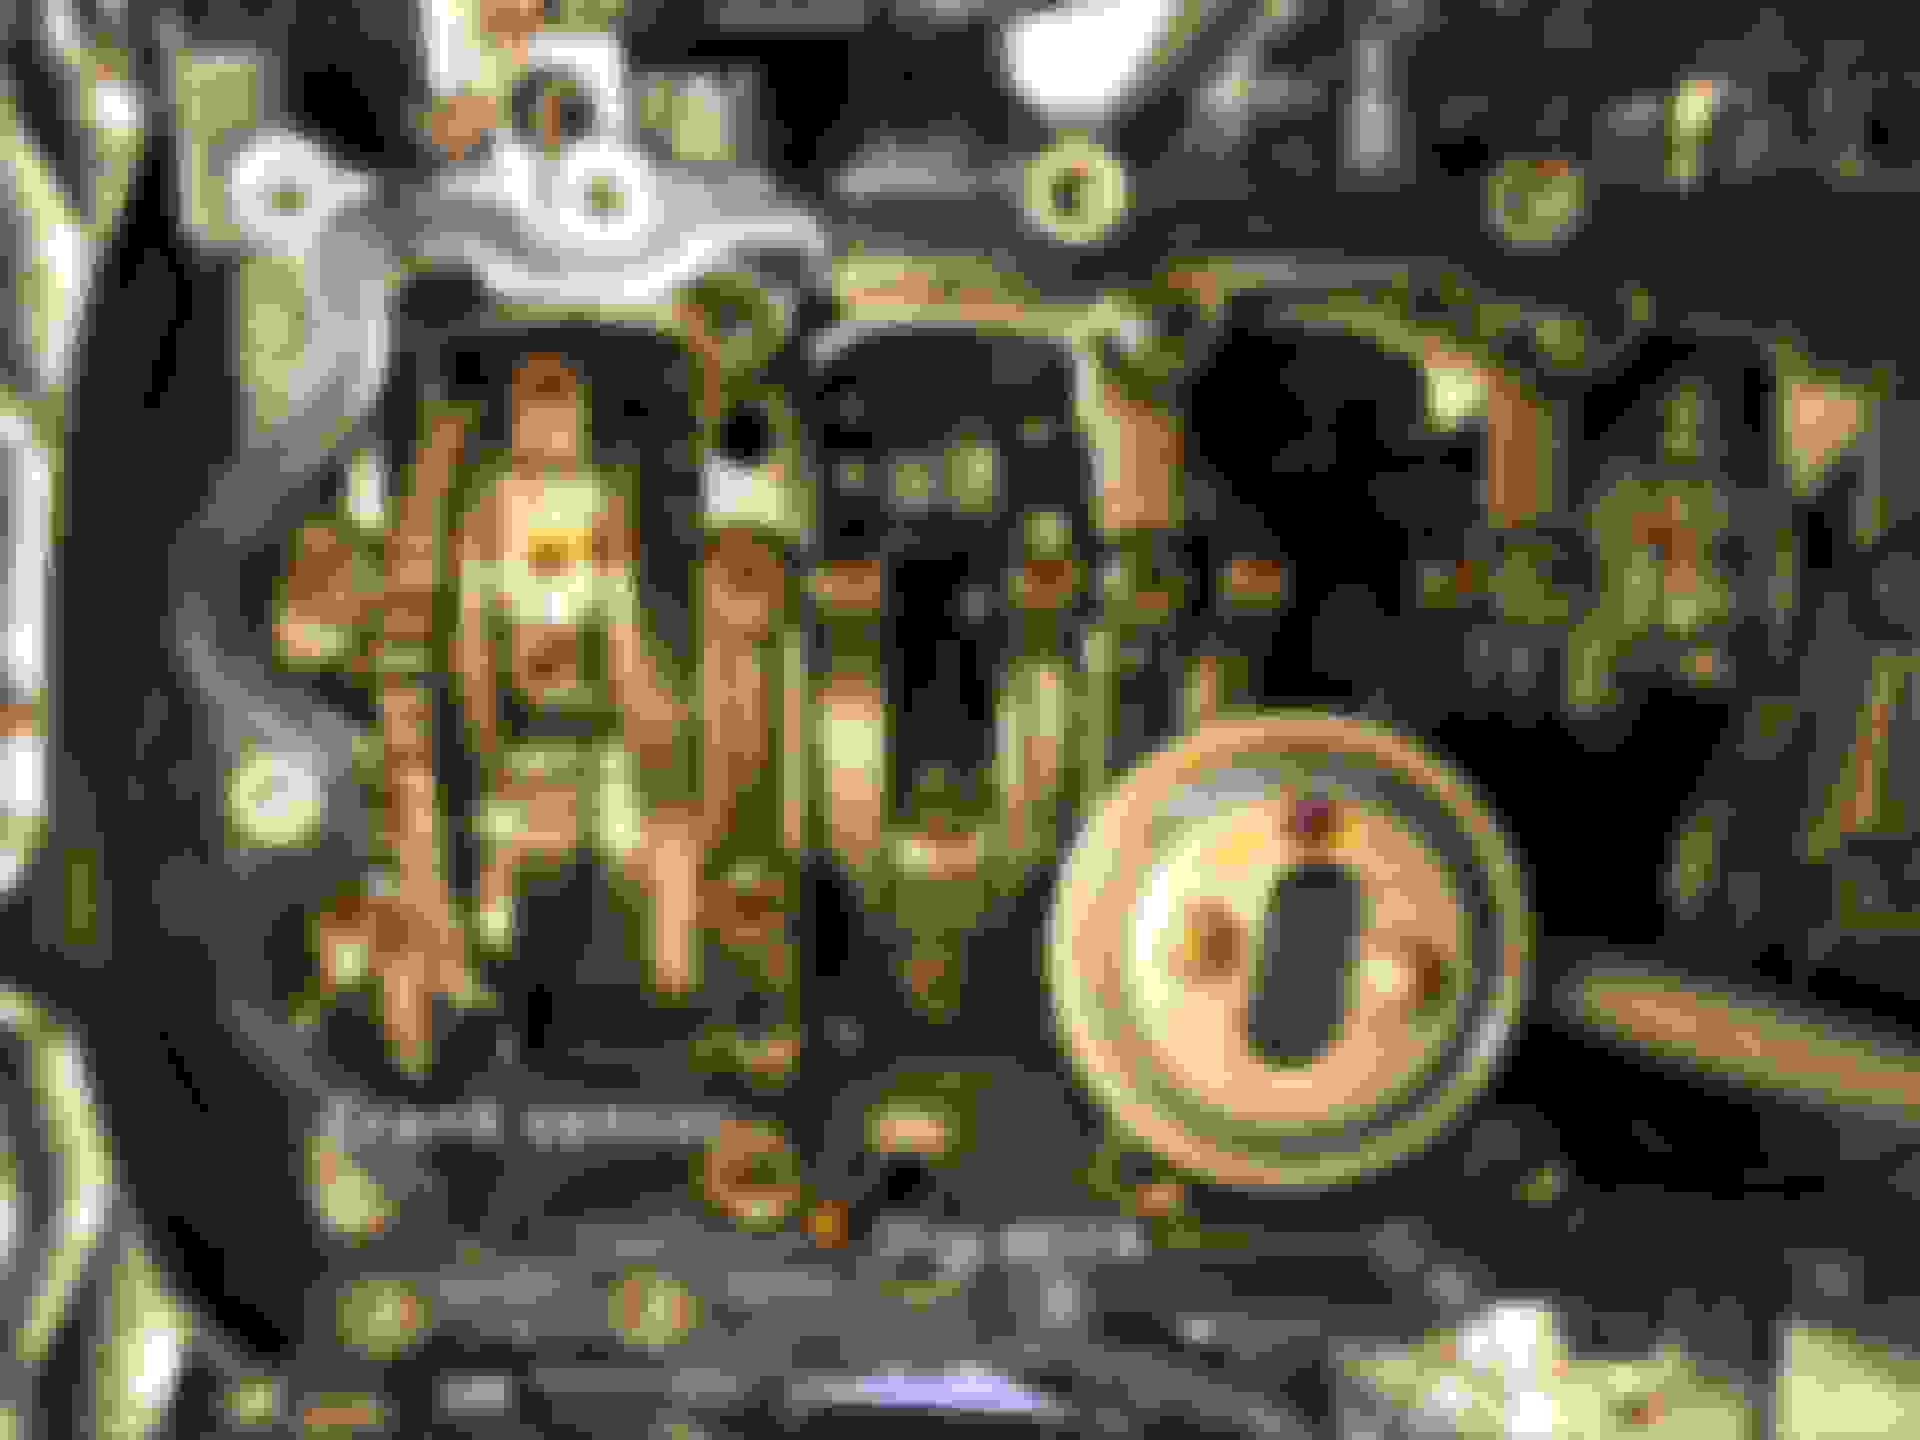
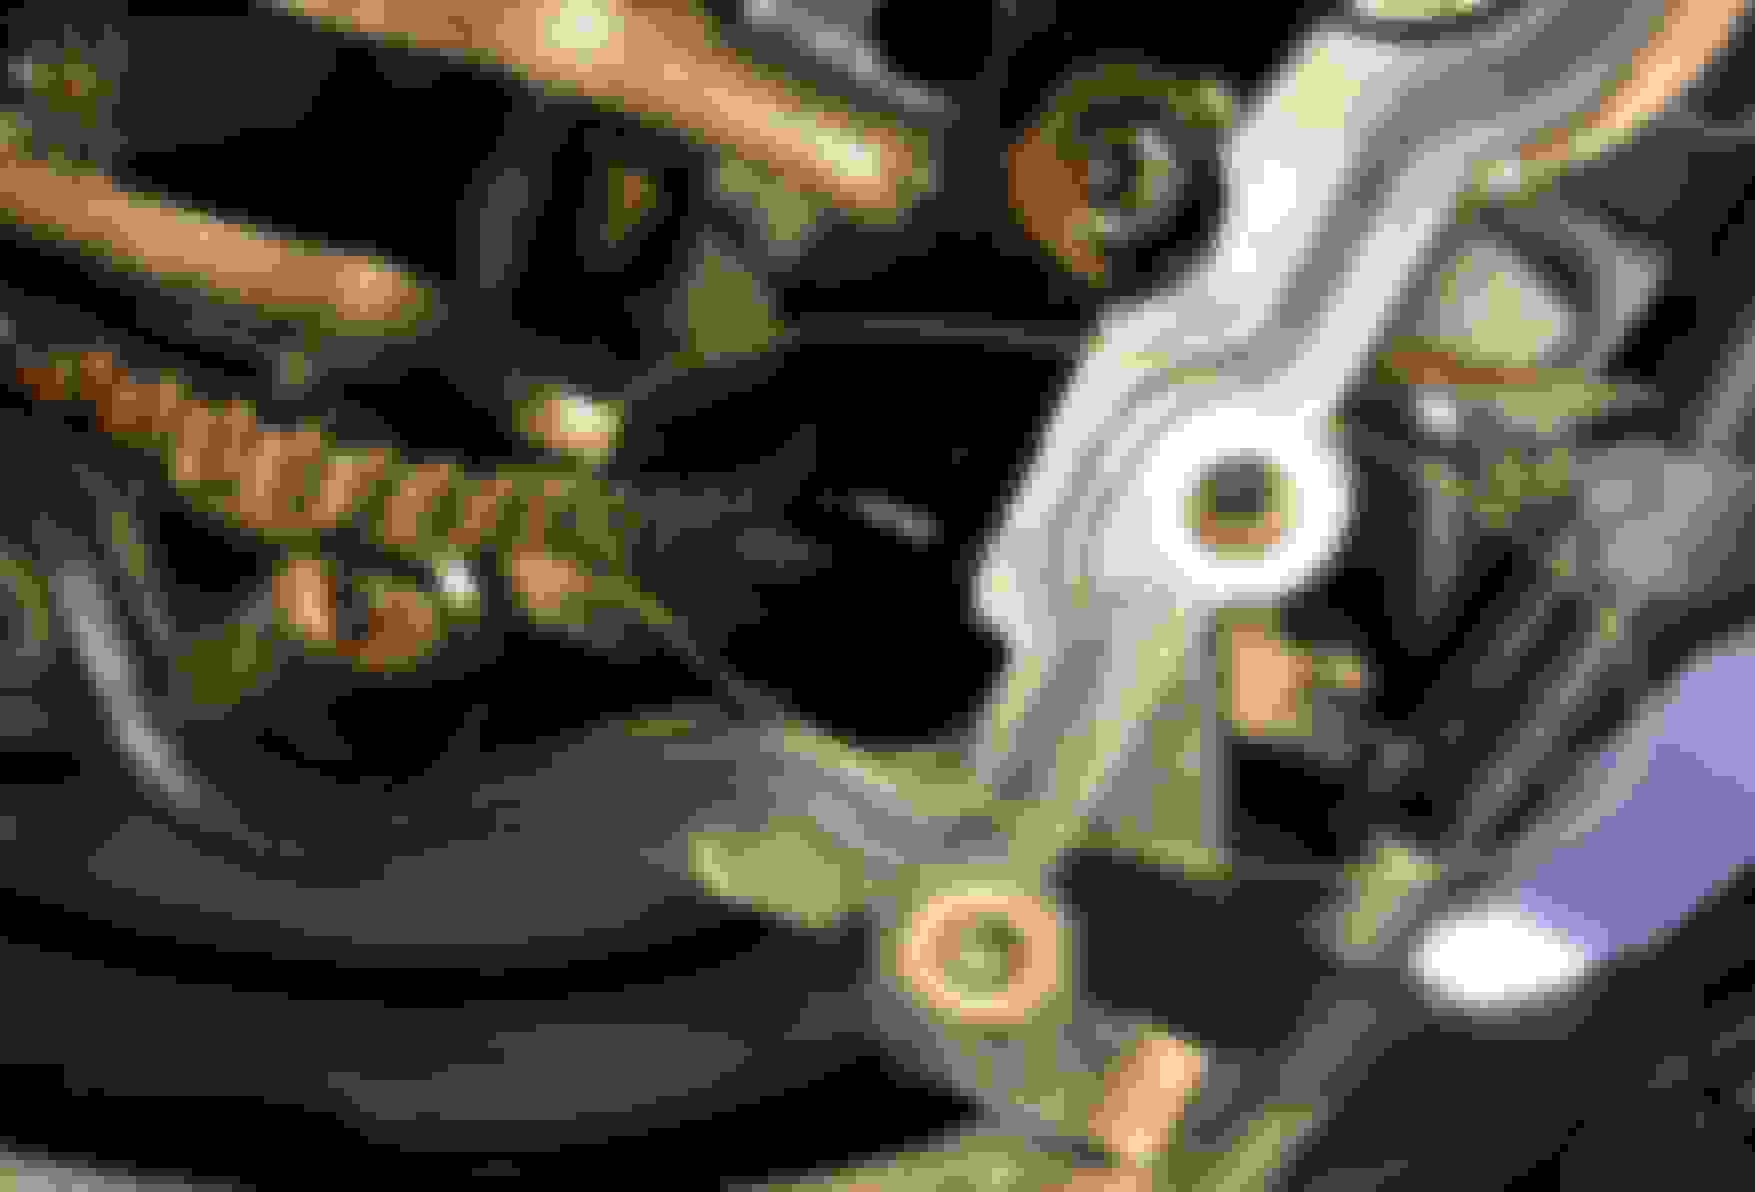
Replacing oil pan gasket and crank sensor O-ring! Anything I should look at while pan is off?
Kinda cool to see the crank sensor on both sides:
I also tapped a 1/8" NPT fitting for the oil temp gauge into the pan. Sure hope it seals or I'll have to get it welded up and try again. I tried to pick a thick section, but wasn't as thick as I was hoping.
Yes. If you are going to be heading to any tracks, you need to build a "proper" windage tray to go between the block and the oil pan. There is one on the market that's better than nothing, but it's not designed very well to actually get rid of the oil and keep it from sloshing back into the crank shaft on hard acceleration and corning.
Yes. If you are going to be heading to any tracks, you need to build a "proper" windage tray to go between the block and the oil pan. There is one on the market that's better than nothing, but it's not designed very well to actually get rid of the oil and keep it from sloshing back into the crank shaft on hard acceleration and corning.
I'll be building one for my car this summer.
Mike
I have been thinking about a baffle. It sounds like that may be different than what you are referring to. Do you have a link to the windage tray that's on the market?
To be honest, after I saw how deep the oil is in the oil pan (by seeing where the dip stick protrudes to) I had talked myself into not needing a baffle. I plan to track it, but have not yet. The oil pickup sits at the very bottom of the pan. It's hard for me to imagine that area being dry. But, I have no idea how fast it sucks oil up.
I added an oil pressure gage so at least I'll be able to see what is happening.
Got the crank sensor O-ring replaced. Old O-ring was semi-flat. There was a good amount of muck around the sensor, so hopefully this will keep it clean for a while.
Got OEM crank pulley off and will install ATI super damper this weekend. By the way, I weighed them and they both weigh 5.6 lb.
I'm going to do the windage tray (thanks to @OCR ). Got some aluminum sheet metal coming today and got a mig welder lined up. Going to also install a 1/8-NPT bung for the oil pressure sensor so I do not have to use the drain plug.
Are you going to add trap doors and other cool stuff?
BTW I know the purpose of the ATI Super Damper, is it only really needed on racecars that will be at high rpms for a long period of time? Didnt think the harmonics would be that bad
Are you going to add trap doors and other cool stuff?
BTW I know the purpose of the ATI Super Damper, is it only really needed on racecars that will be at high rpms for a long period of time? Didnt think the harmonics would be that bad
Good questions. Regarding the baffles in the oil pan, I've tried to read a lot about that. I've seen lots of people say they track their cars and have not blown an engine due to oil starvation. Many suggest to add an extra 1/2 quart. Maybe the people who have blown their engine do not post about it But, my position on this was also highly affected when I pulled the oil pan and saw the depth of the oil in the pan. I recognize I do not know how much oil circulates when the engine is running, but I believe there are still several inches worth of oil sitting in the pan based on the seeing how far the dip stick protrudes into the pan (not all that far).
When I was introduced to the idea of the windage tray, it made a lot of sense to me. On hard braking or long/sharp turns I can see lots of oil moving above the pan-block line and splashing onto the bottom end. The consensus seems to be this can drain some power. And, of course it can also lead to oil starvation. Thus, I thought adding some features to keep oil in the pan would be a good compromise because if this is accomplished, and if a bit of extra oil is added, I cannot see oil starvation happening.
Also, the oil pickup is on the "correct" side for my home track as most of the turns are right-handers! So my windage tray is larger on the left side (out of the way of the pick-up line).
Regarding the super damper, I've only done it because someone here recommended it, and a person I know personally, who is a major gear head, highly recommended it.
Are you going to add trap doors and other cool stuff?
BTW I know the purpose of the ATI Super Damper, is it only really needed on racecars that will be at high rpms for a long period of time? Didnt think the harmonics would be that bad
The ATI damper is a great upgrade, just for the sake of not dealing with the oem one that will seperate.
Got the oil pan back in after TIG welding in a temp sensor bung. I took someone's advice here and added a bit of high-temp RTV on the gasket. I used a syringe to apply it, putting a small bead along the rubber seal. I was surprised a bit squeezed out the side. I suppose there is some squeezed out on the inside as well. I will run it a bit and change the oil to try and get out any particles that might have come off. You can see the transmission fluid temp sensor installed as well (yellow arrows). Oil pan screws torque spec is 23 ft lb. Can't find specs for the screws with a red circle - anyone know them?
Got the oil pan back in after TIG welding in a temp sensor bung. I took someone's advice here and added a bit of high-temp RTV on the gasket. I used a syringe to apply it, putting a small bead along the rubber seal. I was surprised a bit squeezed out the side. I suppose there is some squeezed out on the inside as well. I will run it a bit and change the oil to try and get out any particles that might have come off. You can see the transmission fluid temp sensor installed as well (yellow arrows). Oil pan screws torque spec is 23 ft lb. Can't find specs for the screws with a red circle - anyone know them?
Got brake ducts in. Very time-consuming. Spent a bunch of time looking at what others had done and even bought two ducts/intakes to potentially use. But, ultimately decided to use the fog lights - seems cleanest. I got 2.5" ID hose - this is important because it exactly fits inside the fog light housing, and seems to be the biggest you can fit by the wheel wells. 3-inch might fit, but it would take a lot more cutting, and on the right side, clearance would be very tight between wheel rub on the wheel well (due to pressure from the duct pressing outward) and the crank pulley.
Of course, you have to destroy the fog lights themselves, but using the existing housing is a very nice solution. I got some 2.5-inch OD pipe and cut two ~3-inch pieces. Then got two small flat bar pieces and grinded them into shape; then welded them on as tabs. Cut corresponding holes (with dremel) in the rotor/dust guard and used one of the existing dust guard holes to mount the tab/pipe piece. The original plan was to weld the pipe directly to the rotor/dust guard because I saw one online done like that. But I am a terrible welder and only have a stick welder. I tried, but basically vaporized the thin dust guard metal with too much heat. But, plan B was actually a much better plan. It turned out very sturdy. The way it is mounted also naturally prevents rotation so I expect it will stay where it is.
I used an angle grinder and dremel tool to cut the plastic just to the inside of the fog light mount area. The cut-assemble-fit-disassemble-re-cut sequence took a lot of time. I made video, but have not compiled it yet.
Here are some photos.
I believe one of the good ideas I had was using a hose clamp to pull the duct into the corner (second turn past fog light) - this is the tightest part. I made two linear cuts (slits) in the plastic above the duct and fed the hose clamp through both slits. With the second slit being several inches away, it pulls the hose backwards away from the turn (toward front of car). The hole in the plastic just below and to the right of the hose clamp in the first figure below (right) is the biggest challenge to make clear for the wheel well to mount.
The passenger (right) side was harder because I had to cut the wheel well plastic so the duct could be pushed slightly in that direction to clear the rotating crank pulley. Lot of cutting/fitting. I ended up using some stainless steel wire to secure the duct to the wheel well. Tried hose clamps, but didn't work all that well. BTW: I don't believe 2-inch duct would require any wheel well cuts on the passenger side.
The other nice thing about this set-up is that a decent percent of the air actually goes to the inside of the rotor, where it can be sucked into the internal vanes. I didn't necessarily plan for this, but it just worked out that way. The top, left photo above shows a small cut and bend I put in the pipe (on the right side in this photo) to help air flow to the inside. But turns out you really don't need it, so I did not put that cut/bend in the other one.
Also, BTW: the pipe/tab I show above is the one used on the passenger (right) side - not the one shown in the images (driver's side). I forgot to take a pic of the driver's side. It's basically the same but a mirror image. I made the second tab fit the curve of the rotor dust/guard and the weld was much better (after practice!).
Last edited by Grand-Cayman; 05-03-2020 at 07:30 AM.
Test drive after lunch went fine. First drive since ATI super damper, crank sensor O-ring, new oil pan gasket, oil pan mods for temp sensor and windage tray, half a coolant flush, two gauge adds, and fog light delete with brake cooling duct add. Test drive was fine.Went for a spirited drive just now. Temp was mid-80s. All gauges are working well - oil temp maxed at about 190 F as did the water temp. Transmission temp max'd at about 160 F. Very fun! Put it on the lift afterward, and all looked good except for a dadgum small oil leak/weep at the oil pan gasket. Its coming from the right, back corner. I'll torque the closest screw once more. It's not bad enough to pull it apart, but I was hoping for a few years of zero leaks.
Fun projects you�ve put together there. It will no doubt be ready for track duty soon enough.
That back corner leak I suspect could be coming from the timing case seal. I have been watching that corner and even with the new oil pan gasket, we see the same leak point. If I get motivated, I�ll go rent the tool take off the PRW balancer and replace the seals and oh, might as well replace the timing chain and guides too! 😁
The car never ceases to create opportunities to teach my kid all sorts of challenges.
It's been a while since I posted...but I just had my first track weekend at VIR. All I can say is WOW!! Had such a great time and the car got more fun every session. I got some OZ wheels and Kuhmo tires (215/40 R17) which was the last major thing I wanted to do before heading to the track. Took a chance on the tires - didn't know anything about them, but I like them a lot.
Here is a video. I show the mini passing some other cars and don't mean to make anyone look or feel bad, but it is just so fun to go fast in that little box of a car! I love the supercharger sound on video. I can't hear it when driving.
A couple of things that I learned...on my first session I had no idea what gear I was in and how many revs I was at. Could not really hear the engine. My other track car is a Cayman GT4 and the gages are super nice and visible. It took me two sessions to figure out I only needed gears 3-4-5, so that took some of the mystery out of it. As a rookie heel-toe'er, I got a lot better, but I still suck TBH. Heel-toeing around town (where I do it perfectly) is nothing like the track. The main problem I have is the brake pedal goes too far down. I bled the brakes using pressure on the reservoir as I always have done the day before going, but maybe I need something else more sophisticated. I bled the front at the track which helped a bit...so there's something there I need to figure out.
I eventually got down to using 30 psi as starting (cold) pressure on the front and 31 in the rear. That seemed to work well, but I'd like to try maybe 1 psi less next time.
The car was very stable and made me feel very confident in the turns. In my first weekend in the Mini, I am going through turns FASTER than my GT4! No kidding. Maybe that means I need to work on the GT4 set-up. But the mini did not push much at all. The GT4 pushes quite a bit more. Turn 10 (left-hander) after the uphill esses I am going about 10 mph faster in the mini - max I saw was 88 mph and there is more to be had there. Vmin at oak tree (entrance to long back straight) seemed pretty fast, but in looking at the data, I was seeing 42-43.5 mph, which is not terrible, but I think I can improve that as well. I eventually got to where I maintained and increased speed through the uphill esses. Never done that in the GT4. It is very satisfying to point by a Corvette or Camaro and then stay on their tail through the turns. Of course, it's sayonara on the straights
Question: in your initial post you indicated that you blacked out taillights. Any photos /tips? That's the only bit of chrome left on mine.
Sorry for super long time to reply, but yes, I found a video from someone in the UK "joey-ing" their taillights. Apparently when you Joey something, it's like uber DIY or something like that. Kind of funny UK jargon.
I almost made a video doing the taillights.
First thing to do...buy a cheap used tail light on ebay to practice on. I did not do that, and thus have one crappy one and a better one one the car right now. I found a brand new right light for about $35, but have not found a nice left one yet for cheap. Once I do, I am going to do mine again.
Here's what I did...Get a dremel tool and basically saw the lens off at the existing seam line. Use the mini circular saw blade for plastic (the one shaped like a disk). Bring your patience! Go slow and do not go too deep. This is why you need to a throw-away light to practice on. You will go too deep at first which cuts through to the visible part of the light (i.e., you can see the cut from looking at the tail light).
Once you get it separated use windex to remove the chrome. Sounds crazy but it works! At that point you can be done - use black silicone to put the pieces back together.
I read one person used a razor blade to separate it. Wow, that must take hours I suppose.
I decided to make mine even more black by injecting black silicone behind the red plastic to make it darker. I'm not sure I recommend doing that TBH. Or, if you use your practice light to figure out how best to get the silicone injected in there, maybe you should try it. It looks good as far as the blackness goes, but to get the silicone even it takes a different method than I used.
So I am pretty sure my lights meet the official specs to be called a Joey mod!
How did you black out the chrome around the headlights? Did you use the clip-on (or double-taped) after-market part or something "better"? I was thinking a pure replacement would best, but not sure that exists.
Last edited by Grand-Cayman; 09-21-2020 at 11:18 AM.
Cliff Claven fact of the day: Joey mod was named after the first person to do the mod, which I always thought was his real or user name, but I just recently read it was named that because he was from Australia.
Sorry for super long time to reply, but yes, I found a video from someone in the UK "joey-ing" their taillights. Apparently when you Joey something, it's like uber DIY or something like that. Kind of funny UK jargon.
I almost made a video doing the taillights.
First thing to do...buy a cheap used tail light on ebay to practice on. I did not do that, and thus have one crappy one and a better one one the car right now. I found a brand new right light for about $35, but have not found a nice left one yet for cheap. Once I do, I am going to do mine again.
Here's what I did...Get a dremel tool and basically saw the lens off at the existing seam line. Use the mini circular saw blade for plastic (the one shaped like a disk). Bring your patience! Go slow and do not go too deep. This is why you need to a throw-away light to practice on. You will go too deep at first which cuts through to the visible part of the light (i.e., you can see the cut from looking at the tail light).
Once you get it separated use windex to remove the chrome. Sounds crazy but it works! At that point you can be done - use black silicone to put the pieces back together.
I read one person used a razor blade to separate it. Wow, that must take hours I suppose.
I decided to make mine even more black by injecting black silicone behind the red plastic to make it darker. I'm not sure I recommend doing that TBH. Or, if you use your practice light to figure out how best to get the silicone injected in there, maybe you should try it. It looks good as far as the blackness goes, but to get the silicone even it takes a different method than I used.
So I am pretty sure my lights meet the official specs to be called a Joey mod!
Thanks for getting back to me. In the, interim, I discovered some of the videos, and made a run at it. I have a cracked right rear lens, and bought a used one to replace it. It 2as hazy on the inside of the lens, so I cut it open to try to polish it, and as practice for the blackout process.
It didn't go well for me, and is now on the deferred list until I find a new replacement lens. This, time I'll cut apart my cracked original.
How did you black out the chrome around the headlights? Did you use the clip-on (or double-taped) after-market part or something "better"? I was thinking a pure replacement would best, but not sure that exists.
I did my headlight rings, door handles, and boot handle with satin black vinyl wrap. It worked well on headlights and boot, but I'm not happy with the door handles and will eventually pull them and paint them.
I mentioned the brake pedal excessive travel issue. I've not done a ton of troubleshooting on it, but this past weekend did another brake flush with me pushing on the pedal, and my wife opening/closing the bleed valve. I used a pressure bleeder before, but wanted to make darn sure I got tons of pressure in the system. Bottom line: no change. Also, I verified all the lines are metal, and I have replaced the rubber lines at each wheel with steel braided lines.
My rotors are worn a bit, so I will order new ones, but I also suspect that will not make a significant improvement. I am thinking I will have to figure out how to live with it.
I did take up a new project in the past couple of weeks. There is a stamped metal "bracket" that is about mid-way along the length that supports rubber exhaust pipe supports. It attaches with six 8mm bolts. Since I need a place to hook up tie downs on the rear, I decided to replace that stamped metal part with a DIY stainless steel frame-type structure with U-bolts welded onto it. I ordered three 24" 304 SS bars, 3/16-inch thick - about $45. Ordered SS welding rods (~$20) from Amazon for my stick welder, and they seemed to work well. I welded it up this past weekend and drilled holes. I need to cut the slot for the rubber mounts, and try it out. Will post some photos - I'm pretty happy the way it turned out so far. I think the six 8mm bolts should be enough to hold it all together, and the frame I built is quite stiff when welded up.
Swapped track tires off and weighed them to compare with the OZ wheel/tire combo - saving > 8 lb/tire! 42.2 lb compared with 34 lb.

 02-16-2020, 03:51 PM


 But, my position on this was also highly affected when I pulled the oil pan and saw the depth of the oil in the pan. I recognize I do not know how much oil circulates when the engine is running, but I believe there are still several inches worth of oil sitting in the pan based on the seeing how far the dip stick protrudes into the pan (not all that far).