When you click on links to various merchants on this site and make a purchase, this can result in this site earning a commission. Affiliate programs and affiliations include, but are not limited to, the eBay Partner Network.
On the excessive pedal travel, since you have a factory JCW are you comparing to a non-JCW? My kid and I replaced his R53 stock fronts with R56 'S' aka poor man's BBK upgrade. We used factory R56 'S' rotors with new akebono euro ceramic pads. Factory R56 rubber lines and fresh fluid. Compared to the R53 brakes, there's definitely more travel and also thought we had air in the lines. We did the same as you with pressure bleed and as well as the two person method, no difference.
That was about 3 months ago and we've gotten used to the brake pedal travel. I do miss the more immediate pedal feel, but it's maybe a 10% change. There's also been a bunch of different threads from before describing the same experience with the observed longer pedal travel after the upgrade. I'm hoping the better/larger brakes will in the end be an advantage down the road...
With street-style braking I never noticed the long travel. Could be I never pressed the pedal with track-type braking force or could be heat related somehow, but at the track it was clearly evident the pedal was moving farther down. It was messing up my heel-toe big time. Note this was the first time I have tracked the car so seems likely the issue was always there, but I never noticed it.
I installed a Willwood big brake kit on my son's Fiat Abarth and was impressed. They are well built. That might be an option for me, but I am guessing the issue is in the pedal and master cylinder design. Have read quite a few threads where people have replaced a lot of various parts to no avail.
From what I�ve read on the r56 brake upgrades, it seems like you need a master cylinder swap and possibly even ecu recalibration. I know there is a lot of talk on the newer cars about ecu recalibration after a big brake upgrade.
With this stainless steel bracket with 3/8-inch U-bolts welded on. I learned on the first U-bolt that it welds much better if the threads are removed or removed at the point of welding.
I don't drive the mini much at night, so snapped this image while driving. These are speed hut gauges. Had to settle for green, but I like them! Oil pressure/temp at bottom left/right. Water temp top left. Trans fluid temp top right.
I got suckered into a black Friday sale at Rennline. Bought mats and floorboards. It was a weak moment - I could have spent $350 on making the car faster. Took quite a while to install. But, looks pretty good IMO.
The clutch pedal scraped so had to do a bit of sanding. I drilled and tapped two holes on the floorboard driver's side. You can see the two bolts I added that secure the mat to the floorboard. I had to reduce the angle of the bend on the mat, but it turned out pretty well. On the passenger side I just drilled through holes in the mat to match the holes in the black part behind the floorboard and added bolts/nuts. You can't see the bolts or holes from the outside. After installing it, it seemed like the board was going to rattle against the mat. I had some rubber trim already and cut a piece of that and installed it across the bottom. No rattle at all. I might remove it one more time and put some black tape on the part of the mat that is seen through the lower-most holes on the board.
As far as functionality goes, they have not made anything worse as far as I can tell. Shoes don't slip as much as you would maybe think they would. Driving shoes have rubber on the back, so not an issue with those I don't believe.
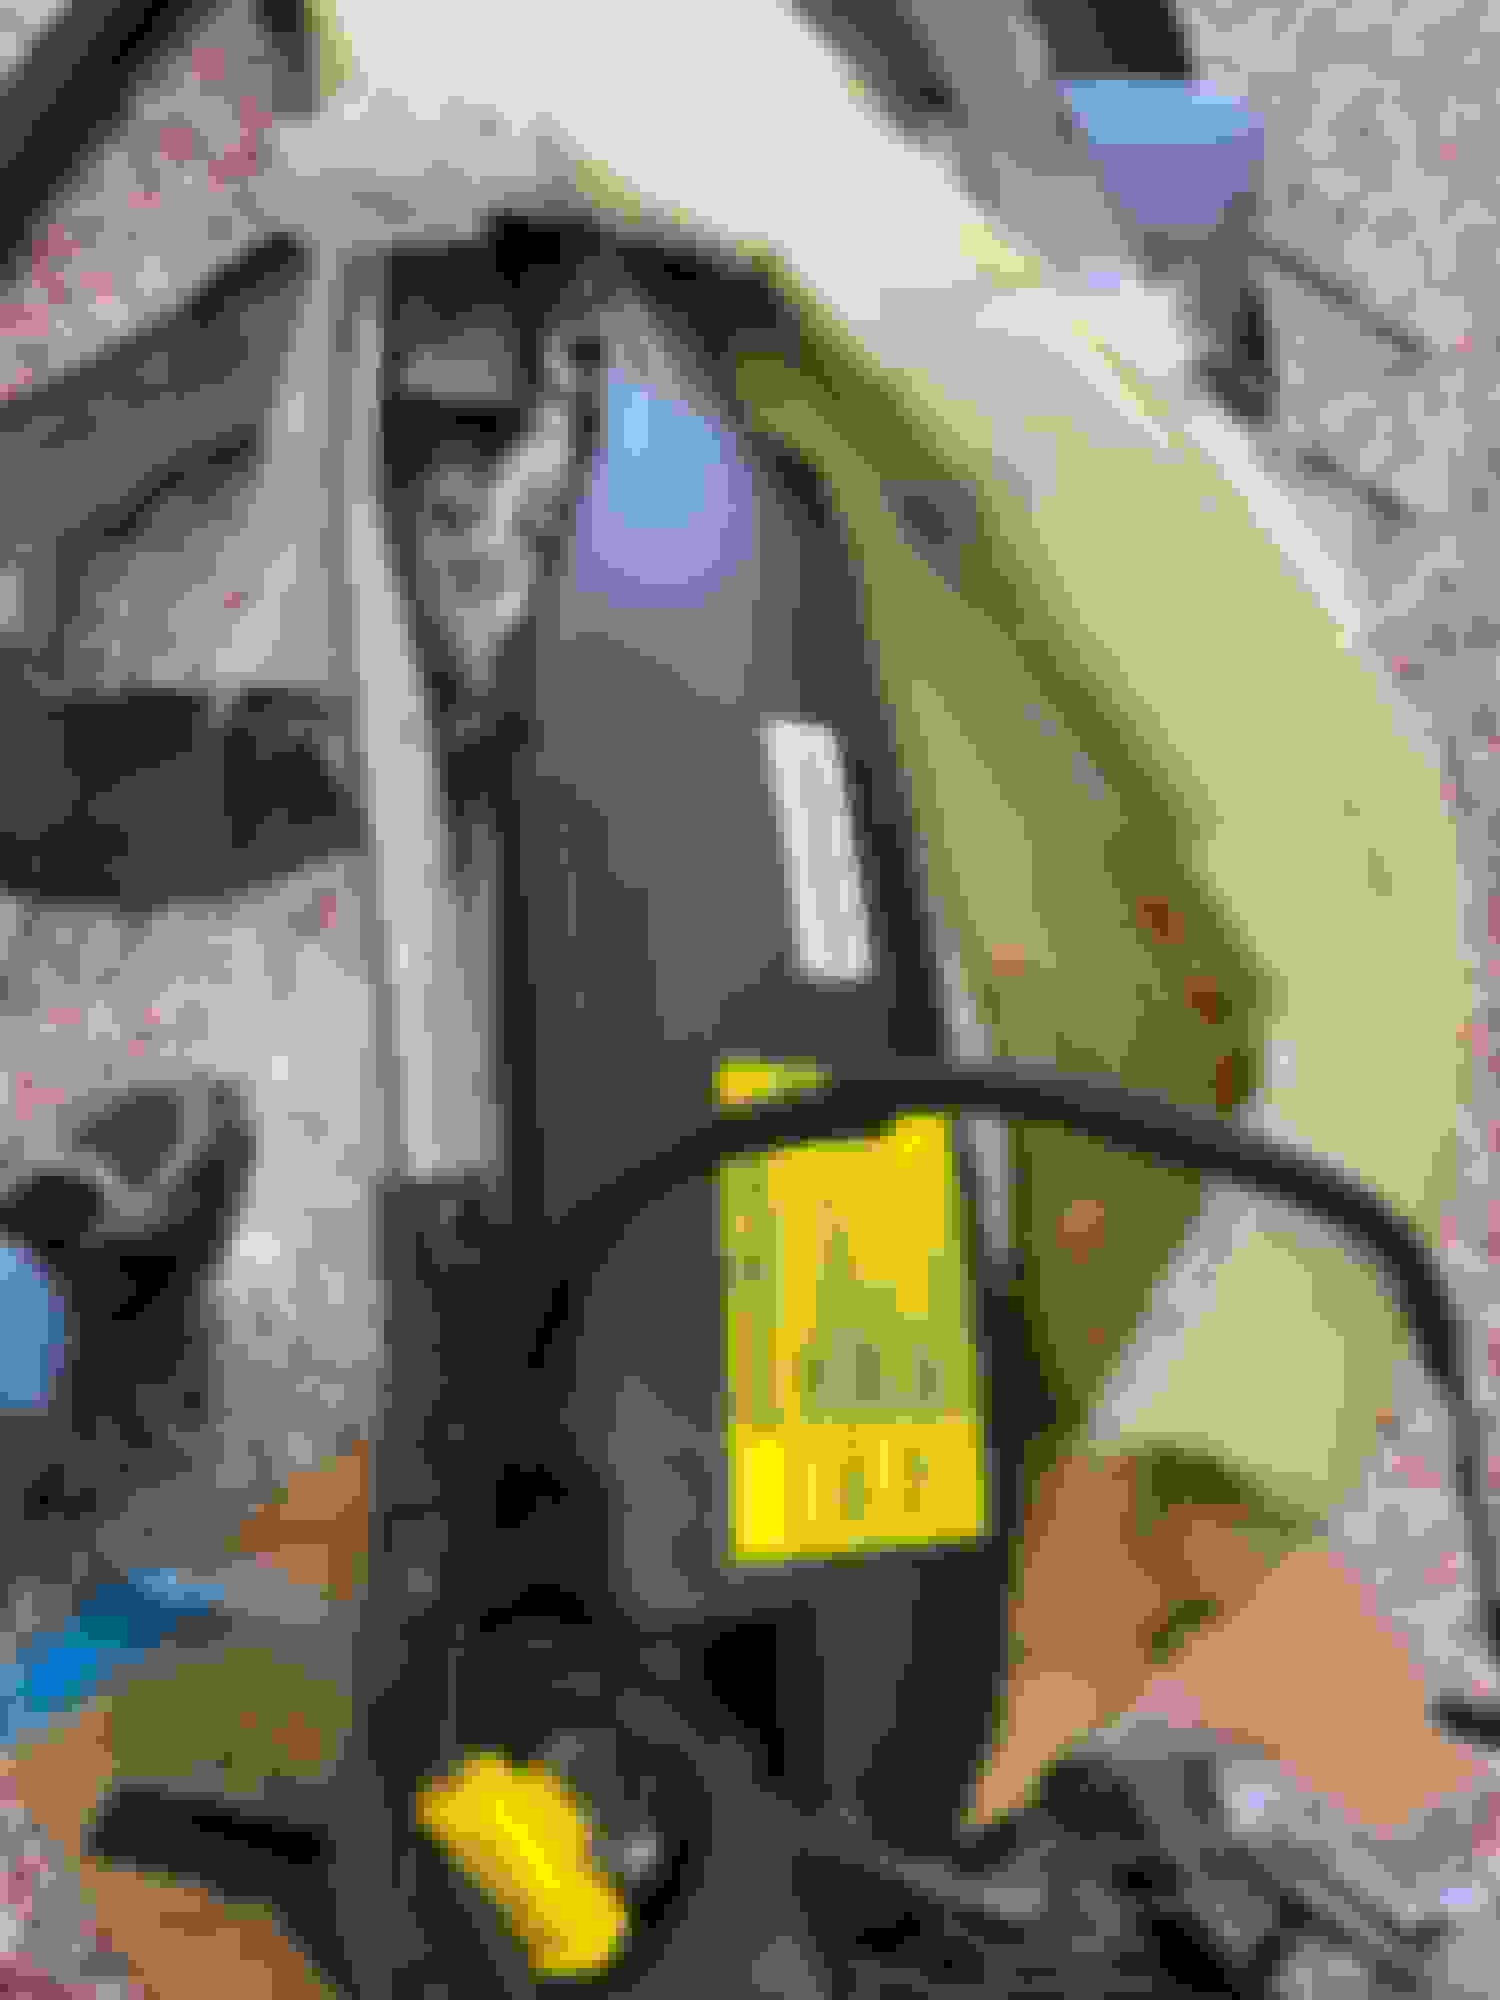
Also got black mesh upper and middle grills. Not installed that yet, but will over holidays!
nice! Do those replace the carpeting or are the layer over top?
nice! Do those replace the carpeting or are the layer over top?
Mine are installed on top of the carpet. I suppose they may work without carpet as well. They ship with several large velcro pieces, but I did not need them - maybe they are needed if you pull the carpet up.
Installed the Cravenspeed shifter last weekend. Wow, what a huge job. Hope it was worth it. Built a box to handle the extra shifter length, which took a couple hours, and then had to modify the exhaust heat shield to go around the box, which was a couple more hours. Have not driven it yet. Am making a video, so will post that and driving evaluation soon. Have not gotten around to the shift well (far left) and shifter weight assembly (right side of left image) yet.
Last edited by Grand-Cayman; 01-11-2021 at 01:52 PM.
Reason: typo
Here is the shifter video. Beware it is long, but shows some of the details to replace bushings and to fab a box to accommodate more of the shifter protruding into the shifter box under the car.
I'm not sure the shifter was worth it. Can't tell too much difference. I removed the airbox and checked the cables and all the connections at the transmission. It is all very solid, so I did not do anything to it. So, I will live with the way it is, which isn't terrible, but I was hoping to improve it some.
Here's an upgrade that did not come with a bunch of problems - swapped out the cig lighter for a dual USB port with voltmeter. Have not charged with it yet, but I assume that should not be a problem. Had to trim the opening a bit to make it slightly larger. Only took a few minutes.
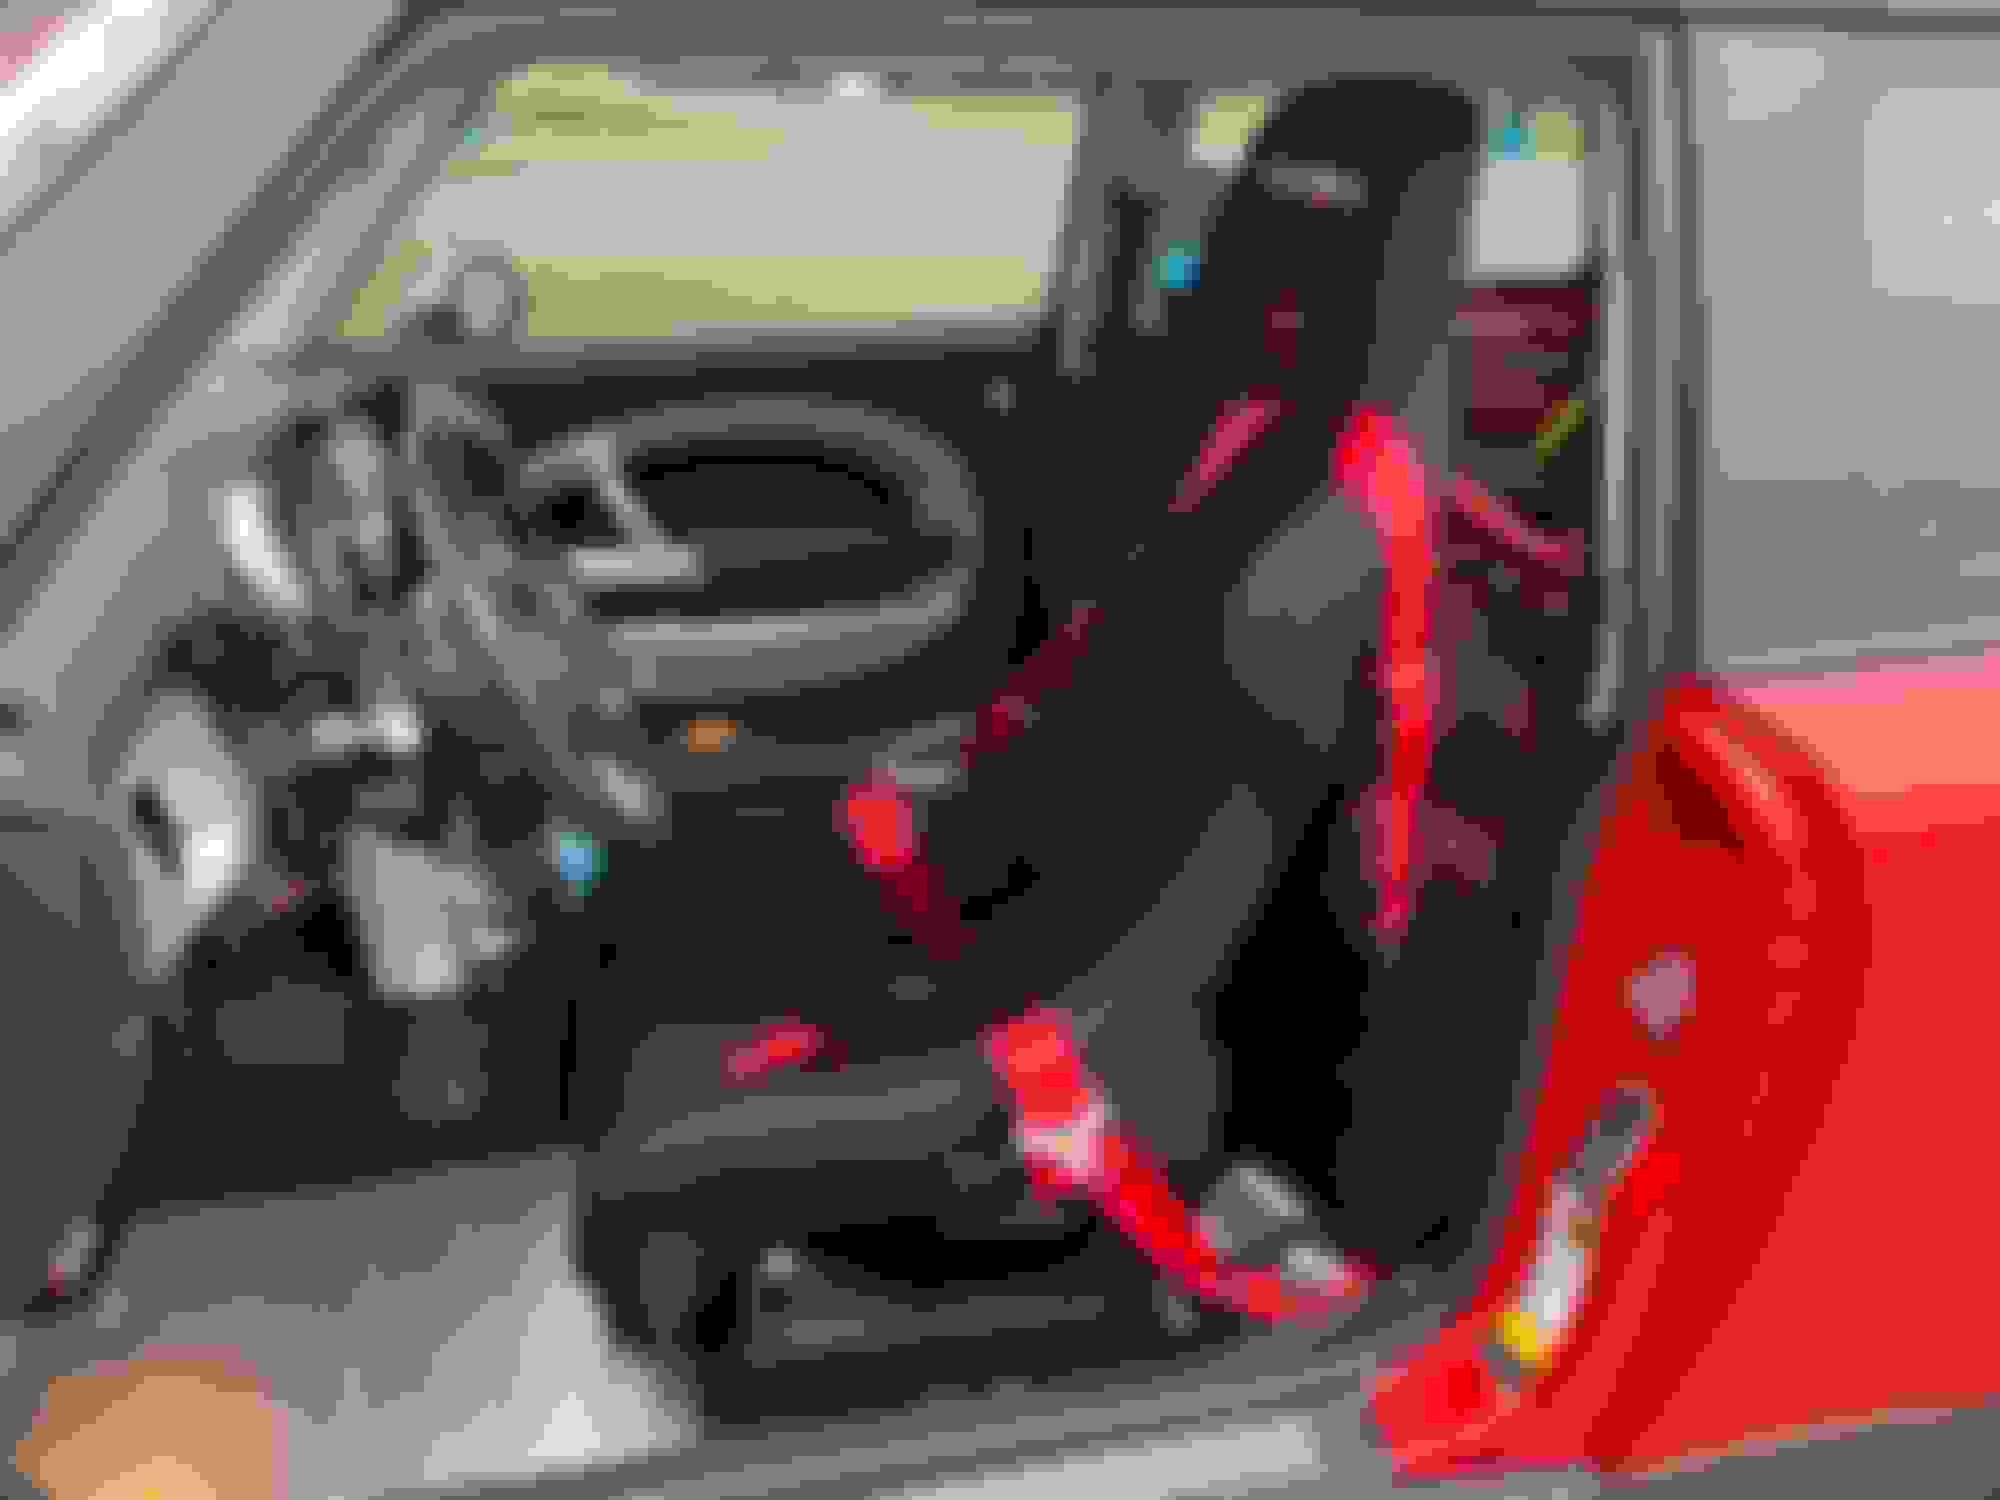
Got a Cobra Suzuka seat and Schroth harness from HMS motorsports. I bought it on the way to the track and installed it in the HMS parking lot It did well enough at CMP this past weekend, but I need to remove it and move the mounts inward by one setting. The seat mounts are not exactly vertical and I believe that is causing a bit of torque on the slider and causing the slider to not work very well.
I corded the front left tire and did not have a spare. Two problems - 1) my ABS was flaky (scan tool said rear, left) and caused me to lock up the left, front several times, and 2) I do not have camber plates.
The excessive brake pedal travel is still a problem. I need new rotors and pads, but according to posts this will not address the problem, but it certainly will not exacerbate it.
CMP is a fun track - was my first time there. Fastest lap was 1:53 (with traffic).
I removed both rear hubs and cleaned them up (sanded and painted the center part black which you can see in photo). The hubs were fairly gunky on the back side where the ABS sensor is located. I suppose that is the first time they have ever been cleaned, so got rid of 15 years of dirt and grime. That should help the ABS sensor performance. Decided to put on new rotors while I was back there. I could BARELY get the new rotor between the pads (did not get new pads) on each side. I tried and tried to push the piston into the caliper (I have a tool for that), but it seemed to hardly move at all - very different than the front. I even opened the bleed screw when trying to retract the piston. I wonder if something is not right with those...BTW: checked the parking brake and it was off. While caliper was apart I used a dremel tool and wire wheel to shine up the aluminum. Looks good!
My front, left bearing was a bit loose, so ordered two new front hubs from FCP Euro. This was my first order from them and it got here *fast* even with free shipping. They have lifetime warranty so I will never "buy" front hubs again. Needed new pads and rotors up front. Had OEM pads on hand so used those with the new Brembo rotors. Rotor install was super easy up front compared to the rear. The backside of the front hubs (where ABS sensor is located) looked worse than the rears, so hopefully ABS will work flawlessly for a long time.
Ordered a Schwaben diagnostic tool; primary purpose is to exercise/bleed the ABS system. I still have a bit of pedal pump so there must be some small amount of air in the system somewhere. I hope this and new rotors/pads is an improvement.
Tried to upload a photo, but not working. Will try later.
*****************
Edit: found out via https://www.motoringalliance.com/art...-beginners.54/ that the rear pistons have to rotate to go in. I have heard of this before but "forgot" that the rotation thing existed. Gotta get a tool.
Last edited by Grand-Cayman; 03-16-2021 at 05:01 PM.
Okay, got all new pads and rotors and new hubs on the front. The rear pads were easy with the proper tool to rotate the caliper piston in so I could get new pads on while making room for the new rotor.
Got a Schwaben diagnostic tool and will use that when I bleed the brakes to exercise the ABS.
Also been looking at a brake master cylinder swap to a BMW M3 master cylinder. There's some info out there suggesting this helps, but nothing super convincing. I hope exercising the ABS results in some improvement in the brake pedal feel. We have a Fiat 500 Abarth with a Willwood big brake kit and the brakes on that are AWESOME. The pedal literally feels like it only moves about 1/2 inch. I want that on the Mini!
I'm definitely curious if doing an ABS bleed with the shwaben tool helps. I've been engaging my abs as much as possible before I bleed the brakes before my next track day, but I've been thinking about doing the same thing.
I can tell that I'm getting brake pad movement even when I have very little resistance on the brake pedal, but I wish I had less pedal travel.
Sheesh. I have just about been at this ALL DAY today. I found out how to open the ABS valves and run the pump. But, that's all I have done on the brakes. I've been distracted trying to get the airbag light (and seatbelt light) to go off. I installed 2.2 Ohm resistors which is supposed to work. Using the schwaben tool to clear the airbag codes and it is not working. I cleared ABS codes I got at the track a few weeks back, so the tool is working. I am not sure if I am doing something wrong or if there is something else in the car that's off. It is probably user error...I'll keep banging away at it. Going to download the Foxwell update tool and see if that does anyhthing.
Sheesh. I have just about been at this ALL DAY today. I found out how to open the ABS valves and run the pump. But, that's all I have done on the brakes. I've been distracted trying to get the airbag light (and seatbelt light) to go off. I installed 2.2 Ohm resistors which is supposed to work. Using the schwaben tool to clear the airbag codes and it is not working. I cleared ABS codes I got at the track a few weeks back, so the tool is working. I am not sure if I am doing something wrong or if there is something else in the car that's off. It is probably user error...I'll keep banging away at it. Going to download the Foxwell update tool and see if that does anyhthing.
The airbag and seatbelt light aren�t going to go off unless you code out the passenger occupancy sensor. Resistors don�t work for it on the �06.
I don�t think the Foxwell will, but I�ve never used one. I used INPA and NCSexpert to turn mine off.
Other people have done what you said and just hooked up the mat. There are also emulators out there that claim to work. I�ve got one kicking around in a box somewhere that I never installed.
As far as coding/reprogramming goes, the Foxwell/Schwaben doesn’t seem to do anything for a Gen 1. It will program or activate some things on gen 2 and later though. There’s a table someplace on their website that lists the functions available for each car.
Well, this is the gift that keeps giving. I ended up erasing the programs off the Schwaben tool trying to update it. The s/n will not register so I am trying to get tech support. The vendor said they will send me a new one if Foxwell doesn't help. I don't need the seats, especially the passenger seat, so I opted to dig out the occupant sensor and airbag and just hook them up, which I have done. I also removed the seat-belt latch and hooked that up on the driver's side. Unfortunately, I can't tell if the airbag works because I can't clear the codes at this point until the scanner is working again! :( But, no reason it shouldn't work. I didn't damage the sensor or airbag when removing them.
I was surprised to see how extensive the occupant sensor is! And, I believe I am going to use the seat base for a second race seat - this sill save the cost of buying something different and will preserve the slider. The width seems to be conducive to mounting vertical plates on the side to accept a seat with mounting holes like the Cobra seat I currently have..
Got the Schwaben scanner to upload/update using the FoxAssist app. Took too long. Tech support was marginally helpful.
I did a good bit more research trying to find out how to use the scanner to bleed the ABS. Did not find much.
Found this thread on bimmerforums. These are BMWs mind you, but this guy says
Use the old fashioned two person method
Before you have the person in the car press the brakes, have them start the car
Press brakes, crack the bleeder
The DSC light should go solid
Close the bleeder
Have the person in the car release the brake pedal and then turn the car off to reset DSC
Repeat as necessary
I tried this, but need a better helper. Not writing it off yet.
Did some regular bleeding and lots of pressing on the pedal to try and ascertain what might be happening. I do not understand why once it starts to build pressure why the pedal continues to move. I can hold the pedal down (very hard) and it does not move once it finally decides to stop - it will stay there. There is no leaking around the master cylinder piston seals (I don't think) because once under pressure you would be able to feel pressure relief, which I do not. But there is an inch or two travel after the pedal starts to get hard. I don't understand what could be happening in the master cylinder to make the pedal feel like this.
I used the Schwaben tool to run the ABS pump while also cracking the bleed screw. Could not tell any effect afterwards.
Gave up for the day and went to bed in the new pads/rotors. The pedal still sucks big time under track-like braking. It seems to go farther down once ABS kicks in. Is that normal? Could that be a hint as to my problem? At least my ABS issue seems to have gone away with cleaning the rear hubs/sensors and putting new ones on the front.
I finally made some progress on the brake pedal. Had to push a lot of fluid through. Had my wife in the car with the schwaben scanner...she would hit Enter after I had the bleed valve open and I had her pump the brakes (and pull parking brake for rears) in between the two ABS pump cycles that the scanner does. Also had air pressure on the reservoir. I saw some small bubbles coming through in the fluid, which was good to see.
Also, randomly decided to check my oil catch can. Turns out it was almost full! I was surprised.

 11-02-2020, 09:36 AM


 It did well enough at CMP this past weekend, but I need to remove it and move the mounts inward by one setting. The seat mounts are not exactly vertical and I believe that is causing a bit of torque on the slider and causing the slider to not work very well.