When you click on links to various merchants on this site and make a purchase, this can result in this site earning a commission. Affiliate programs and affiliations include, but are not limited to, the eBay Partner Network.
I have the M7 plates on mine too. Well, they came as a part of the M7 strut brace, although I don't often bother putting the brace bar back on after working on the engine. Doesn't seem to make any difference. But the M7 plates and the SPC camber plates underneath make a nice sandwich on the strut tops.
Originally Posted by deepgrey
Okay? Ethanol is mostly a problem when it sits. It also doesn’t work so well in carbed engines. I’ve run gas with ethanol in my R50 for 16 years, but it gets driven.
My car sits for 5-6 months every year (the f*ing Finnish winter) with E85 in the tank. Hasn't been a problem. Maybe because it isn't carbed?
Thought I'd share a bit of what I snagged from a private party eBay seller for not much $$, i.e., an original unused copy of MINI USA's 2006 Press Information Kit , which is fascinating to read and view. Most of the documents contained within that CD are in PDF, Excel or Word document format and are likewise available for download in this BMW Group Press release: PRESS KIT: 2006 MINI COOPER, COOPER S AND CONVERTIBLE which I'd discovered previously while doing online research.
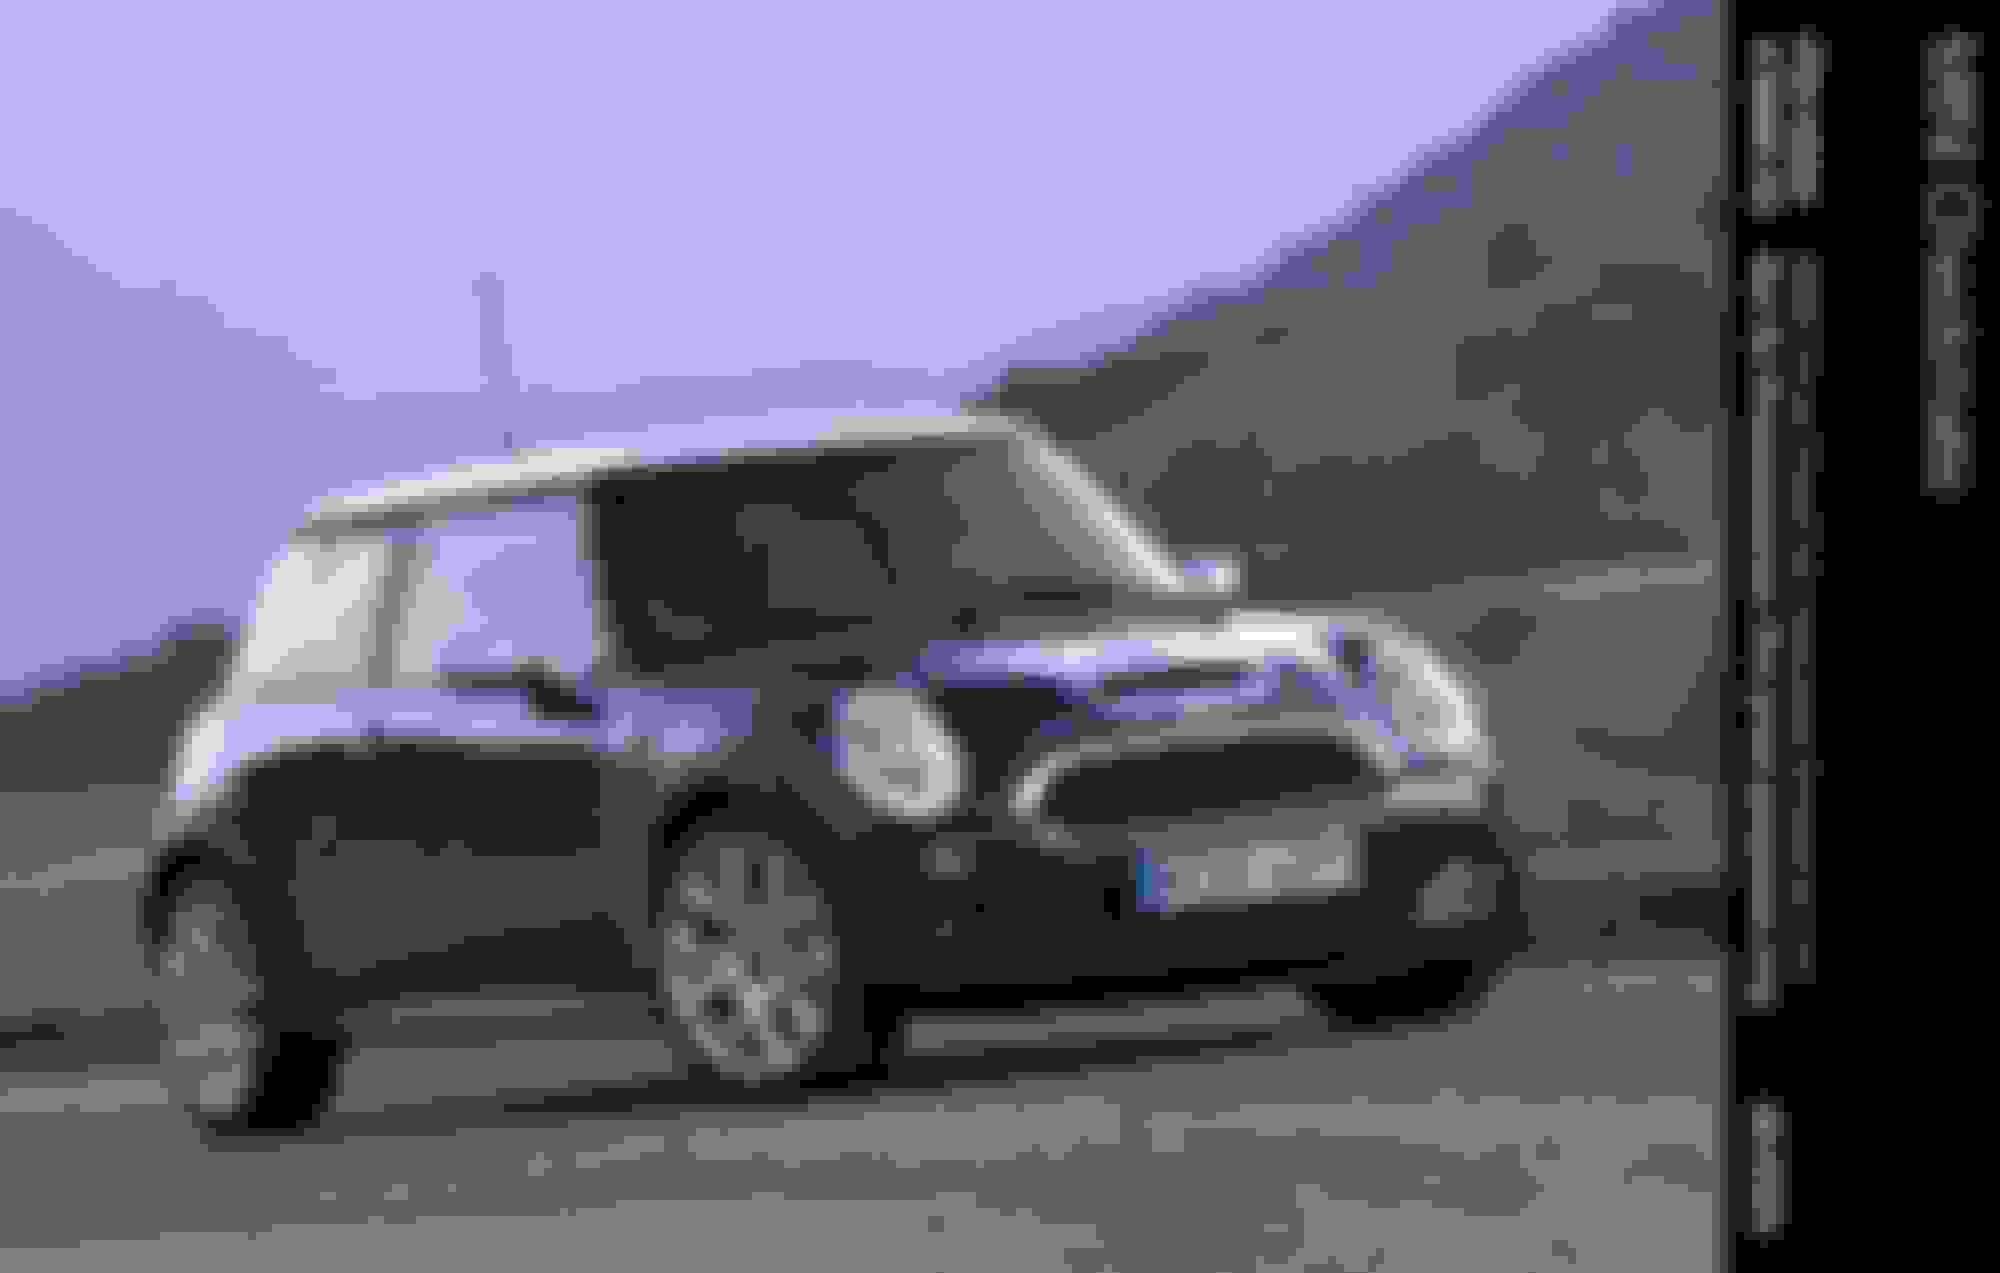
Since BMW didn't (AFAIK) publish an addendum 2006 MINI model line brochure containing the Checkmate edition, I figured correctly that the Press Kit CD dated January 2006 would include images of that and yes they did within the 70 hi-res plus same count thumbnail images contained within. Pretty cool stuff, including all retail pricing, specifications and model overviews. I'm attaching one image of the Checkmate edition, which was my primary reason for obtaining this CD to add documentation and provenance to my buddy's 2006 Checkmate JCW. Enjoy!
I have the M7 plates on mine too. Well, they came as a part of the M7 strut brace, although I don't often bother putting the brace bar back on after working on the engine. Doesn't seem to make any difference. But the M7 plates and the SPC camber plates underneath make a nice sandwich on the strut tops.
My car sits for 5-6 months every year (the f*ing Finnish winter) with E85 in the tank. Hasn't been a problem. Maybe because it isn't carbed?
Everything I've had issues with has sat for years (or been carbed).
Received this package from FedEx today, i.e., (2) OEM sets R52 Cabrio diagonal braces ordered from Schmiedmann/Denmark ~ 30 days ago. Evidence that these braces are actually still available from BMW/Germany. OEM M6x14 mounting screws with threadlocking patches not shown, 'cus I didn't order those from Schmiedmann same time, in case the braces were truly NLA as has been stated here previously. Figured I'd buy some Chinese "equivalent" on Amazon for cheap but reviewers complained about low grade SS rusting plus heads popping off while tightening. Oops - no thanks! I now have (16) OEM screws coming from a USA source.
We did our favorite mtn loop today, i.e., prox 190 miles roundtrip from town to Flagstaff for lunch, then south to Camp Verde on I-17 where we cut east towards home. Roads were lightly traveled with no road crews, thus a spirited romp was truly enjoyed (detectors on duty, JIC). Mine now 6500+ and his 7100+ total miles. Thought you guys might enjoy seeing our themed license plates...
The R52 braces work great, and eliminate any overhead clearance issues. Installed them in my 2005 R50 and they almost entirely eliminated any dash squeaks and rattles I had. Just noticed that you've ordered some. (I'm new to this forum and still learning how to post and reply!) Love your car. I'm from Phoenix and sometimes pass through your neck of the woods on a 89A loop.
The R52 braces work great, and eliminate any overhead clearance issues. Installed them in my 2005 R50 and they almost entirely eliminated any dash squeaks and rattles I had. Just noticed that you've ordered some. (I'm new to this forum and still learning how to post and reply!) Love your car. I'm from Phoenix and sometimes pass through your neck of the woods on a 89A loop.
The R52 braces work great, and eliminate any overhead clearance issues. Installed them in my 2005 R50 and they almost entirely eliminated any dash squeaks and rattles I had. Just noticed that you've ordered some. (I'm new to this forum and still learning how to post and reply!) Love your car. I'm from Phoenix and sometimes pass through your neck of the woods on a 89A loop.
Good to know! Installed mine Monday and my buddy's yesterday but not yet driven to determine any difference. On mine, aftermarket header / cat creates resonance buzz at start up which dissipates when warmed. Not obnoxious but "less" would be better!
It's been 3 months since I've posted on this topic, so figured today's completed task a good opportunity to bump it up from subforum page 7 oblivion...
No real projects remaining to do at this point, other than routine maintenance. Well, there was one, that being R&R of both R53 seat backs severely blemished during fuel pump and fuel filter replacement last year at MINI N Scottsdale. Although the trainee tech denied, pretty certain he had tools in his back pocket which scratched those seat back panels beyond acceptability. The dealership service department viewed my texted pics of those discovered during de-stinking the rear carpet of fuel obviously splashed there during that work, ordered (2) replacement panels and shipped them to my home. I wrongly "assumed" those could be replaced with the seats still in the car but nope, must come out to access and remove the inside adjustment lever(s) next to the console. Once into the project, I also determined best to turtle the seat assy to aid in visual re-engagement of the replacement panels rather than attempting to force what can't otherwise be seen and break plastic mounting tabs. Vacuumed and shampooed beneath while I was at it. Yes, I did disconnect the battery and let it rest while unbolting and removing the seats in sequence. No airbag codes resulted...
The new seat backs look great -- factory fresh! One question: what does it mean to "turtle" the seats? I'm probably the only person here who doesn't understand that.
^^^ Sorry, didn't mean to be so obtuse. Turned the seat assy upside down, resting on top of headrest and forward edge of seat cushion to allow viewing behind the new back rest panel to ensure proper engagement of the (2) frame tabs within panel retentions areas. Can't see those with the seat upright, so it's harder to confirm the panel is fully secured at the bottom (before popping the 2 upper hooks into position).
Great post and good to know you have to remove the seats to accomplish R&R.
I was looking at how to remove mine as well so I could see if I might recondition a few mars out of them as well.
Notwithstanding...
I've been a Testudines guy since I was a child. I will forgive that picture reference for now
My boys
My apologies for the pics unrelated to the subject in reference and your Mini in general.
Great post and good to know you have to remove the seats to accomplish R&R.
I was looking at how to remove mine as well so I could see if I might recondition a few mars out of them as well.
Notwithstanding...
I've been a Testudines guy since I was a child. I will forgive that picture reference for now
My boys
< snip >
My apologies for the pics unrelated to the subject in reference and your Mini in general.
This is an 86-page pdf, within which page 40 (attachment below) shows the attachment points plus R&R process specifically.
I had desert tortoises as a kid. I'm always watching for them when off-pavement with objective moving them off primary trails when prudent for their safety.
Originally Posted by dmath
Thanks for the explanation. No one else asked about the turtle reference so I suspect I was the obtuse one.
Waiting for @Oldboy Speedwell to reply with images of turtles with Minilite wheels and interesting Japan-only accessories.
OBS usually comes up with some entertaining stuff. Waiting and watching for that!
Today's project was to complete what I started yesterday afternoon, that being replacement of the OEM center spoiler and air diverter with new parts. As shown, combo of too low suspension and -1 tire size resulted in significant scraping rash and broken diverter too on our local Arizona streets and roads. With those issues fully resolved last year, I wanted to correct those blemishes.
For those not having done this previously, work essentially starts with removal of the bumper cover (1st step in front end service mode, 2nd step not needed in this case). For removal of the damaged center spoiler (or end pieces - mine not damaged), best to examine the new part to understand how the tabs with j-hooks engage in the painted upper section. Doing that showed prying slightly inward, then pushing downward enabled each tab to come free and be pushed out. For reassembly, support and align the new parts and reverse the process until hearing "click" confirming engagement. Also noting, the air diverter can be replaced without removal of the bumper cover, however also must be reinstalled since the center spoiler and end pieces attach to that along the bottom with phillips screws.
Pic with the bumper cover removed off the aluminum crash member now clearly shows lower portion of the dedicated radiator (Dutton Radiator of Santa Rosa Calif - no longer in biz) for the closed system W-2-A intercooler. Took a few minutes yesterday to clean the main radiator and secondary radiator of bugs plus straighten a few bent fins. All done now and looks much better!
Last edited by MCS4FUN; 04-04-2023 at 04:04 PM.
Reason: Added top view of Dutton Radiator tag for context
This weekend's project completed this morning, was replacement of the modded OEM/B&M shifter assy with the donor assy purchased directly from ALLMAG (not their eBay store). For background reasons for that as stated in this related topic, my objective being the last step in taming my highly modded R53 for local streets and highways by reducing interior cab noise level from combo of 4-1 header and Milltek non-resonated exhaust. As outlined in detail last year, doing so would require removal of that modded shifter which incorporates an extended box prohibiting sufficient clearance for a resonator can.
The donor 2005 R52 shifter had only 56k chassis miles when it entered ALLMAG's inventory, thus was in good condition. Regardless, I chose to carefully remove the OEM shift actuator bushing, clean and lube everything, then install Cravenspeed's machined bushing kit sourced from WMW which features access to adjustable friction tension for firmer or softer shifting by simply by popping up the shift boot. I did find the donor assy's "bump stop" o-ring on bottom side of the shifter assy torn, so replaced that with a new one of Viton of same size. I also purchased another new Milltek resonator pipe which installed after the replacement shifter and new OEM unmodified center heatshield vs OEM heatshield cut to fit around he B&M extended box. Everything now back together and it'll stay that way. The only small "issue" was removing the Raceseng shift ball adapter from the B&M shift actuator lever due to usage of blue Loktite on their tiny set screws, which penetrant spray and heatgun resolved. IMO, Raceseng's instructions should either specify low-strength purple of no thread locker. Mission accomplished...
BTW, the modded OEM/B&M shifter assy will be advertised on marketplace later today as a complete turnkey assy - ready for installation without needing to disassemble and modify. Yes, that could be utilized on pre-facelift models, however the mating FL version shift cables (already advertised) would also be needed for complete swap. The Milltek non-resonated pipe will be advertised later today too...
Edit 15Oct2023: Removed the previously altered Milltek MSM312 flange pipe with Vibrant resonator pipe installed inline and replaced that with a new unaltered MSM312 flange pipe. Decided the additional resonator is no longer needed with the Milltek res pipe in play and wanted to restore ground and adjacent clearances in that rearward area.
It is too clean. He says he drives it. But I am suspicious that the car is really just sitting in his living room and he Photoshops in all of his great scenic pictures.
Too funny but not that far off the mark. My buddy and I both pressure washed the undercarriages after our most recent lunch run to Flagstaff (no pics taken) with concerns of residual salts along the high elevation highways. We're planning another run (um), photoshop event up there this week.

 08-18-2022 | 06:41 AM