When you click on links to various merchants on this site and make a purchase, this can result in this site earning a commission. Affiliate programs and affiliations include, but are not limited to, the eBay Partner Network.
@Eddie07S Thanks for the detailed reply. I agree that the amount lost would likely be visible if the cause is a leak, though I can't rule it out.
I'm reserving judgment on the spark plugs. The car wasn't healthy when they went in much has changed since: rebuilt head, 380 cc injectors, JCW airbox, 210 tune, among other things. Next spring, I'll clean them up and check again after I've put some miles on them.
Very soon it will be time to put the car away for winter. As a result, I think it's unlikely that I'll find the cause before next year. Or maybe it's an anomaly, a result of the first extended drive after a lot of changes under the hood. I'll keep an eye on it.
Judging by the spark plugs you have done really well at bring the engine back up to health. Even more so, the tune appears to be spot on. Back in the day of MGAs and the like, there was no such thing as O2 sensors to tune an engine by. One had to know how to “read” the spark plugs. The worst was having an engine that was running lean, which you don’t have.
As for the oil... It will be interesting to see where your investigation leads you.
Today I installed SPC adjustable lower control arms. These were on my Countryman but I removed them, along with the coilovers, before I sold it. Getting the left stock arm off wasn't bad but the right side put up quite a fight. No bolts broke, fortunately, but it took a while. I'd been applying penetrating oil for several days which certainly helped.
I bought a new toggle switch panel for the center stack -- one that includes the rear fog switch. So in a few days I should have rear fogs. Don't use them often but like having them so I've enabled them on my cars when possible.
Remembering that you posted this last month; I meant to ask you - What exhaust is installed and if it has an upgraded header?
I thought I was done with mods...but now looking at upgrading to a cleaner *looking* exhaust system. However not at the expense of being louder.
I enjoy hearing my SC whine too much to sacrifice .
That's the JCW exhaust, which was on the car when I bought it. The header is stock, as far as I can tell. It's quiet most of the time but makes a nice noise under hard acceleration. Like you, I want to hear SC whine more than exhaust growl.
Someone on the forum (inadvertently) tested several exhaust systems in quick succession. Was it @Oldboy Speedwell ?
Thanks for the quick response.
'currently surfing for more info on exhaust (combo), applicable to my desire and my pre-facelift '04.
Borla seems like the popular choice. Still seems like a subjective matter from what I'm reading.
Thanks!
The Milltech (spelling?) with the front resonator sounds really nice, without noise... A friend has it on his R53 JCW. Might be quieter than the Borla.
IIRC, OBS bought the resonated Milltek system (2.5" OD pipe, then switched to Scorpion (2.25" OD pipe). Likely he'll chime in...
Despite my R53 not accommodating a full-size resonator in the "normal" location, I prefer Milltek's tucked out of sight silencer cans vs OEM JCW plus Milltek's minimal use of slip joints compared to some other aftermarket brands. Lots of youtube comparison videos out there, however limited usefulness since not tested in same ambient conditions, mics/placement etc. I did a phone video of mine with Milltek resonated when first installed but in my garage plus with same comparison limitations as elsewhere not being of much value.
The videos also don’t do a good job of picking up the boominess in the cabin that some systems create. I put an Invidia system on my 1st R56 and at speeds above 60 it drove me nuts. Sounded great in the videos and around town, and it was actually “quiet” on the track, but on the highway...
If I was going to do it over, I would do a one sided diy titanium full exhaust. They make resonators, sell the 2.5" pipe and do mufflers with various outlet configurations. The tips are the tough part - experimentation and probably welding would e needed there. I do love the sound of my Borla "race" system, but it's pretty heavy. I have it at 35lbs on my spreadsheet with the stock R53 at 45.5lbs. I think a one sided Ti system could be done at less than 15lbs. Need a skilled welder though... and no idea at all what it would sound like.
I don't mean to hijack dmath's thread - It is far from my intention.
Thanks for the insight, feedback and contributions. I have much to learn - what's right for me and my Mini.....
e.g: Resonators, pipe diam, turbo mufflers vs chambered, back pressure ect...
The first winter project for my car is painting over the horrible Alloy Patina interior finish with the much more pleasing (to me) anthracite. For those who haven't followed the anthracite paint thread in the Interior/Exterior forum, @Here2Go and @Oldboy Speedwell have done heroic work finding a paint match for Mini anthracite (interestingly, the best so far is a Tesla exterior color). https://www.northamericanmotoring.co...ite-paint.html
I sourced primer and paint from Automotive Touchup. Other materials include matte and gloss clear, Bondo red glazing putty, and assorted sandpaper, tape, IPA (not the beer), and IPA (the beer). Actually, I'm on a Guinness kick lately but there is usually a good IPA or Belgian Blond in the house.
I decided to start with the down tubes since they are a matte finish, which will do a better job hiding minor mistakes. Gloss shows everything. The tubes were in a sorry state - possibly the worst part of my car's interior. The first step was cleaning and scuff sanding with 400 grit. Then a light coat of sandable primer. On the advice of @Here2Go , I applied the glazing putty to any spots where the color had been removed because there is no primer beneath the base coat. Then more sanding and three full coats of primer. Finally, three color coats and four of matte clear. I'm very happy with the result (before and after photos below). The anthracite looks very dark indoors -- it lightens quite a bit in the sun.
Next up are the door panels. Matte finish for speaker grills and the 'Y' door handle, gloss for the ovals. I'm saving the dash for last since it is the most visible and it's gloss so I want practice first. Parts won't be re-installed until spring -- the car is stored for winter so no sense in rushing.
Thanks guys. Currently, I'm trying to decide how to remove the door armrest 'Y' for painting. Simply painting the visible surfaces is not viable since the back of the door pull part of the driver-side 'Y' is very rough and I need/want to address it. I've looked at a number of threads on NAM and forums for other cars to explore methods for removing and reattaching. Unfortunately, the options are limited and none are perfect.
Removal options: cut, grind, melt
Reattachment options: melt, screw, epoxy
Using screws to reattach, while popular for some other makes, appears not to be possible for the Mini door panels. Epoxy seems to be the most viable option because I'm not sure if there will be enough material remaining after cutting, grinding, or melting for removal to melt for attaching.
Looking good so far.
I had removed a door panel off from a super nice R53 at a salvage yard a long while back - thinking I would pull the inserts/ovals. IIRC there were in excess of 28+ plastic heat stalks/plastic rivets securing the oval & pull bar in place.
(Too much work for me under the salvage yard conditions, to preform the extraction).- It seemed to me, at the time; The plastic "rivets" could be drilled out in the center, thus releasing the oval from the card and would still be enough "stalk" left to re-secure theoval back on via 1/4" screws or pop rivets. Since you have the panels in front of you.... my memory maybe flawed (?)...and my thoughts about the procedure may not work.
I think MCS4FUN covered the issues he observed in another discussion.
< snip >
I think MCS4FUN covered the issues he observed in another discussion.
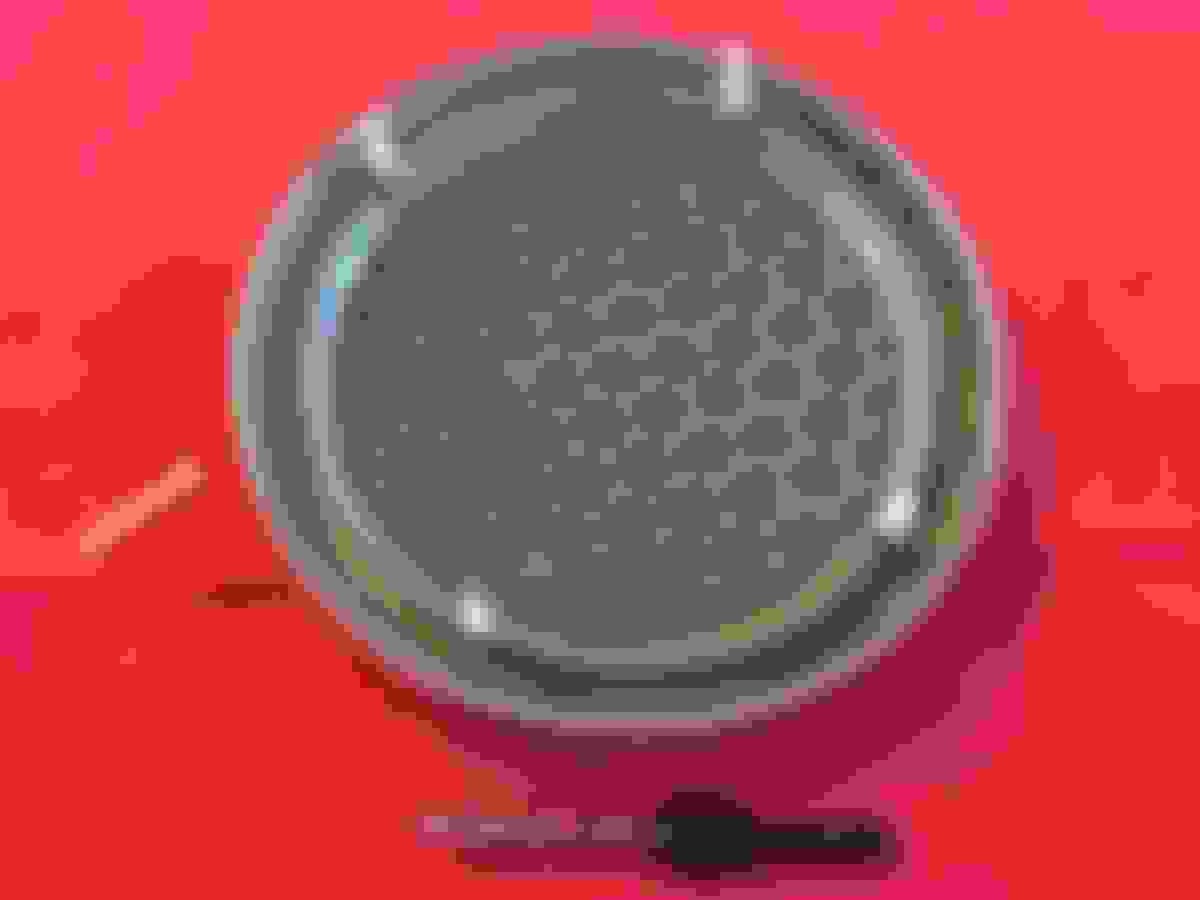
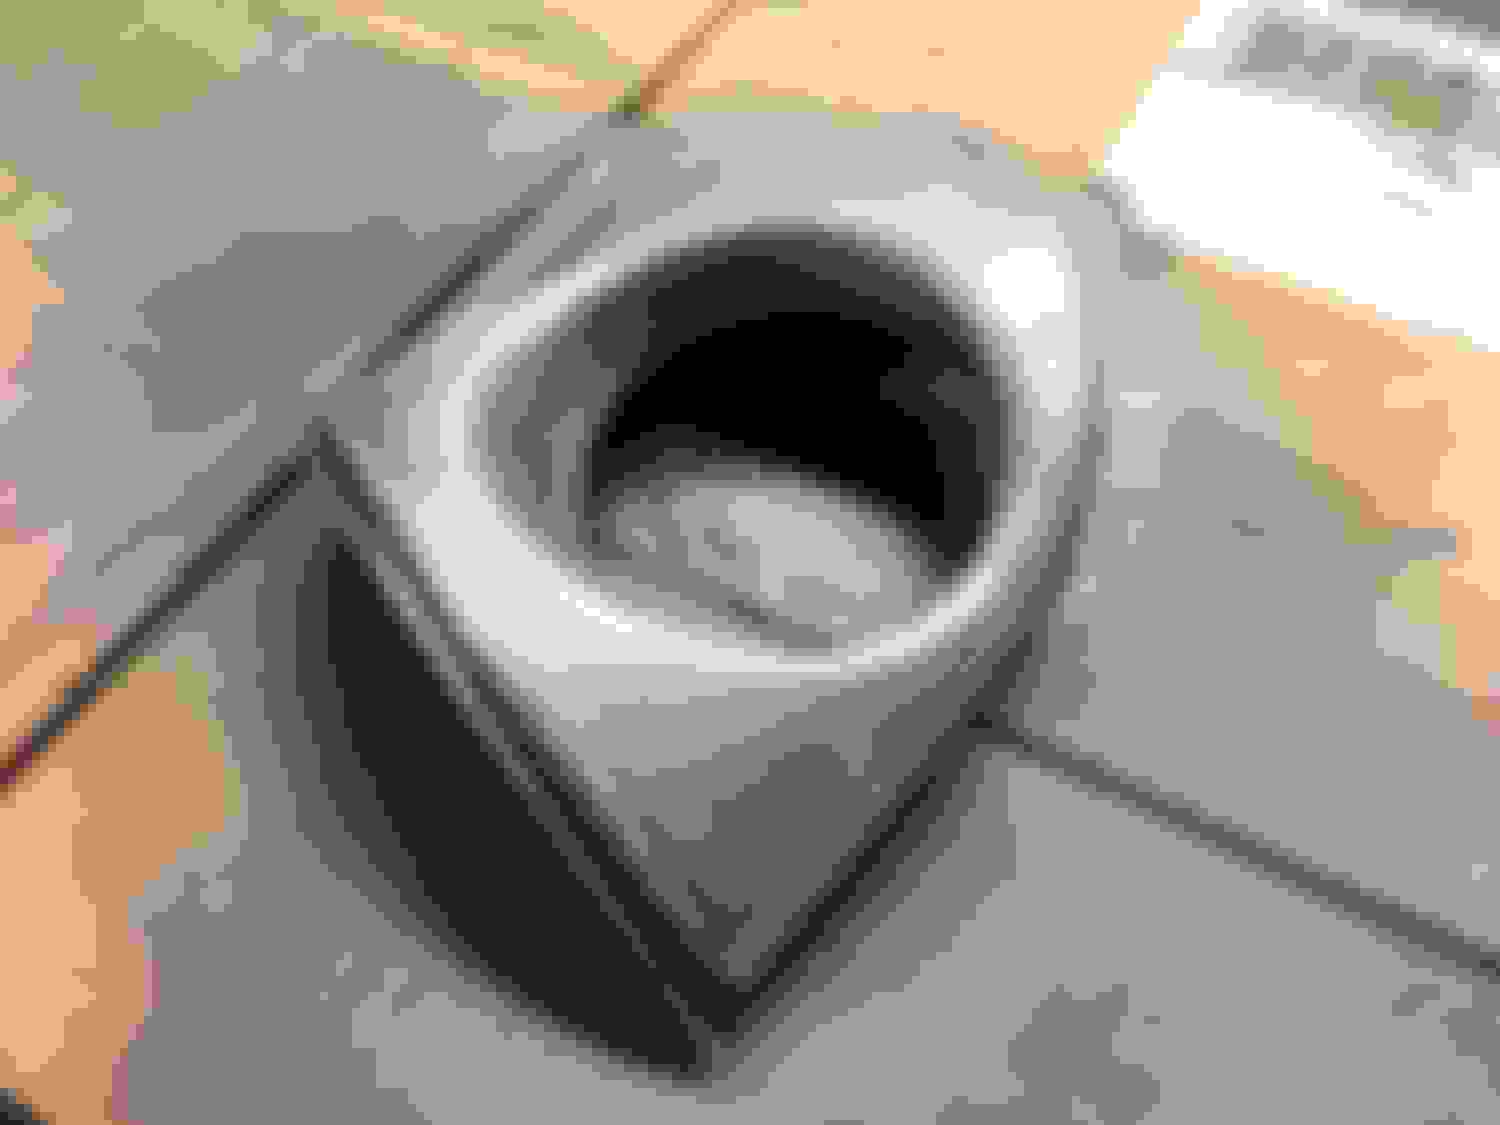
Yes, the "plastic rivets" are actually stalk pins injection molded as part of the trim, which are heat staked during door card assembly. These 2 pics show how small the pin diameter is, i.e., thru hole diameter on replacement speaker grille. Upon receipt of the replacement full door card which didn't include that grille, selling dealer ordered and sent me one at no add'l cost, along with circular push retainers which grabbed those small pins sharkbite style (no pics taken of that). I'm in agreement de-staking all those pins to remove and refinish the trim would not go well.
I was called into duty on house painting (interior -- way too cold for exterior) so I haven't posted in a while. It's possible that I've been watching too much of the World Cup as well. Even so, I have made some progress on the door panels.
After painting the down tubes, I removed the upper and lower speaker grills, painted them and applied matte clear. I debated whether to use matte or satin. The matte appears to be a close match to the factory finish for the non-glossy anthracite bits.
Next I taped the door panels, leaving only the 'Y' and the oval exposed.
After three coats each of primer and base coat, I covered the oval for application of matte clear to the 'Y'.
Next step was to reverse the taping, covering the 'Y' and uncovering the oval for application of gloss clear.
To finish, I'll use some rubbing compound on the gloss, possibly preceded with a light sanding with super fine sandpaper (2000 grit?). Still working out the details on that. Lighting and poor photography make the anthracite look darker that it really is, though it is just a little (very little) darker than the factory color. This is the first painting I've done on a high visibility part of the car so I've been a little nervous about it. So far, it's turned-out better than expected given my lack of experience.
The other panel has primer and base coat but no clear yet. That will wait until after the holidays. One other development: I snagged a used OEM armrest in the marketplace, the one with the sliding top that people love to hate. The look of that one really fits the car, IMO, and there are a number of solutions in the forums for making the slidey part less slidey. It's in just about perfect condition -- the anthracite finish is flawless. Unfortunately, unless we get some unexpectedly warm weather before, I probably won't install it until March.
Nicely done dmath
You've achieved a beautiful finish on those panels!
I agree with your comment and observation in regard to the paint color "temperature" between the factory anthracite and the Tesla PMNG (SGM).
When I re-did my ovals (not the "Y" handles), using the SGM - outdoors and under blue fluorescent light, I had no question that the color was a great/exact match. After re-installation, under shade conditions - I had freaked out because the color appeared too dark.
Yes, I lost a few hours of sleep thinking that I lead the community in the wrong direction in my recommendation / assessment.
Under shade - This ^ has a tendency to freak me out
Under direct light ^: The top door oval in the image is my refinished and clear coated result sprayed in Tesla SGM. The lower door oval in the image, is the untouched original factory anthracite.
What I've come to believe , echoing your point, can be attributed to the high gloss clear applied to the SGM. as seen in the first image I posted here.
I believe the clear gloss has a darkening effect on the color - significantly making it visually "mismatched" to the original factory anthracite.
Although I've come to terms with the results...it does occasionally bother me when the doors are closed within the cabin.
Just my theory. I am by far / no expert but I for one , applaud your results.
Outstanding job!
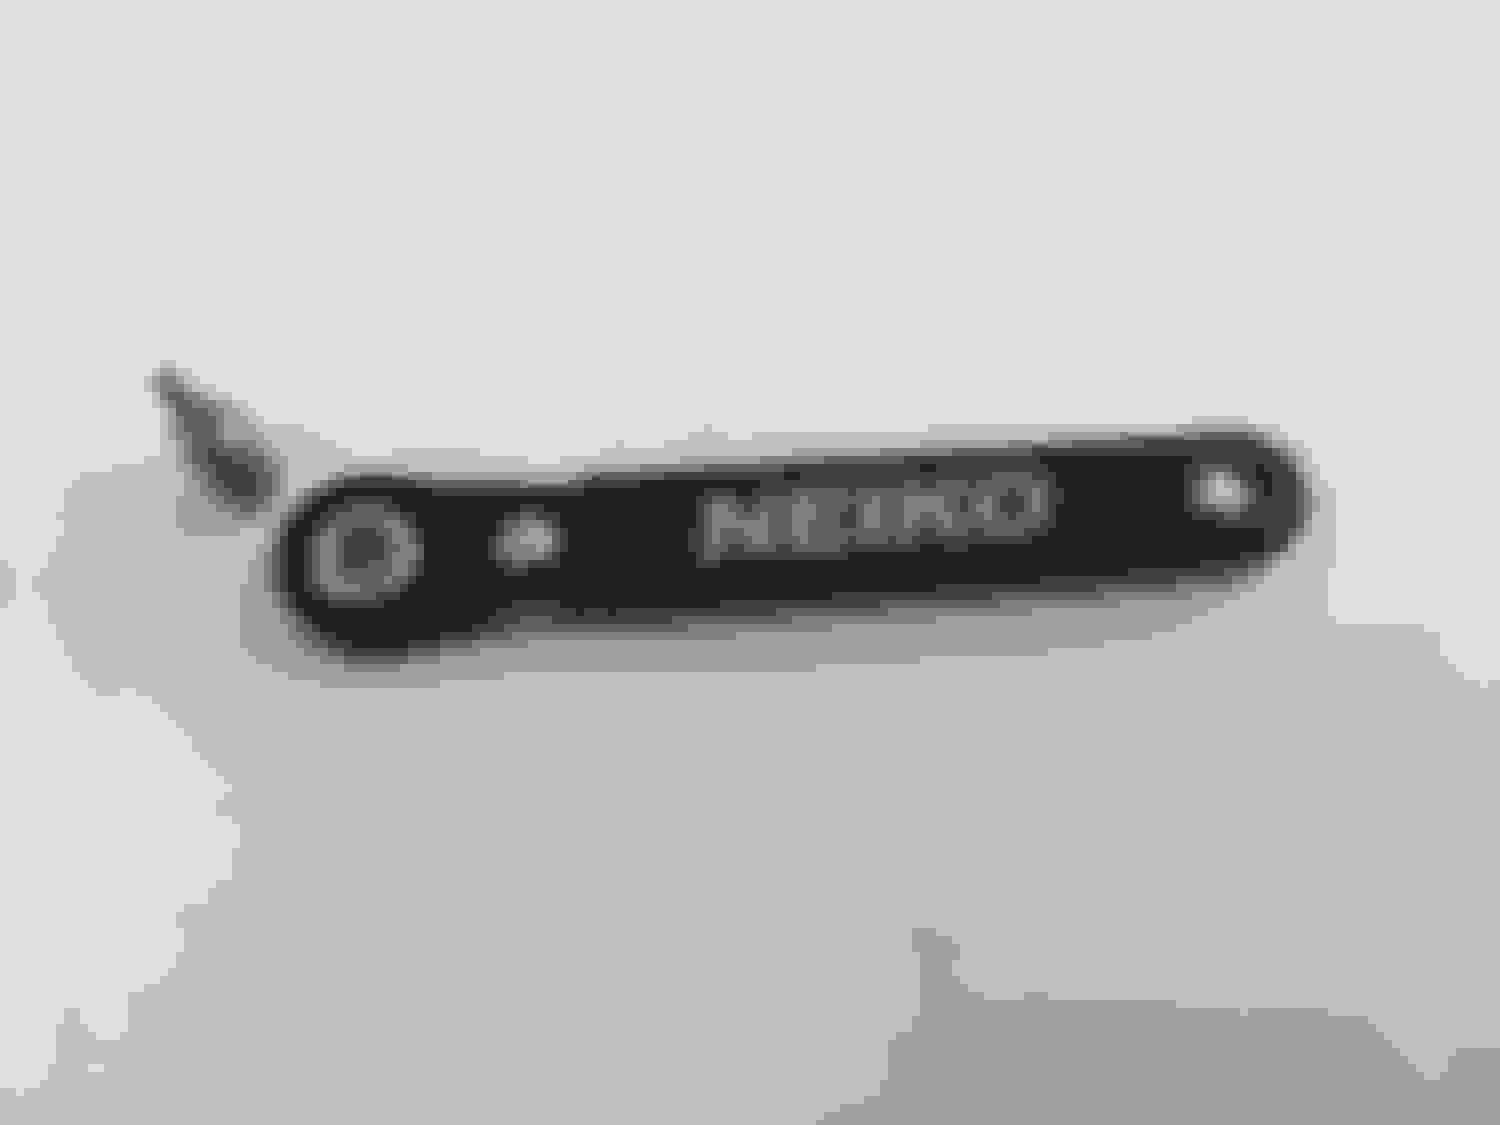
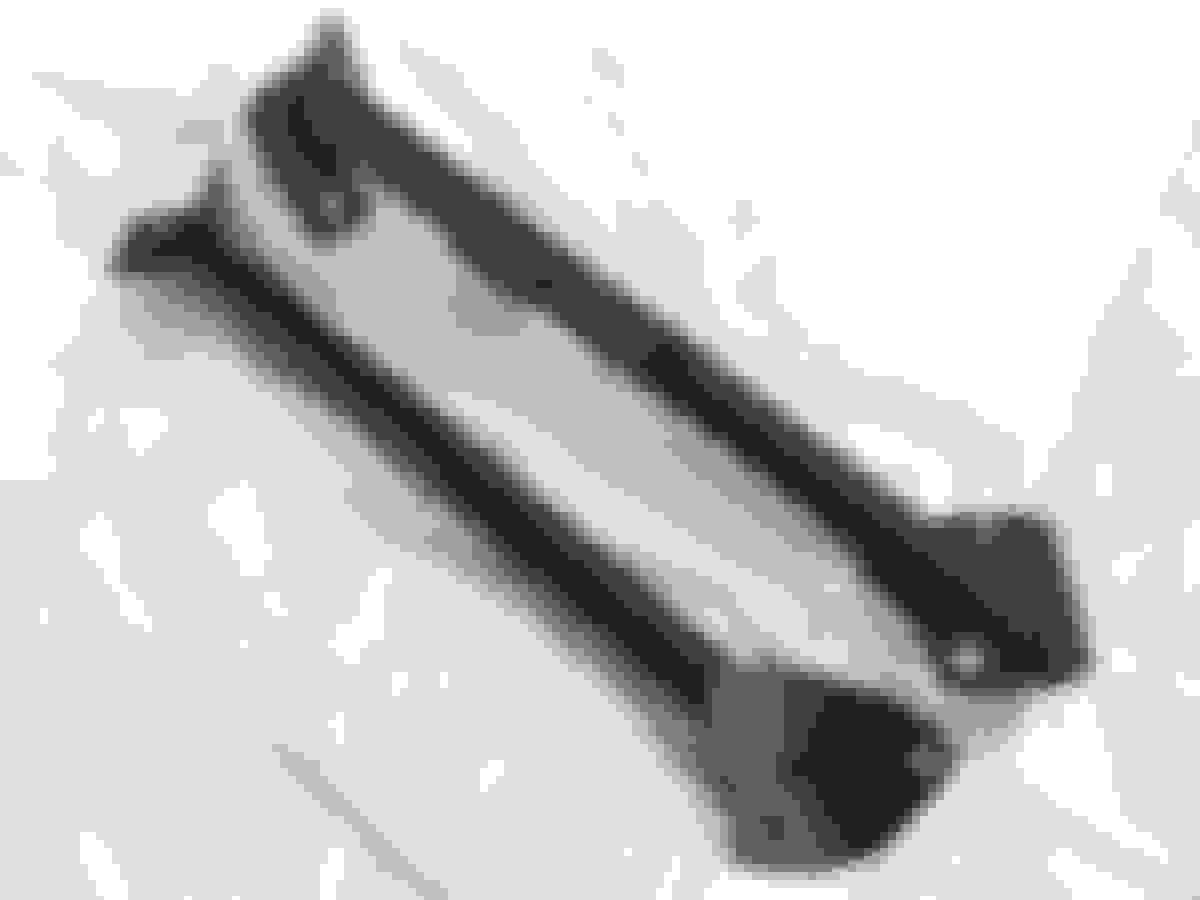
Thanks guys. @jcolletteiii The armrest pad (for pre-facelift cars) is held on by three very small T8 screws. A bit ratchet like the one below is very helpful. Removing the screws was fiddly. I think installation may be worse. Note that the ratchet is only about 4" long.
It's been a long time since my last update. Between our kids being home for a while, the holidays, the cold weather, and house projects, progress on the Mini has been slow.
The interior anthracite conversion is coming along. The right door panel is completely done. The left should be done but there was a problem that requires me to remove at least the clear coat from the top half of the oval. I hope to work on that this week.
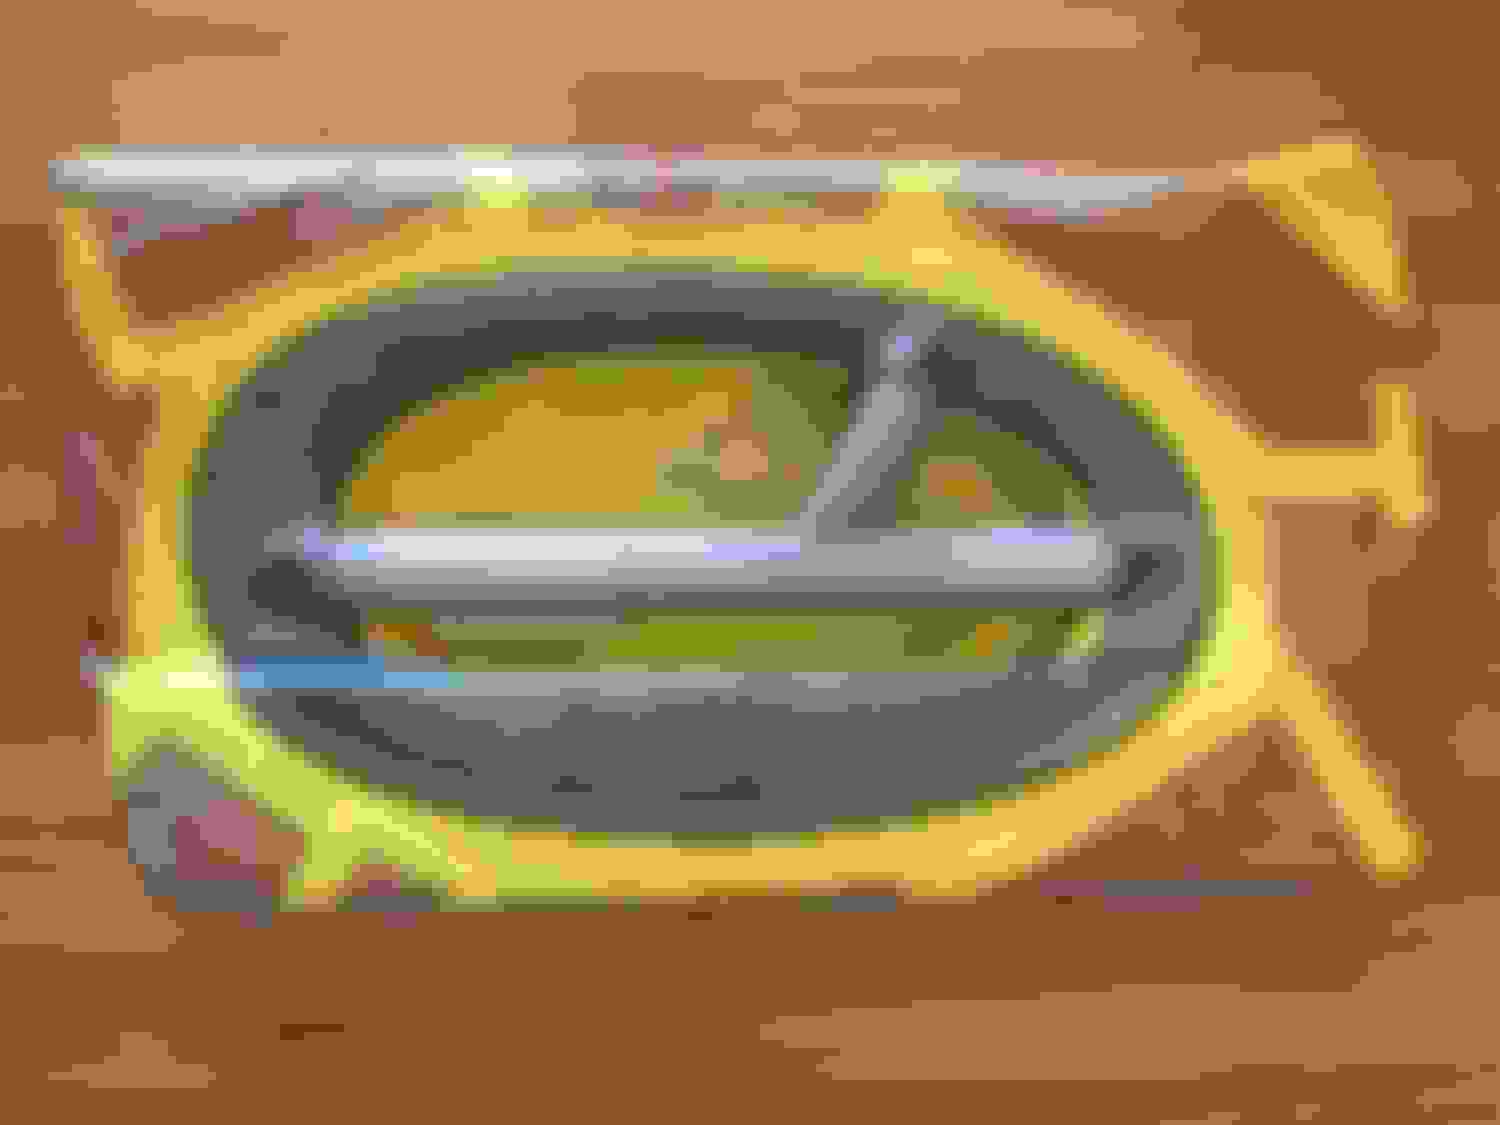
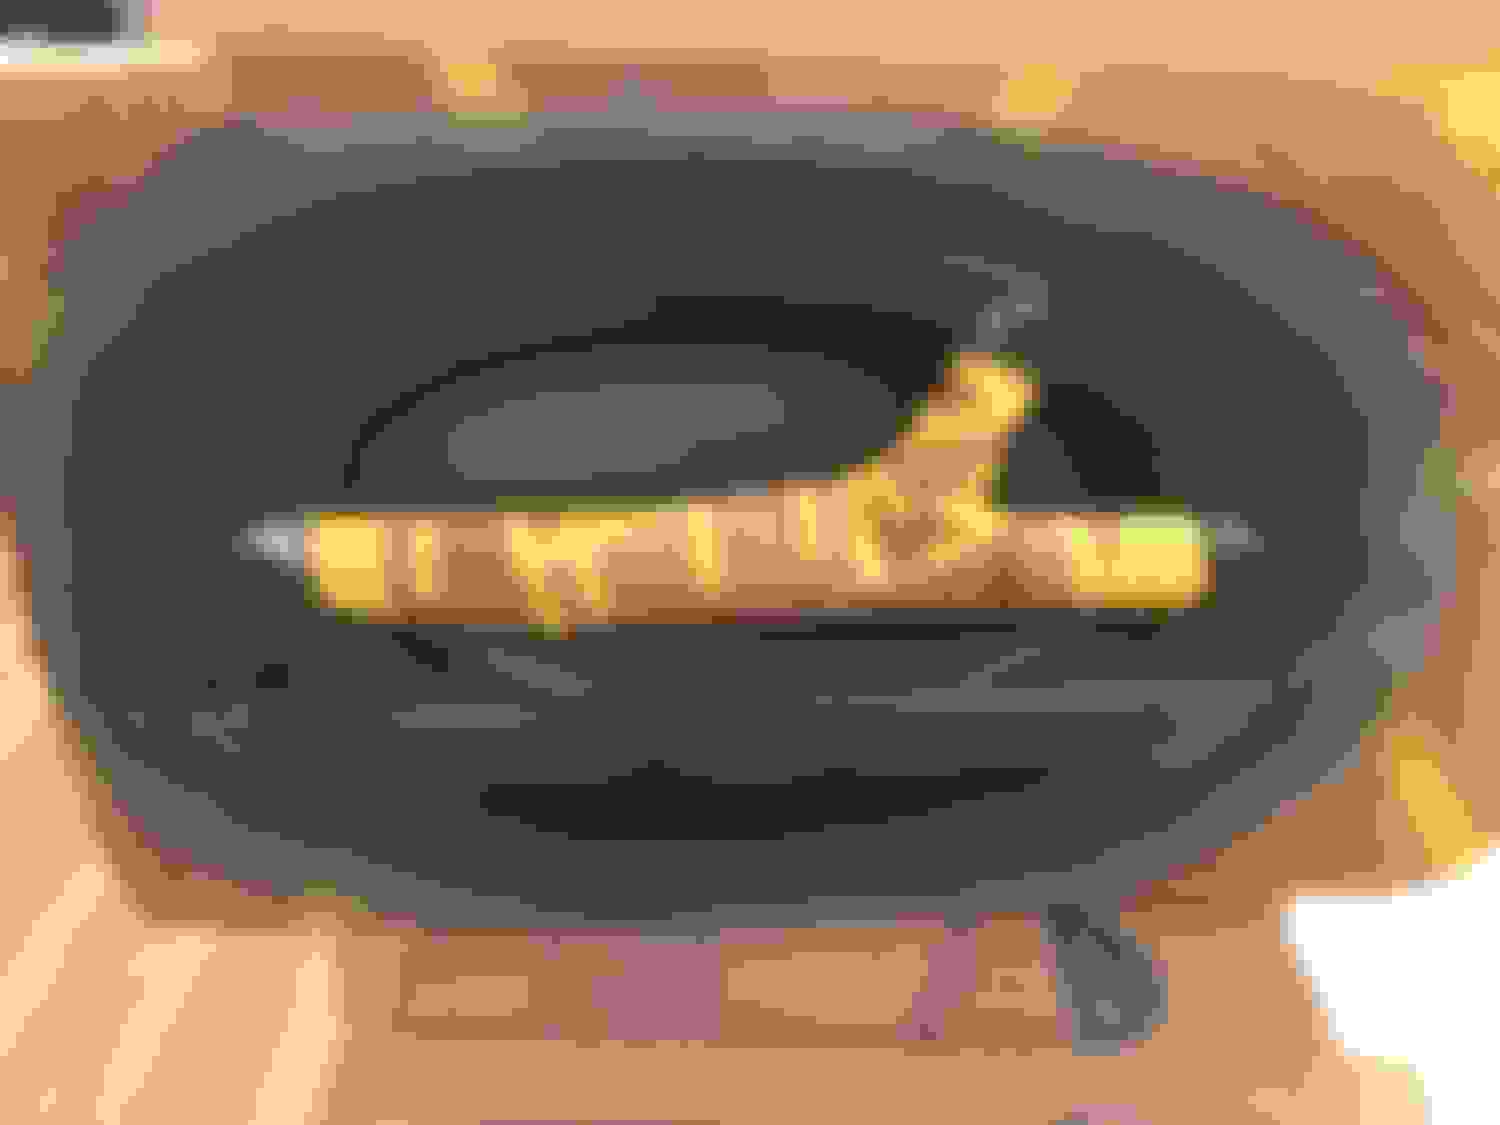
The ovals have a gloss clear coat that I lightly sanded with 2000 grit and then rubbed out with rubbing compound followed by Griot's Perfecting Cream. The result isn't perfect but I'm very happy with it. The first image shows the result after rubbing compound (right) and Perfecting Cream (left). The second photo is the completed door panel.
I had removed the speaker grills so that I could paint them as well. Much has been written elsewhere about how they were attached at the factory. For reattachment, I carefully drilled the (already hollow) posts to 1/8" by hand. I used an drill bit from my woodworking days that has a hefty hex fitting giving a good manual grip. Using it by hand allows moving very slowly to avoid cracking the delicate material. I then used superglue to hold 1/8" nylon studs in the posts and attached the grill to the panel using nylon washers and nuts. I still need to trim the studs a little more.
The dash pieces are painted, except for the airbag cover. On pre-FL cars, removing the airbag cover is much more difficult, making it was to break tabs (according to what I've read). So I'm holding off on dealing with that while I decide whether to try to paint it in place or risk trying to remove it. All of the dash pieces still need gloss clear. I'm switching from the DupliColor I used on the door ovals to a lacquer recommended by @Here2Go . I don't want to spray lacquer in the house so I'm waiting for warmer weather. Below one of the vent trims is shown scuff sanded, primed, and painted (actually, the photos are from two different pieces because I forgot to take one of the photos for the first one I did).
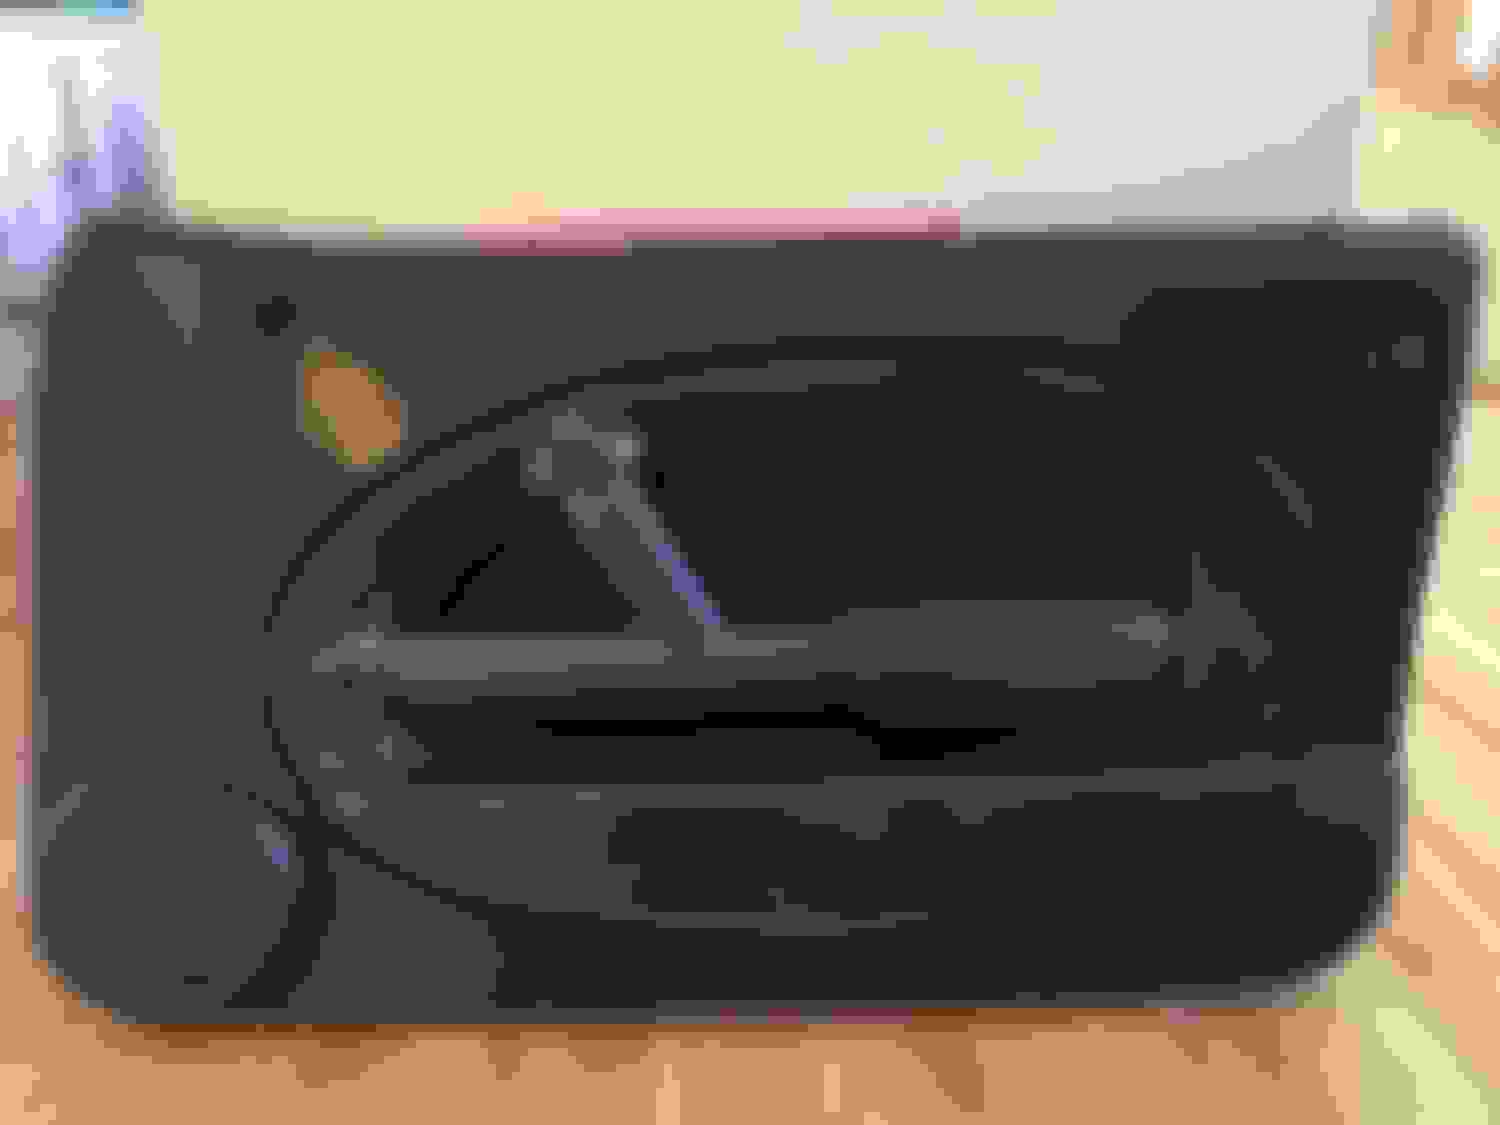
I'm also working on installing an armrest I bought in the marketplace. It's the one with the top that slides open too easily. Several methods for fixing that are in old threads on the forum. I first tried putting lumps of epoxy on the track that the top slides in but wasn't happy with the result. So I removed that and used rare earth magnets at the front. Seems to work well but the proof will be how it behaves after installation. Installation is delayed by the need to fabricate an adapter plate that's required because mine is an early car. The photo shows the magnets superglued in place. I managed to find black magnets which makes them a little less obvious.
Before putting the car back on the road, I plan to remove the supercharger to check the oil. The back was empty when I serviced it last year so I want to check that again and put fresh oil in both ends. I'm also going to address the lack of heat. The heater core gets hot but not hot enough, I think. So I'm going to try flushing it. If that doesn't work, I'll replace it. Oh, almost forgot, I also grabbed a set of cabrio braces. I refinished them and bought the installation supplies (I need rivnuts since my car doesn't have mounting points from the factory). Used several coats of semigloss black topped with several coats of matte clear.

 10-05-2022, 06:43 PM


 .
.