When you click on links to various merchants on this site and make a purchase, this can result in this site earning a commission. Affiliate programs and affiliations include, but are not limited to, the eBay Partner Network.
I have a Gen 1 Glovebox Organizer that is missing the top divider and, I am going to try and fashion one.
I possible, if any owns one of these rare species, I am looking for some details and measurements for the top divider.
A picture of the top divider would be greatly appreciated so I can see the shape.
Thanks very much.
I'll get some photos of mine tonight and will update this post. If I forget (which is likely to happen) I'll be reminded when you reply angrily that I have failed you.
I'll get some photos of mine tonight and will update this post. If I forget (which is likely to happen) I'll be reminded when you reply angrily that I have failed you.
If MegaDan isn't able to reply...
I should preface by saying; I don't have an original glovebox insert/organizer.
I fabricated my own 10years ago based from an image I saw online...and I didn't add the top partition.
Since you mentioned fabricating the partition yourself and since you don't have the measurements...
Might I suggest:
#1_Place the organizer back in the glovebox
#2_Source a 12"-16" long piece of wire. Flexible (aluminum is best), enough to insert into the glovebox and top of the organizer.
#3_Form/bend and shape the wire to conform to the inside along the top shelf of the organizer, top and around to the very back
of the glovebox.
That should give you a basic rudimentary continuous outline of the piece you will need to cut/fabricate.
Notwithstanding: Your post has given me good cause to clean out my glove box. I will probably have to repaint the inside as well.
If MegaDan isn't able to reply...
I should preface by saying; I don't have an original glovebox insert/organizer.
I fabricated my own 10years ago based from an image I saw online...and I didn't add the top partition.
Since you mentioned fabricating the partition yourself and since you don't have the measurements...
Might I suggest:
#1_Place the organizer back in the glovebox
#2_Source a 12"-16" long piece of wire. Flexible (aluminum is best), enough to insert into the glovebox and top of the organizer.
#3_Form/bend and shape the wire to conform to the inside along the top shelf of the organizer, top and around to the very back
of the glovebox.
That should give you a basic rudimentary continuous outline of the piece you will need to cut/fabricate. Your post has given me good cause to clean out my glove box. I will probably have to repaint the inside as well.
Best of luck
Thanks for the suggestion.
I was going to use a bit of cardboard and starting from the rear, trim it to fit at the lowest position and work forwards.
@Here2Go Every time I start to feel a little bit good about what I've done to my car, you post some amazing thing you've done that makes me feel like a hack.
@Here2Go Every time I start to feel a little bit good about what I've done to my car, you post some amazing thing you've done that makes me feel like a hack.
Many of us have seen the beautiful work you've done to your MIni...
You are certainly no hack my friend!
[QUOTE=wpgmini;4639834]I have a Gen 1 Glovebox Organizer that is missing the top divider and, I am going to try and fashion one.
I possible, if any owns one of these rare species, I am looking for some details and measurements for the top divider.
A picture of the top divider would be greatly appreciated so I can see the shape.
Thanks very much.
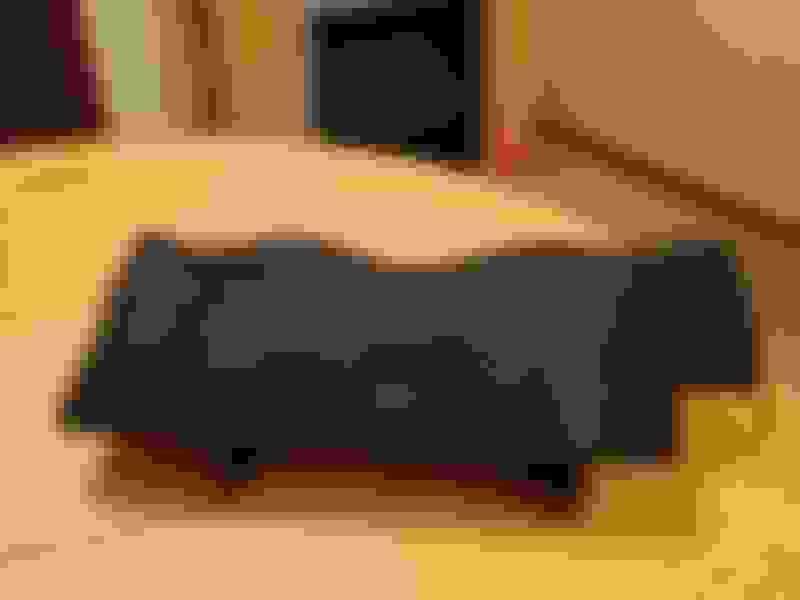
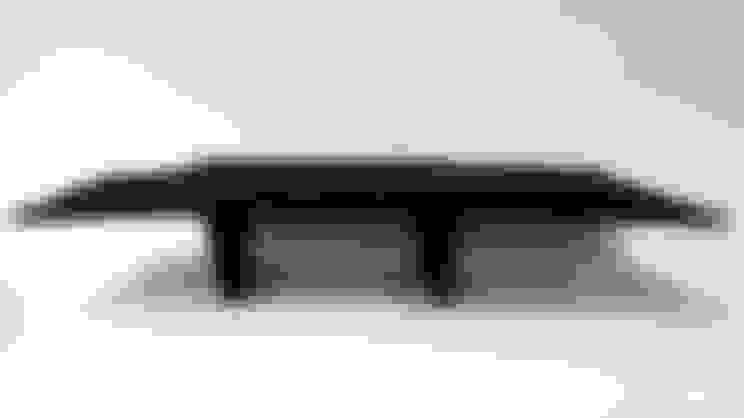
Here you go! Let me know if you need more!
BTW, this was straight from the dealer and NEVER modified.
Bear in mind also, it might have been "intentionally" modified at some point by someone who wanted a wider top shelf --- I don't think that it's actually necessary but I guess the partition does help from stuff sliding around...

 12-15-2022, 01:38 PM