When you click on links to various merchants on this site and make a purchase, this can result in this site earning a commission. Affiliate programs and affiliations include, but are not limited to, the eBay Partner Network.
One woopsy I see (and I have doe this before myself!) - the front intercooler mounting brackets are wrong way round - the bolt hole eye goes toward the firewall not the bumper.
Thanks for the catch. I just had them mocked up there so I wouldn't loose the little bolts.
No work done today save for re-doing my cherry picker with better poly wheels. Took a few hours as it was not a plug and play deal like I had hoped. I had to spend some time with the drill to make it all work. Now she's silent and moves effortlessly!
Last edited by Boostmaster; 08-27-2023 at 09:33 AM.
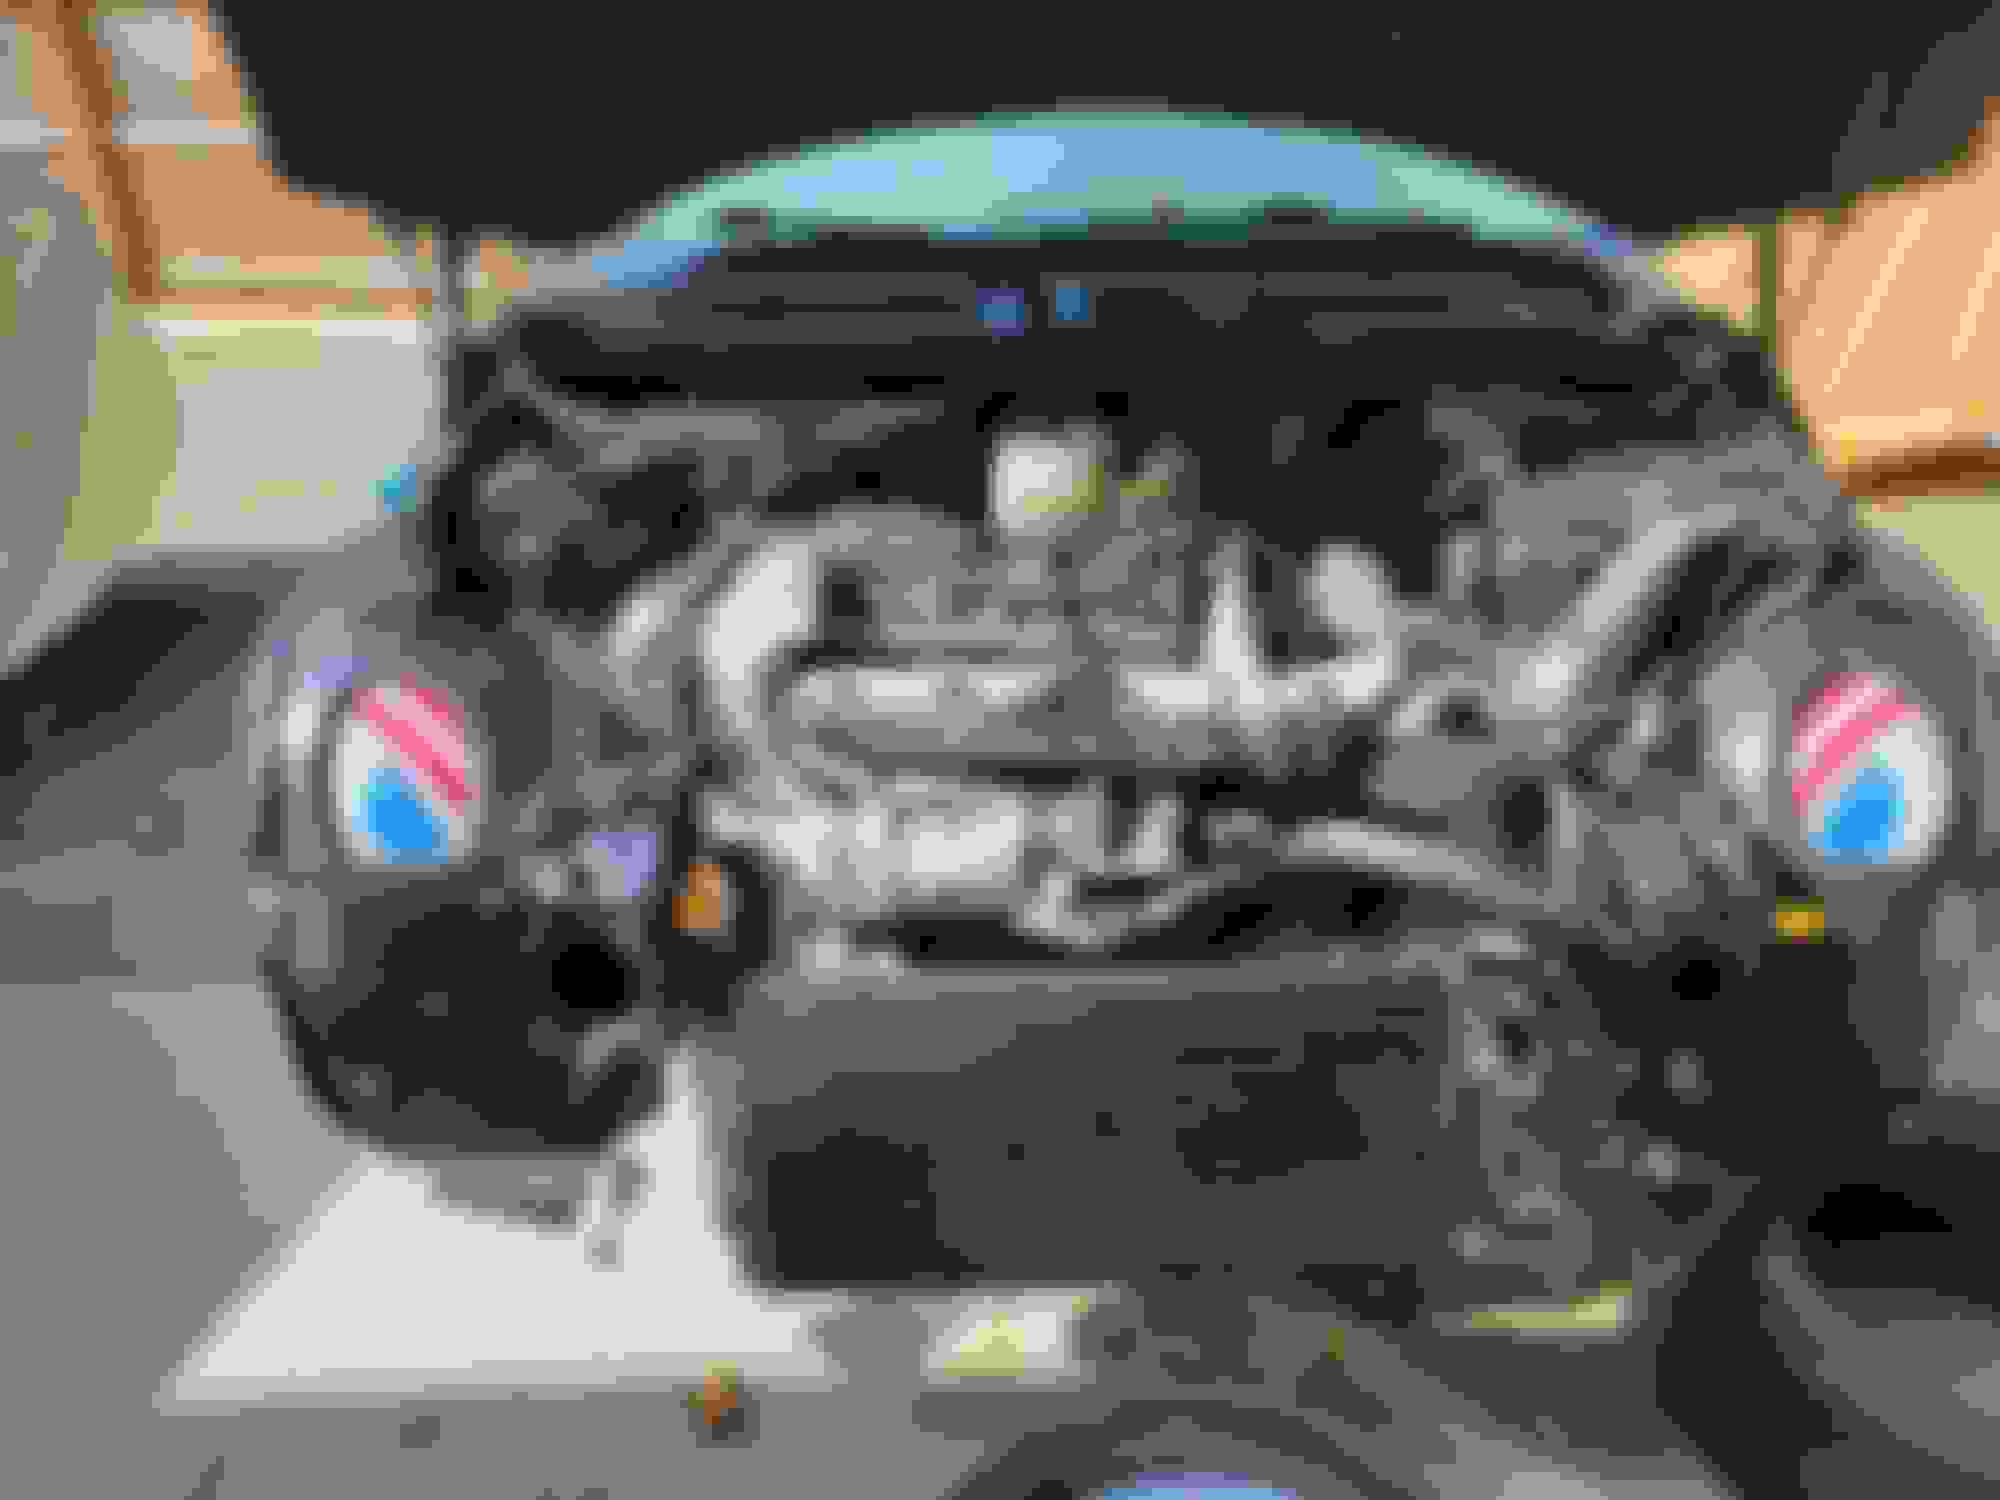
Back again for a few updates! (I'll post pics a little later) Got header wrapped and painted, got the front shocks and springs assembled and got the engine installed. Started on the back end and got the header and exhaust all buttoned up. It went pretty smoothly. Got the coolant lines done and just had a few connectors to plug in.
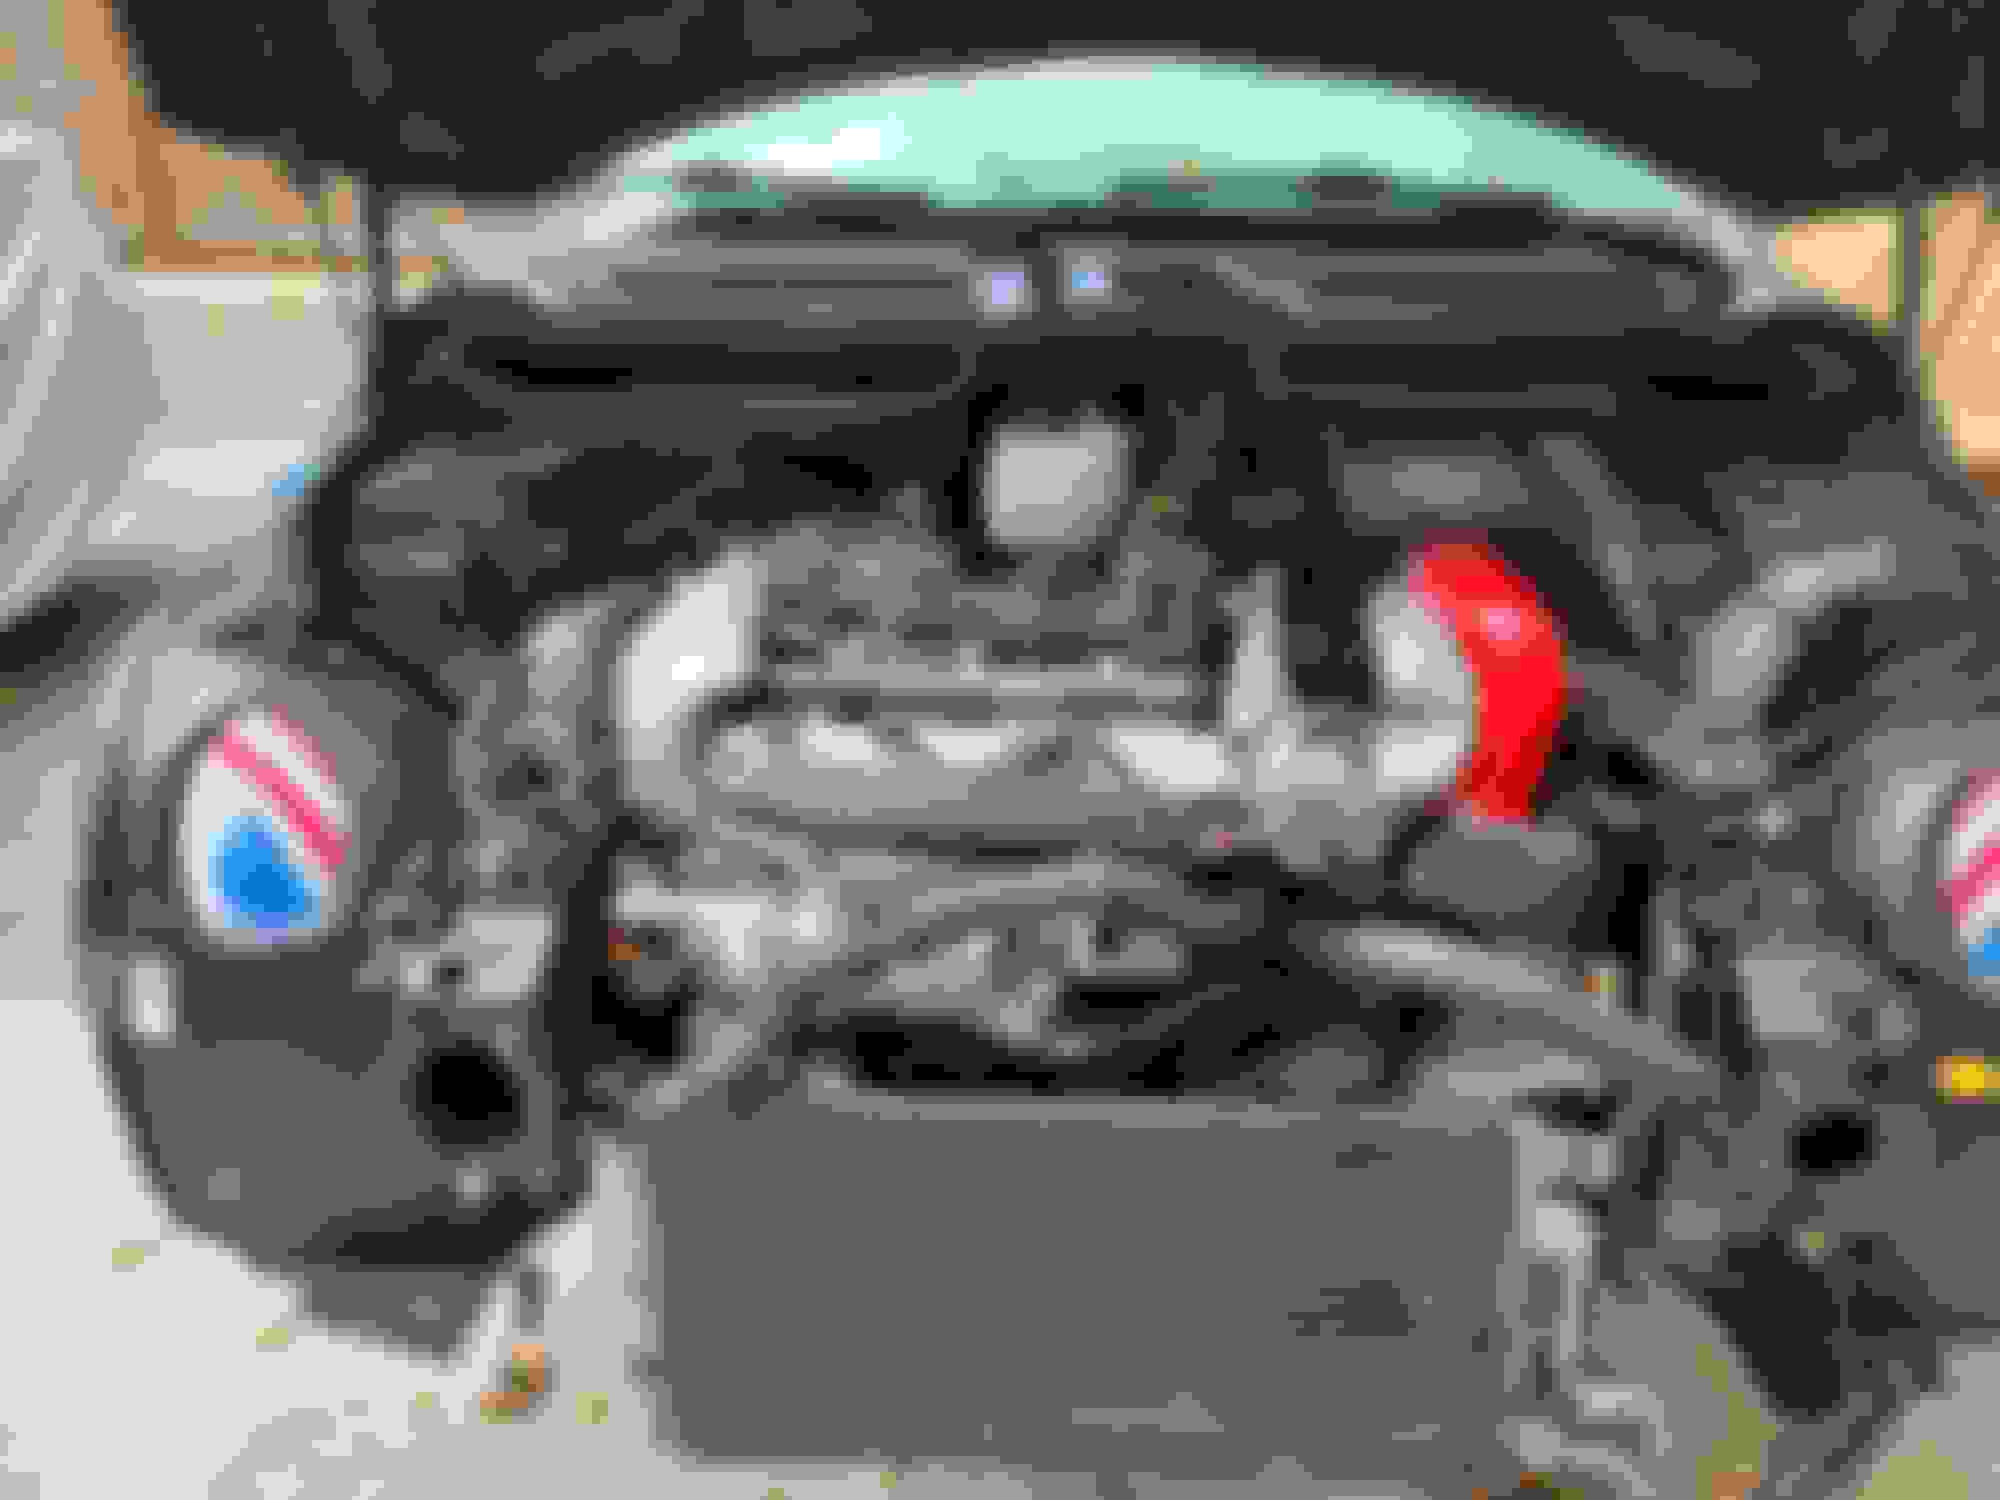
Then we ran into an issue. Before we installed the engine, I made sure the transmission levers moved freely. (The two on the top that connect the the shift cables and the one at the bottom that is depressed by the slave cylinder) Once installed, these levers do not want to move much at all. At least the one closest to the passenger side and the one at the bottom. So, I figured that maybe it's just the angle so I affixed the new shifter cables and tried. When I affixed the shifter cables there's one that is weighted and one that is not. The one that is weighted I placed closest to the driver side and the other cable closest to the passenger side. Maybe this is incorrect? Not sure. Could not find a pic to confirm and the service manual is useless for this also.
I seem to get 1st and 2nd but cannot even get into neutral. The shifter is literally "stuck" canted toward the driver.
We bled the clutch (It's still very soft) - even having been compressed while we bled it. Can't seem to move the lever it pushes, like it's jammed...
Neither axle has been installed. (Could this be an issue?) And there is no fluid inside (should still move as I was able to move stuff on the bench)
Not sure what the heck the issue is. Never had one do this before. Really don't want to take the whole thing out again.
I need some ideas. What do you transmission experts think?
Last edited by Boostmaster; 09-03-2023 at 12:36 PM.
You should be able to go through all the gears once the gearbox is reinstalled, even if the axles are not in yet and it does not have fluid. Just like you could on the bench.
The good thing is you probably don't need to get the gearbox out. Try to see if there is something that restrict shift linkage in its degree of motion. If you cannot see anything, pop the linkage and retry to go through the gears manually on the gearbox, and move the shifter to see if linkage moves correctly when not attached.
My best bet is that you somehow attached the linkage incorrectly (either pulled too much or not enough) and thus couldn't move it all the way from the shifter.
Note: I cannot give too detailed advice because I have a different gearbox and the linkage is not attached at the same place on mine.
The issue is that once the engine was installed, If you look at the second pic. The one on the left I could reach over and move it (engine installed). The other one, not really. And the shaft that hold the throw out bearing was in perfect. Wondering if I might have gotten a wrong clutch or something. It was sort of a pain to install as there is no pilot bearing. Nevertheless, we held it centered and snugged down the assembly. Something just feels off here (And I'm at a loss right now to think straight).
Ok intrepid readers... The fix and some updates. First the fix...
As you will recall from my earlier post, we installed the engine and had everything mostly hooked up (up top- no axles yet) when I discovered that the trans would not shift. We had the new cables on and it was nice and jammed. After thinking about it that evening we decided to just pull the engine. There is something to be said for a clean engine and bolts with anti-seize! We had it out in about 30 minutes. In a few more minutes I pulled the trans off the block to check my clutch job. It was perfect. No binding, no issues. We bolted it back up and it still would not cooperate. Since all we had done inside was the LSD and it all worked when we put the case back together, this was not going to be the issue.
While staring (maybe glaring) through the sweat running down my face (it was like 90* out) I saw what "might" be the issue. It was something so small that I could not believe that it would have caused such a problem. AND of course, it could have been corrected without having to pull the engine out (Story of my life!!! )
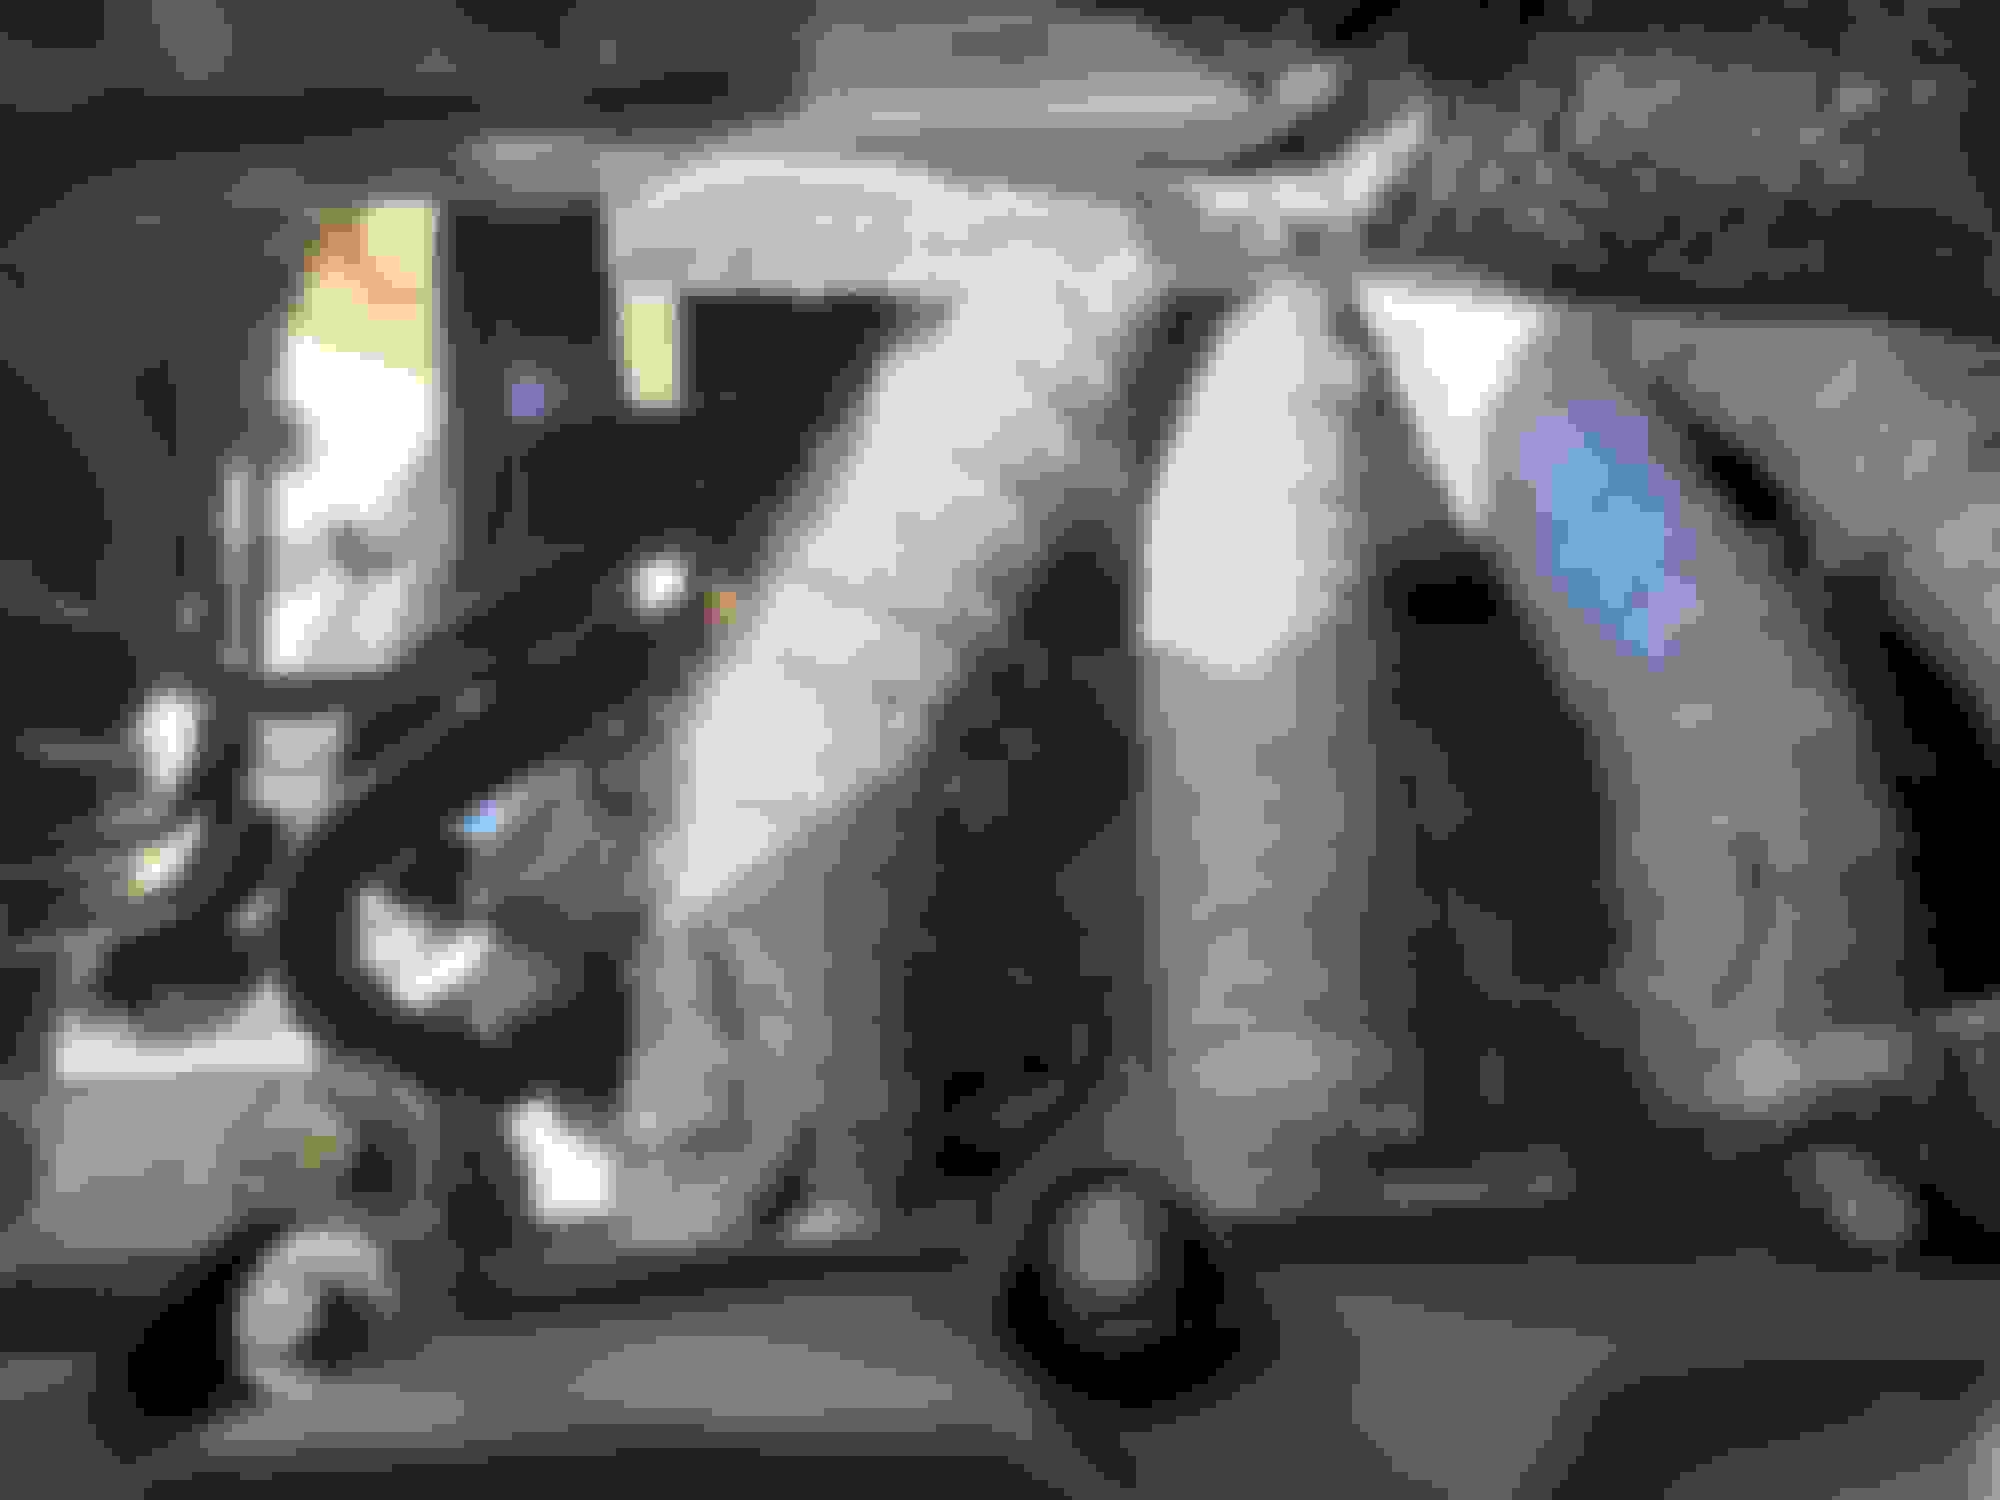
So, take a look at these pics and see what I missed:
When I had taken this little assembly apart I figured a few pics was all that was necessary without much detail as it was "pretty obvious" where everything went. When I redid that weighted assembly and put it back together I wondered if I might have misplaced something where that little black plastic square would ride. I figured I would find it and pressed on. Well, I found it. Lesson learned!!!
We called it a day because we had other things to attend to and installed the engine back in yesterday. We have it mostly buttoned up with exception of the underside as a connector for the PS pump decided to come off so I glued it and am letting it cure. The rest of the stuff should take a minimal amount of time to wrap up.
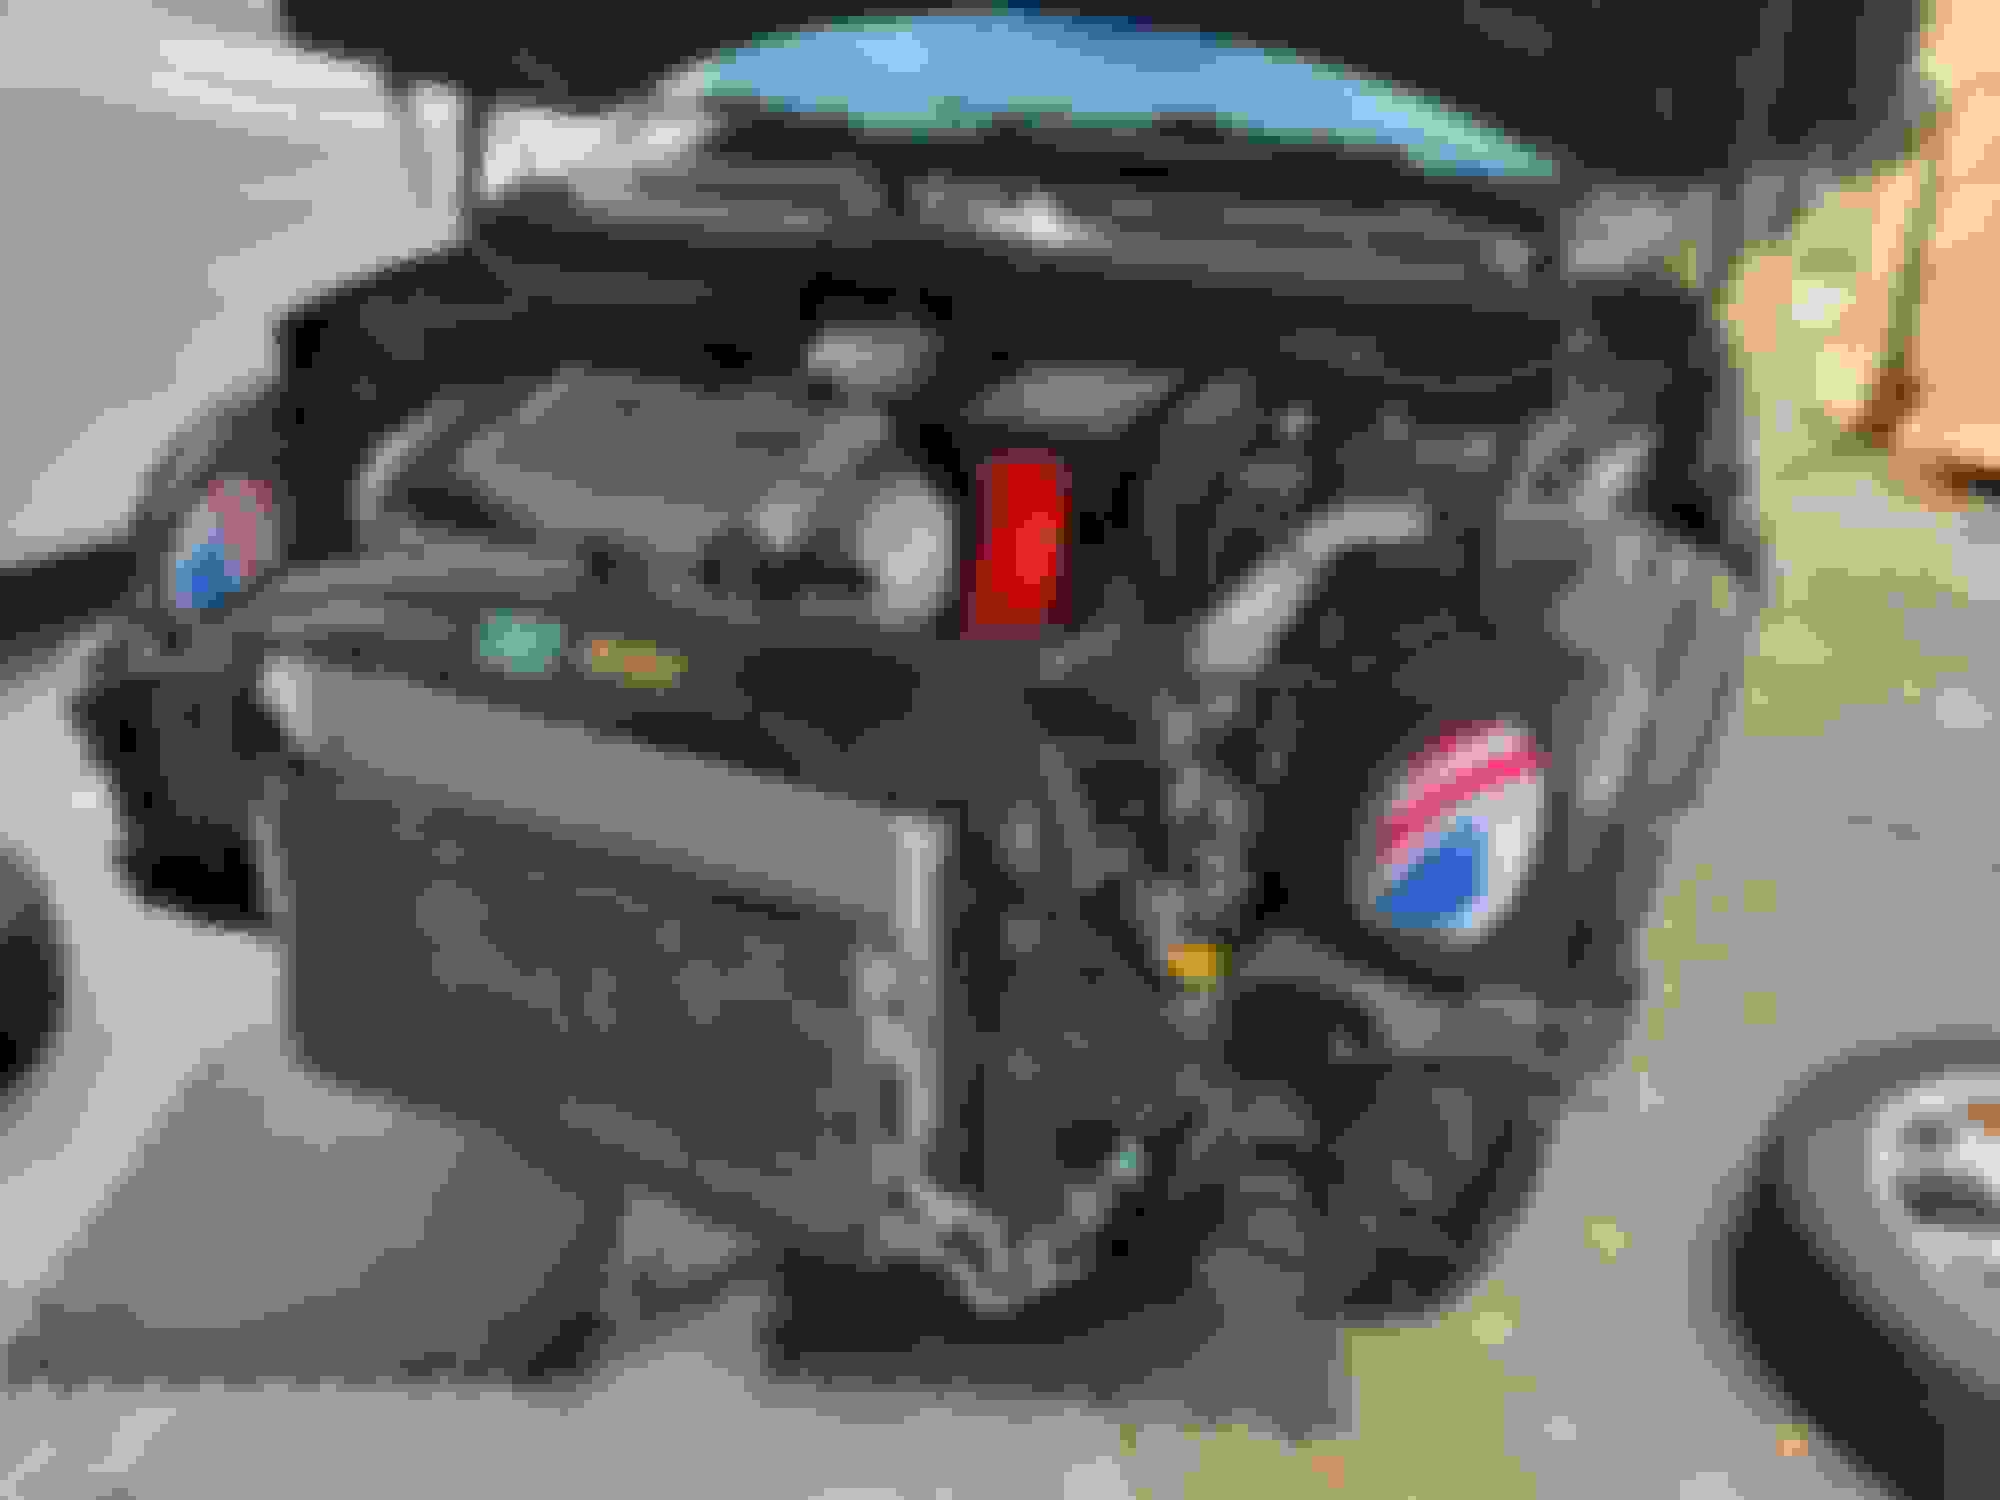
We had not initially thought the suspension had an issue but it was original with 150+k on the clock. I though the car rode fairly decent. I must be used to really rough suspension. Take a look:
It was the ebay kit from the guy in Poland. Took a little while to arrive, but it worked. The rectangular piece required some sanding with a small file to get it to sit snugly and
allow for the rod inside to move easily. Other than that it's much more firm than it was.
All the struts components looks rusty, but it doesn't tell the whole story: the top mount facing up looks like it's missing part of it, so I guess it was completely torn? And if you can easily depress the shocks by hand, they are toast (which you can only tell after disassembling the struts and doesn't convey on pictures).
I wouldn't have any issue re-using some of the parts on first glance though. What I can see of the rubber isn't cracked/damaged or anything, and the black metal part one of the rubber is sitting on (no clue what it's named) only have surface rust.
The top hats were cleaned up and re-used. No issue with those. The springs and shocks were original as were the rubber perches. With 150+k it was time for them to all be replaced. The upper strut mounts had worn rubber and those bearings were old as well. The new stuff should be better all the way around.
I thought I had some pics. I'll get some and post later on.
The problem with the MINI shocks is that they wear out internally, at least on mine, with no leaks. These are basically the same between the R53 and the R56. I replaced the OEM shocks on my R56 at about 35k miles and found that they were toast at that point. The ride was horrible and the shaft was loose in the body such that it increased the camber by about a half degree. The B8 Bilsteins that I replaced them with are so much better. Similarly the shocks on our R50 were replaced at about 55K with Koni FSDs. Again, huge ride improvement.
At the right setting on your Koni shock, you are going to love the ride.
PS - Yes, I know I sound like a broken record about MINI shocks
Last edited by Eddie07S; 09-06-2023 at 12:58 PM.
Reason: Edit
When I had taken this little assembly apart I figured a few pics was all that was necessary without much detail as it was "pretty obvious" where everything went. When I redid that weighted assembly and put it back together I wondered if I might have misplaced something where that little black plastic square would ride. I figured I would find it and pressed on. Well, I found it. Lesson learned!!!
We called it a day because we had other things to attend to and installed the engine back in yesterday. We have it mostly buttoned up with exception of the underside as a connector for the PS pump decided to come off so I glued it and am letting it cure. The rest of the stuff should take a minimal amount of time to wrap up.
Yeah. I had just re-bushed/repaired my shift weight a couple of months ago.
Found in my kit - I had no idea what that little black, square plastic (bushing) was for or where it went.
Having said that - I spotted the problem (in your pics) right away .
I named my black bushing "Waldo"...as it took me a while to find where it went.
Great job!
and thanks for the fun in that post
It wasn't supposed to be fun. LOL It was a royal PITA.
This was an odd set of circumstances. Never ran into this many issues on a mini.
As for the shocks, my experience with lowered cars is really bad suspensions that are hard and unforgiving and reasonably agile. Since we are used to this, we are hopeful this new set up will be enlightening.
While this project has been a bit more than we planned, it was, in fact, somewhat necessary.
The shocks were shot, the axles literally came apart when we removed them, the exhaust was rotten (just barely hanging on and still quiet), and there were a few odds and ends that were on their last legs. Did we spend too much? Maybe, but we addressed a bunch of stuff that we likely would not have even noticed. So, for the expense, we have given this car a new lease on life for at least another 150k (at least we hope so).
The Koni's are nice, you'll like 'em. Been running the orange STRs for about 35k miles now (since 2017) and they seem to be doing just fine, no signs of busted seals or failing rebound. They will rust a bit on the very bottom and I've read some serious complaints about how they rusted so bad they had to be replaced. Depending on where you are (ie rustbelt, coastal region etc) this can be a serious problem or nothing to worry about at all, mine seem ok so far in that department under soggy, midwest conditions. I've read some complaints about having to replace them at about 20k and sooner, but your setup can clearly last a lot longer than that, especially if your camber plates hold up well and prevent the shrooms.
I am using some Amsoil HD metal protector on everything. The entire underside has a nice sheen from spraying it down. I was watching a youtuber out of Chicago that does this to all his cars to prevent rust issues. (And they get more salt and snow than we do so I am hopeful this will keep us a little more rust free)
A few more pics. Minimal progress. No rush as we're in the final stretch. I installed the header heat shield. (got sidetracked and cleaned it up a little) To clear the new header, I drilled out the rivets and spread it out over the pipes. Still fits fine with a little massaging. Also, installed the new M7 CAI with a new silicone hose as the old one was ripped. I purchased a cheap ebay one and it was WAY TOO long. I had to cut it down and these things never cut well so I got what I got.
Also, my new radiator arrived. I checked it over and it looks to be pretty decent so that will be one of the last things we do.
We still need to do the front suspension- mostly a matter of just plugging it all in. Might break down and paint the front calipers as everything else has had some attention. Not sure yet.
More progress! (or, rather, 1 step forward 3 steps back) We had forgotten about the front calipers so we had to stop and clean and paint them quickly.
We then moved on the the axles. One of which was wrong (it was somehow for an automatic- not sure how I was able to order that from ECS as everything was supposed to work with manual.) So, note to all- check your splines as soon as your new axles arrive. Managed to order another through Amazon- same brand so I guess that was good. Install went smoothly.
Ran into some issues with the carriers and shocks - it seemed the closer we got to the finish line the more ways we found to put everything together backwards or somehow incorrectly and then had to stop and redo it all over again. Story of my life!
Anyway got the front stuff mocked up, installed the rotors and pads and bled the brakes and the clutch slave. Seems like it's all working.
Installed the front support with the new radiator (slightly heavier than stock and ran into a hose size issue- luckily, one of the silicone ones I purchased previously actually fit so we used it.With that mocked we went back and tightened all the suspension stuff and started adding fluids. Got one leak of the PS pump hoses not fully snugged and a small amount from the trans as the car is leaning a little toward the front - no biggie.
Ran the connection for the oil pressure sender, but I'm waiting on some connections for the electrical wiring to be completed (same for the boost gauge which lights up- but now appears to be defective as it sits at like 5psi while it's off)... I need to pay better attention. This is an Autometer gauge. I thought they were good quality so I was lax with my inspection. Lesson learned. Gonna try and see if I can get it replaced. In the meantime we used the stuff it came with and just attached the plastic "T" to the rubber end that plugs under the manifold and the other end of the "T" to some nice new hose and plugged it to the underside of the manifold. We made sure both ends were seated, but that might have changed. And maybe the "T" fitting is causing issues because...(keep reading)
I installed a freshly charged battery; Turned the key to prime the rail- all sounded good, no leaks. Turned the key and the starter sounded like it was on it's last legs or like the battery was nearly dead-- really boggy. I stayed in it and it finally fired! The car was a lot louder with the headers and exhaust and there was quite a bit of smoke from the paint and misc fluids.
The trifecta came on and we realized one of the speed sensors was not connected. Re-connected the sensor and ABS and DSC still on. I'll fool with that later.
While I was waiting for her to warm up, wanted to make sure I had enough coolant and no air in the system, I blipped the throttle and that's when things went bad. The engine started surging (like a yo-yo), but this was like normal idle to like 3000 rpm every couple seconds. We looked and found one of the I/C snoot boots not fully seated and figured a big vacuum leak caused the issue. Fixed the seal, disconnected the battery for a bit and went back at it- same issue once again. In the mean time we also have a loud rattling noise from what we think might be the exhaust?
I checked the small throttle body under I/C horn and had checked it prior to install as it was often mentioned as an issue. The spring pressure seems pretty good to me. We did notice that when we had the yo-yo idle, you could watch the little lever moving back and forth opening and closing the flap. Thought about the larger 380 injectors but they don't need a special tune (to my understanding) and the car did run well at one point...
While we were looking for an obvious issue, I decided to check if my A/C was good as the lines were really pushed around a lot. I flipped the switches for the a/c and within a few seconds the A/C kicked on and the idle calmed down. There was still the rattling noise, but the yo-yo idle was gone. However, when I turned off the A/C the crazy idle came back!
Finally, just to make sure everything else was good, I put the car into gear (still on stands). Everything moved like it was supposed to, but it rumbled and wobbled something fierce. (No wheels on at this time) Maybe one of the axles not seated properly?
So, I kept the A/C on for a bit and just let her run to let all the smoke clear and make sure she was properly cooling. The temp was spot on and never moved. I used my temp gun and there was like a 50* drop from the radiator inlet to the outlet so I figured that was good. The rest of the car stayed relatively cool save for the headers which I knew would get hot and needed to do so but it was like 700* at the very end where they all collected. It was glowing like a turbo that had been beat on for a while. I took a pic and kept the hood open. Of course it's wrapped with the special header wrap and special spray so I wasn't worried, but I don't think I've seen one glow like that before. Hopefully, this will not be an issue moving forward.
So, as you can see we still have some work to do.
Car: 2006 (build date 05/06) MCS manual
Issues : 1. crazy idle with A/C off
2. Noisy rattle sound
3. rumbling front axles
4. DSC and ABS lights
Things I plan to check: Look for another vacuum issue (going to remove the boost gauge stuff and start there first); make sure the exhaust is snug. (it wasn't like a heat shield rattle- more substantial than that); re-check that the axles properly seated; clear codes for the abs/dsc and see if the crazy idle kicked out some new codes.
Not really sure what else this could be. Never run into this many issues on a mini. I know it's fixable, but we were tired and figured we'd call it a day and come back with fresh eyes later on.
If you all can think of anything please feel free to chime in.
Last edited by Boostmaster; 09-17-2023 at 05:46 PM.

 08-27-2023, 07:53 AM


 )
)


 Lesson learned!!!