When you click on links to various merchants on this site and make a purchase, this can result in this site earning a commission. Affiliate programs and affiliations include, but are not limited to, the eBay Partner Network.
I'll take a stab at #3. I could be wrong, but my gut tells me the "grumbling axles" are the result of their full-extension while up on jack-stands. R53's were not designed to run with a lift kit so if you compress the front suspension with another set of jacks and level off the axles a bit, things might smooth out there.
Question: Is the BPV original or did you get a new one?
(This is such a massive thread that I don't want to go back in time to do the detective work.)
If that BPV you're running is original, go ahead and order a new one now. The spring may feel good enough in your hand, but they tend to deteriorate slowly inside that rubber housing and the ECU will throw weird codes that don't point to the problem. The redesigned ones available from ECS are way better and make a nice "shhhwm" sound when letting off the throttle.
I checked the small throttle body under I/C horn and had checked it prior to install as it was often mentioned as an issue. The spring pressure seems pretty good to me. We did notice that when we had the yo-yo idle, you could watch the little lever moving back and forth opening and closing the flap. Thought about the larger 380 injectors but they don't need a special tune (to my understanding) and the car did run well at one point...
If you ever touched the throttle body flap, you likely need to do a throttle body adaptation. It is scan-tool only on 1st gens, and require something more expensive than a basic code reader.
Not sure that's the fix, but it doesn't hurt to try that first.
I'll need to double check the axles situation. I could have sworn I've had them up before and in gear with no issues. Already confirmed the drivers side was in 100%. Need to get under there and double check the passenger side.
As for the BPV, I want to try and eliminate everything else because it worked before AND with the A/C on it all worked fine. I did not touch the throttle body flap. My only work was clean up on the air passages where ever I could reach.
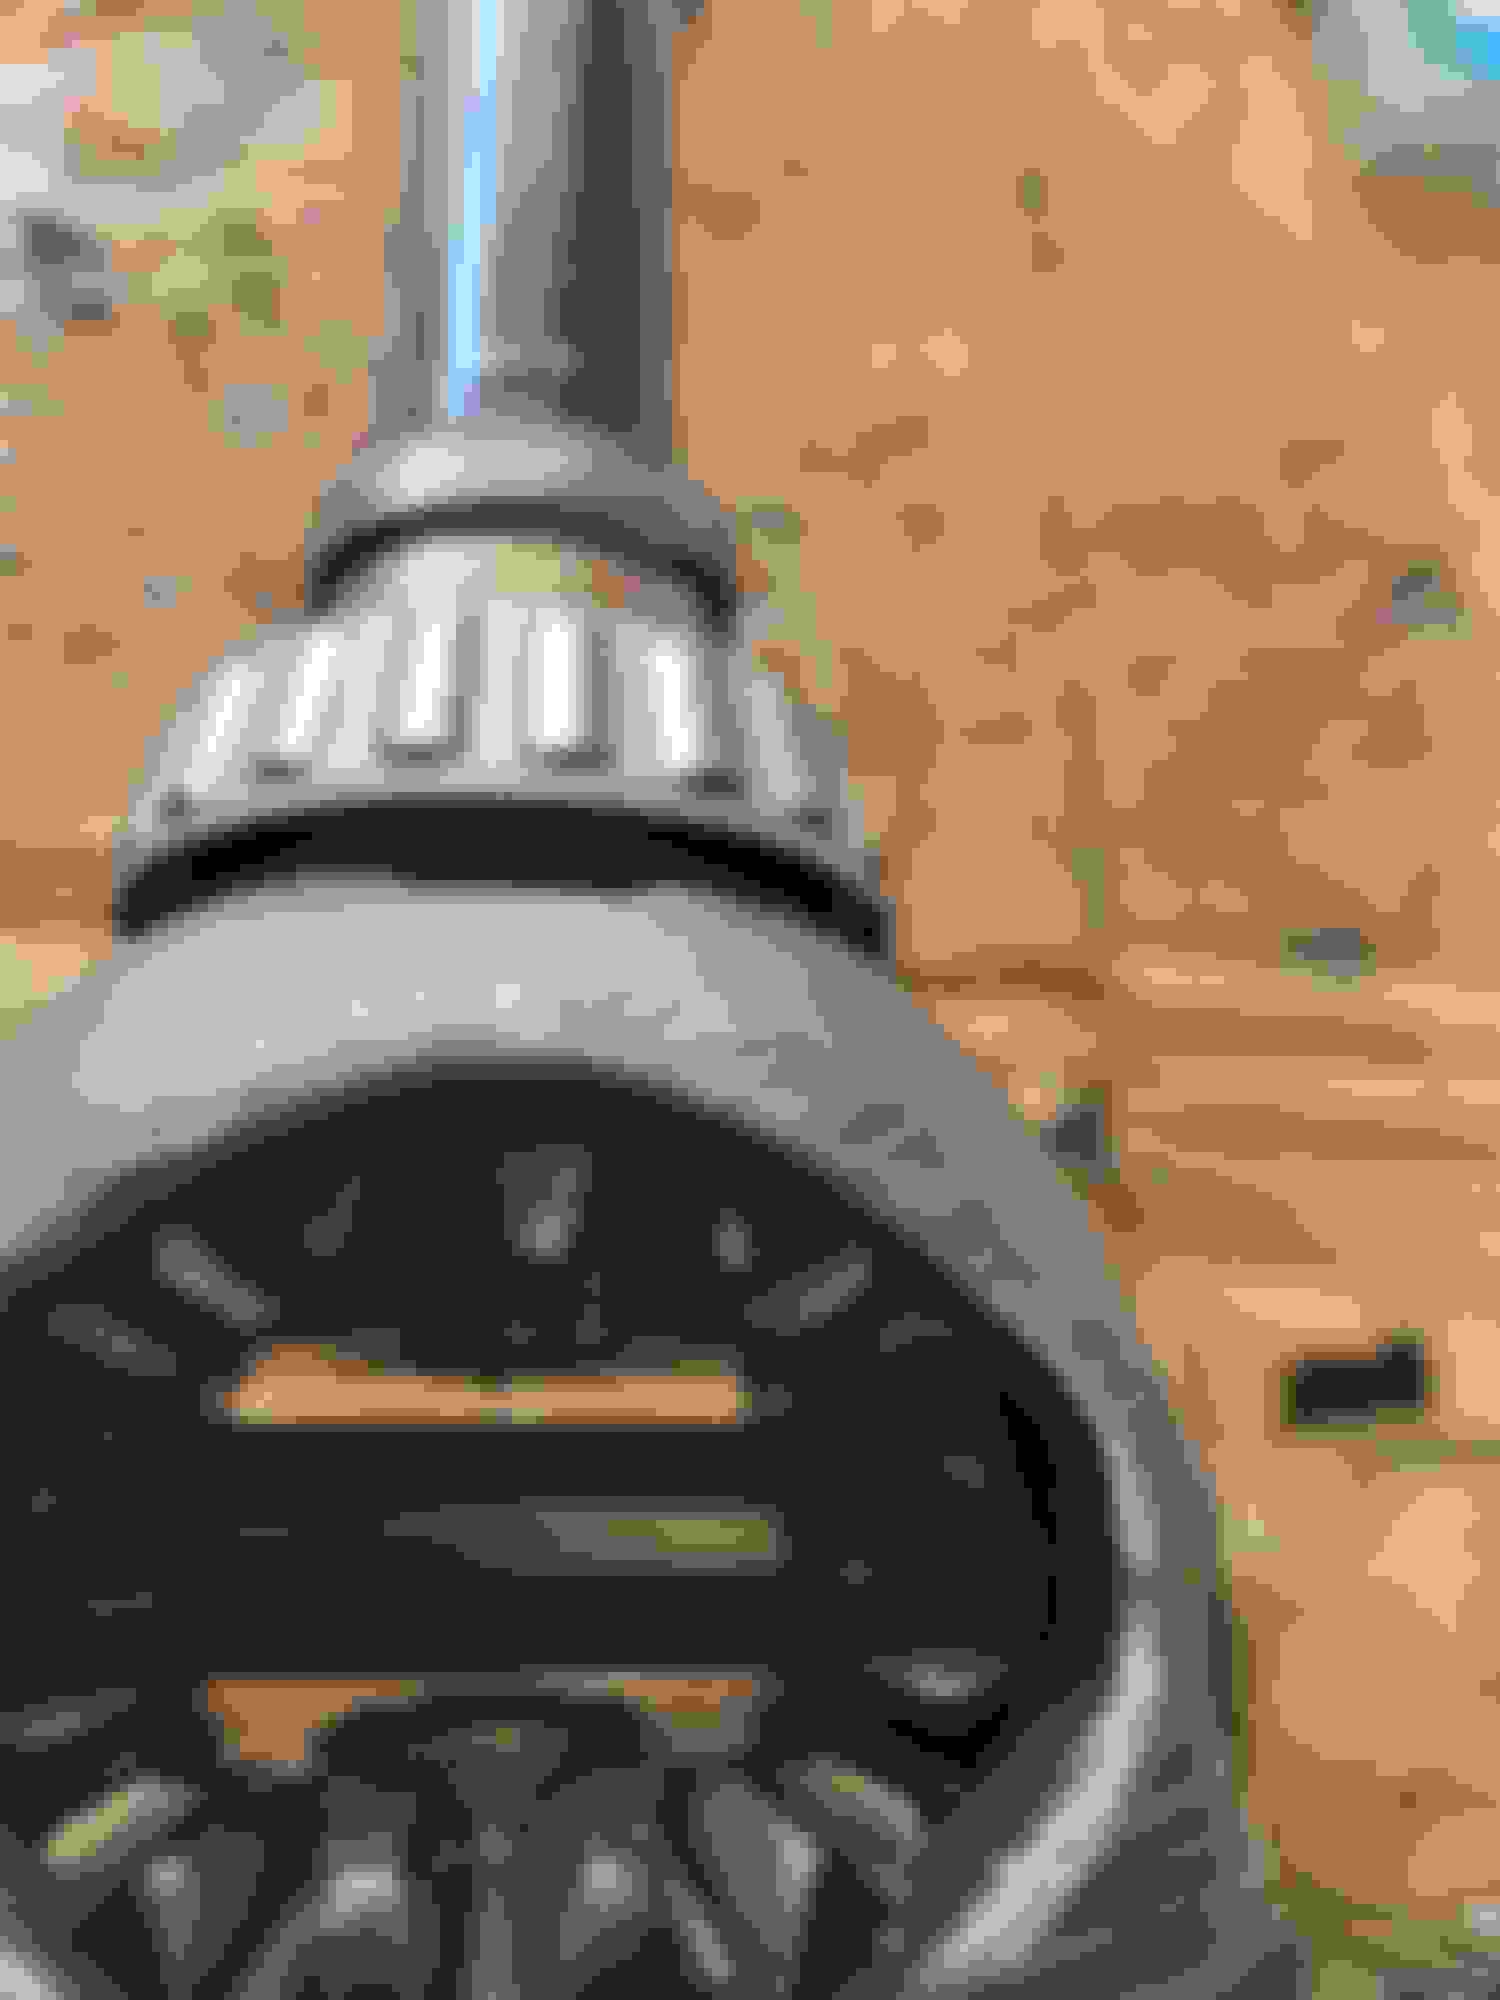
Removed the boost gauge to return to Autometer for warranty repair as I ordered it too long ago so I can't simply return.
As for the surging issue, we discovered that one of the I/C snoot boots was just slightly curled under the horn and not seated perfectly causing a vacuum leak. Reset the boots and started the car and while the starter still feels a little sluggish (it's like 2 years old and never felt like this before), it started and ran about perfect. (Except for the rattle which has calmed down). So, I guess it's good progress. Should have the car down tomorrow if everything cooperates, and maybe I can get a shakedown run.
Only additional issue I noted was a slight stumble at tip in like a poorly adjusted carb. When I would lightly blip the throttle it would make a sucking sound from the CAI and felt like it would hesitate. Not sure if that will be an issue or not. We'll see...
Another delay. Had planned to do a shakedown run, but due to the length of these wheel studs (like 65mm IIRC) when I affixed the stock wheels, the nuts went so far in I could hardly reach them with a socket. So, I have ordered some 15mm spacers all the way around.
I had wanted the studs for easy of mounting, but also to have the option to run something larger/wider should the fancy strike me. Hopefully, they'll be here in a few days and I will be able to finally start wrapping this one up!
I will be posting up the total cost of this project, but have been delaying until the last minute to try and account for every single bit. Want to make sure it's as accurate as I can make it. Not only for me- to remind me how big a fool I am and that I should not be doing "projects" and for others who are inclined to give it a try- this will give them a very solid ball-park as to what it all takes.
My R53 had thin spacers installed when I purchased, which I subsequently removed. Due to the long studs, I bought extended nuts for not much $$. Paint coating on those steel nuts aren't top notch but certainly adequate IMO.
Interesting, I was wondering if someone made longer nuts. Now I know.
My stud kit came with the nuts so, of course, I wanted to use them and I should have ordered some spacers a while ago but I've had lots of little side projects and issues going on so it's sometimes hard to keep track of everything.
Dorman nuts are "chinesium", however Raceseng and a few others make high-end nuts (and studs) in titanium. I couldn't justify their pricing, so bought a 2nd set of the Dorman nuts to be kept in reserve on Amazon Whse Deals for just $16.11.
If I were doing some track or race applications I'd definitely want the "best" stuff out there but these cars, for us, are just DD cars with the occasional blast. One of these days I'd like to try a track day...
Went out today to read and clear some codes to see where I was at in my progress. All the trifecta stuff is gone. I still have a few codes that were not present when I started this project. Some are expected... Nevertheless, the car started and idled smoothly and relatively quietly so that's good news!
I did notice that the starter is super sluggish and then noticed that the alternator is not charging the battery- Volt meter was at 12.2v. I checked my connections and grounds and all is good. The alternator is 3 years old and the starter like 2 years old so I will start with the alternator first and see what happens. Should have it in hand next week.
Then I'll see about these remaining codes codes:
P1109- vacuum leaks
P1242- Secondary Upstream Manifold Air Pressure Sensor Too High in Deceleration
P0138- O2 Sensor High voltage
P1498- Unmetered Air after compressor
P0172- Too rich Bank 1 (this one is stored)
Note: I can only really think of one last place I would have a vacuum leak so I am hopeful that is the cause of some or all the issues. As for the O2 - the header is sans cat so even with a anti-fouler in line with the O2 it's not cooperating (I may have to live with it unless I can trick it into cooperating. On the MAP, the sensor was removed when I was doing all this stuff and I'm pretty sure I installed a new o-ring and cleaned it with electrical cleaner so I am not sure what's up with that (It was working fine before this project commenced)
After the last entry I was waiting for the new alternator to arrive, the boost gauge to be repaired and to try and figure out the CEL codes. Also, needed to wait for the new 15mm spacers.
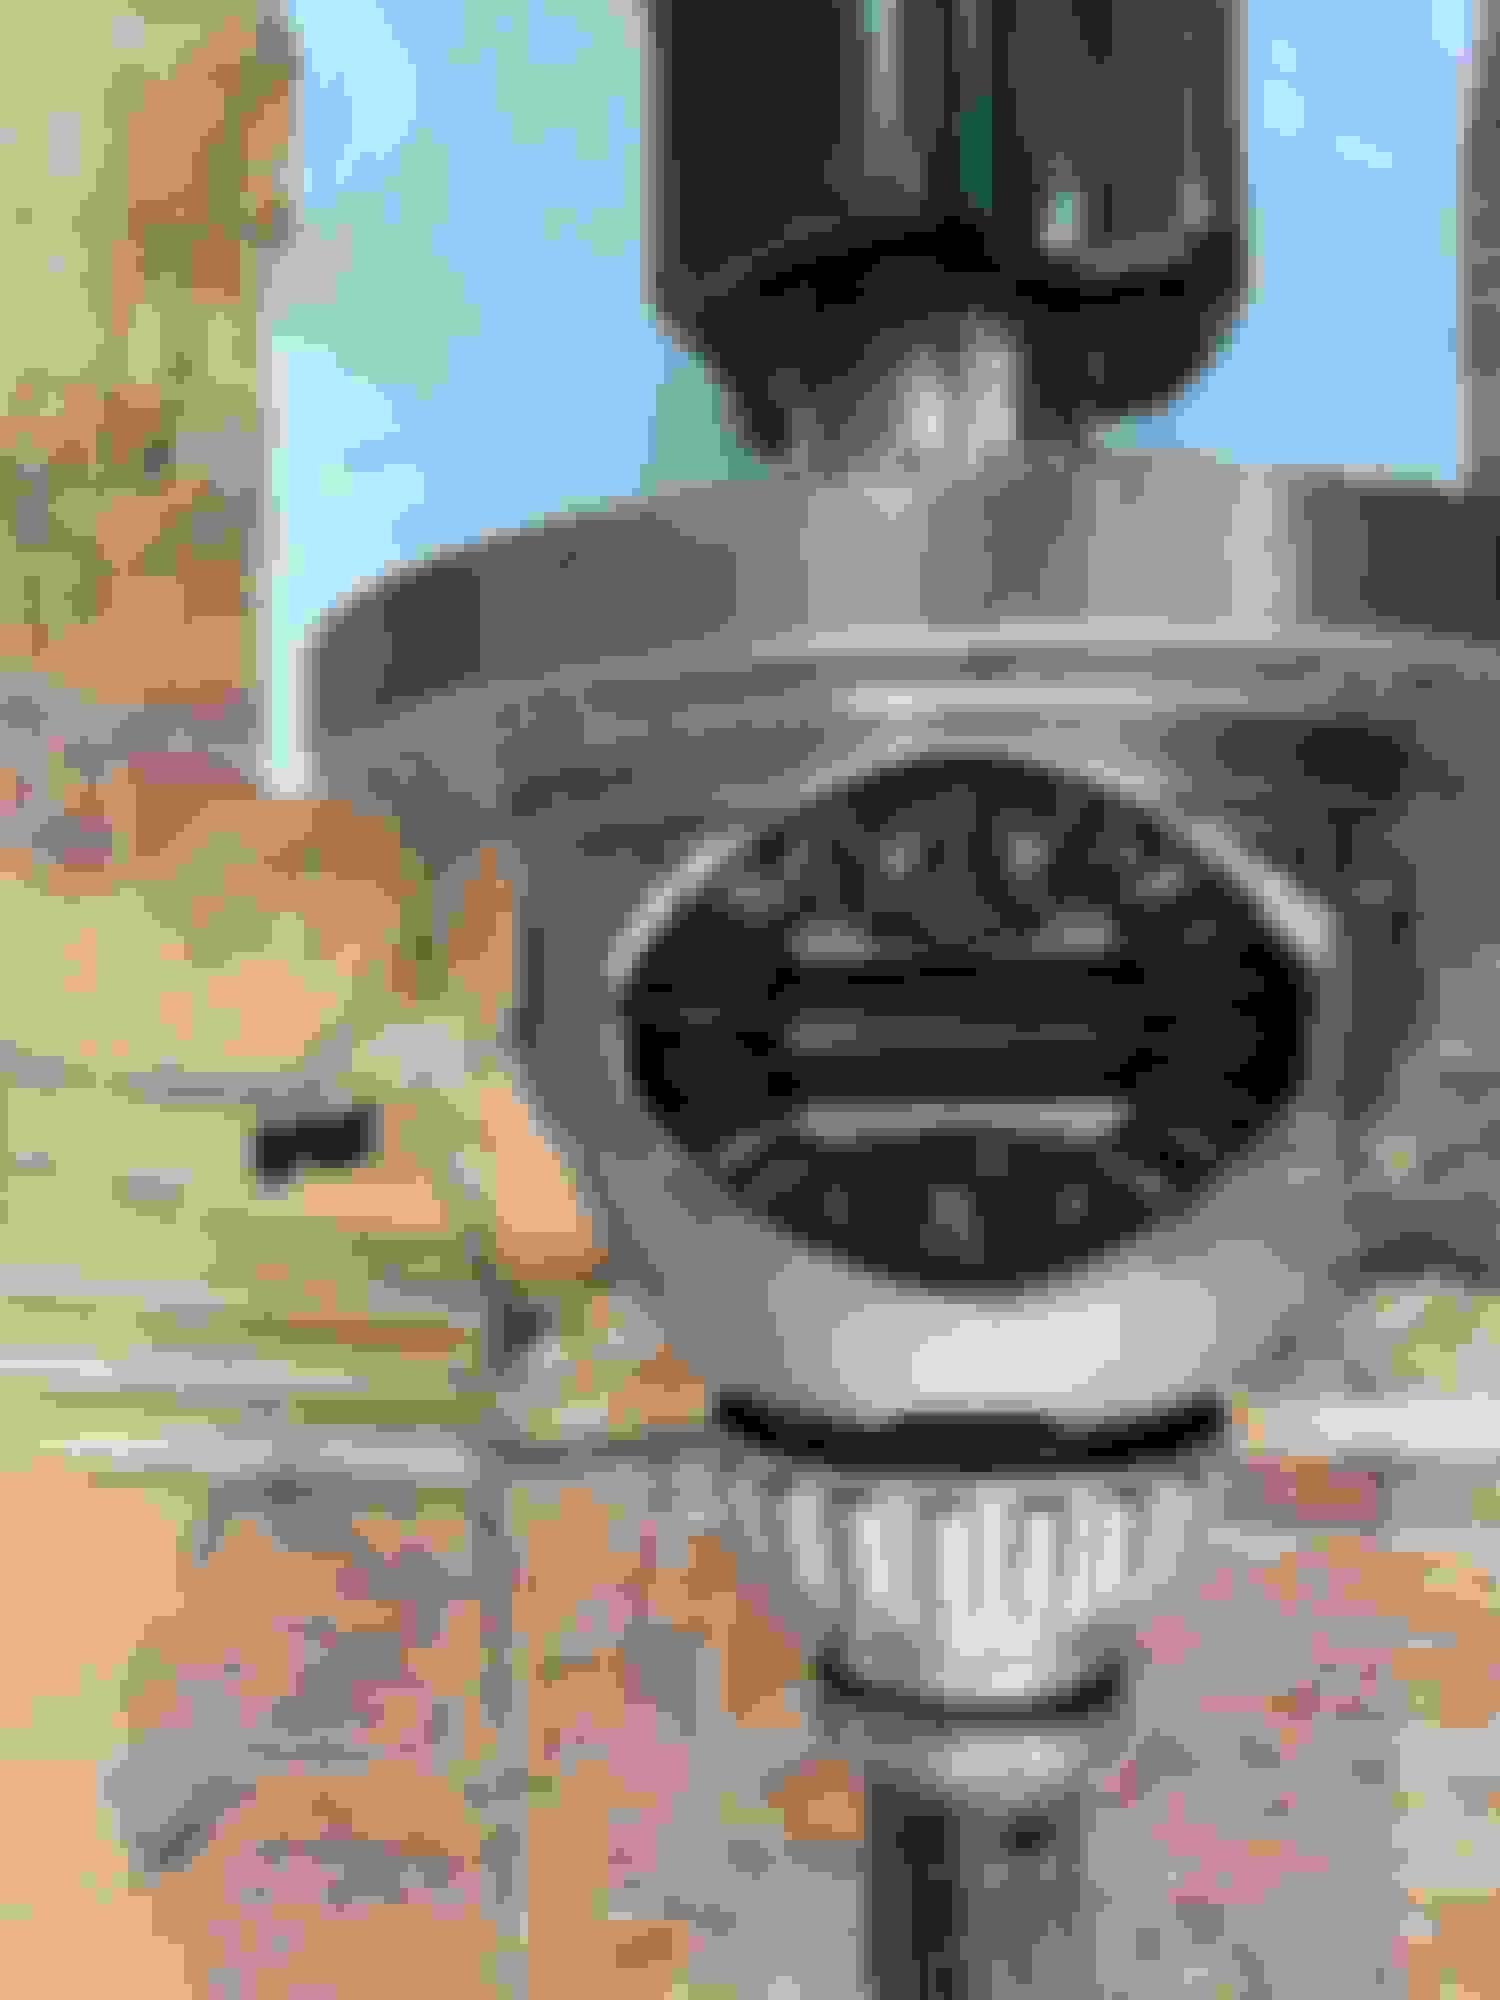
The boost gauge (Autometer was a super fast repair and turn around). And the Alternator arrived rather quickly as well.
I installed the alt, wrapped the wiring for the oil pressure gauge and the boost gauge and I am happy to say everything is working well.
Got everything half way buttoned up and decided it was time for the first drive. She left the work area under her own power and as soon as I was on the road, I got some sort of clunk that caused the car to go out of gear. I put it back in gear- selector worked fine- and nothing, but a light grinding sound. I pushed the car back into her spot and put the front end up. I was thinking that maybe an axle popped out. Everything was secure and when we put the car in gear again (while on stands) it went into all the gears easily and both tires moved at the same time-Yay LSD!!-- (in forward gears and reverse)
Also, checked selector cables and they appear to still be "locked" into their little bracket.
I did notice however, that the passenger side of the engine appeared to be loping - sort of bobbing up and down under load (a light foot on the gas). I double checked all the motor mounts and they are all secure. The passenger side mount is probably 3 years old and is not leaking but under load the upper part of it was hopping up and down.. Not sure if that would cause the car to pop out of gear. I've heard of lots of folks driving around with a bad mount. Even discovered a bad one a few weeks back on the other R53- had no idea until we noticed it had leaked all over the place.
Any ideas??? Sort of at a loss as to why it would simply pop out of gear.
Side note: I do have some good news. All the codes cleared up as soon as I put the car on the road (and I did not swap the anti-fouler like suggested). Started it a few more times thereafter and no codes so that's a win!!!
Last edited by Boostmaster; 09-30-2023 at 01:38 PM.
Spacers arrived. (These are 15mm hub-centric) All looks good. The wheels/tires sit out in the fender wells a little better than stock, at least IMO.
Discovered that the axle shaft DID pop out even though it appeared to be firmly in place. Not sure how that happened. Ends were a little chewed up. Went fishing with a magnet to get the small metal flecks out. It was nothing major and I managed to get lots of little bits out so I think it will be ok. I rebuilt the old unit (basically a good cleaning and new boot and grease (the bearings were great). I took some pics of what it should look like (without everything in the way) and decided to put the end shaft into the housing with a good whack and then attach the rest of the assembly. It worked perfectly.
I also added a few powerflex pieces for the top and bottom motor mounts.
Last edited by Boostmaster; 10-15-2023 at 08:12 AM.
Also, discovered that my new (rebuilt) PS pump did not work. I pulled it and found that the housing for the small connection had cracked off. Seller tells me too bad, it's past time to complain even though there is a 1 year warranty. Still going to try and exchange. Otherwise, I may need to find a way to cobble something to make this stay in place.
I tried some Gorilla glue to see if it would stay but no dice. I need to find something a little stronger. Maybe some JB weld? Thoughts?
Almost finished. Just need to wrap up this issue with the PS pump and I have ordered my cables so Adrian can do the tune. Once she's sorted, I'll report back with the total break down of the project.
I tried some Gorilla glue to see if it would stay but no dice. I need to find something a little stronger. Maybe some JB weld? Thoughts?
Not sure the pieces that need to be glued together, but here is my general experience�
JB Weld is good for a lot of things, but it tends to be brittle. It doesn�t like to be flexed. Have not had good experience with it for making a �butt weld� on thin parts. For spanning over over a part that has cracked apart, I would add some window screen or the like for reinforcement. From what I can see/tell from the picture, JB Weld might not be my first choice here. But that is a very limited guess based on the little I can/can�t see.
There is another glue I have used that I like a lot� E6000 (most hardware stores)� It adheres well and remains flexible, but with some amount of stiffness. It would be water tight. It depending on how you want to put this back together. It is great for �glob-bing� things together. I use this in place of silicon stuff.
Of course, for any of these, cleaning is paramount. I start with paint thinner with a tooth brush, then brake cleaner and I might follow it with some alcohol.
Thanks for the input. I am still trying for a replacement PS pump so I'll keep my fingers crossed...If that doesn't pan out, I'll be in the laboratory trying to figure out how to make this work.
Other than that it all seems pretty much wrapped up. I may need another alignment as well, but I kinda figured that would be the case.
On the subject of harder mounts and bushings, I swapped over to some poly mounts on my WRX and the NVH is pretty shaky at idle - and it's been over 10 years since I did them! So, I've not really been a fan, but I am sorta used to hard riding/feeling vehicles. That said, I am hopeful these will have minimum impact on the NVH and give a little more positive feel to the powertrain.
Last edited by Boostmaster; 10-15-2023 at 08:15 AM.
I managed to get the PS replaced under warranty so I'm sending this one back today and I should have the replacement in hand shortly. Keeping fingers crossed.
JB Weld would have worked fine for a few seasons, not sure how long it would have lasted down there on the ps pump, but it would've been your easiest option (the trick is getting that epoxy mix ratio just right for the job.) Only thing better would have been some plastic welding with zip ties and a soldering iron (search "plastic repair" on Youtube) or maybe some baking soda + crazy glue alchemy; a damn near bullet proof bond. Glad that recall warranty is working out for you, good call on the axle spindle too, that could have been disastrous.
I've JB Welded a few things in the past and they've held up, but I was apprehensive about doing something that would be under the car and eventually having random fluids leak onto it. I've tried some of those other glue/bonding methods and IDK, not sure I've ever had much luck with most.
Luckily, with all the work we've done, everything is clean and lubed and easy to get in and out in the engine bay and under the car. So I'm pretty confident we could realistically tackle anything with relative ease. This time the PS pump only took a few minutes to remove. (most of it draining the fluid). Last engine removal was like 30 minutes... Not that I want to do it again.
I guess there's some benefit to going all out when doing this stuff.

 09-18-2023, 03:03 AM


 so if you compress the front suspension with another set of jacks and level off the axles a bit, things might smooth out there.


 and that I should not be doing "projects" and for others who are inclined to give it a try- this will give them a very solid ball-park as to what it all takes.