When you click on links to various merchants on this site and make a purchase, this can result in this site earning a commission. Affiliate programs and affiliations include, but are not limited to, the eBay Partner Network.
Yes, the Koni yellow rears must be set for rebound before installation. I ended up doing those twice, 2nd time on the softest setting. Fronts are accessible from the top. If like mine with adjustable camber plates, this tool is a simple and fairly inexpensive solution: TCK Rebound Adjuster Tool
^^^ I have most of all the coolant hoses in hand. Going to use silicone. I did not consider the plastic T's. Around how many are there? I've not looked.
.
There are 3.
When you said you have a kit with all silicone hoses, does it have all of these hoses?
Thanks for the diagram. Yes, the "kit" I have has like 10-11 hoses. I counted them in the pic when I ordered and have the bag here, but I've not yet counted.
For now, we're still fooling the the rear sub frame. It got cleaned (as much as we could without sandblasting which would have been ideal) an put a coat of POR. It needs a few more coats. Maybe tonight or this weekend.
In other news my 380cc injectors and wheel studs kit arrived yesterday! I also splurged and got stainless Allen bolts for the speed sensors.
Last edited by Boostmaster; 06-30-2023 at 05:28 PM.
Both my axles have now arrived as of today along with some more gaskets and powerflex. I see a busy weekend in my future if the weather cooperates.
Tried drilling out the broken bolt in one of my front carriers. The drill bit walked a little. The bolt feels like its welded in. I had it sit for days with penetrating fluid. Tomorrow I will keep at it and maybe tackle the other one as they both have broken pinch bolts.
I also gave the rear sub-frame a second coat of POR.
Last edited by Boostmaster; 06-30-2023 at 05:57 PM.
There's finally a little more progress on this project. We had anticipated a shorter time frame, but we also underestimated the scope and the need for so many odds and ends. One of the biggest things that have slowed us down has been rust- either in the form of scale and so forth that needed to be wire wheeled and POR'd or in the form of broken pieces- like bolts. Then of course there are a few shipments that are moving slowly, but we have enough work on the side to keep us occupied and making small steps toward the end result.
We got the rear sub-frame wire wheeled and painted with a few coats of POR. I would have preferred to sandblast, but don't have the equipment, the time or the funds to pay someone for a small job like this so we did what was most economical. Besides it's taken 150k miles to look this rough- I think POR will be just fine for the next 150k.
The broke off some rusty exhaust bits:
Then set about removing the bushings from the rear trailing arms. I hit them with some Cree Oil and they pressed out relatively easily. Even with over 150k on them they looked to be in decent condition.
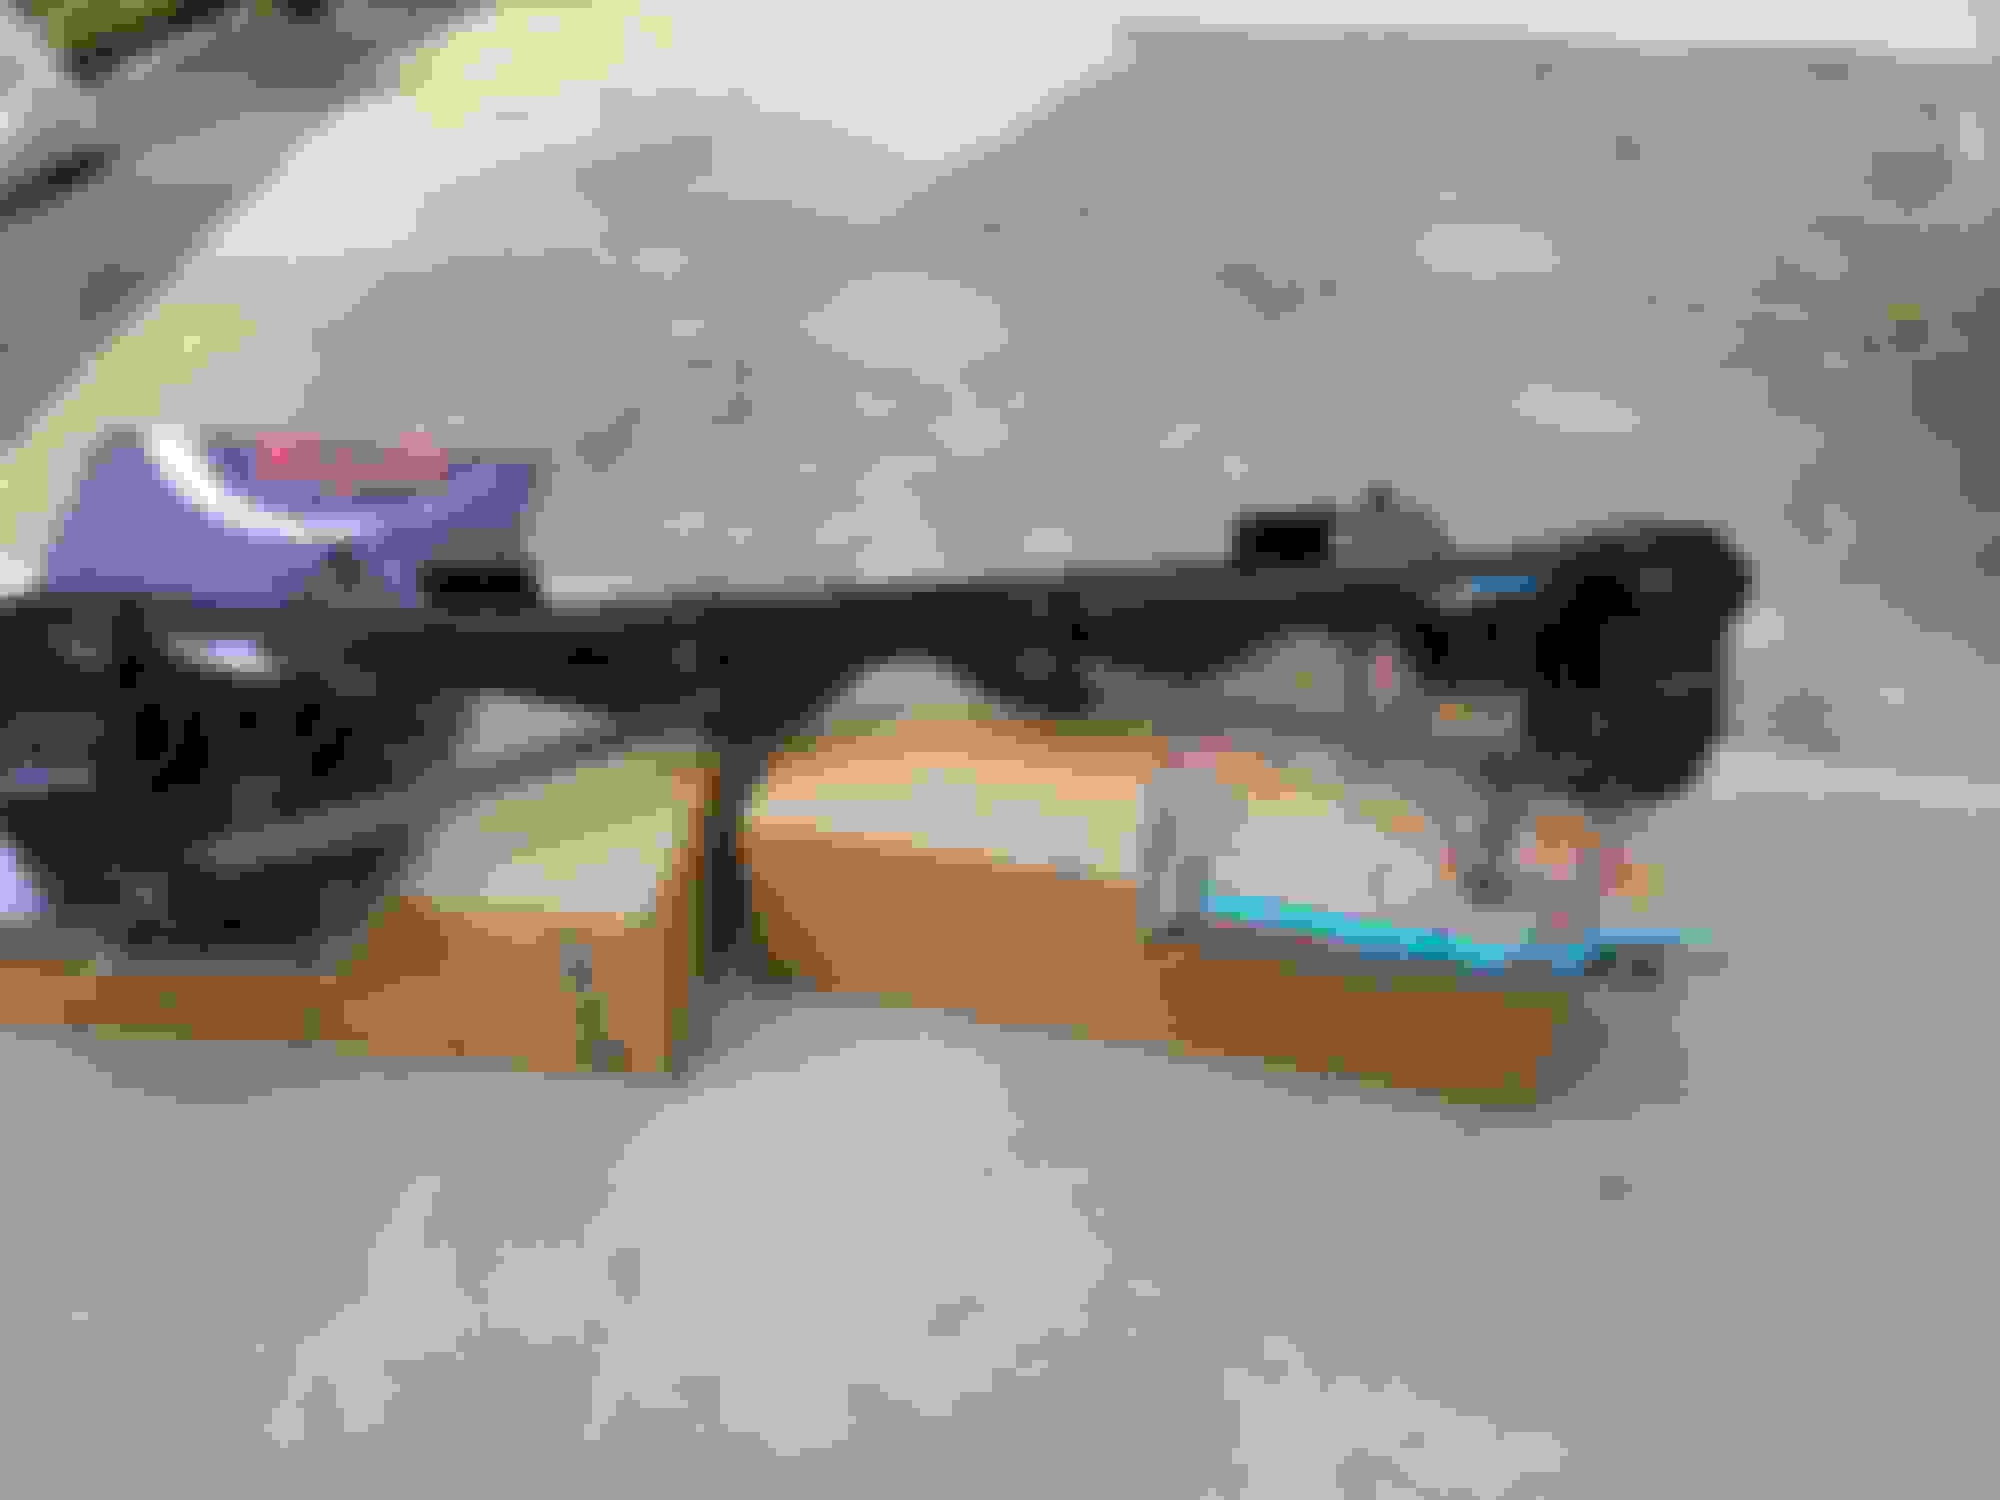
Pressed in some power flex bushings for the rear and mounted the 20mm Whiteline Sway Bar. Sorry for the crap half pictures, we're kinda cramped with all the parts and tools and whatnot.
Prepping the front sub- frame and 1 coat of POR. It will get another one or two in the next few days. Also note, my assistant who likes to drop a stick on top of whatever we are working on so that we will throw it for him.
Last edited by Boostmaster; 07-10-2023 at 11:26 AM.
Now on to the shifter weight assembly. My plastics were a little damaged. The round piece was loose and the rectangular piece was cracked. I purchased the set from the ebay seller in Minsk. The parts are 3-d printed and a little thicker than stock. I made them fit- not sure if there will be a difference. I've kept the old pieces just in case. Lots of pics:
Front Carirers. Ugh what a PITA. Both pinch bolts broke right at the head. I drilled and drilled. The bit inevitably walked a little but I got those bolts out. There was no getting them out with an extractor tool. My bit was like one size too small so the threaded bits stayed inside until I encouraged them out.
Now, onto the Wheel Speed Sensors... I had wondered why the Speed Sensors were always such a battle for these cars. The E39 was very easy. The Mini, not so much. With these carriers, I managed to destroy both sensors trying to get them out. They were literally fused in the holes. I had to pound them out and run through the hole with a file. I initially tried a rasp and then some sandpaper and then remembered I had this rotary rasp set from Harbor Freight. I've pictured it here and also highlight the one you need. I ran through the holes with this rasp and the sensors no go in and out easily. (Way better than dealing with this when it's ON the car.) At least IMO.
Also, I had to deal with the ball joints. They did not look bad, but I'm sure that they were originals and they had welded themselves into the carrier. Had to spend some time with a freaking air chisel to get them out!
Both the fronts and rears were relatively easy to remove. With the fronts the bushing will be stuck on the control arm. Instead of trying to pry it off, just hold the control arm on your bench and use a screwdriver in the bearing carrier hole (where the bolt goes) and twist. Once you twist, the deteriorated rubber breaks and you can pull the assembly off the control arm. There will be a sleeve still on the control arm end and its a simple matter of cutting it off with a cheap sawzall or cutting wheel. The metal sleeve on the carrier also gets cut. Then just press in the new bushings. (It's NOT easy) I had to cobble a makeshift manual press (I used a kit I had from HF that is for pressing)- I tried the regular press but the beveled lip of the bushing tends to slip out and the bushing wants to go in sideways. So I did up a different set up ( I used a base and "cup" on the bottom and another base on the top with a threaded rod- (all from the kit) and it worked! The idea is to keep it all as centered as possible. Once the beveled lip goes it, it's smooth sailing. The contraption I cobbled together is put away but I can shoot some pics if you need them when I get back out there.
The rears were significantly easier to press out and to press the new ones on. Nothing fancy. ( I used a wide metal piece (a breaker bar) in between the partition so that it would not compress with the push from the press. It didn't budge and the bushings went in smoothly.) I also lubed everything first.
Last edited by Boostmaster; 07-10-2023 at 11:54 AM.
This car is going to feel a LOT different once you get it back together!
I have the powerflex fronts and B4's on my other car and it did not really feel much different. That one has 165k
This one might feel different with the new slightly larger rear sway bar 20mm up from 16mm. The bigger change will be the Koni Yellow's and the H&R springs.
Was going to start putting the rear sub-frame back, but I discovered that the fuel fill hose is dry rotted. That's a first for me. Thought I ordered one
a while ago. Apparently, I did not - so, I am waiting for the hose to arrive so I can install with the sub-frame not in the way. Once it's up then it's waiting for the exhaust to arrive. The the front sub frame install.
While I wait, I'll start cleaning and resealing the engine, adding the LSD to the trans, etc...
Last edited by Boostmaster; 10-20-2023 at 07:06 AM.
I did the front Powerflex bushings on her car, and the old bushings has basically disintegrated. I was anticipating a huge difference when I took it for a drive afterward. Steering felt a little bit tighter, but not the massive change I was expecting. I suppose, if I had done the ball joints and all of the front bushings it would have been more noticeable. On mine, I have not done the front suspension yet, but the shocks all around really made a massive change for the better in terms of ride quality, and the rear roll bar upgrade was HUGE in terms of 'feelability' I went with the Whiteline bas as well. I like that it is less flashy than some of the others on the market. When I do my front, I will use a Whiteline bar too. Wonder if they changed their design, or if they now have two options... I have only 2 holes for adjustability on mine - looks like you have three?
I redid the front end on our other R53 and swapped in B4's with stock springs. At 165k it still feels great and nimble (the super light holeys probably play a bigger role in that)
As for this car, it handled very well. No issues whatsoever. All of this on 150+k miles (all original). It had a leak I could not find so I went crazy and pulled the engine and the project got away from me. Since I was already this deep into the car I figured I'd "invest" a few dollars to make the car like new again and hopefully it will last another 150k with no issues.
I hope the rear sway "adds" something to the feel of the car (3 hole adjustment). I anticipate the LSD will make the most difference. At least I hope so...
With my mods, I figure I am up near 215hp or so, and it's over 160lbs lighter than stock. The torque steer under WOT is kind of fun, but let me know what your impressions are of the LSD. It's something I am contemplating when I eventually have to do a clutch job.
With my mods, I figure I am up near 215hp or so, and it's over 160lbs lighter than stock. The torque steer under WOT is kind of fun, but let me know what your impressions are of the LSD. It's something I am contemplating when I eventually have to do a clutch job.
LOL, its fun until you try and take corners and keep going straight. After having one, you will never go back.
More goodies have arrived! Now I have the exhaust hangers and the new rubber isolators for the springs. I also received my brass coolant T's, but I neglected to pay attention and one is way too small so I have re-ordered the hopefully correct one. And check out the big box! Haven't opened it yet- going to drag it down to the garage so I don't have to cart it around too much. I hope the weather holds out this weekend!!
I had planned for a few things to be accomplished today and well, I did manage to mow my lawn and got about a hour of wrench time before it started raining. Figures- al week it's been sunny and a million degrees. I finally get some time and it rains) - Story of my life. lol
I had been babying the exhaust hangar bolts with some cree oil for the past few days and I managed to get two of the nuts off. The other two bolts snapped so I had to drill them out so now I need to source some SS bolts and nuts so I can get these hangars mounted.
While I have the rear sub-frame ready to go back in and also the Milltek exhaust ready to go in after, I am still waiting for my fuel hose from ECS... So far they have been great with pricing and relatively decent delivery speed. My last order has the fuel hose in it and it says anticipated ship date is July 24th. (ugh) So, I may have to pivot, finalize the front sub frame, and get started on the engine and trans. (all the easy stuff)
I'd like to install a few things to get some more space inside the garage since it's getting crowded. Hopefully tomorrow I'll get a break.

 06-27-2023, 10:41 AM