When you click on links to various merchants on this site and make a purchase, this can result in this site earning a commission. Affiliate programs and affiliations include, but are not limited to, the eBay Partner Network.
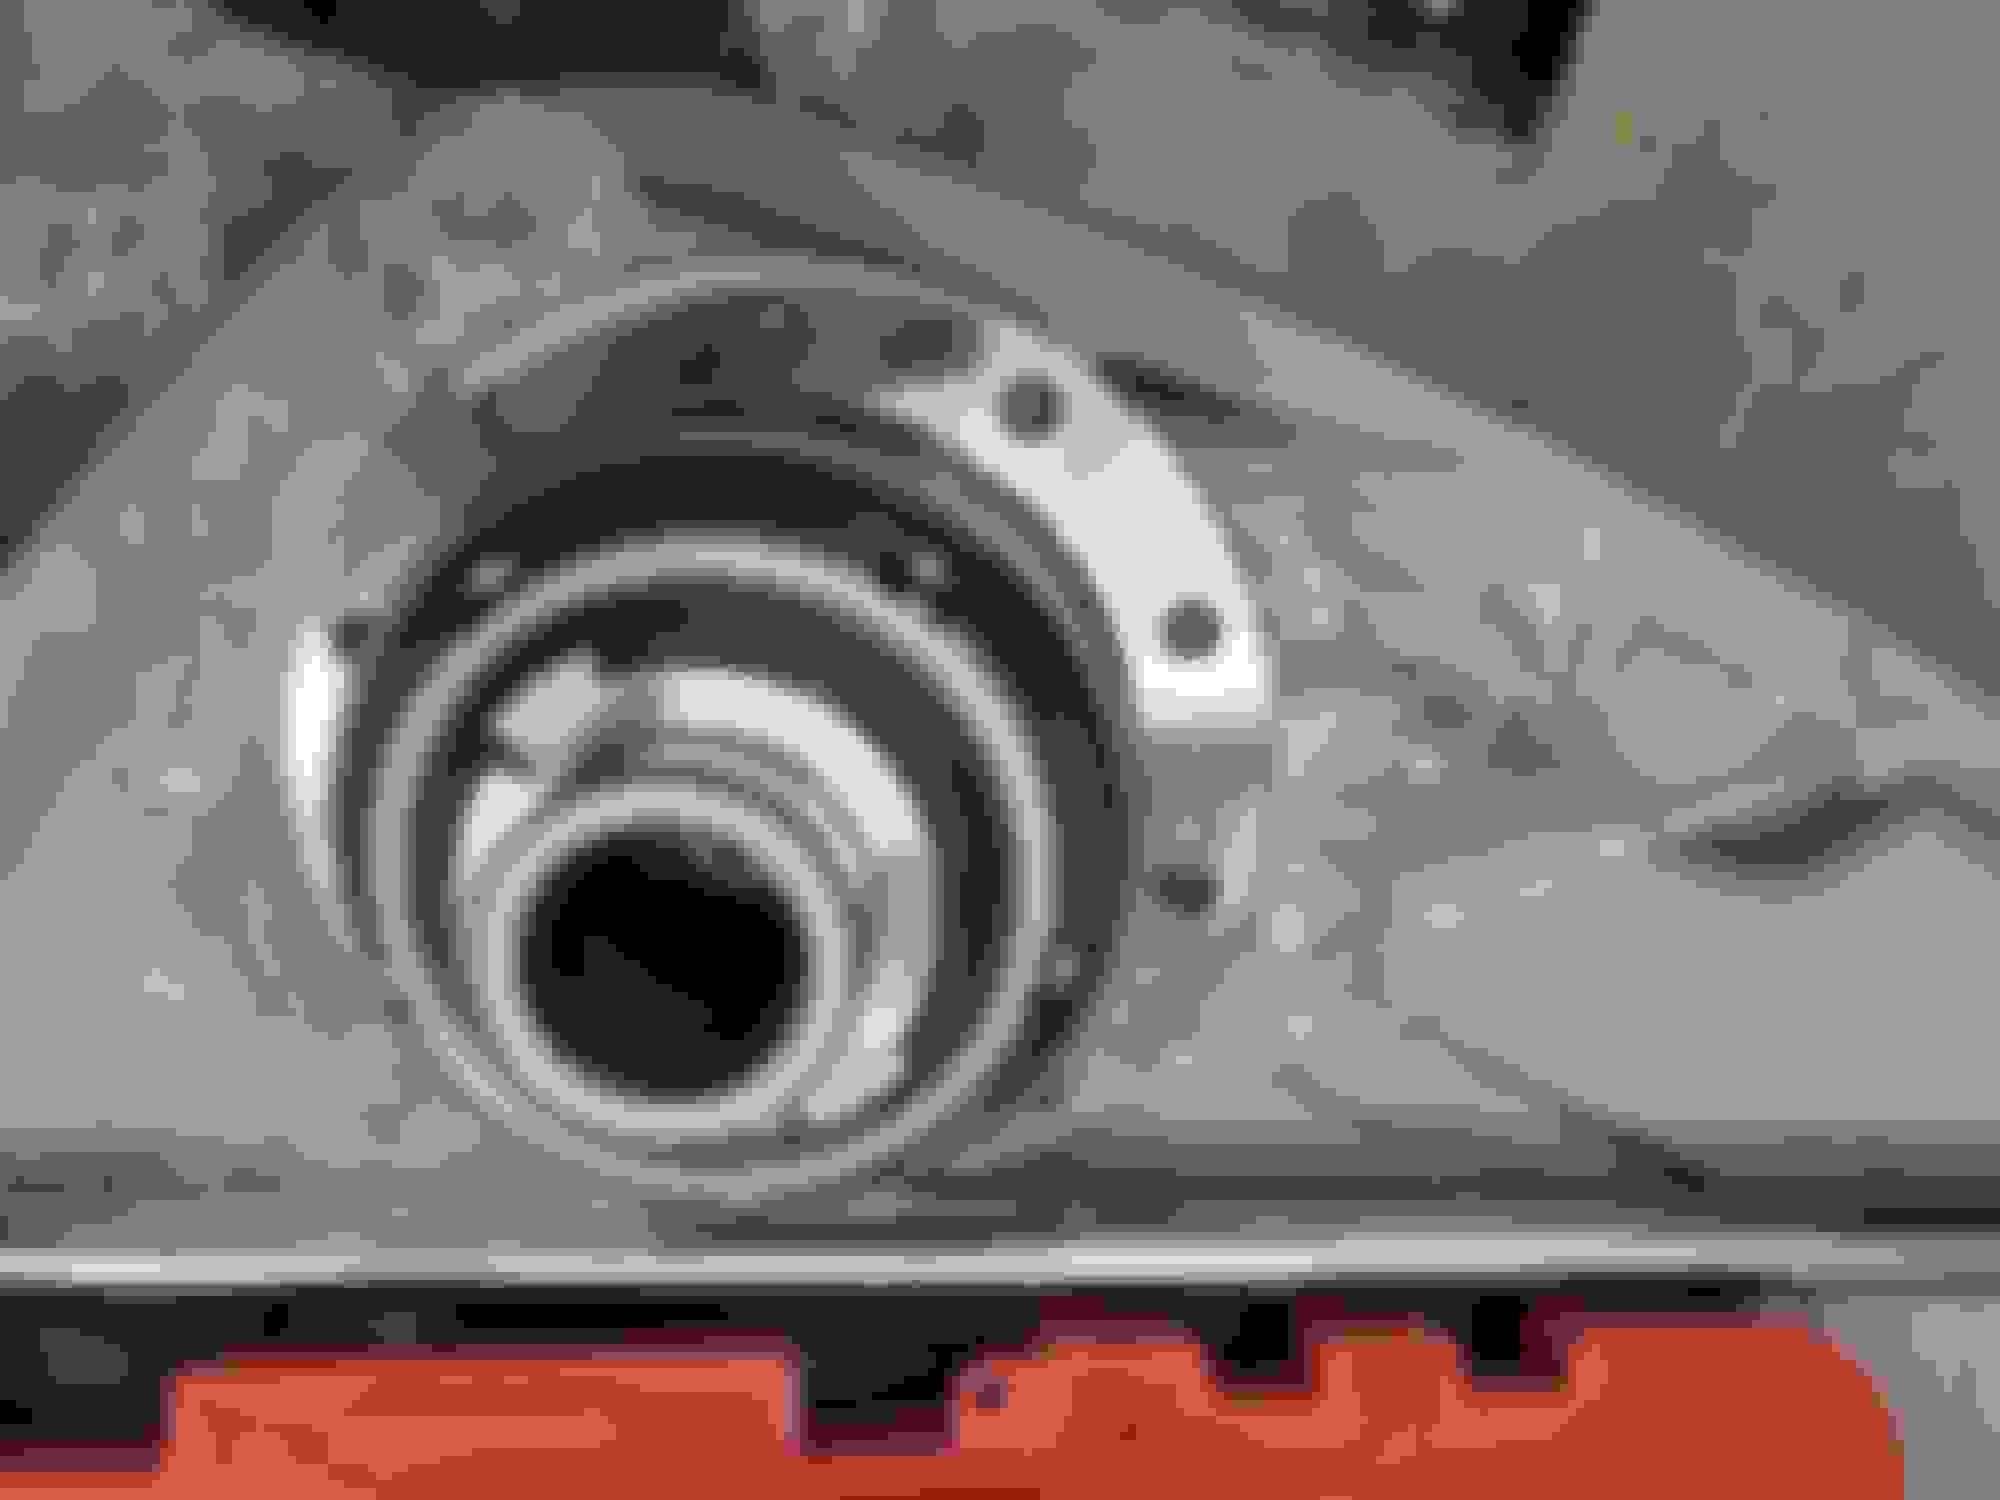
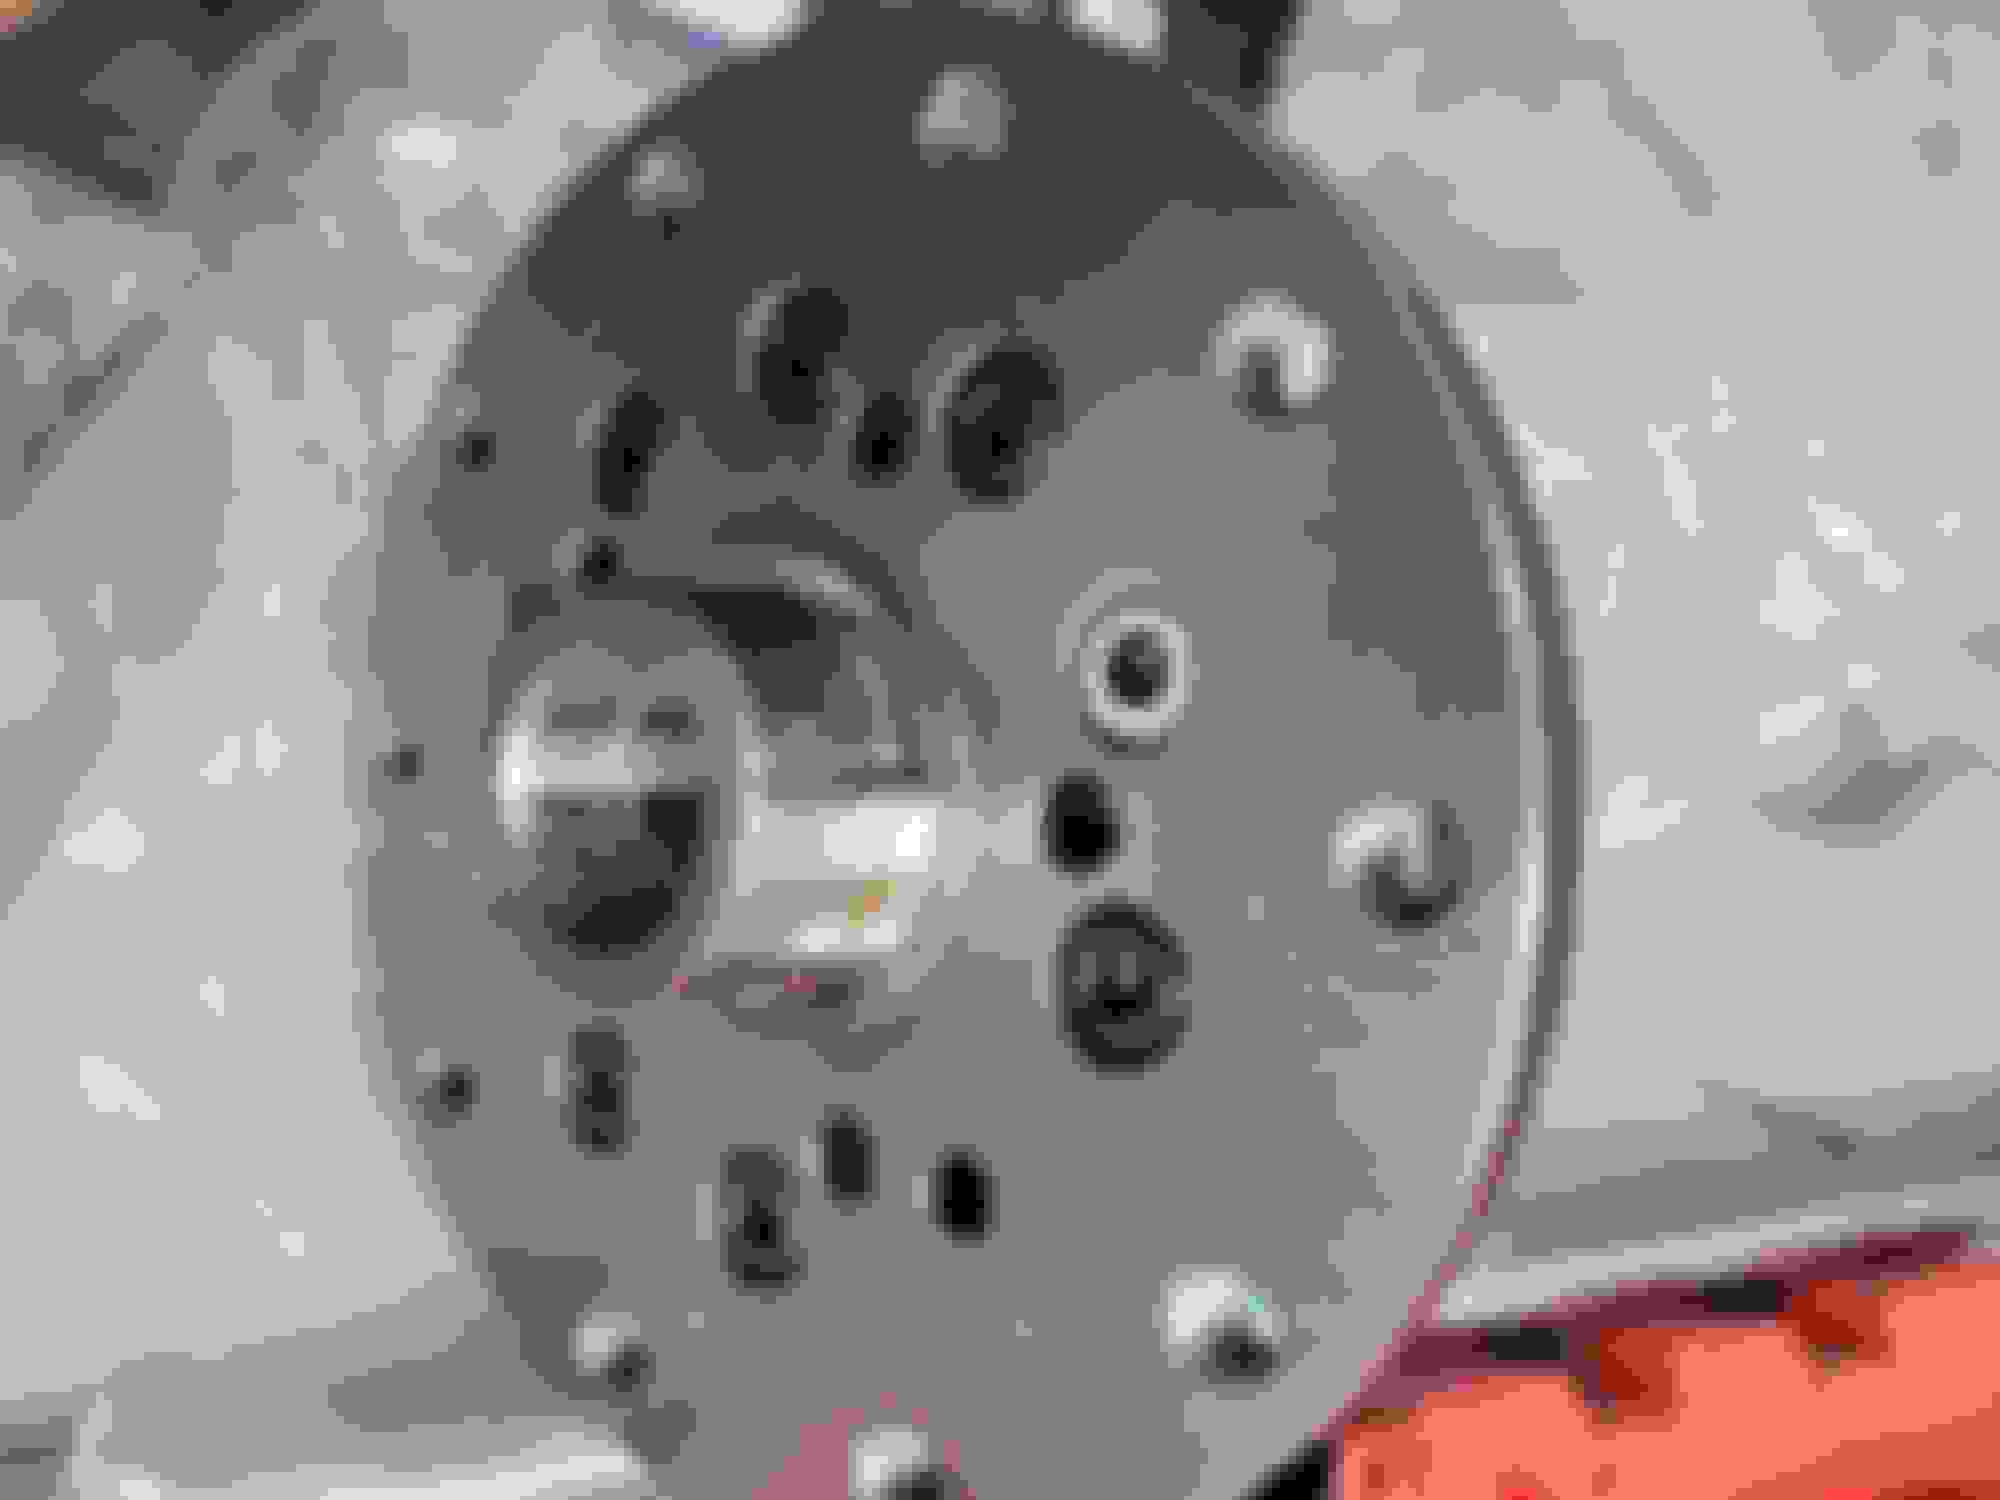
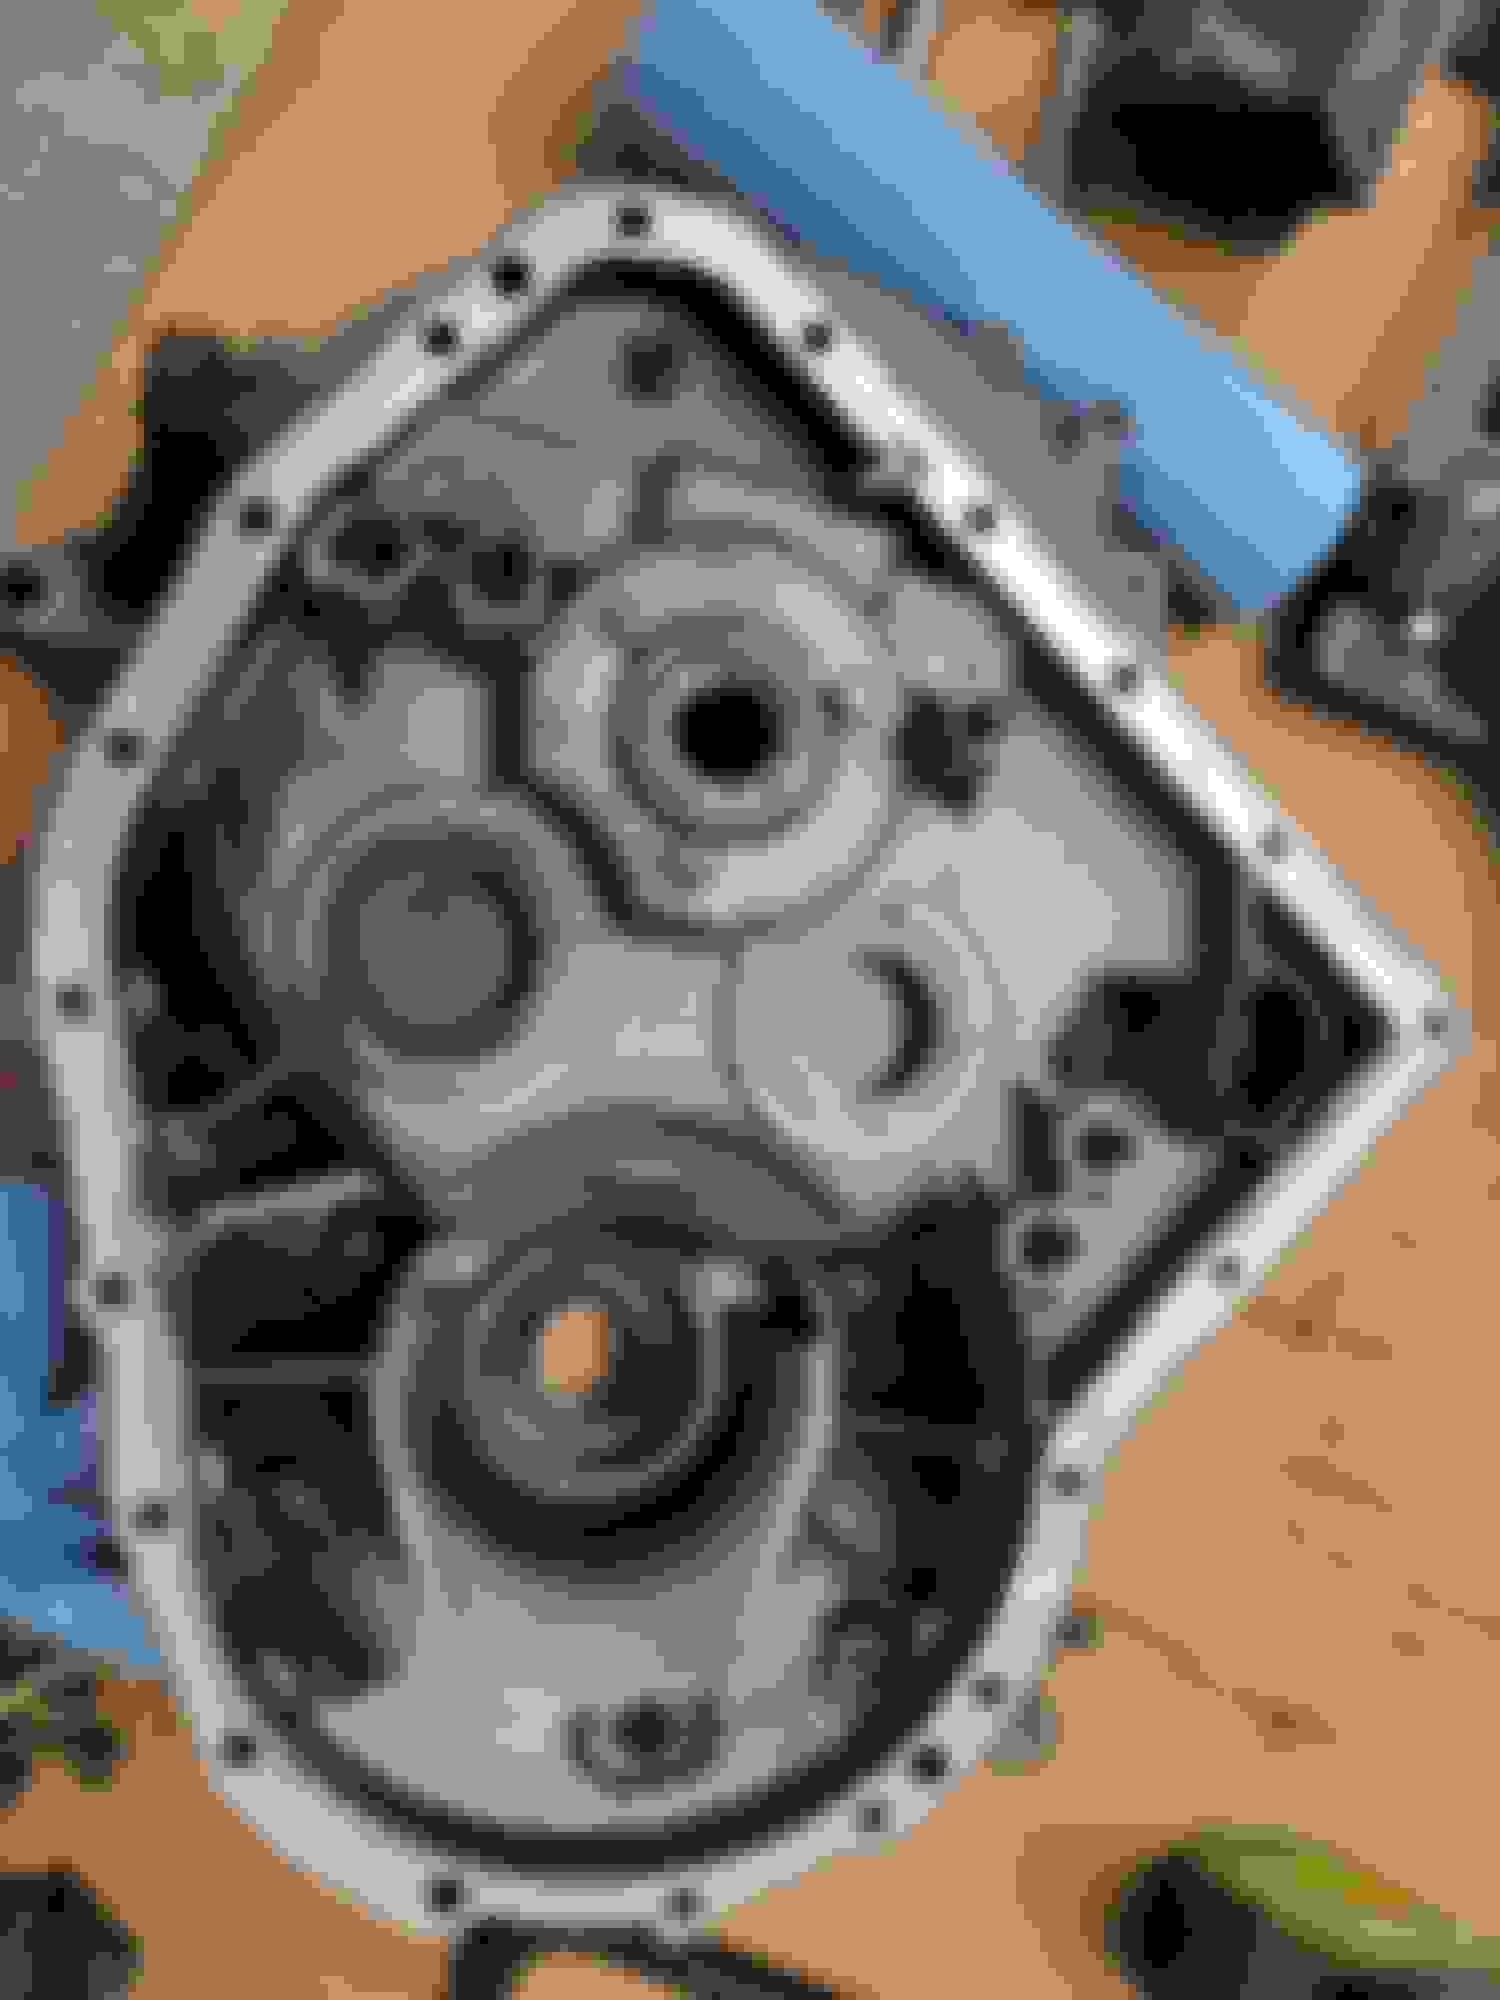
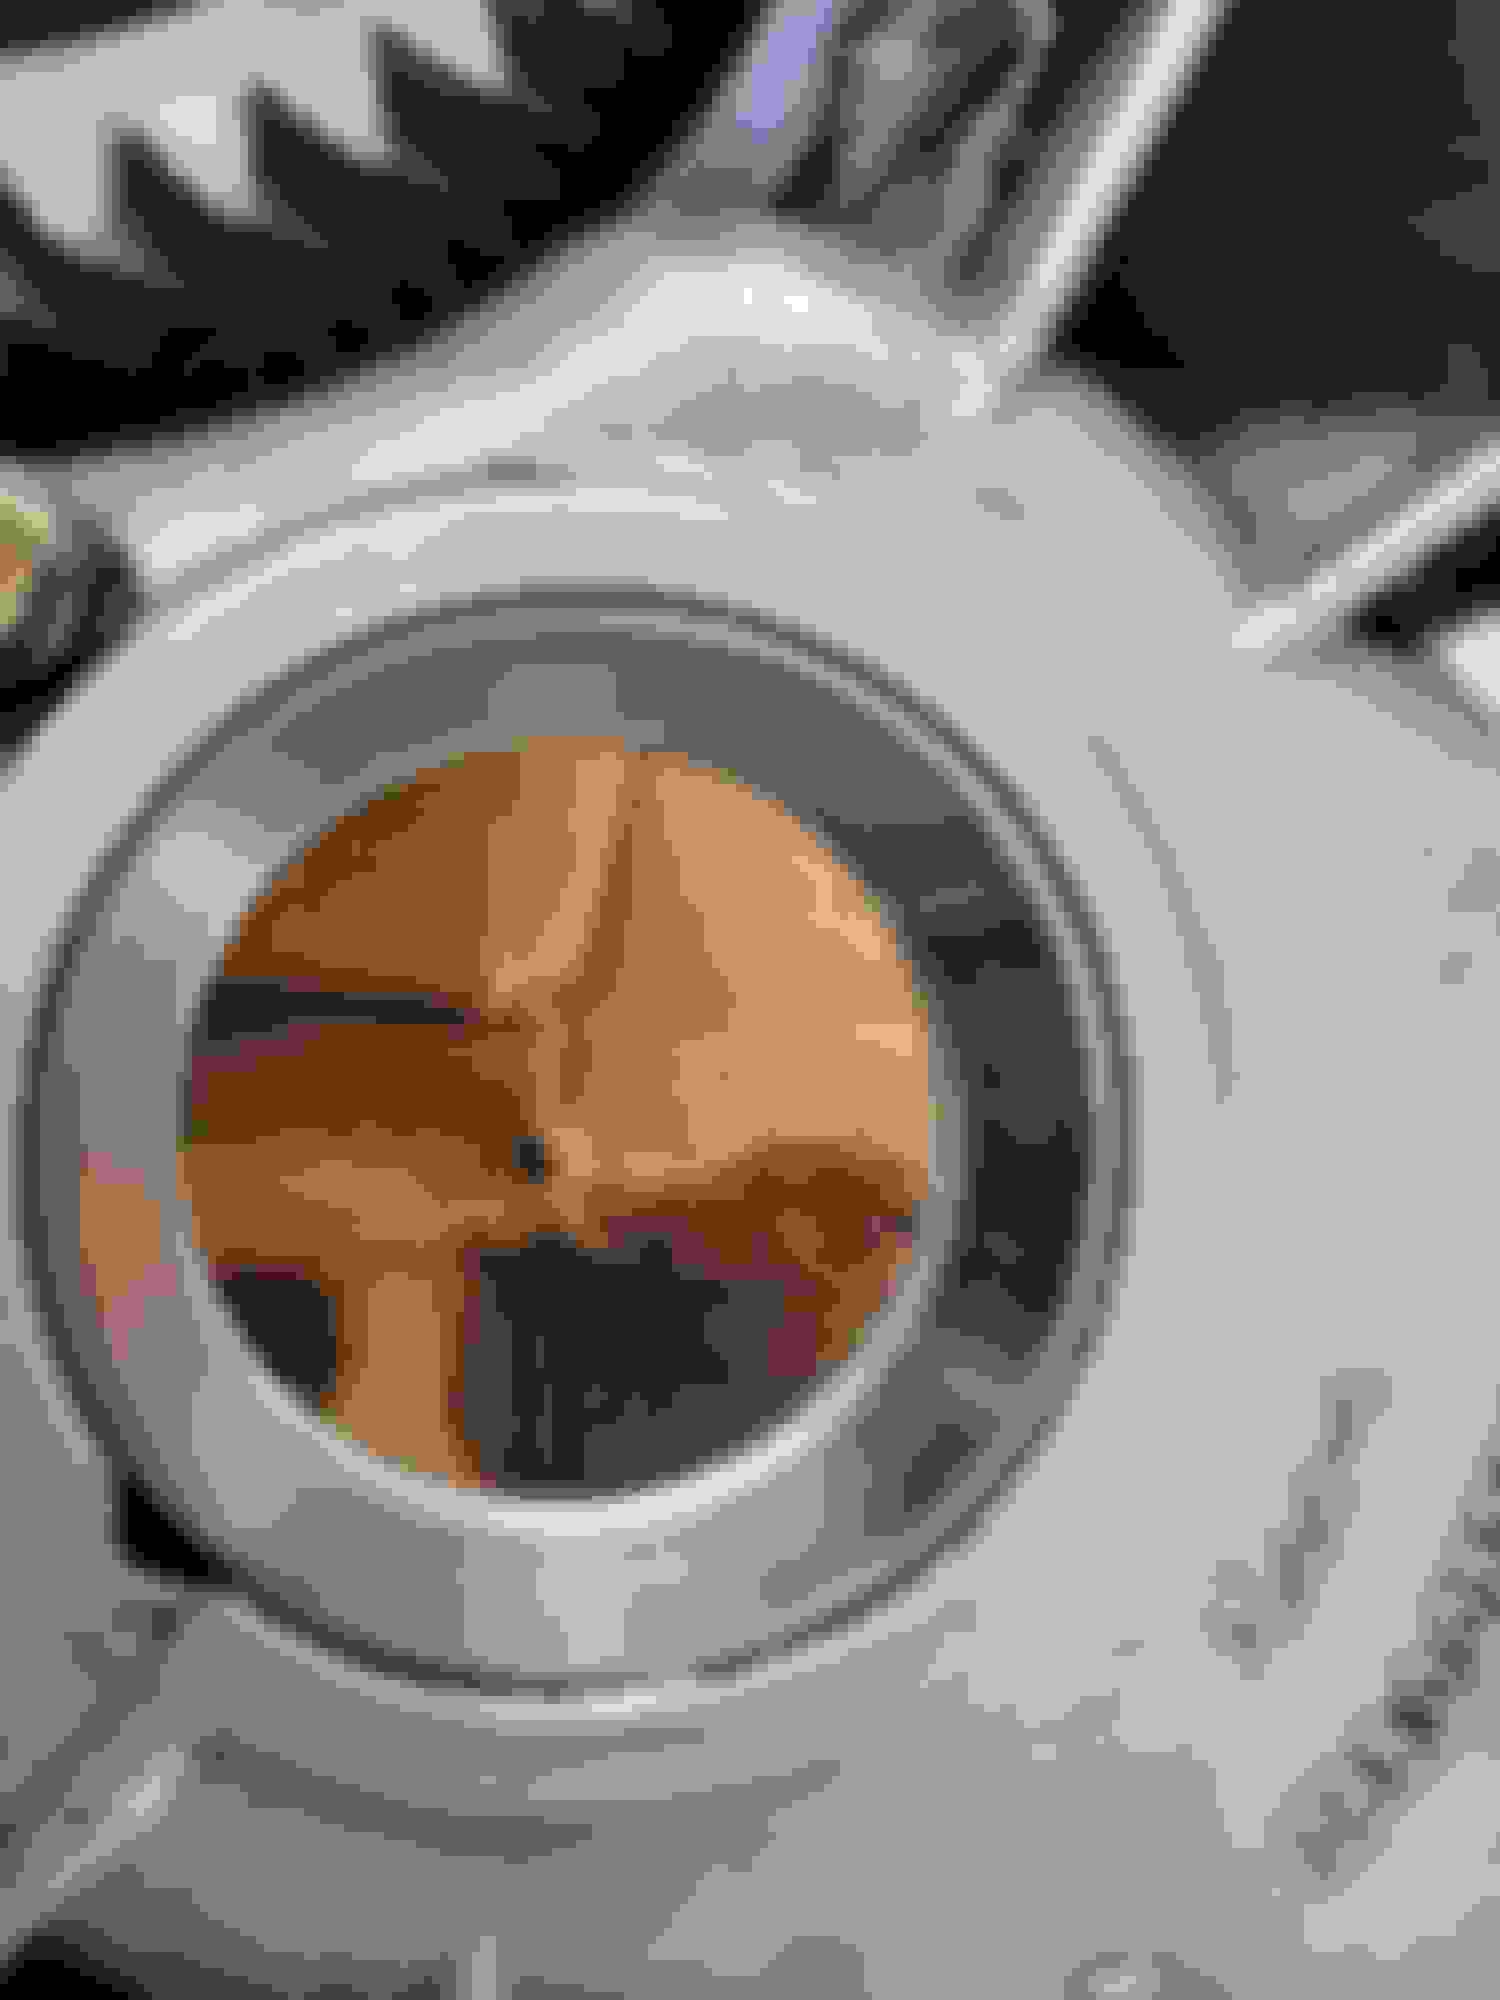
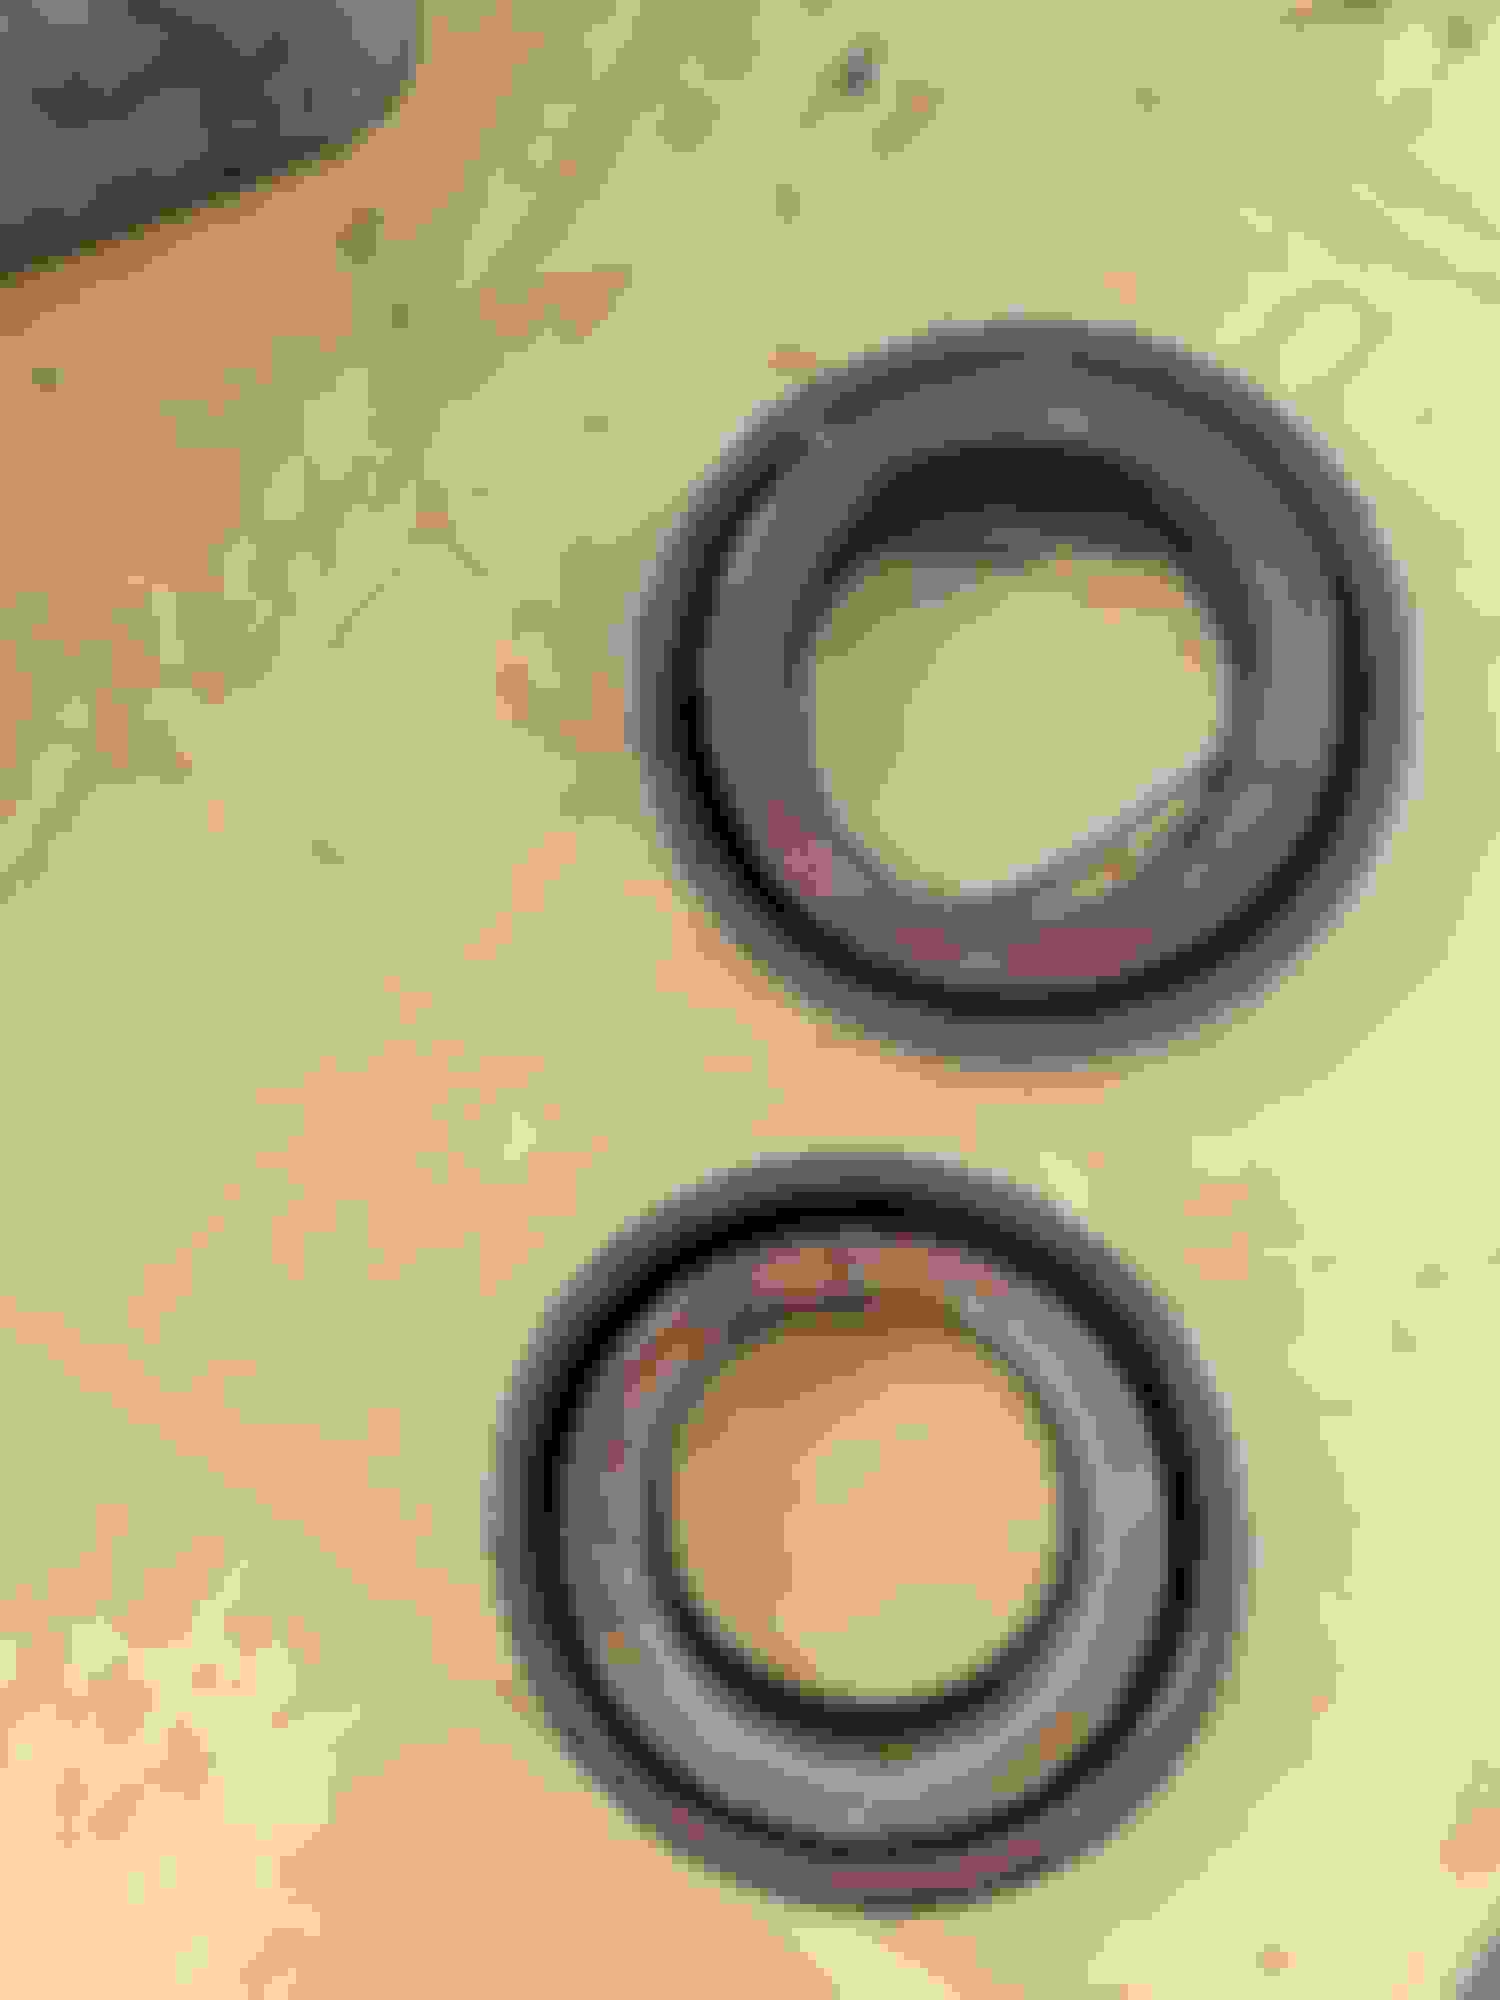
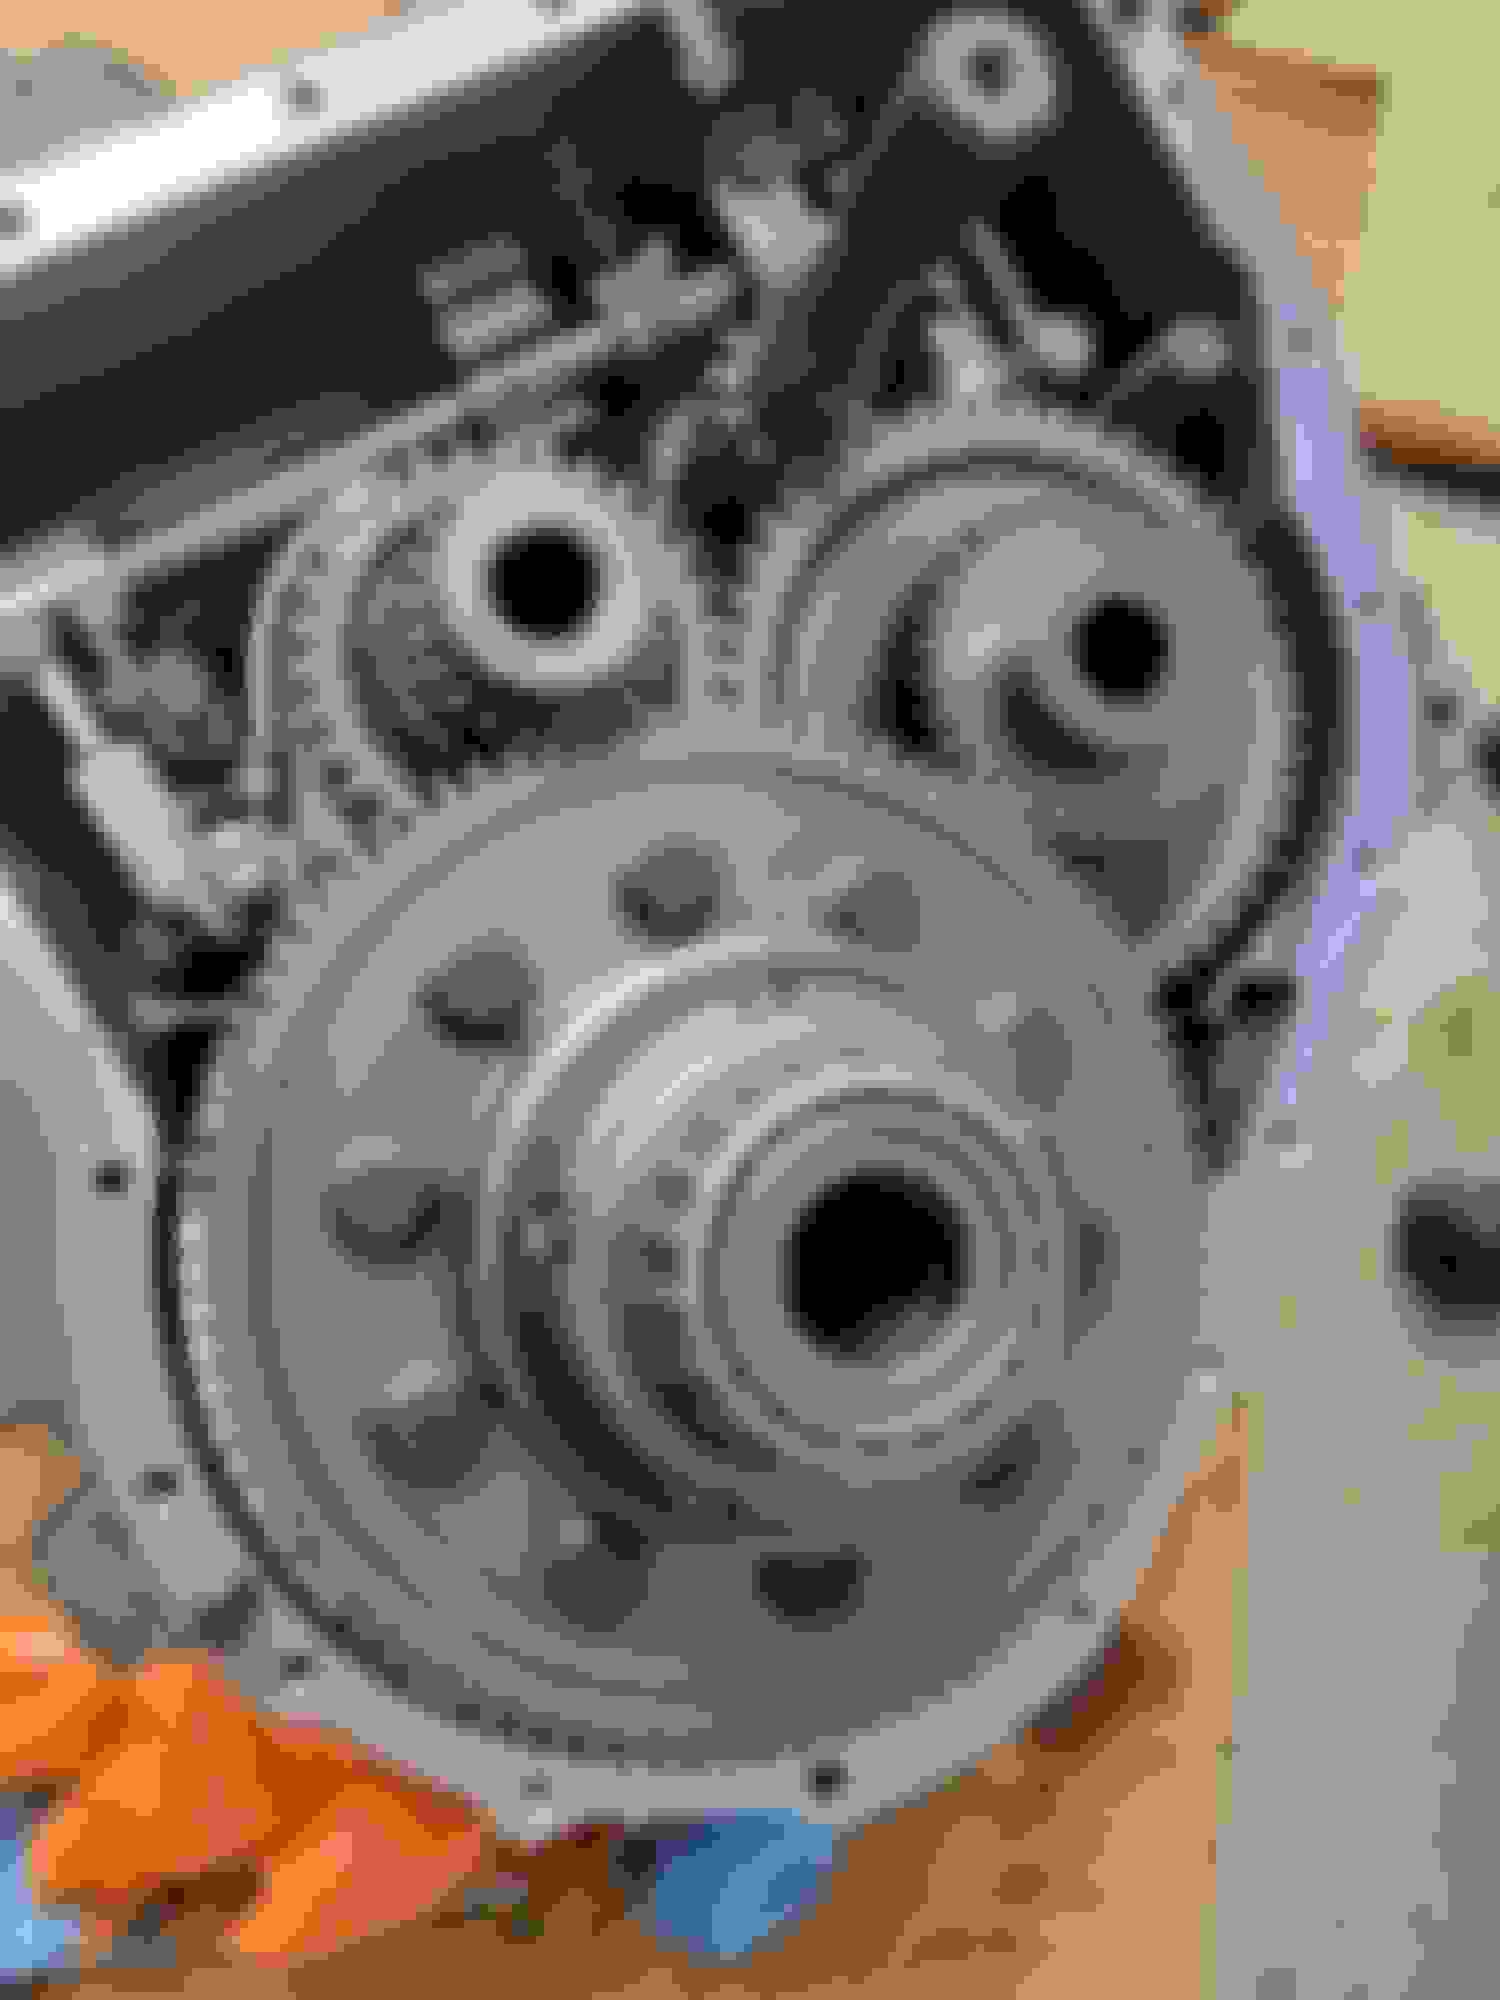
Since we could not progress with the shifter, we moved on to the trans. LSD installed, new races, and discovered that the axle shaft seals I though I ordered were not on hand- so they're no on order. Put it all together,cleaned up housing and hit it with some primer and paint. Nothing fancy, just trying to keep things clean.
Note: Races had some minor wear- probably not necessary to replace but it was easy and I had new ones so I swapped them out.
I neglected to get a pic of the final paint. I'll do that in the next few days... So, now we're in the home stretch. A few more small things to tidy up and then we'll do the rear main and clutch and have it ready to go back into it's home!! Almost there.
Last edited by Boostmaster; 08-07-2023 at 07:29 AM.
Thanks. We seem to go overboard on some of these projects. That, and we hate working on dirty/rusty stuff. Both interior halves also got cleaned and wiped down to make sure we removed as much of the old dirty remnants of fluid so it will be all new red line fluid when it's installed.
The final paint will match the engine in a high heat silver. Forgot to take pics yesterday. I'll have some up soon enough.
Even better! Vht caliper paint silver is nice and bright, but you need at least a couple light coats for tack and base color, then a nice medium heavy coat to get it to correctly flow out so the metallic doesn’t stand up on end so much that you have to heavy clear it, in my modest experience… I redid my IC cover with it and Alex’s rear trailing arms and calipers.
I didn't consider the clear but that might be a good idea. Not sure if I have high heat stuff. I need to check. Just trying to keep things clean. I always lean toward light colors on engines so leaks are easily discovered. Could never figure out why someone would paint a block glossy black. Might as well give up before you started.
I always lean toward light colors on engines so leaks are easily discovered. Could never figure out why someone would paint a block glossy black. Might as well give up before you started.
Almost as if the manufacturer in question doesn't want you to notice, and subsequently concern yourself, with the manifestations of their design and build quality issues, much less address them with corrective maintenance performed outside their stealership service bays...
Probably true. But I see lots of people in my similar situation painting their blocks gloss black as well. Sure, it's better than grease and oil and looks decent, but is no one thinking of future issues? Maybe I'm the weirdo.
A few updates. The incorrect shift cables were returned easily and just waiting for a refund. In the meantime ordered the correct set of cables (using P/N's from real oem and purchasing from ECS with a FCP price match - Just over $257 shipped for the pair) A little pricey, but one less thing to worry about under the car. Especially since the engine is still out.
Also received another piece I've been waiting just over a month. Purchased from Outmotoring- Gen 1 racing dynamics $399.95. Piece looks good. Box came with a hole in it. Opened box and item was literally thrown in- super sloppy packaging- like the flimsiest bubble wrap they could find. Yes, hardware and gaskets included hidden at the bottom of the box. I sent a note to the Outmotoring folks. No comments from them..... Luckily, item is pretty sturdy. All looks good. I'm going to work on a little gasket match and polish as the openings are a little rough. Next weekend it will be wrapped and ready for install. Right now lots of small little things to take care of and my time is limited as rain is anticipated at mid-day... So, a few pics.
Last edited by Boostmaster; 08-11-2023 at 04:51 PM.
I forgot to mention that the Ireland Engineering Fixed Camber plates arrived the other day. Absolutely no issues at all, which is weird as a few vendors told me that IE was difficult to deal with and out of stock on these. Apparently, not true. No pics yet. Just need to update this thread to keep myself up to speed and accountable. Heck, I might even break down the total expense tally of this little project when it's all finalized. Although not sure my stomach could take it...
Last edited by Boostmaster; 10-20-2023 at 07:38 AM.
Opened box and item was literally thrown in- super sloppy packaging- like the flimsiest bubble wrap they could find.
This is surprising. At the very least those should have been double bubble-wrapped in the big bubble wrap and then maybe double boxed with peanuts in the space between. The Martian lander treatment.
I've ordered quite a bit of stuff from them, nothing this major but everything wrapped appropriately and shipped promptly with no issues. Hopefully this is a one-off anomaly and you'll hear back from them stating it as such.
There was a several week delay and I think it was drop shipped. Other stuff I ordered from Outmotoring came well packaged. Luckily, no damage (that I have seen) , but I wanted to make sure people know what to potentially expect should they order this item. That said, customer service from Outmotoring was great. They were responsive and texted me with updates when I contacted them.
Not much progress today. Did get some new "white" coolant overflow bottles (not yet installed) as I'm tired of having to guess how much fluid is inside (even though the bottles are fine with no issues except yellowing. Also, swapped in a new to me M7 CAI for Red Thunder II. Purchased from an owner who said it was too loud. It turned out to be as loud as my current DIY set up. No harm/no foul. At least it looks nice. Took some pics after removing my gloves and my hands were wet - just noticed in the pics (It was toasty out
as well).
This car is Chili Red and spent a few years in SW. FL so the paint is fading all over. We'll be addressing that later on...
I forgot to mention that the Ireland Engineering Fixed Camber plates arrived the other day. Absolutely no issues at all, which is weird as a few vendors told me that IE was difficult to deal with and out of stock on these. Apparently, not true. Not pics yet. Just need to update this thread to keep myself up to speed and accountable. Heck, I might even break down the total expense tally of this little project when it's all finalized. Although not sure my stomach could take it...
you got them direct, or thru outmotoring? Also what was the rough turnaround from initial order to delivery? Just wondering as they may be on my list of things for the JCW and PW.
I ordered the IE fixed camber plates directly from IE. I tried vendors, but they did not carry the product. To avoid issues, I emailed IE and confirmed that the item was in stock and could ship quickly. I placed an order a few days later and it shipped that day. My records show that I placed the order on the morning of 8/3/2023 and it went out later that afternoon. The package arrived on my doorstep via fed ex (only shipping option) on 8/7/2023 at 12:47 in the afternoon. Probably one of the fastest shipments for any part I've ordered during this project.
All that said, I've not installed yet so I cannot speak to the usefulness or quality, but I am trusting that more knowledgeable members here have guided me properly so I anticipate only good things!
My only comment about quality of these is that the top plate could have been painted better or even powder coated. Otherwise, those spent 10 years on my R56 running on the road and track in the dry and wet, and about 5 years in the well salted roads winter roads here in the NE. No issues. I changed them out this year to put in adjustable plates to get more camber for the track.
I'm not sure what the issue with the vendors was, but it was a surprisingly smooth transaction. I finally got some pics and measurements today as I wanted to compare to the Cravenspeed Under Tower Indurators that I added to the car when I was in a nasty city environment where it was more pothole than actual road.
As you can see from the pic, the IE pieces are THICK. So there is no need for any additional bracing.
I didn't measure the length of the studs but in the pics they appear to be a little longer. Maybe I can add a brace up top as well. We'll see.
Nice. That was my interest in them as well, as I had heard these plus a Cravenspeed strut tower defender would effectively sandwich the tower and really reinforce the thing.
As mentioned, I’d suggest to give them a couple coats of paint before you install them as we all know how ugly raw steel, or even galvanized gets after a year or so under the car.
The last pic is of the Cravenspeed Indurator. I installed them in 2018 and drove the car in a rust belt state. So almost 5 years and they don't look too bad. Just something to consider.
You're killing that build bro, mighty fine work you're doing there! I've been DDing mine for 15 years now, you've got it all covered especially with the strut tower reinforcement plates. I strongly recommend getting a set of road wheels & so you can save the fancy wheels for the track. Potholes will be your biggest problem after getting everything built out. I'm coming to the end of my Koni STrT oranges (all around) and even with Rein-Plates I have to consistently replace the strut bearings (most often the right side) around 18 months on average.
Unfortunately you're already running the "poor-man's big brakes" (R56 calipers) that don't fit smaller wheel sets all that well, I recommend swapping to some smaller Willwood's or even the OE single pistons so you can drop down to a 15" wheel set with a 205/60 tire to keep your ECU calibrated. That extra inch of rubber is the only other thing that will save you countless replacements of ball joints, bushes, motor mounts, and of course strut tower bearings. It will never become a bullet proof suspension, but this wheel/tire combo is perhaps the most overlooked option for mitigating the damage caused by potholes.
Oh yeah, get a handful of power steering reservoir cap o-rings (ECS for like 50� ea.) Once it starts leaking just change it out, no amount of extra tightening will stop the fluid from seeping out and it will run down the hose, making a mess of the pump and your newly re-built subframe. Anyways, after you get it running again and work out the bugs, it'll run like a champ for years to come. MINI's are an enthusiast platform and do not respond well to neglect; I'm glad to see this one fall into the right hands.
Thanks for the kind words! It is appreciated. I don't really post here for the kudos- rather a way to remind me of what I've spent all my time and money on. But, I like to also post pics and progress as there are some folks out there who don't know and can learn from out successes and mistakes. I usually google or you tube stuff before I start a project just to save myself some hassle. So, if I can pay it forward it's a pleasure to do so.
I currently have the x-lite R84's for this car as well as an extra pair I scored a while back. I also have some raggedy S-lites but those are boat anchors and might end up with snow tires... I also have the R81 Holeys (my favorites) Super light and a ton of meat on the sidewall. I tried to make them fit the R56 brakes but it was a no go. I would love to find an "inexpensive" option for bigger brakes and super light wheels. Haven't found anything that checks the boxes yet. Even with crazy sidewall, the holeys make the car feel so light and nimble. I'd really like that for this other project.
In this pic below you'll see Red Thunder II. The rims were painted by nephew (the car was my mother's car and he decided to jazz it up). Oddly, it came out ok. Also, note the shiny black trim. I've tried all the different shine treatments out there and decided to just go old school. Wiped it all down with paint prep to make sure it was all good and clean, masked it off and rattlecanned some SEM bumper trim paint (That stuff is great and flexes). So far no fading or issues....
Right on, glad to hear someone else having a good experience with this wheel set-up. I always cringe when I see MINI's and other cars with massive 18" wheels and sometimes bigger plus stretched tires , a set of ticking pothole time-bombs. I just swapped out the run-flats for normal rubber and found a nice spot to mount the spare by slicing a precise portion off the right side of the RSD panel, leaving the carpet in place and letting the spare sit in the groove below; a miniature ratchet strap works perfect in the old backseat loops to lock it down. If you need to make this sort of mod, add a small hole in the top, forward edge of the armrest (hollow under there) to latch bungee onto for vertical stabilization while turning. So far this seems a lot better than just laying it flat. Thanks again for sharing your inspiring build!

 08-06-2023, 06:04 PM