When you click on links to various merchants on this site and make a purchase, this can result in this site earning a commission. Affiliate programs and affiliations include, but are not limited to, the eBay Partner Network.
As for the cost break down, I've got a running list. It's ugly... But I think it's important to share some of this because it all seems relatively simple and cheap as it's only a few bucks here and there and the next thing you know, you're thousands into a simple project.
A mild morning rant on this subject:
Like many of you I had always enjoyed the hot rod/car shows on TV and now on youtube with several content creators out there. While it's neat to see some of these crazy builds it's more like watching lifestyles of the rich and famous. My preference is more realistic stuff. We even grew tired of the "muscle car" shows on TV where all they did was throw tons of new parts at a car.
This is the same for the home renovation shows. It looks easy when you have a huge crew of experts and an unlimited budget- for example I still like to see This Old House (my dad was hooked and so it stuck)- I really dig seeing real craftsmen do a great job. However, if you see their builds, they are only doing multi-million dollar properties.
I guess for me it was stuff like Overhaulin' (Chip Foose is a master) where they took a wreck of a car and transformed it in a week. After watching so many of these shows and seeing how "simple" it looked I made the mistake of purchasing a "project" some years ago (2012?). It was a solid mostly "rust free" car. We tore it down, had the engine and trans rebuilt and sent it to the body shop to be blasted. After blasting we found a few spots that needed attention and proceeded to fix everything metal-wise. Now the car was all metal with no bondo or fiberglass (and NO bodywork). I was $20k into it. As of today, I've done the bodywork and it's decent for an amateur but it's not done. We're so far into this car that we're just taking our time and tinkering whenever time and weather allow. Maybe it will be done in a few years.
So, after learning that all of these shows (I guess like most social media) only show you one side of the coin, it felt deceptive to me. It feels like they lure people by these false expectations as to what things really cost. And for me, I really appreciate when someone takes the time to really break it all down. The costs, the delays, the struggles and fights. The reality of wrenching or DIY is something that should encompass all aspects so that someone wanting to try it for themselves will have a more informed understanding of what they are getting into.
In this recent project bear in mind the only real "upgrades" I did were new exhaust (It needed it), header (did not NEED it), and fancy suspension (could have gotten away cheaper with B4's and likely stock springs and bushings), Fancy CAI (not needed), you get the point.
Other than that it was just a lot of nickel and dime stuff. A LOT. All these little odds and ends really add up.There were also some bits that I ordered that I did not use or I can use on the other car at a later date. (helps to have another R53- so if you need an excuse to buy another here it is!)
I'll also note that I'll not be including incidentals (materials) or side project stuff because a lot of the materials are used for other things- (e.g. cleaners, paints, towels, anti seize, regular tools, etc.)
So all this said, is it a better idea to buy a newer (lower mile) or "better" (cleaner) car? IMO, not really unless we're talking rust or you cannot wrench on your own car. A used car is just that; a used car. No matter the service history (I don't trust dealerships) and often spend more time and money fixing other people's "repairs". Parts still fail, gaskets and seals still get old, and things go wrong even with low mile, babied cars. As a matter of personal preference, we prefer to buy a basket case (no rust/body work or electrical hacked messes though) and then dismantle and rebuild "correctly". The price up front is cheap and in the end you'll be around the same price for a "better" example but with all NEW stuff and the knowledge that it was done correctly. For the money we have into this current project, we're still well below the cost of a decent used car and we know that this car will continue to run well for another 150k with minimal issues. For the price, you can't beat it.
Once I have everything back together and running I'll wrap up with the costs. (just in case something new comes up)
Last edited by Boostmaster; 08-20-2023 at 05:58 AM.
Sadly, no actual work accomplished today on the project. The garage was a mess so we cleaned and organized everything. Found a few missing pieces and still have a few to find. It's no rush so we're taking a pause to make sure we get everything right the first time...
We were thinking about SS Header studs. haven't pulled the trigger. Not sure if a good idea or not considering the space we have to work with. Thoughts?
Can't think of anything else we've missed, but if any of you all think of something please feel free to chime in. I'm sure I've missed something.
Tomorrow, "the boss" (aka Mrs. Boost) should start working on a wet sand and polish of her "new" pre-facelift headlights (courtesy of minimanadam). Hopefully, we can install later tomorrow and have correctly aimed beams on Red Thunder II.
Awesome - nice clean, clear headlights can't be beat! I know others think the facelift ones look better, but I prefer the pre-facelift xenons for the nice clean look and I have never had an issue being able to see at night.
Might I suggest just wet sanding 600 > 800 > 1000 followed by a catalyzed clear? All of these clear polycarbonate lenses are clear coated from the factory with a UV clear coating. That coating is good for 10 or 12 years with good upkeep. If you sand and polish, they will look great - but they will start to yellow and haze again without UV protection and you'll be doing it again in a few years. Could try some sort of ceramic coating, alternatively, after sanding and polishing - that might work in lieu of clear. I hear some of those last quite a long time!
SS studs vs steel with never seize… Not sure which version of “stainless steel” the studs you are considering, but they are all a nickel alloy metal. The nickel makes them prone to galling. Personally I would stay with steel studs and nuts with never seize. Maybe with SS washers.
Didn't have any particular studs in mind. Was just overthinking things. Trying to get ahead of possible future issues. That said, I've never had an issue with the stock hardware for the header.
Going to pause on the install for another week or so. I don't like the way the belt tensioner assembly feels so I've ordered a replacement from FCP (as the bad one is from them). I know I can install while the engine is in but I prefer to do as much as I can with the engine out. Just easier.
Last edited by Boostmaster; 08-21-2023 at 06:47 AM.
Might I suggest just wet sanding 600 > 800 > 1000 followed by a catalyzed clear? All of these clear polycarbonate lenses are clear coated from the factory with a UV clear coating. That coating is good for 10 or 12 years with good upkeep. If you sand and polish, they will look great - but they will start to yellow and haze again without UV protection and you'll be doing it again in a few years. Could try some sort of ceramic coating, alternatively, after sanding and polishing - that might work in lieu of clear. I hear some of those last quite a long time!
This is definitely the way to go, I've mentioned this before somewhere on the forums, but 3M makes a sweet "quick restore" product that comes with a 3M 3000 grit pad plus a wipe-on 3M clear coat (dries in 15 mins), yes one packet successfully treats two MINI headlamps, got it from the local NAPA. I still recommend knocking the old faded plastic down with at least 800 then 1000 before hitting it with the 3000. Mine came out looking like NEW after 18 years of road trip bug-guts and scorching Texas heat. I disagree with the ceramic coat though, get a protective film instead, the pre-cut by Laminx is quality thick and available in several tinted options. As I did the sanding, I noticed that I was revealing some etched in bug splatter marks, as I wet sanded they would go away, then others would appear. Once I ground it all down to nice clear look under wet-sanding, I realized it's not just the sun killing the plastic; it's the bug guts. Slapping some pro-film over your work will keep them looking new for the life of the bulbs.
Consider me impressed!!! When I first started following this thread, I said to myself... no way this guy finishes... toooo much.
9 pages later... I'm blown away with how much work you've done. Congratulations on a job well done. You've earned it.
Thanks! We're gluttons for punishment. LOL We would have completed this faster, but our schedules are such that we have limited time and in odd spurts and with having to work outside there will be the inevitable weekend that is rained out. And there is all of the sidetracking that happens like when you're looking for a part or a tool and can't find it. Or in our case, I am sick of fighting with the engine hoist so I will be modding it with new heavy duty rubber casters (which will be a small delay) And of course, taking the time to try and source only what we needed at the best prices because as you will all see shortly, this stuff adds up. I suspect after that big reveal many of the folks doing their own builds might want to take a peek at what they've been spending. It might be a surprise.
Nevertheless, this is not a "project" we can just let languish. It's a driver that needs to be put back into the rotation. We only have a few odds and ends to wrap up and the engine will be back in hopefully within the next few weeks.
The current punch list includes:(off the top of my head)
Find a few missing bolts
Wrap and spray the header
Affix the new belt tensioner (on order)
Affix the new crank pulley (on order)
Pull the wiring harness and affix to engine before install
Affix the coolant hoses to the block
Assemble the front shocks/springs
Install gauges
I'm sure I've missed something, but it's pretty close.
I've not looked at costs on several projects in the past and then I started to do a better job of "accounting". I love the car hobby and it's always a money-losing proposition. However, I like to be able to somewhat "justify" my expenses. I would like to try and get my money's worth out of them. In this instance, this is a DD car. I can't buy a new car for what I have into it. I don't have car payments and my insurance is super cheap. The car is reliable and I know who worked on it (we did).
I also find that people appreciate the "real world" break down of what things actually cost. I don't have a sponsorship or free parts being sent to me. Everything comes out of my pocket. So, when you see people doing some cool projects it's nice to see if it's actually priced in "reality" (at least for our respective budgets).
Additionally, breaking it all down may encourage/inspire those folks who do not turn their own wrenches to give it a try...
I also find that people appreciate the "real world" break down of what things actually cost. I don't have a sponsorship or free parts being sent to me. Everything comes out of my pocket. So, when you see people doing some cool projects it's nice to see if it's actually priced in "reality" (at least for our respective budgets).
Since you talk about that, I'm willing to open my books if there is interest on that.
Context: I got a 2002 r50 nearly a year ago (how time flies) at 200k km (130km miles) with a few known issues, but driving and passing the stringent French road-worthiness. The main goal of this car is to learn wrenching (mid-life crisis, I decided to learn that, practicality and cost be damned). I started from zero wrenching experience and zero tools and built up to changing the gearbox. I was not disappointed, as the car was basically neglected and would have been headed to the scrapyard soon with one of 3 imminent failure points had I not acquired it and obsessively dealt with all the deferred maintenance and repairs. The car is now mostly mechanically sorted (and I should be done by the 1 year mark) though I've barely made a dent in the long "cosmetics" list.
I planned for an all-included (except gas/tolls) 10k€ budget, and I'm glad to say I'm under it and won't exceed it. As a preview, not to hijack the thread too much, it's roughly it's divided as followed for the first year:
- 2.3K€ for the car
- 2.1K€ for a closed parking spot (expensive in my big city)
- 0.5K€ in registration + insurance (insurance is super cheap for me compared to what I'm seeing on the Mini discord)
- 2K€ in tools. I had only home DIY tools, I had to buy most of it. Tools loaning/borrowing is not a service any company offer where I live, so I had to buy everything.
- 1.4K€ in repairs. The big tickets items were the 500€ scrapyard gearbox (running perfectly, luckily) and 350€ suspension overhaul
- 0.5K€ in maintenance. No big ticket here except perhaps the 100€ alignment, just lots of fluids/wear parts that add up.
- 50€ for cosmetics. I've under-invested here because it's just less important than having a mechanically sorted car
Current total is around 8.8K€, which is, as of today, 9.5K$ (but you can use 1€ = 1$ as an approximation)
P.S. : all that work is on Youtube because I had the dumb idea to share it, which means spending nearly every evening editing. Unfortunately, since I'm French and my spoken English is ****, I speak French on those videos
Cool! I'll check it out. Always good to see some mini content - even if I don't speak French.
The "boss" has mentioned doing a youtube channel but I barely have the patience to stop what I am doing to take a few pics. I cannot imagine having to keep stopping and starting and then editing. Ugh (I'm tired thinking about it.)- And I'm moving slowly now, I can just imagine how much slower this process would be.
It does get a bit annoying when you want to get cracking, and yeah it takes time to setup the camera and talk about what's going on.
My rule of thumb: if something should take one hour, it will take 2 because of the filming overhead. Then editing that is 2 more hours (and I'm generous) for the very basic edits I do. So yeah 1 hour become 4 hours.
On the flip side, that forces me to take my time and think about what I'm doing, which means fewer mistakes. I also get the advantage of feedback, especially now that I start having a few knowledgeable viewers. As the internet adage says "the best way to have a good answer is to post a bad answer on the internet and wait for someone to correct you".
It doesn't help that I have too many cars, and too small of an area to work in so it's a challenge.
Fradow: Just a quick note for you. I would not count tools as an expense (on this particular car), but rather as an investment because you will inevitably use them again and continue to save your self time and money by doing your own work.
My area to work is too small as well .... so I borrow other areas. Tools have to fit in the trunk (to leave rear seats for actual luggage) and car has to be running again after I'm done. It's a challenge.
For my first year, I wanted to have a running cost of everything going into that hobby. This is actually my first car, and having a car where I live is a luxury/hobby, hence why I count everything. Of course, everyone is free to count what they want under "expenses". Since this hobby was very front-loaded, I expect it to be a lot less the following years.
The "boss" has mentioned doing a youtube channel but I barely have the patience to stop what I am doing to take a few pics. I cannot imagine having to keep stopping and starting and then editing. Ugh (I'm tired thinking about it.)- And I'm moving slowly now, I can just imagine how much slower this process would be.
Yeah it adds time to the process, even if you wear a head-mounted GoPro, you gotta keep batteries charged, remember to start/stop the device, then edit the footage etc. However, since you have a second pair of hands at your disposal it could be possible.
On a different note, I noticed you slapped in some new valve cover bolts. What was that like exactly? After last year's vcg swap I realized how bad that situation is becoming, I'll be lucky to get them all out in one piece next time. So I'm anticipating dropping a new set in there, problem is that plastic vc, what did you use to pop the old captive bolts out and press the new ones in? Did you feel the process to be too stressful on any areas of the plastic housing? I'm undecided on getting a new set of bolts vs a whole new valve cover. Thanks for sharing
get the new bolts! It�s easy and the old ones pretty much fall out if they are in bad shape. I just did mine due to how bad the rubber on them was and some of them had some rust.
^^ Yes. The new bolts are easy. They are "lightly" captured in there but not pressed or anything like that. They just pop out. What I did was to soak them with some CREE Oil. It's apparently a little better than PB blaster or WD 40. I used a 6 point 8mm socket and "tested" the fit to make sure they would not round out. Most of them came out easily. There were a few where I pounded on a 7mm and one where it had gotten so bad I used a 6mm. But I made them "fit" and got them off.
As for the bolts I would have preferred to have sourced a nice set of Stainless but my initial plan was to have this done quickly so I sourced the cheapest (correct) set I could find- $60 from ECS. When it's all back in the car, I'll probably coat them with a little Amsoil HD-MP (heavy duty-metal protector) to protect them from corrosion. I've already sprayed the entire underside of the car with it and have a case of the stuff to shoot all my other cars as none of them is safe from winter driving.
^^ Yes. The new bolts are easy. They are "lightly" captured in there but not pressed or anything like that. They just pop out.
Right on, thanks man, unfortunately I wasn't ready with a new set last year, I too have been keeping the old ones lightly oiled to prevent further corrosion.
A little more puttering around today. Found some missing bolts. Located where all the misc. brackets went and ran the coolant plumbing and the electrical. I've not done it like this before but it sure seems MUCH easier to fool with so we'll see.
There are 3 connections that hold the entire harness to the car. There is one in the main fuse box, a ground and a cylindrical plug that twists open. Mine seemed wet inside so that will be addressed as well. Got sprayed down with some electrical cleaner.
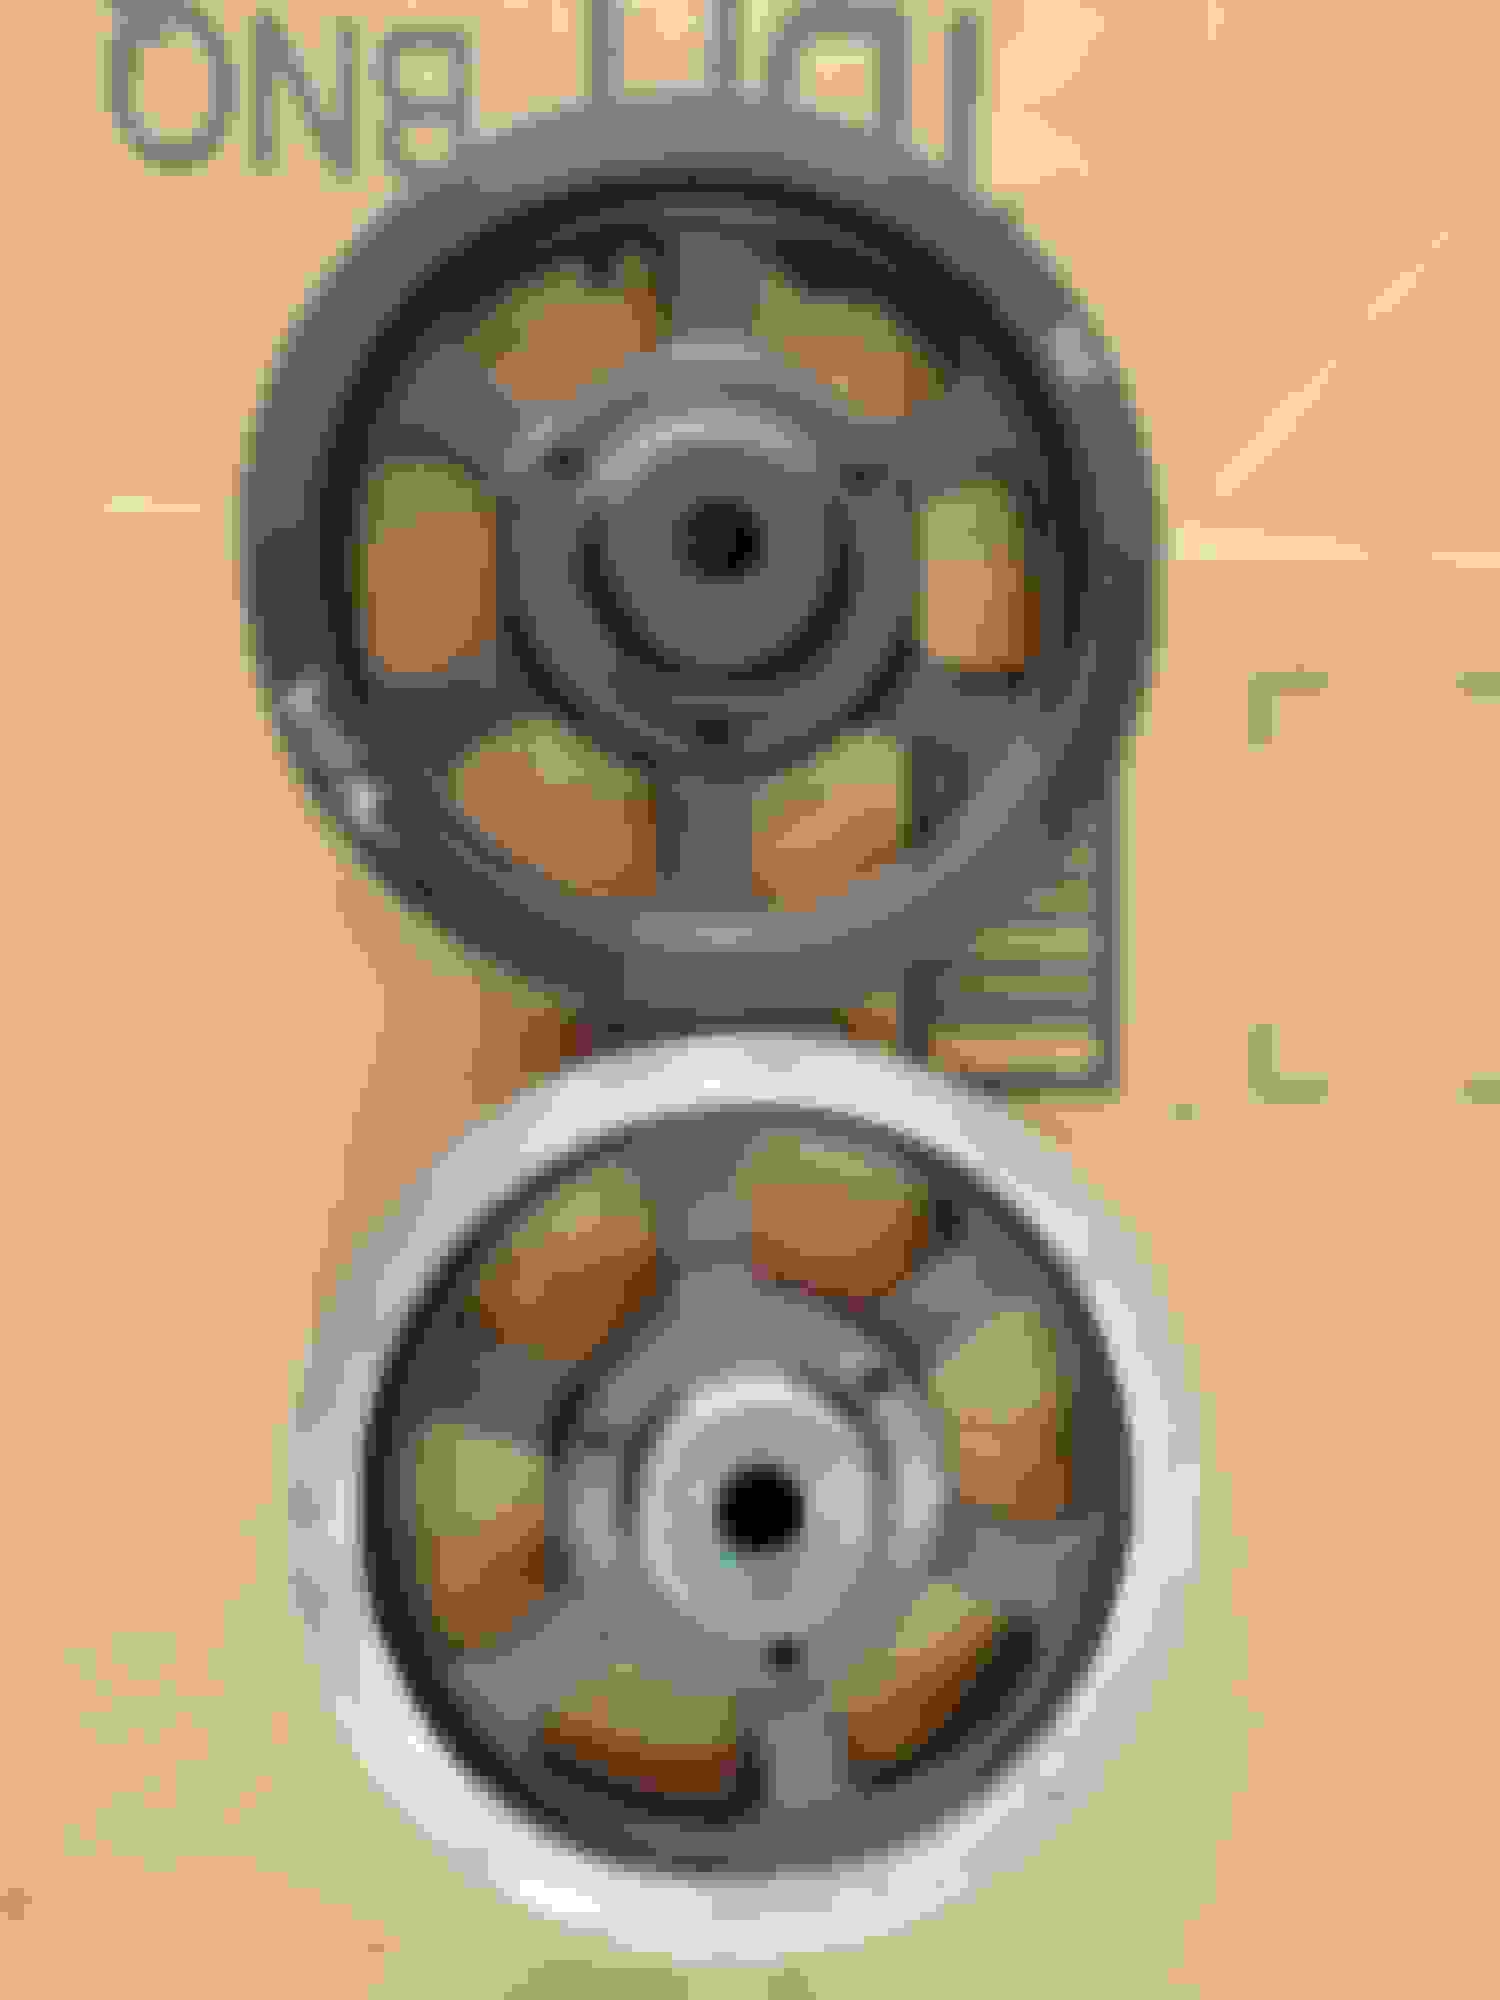
Also replaced the crank pulley. A while back the belt tensioner was working itself loose and started chewing on the outer edge of the pulley. It still worked fine, but I got a deal on a new one so I figured why not. And a new tensioner.
Last edited by Boostmaster; 08-26-2023 at 05:07 PM.
Then there was the matter of just plugging it all in:
Eagle-eyed readers will notice that the coolant line to the t-stat is not connected. Unfortunately that vacuum line that plugs into the bung on the black manifold is on the car and a royal PITA to try and reach with everything installed so I left myself a little bit of room to get that piece plugged in.
Last edited by Boostmaster; 08-26-2023 at 05:16 PM.
So, we have a few more bolts lying around - I need to see what they go to. Most likely the motor mount. Other than that I still need to assemble the front shock/spring assemblies (most likely tomorrow), wrap and coat the header, and install the gauges. Slowly but surely. Almost there!
Nice! I would also recommend hooking up the hose on the thermostat before hand, it�s hard to get to and tighten once engine is in, or if you forget before putting it on ahead of air box.

 08-20-2023, 05:40 AM